
Vault MkII (Combination Lock)
Print Profile(1)

Description
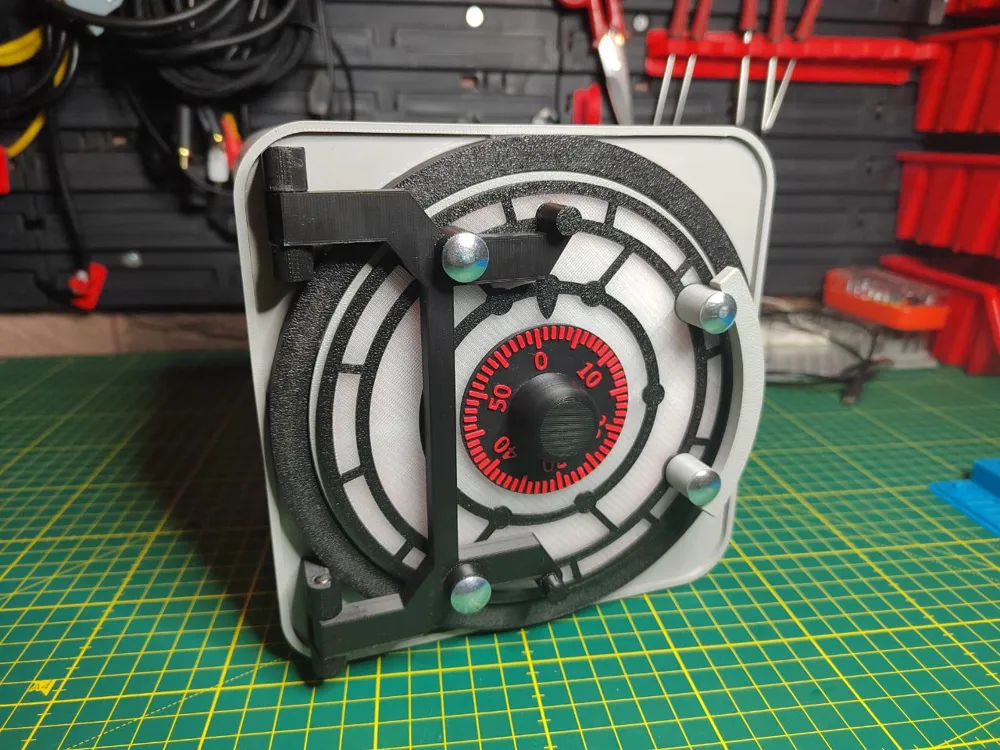
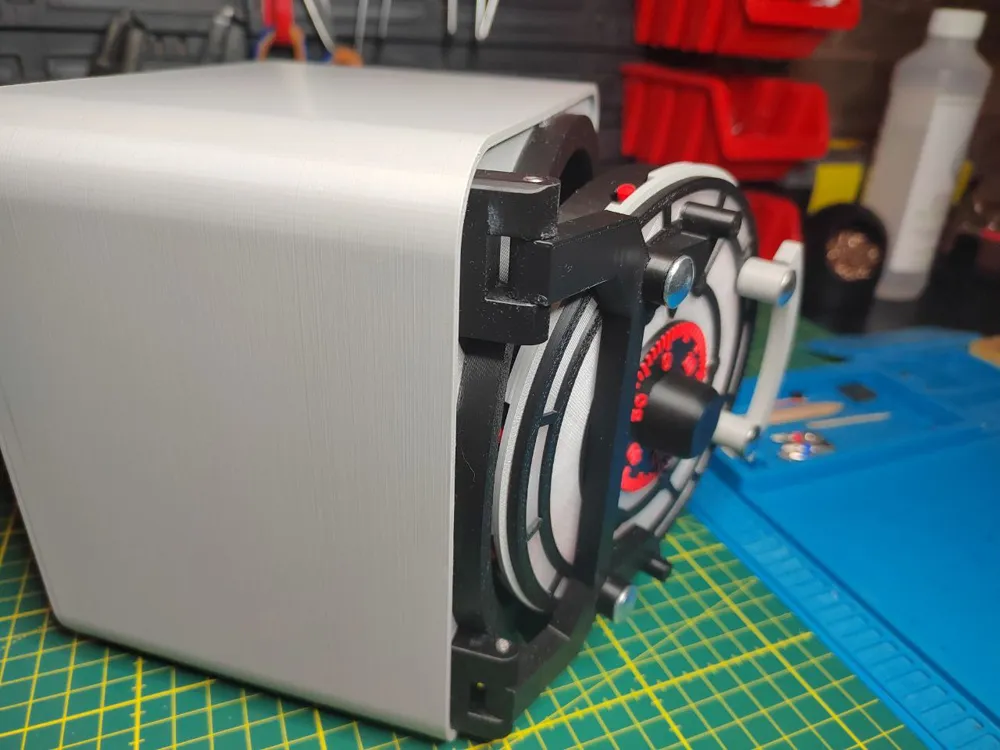
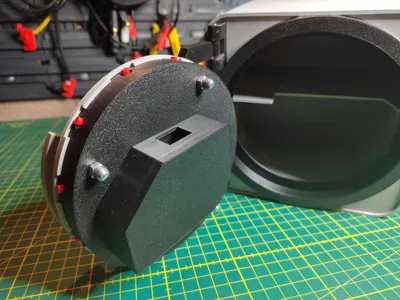
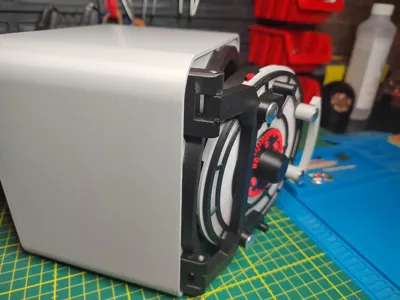
This is a thoroughly re-engineered version of the original "Vault with Combination Lock", redesigned to be fully compatible with compact 3D printers like the Bambu Lab A1 Mini.
Key improvements and differences include:
- ✅ A1 Mini compatibility: Simply scaling the parts wasn’t enough, as some lost their functionality. Many components were redesigned with a custom scale.
- 🔁 The rotating lever for opening and closing has been removed — the mechanism is now automatic, triggered by the motion of the combination input shaft.
- ⚙️ The number of gears has been reduced, making the visual aspect slightly simpler.
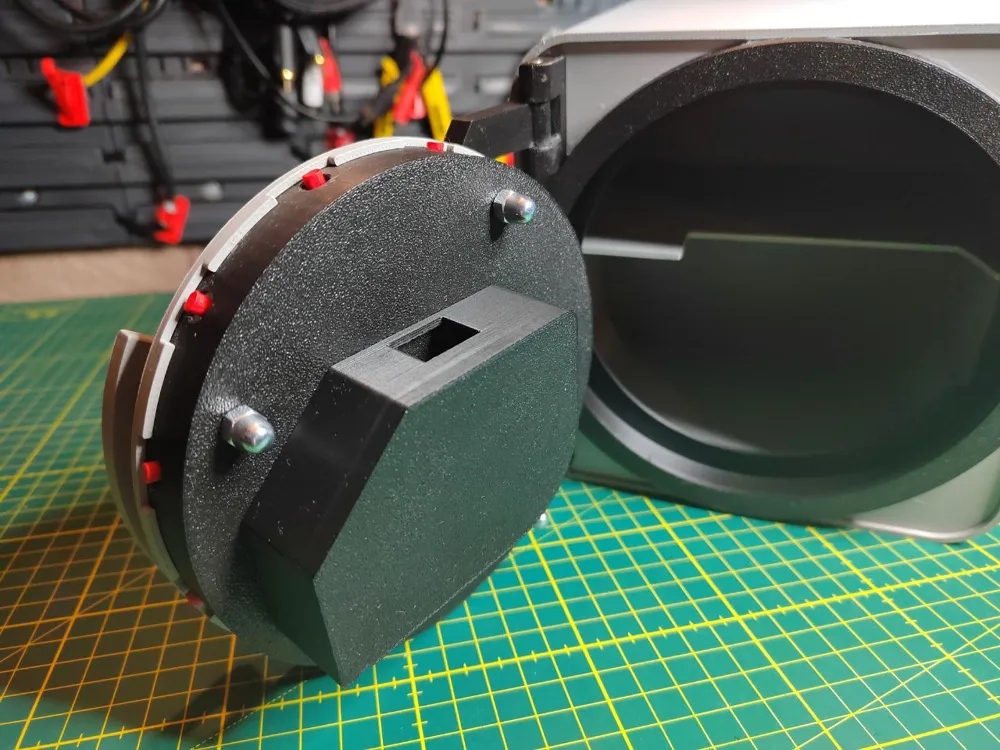
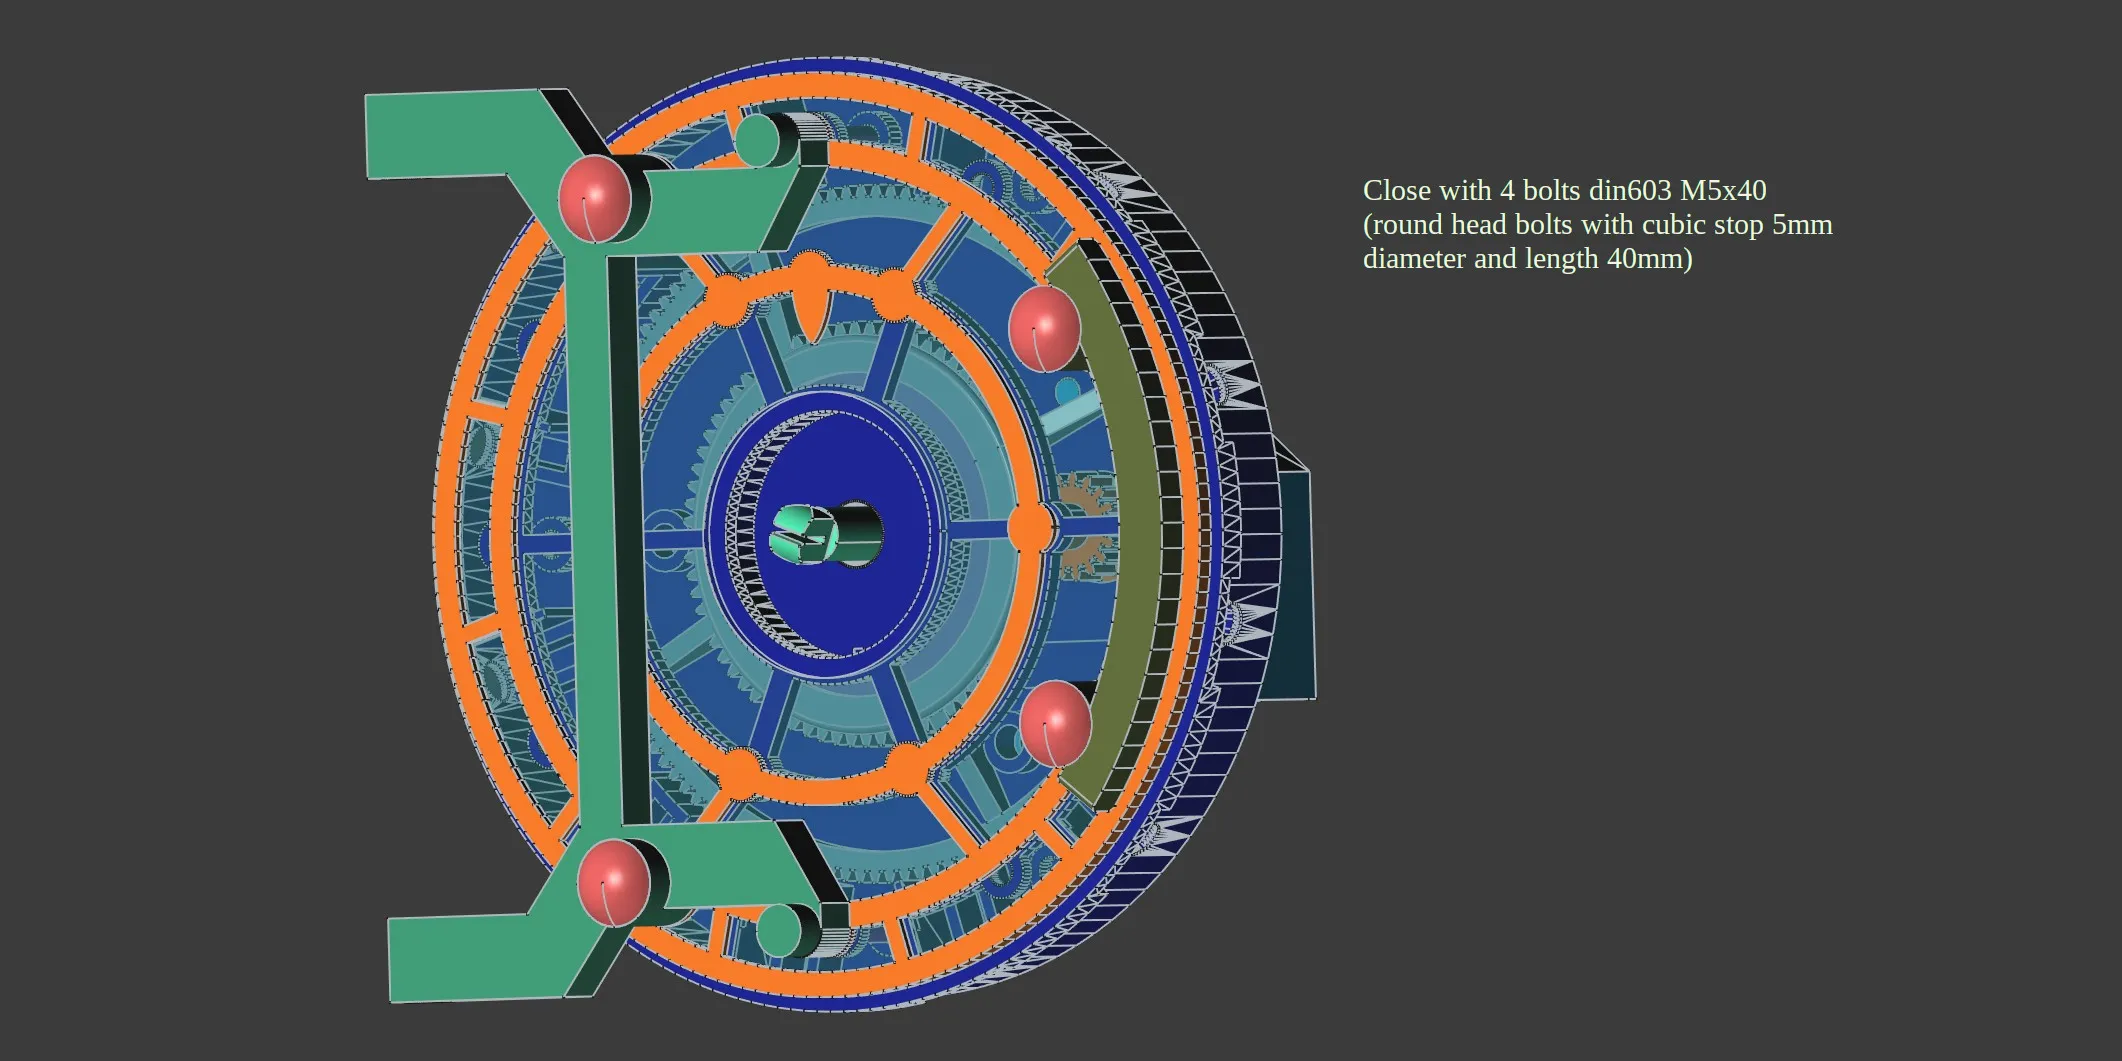
- 🧩 The door no longer requires glue — all parts can now be fully assembled using bolts.
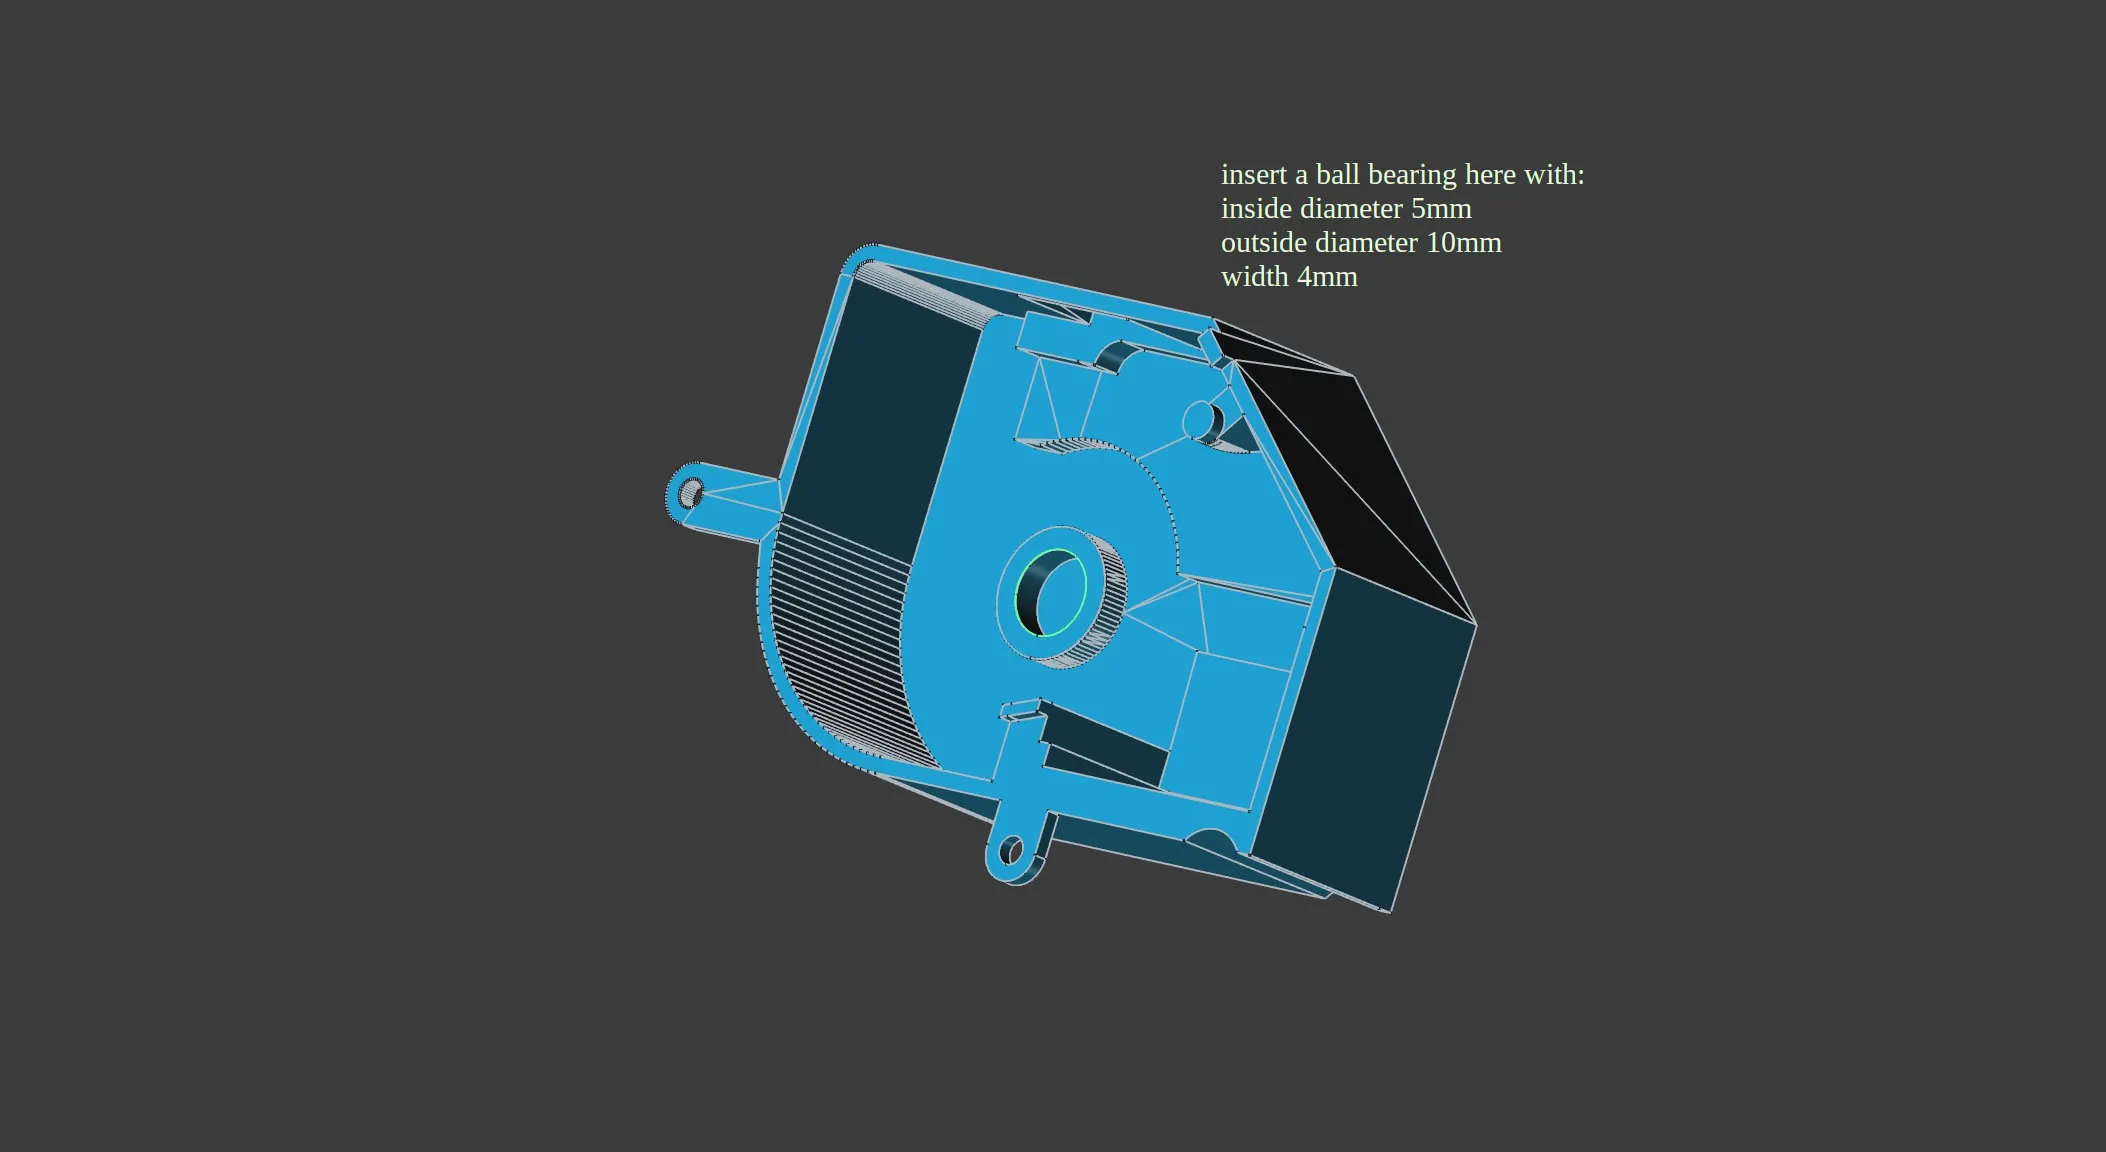
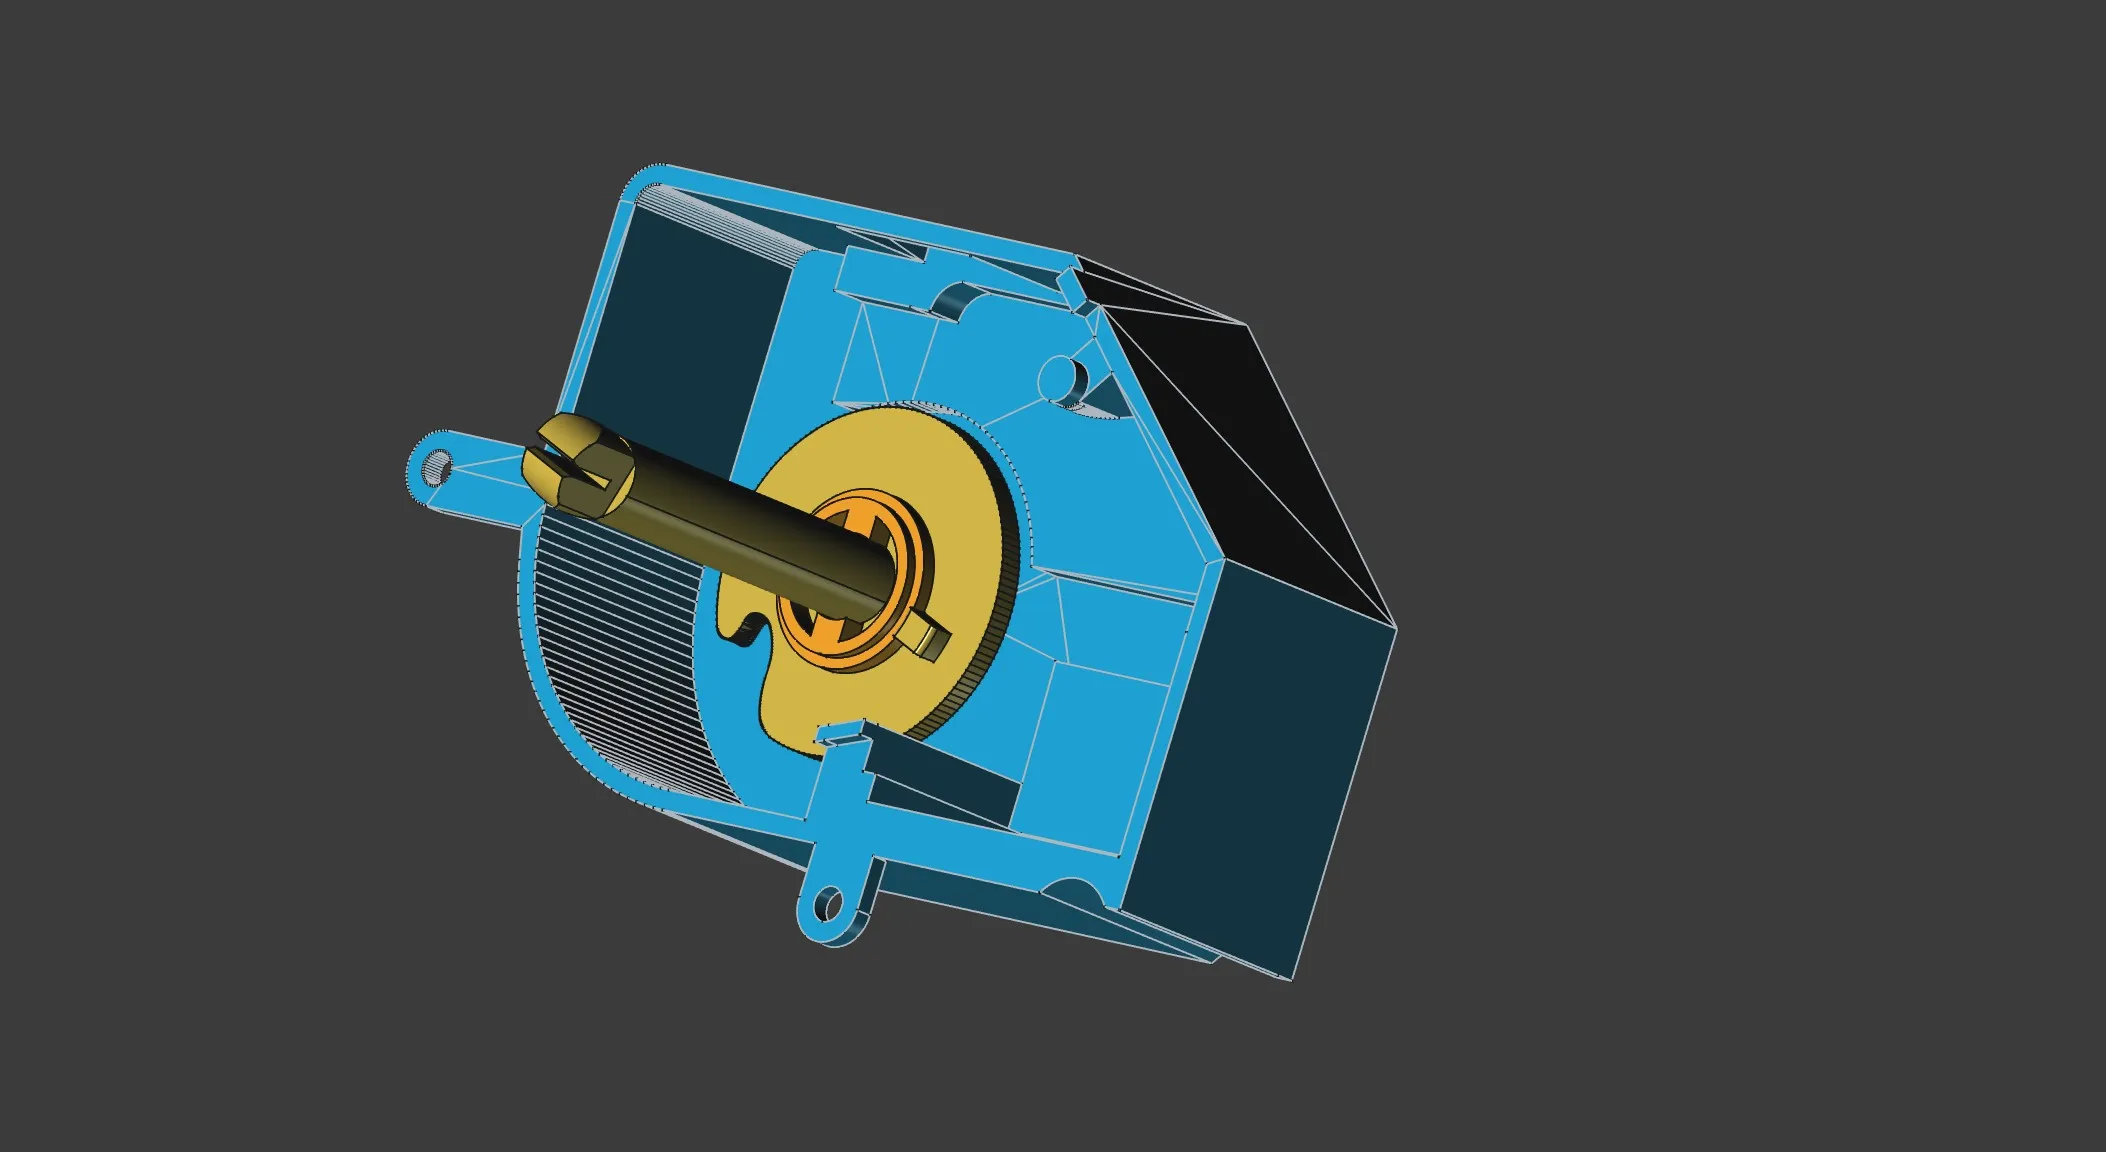
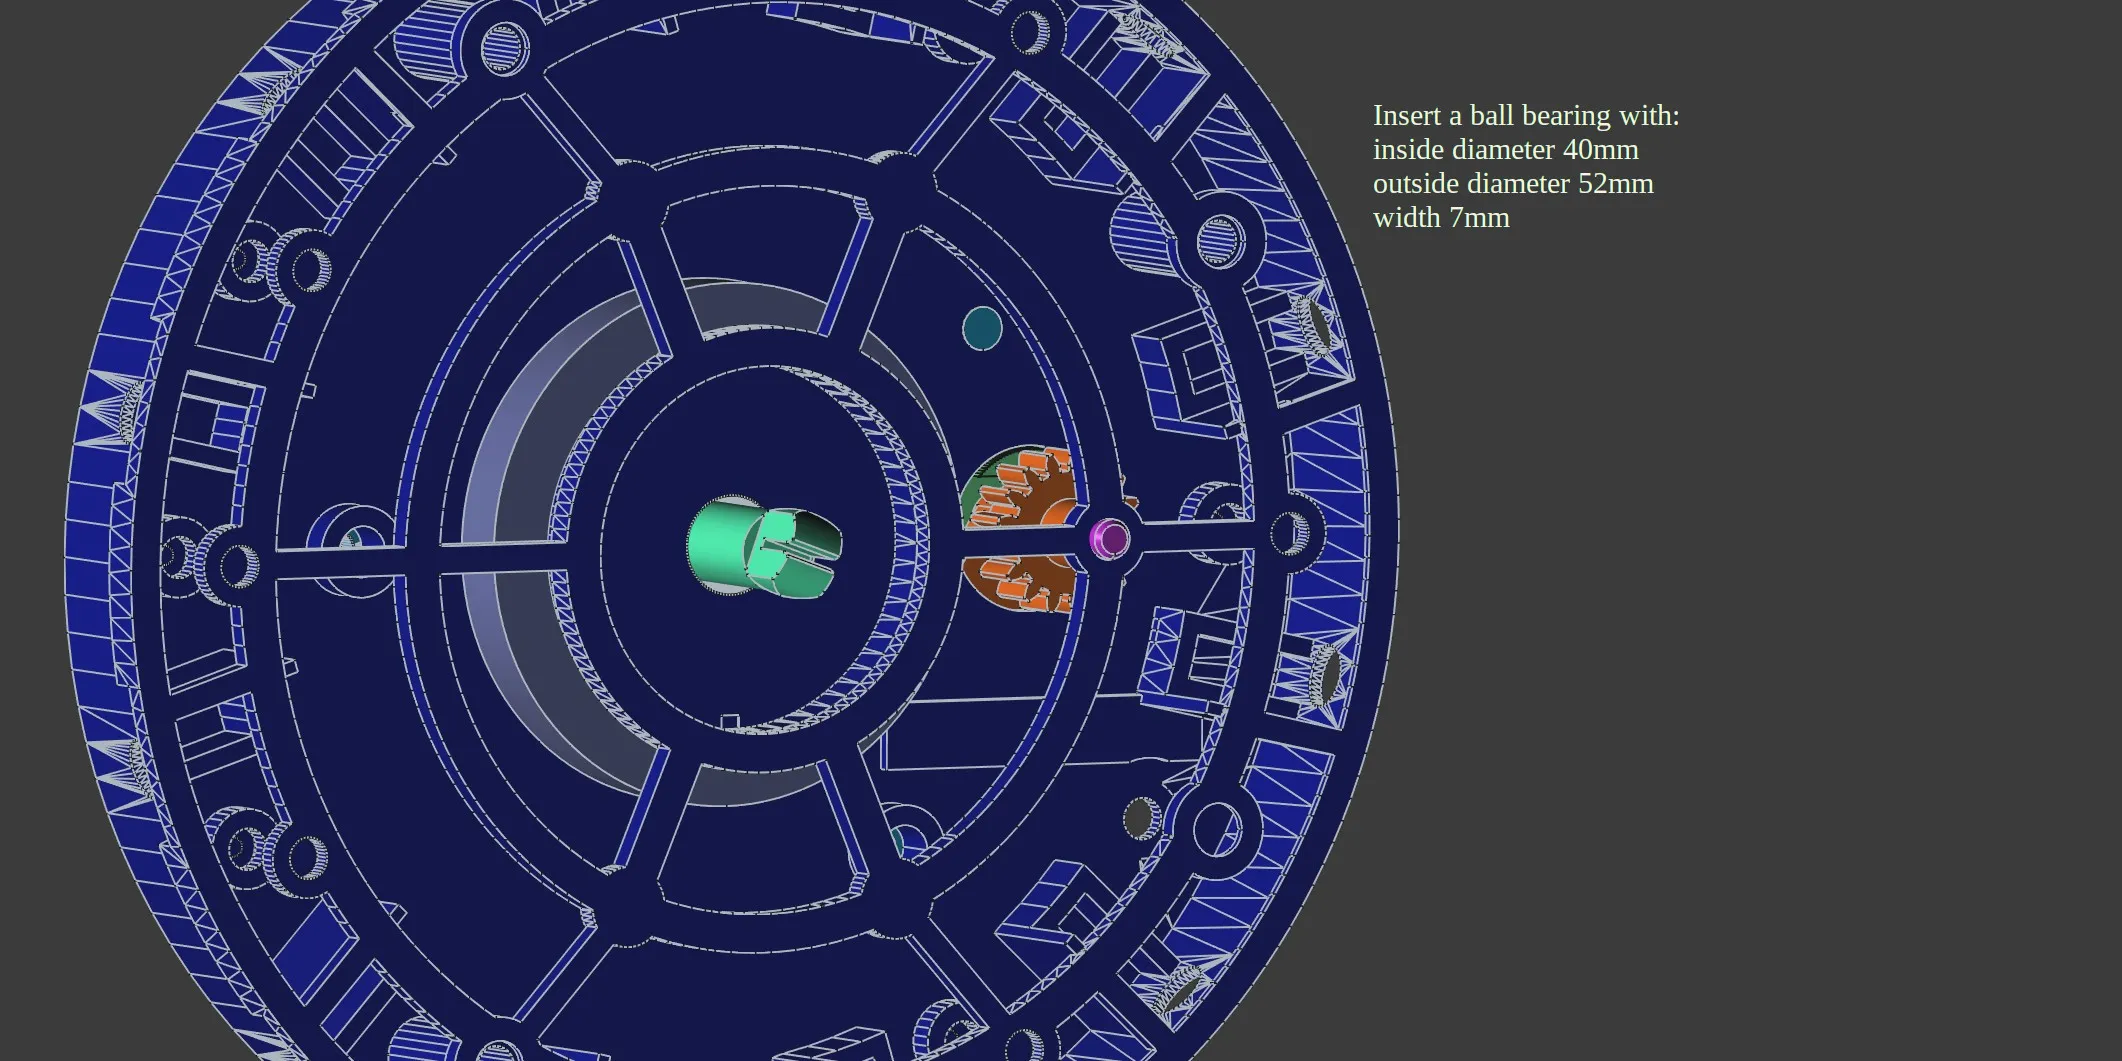
- 🧷 A ball bearing has been added at the base of the camshaft for smoother operation.
- 🪗 A spring has been integrated to keep the combination mechanism discs tightly pressed together.
- 🔢 The combination discs were redesigned as multipart pieces, allowing users to set custom combination numbers.
- 📐 All tolerances have been adjusted to account for the reduced size and ensure smooth assembly.
About 90% of the parts were redesigned parametrically in FreeCAD
⚠️ Important Notice:
This is a difficult model to build. Unexpected tolerance issues may occur, so please only proceed if you are a very experienced maker.
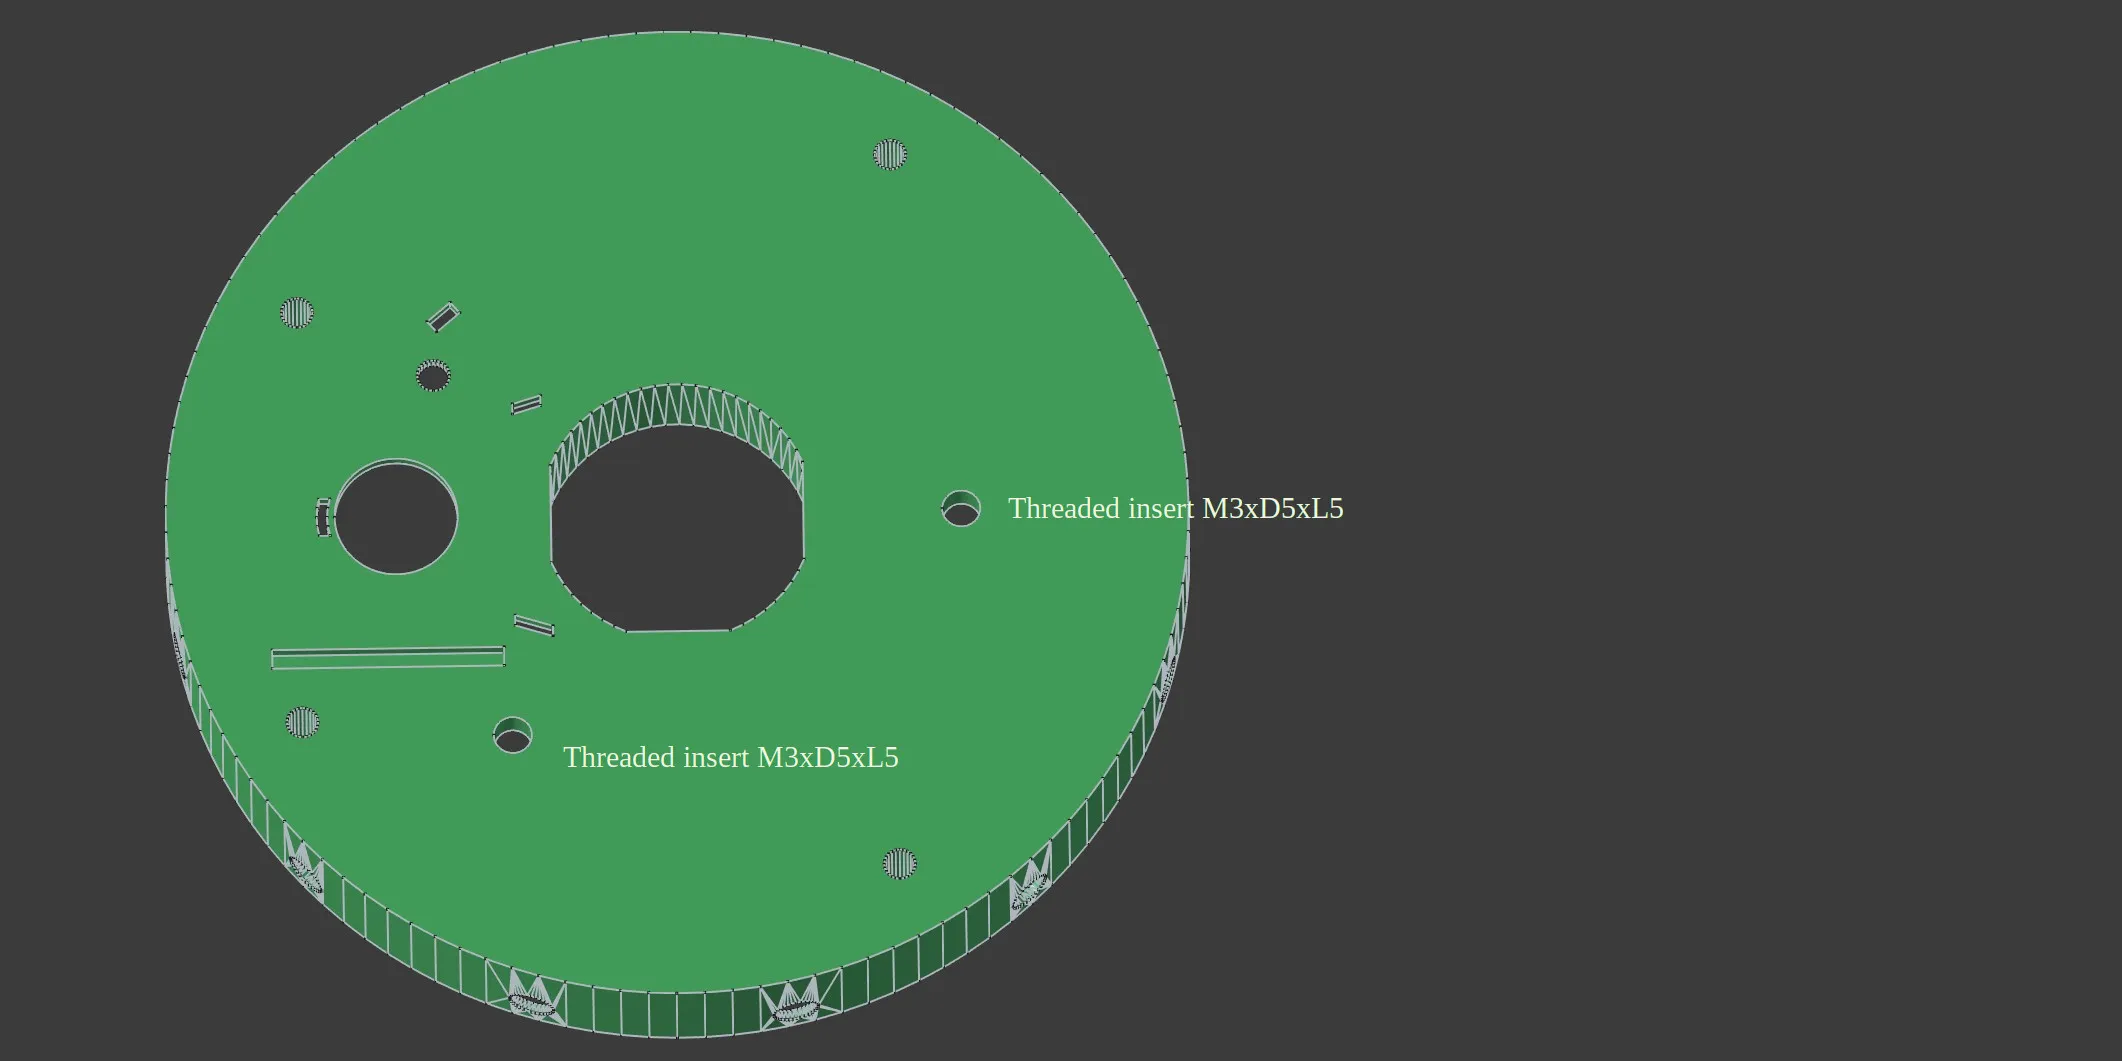
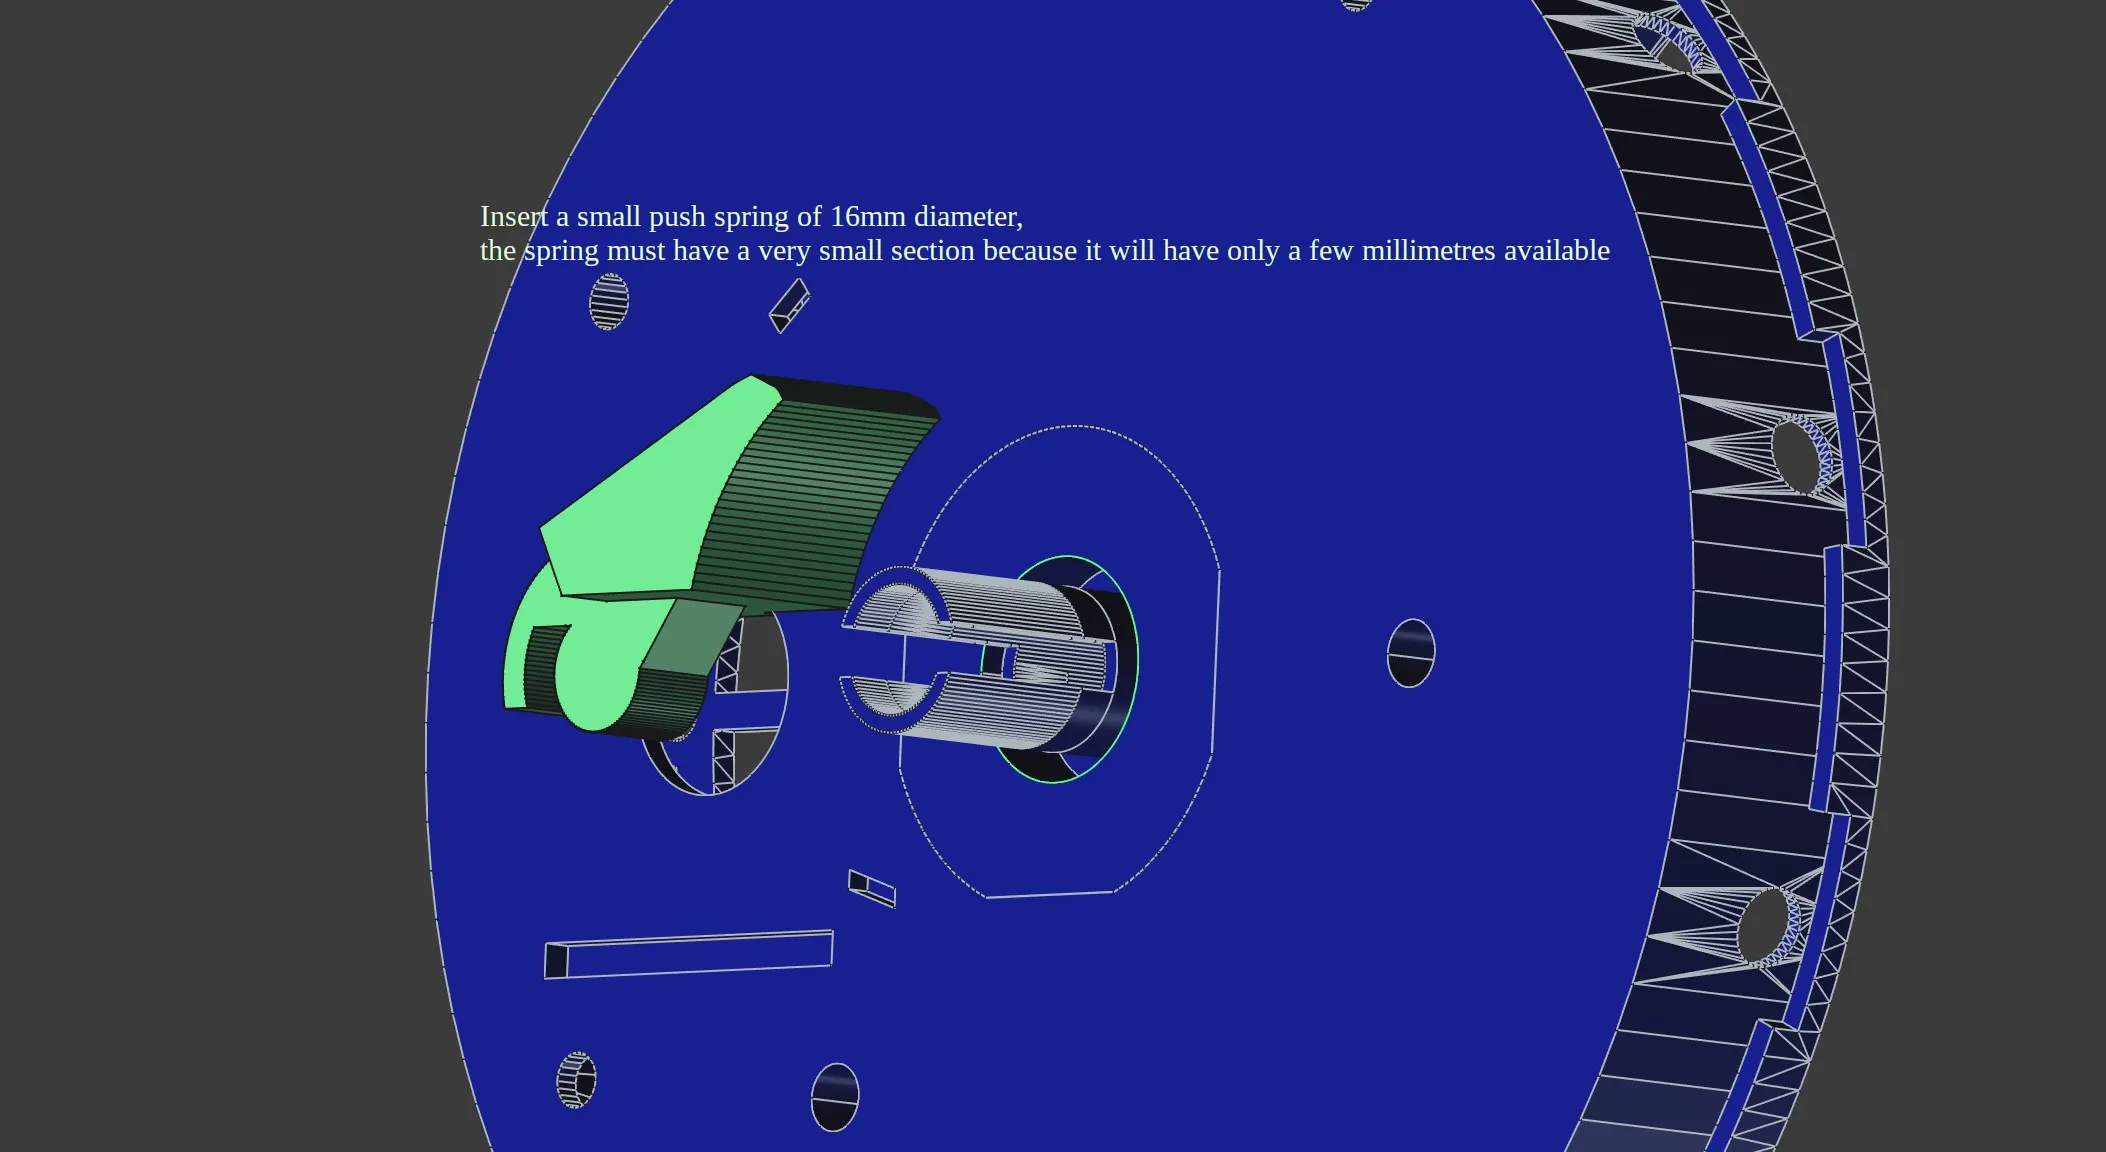
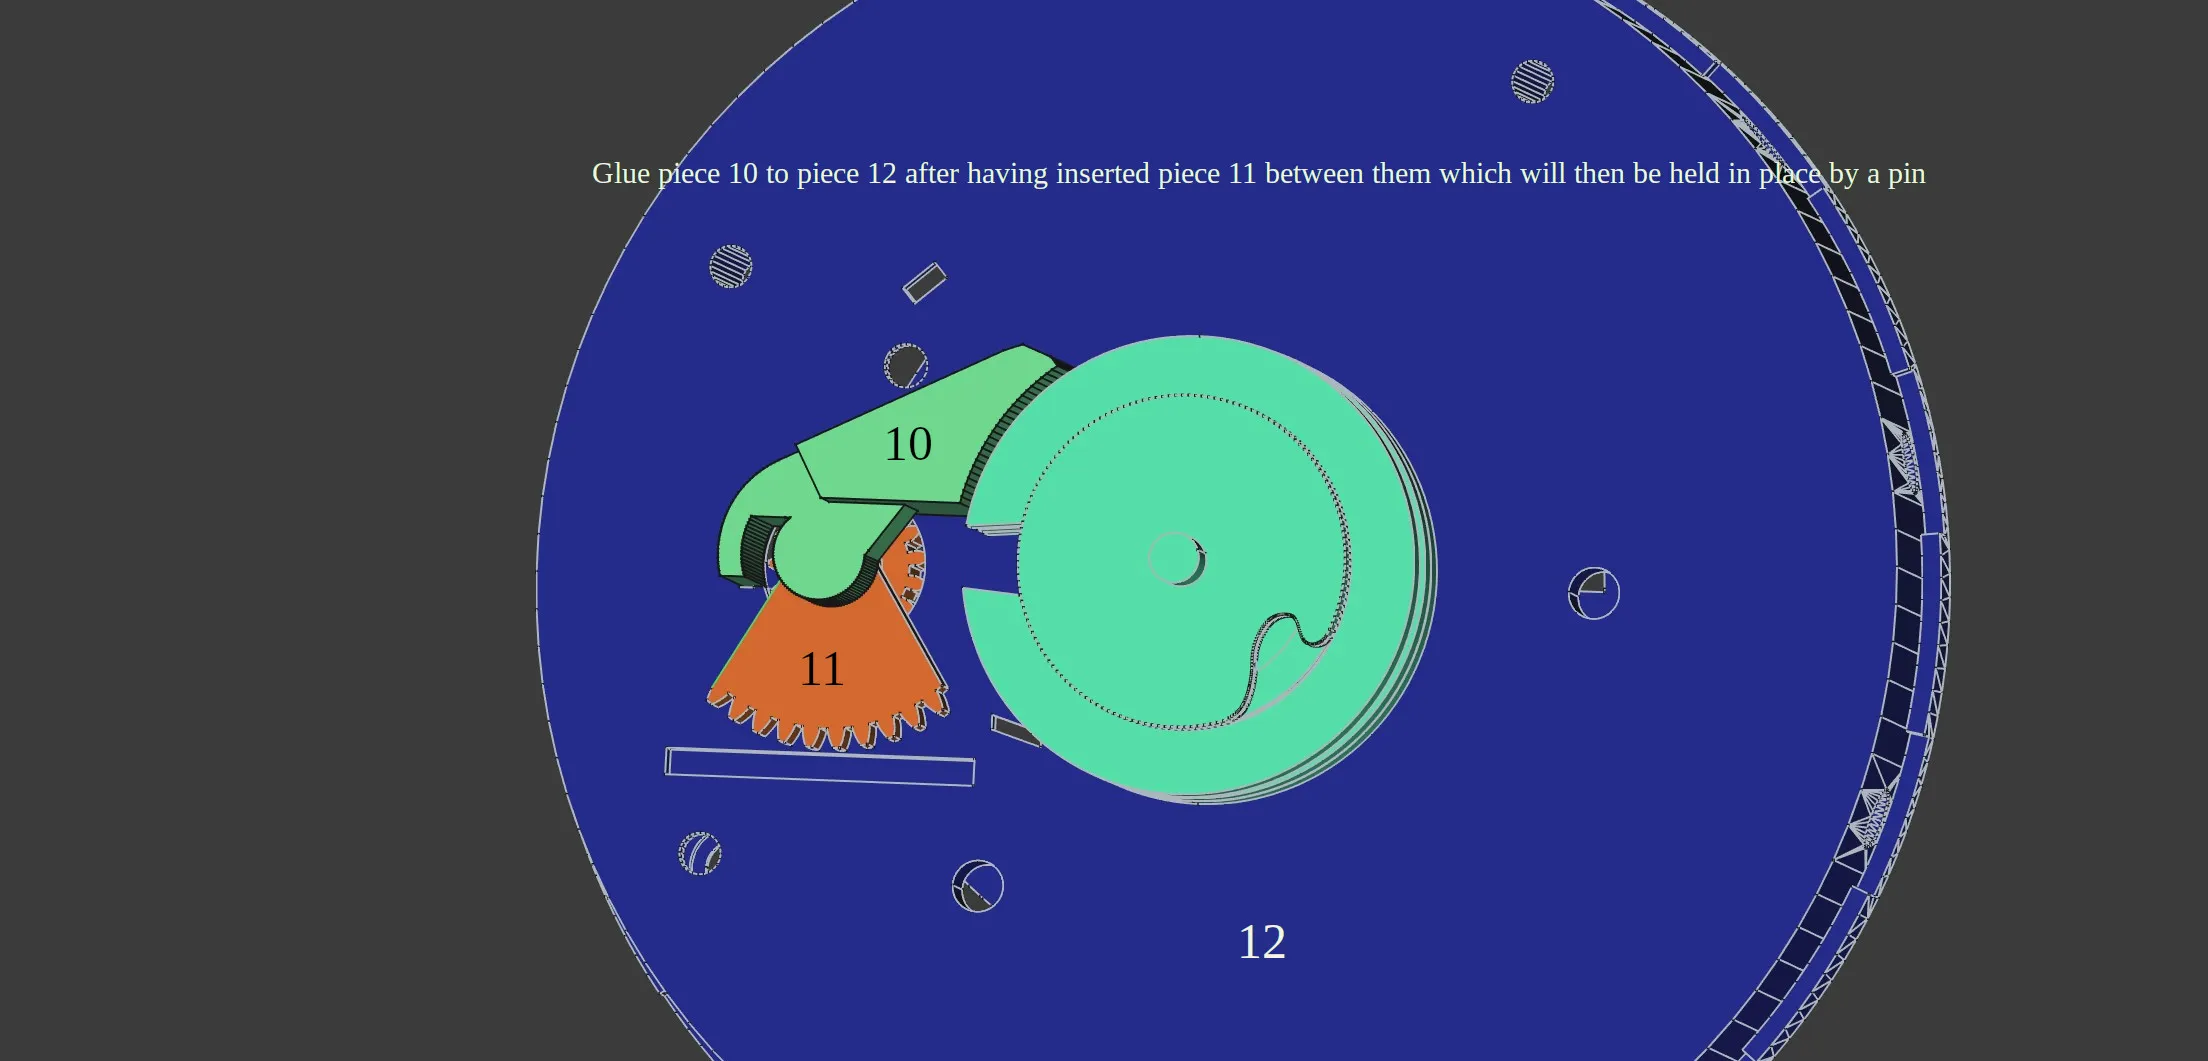
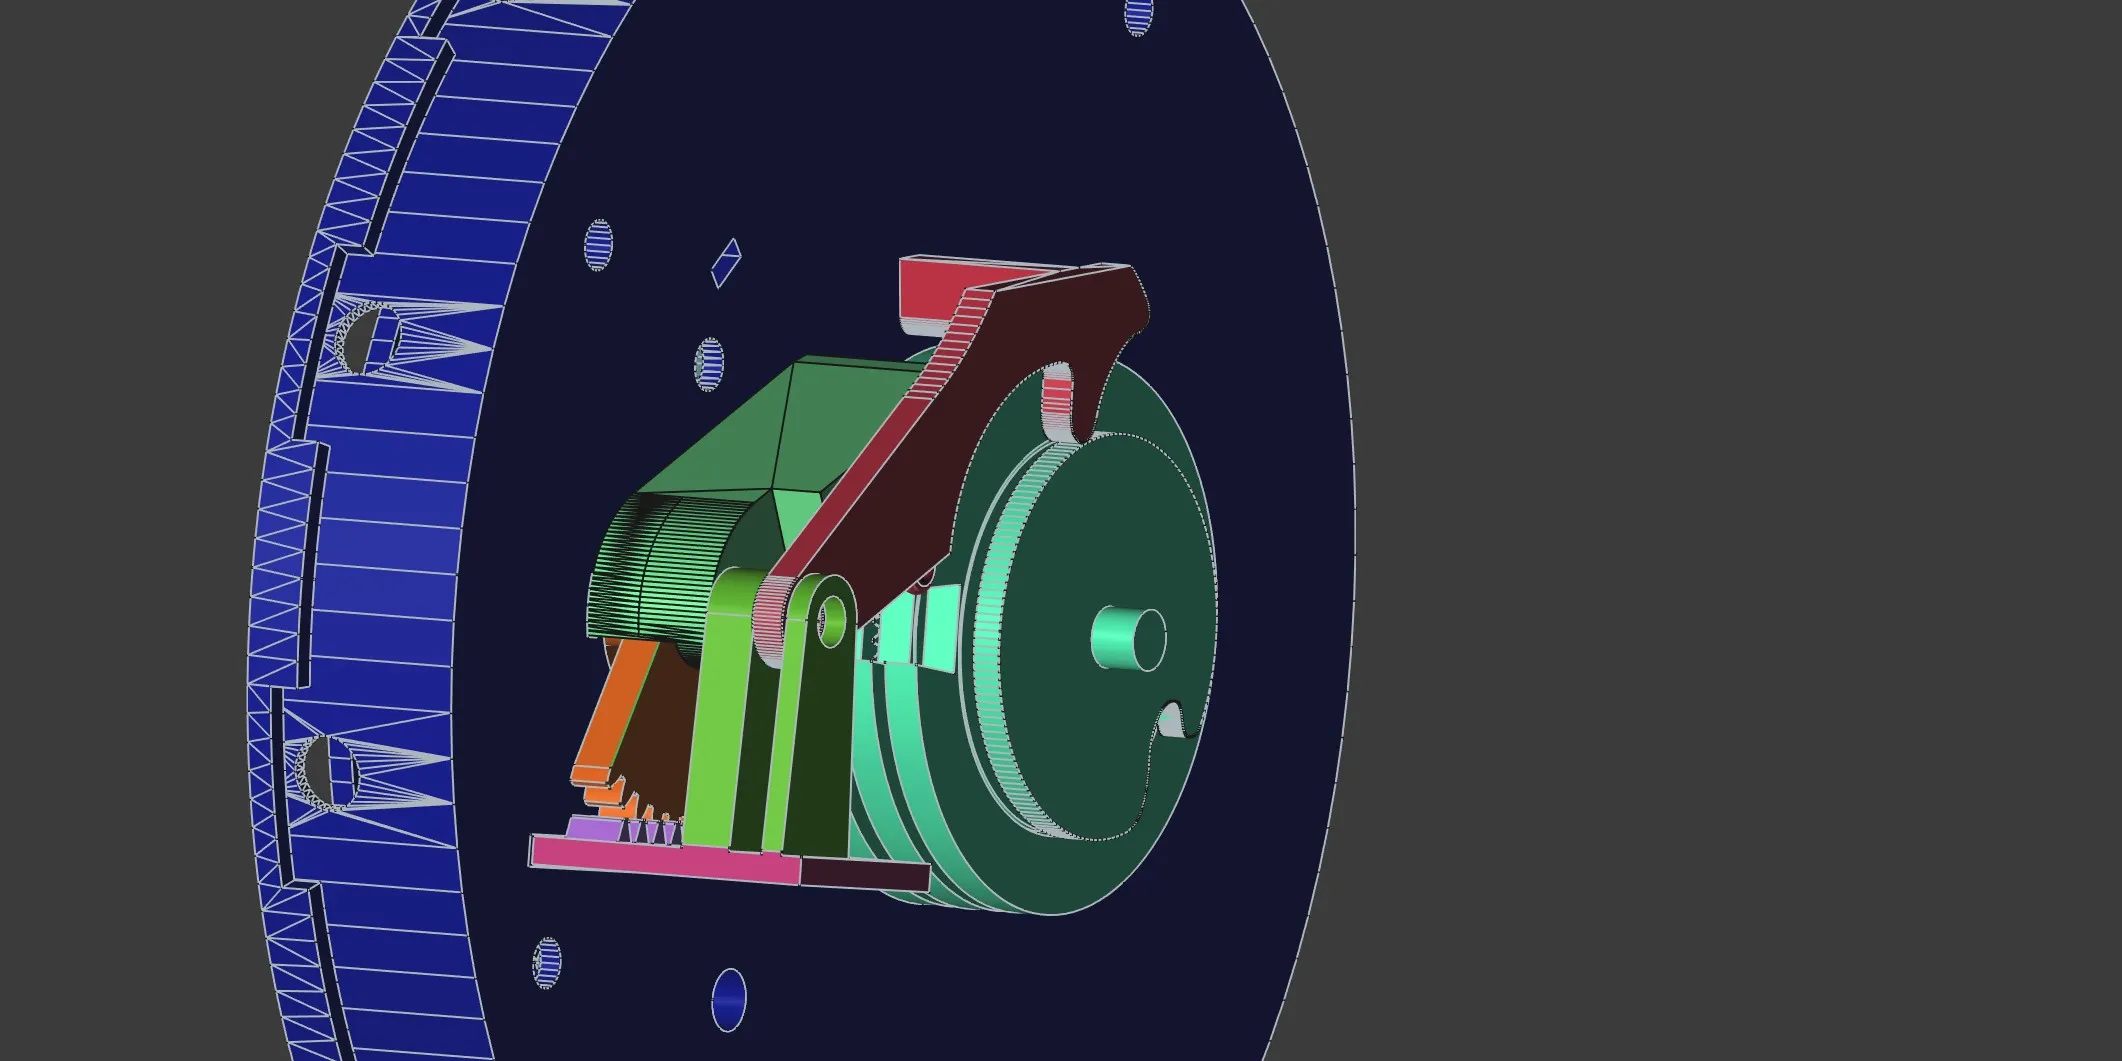
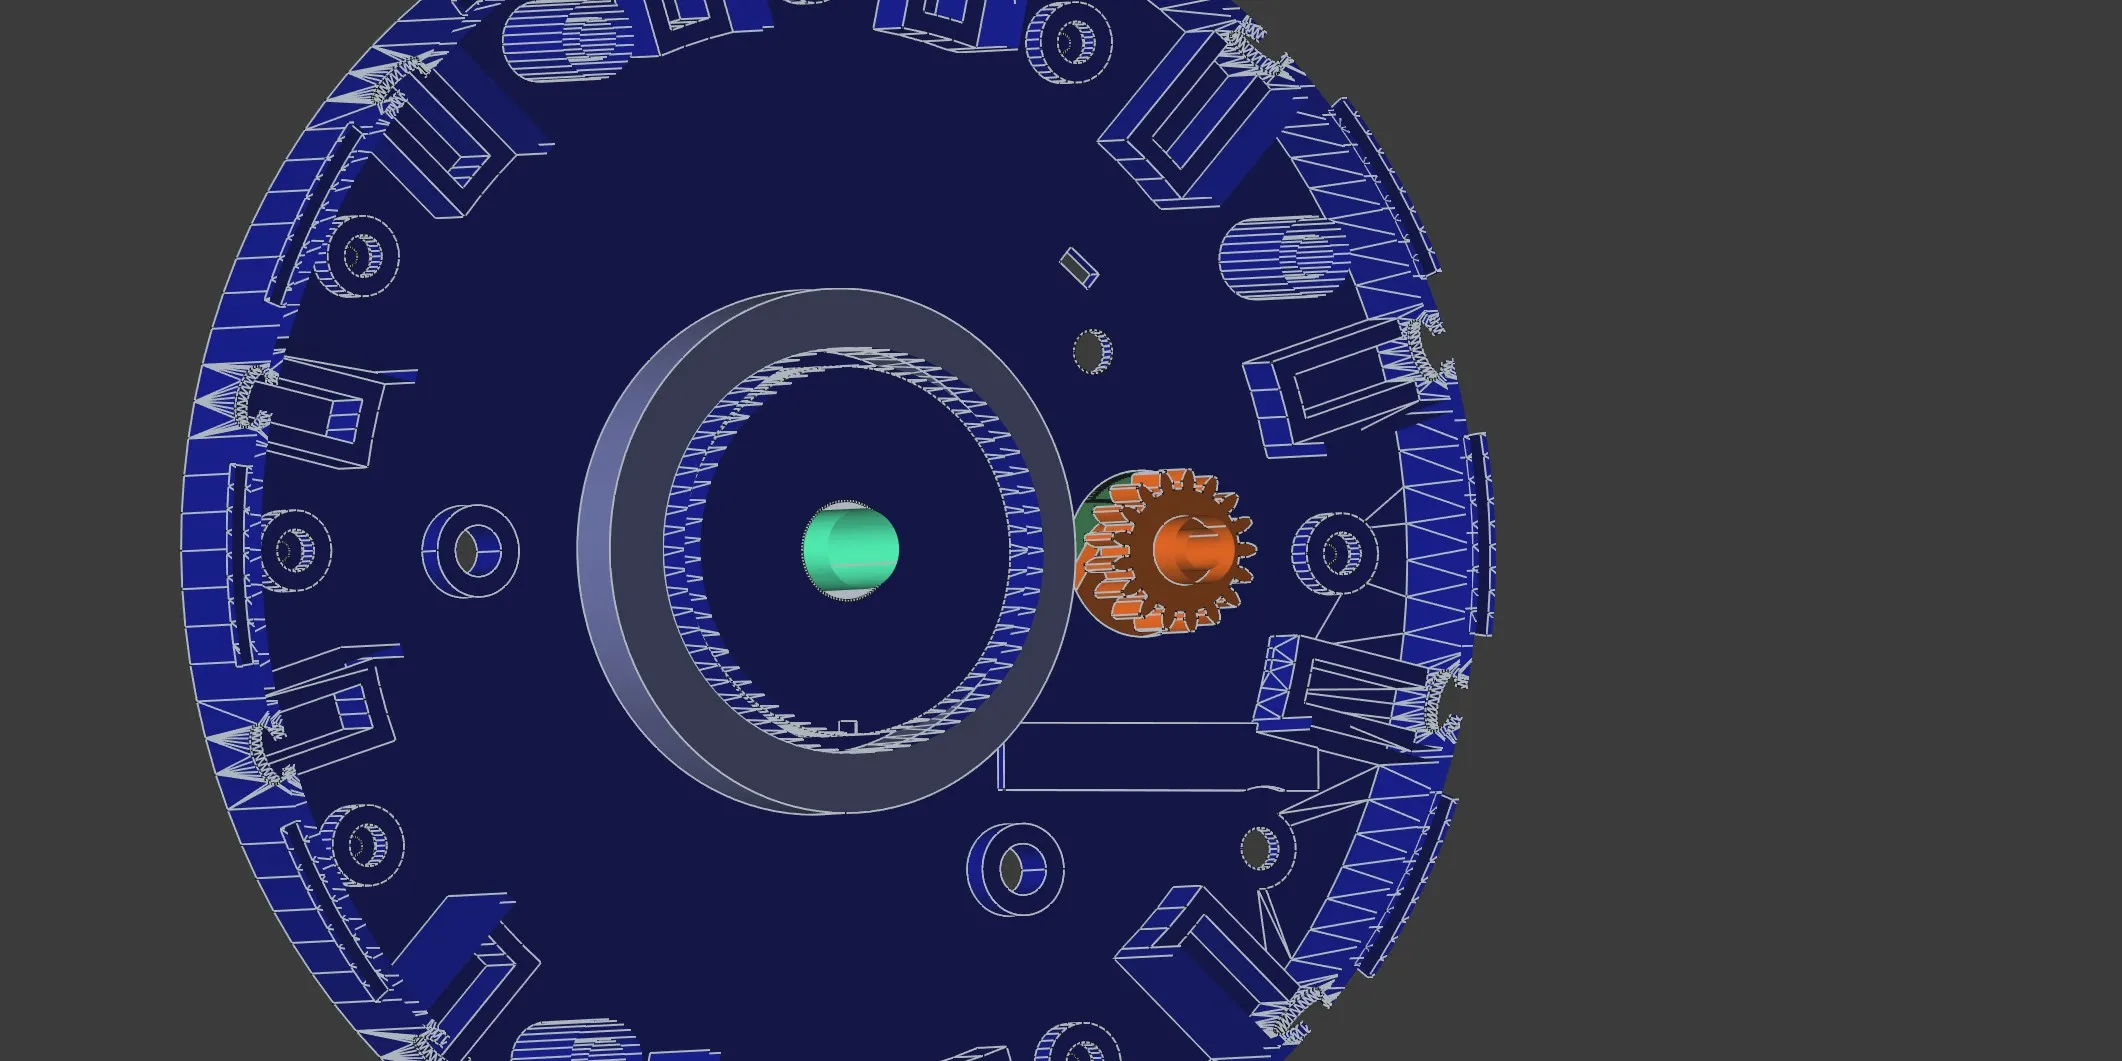
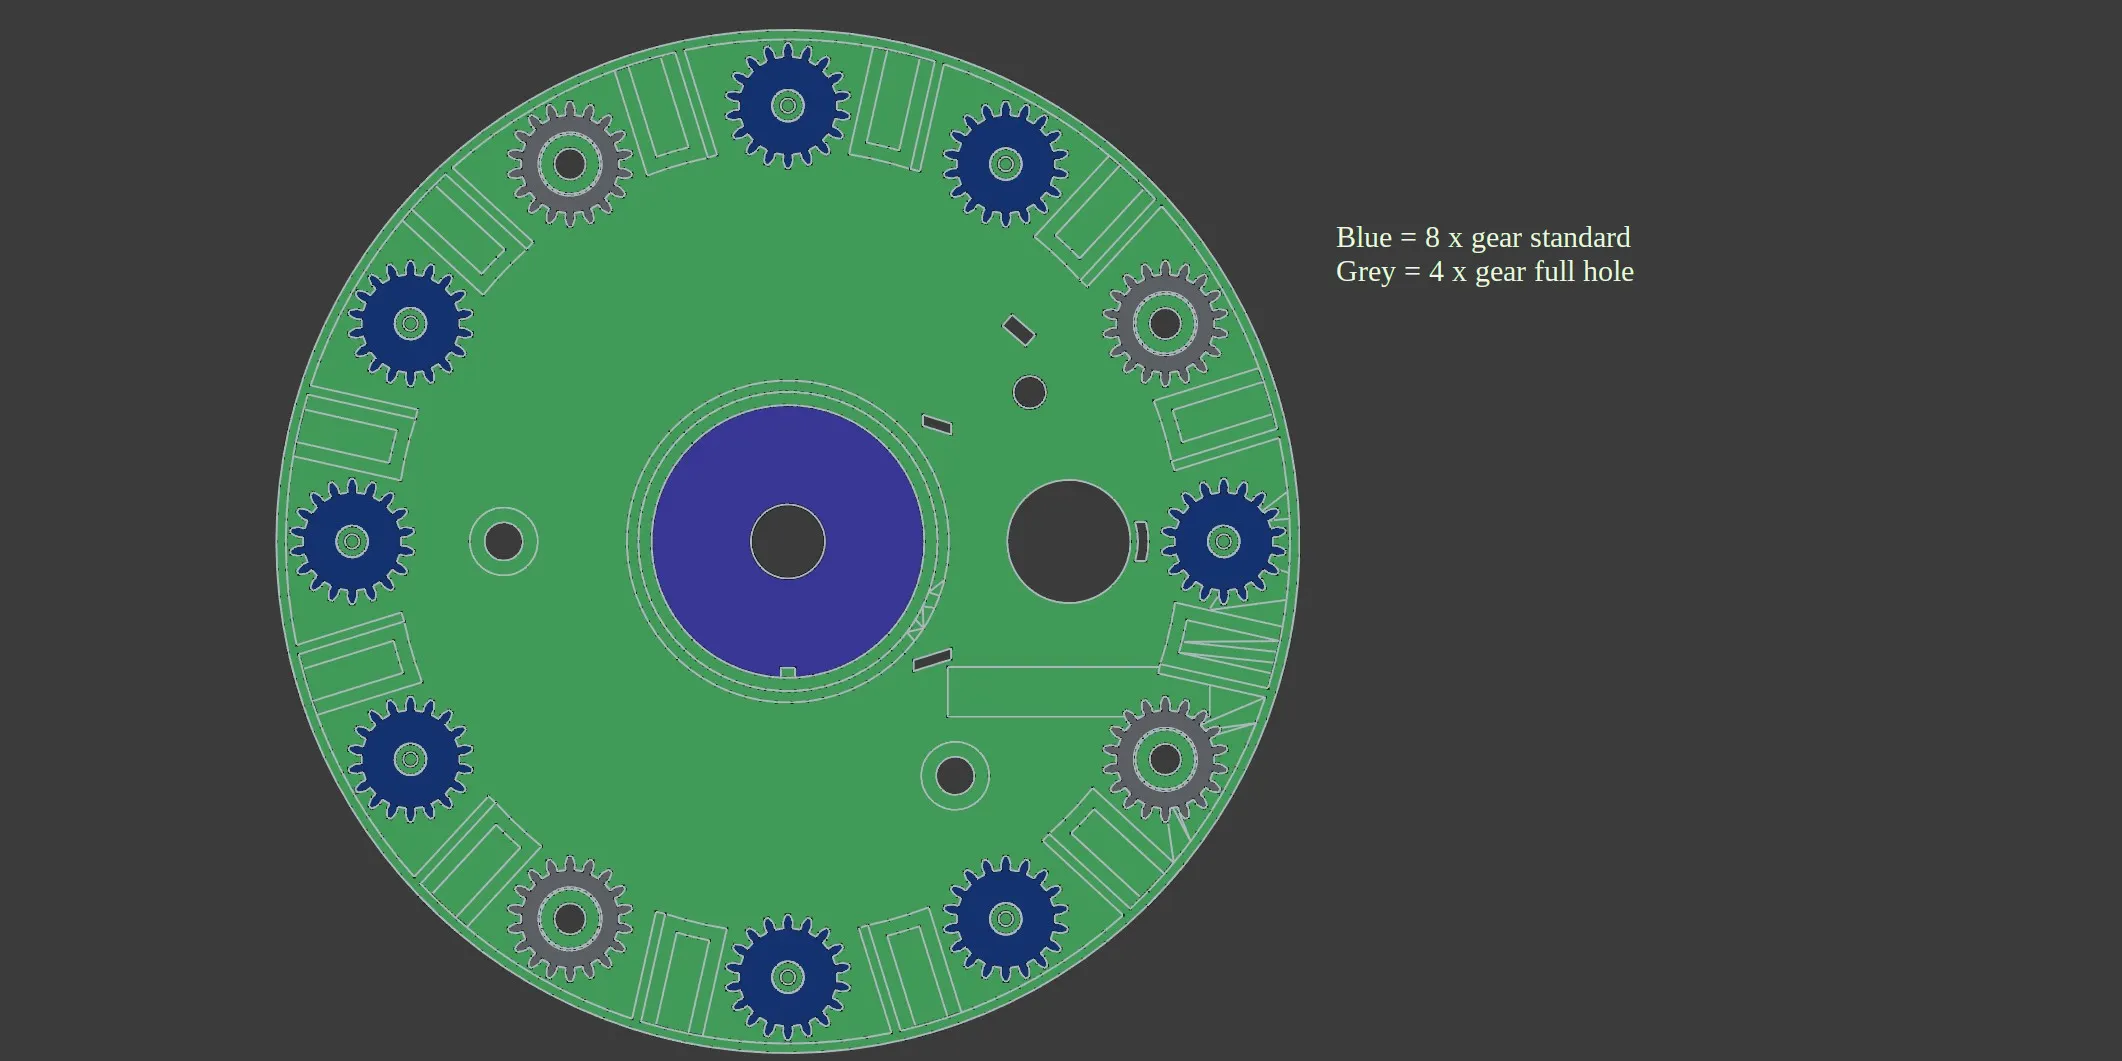
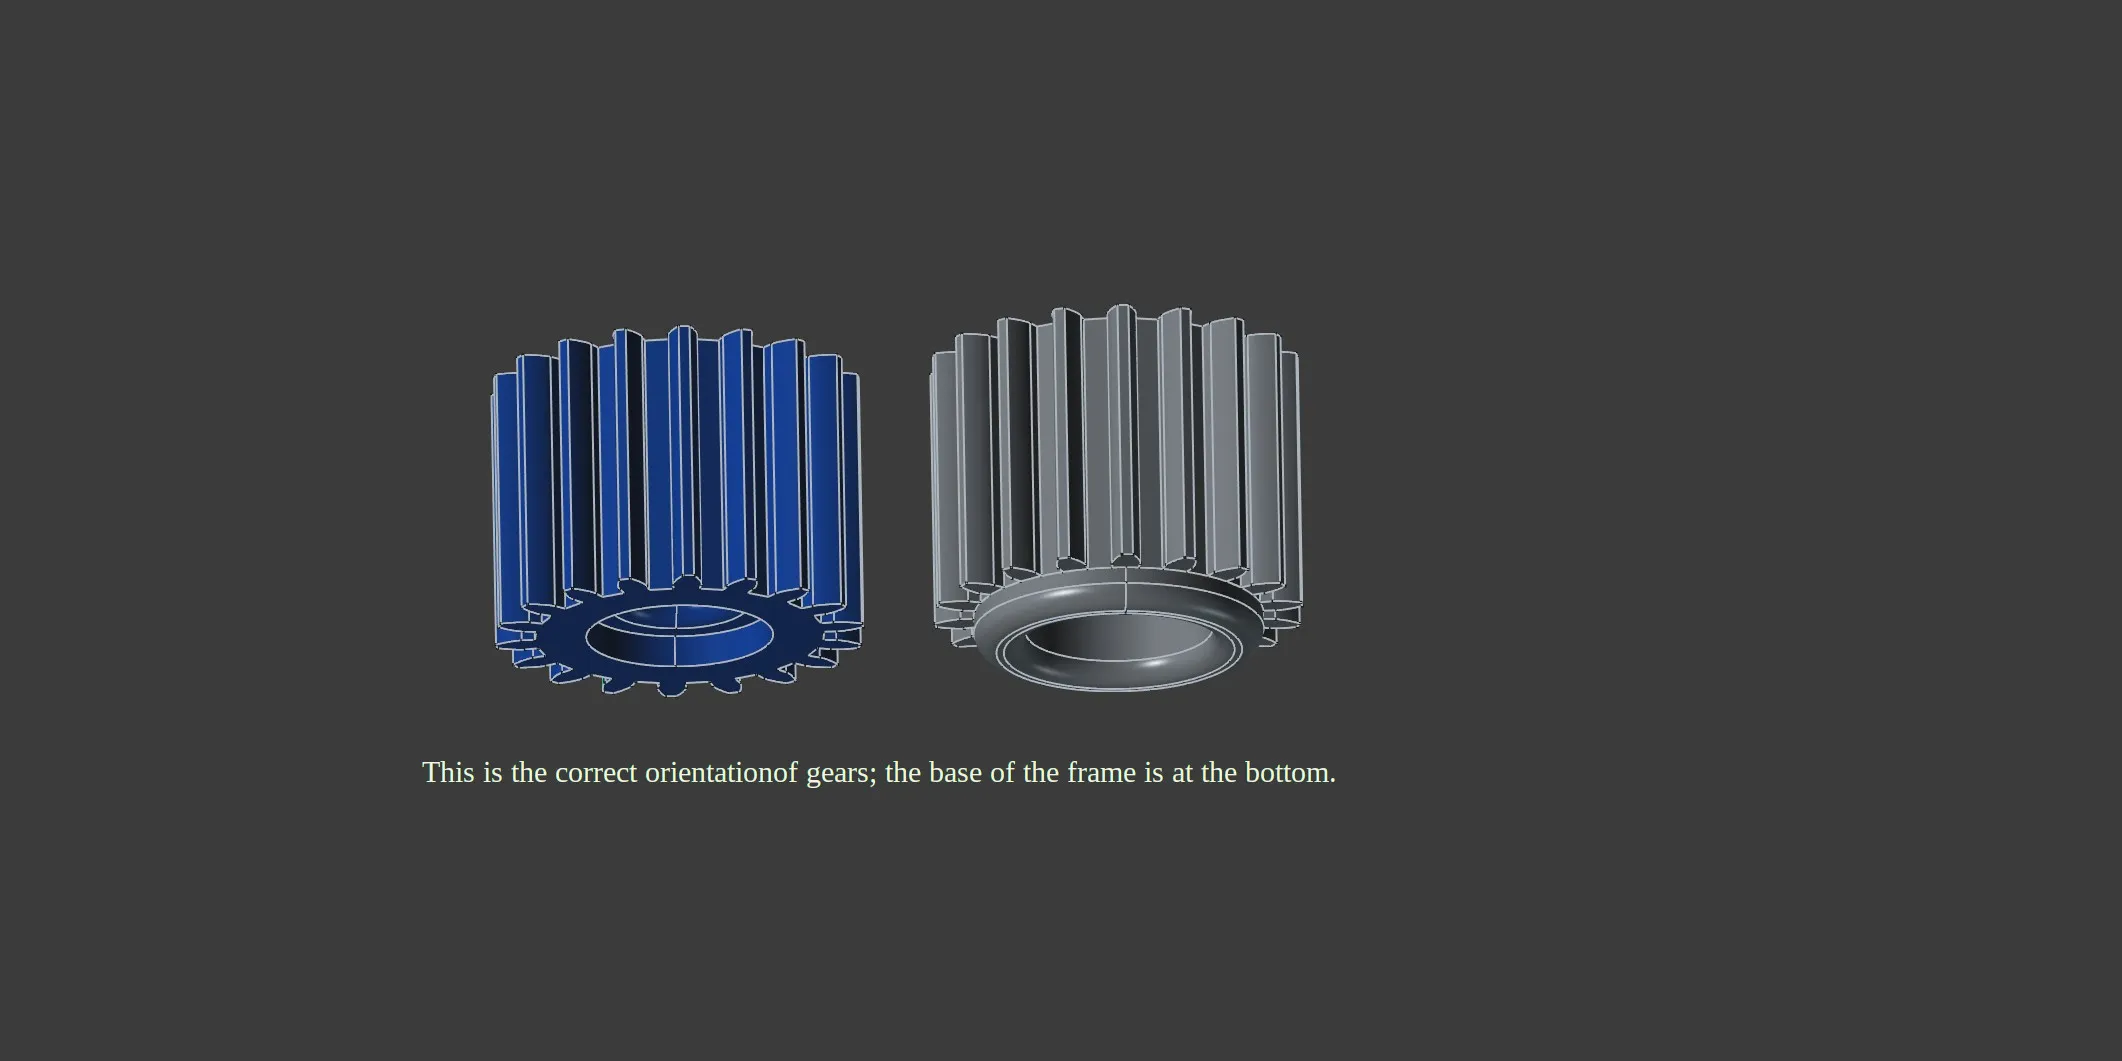
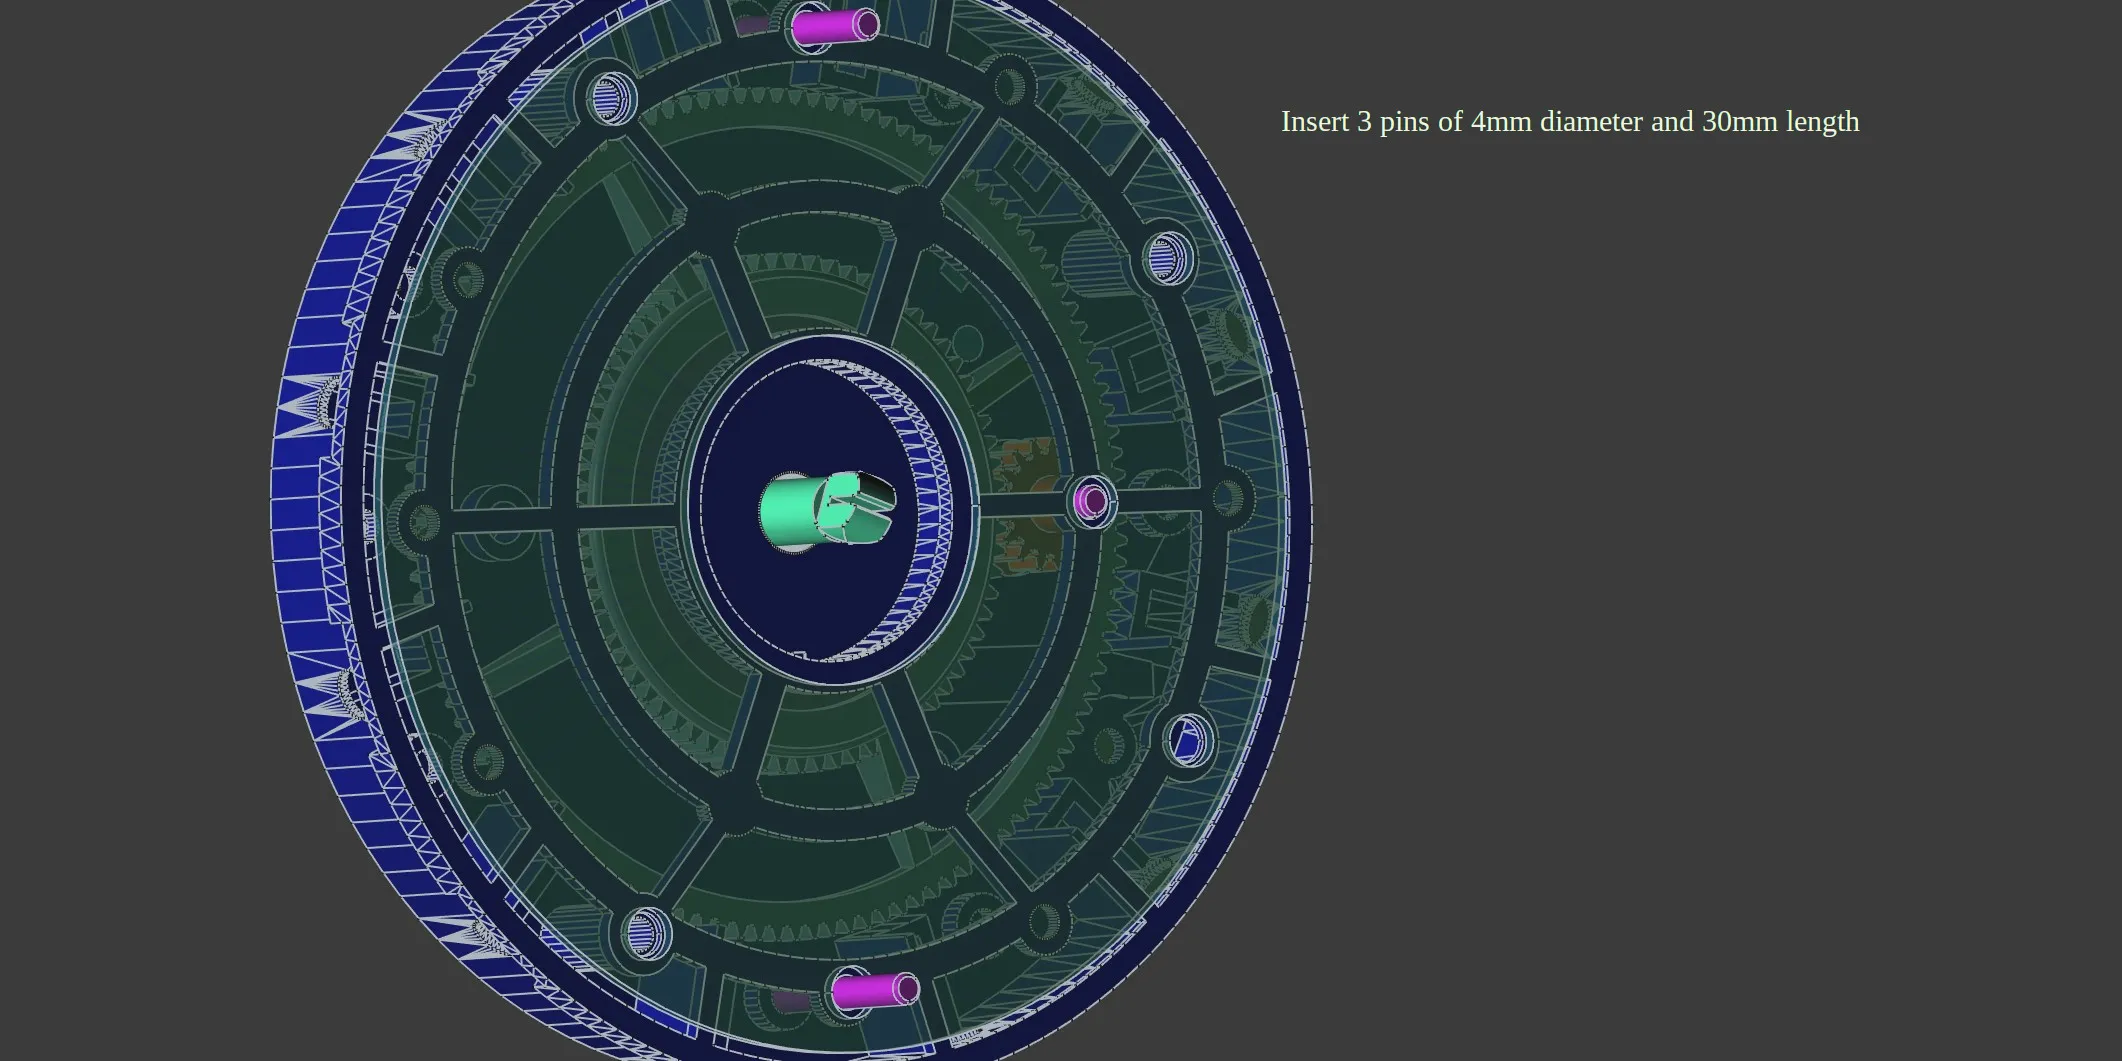
To assemble this vault, you’ll need a few metal parts, which are shown in the images below.
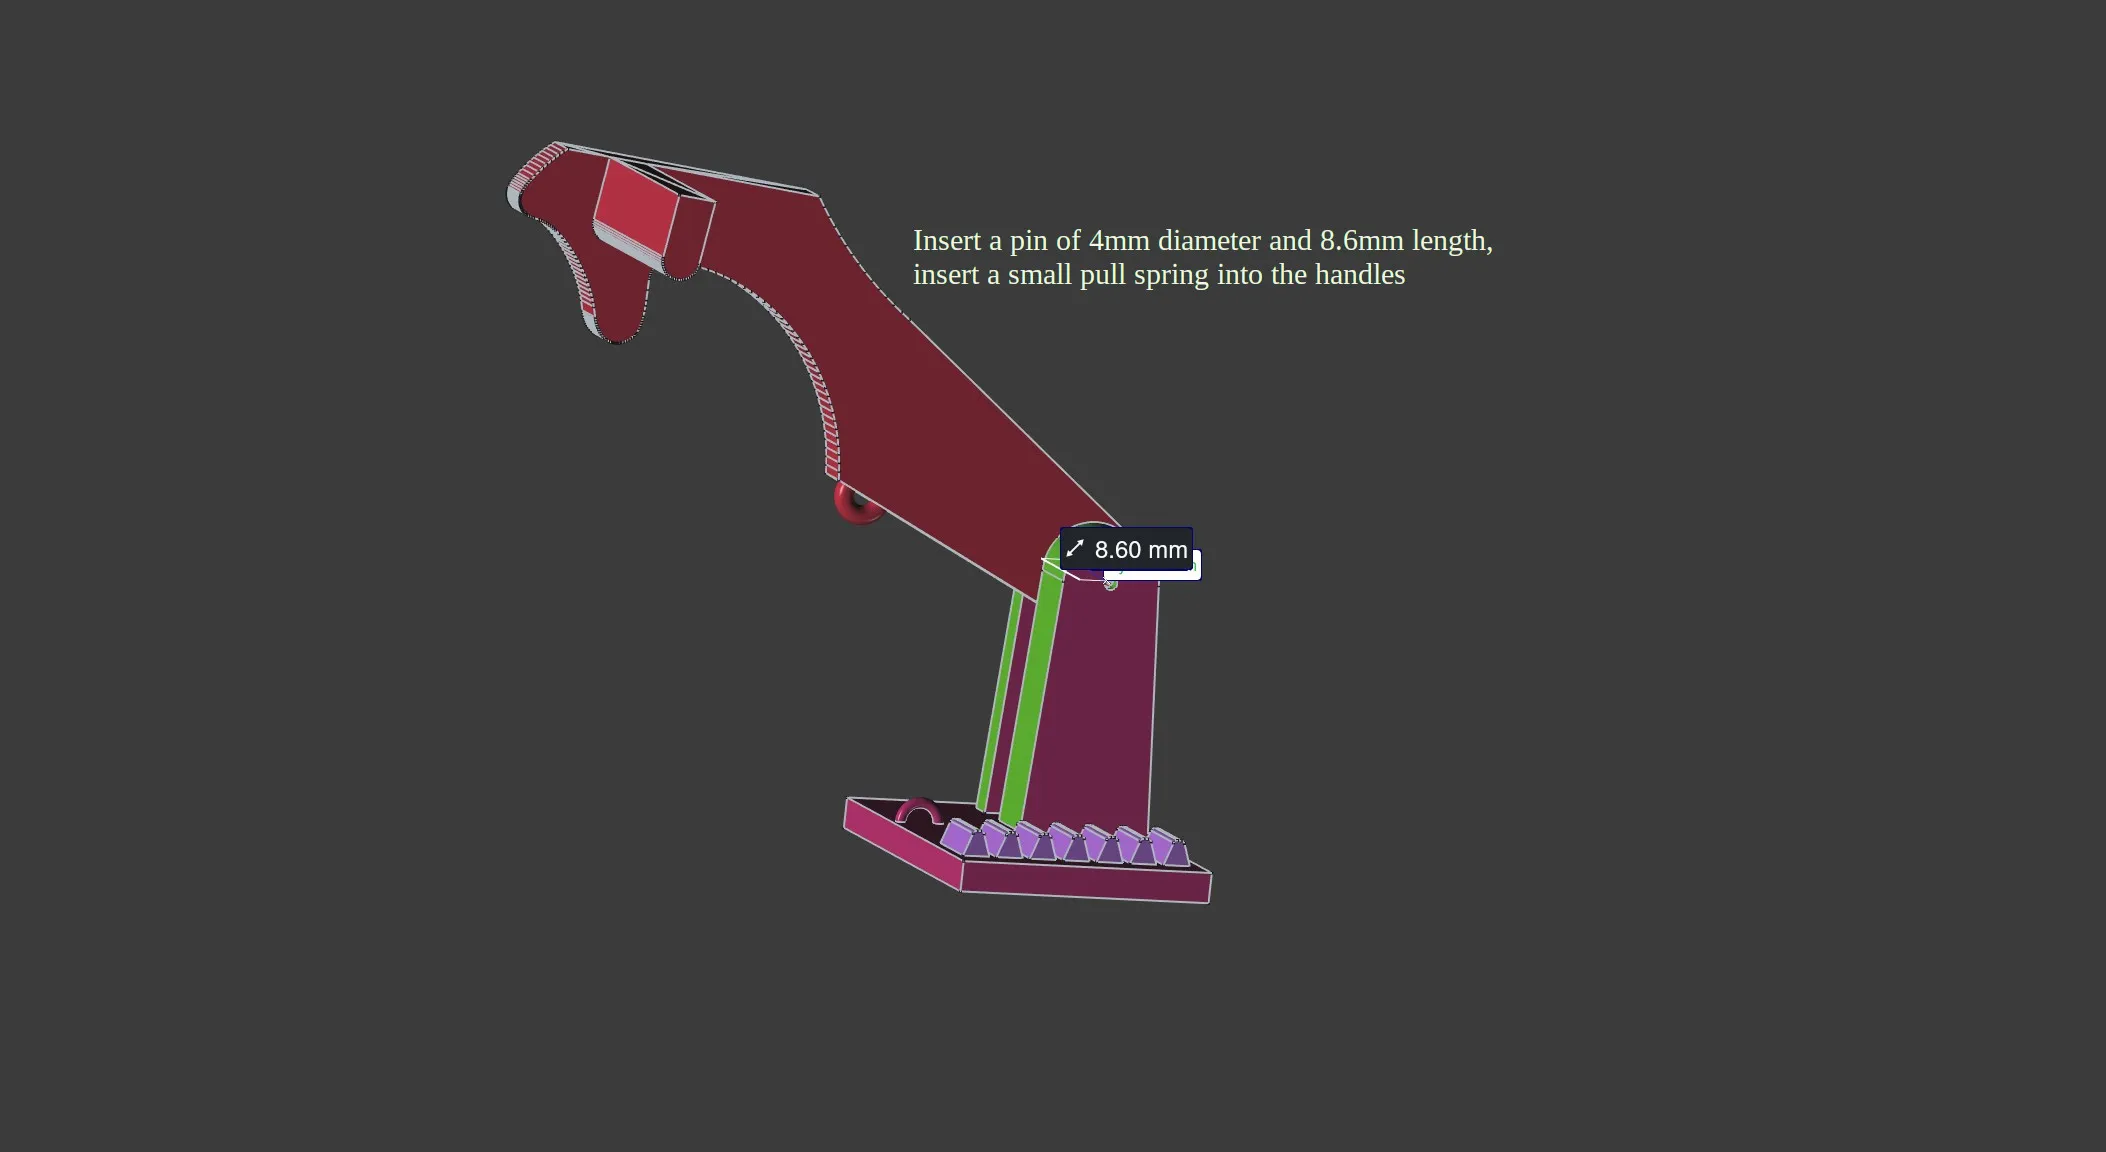
All pins are 4 mm in diameter and included in the print plates, although I recommend using metal pins, which are easily available online.
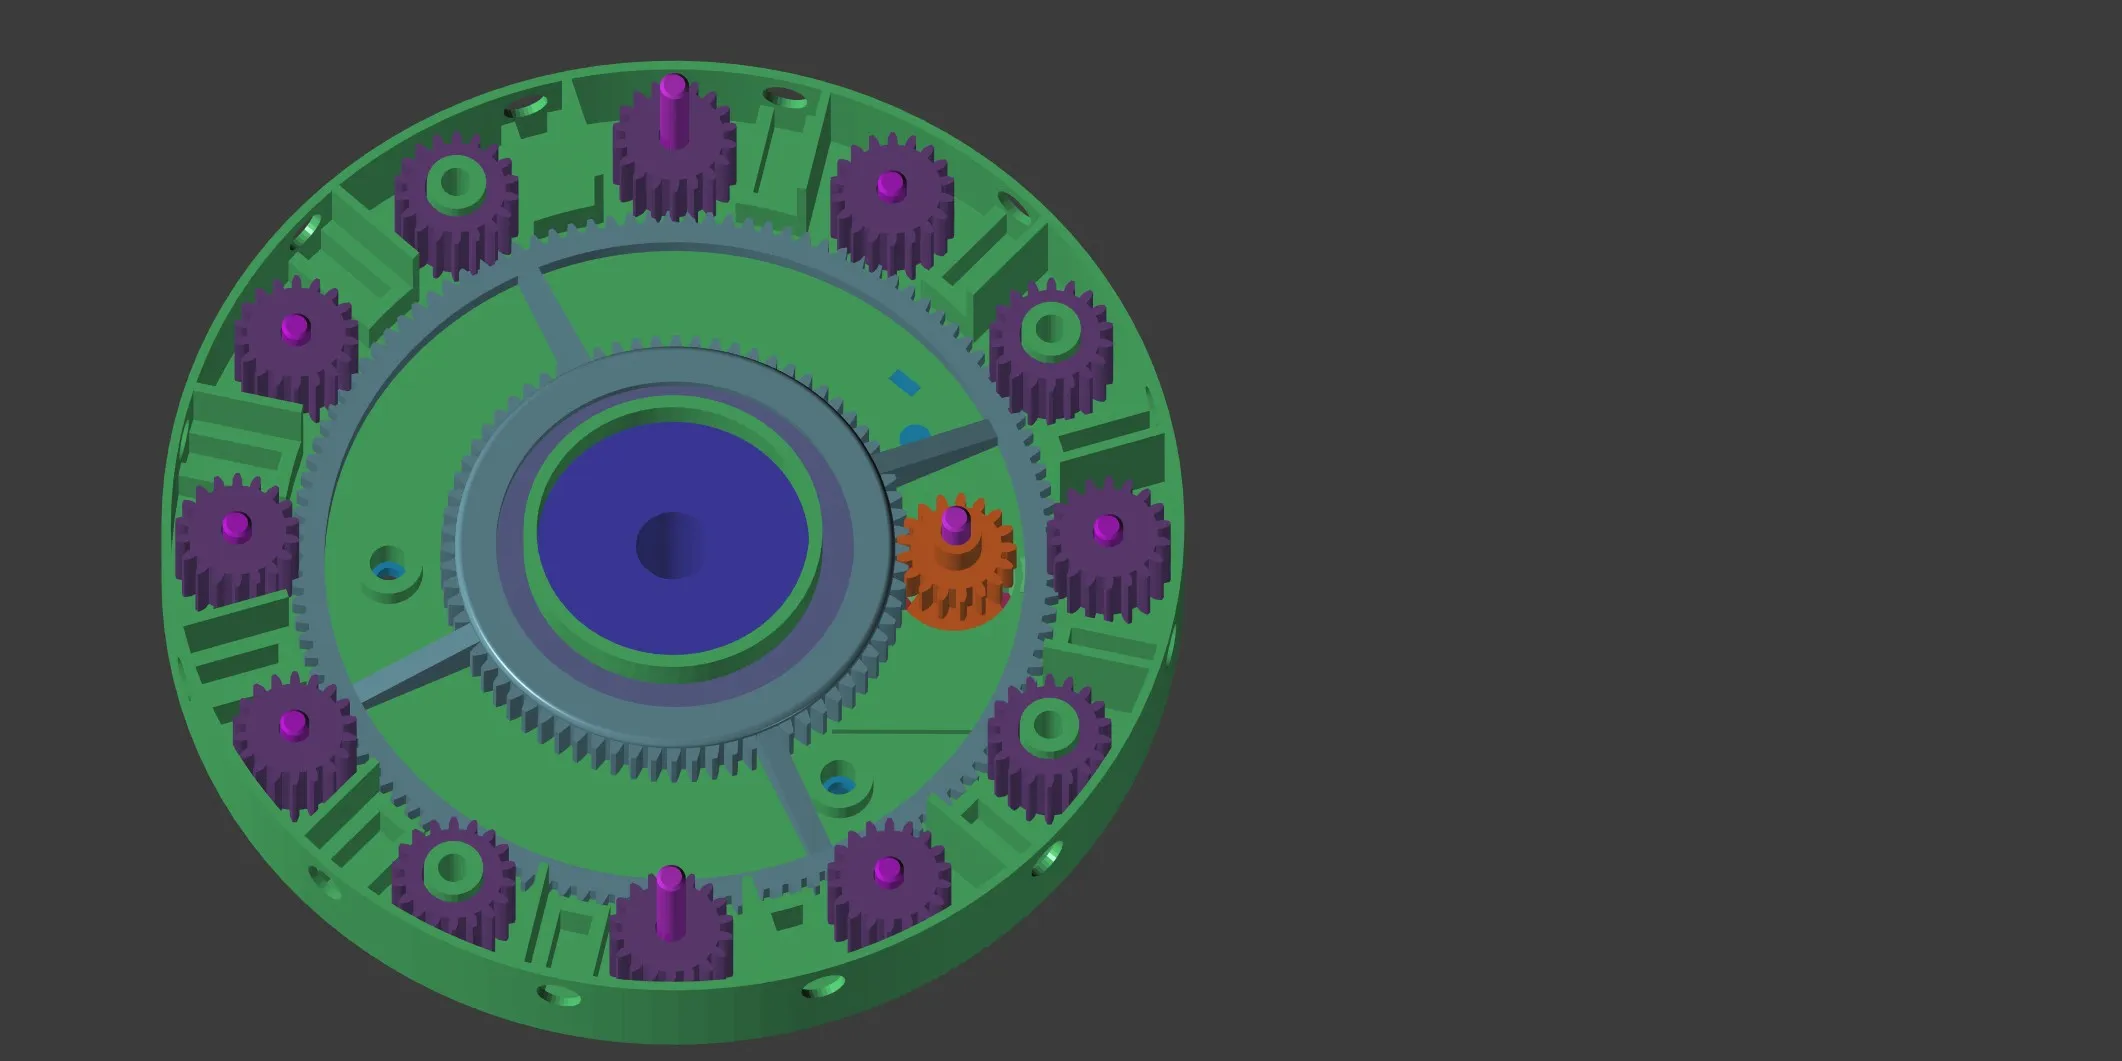
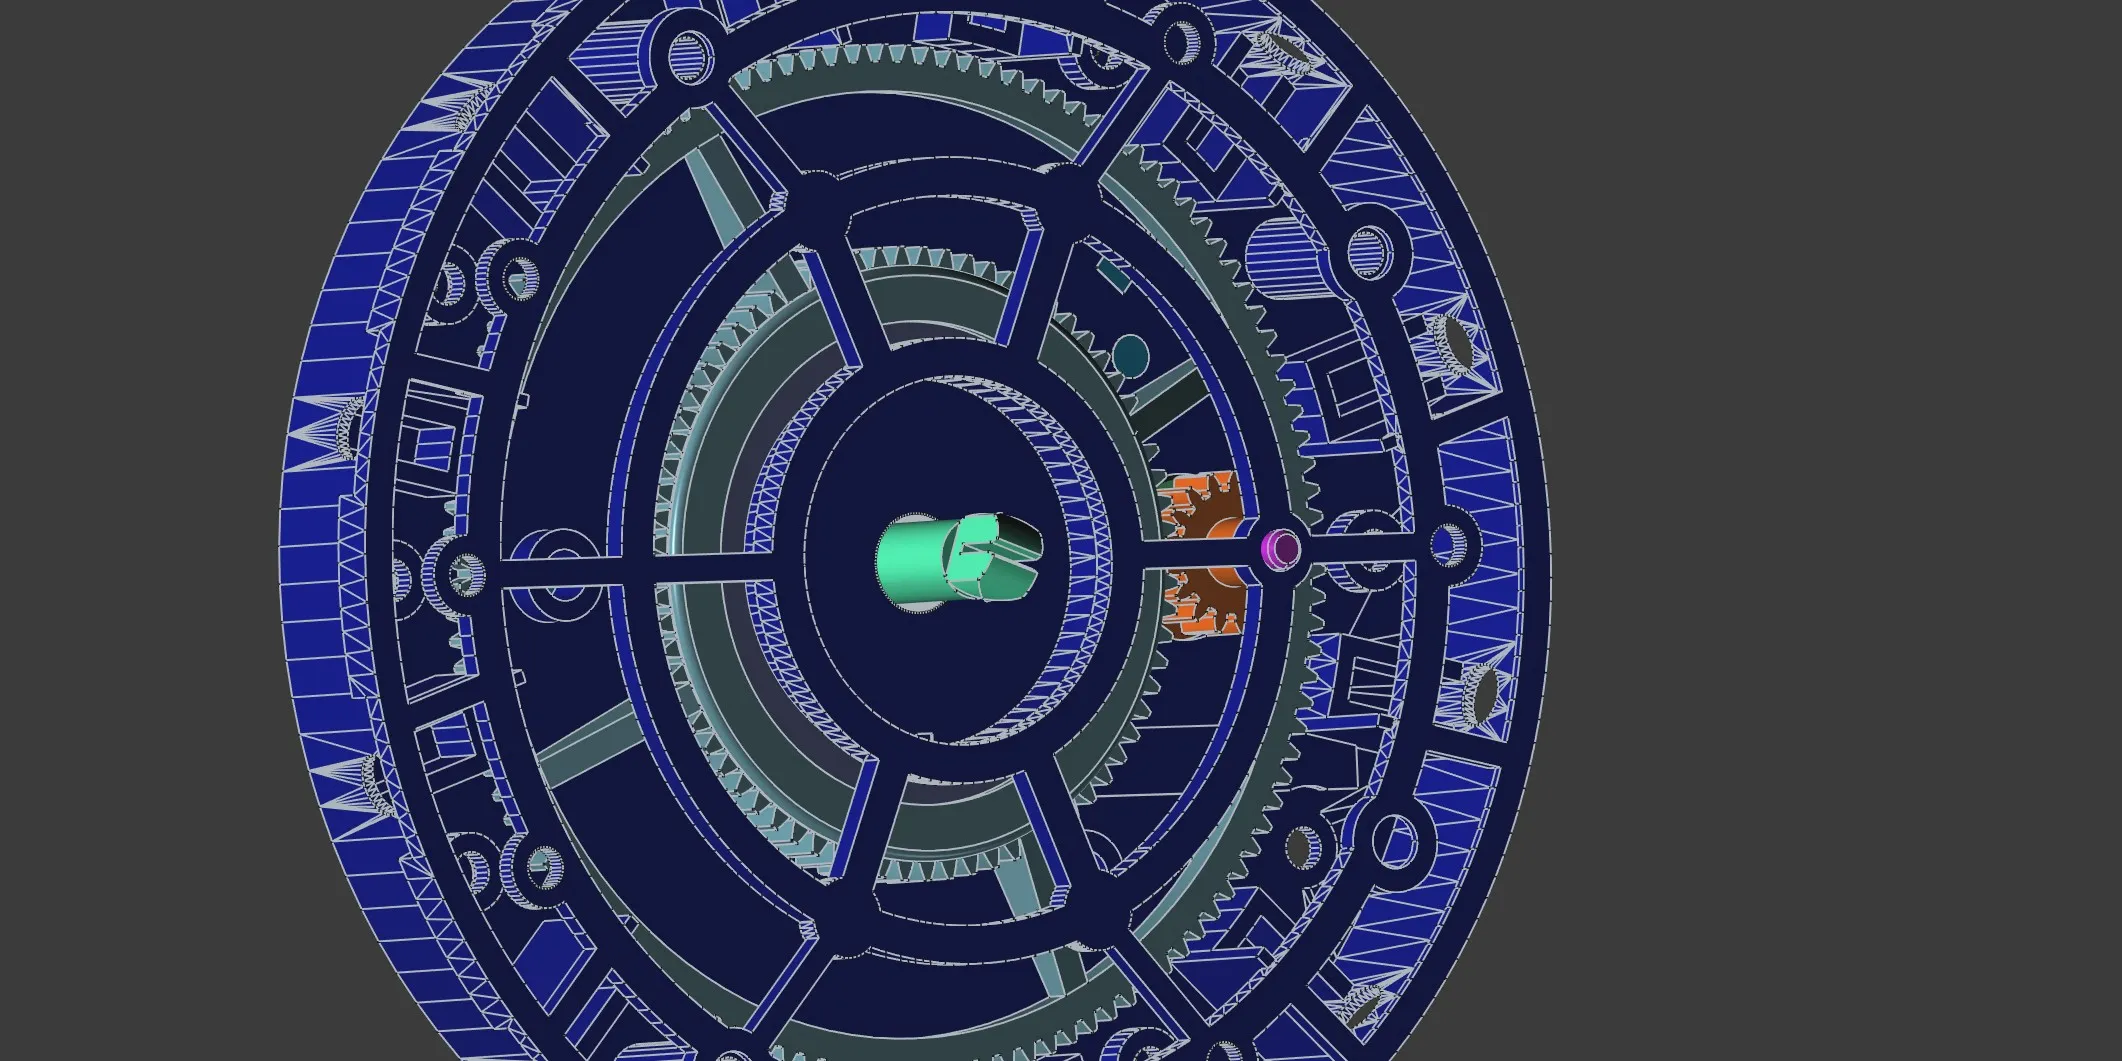
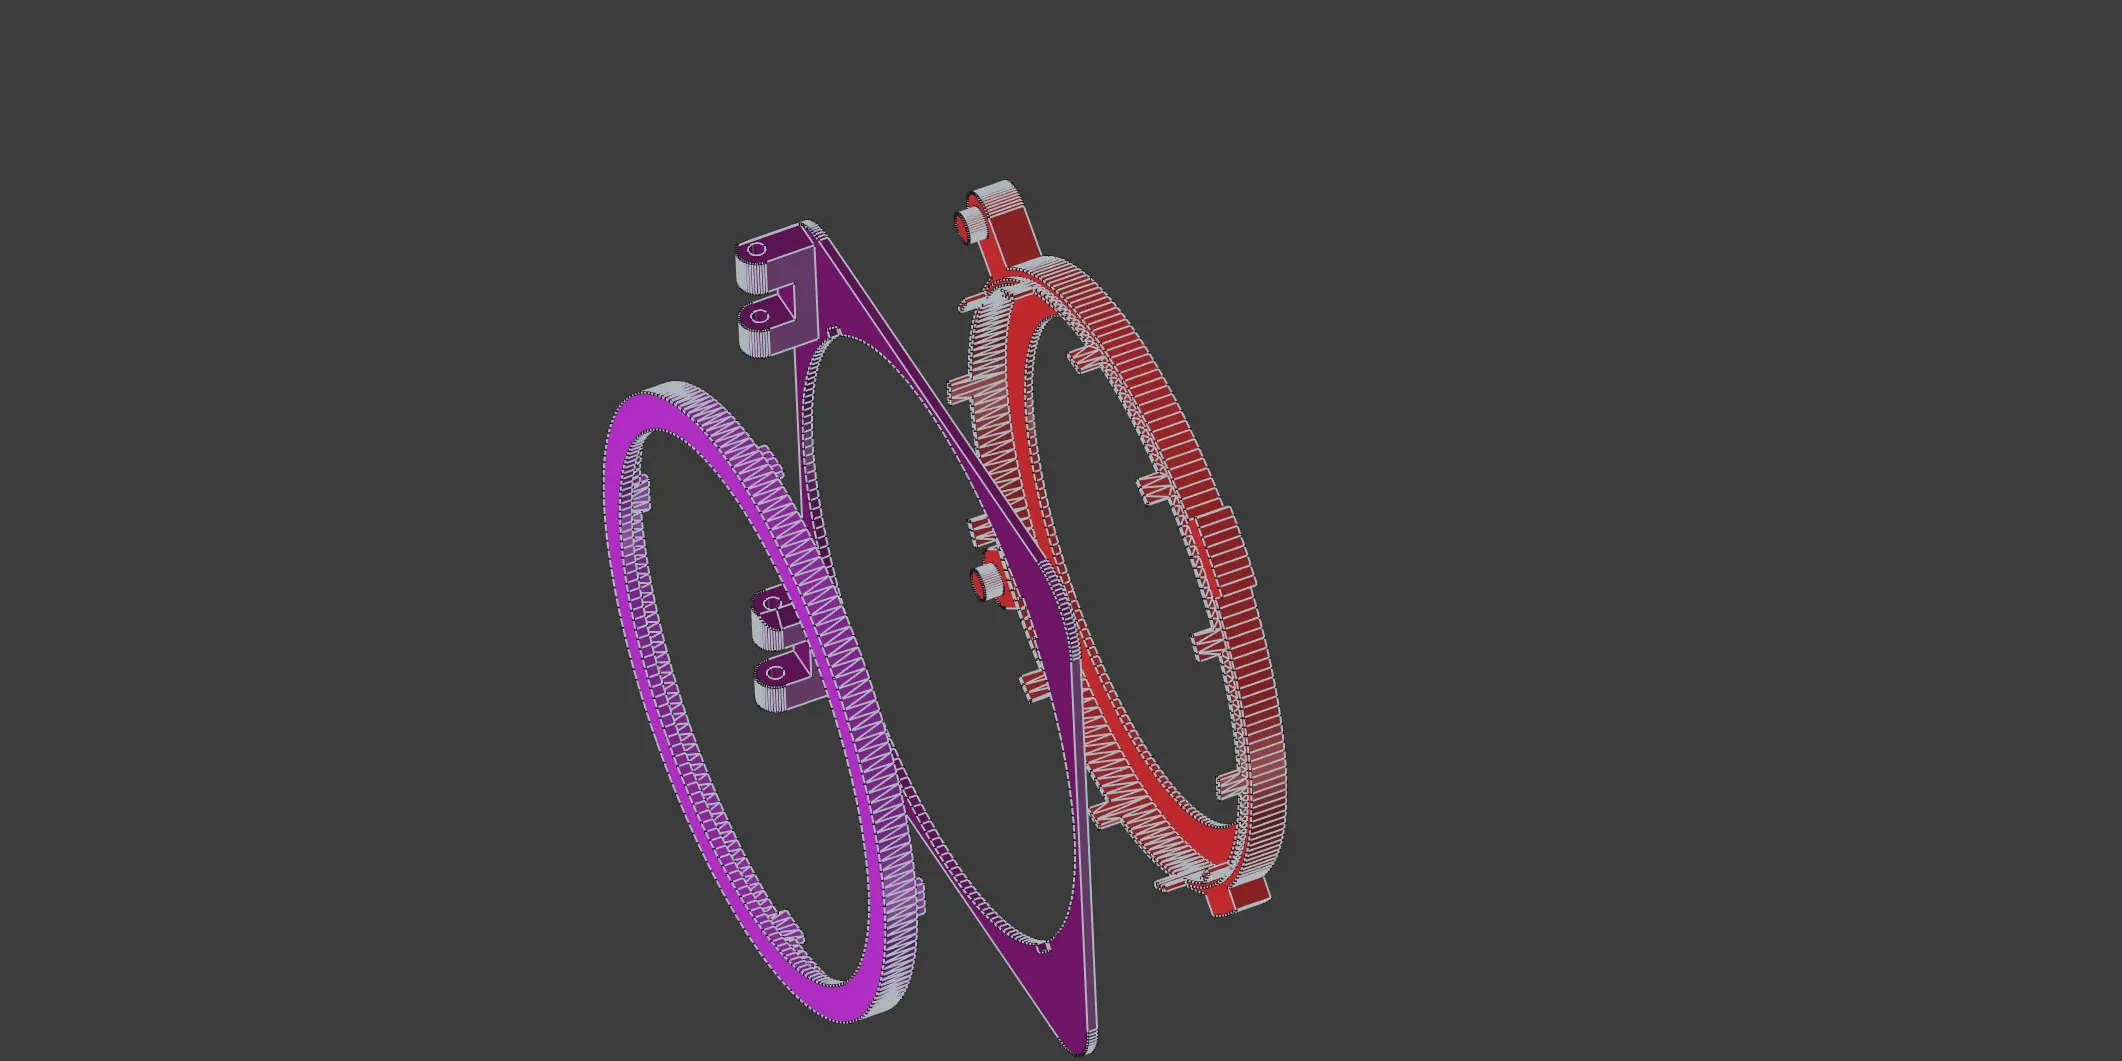
Below are some quick assembly notes to accompany the already quite detailed images:
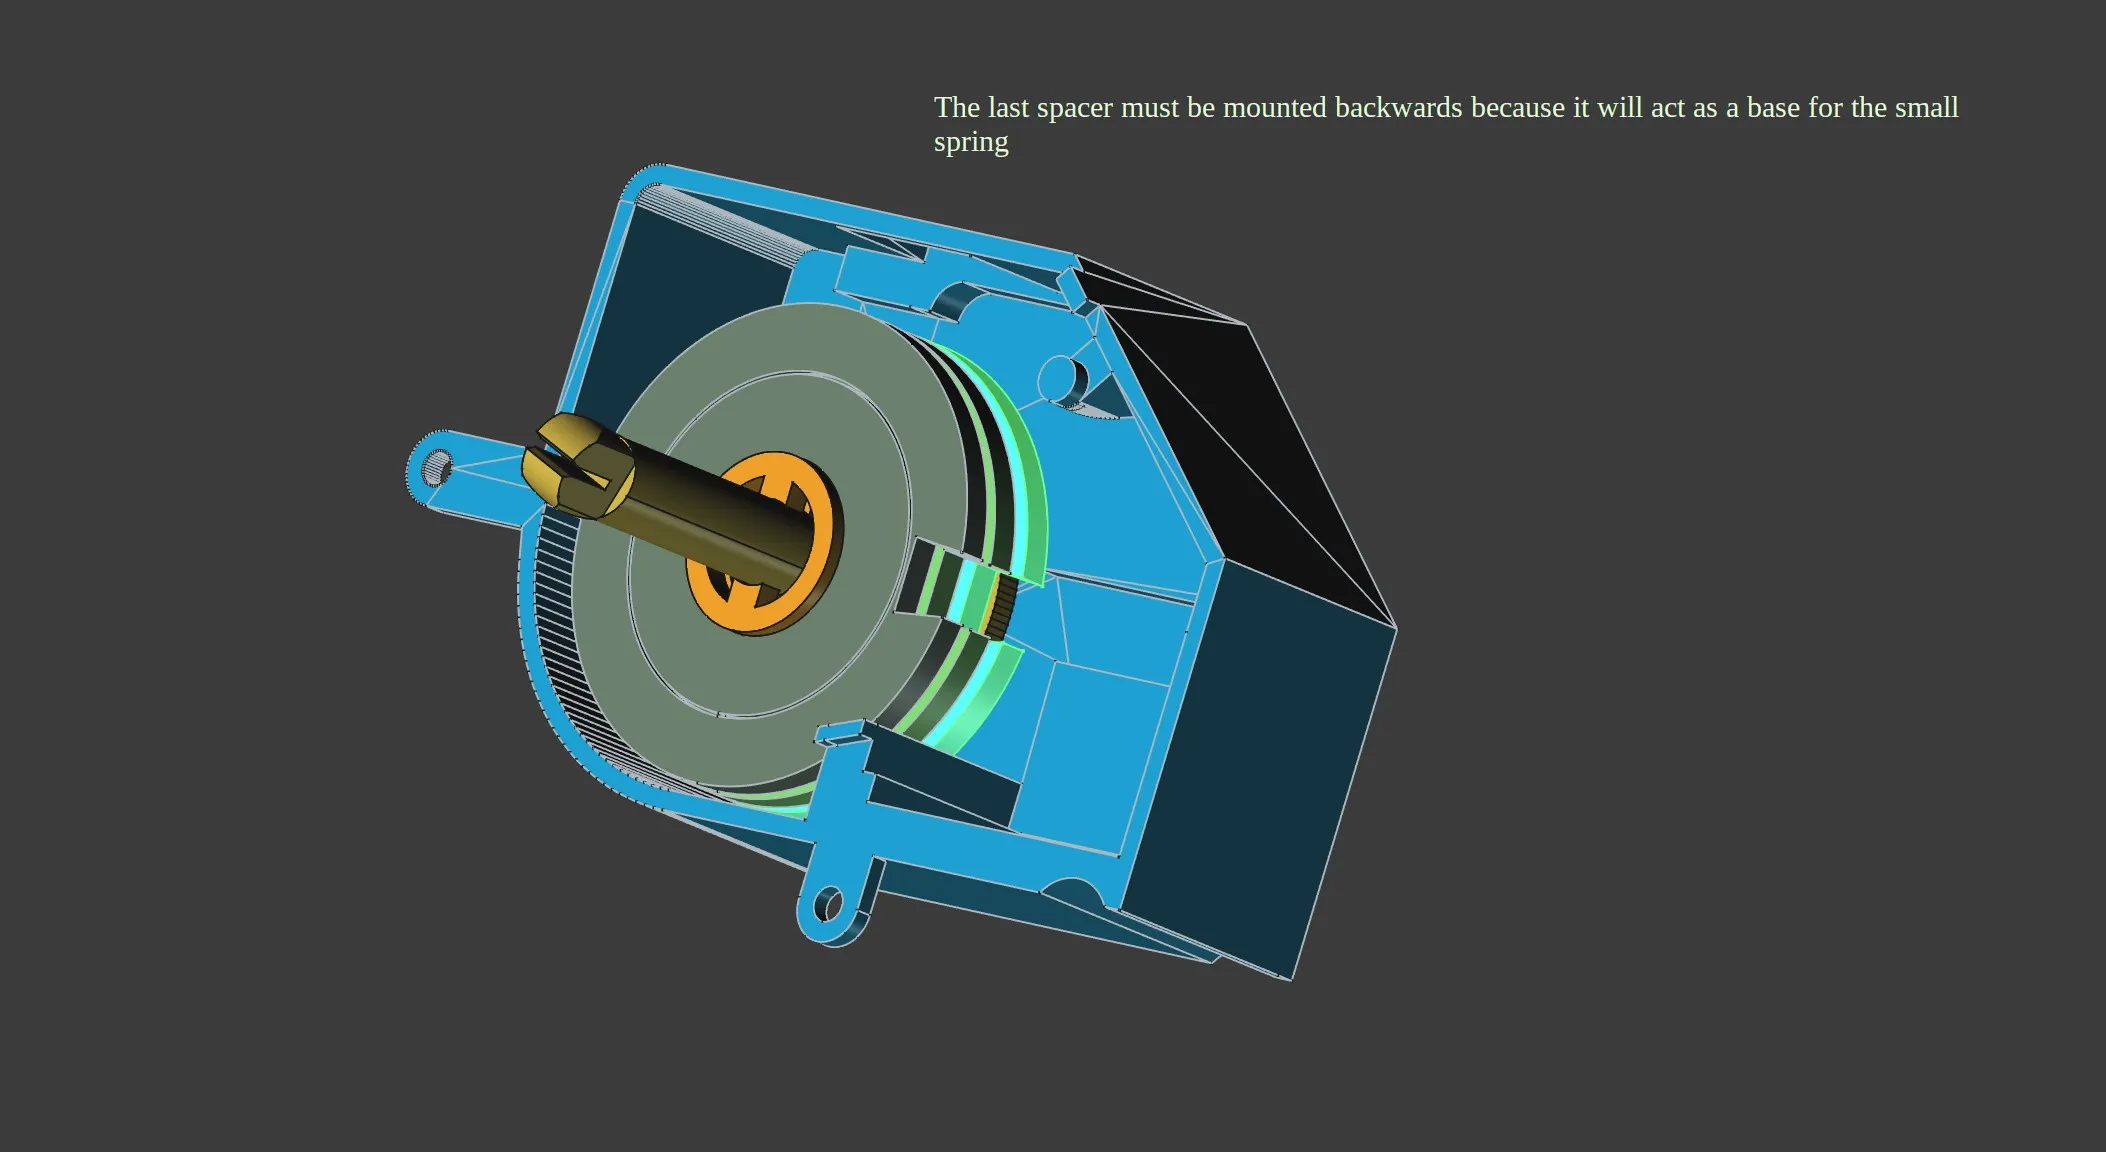
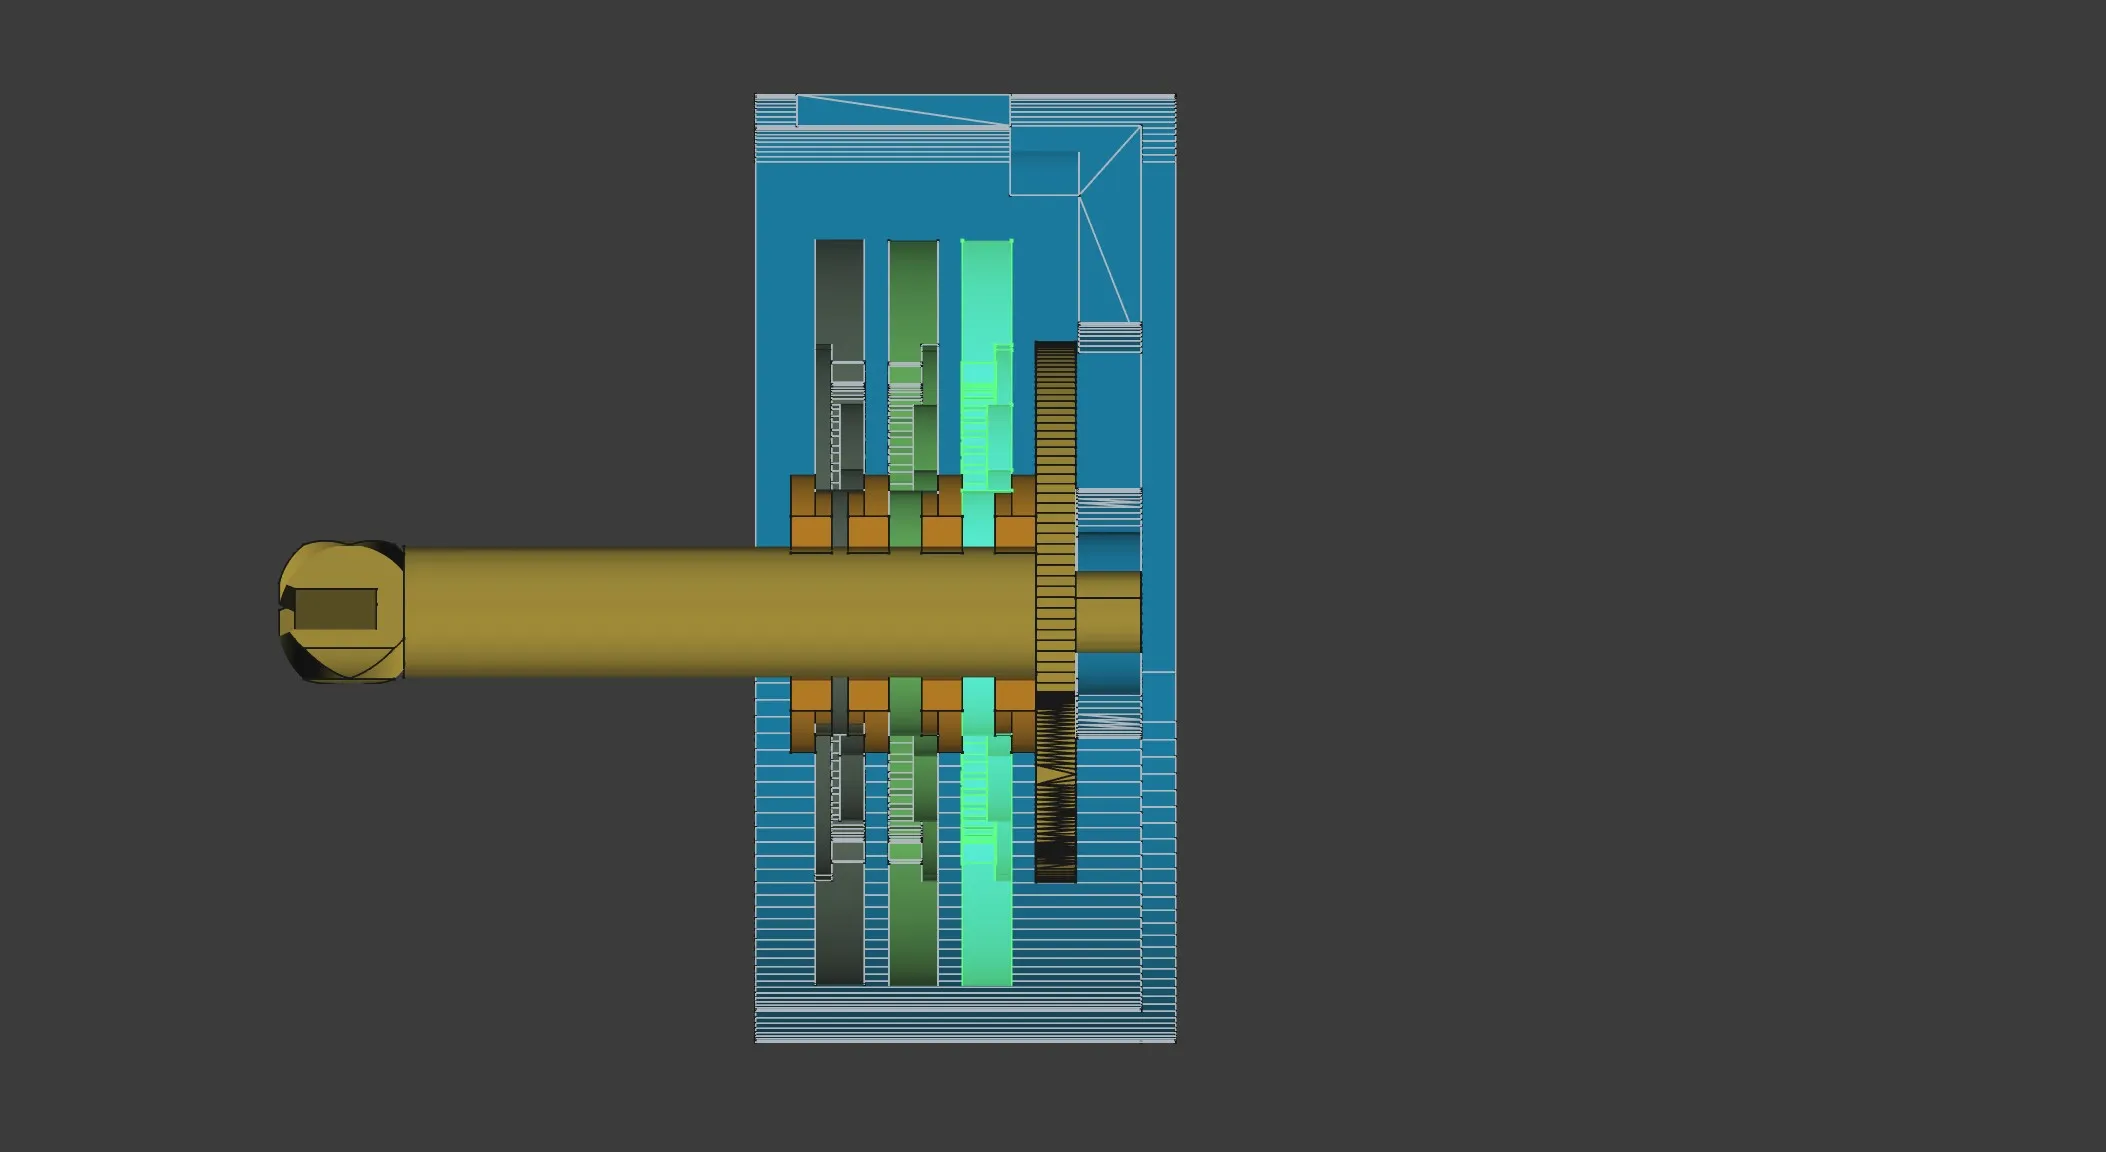
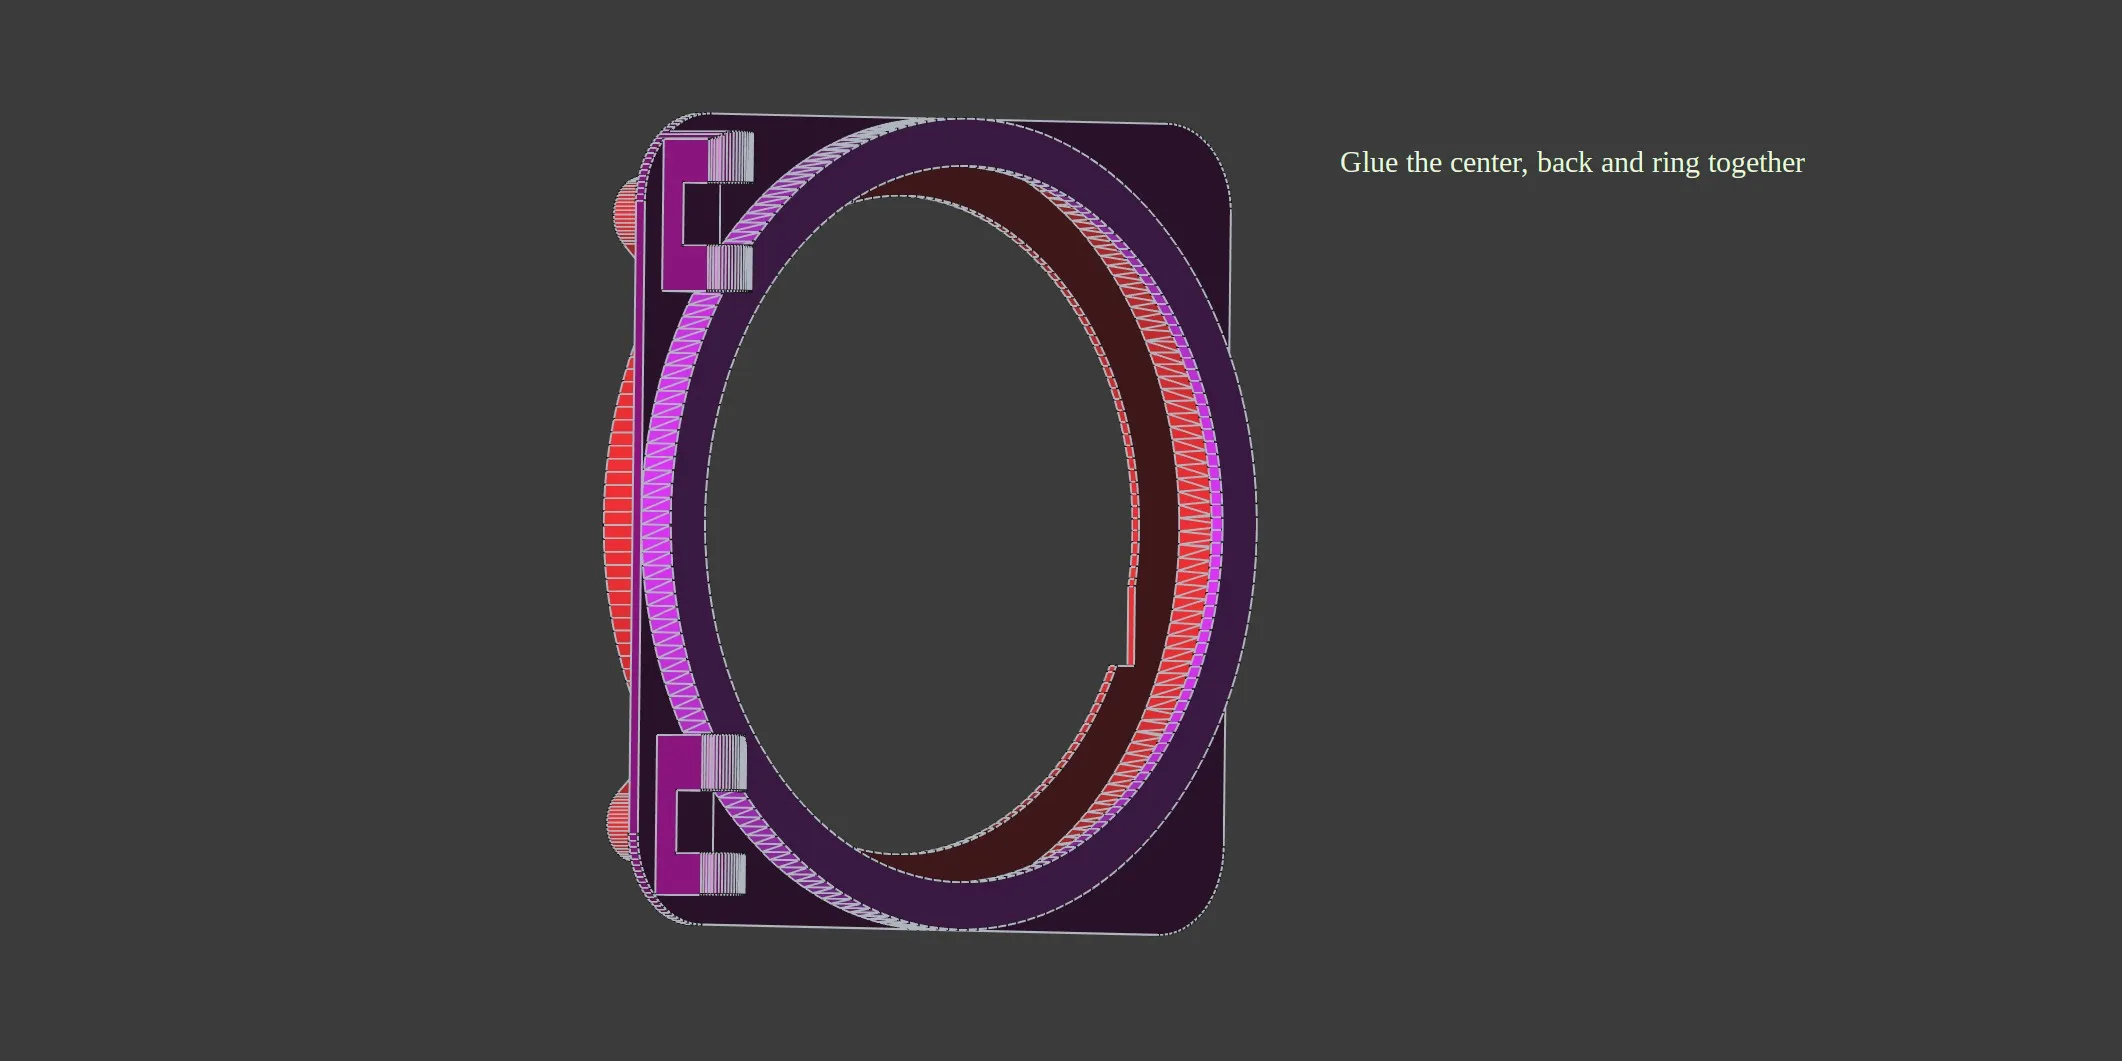
- After gluing together the center, back, and ring parts (as shown in the images), glue the resulting piece to the box.
- Once the entire mechanism is assembled, you can insert the numbered wheel onto the camshaft. Then add a bit of glue to the knob, but only where it touches the numbered wheel — do not glue the connection between the camshaft and the knob, or you won’t be able to disassemble it later. The entire door of the vault is designed to be taken apart and reassembled.
Apologies if the instructions aren’t very detailed — I didn’t have much time to document the process properly.
In fact, I still don’t quite know how I managed to find the time to complete all of this, especially considering that when I started, I had never used CAD software before.
The only explanation I have is the immense love for my son, for whom I wanted to make this as a gift.
If you have any questions or need advice, feel free to leave a comment below — I’ll respond as soon as I can.
Thank you!
This remix is based on


License



Comment & Rating (1)