
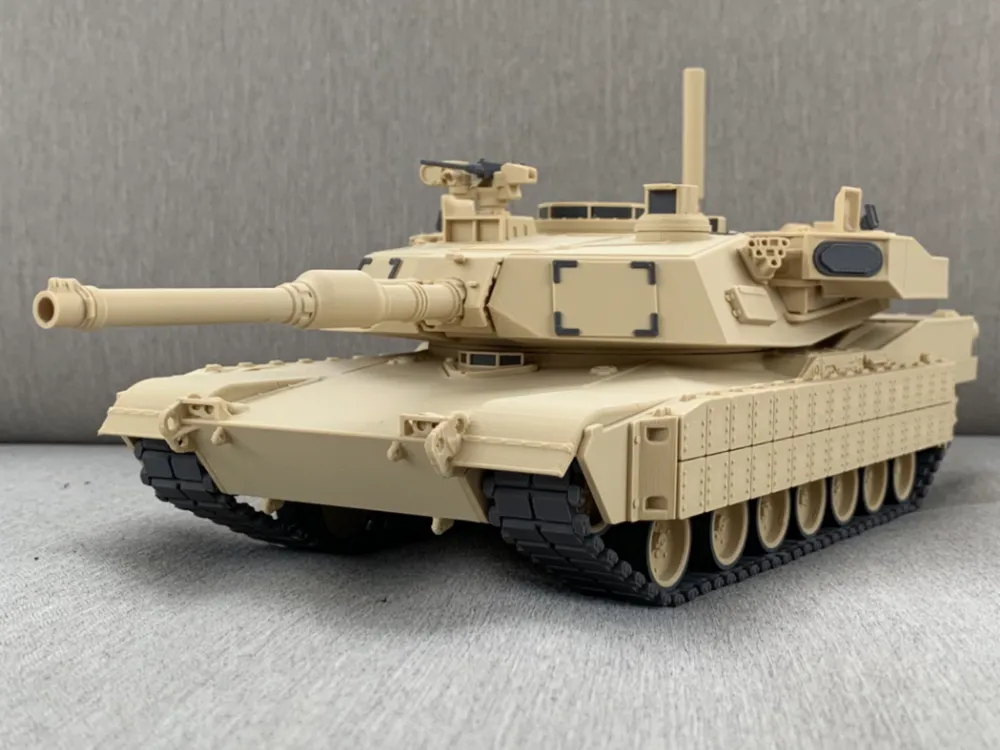
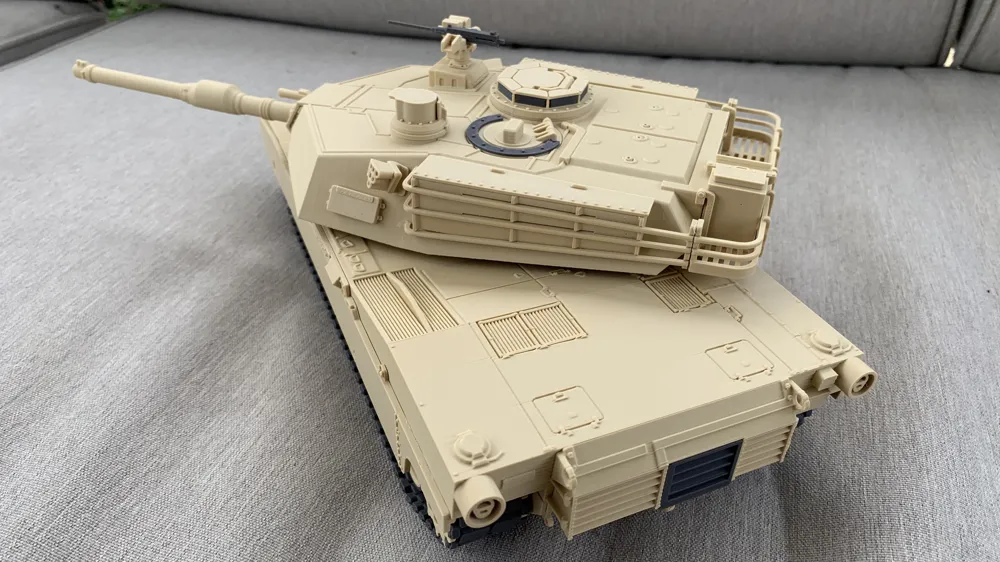
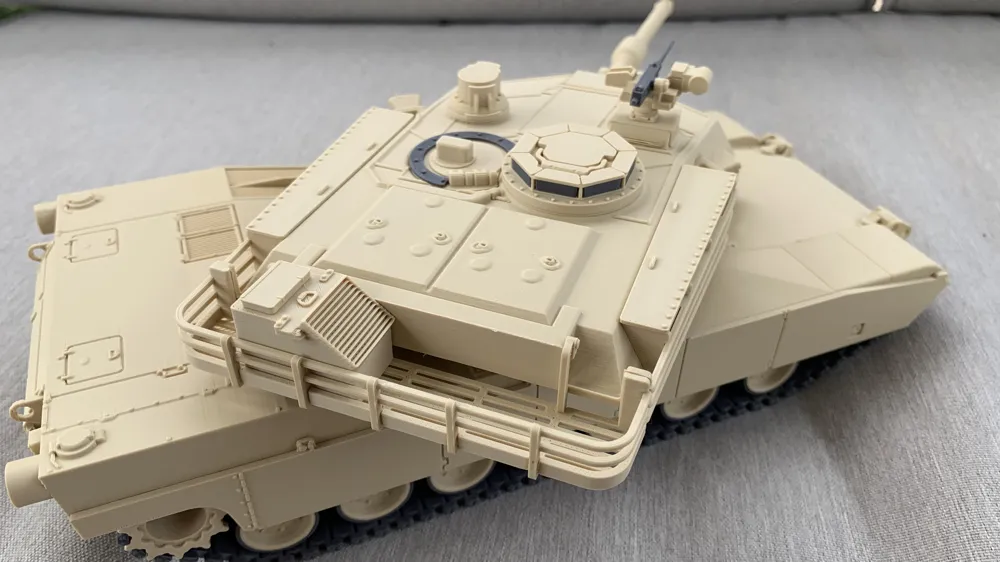
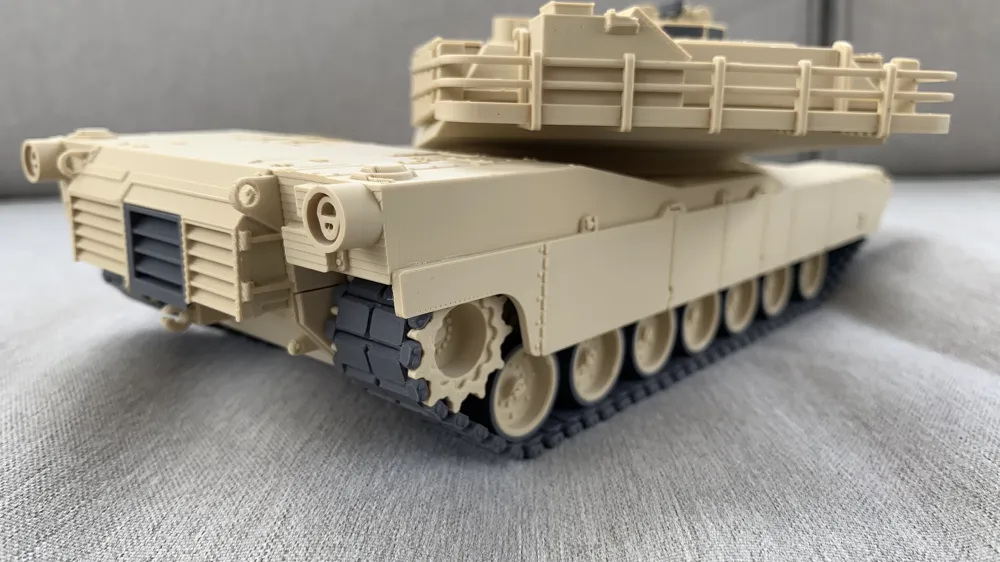
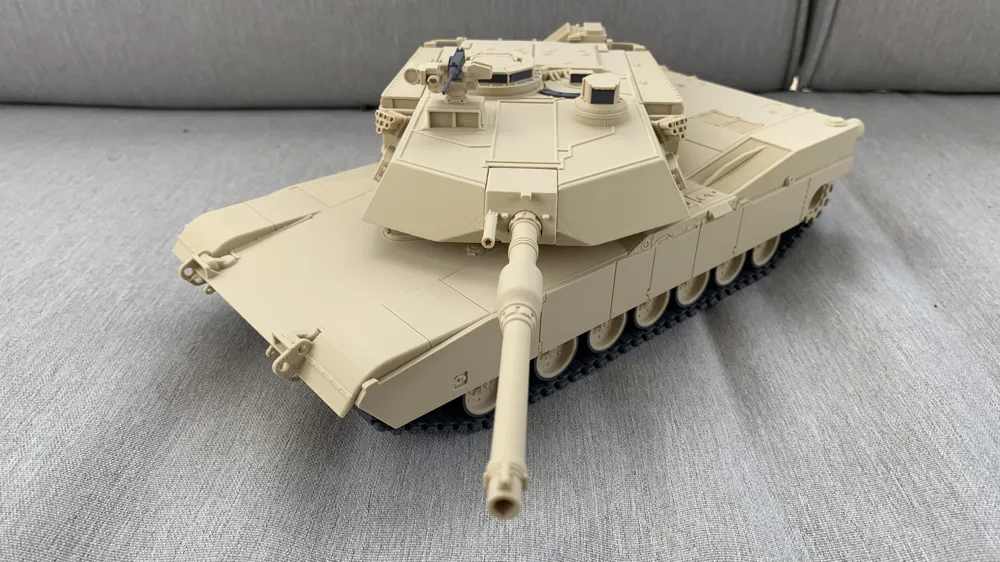
M1A2 Abrams SEPv3 Main Battle Tank
Print Profile(7)




Description
Boost Me (for free)
If you enjoyed this print, help a Jarhead out by dropping a boost! -SF
Update 3/23/2026: With collaboration between myself and @Jonas_2603 , we've created a Cyberbrick compatible version of the M1A2 Abrams SEPv3 that will be free to download.
Since this is a collaboration project, the model is split up into two parts: the Cyberbrick compatible M1A2 model, and the drivetrain. The Cyberbrick version of the M1A2 can be found in a separate print profile under my original M1A2 Abrams model, it is pined to the top, while the drivetrain and tracks can be found on @Jonas_2603 profile, or use the direct link below:
M1A2 Abrams SEPv3 Cyberbrick Drivetrain + Track Links
We are very excited to publish this and we hope you enjoy the build!


Update 6/4/2025: Added an upgrade kit for the model as a separate print profile: Abrams Upgrade Kit that contains the following:
Trophy Active Protection System
CREW System
Combat Identification Panels
Abrams Reactive Armor Tiles (ARAT) also known as TUSK (Tank Urban Survival Kit)
It does not require you to reprint anything, simply add it to your existing model if you already printed one out. Enjoy!

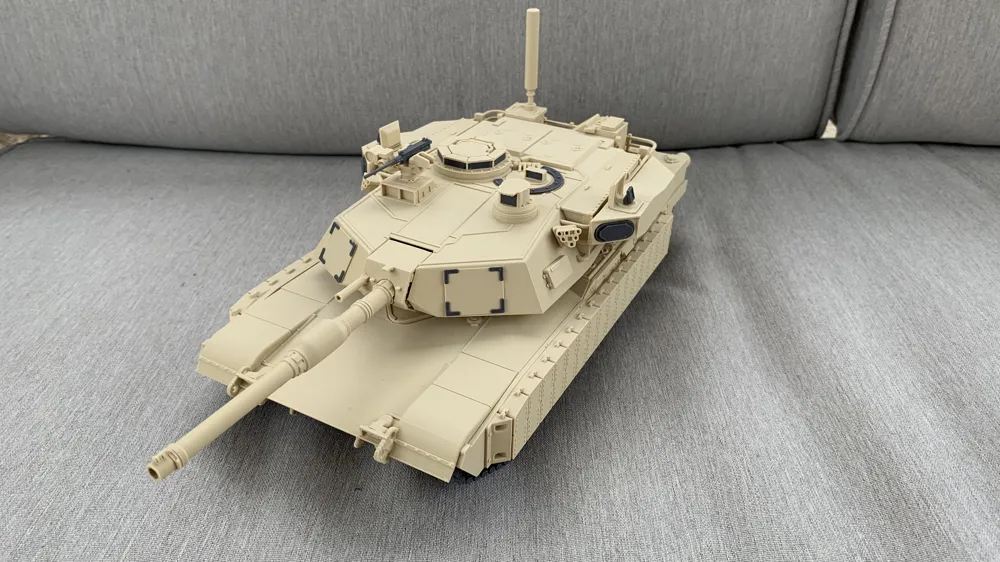
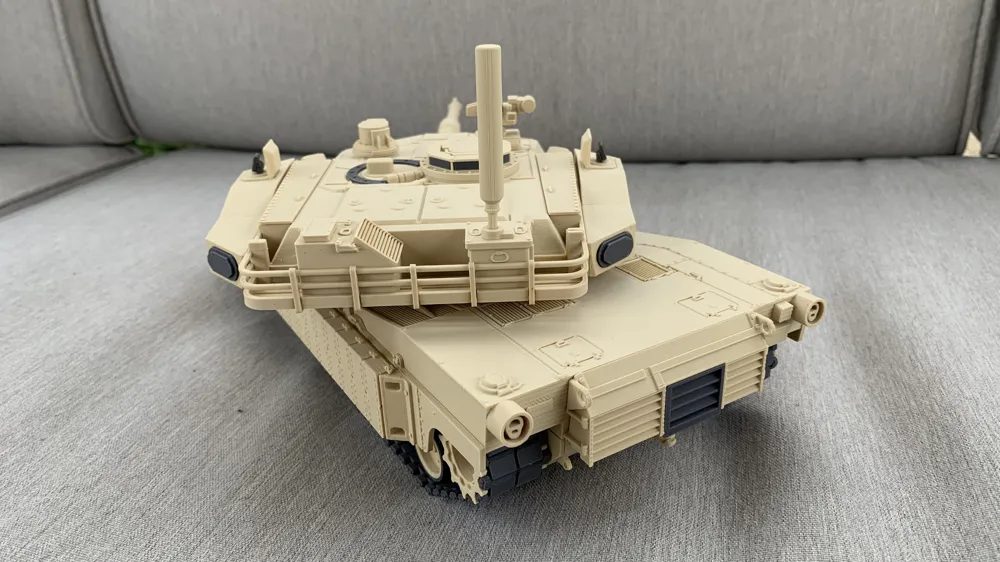
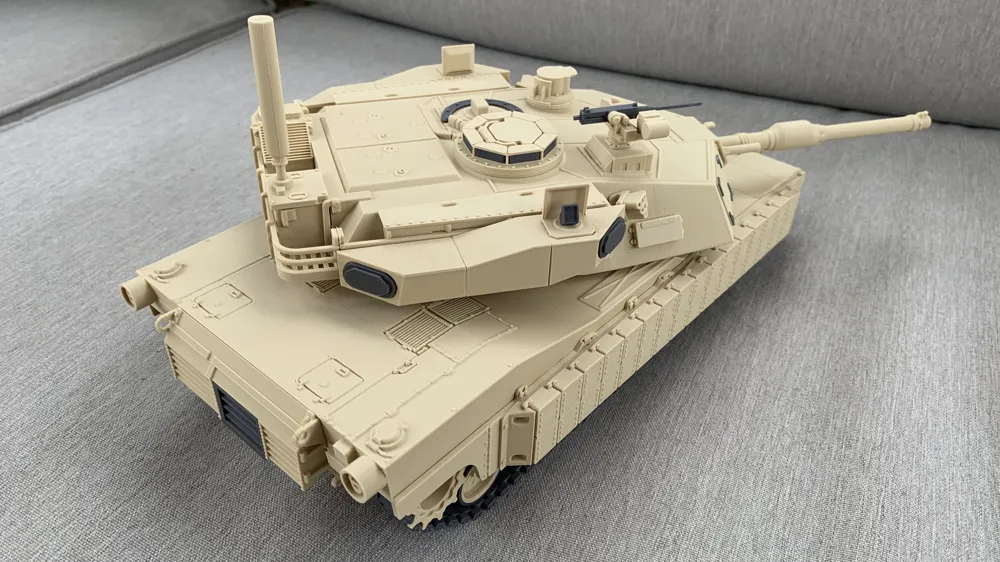
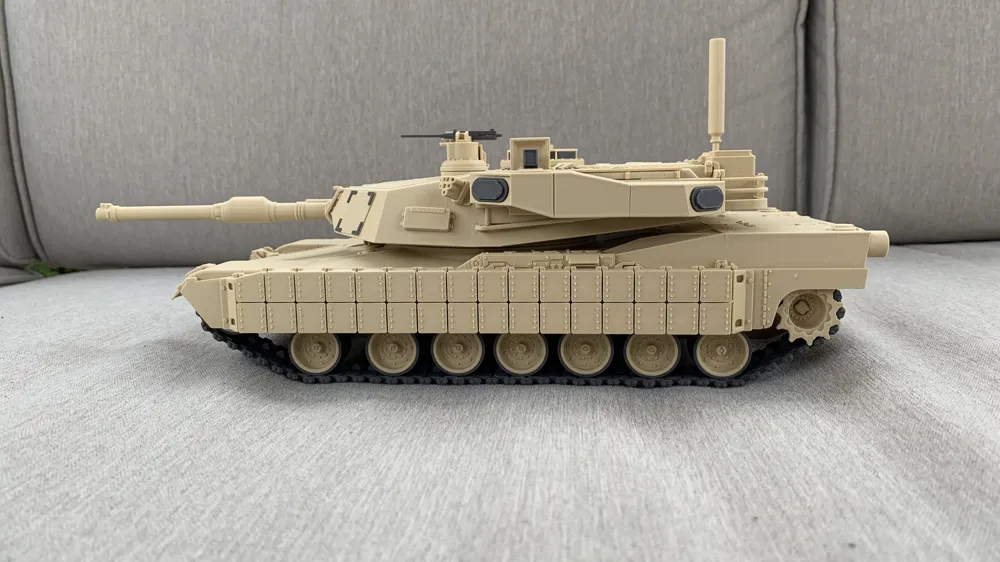
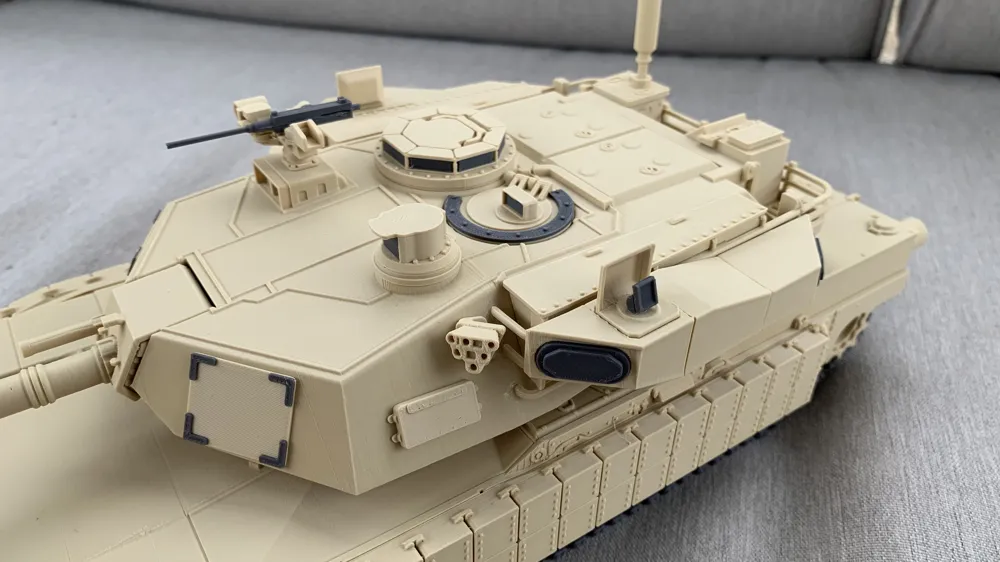
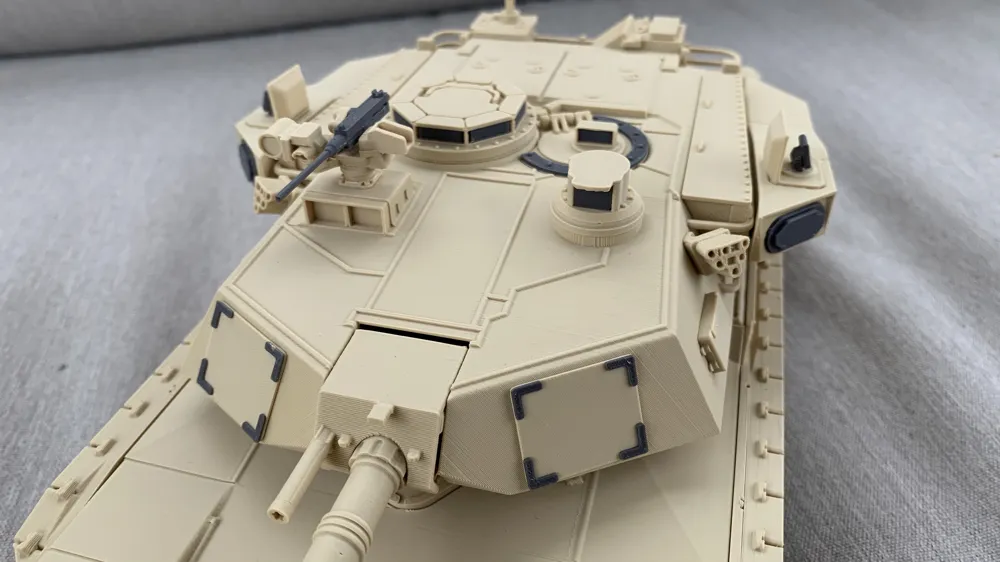
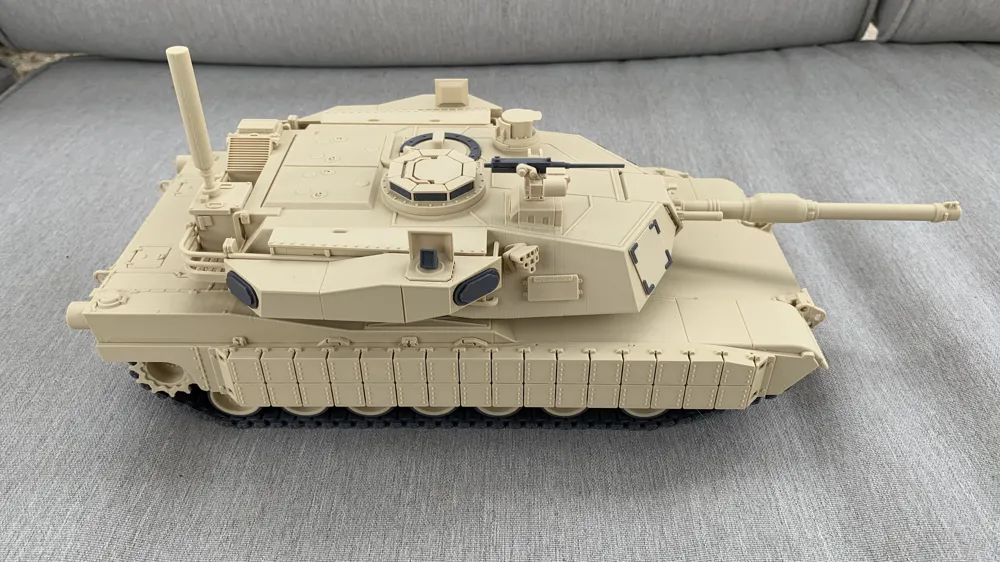
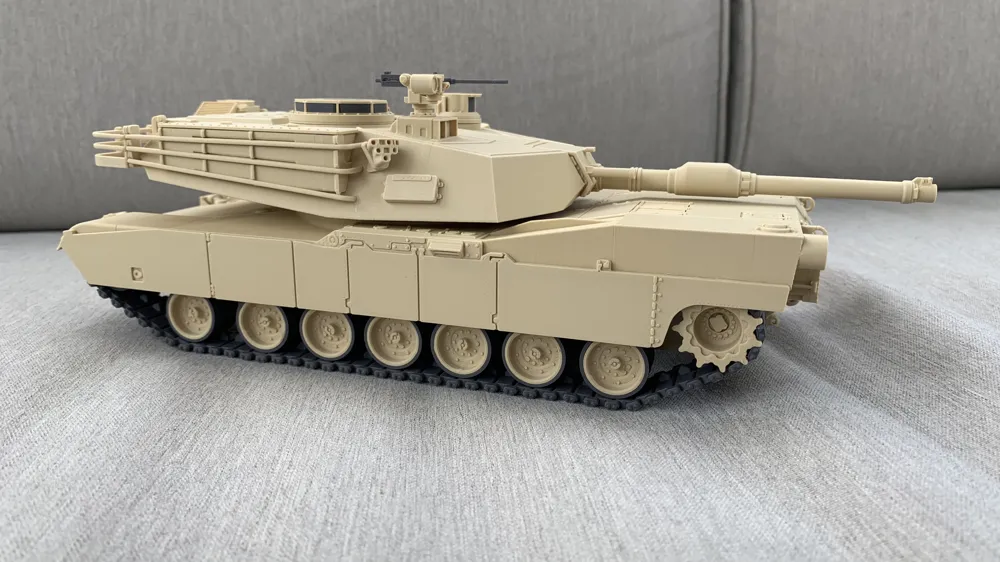
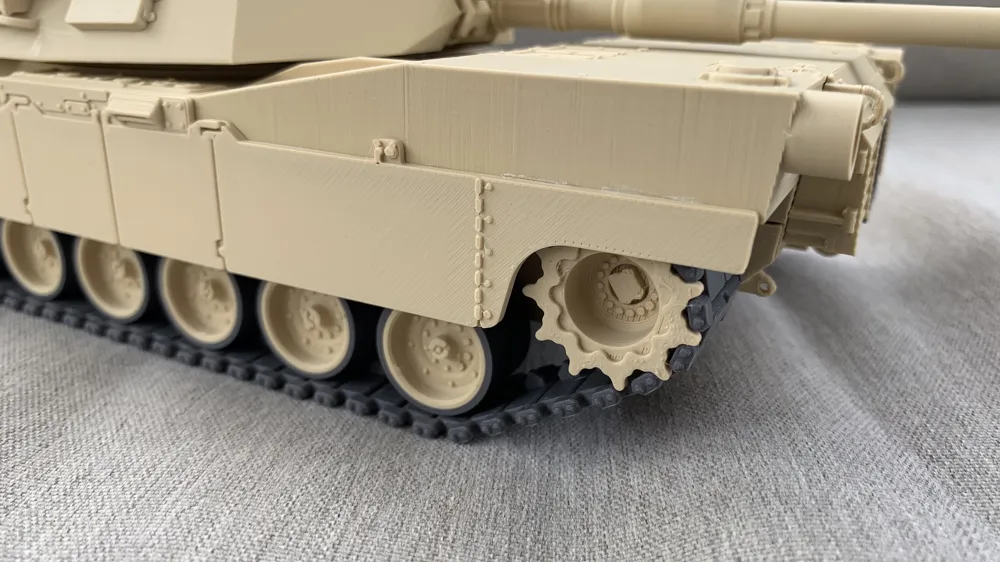
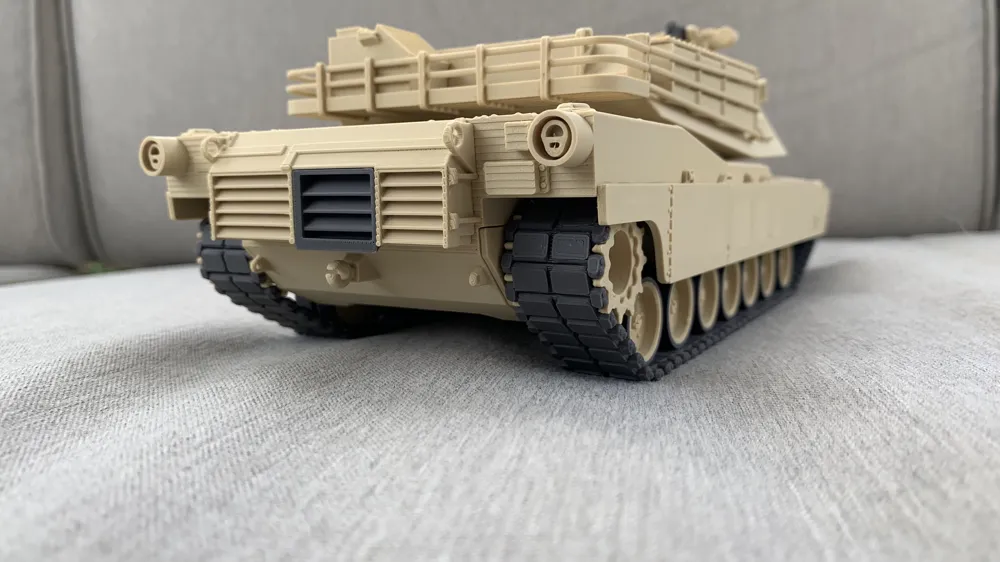
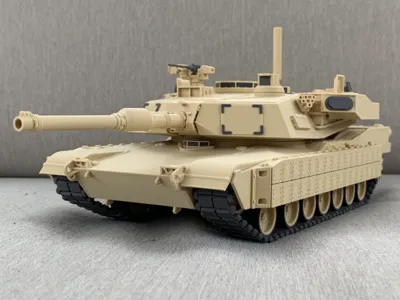
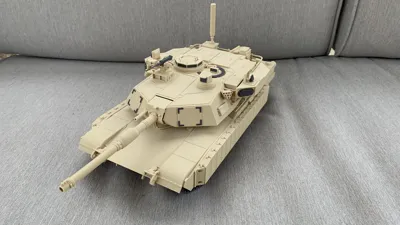
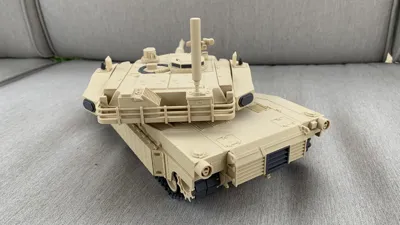
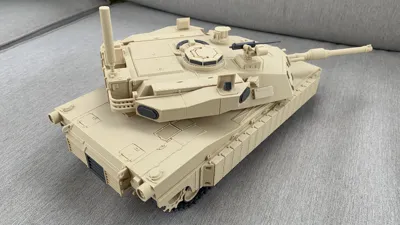
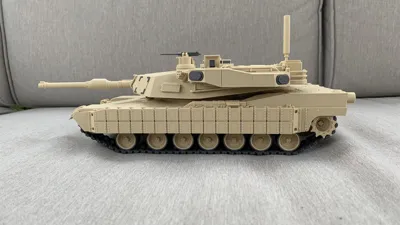
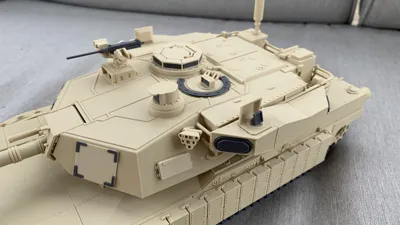
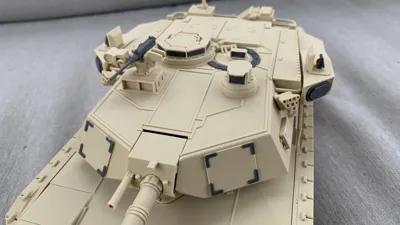
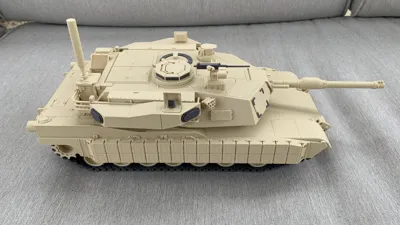
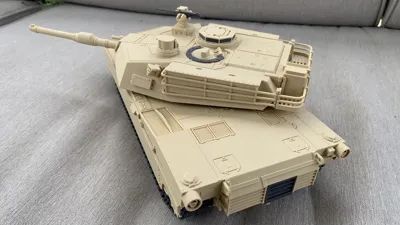
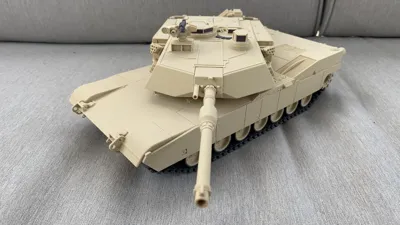
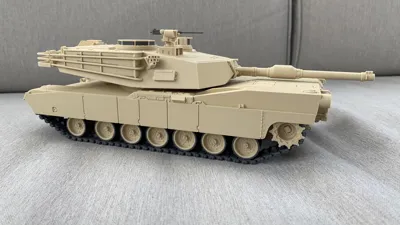
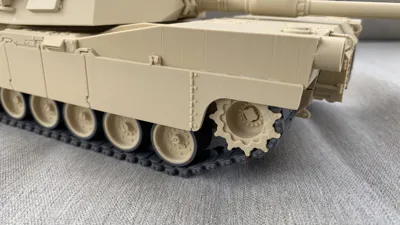
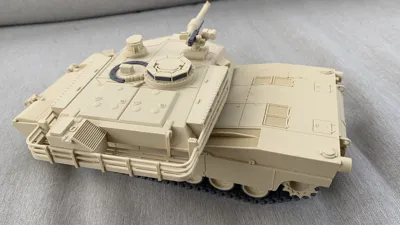
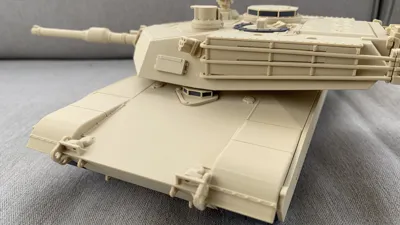
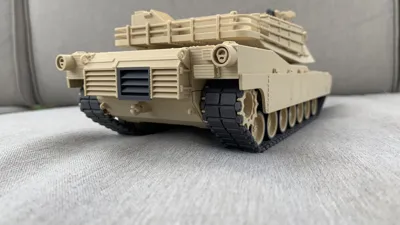
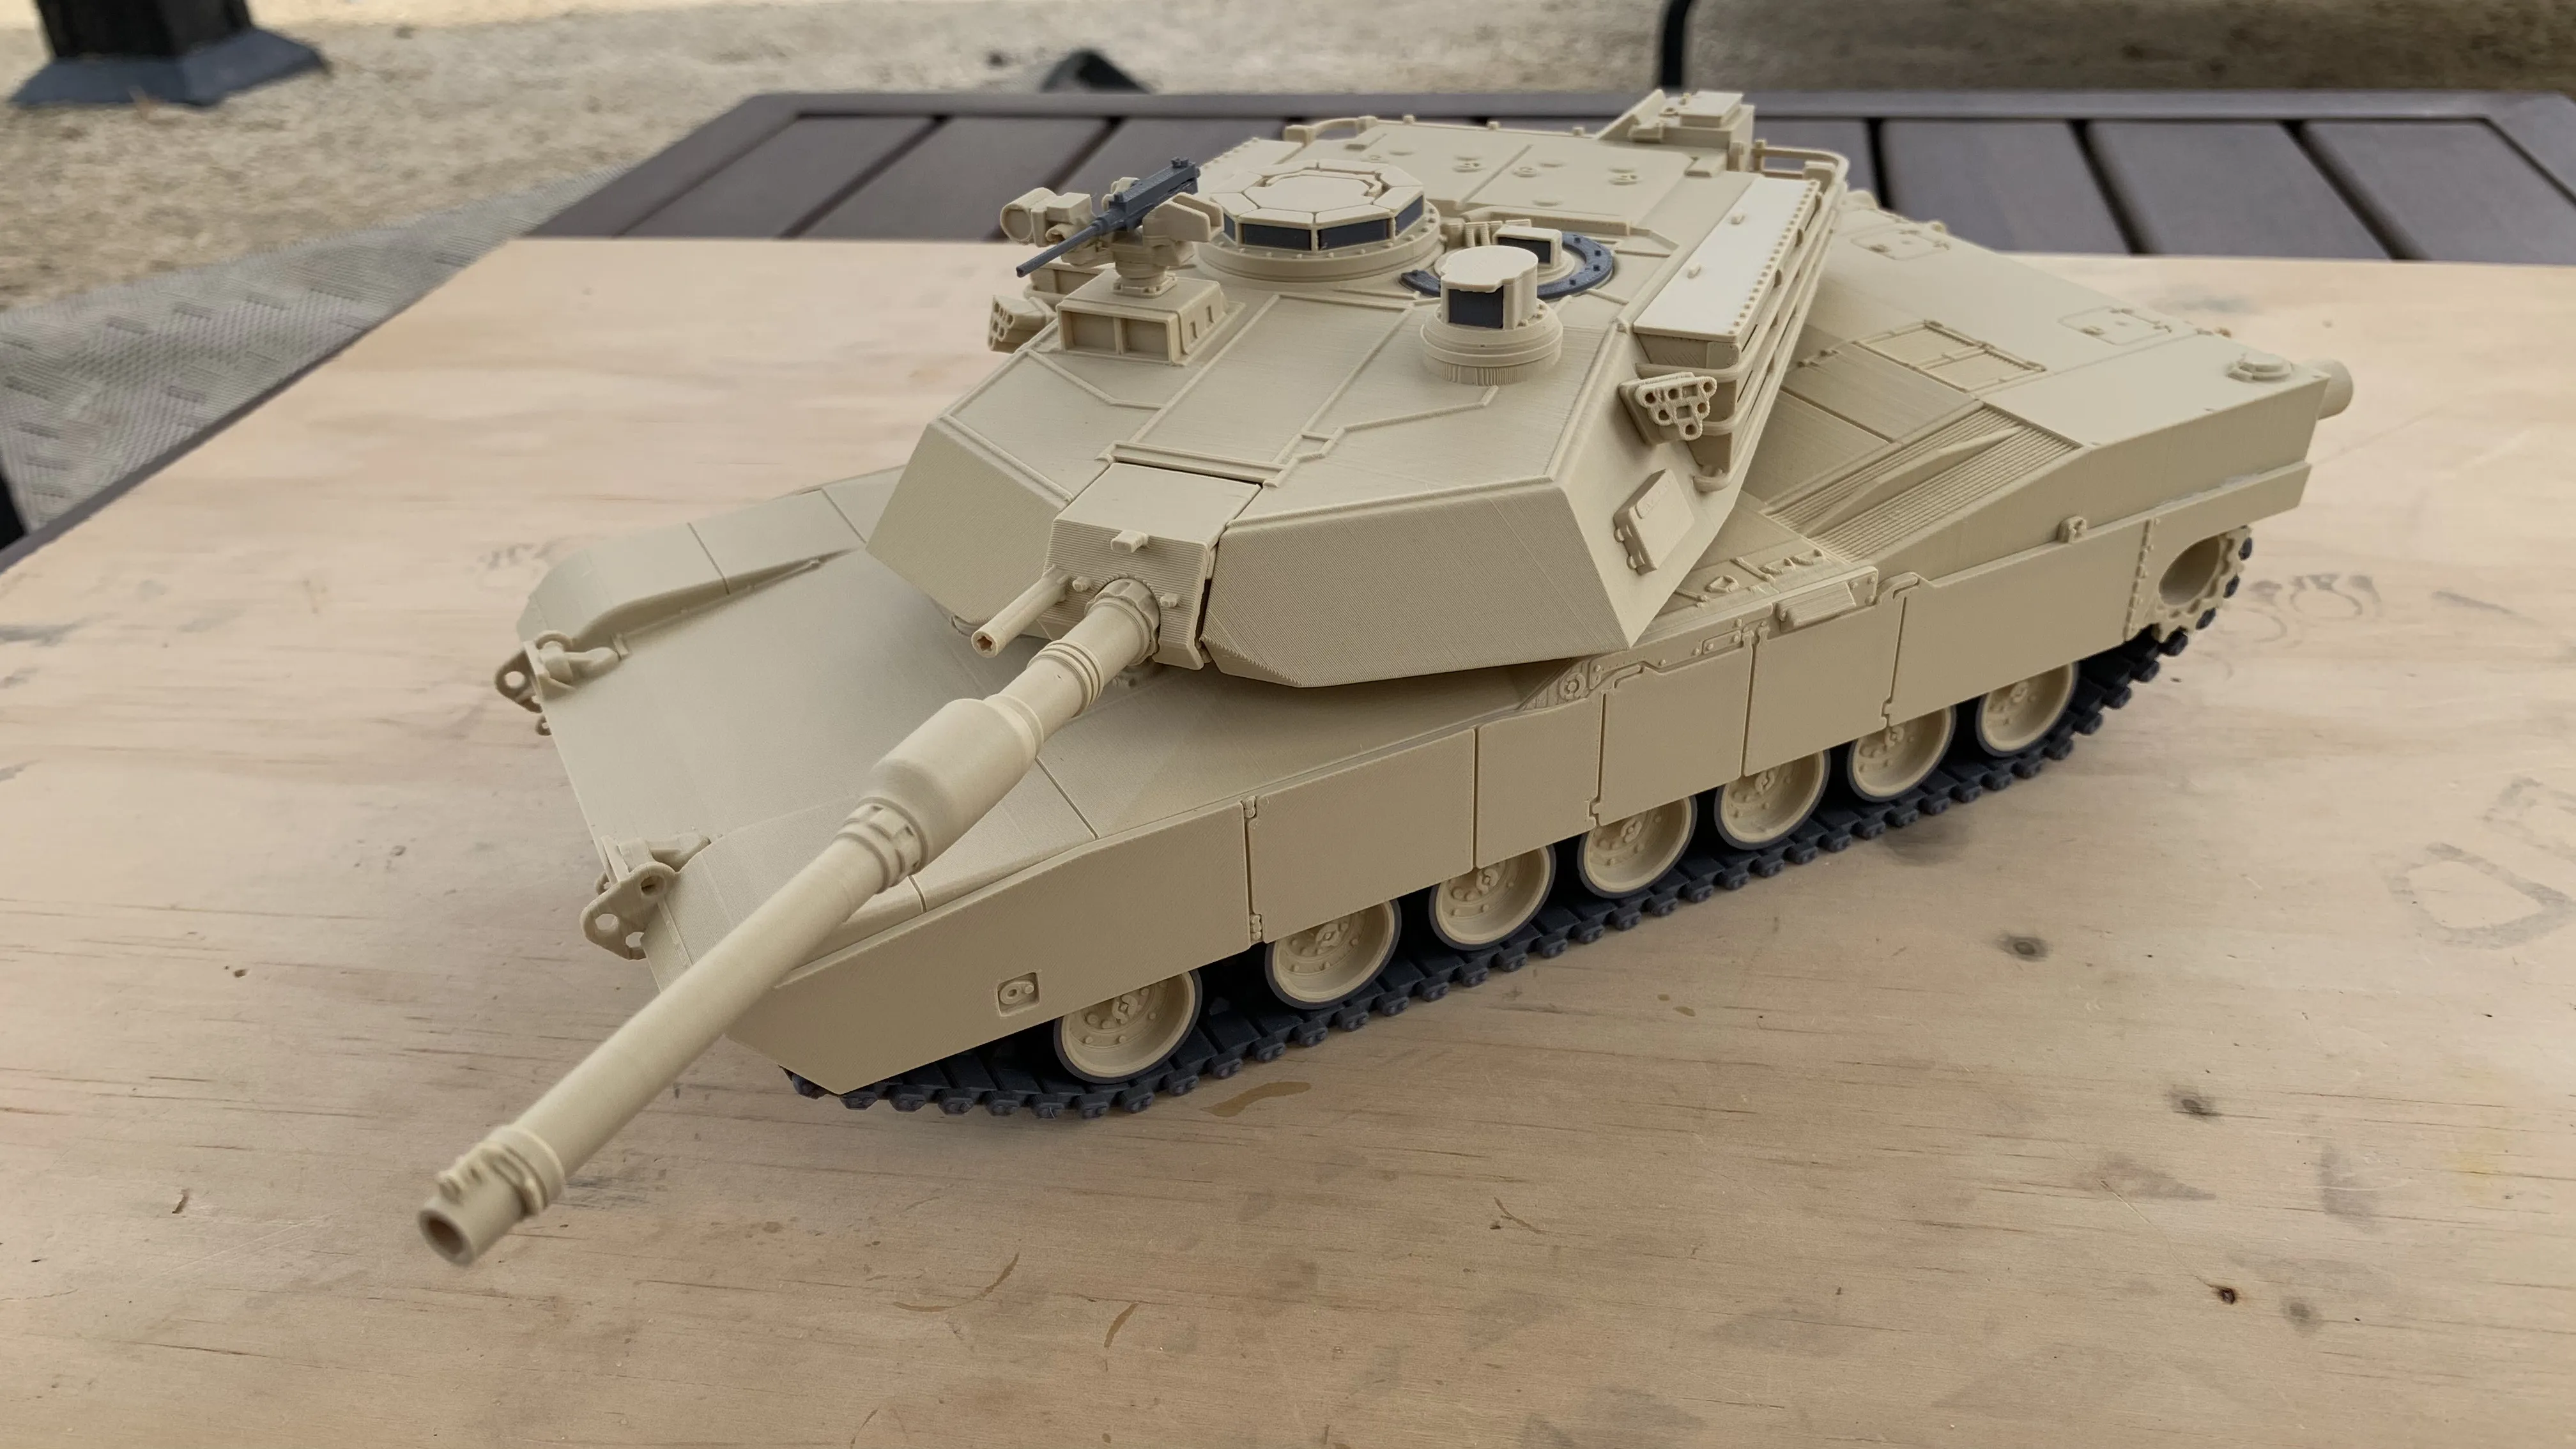
This is a 1:30 scaled replica of the iconic M1A2 Abrams SEPv3 main battle tank designed from the ground up using Autodesk Fusion. This is a semi-articulated model that features a rotatable turret and main gun, individual track links, the wheels are static and do not move.
I've considered creating my own version of this model for quite some time and finally followed through with it, so here it is! I will design add-on upgrades for this model such as TUSK (ARAT) armor, Trophy Active Protection System, and Combat Identification Panels (CIP), so if you'd like to see specific items on your Abrams please let me know and I'll see if I can make that happen.
Items used for this model: Bambu PLA Matte Desert Tan (11401) + PLA Basic Dark Gray (10105). Highly recommend using Bambu Smooth PEI Plate for best result. There are only 2 small components that used AMS, the driver's hatch and the loader's hatch.
Assembly Instructions:
The assembly of this model will require a little bit of glue and a lot of patience, please use the pictures and the steps below to help you with the assembly. If a crayon-eating Jarhead like myself can put this together, so can you!
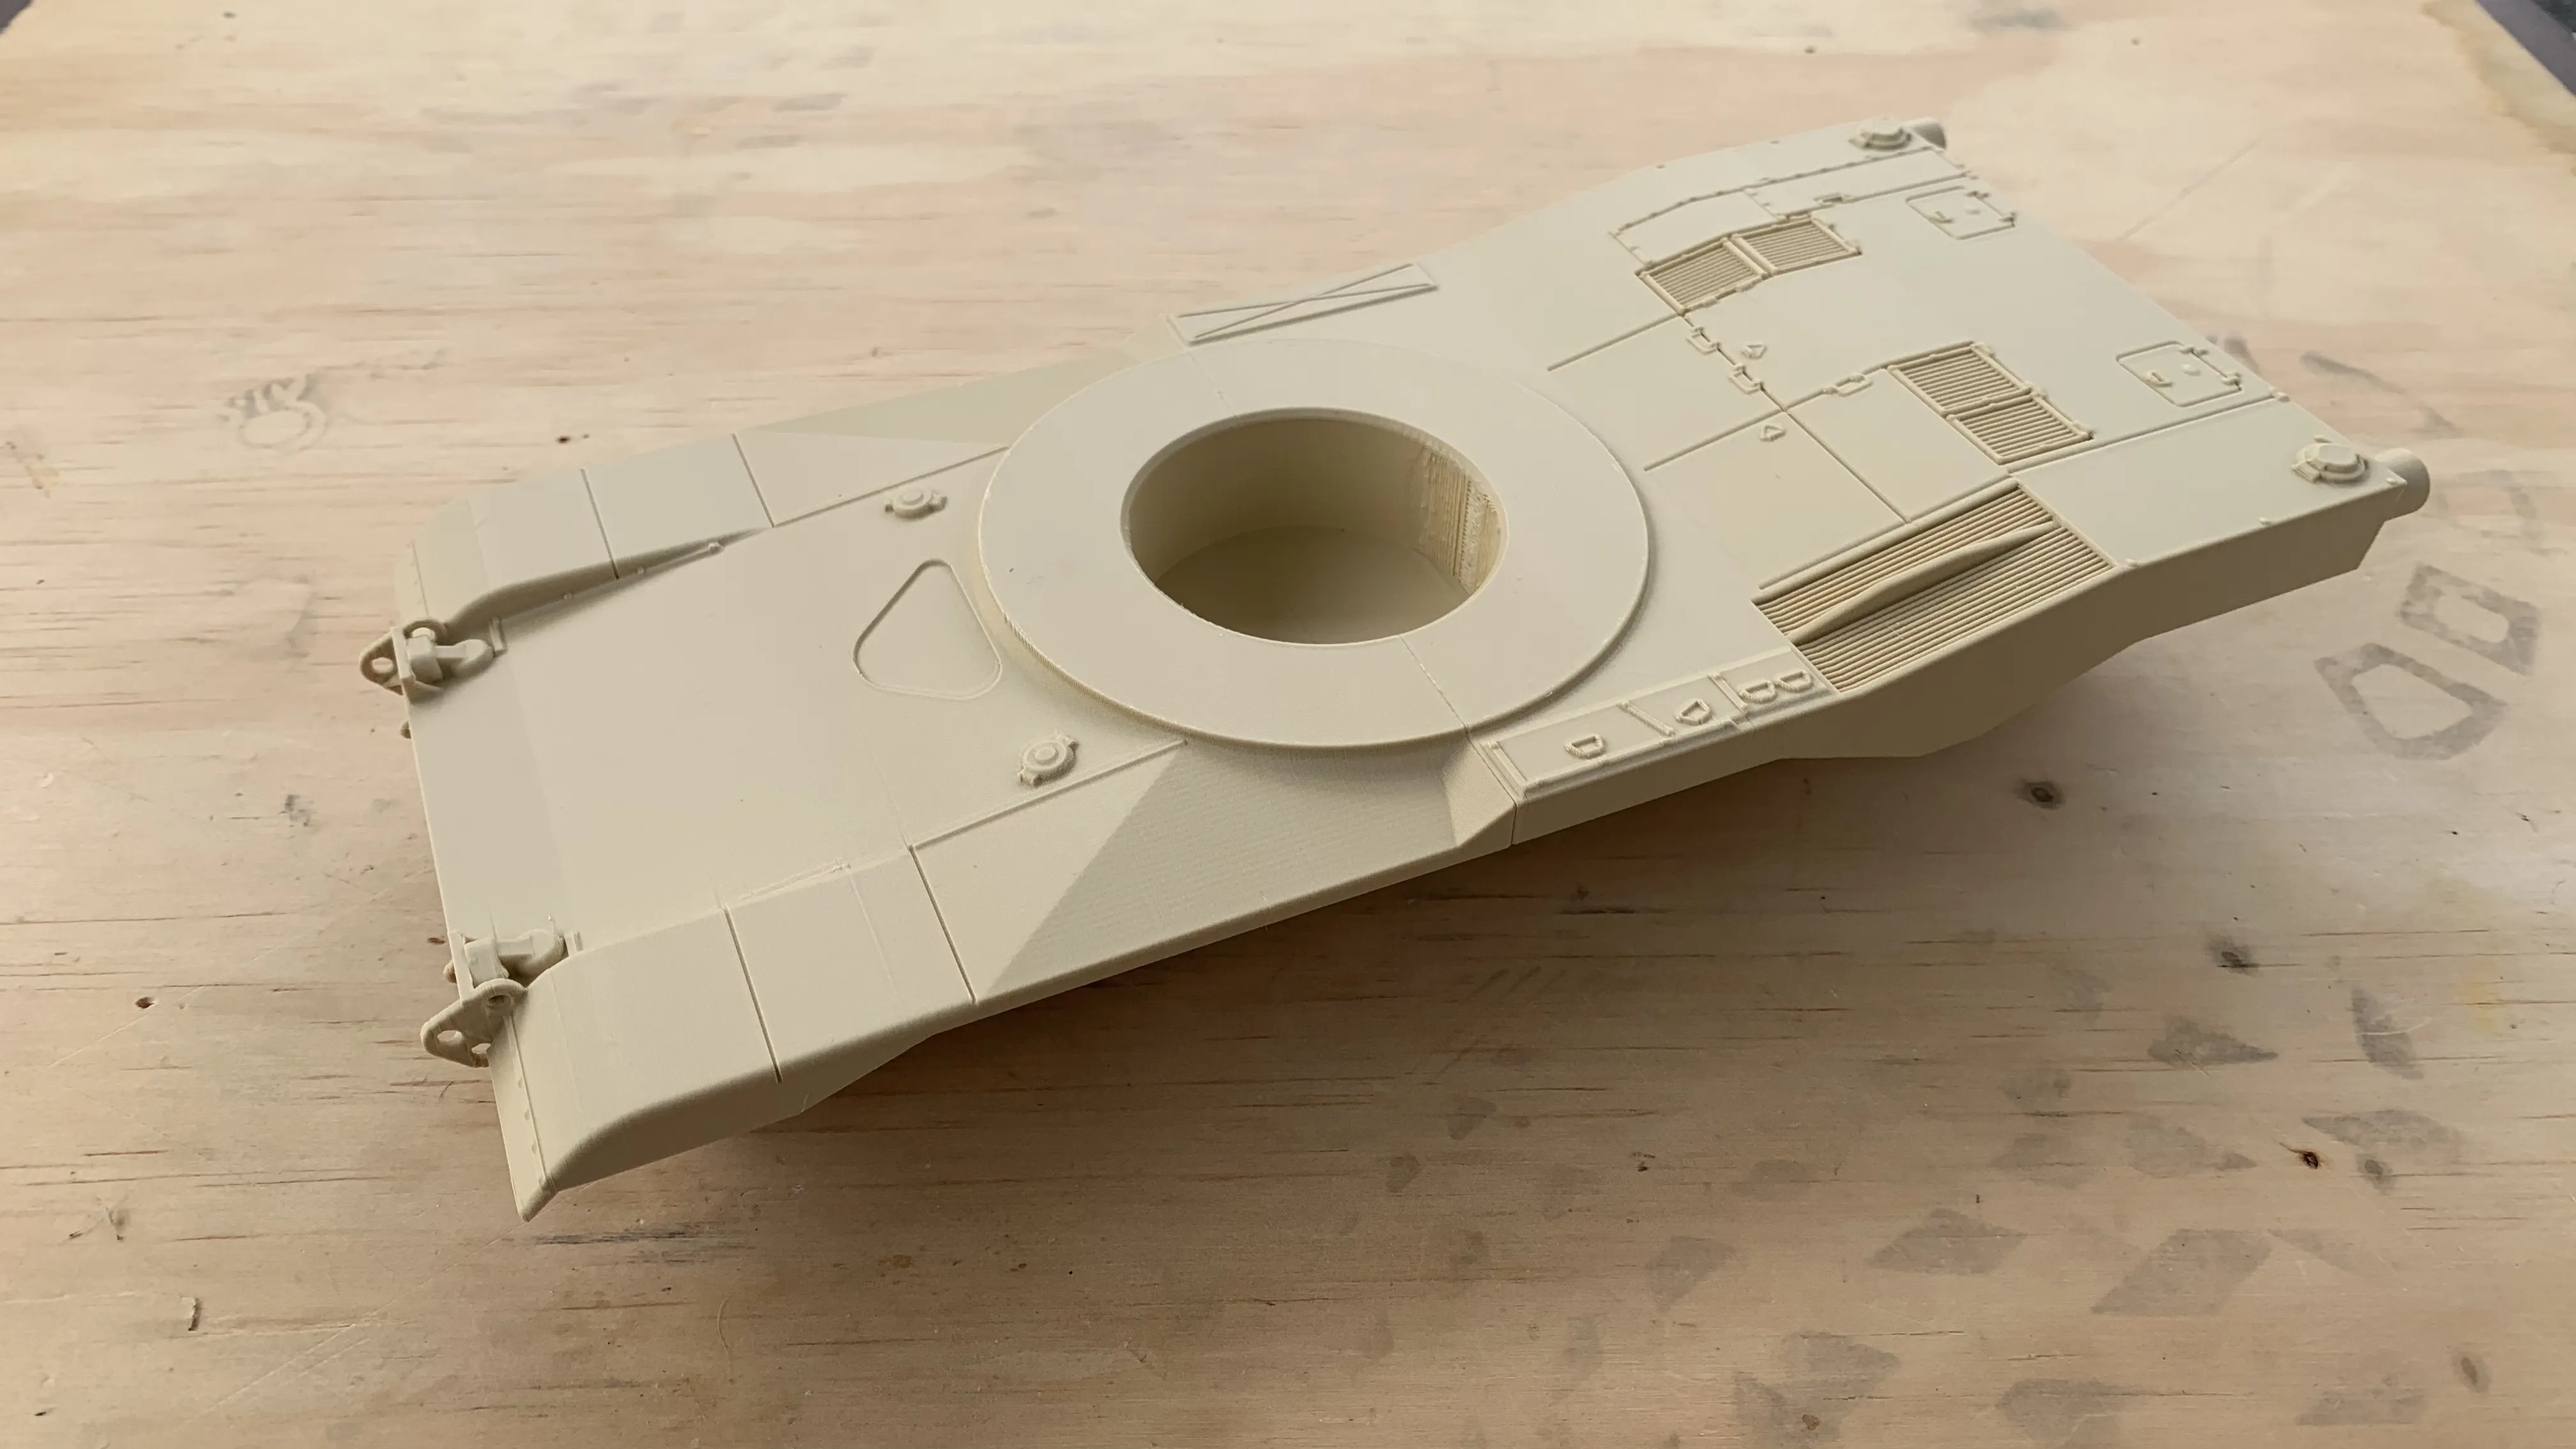
- Assemble the main hull using the pins provided.
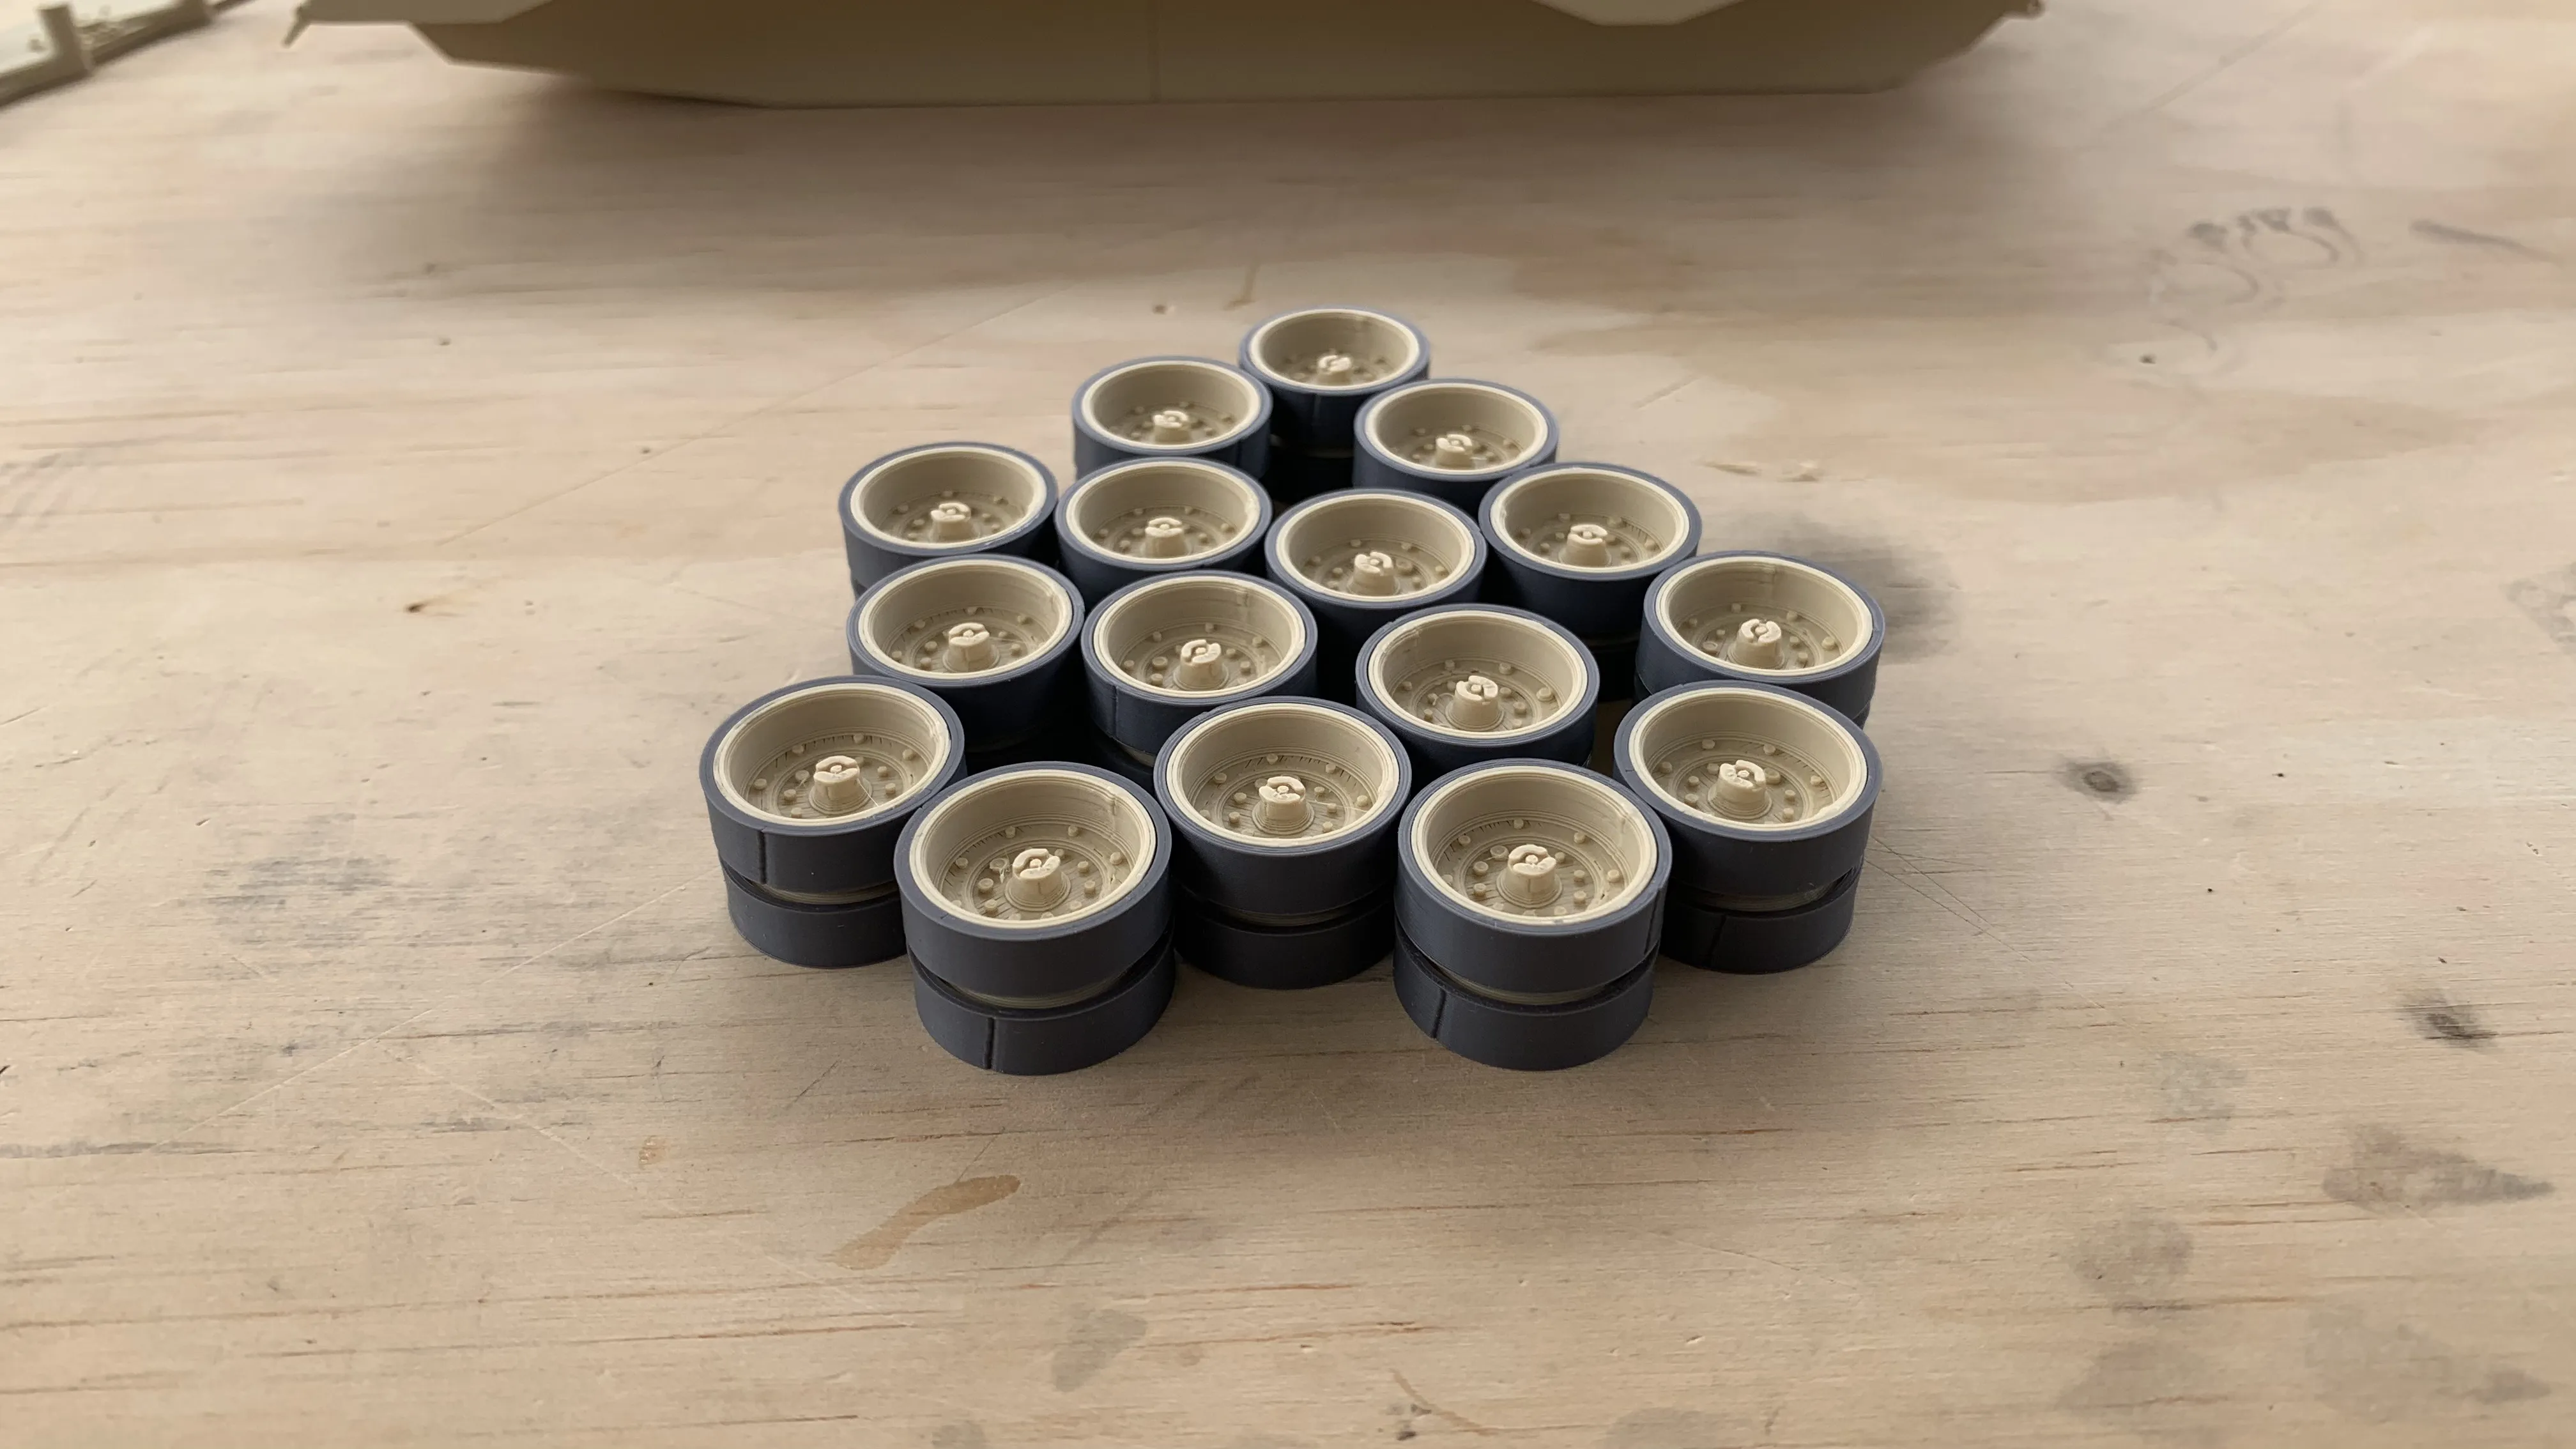
2. Assemble the road wheels by fitting the tires on each side. Can be press fitted, but better with a tiny bit of glue.
3. Assemble the left and right-side track systems.
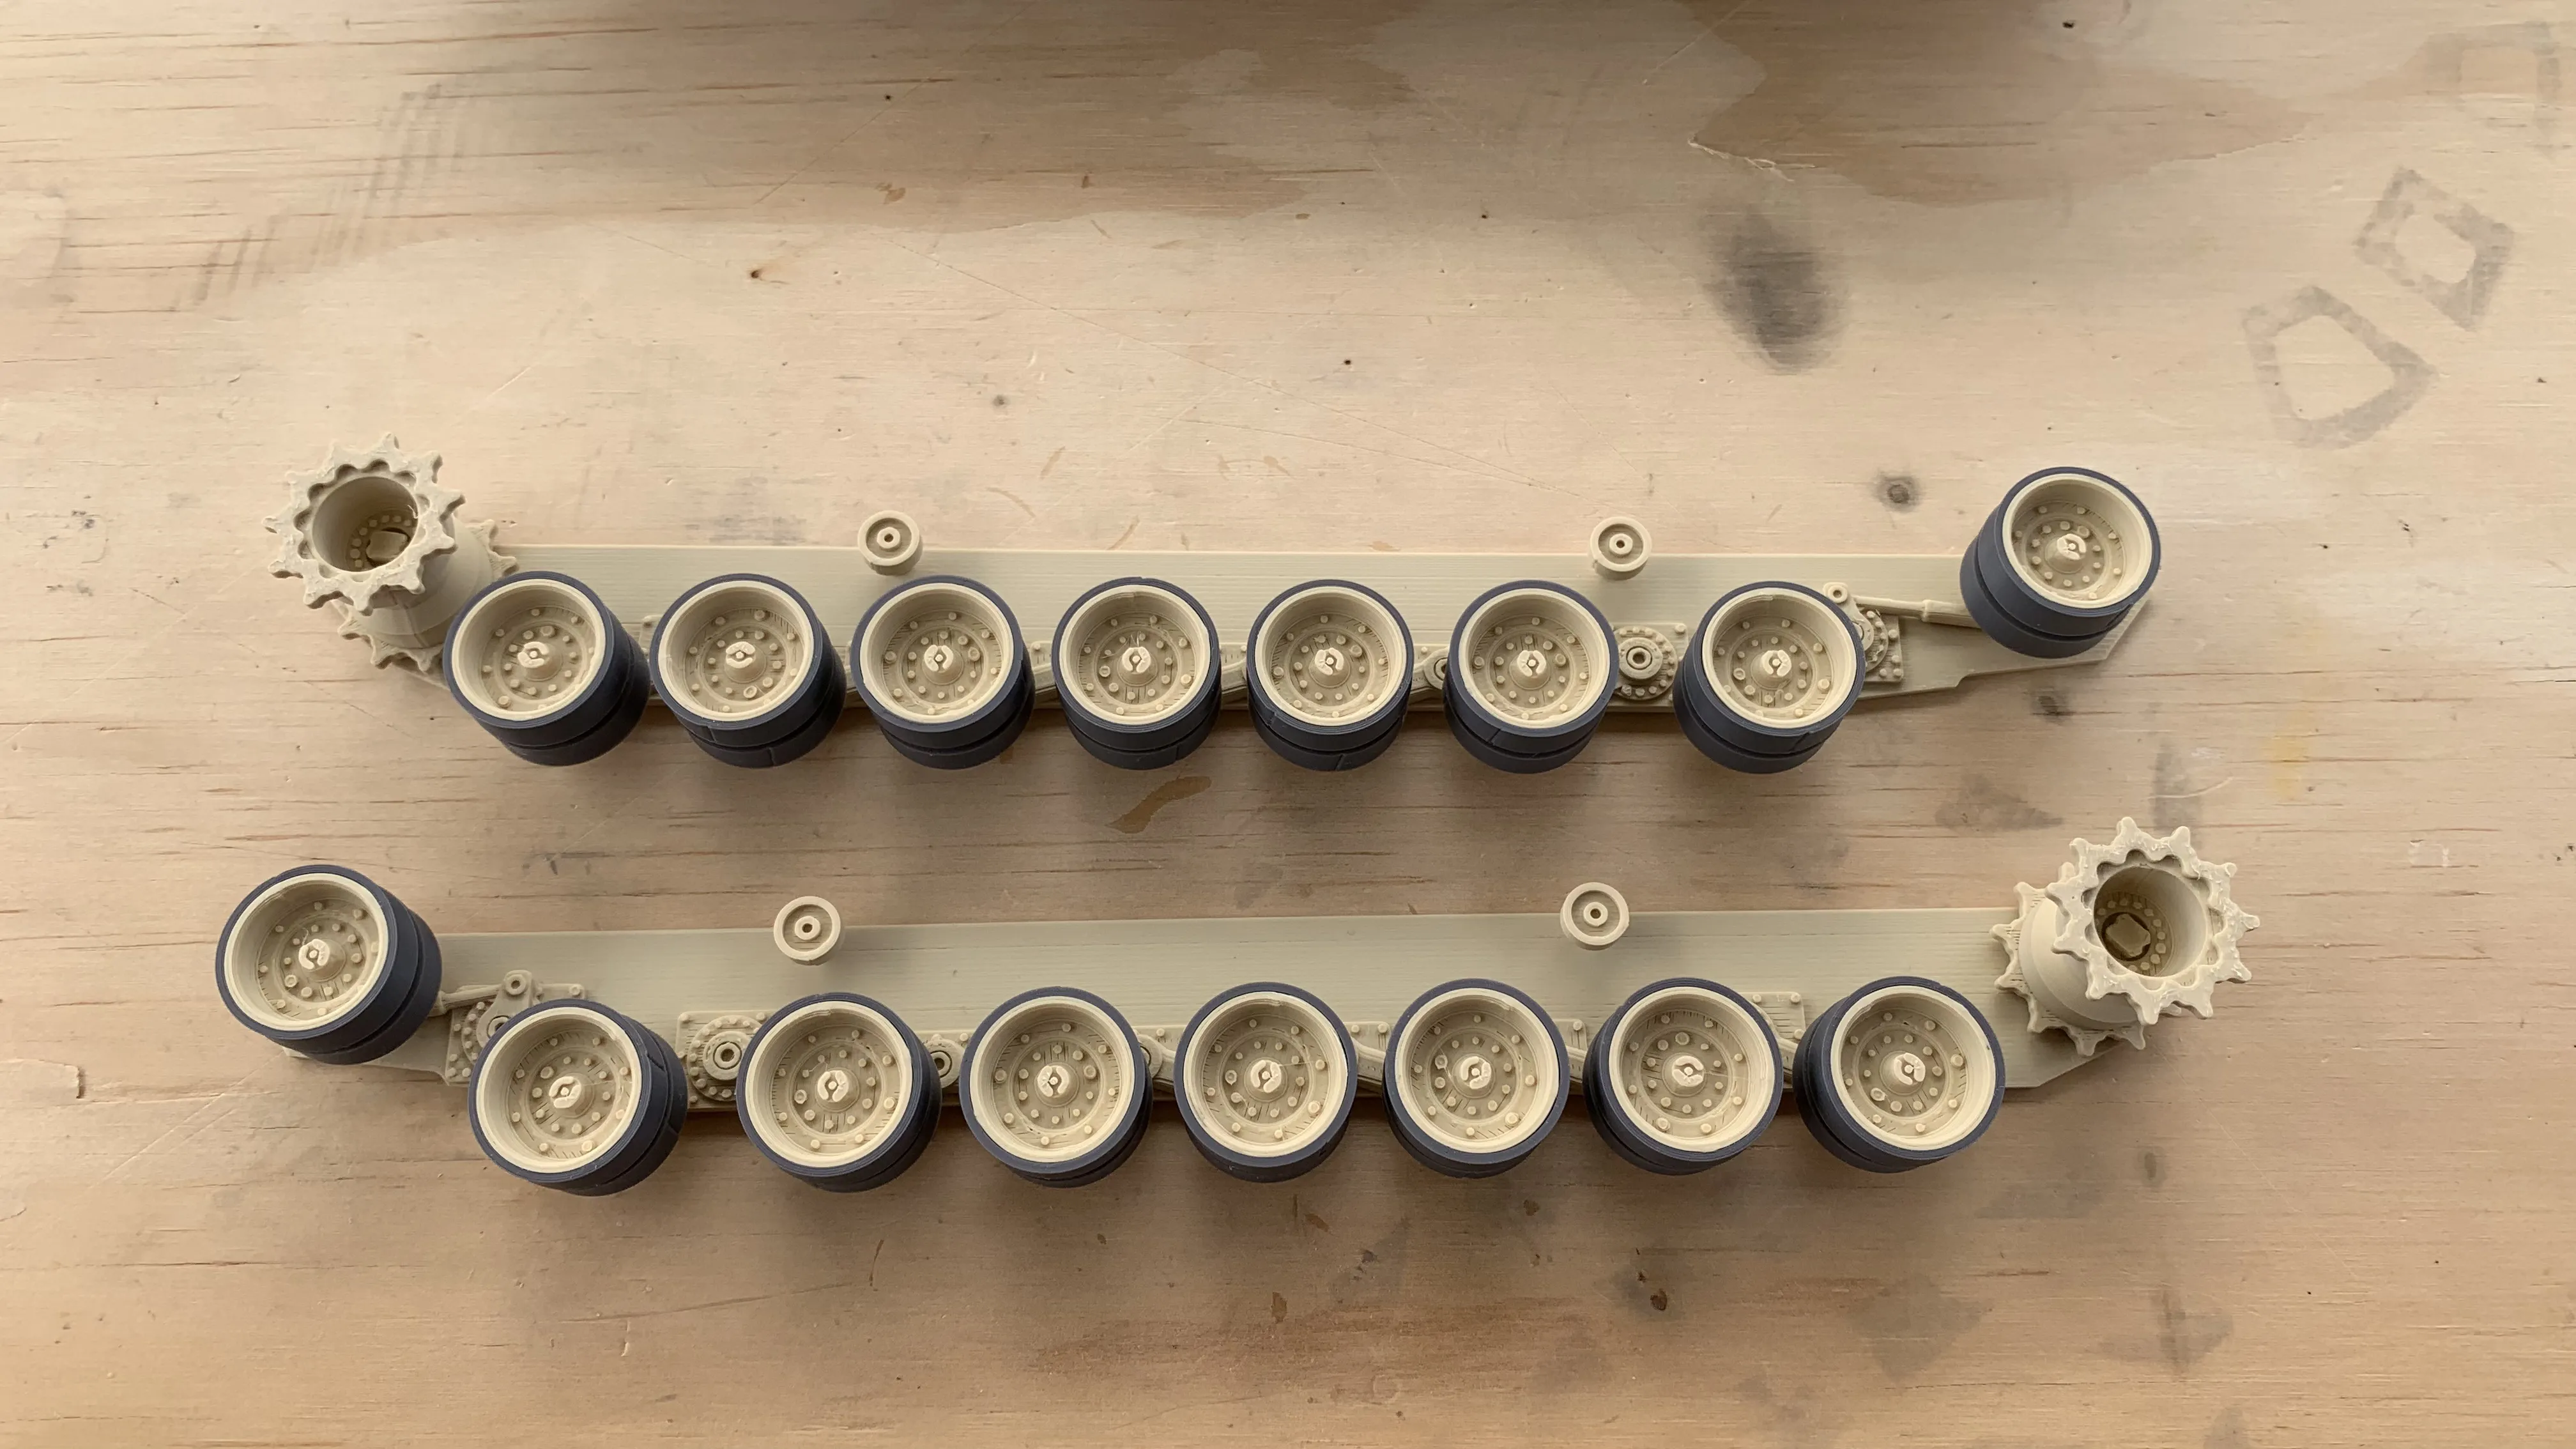
4. Assemble the track links, will need 80 links on each side. Note that the the number of track links will depend on the type of filament and printer used. You may be okay with 79 links on each side. Highly recommend clipping together 10 at a time so you don't lose count.
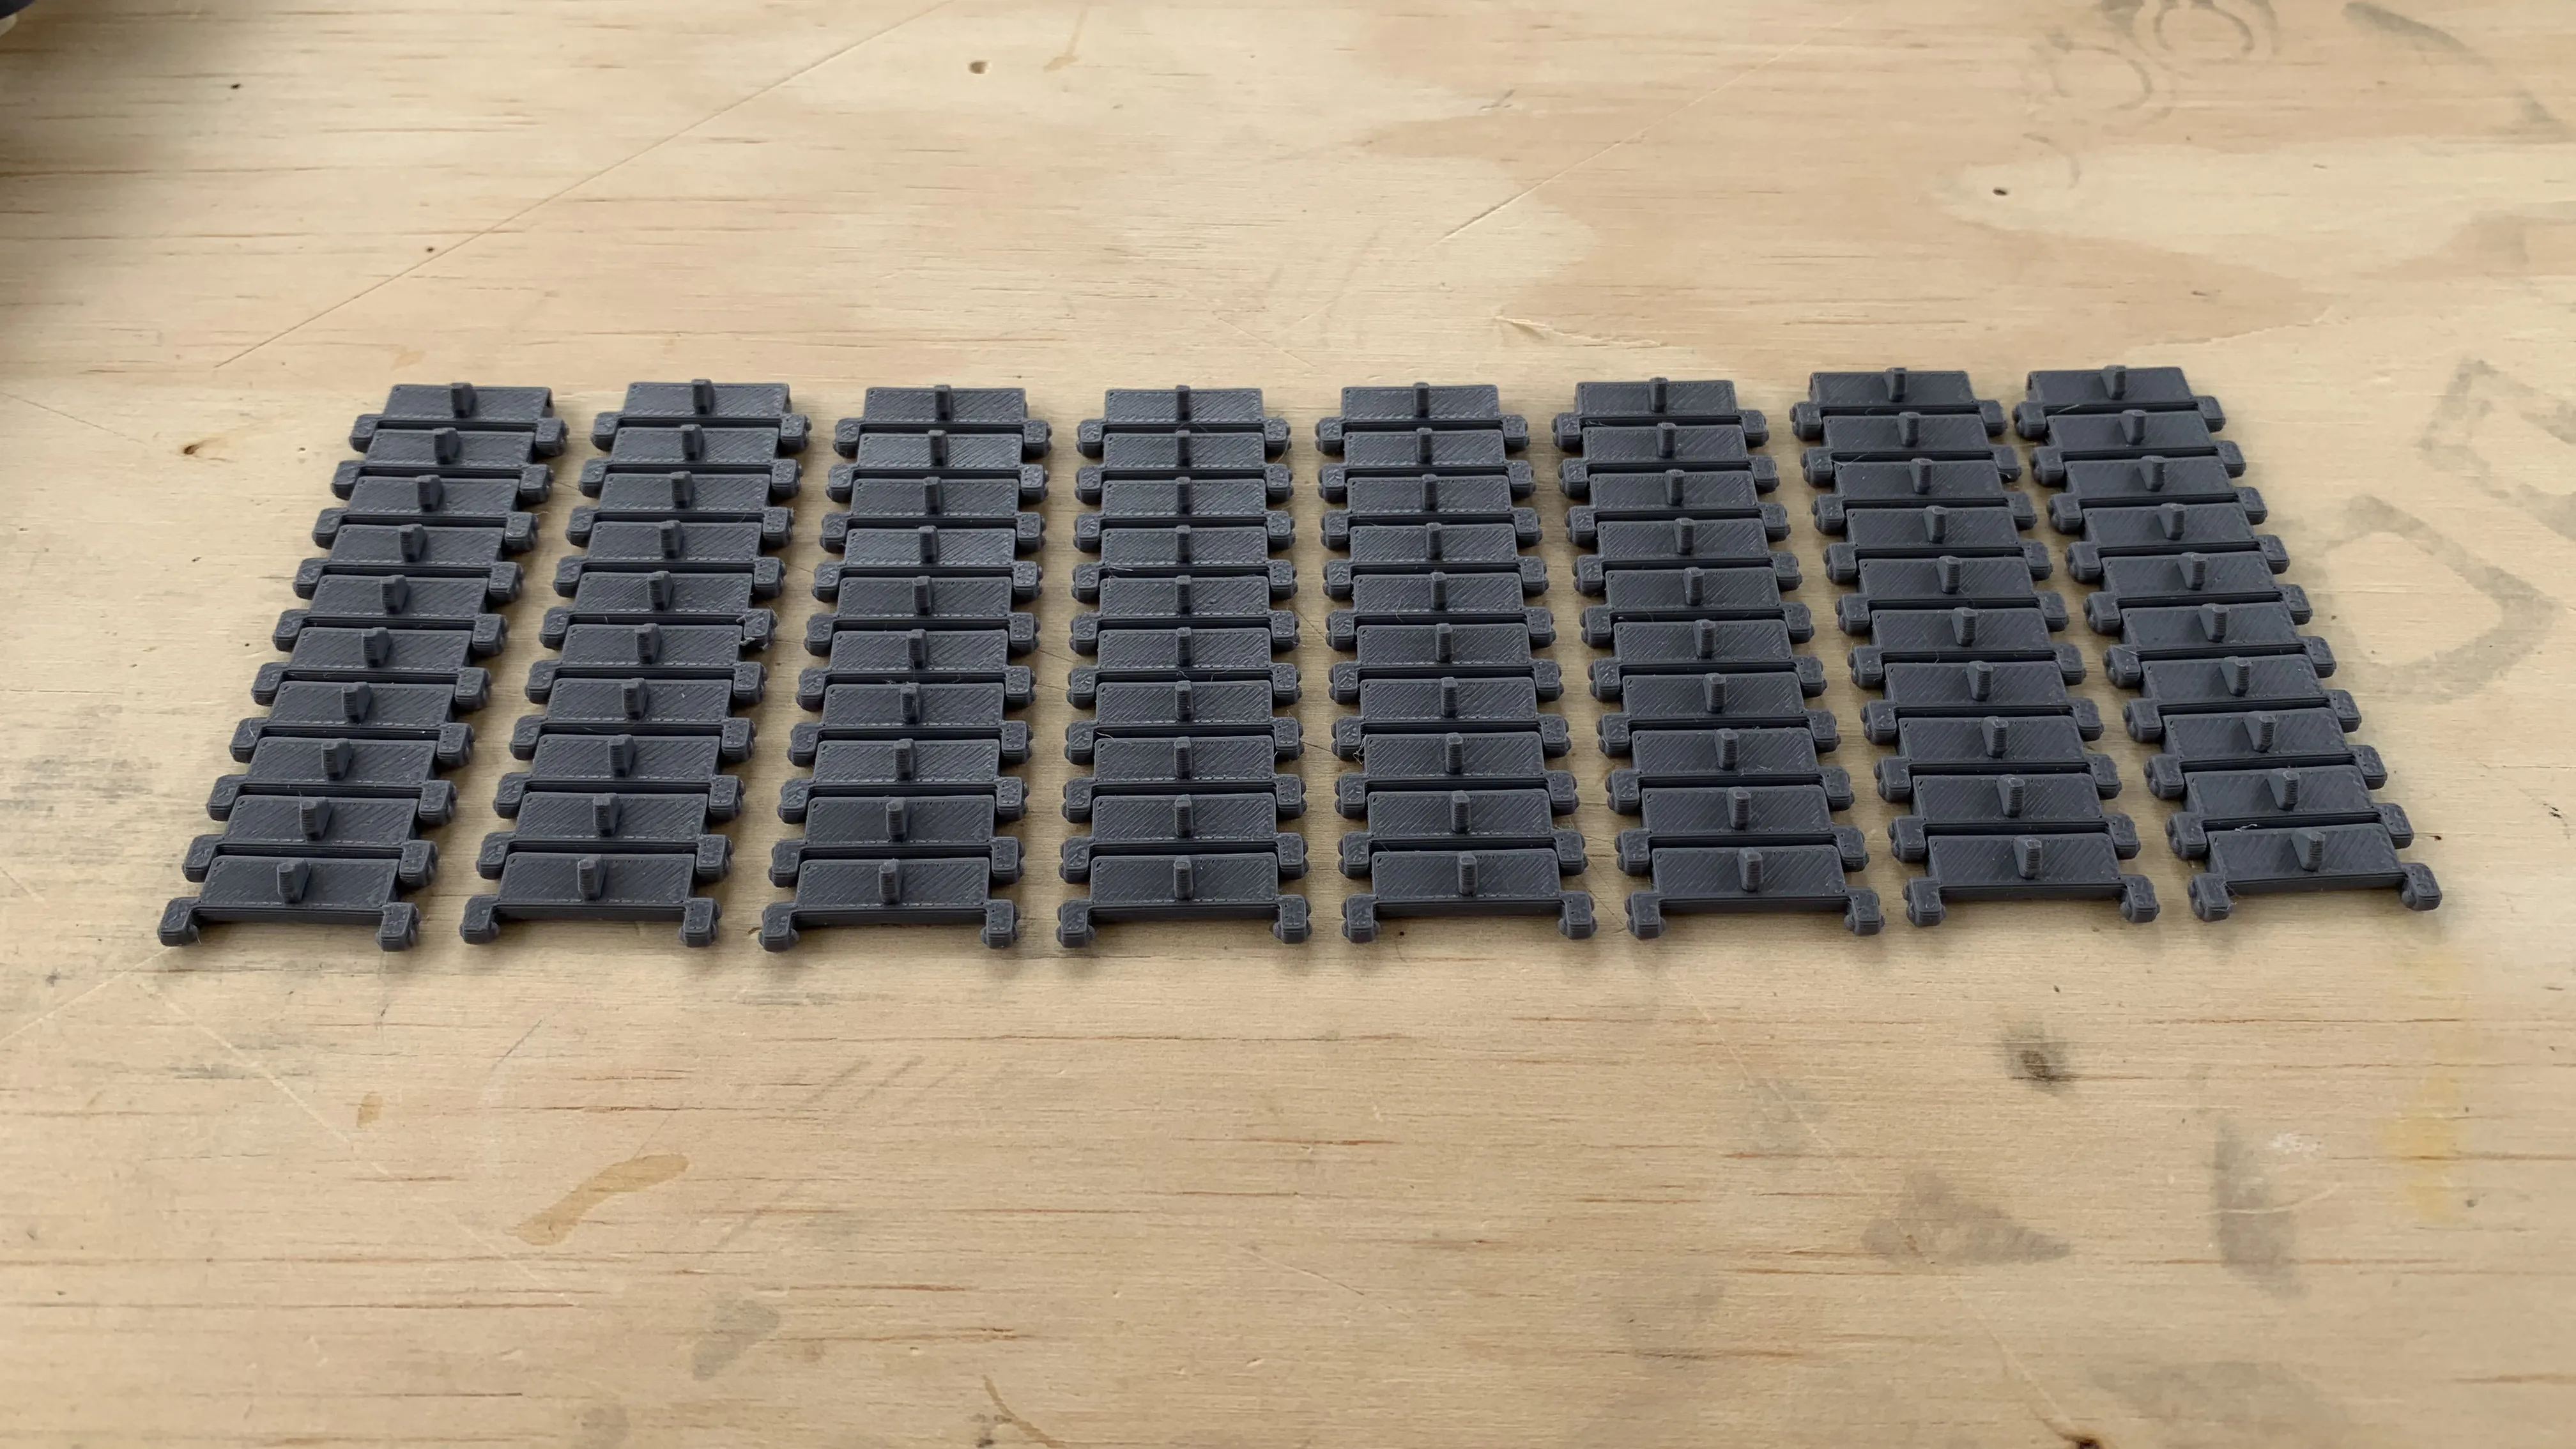
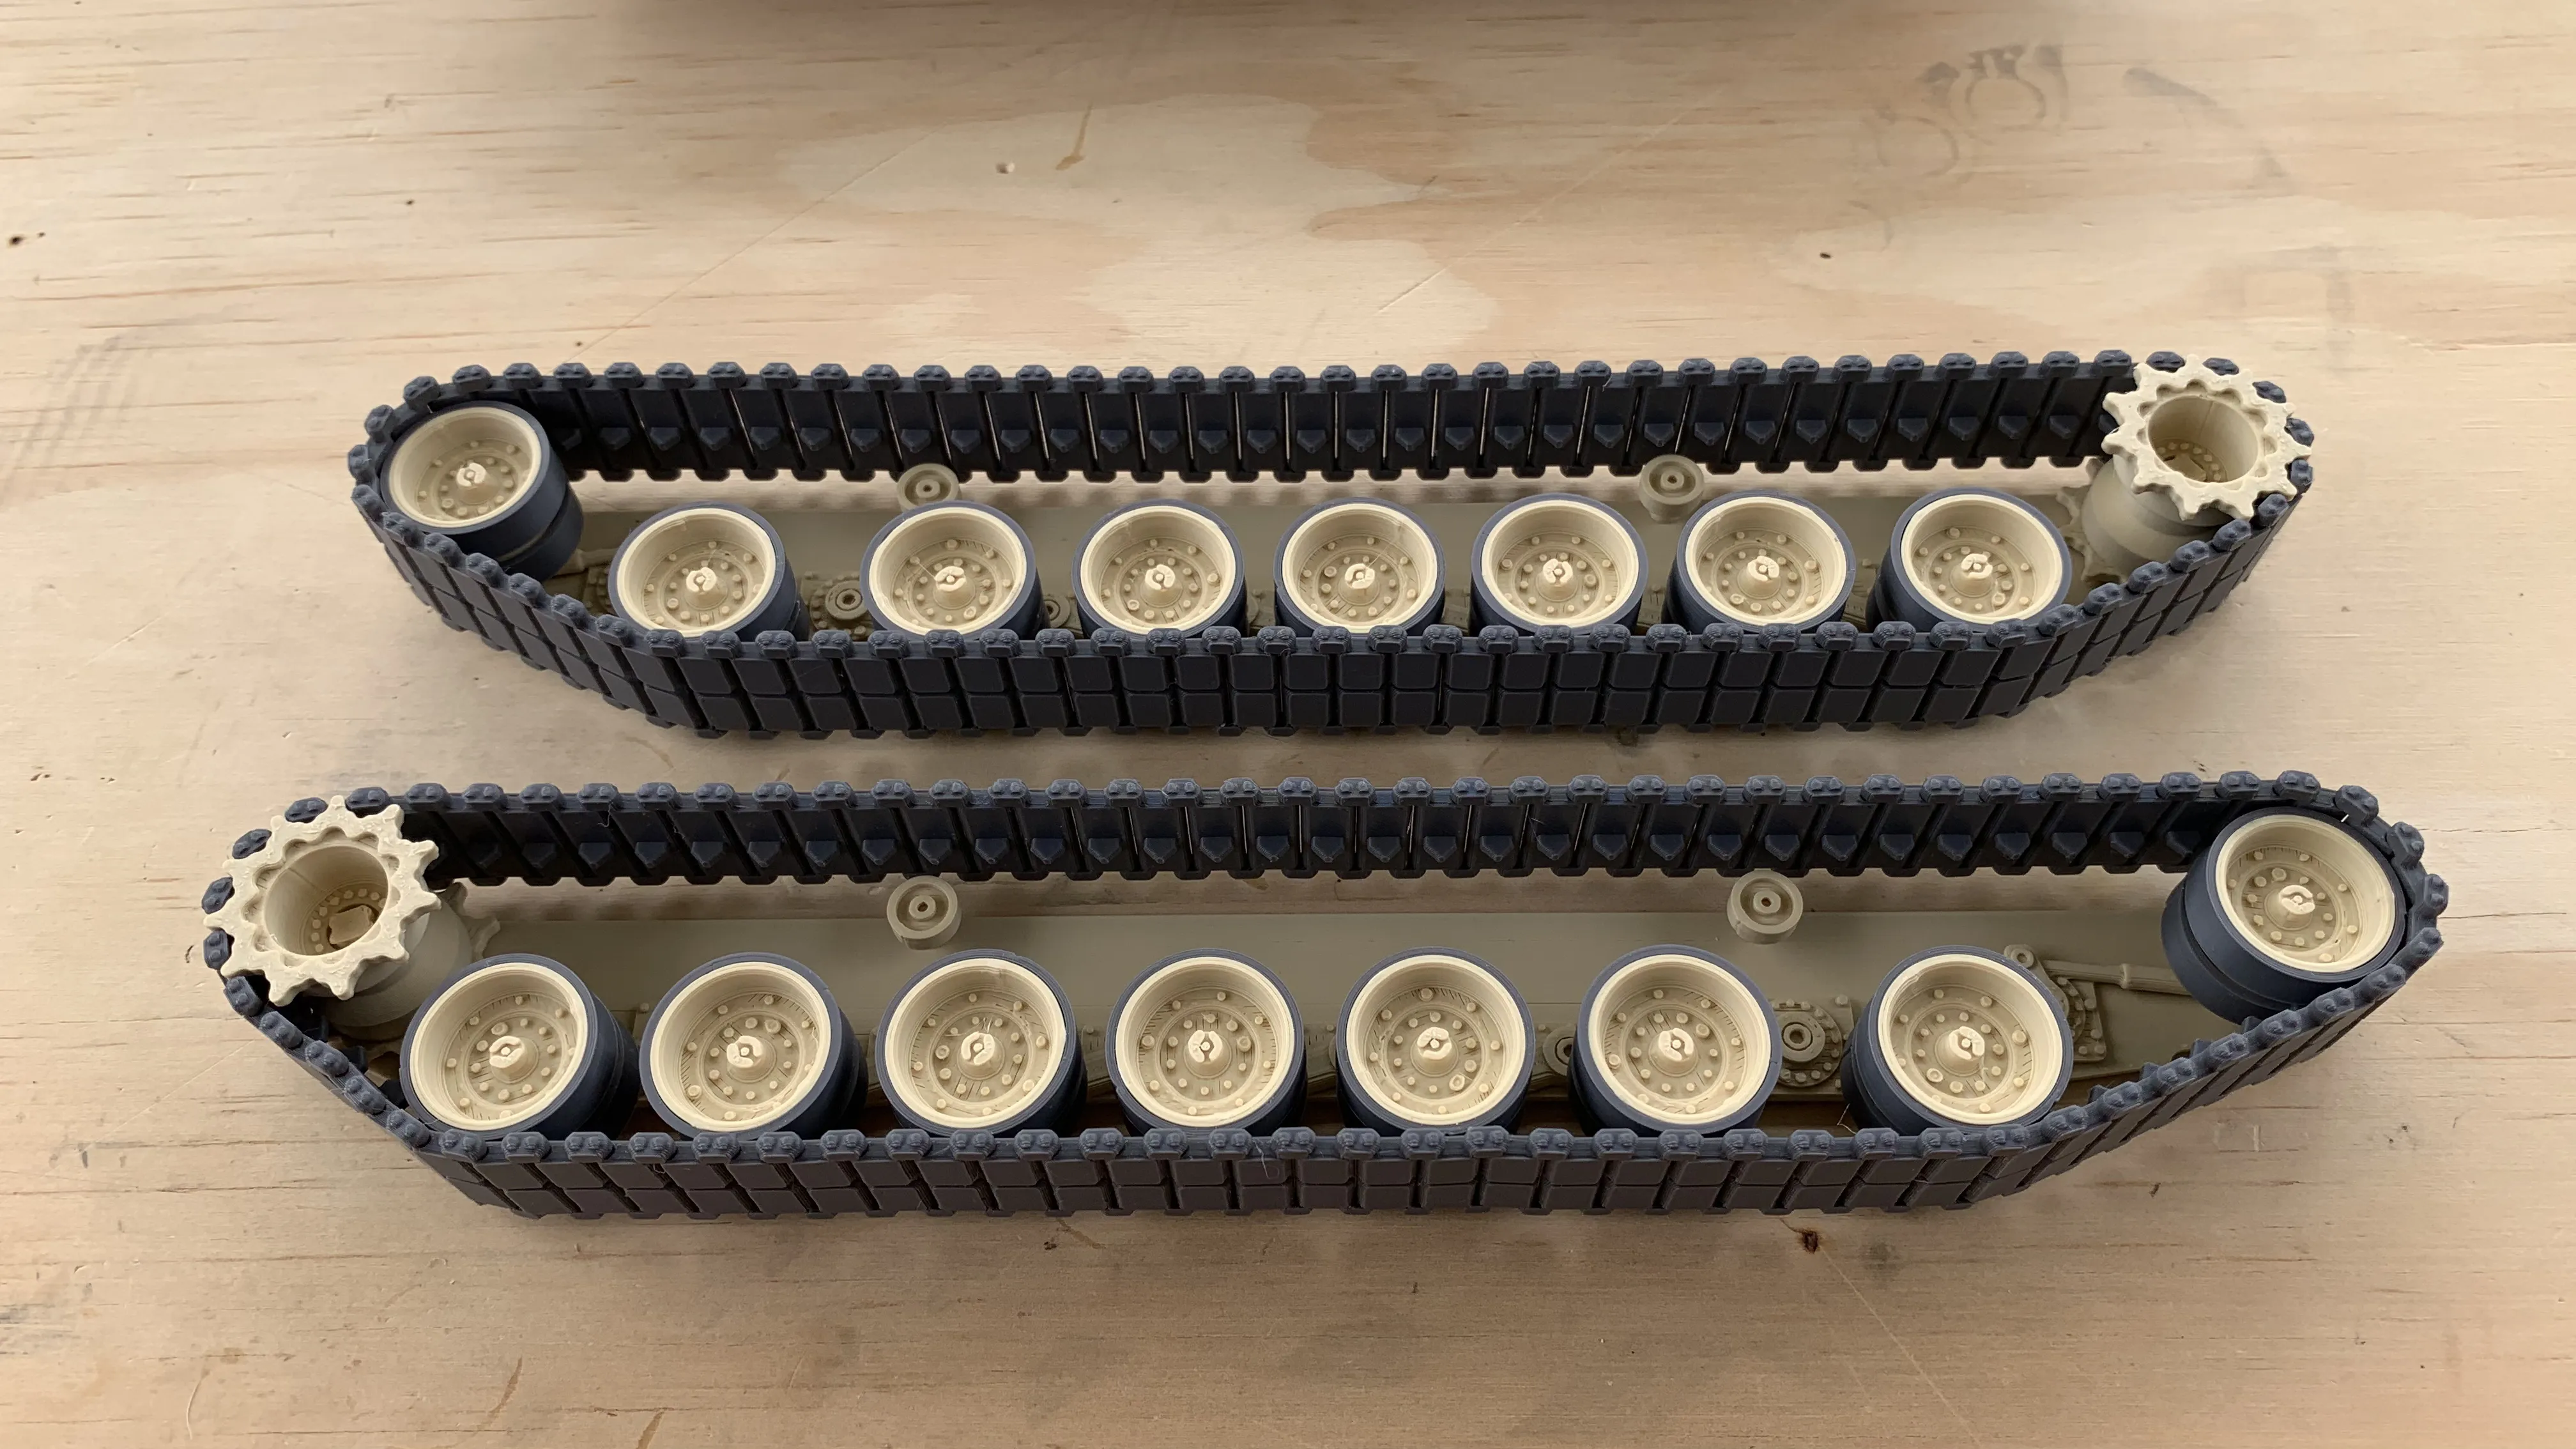
5. Clip the strands of tracks together to make a single long strand (80 links for each side) and attach it to both left and right track systems.
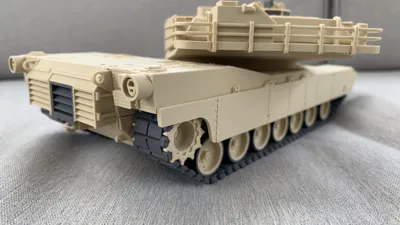
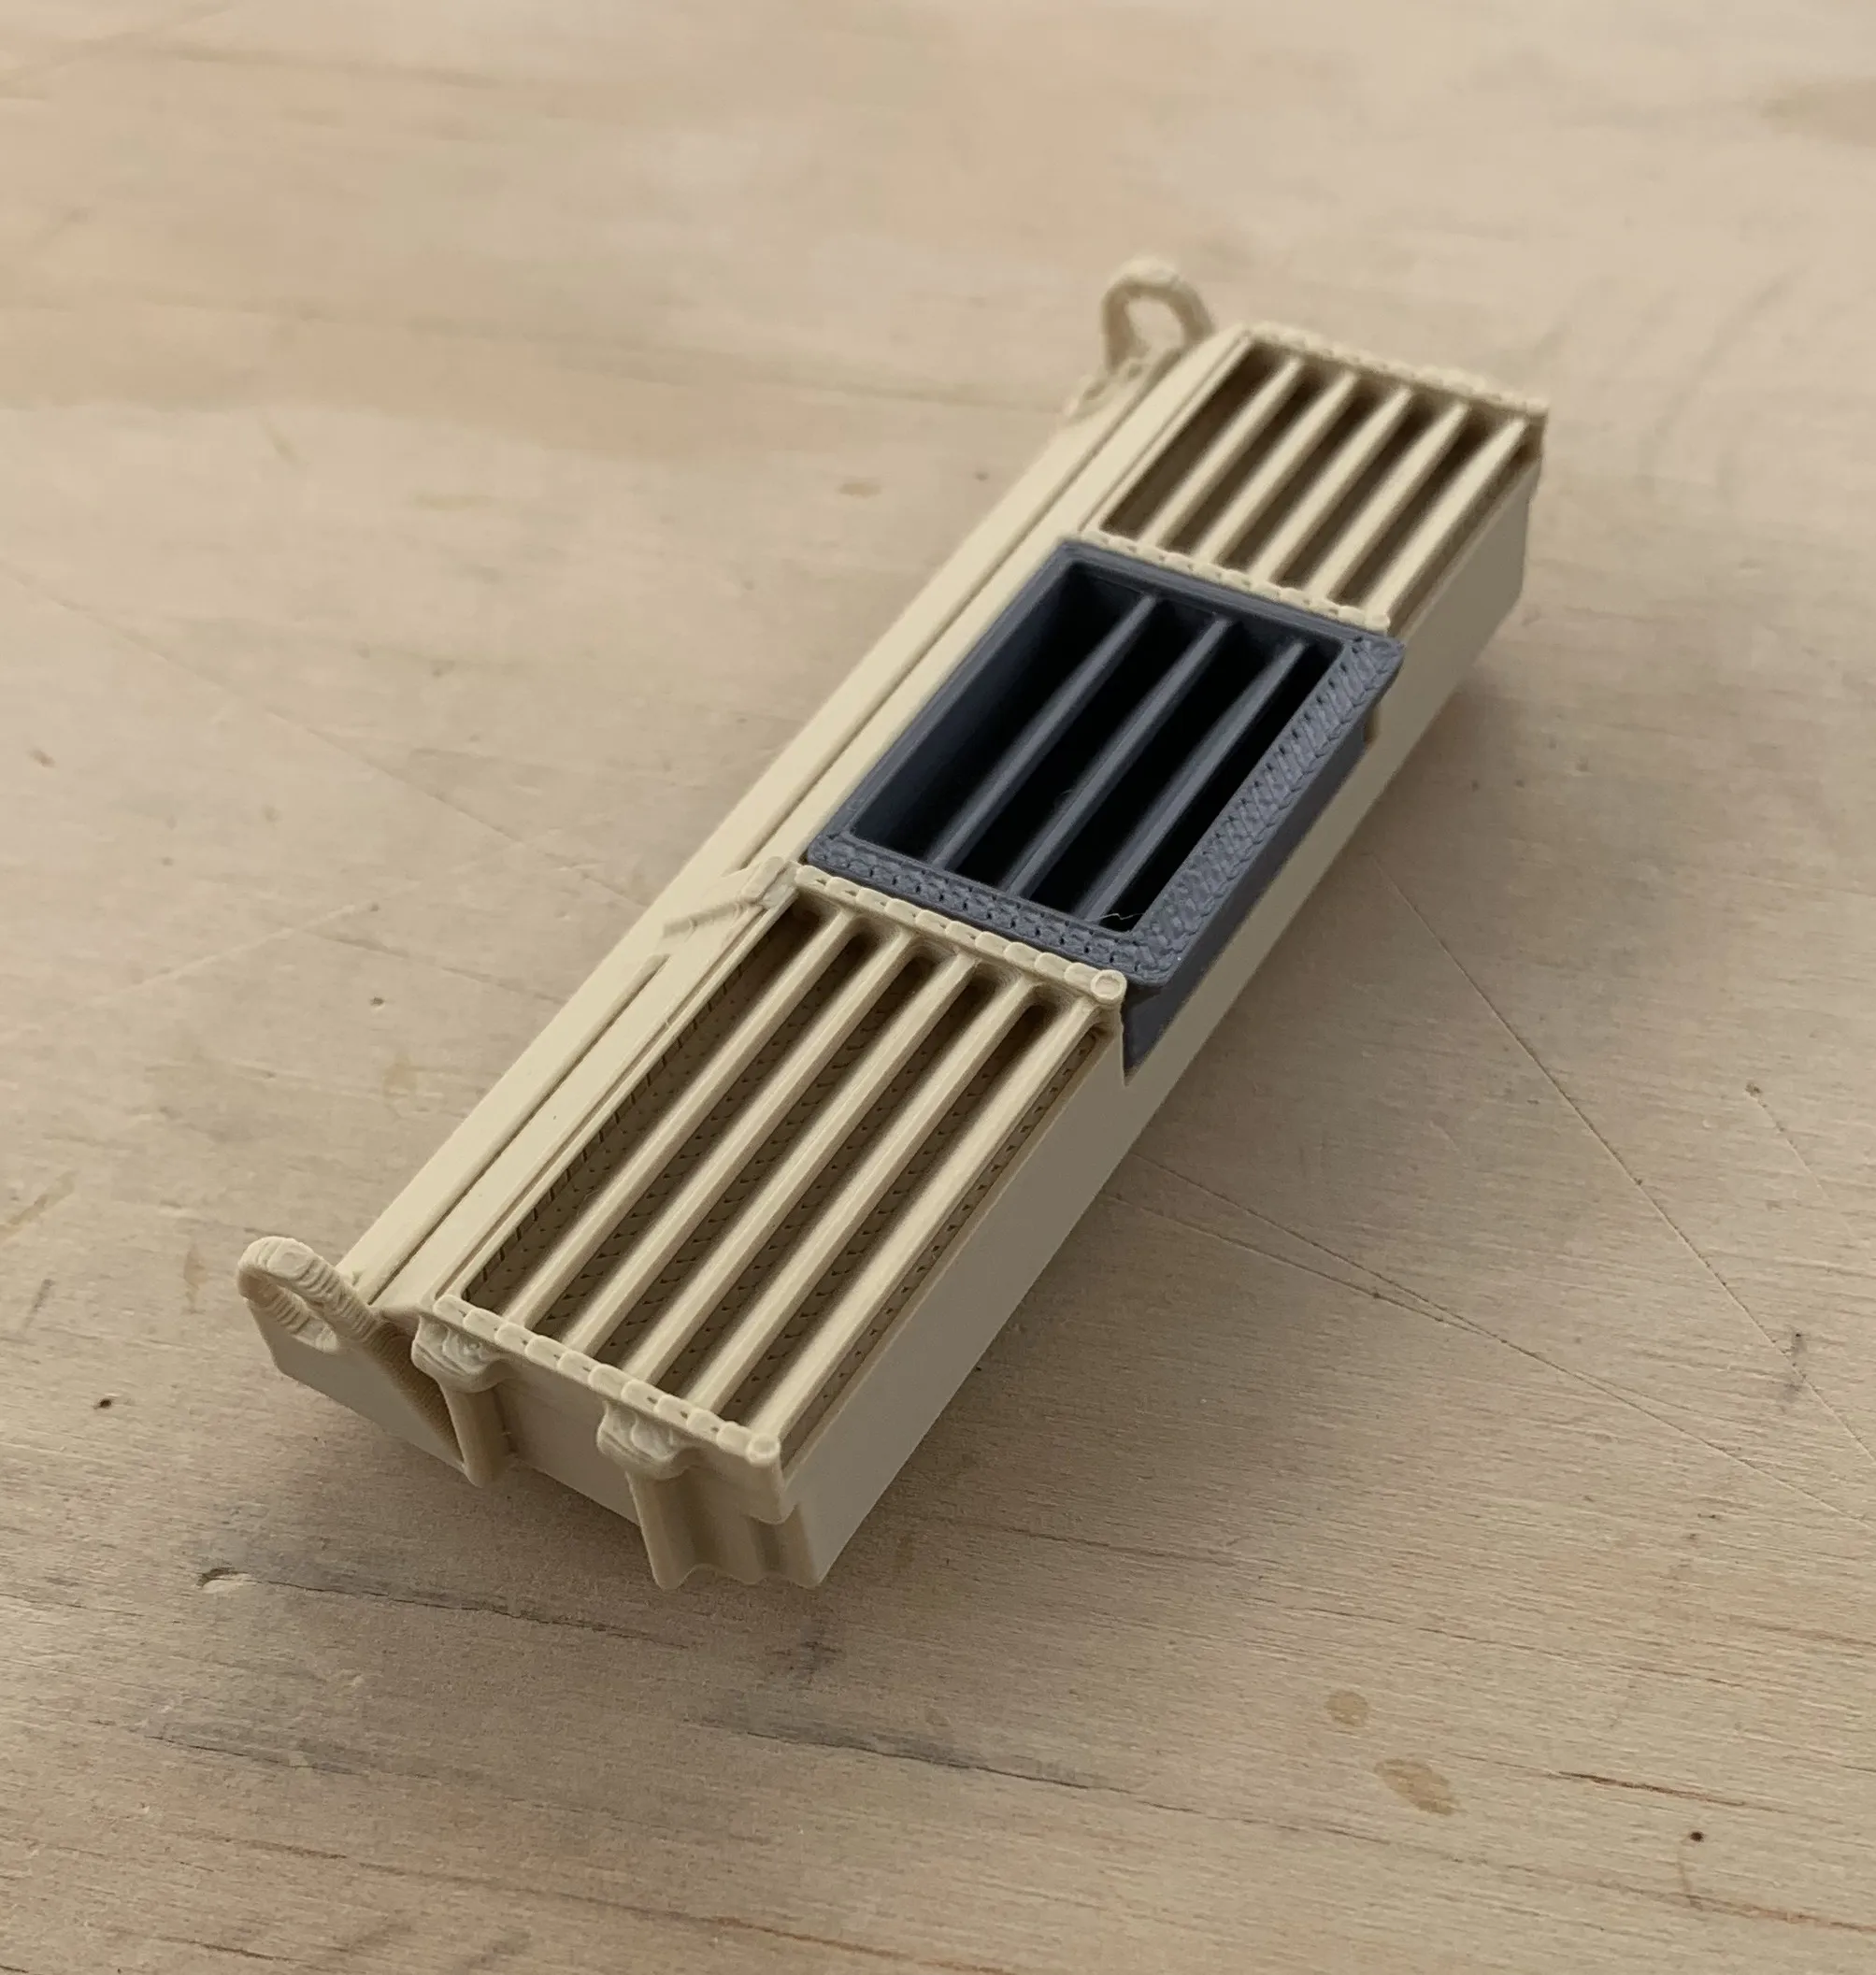
6. Assemble the rear exhaust vents and attach to the rear of the main hull using the pins provided.
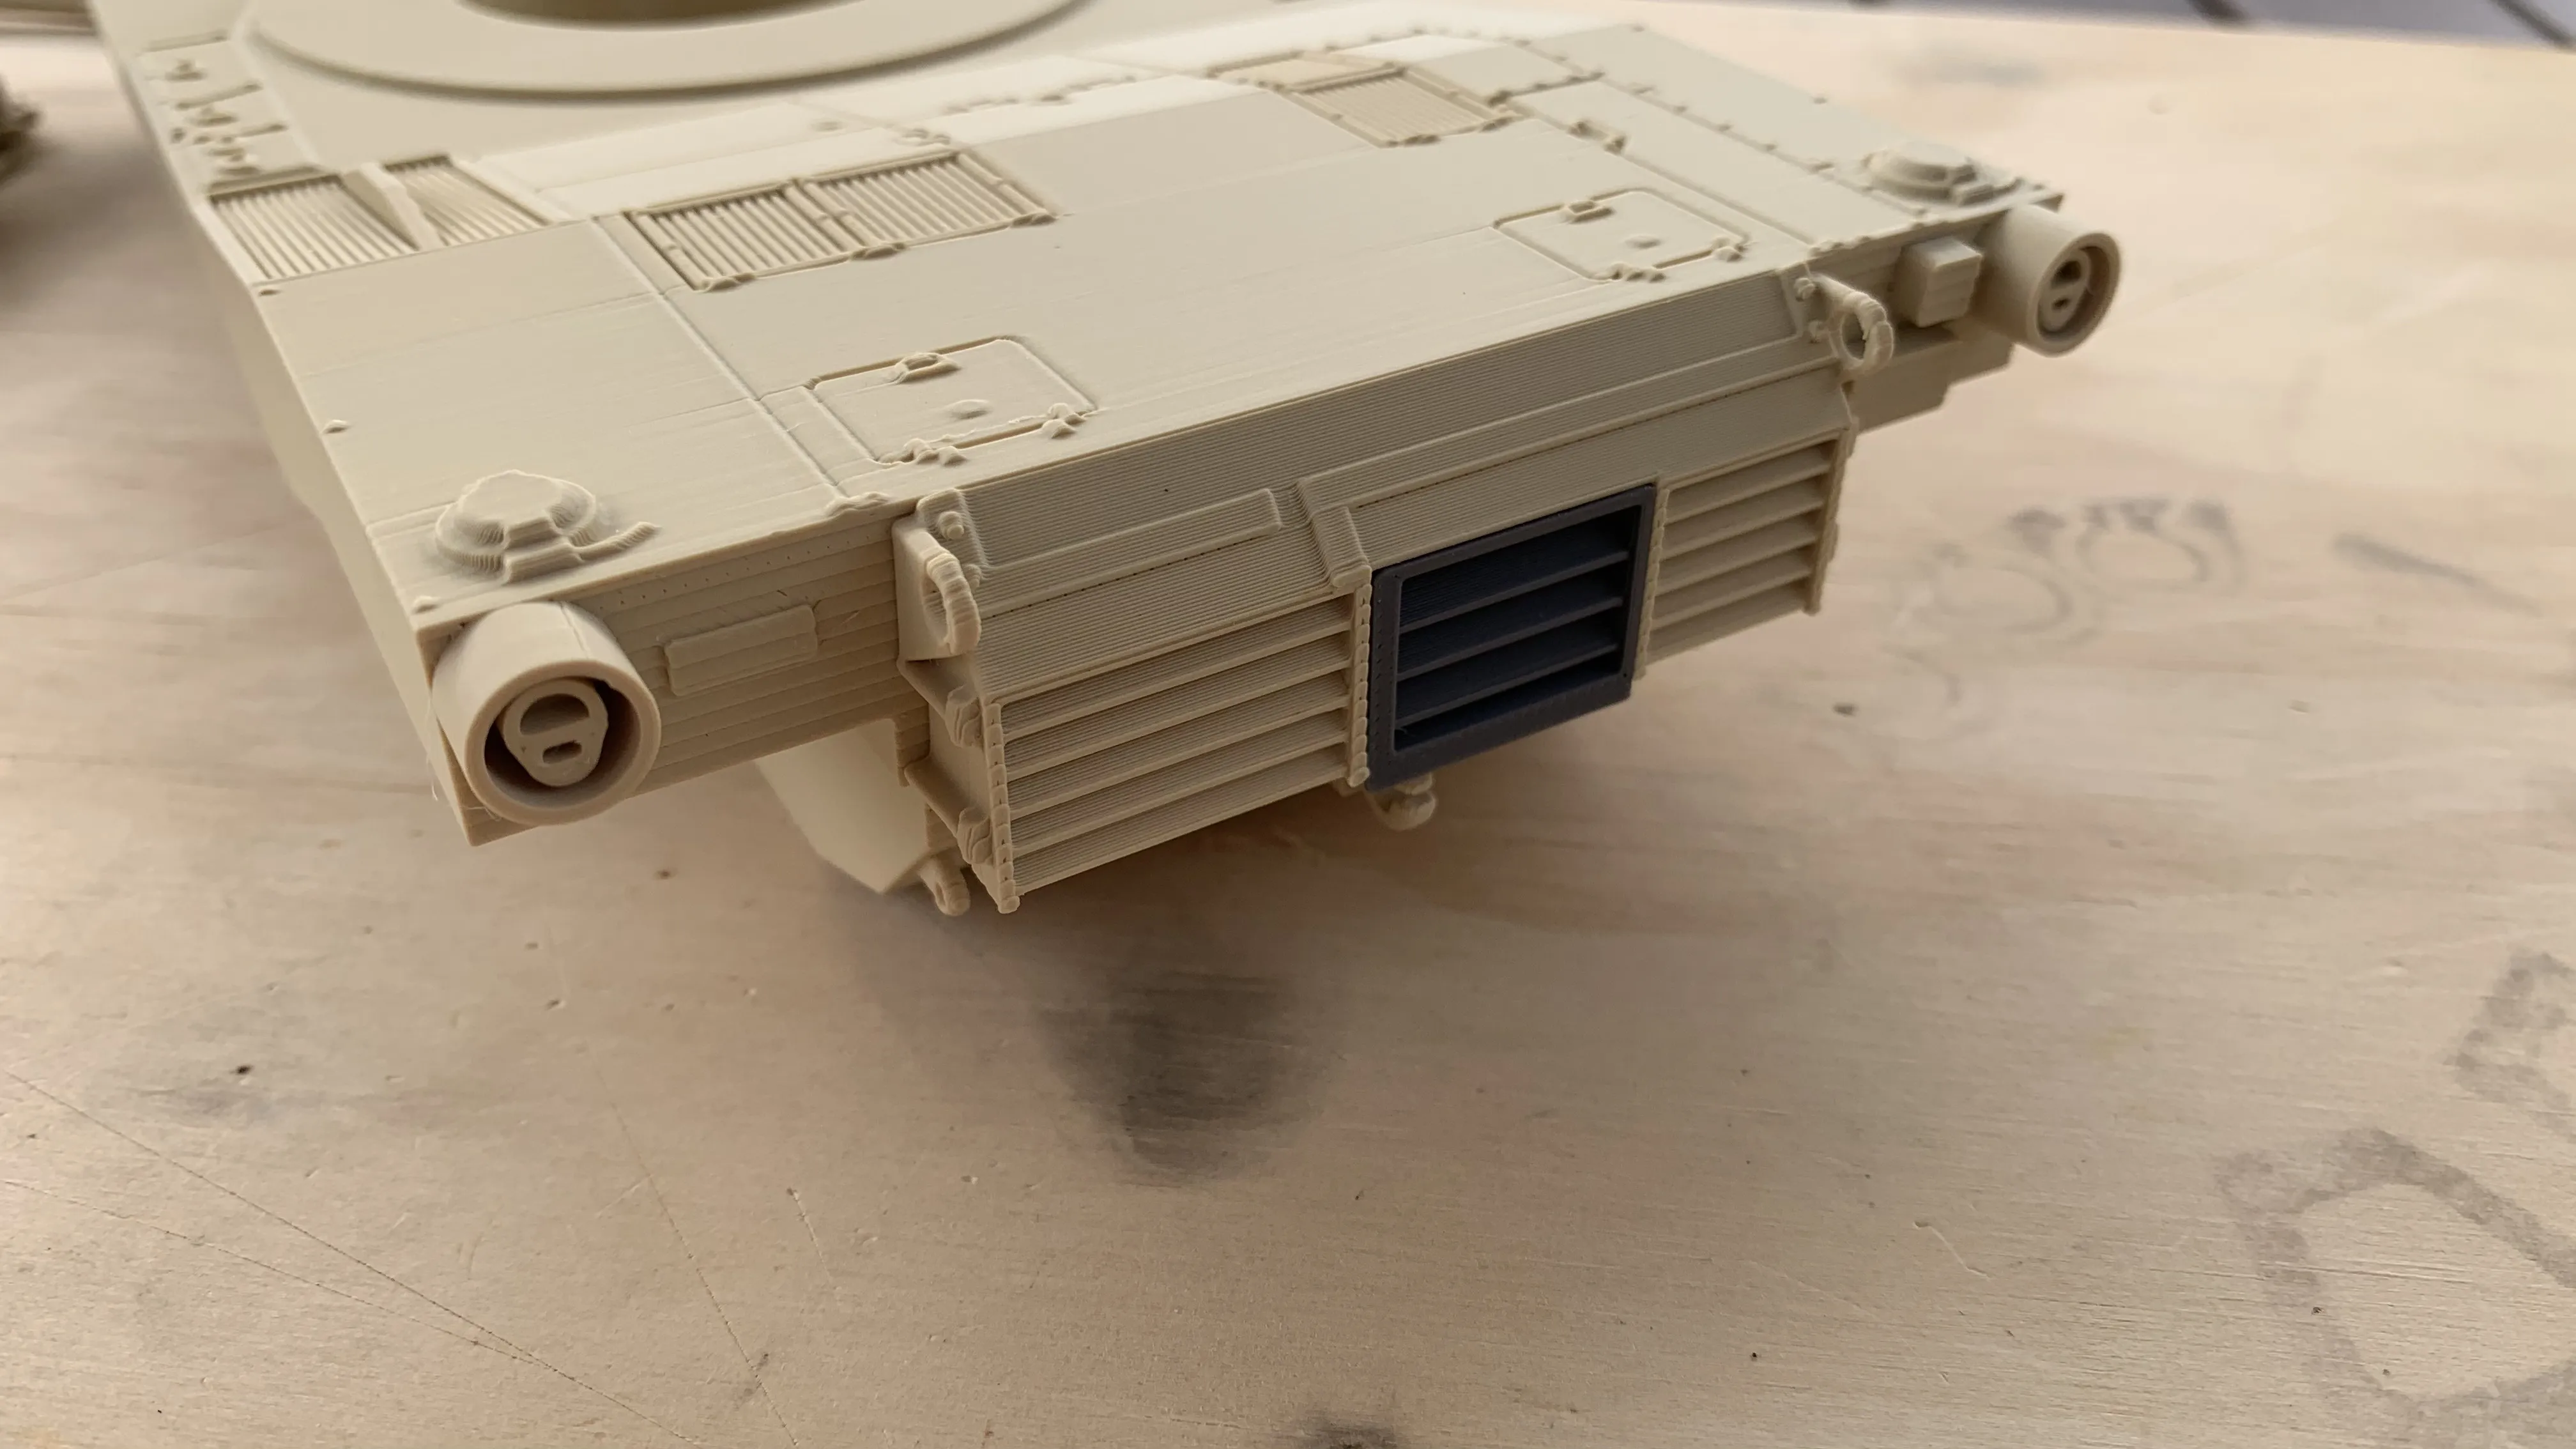
7. Attach the track systems you've just created in step 5 onto the main hull.
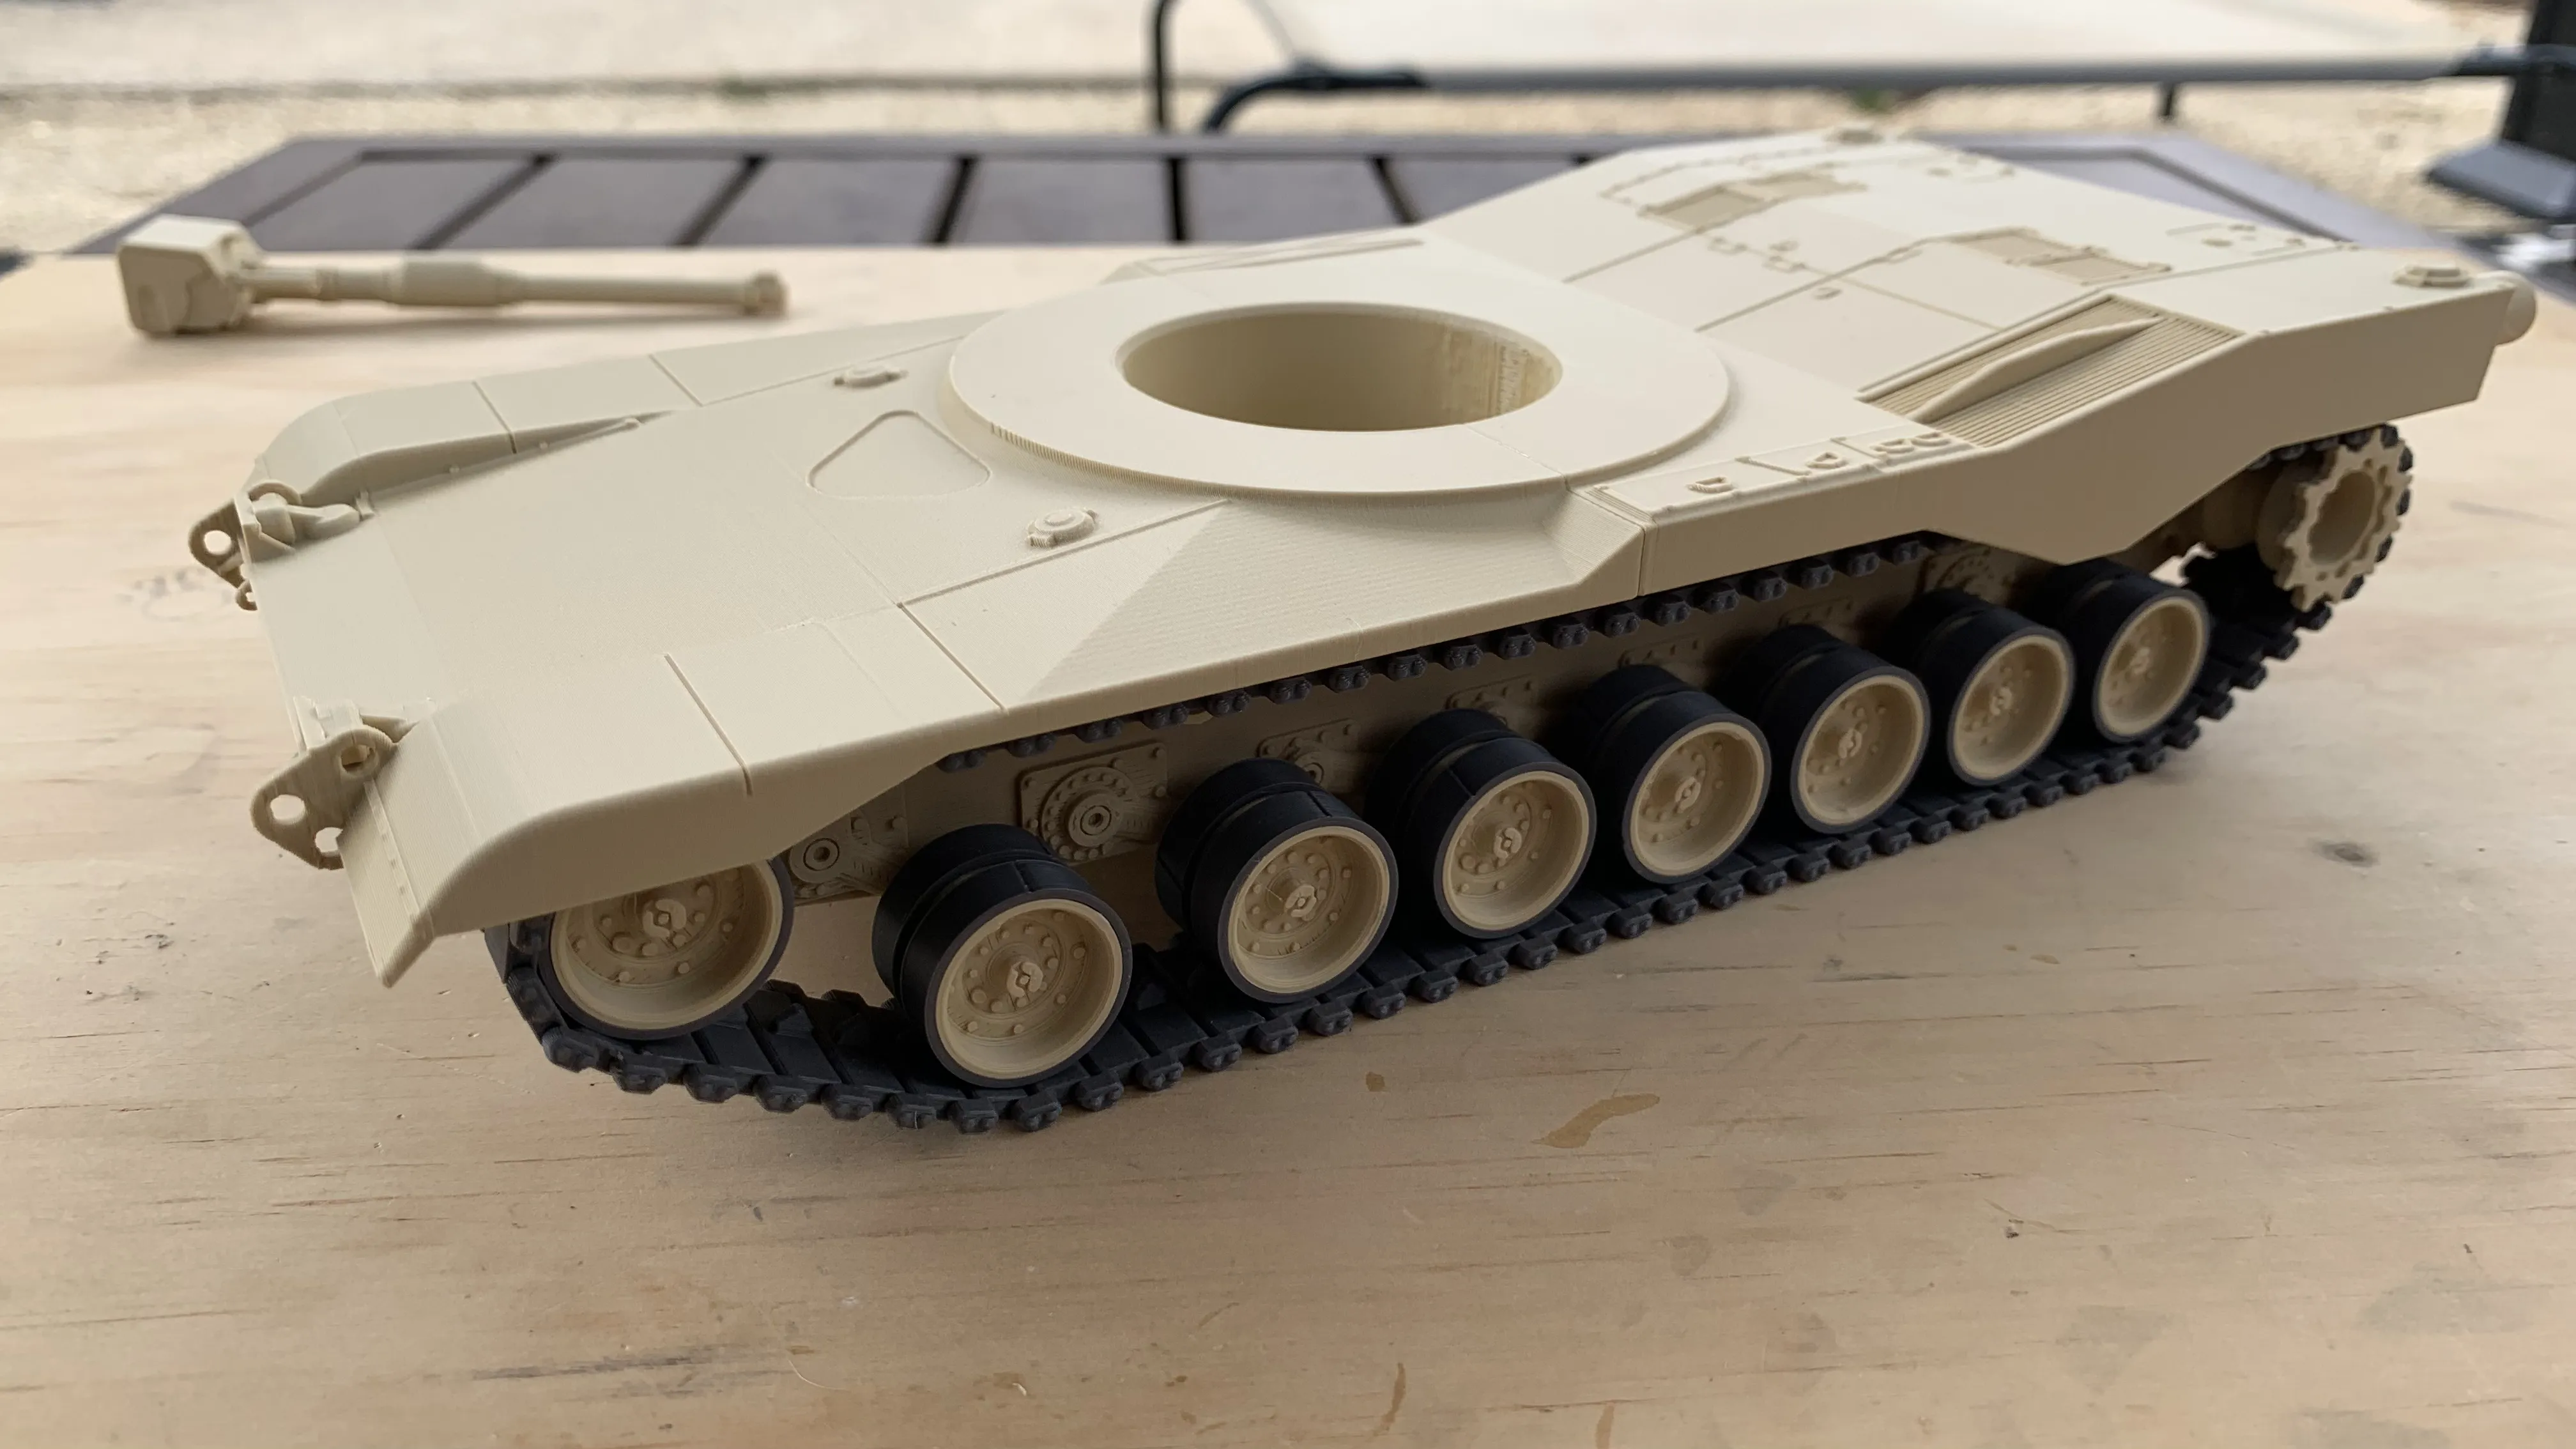
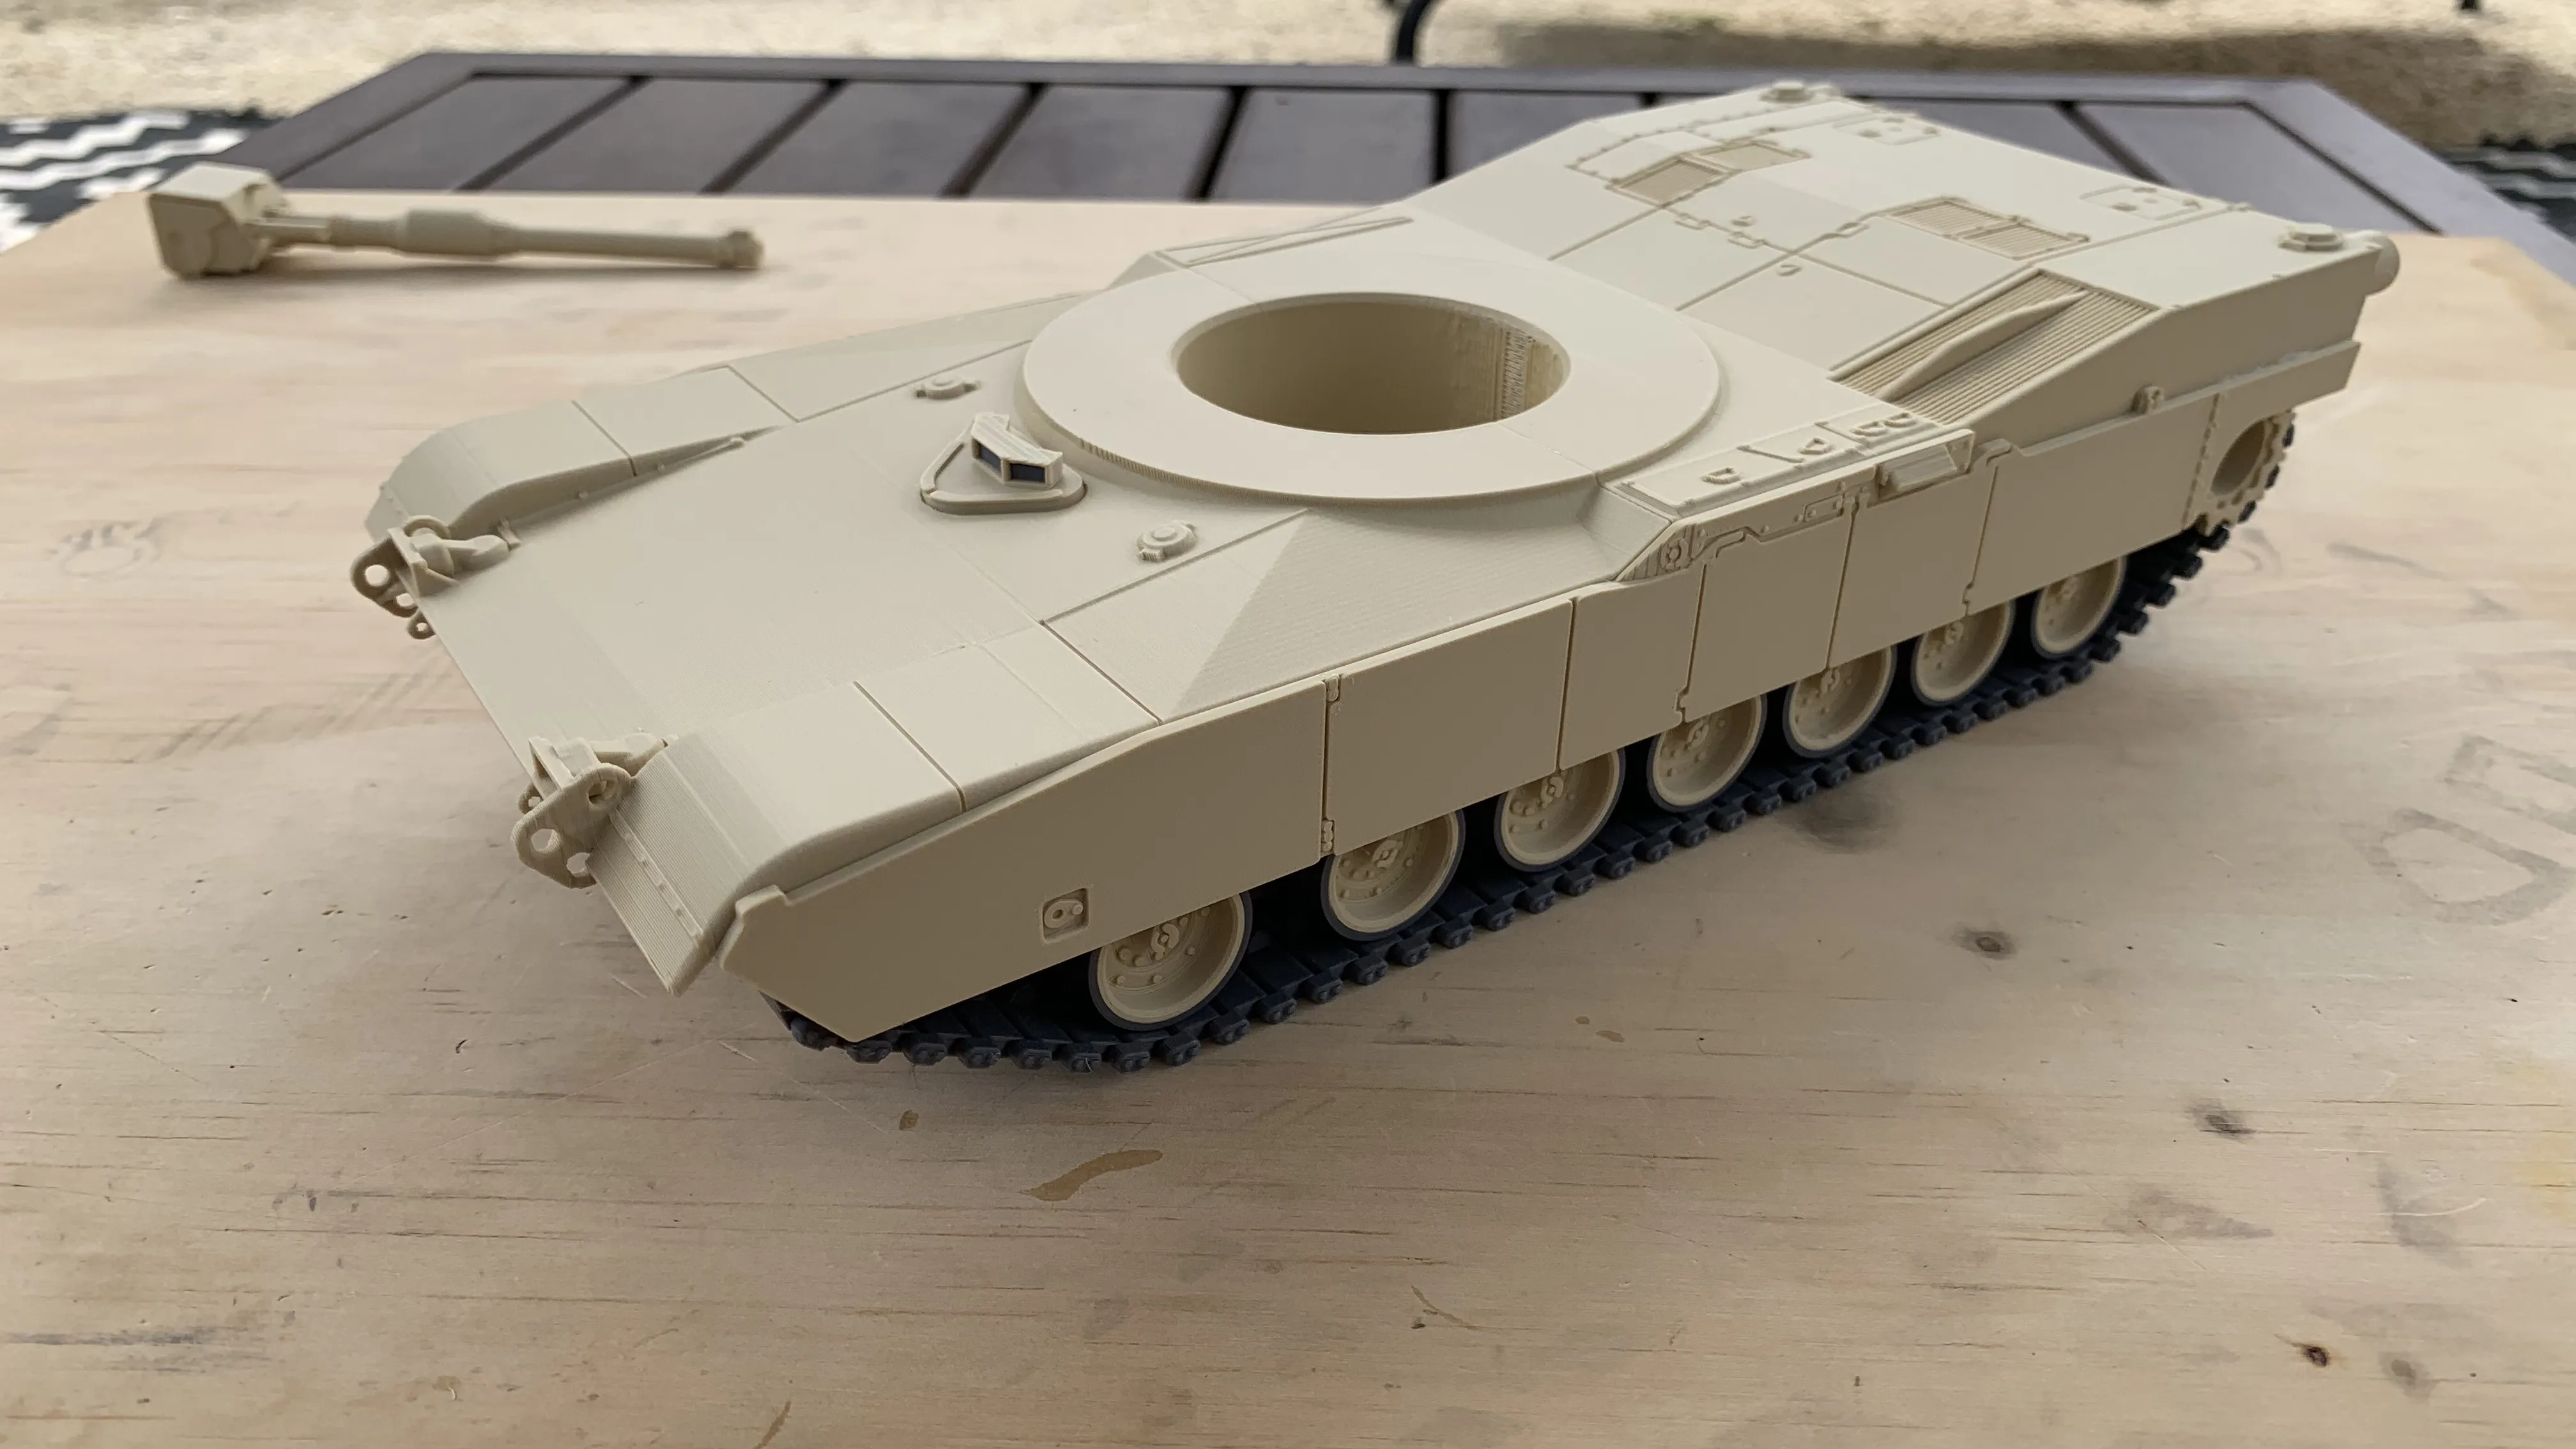
8. Attach the track panels and the driver's hatch to the hull, you are now finished with the hull assembly.
9. Seat the main gun into the gun base ensuring correct orientation, can be press fitted, glue will help.
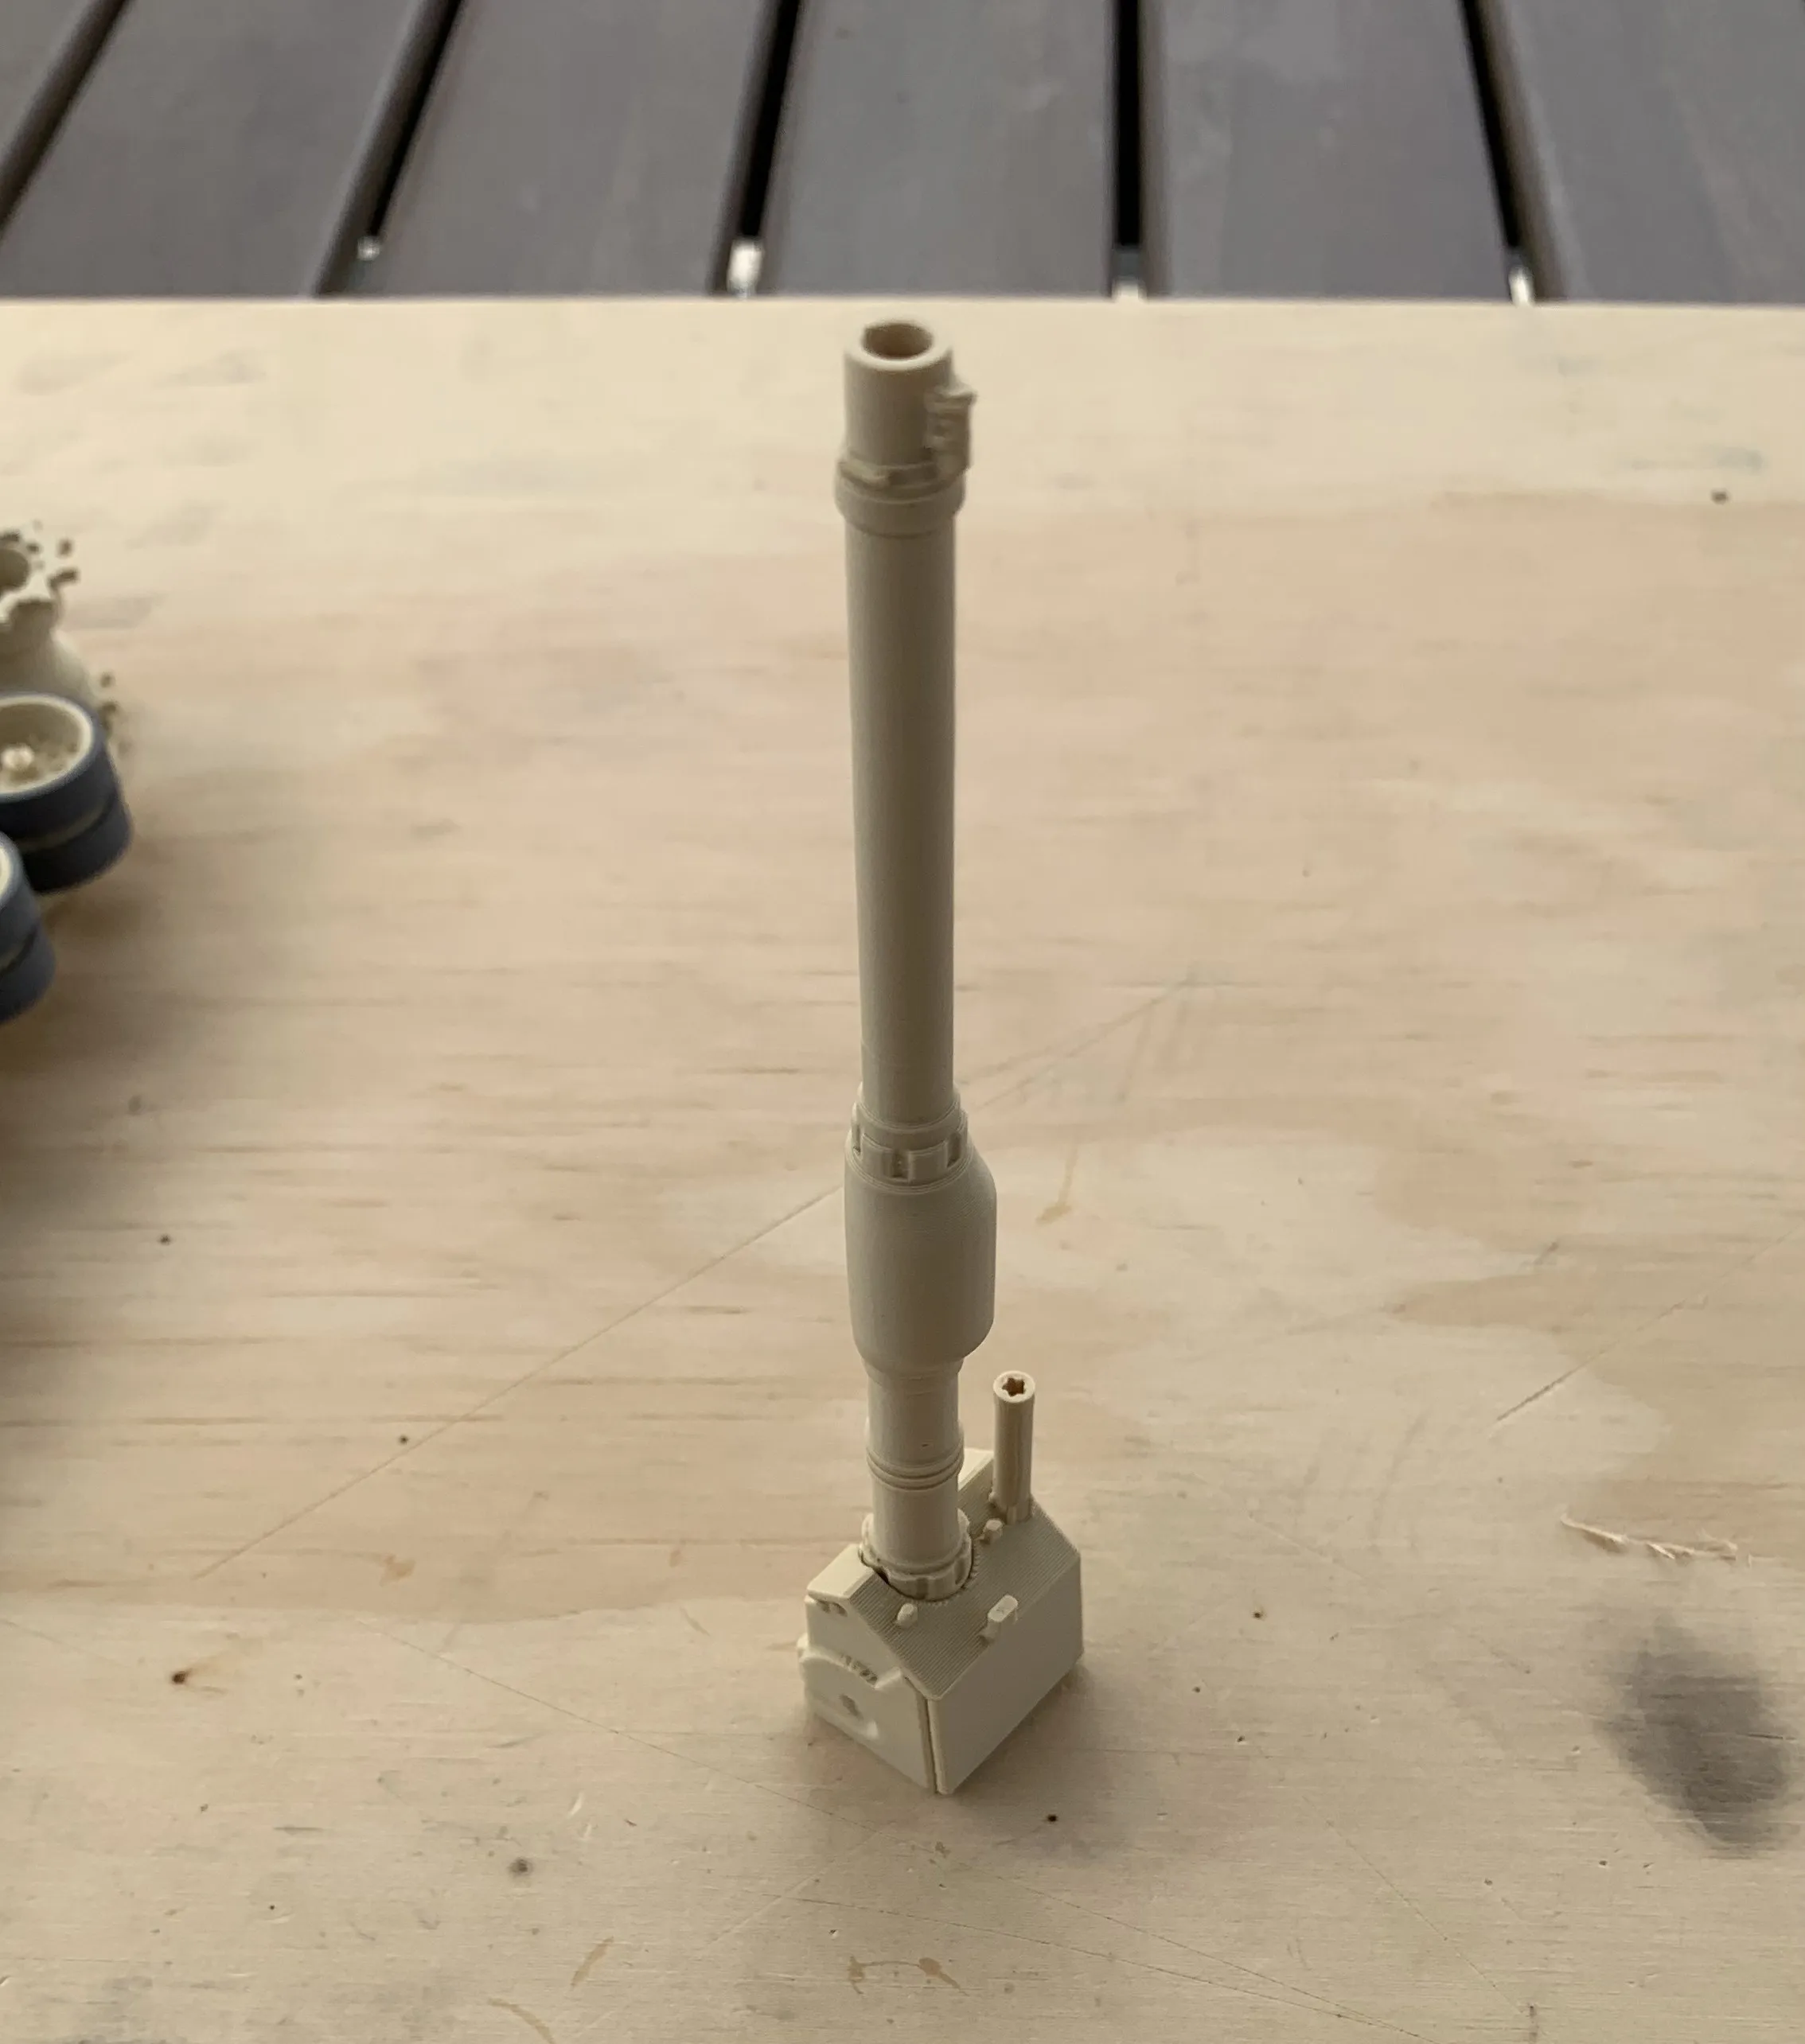
10. Gently press the main gun assembly from the previous step onto the turret from the top, note the cutout on the gun base. The fitting should be snug, this allows the main gun to traverse up and down to hold its position. Attach the side cargo boxes to the turret with the pins provided.
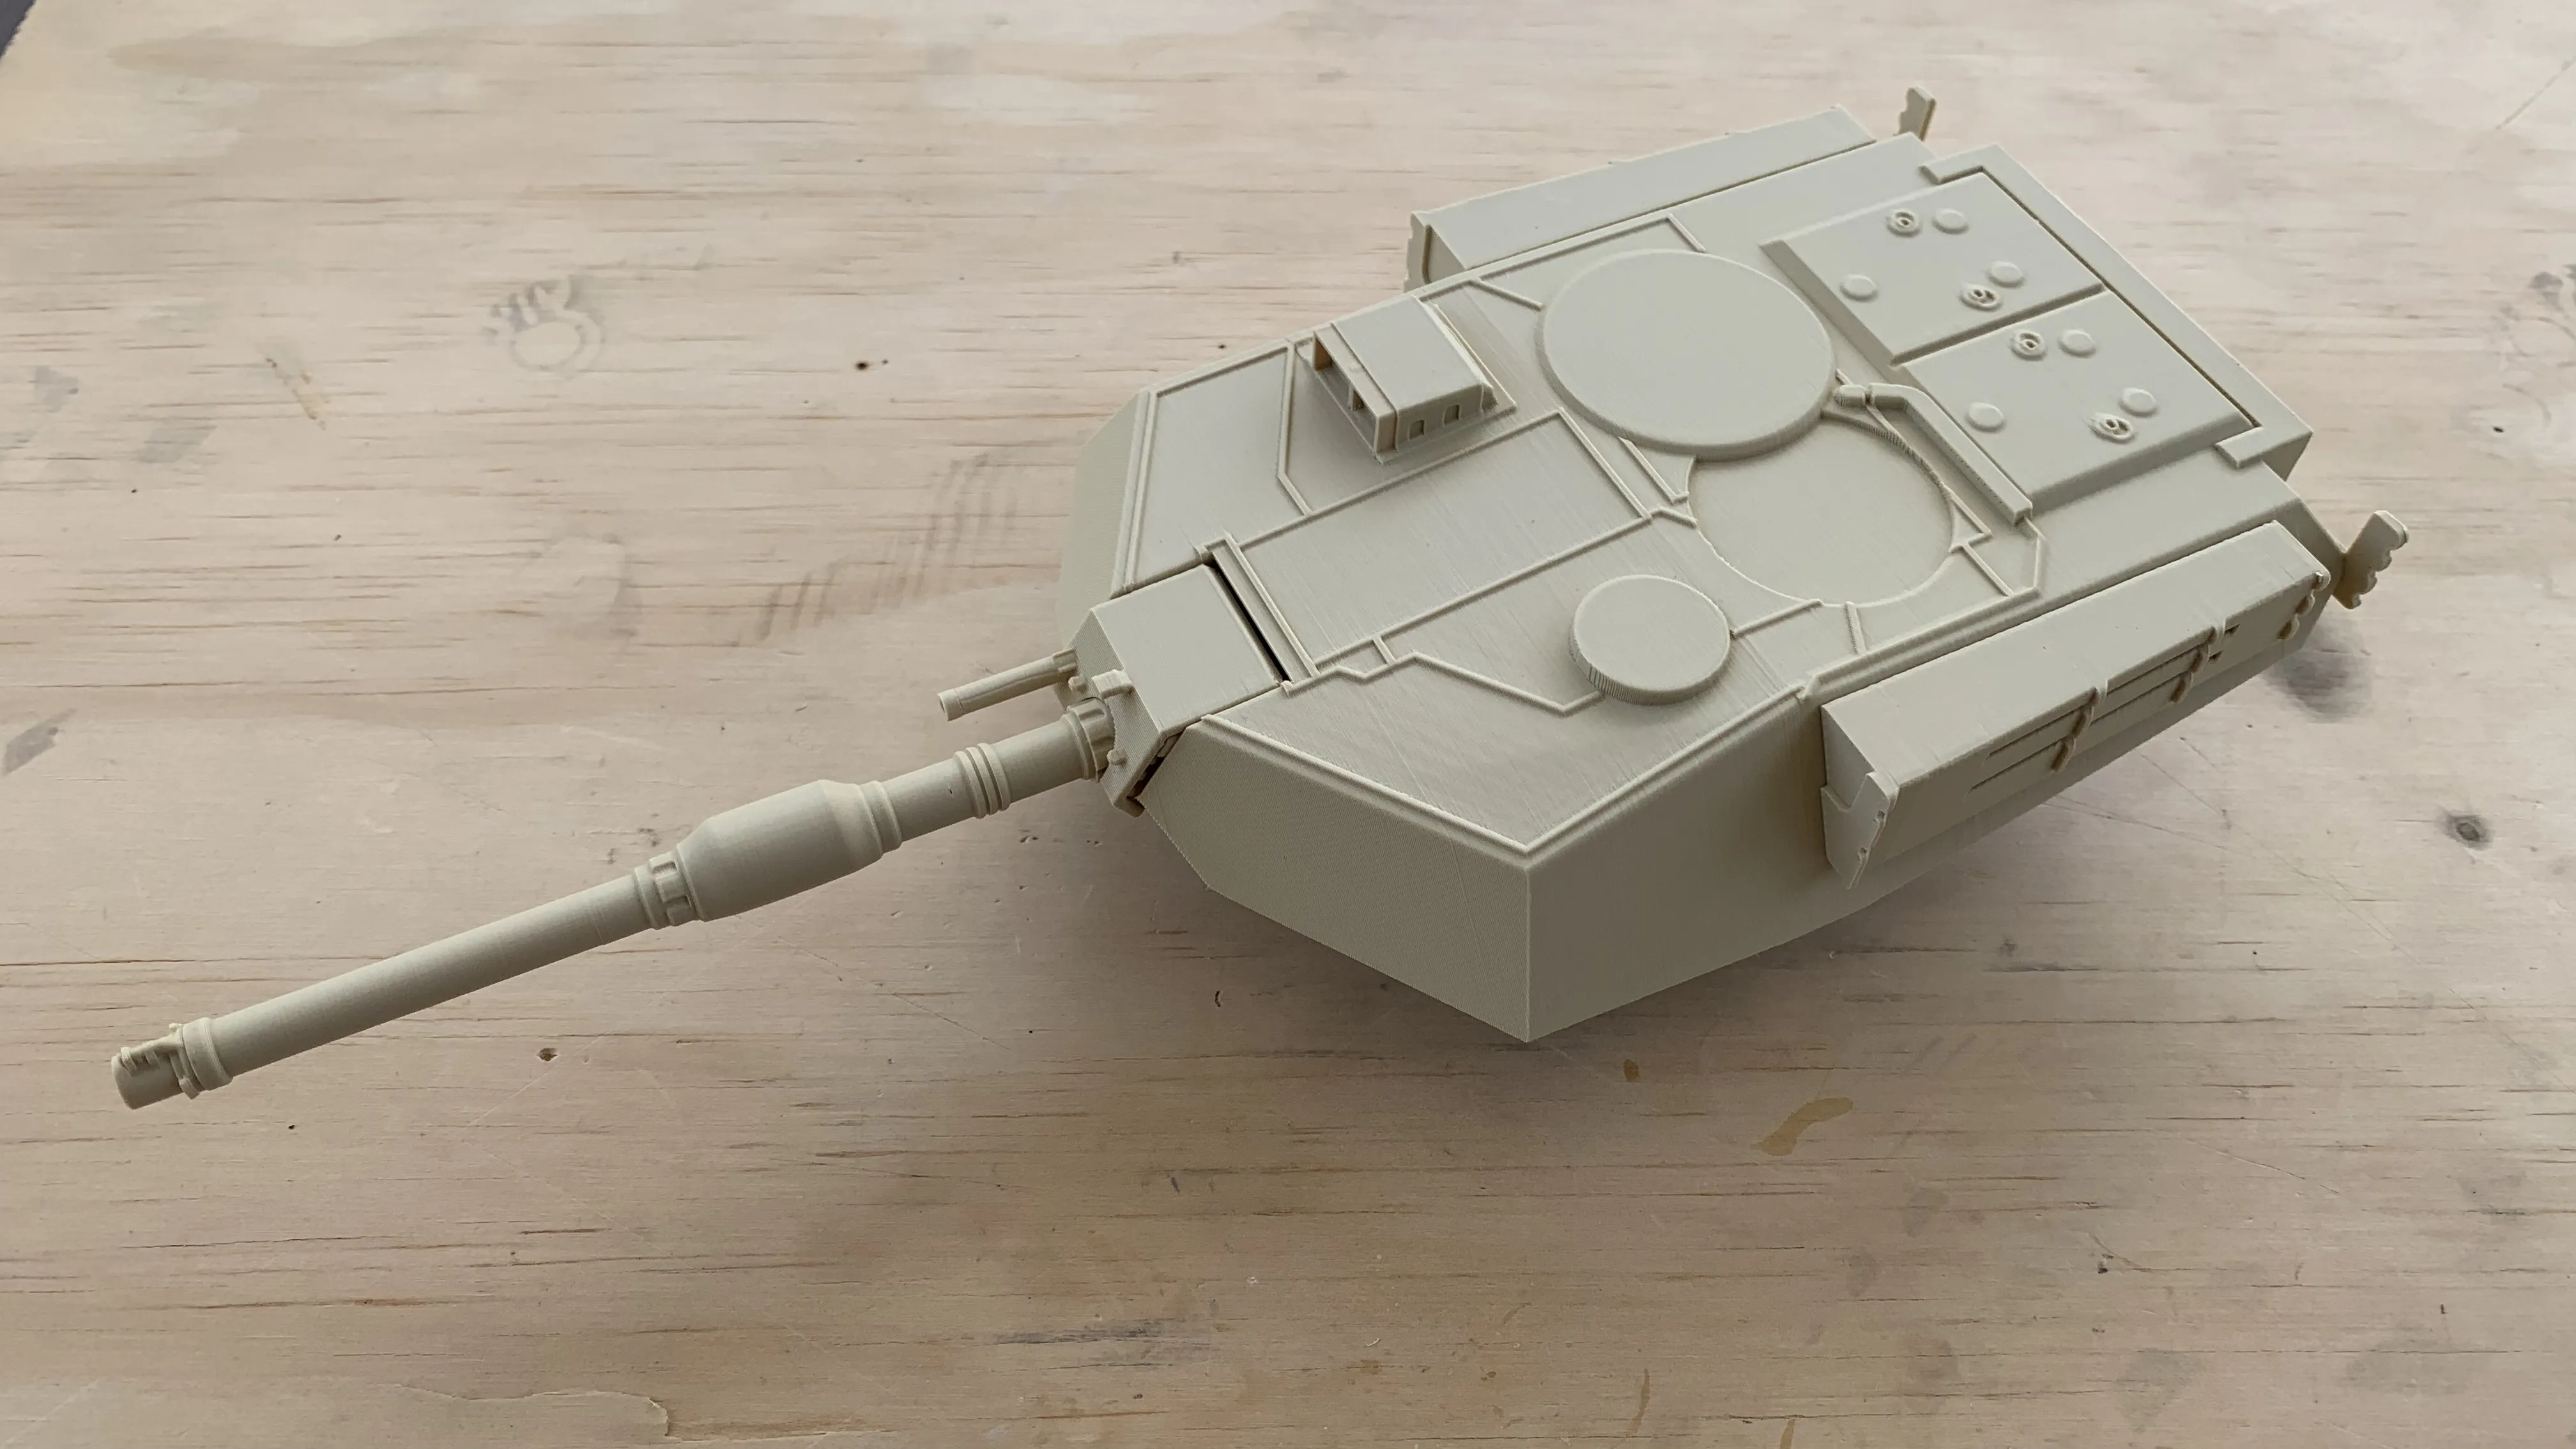
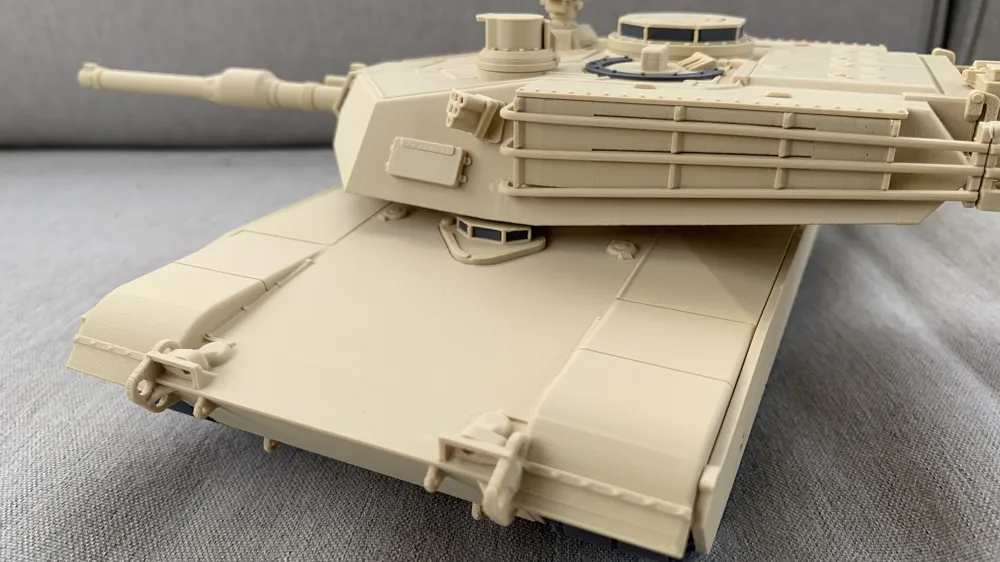
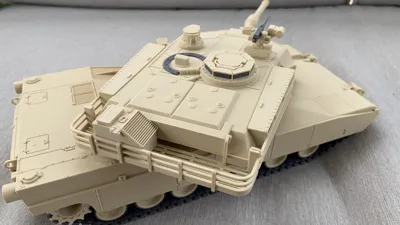
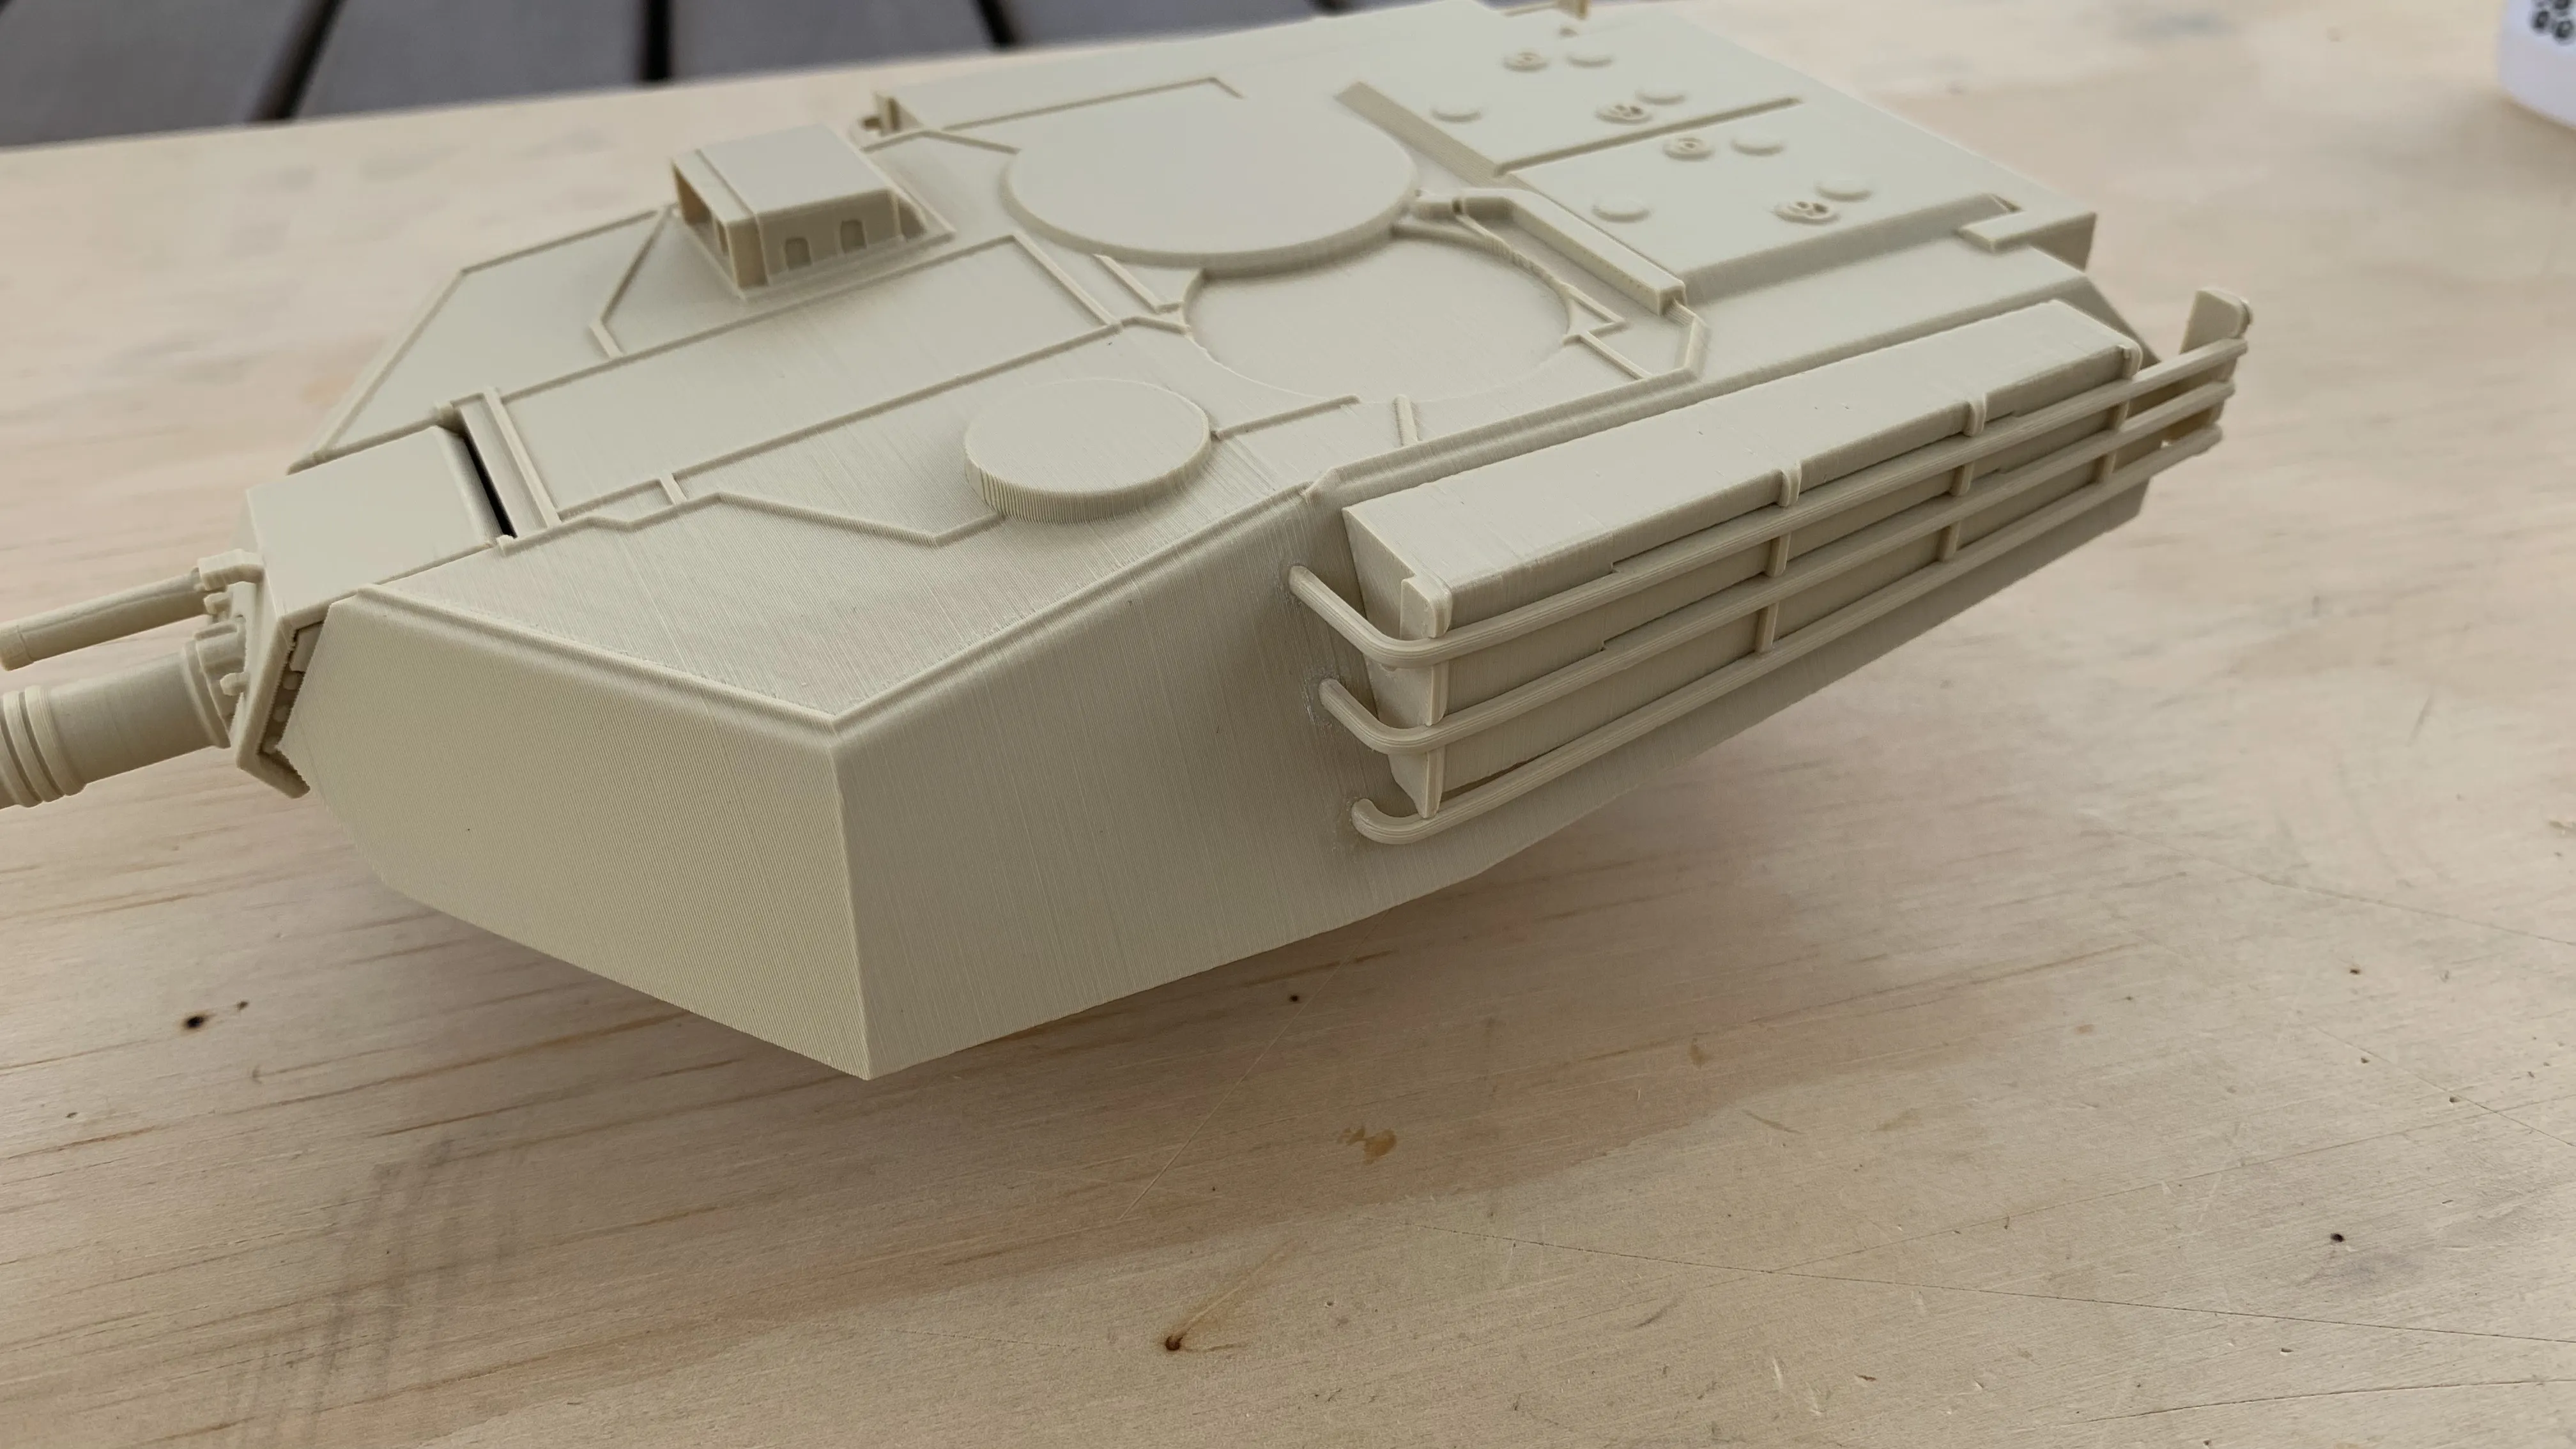
11. Attach the railings to the sides of the cargo boxes using the cutout. Note that the railings have an angled cut on the curved end, this should tell you which side it goes on. The railings should just touch the side of the turret. If you end up with a large gap, it is not the correct railing for that slot. The assembly should look like the picture below.
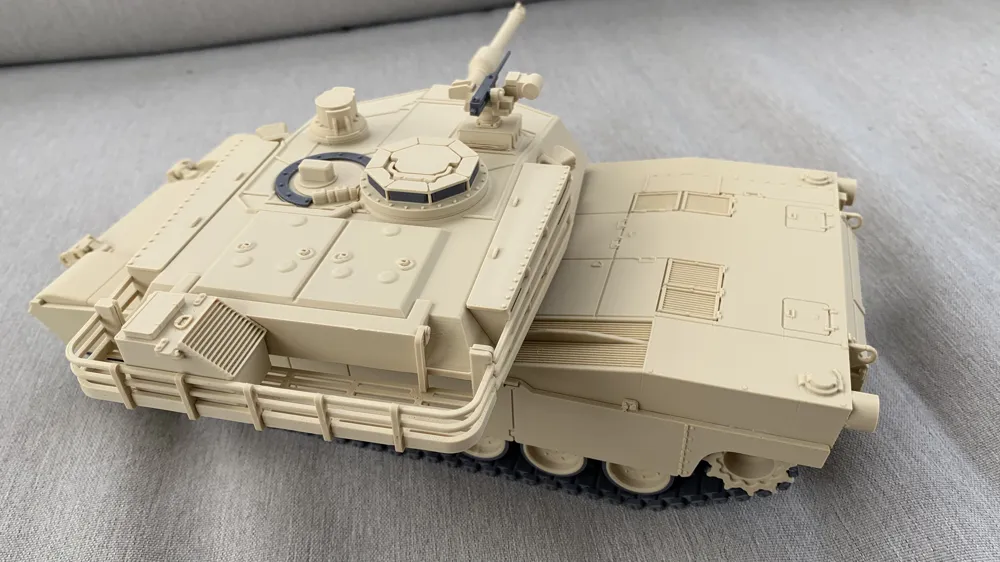
12. Using a small amount of glue, assemble the bustle rack, make sure the rails seats into its respective notch. Views from the top and bottom are shown below.
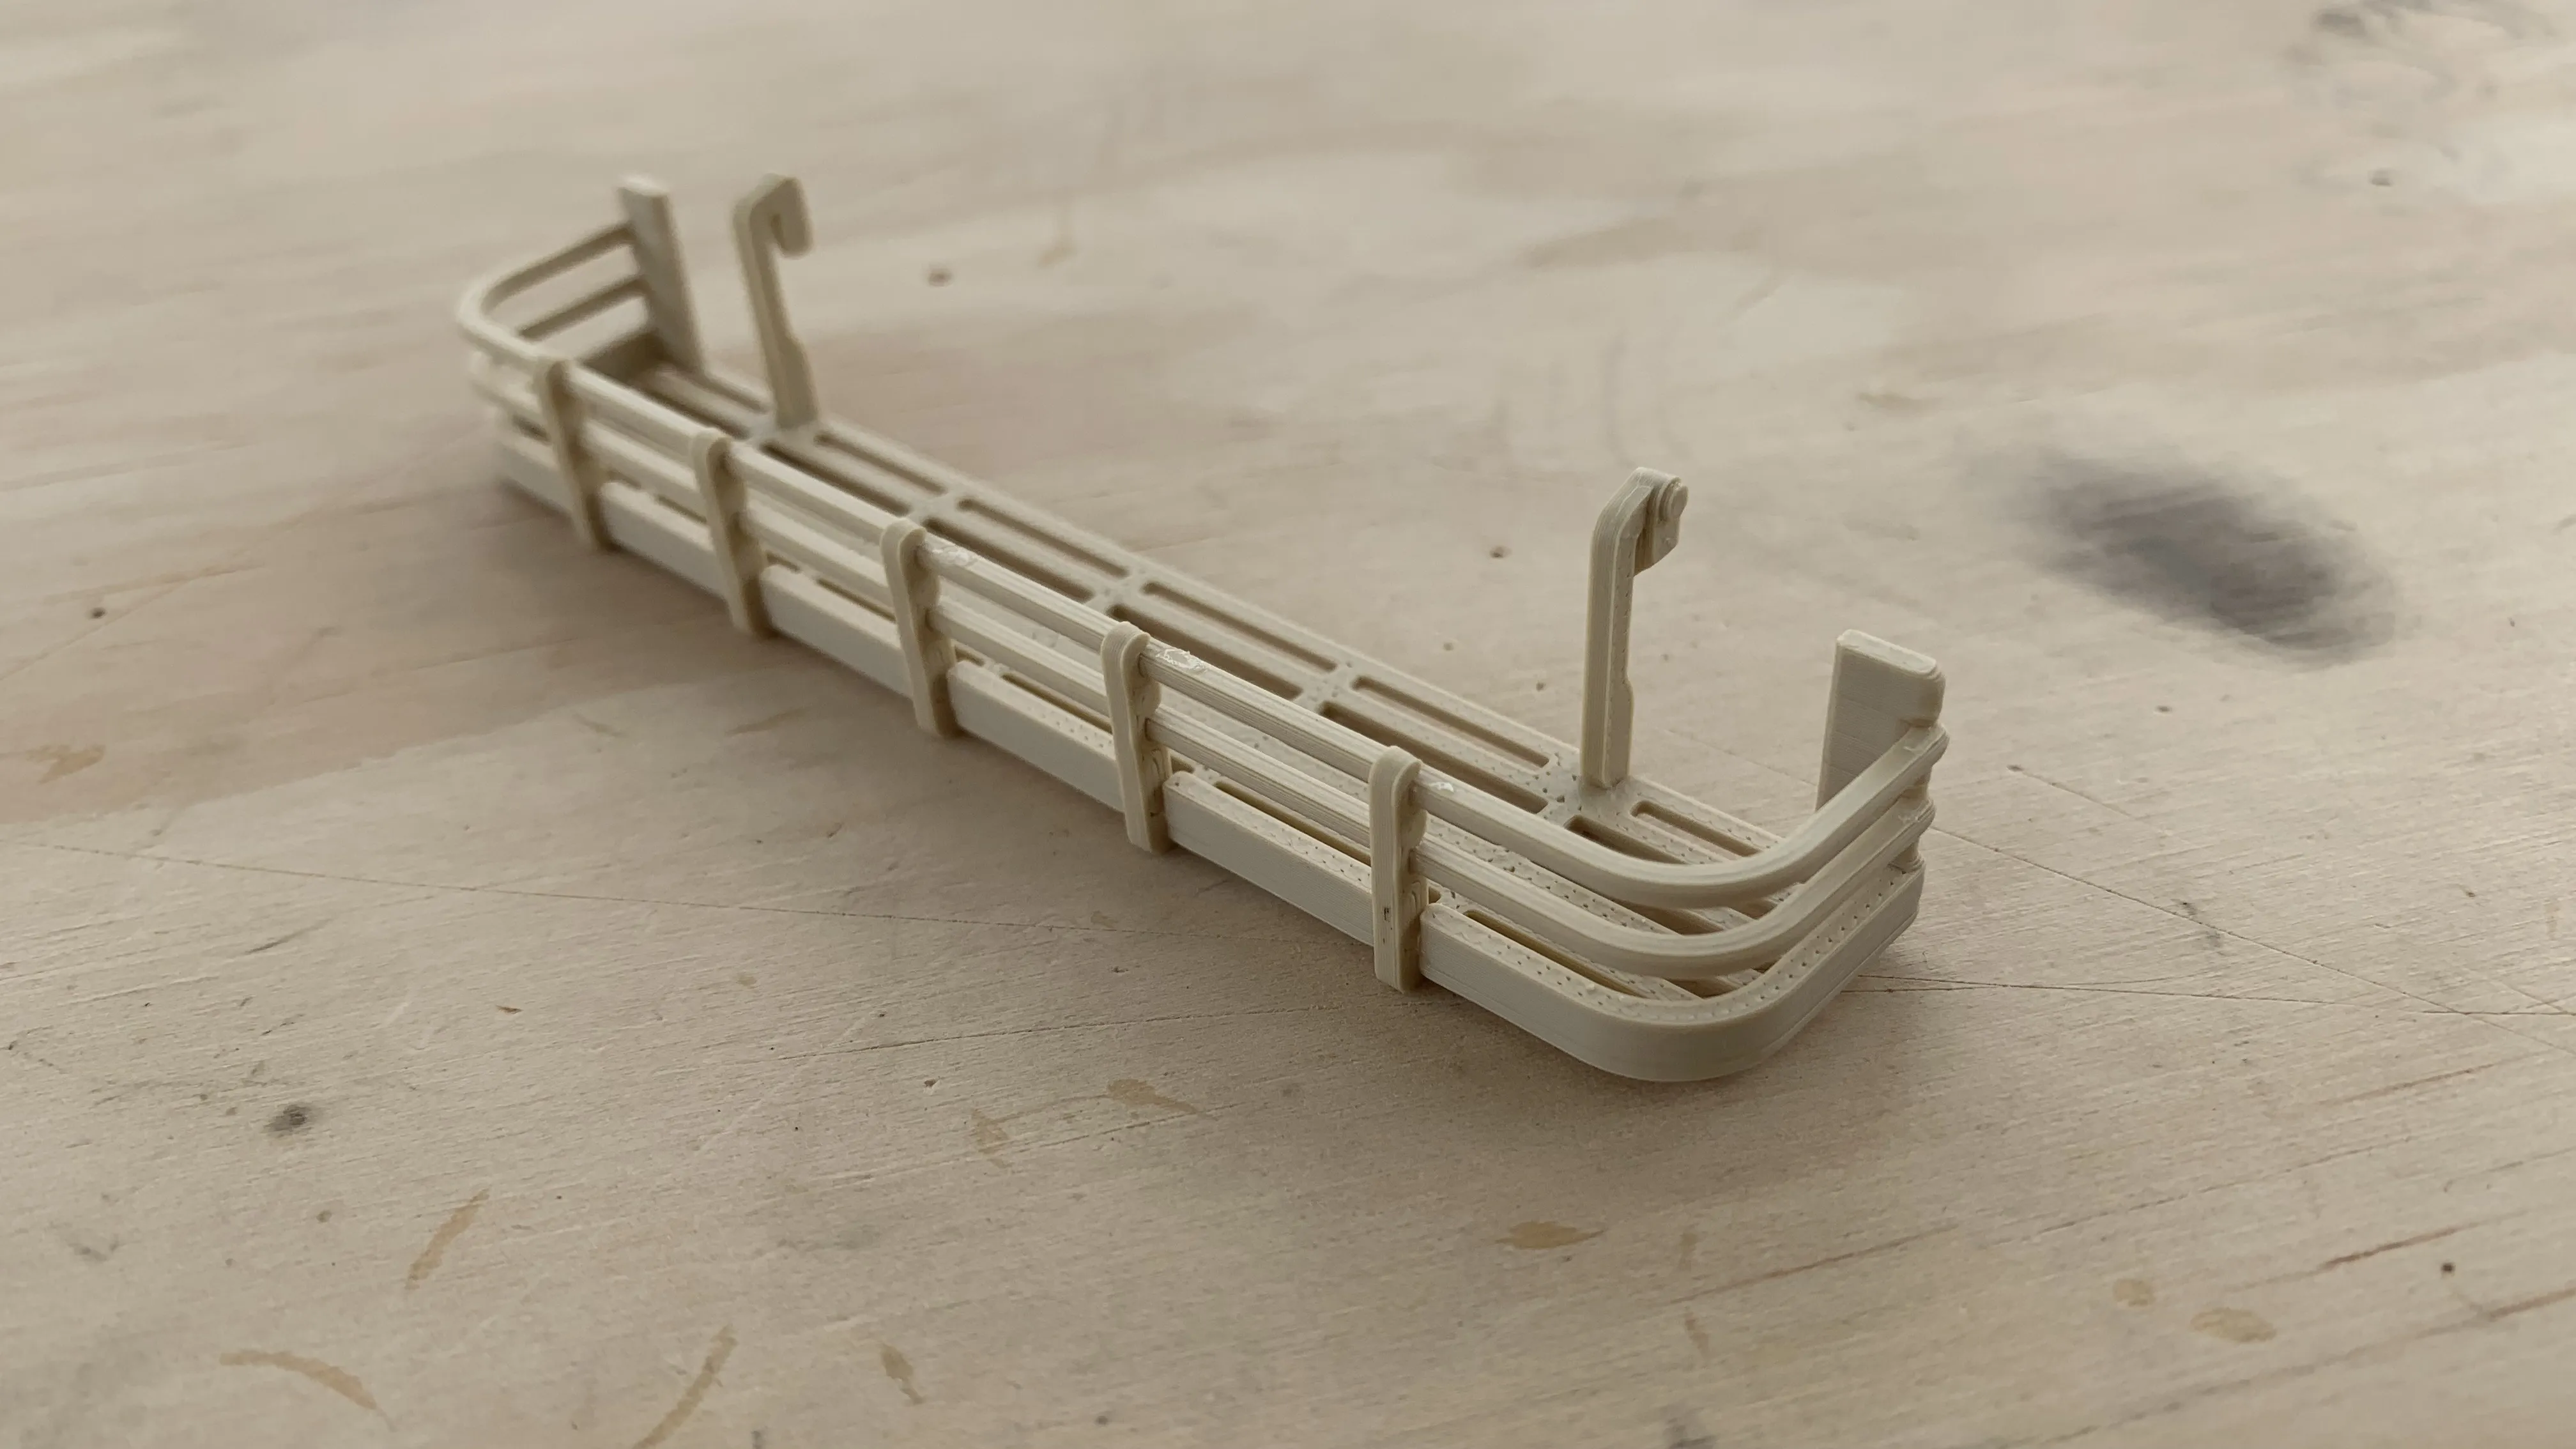
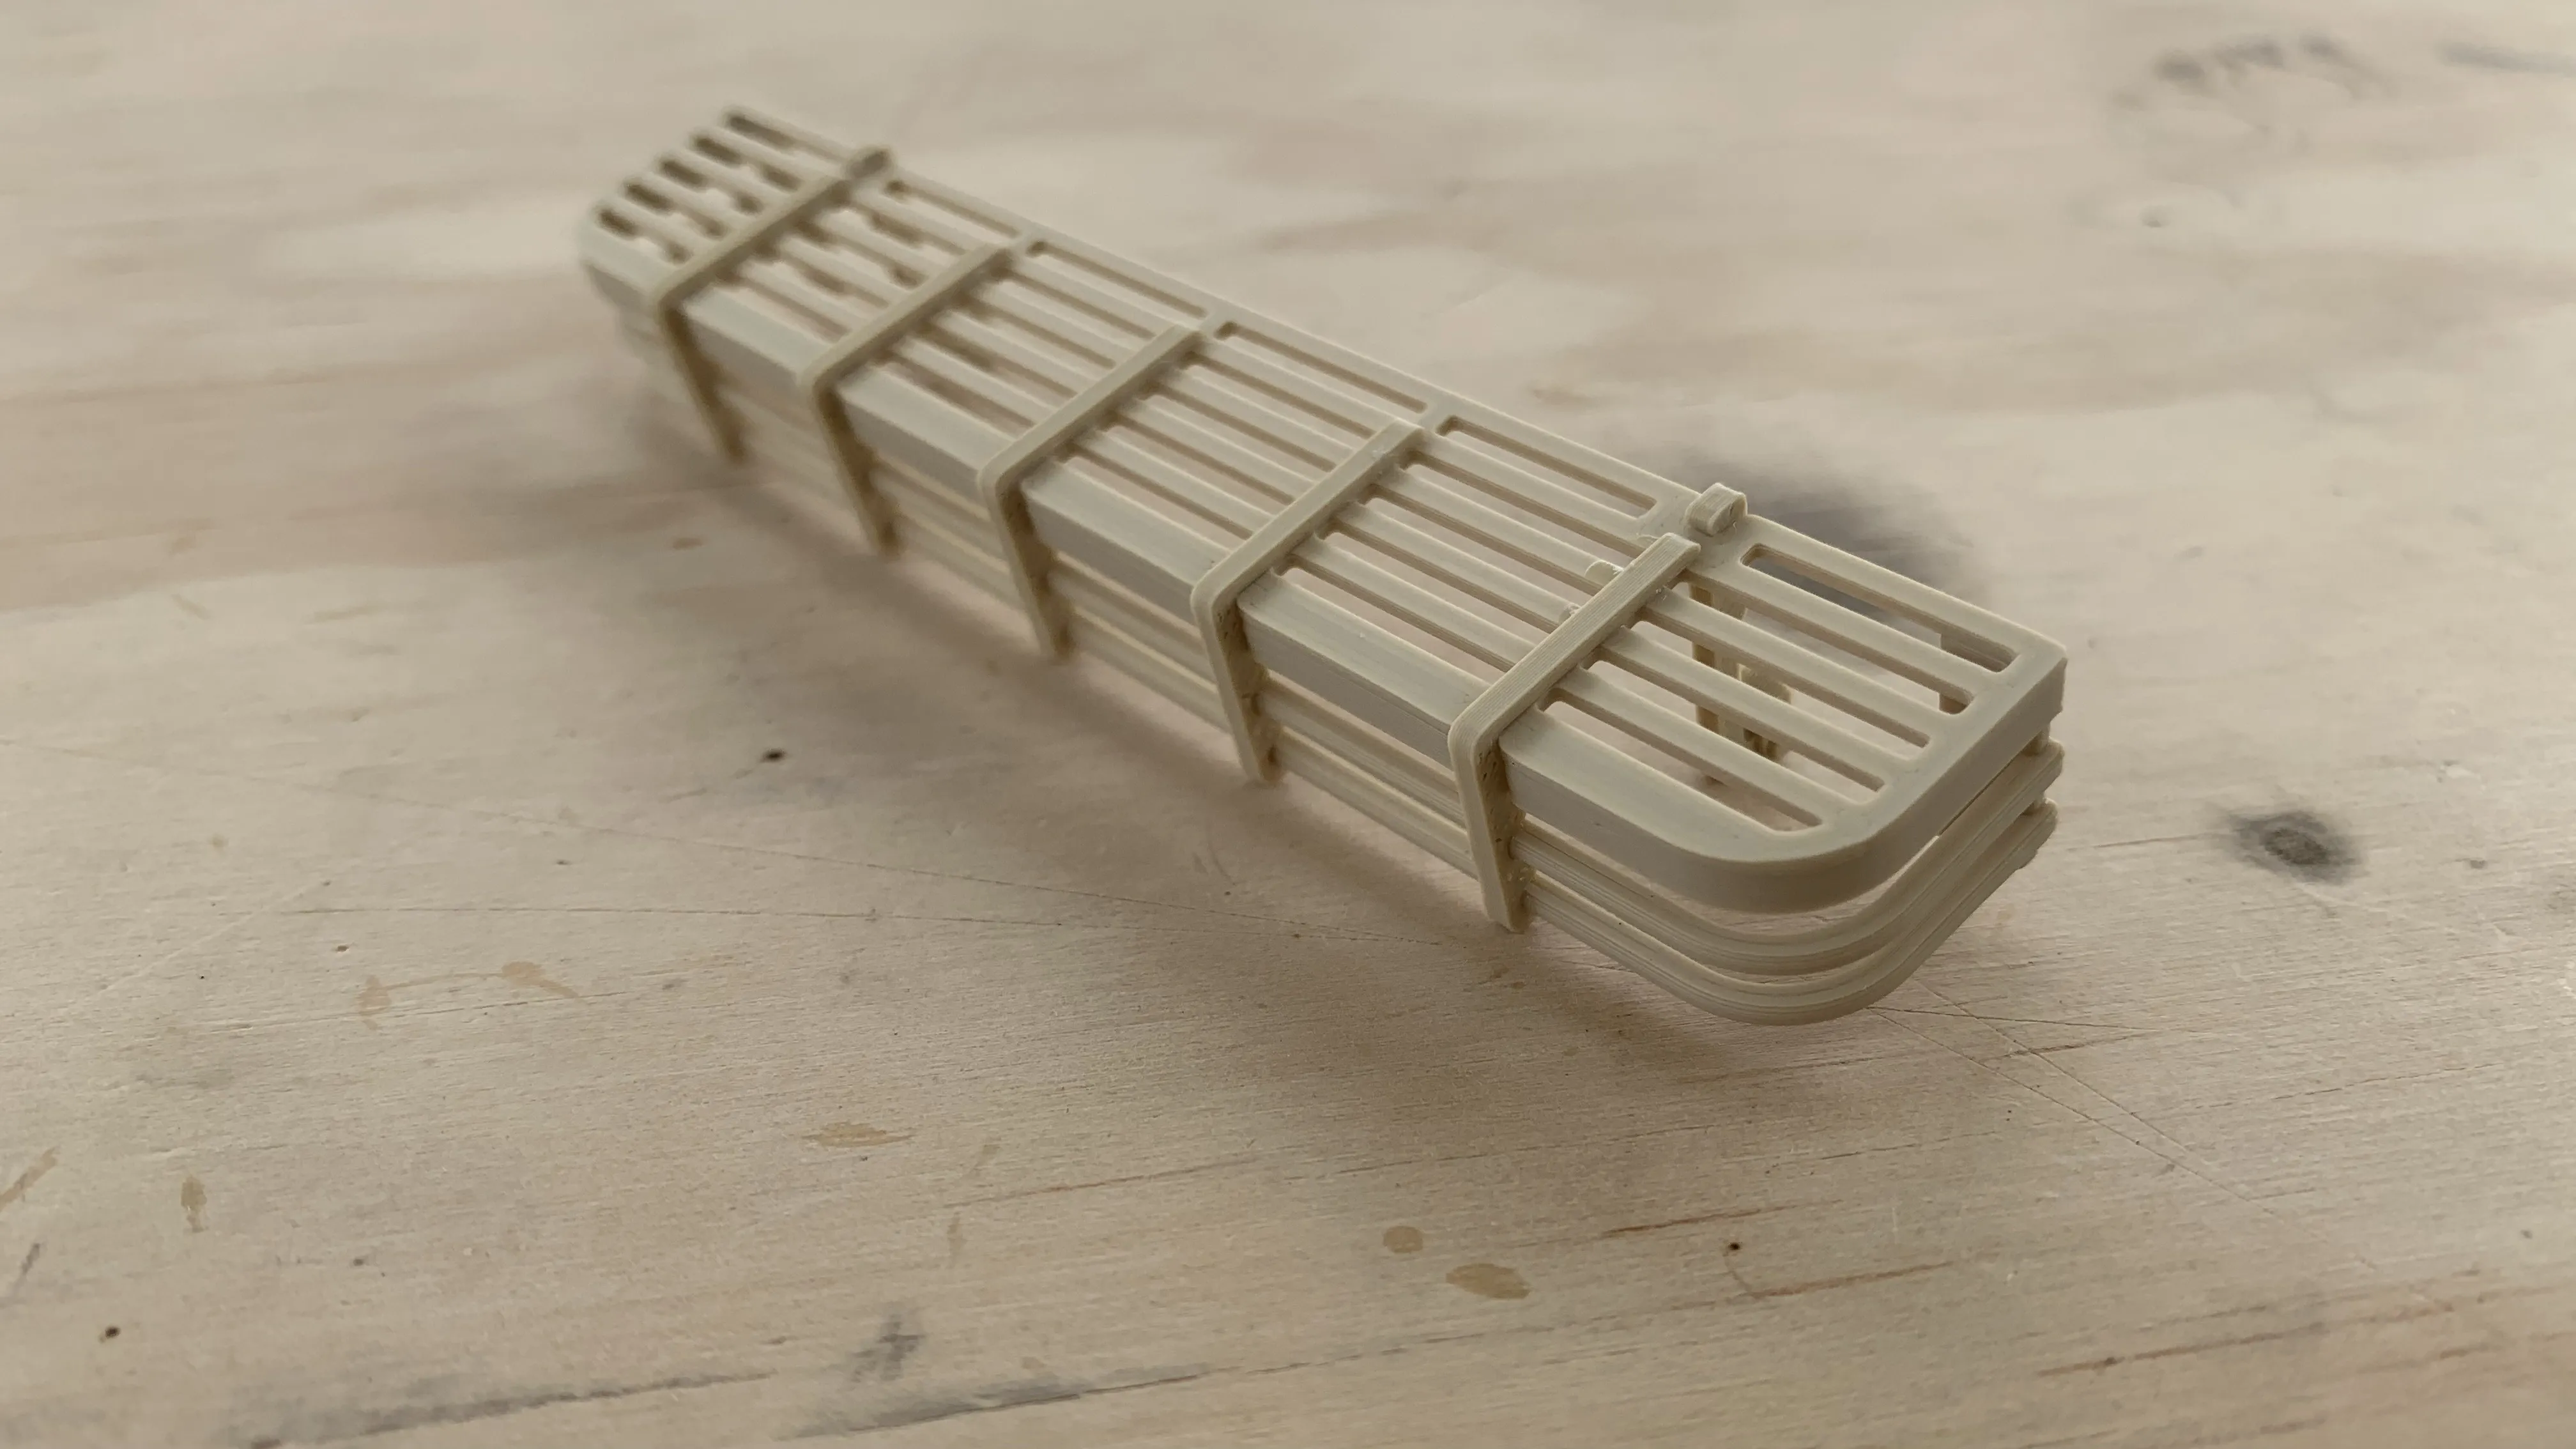
13. Attach the bustle rack from the previous step onto the rear of the turret, the two top rails should line up perfectly.
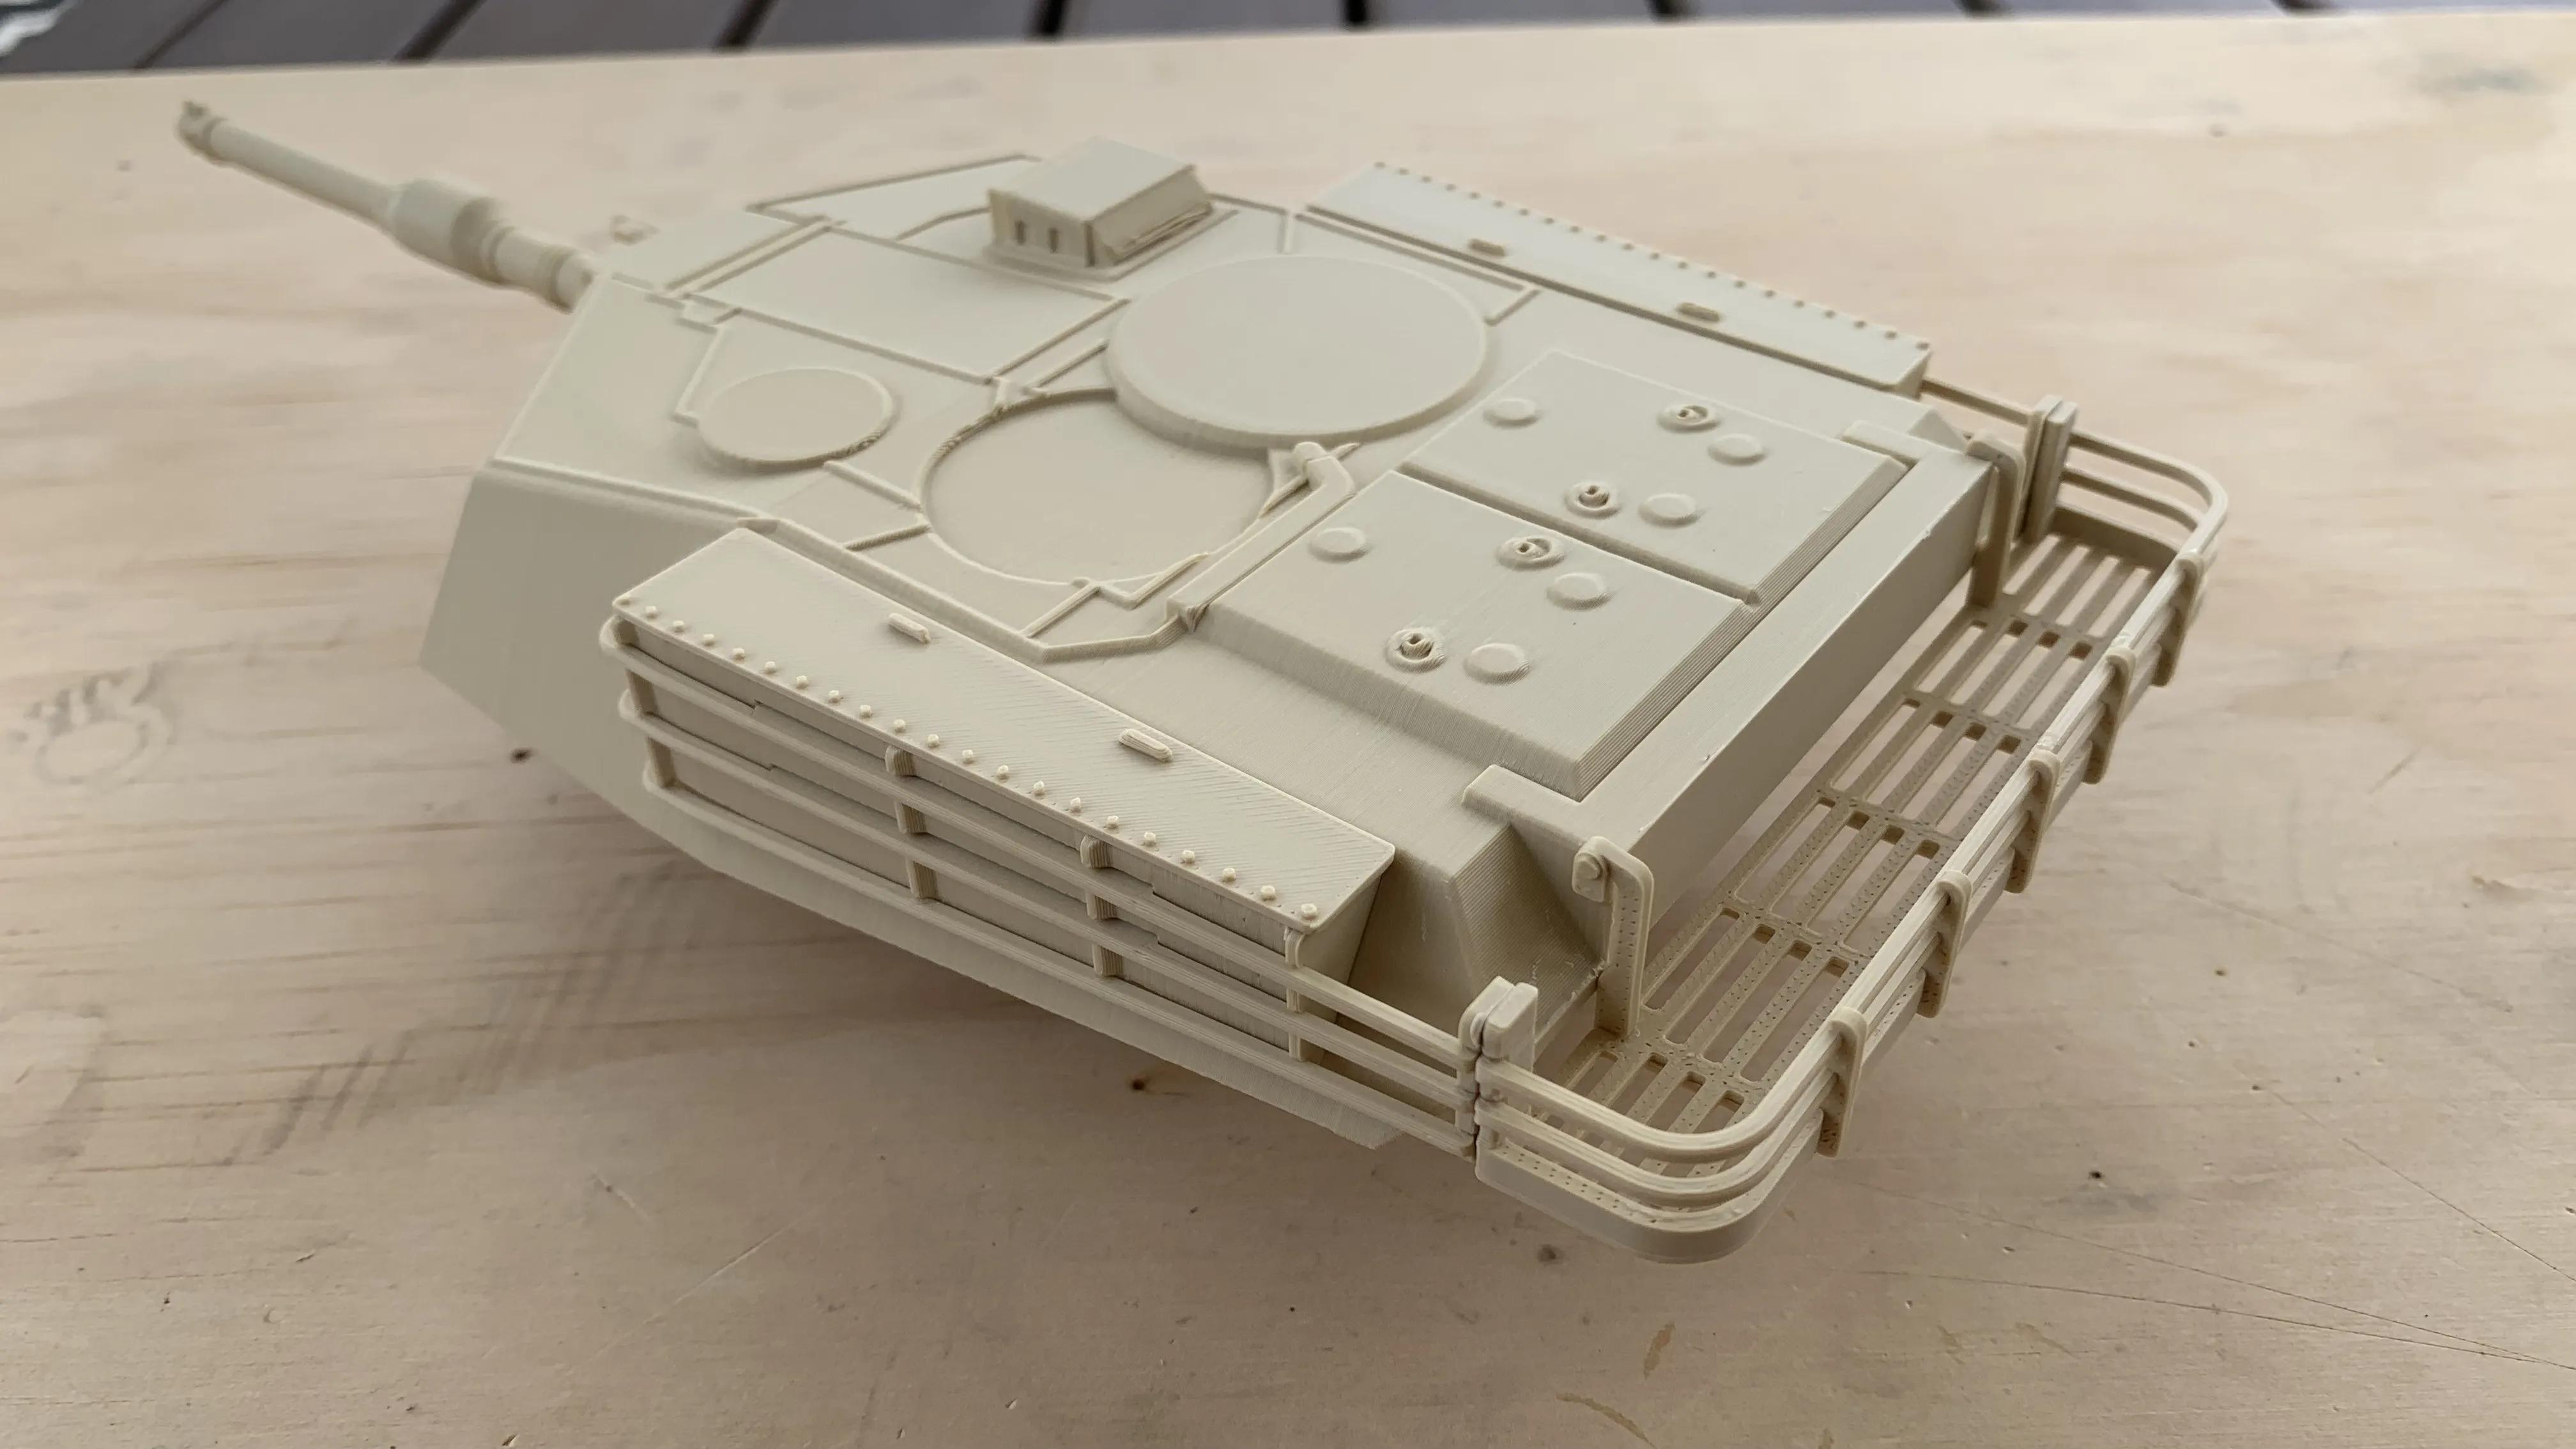
14. Assemble all the turret optics, cupola, and gunners hatch using the picture below as a reference.
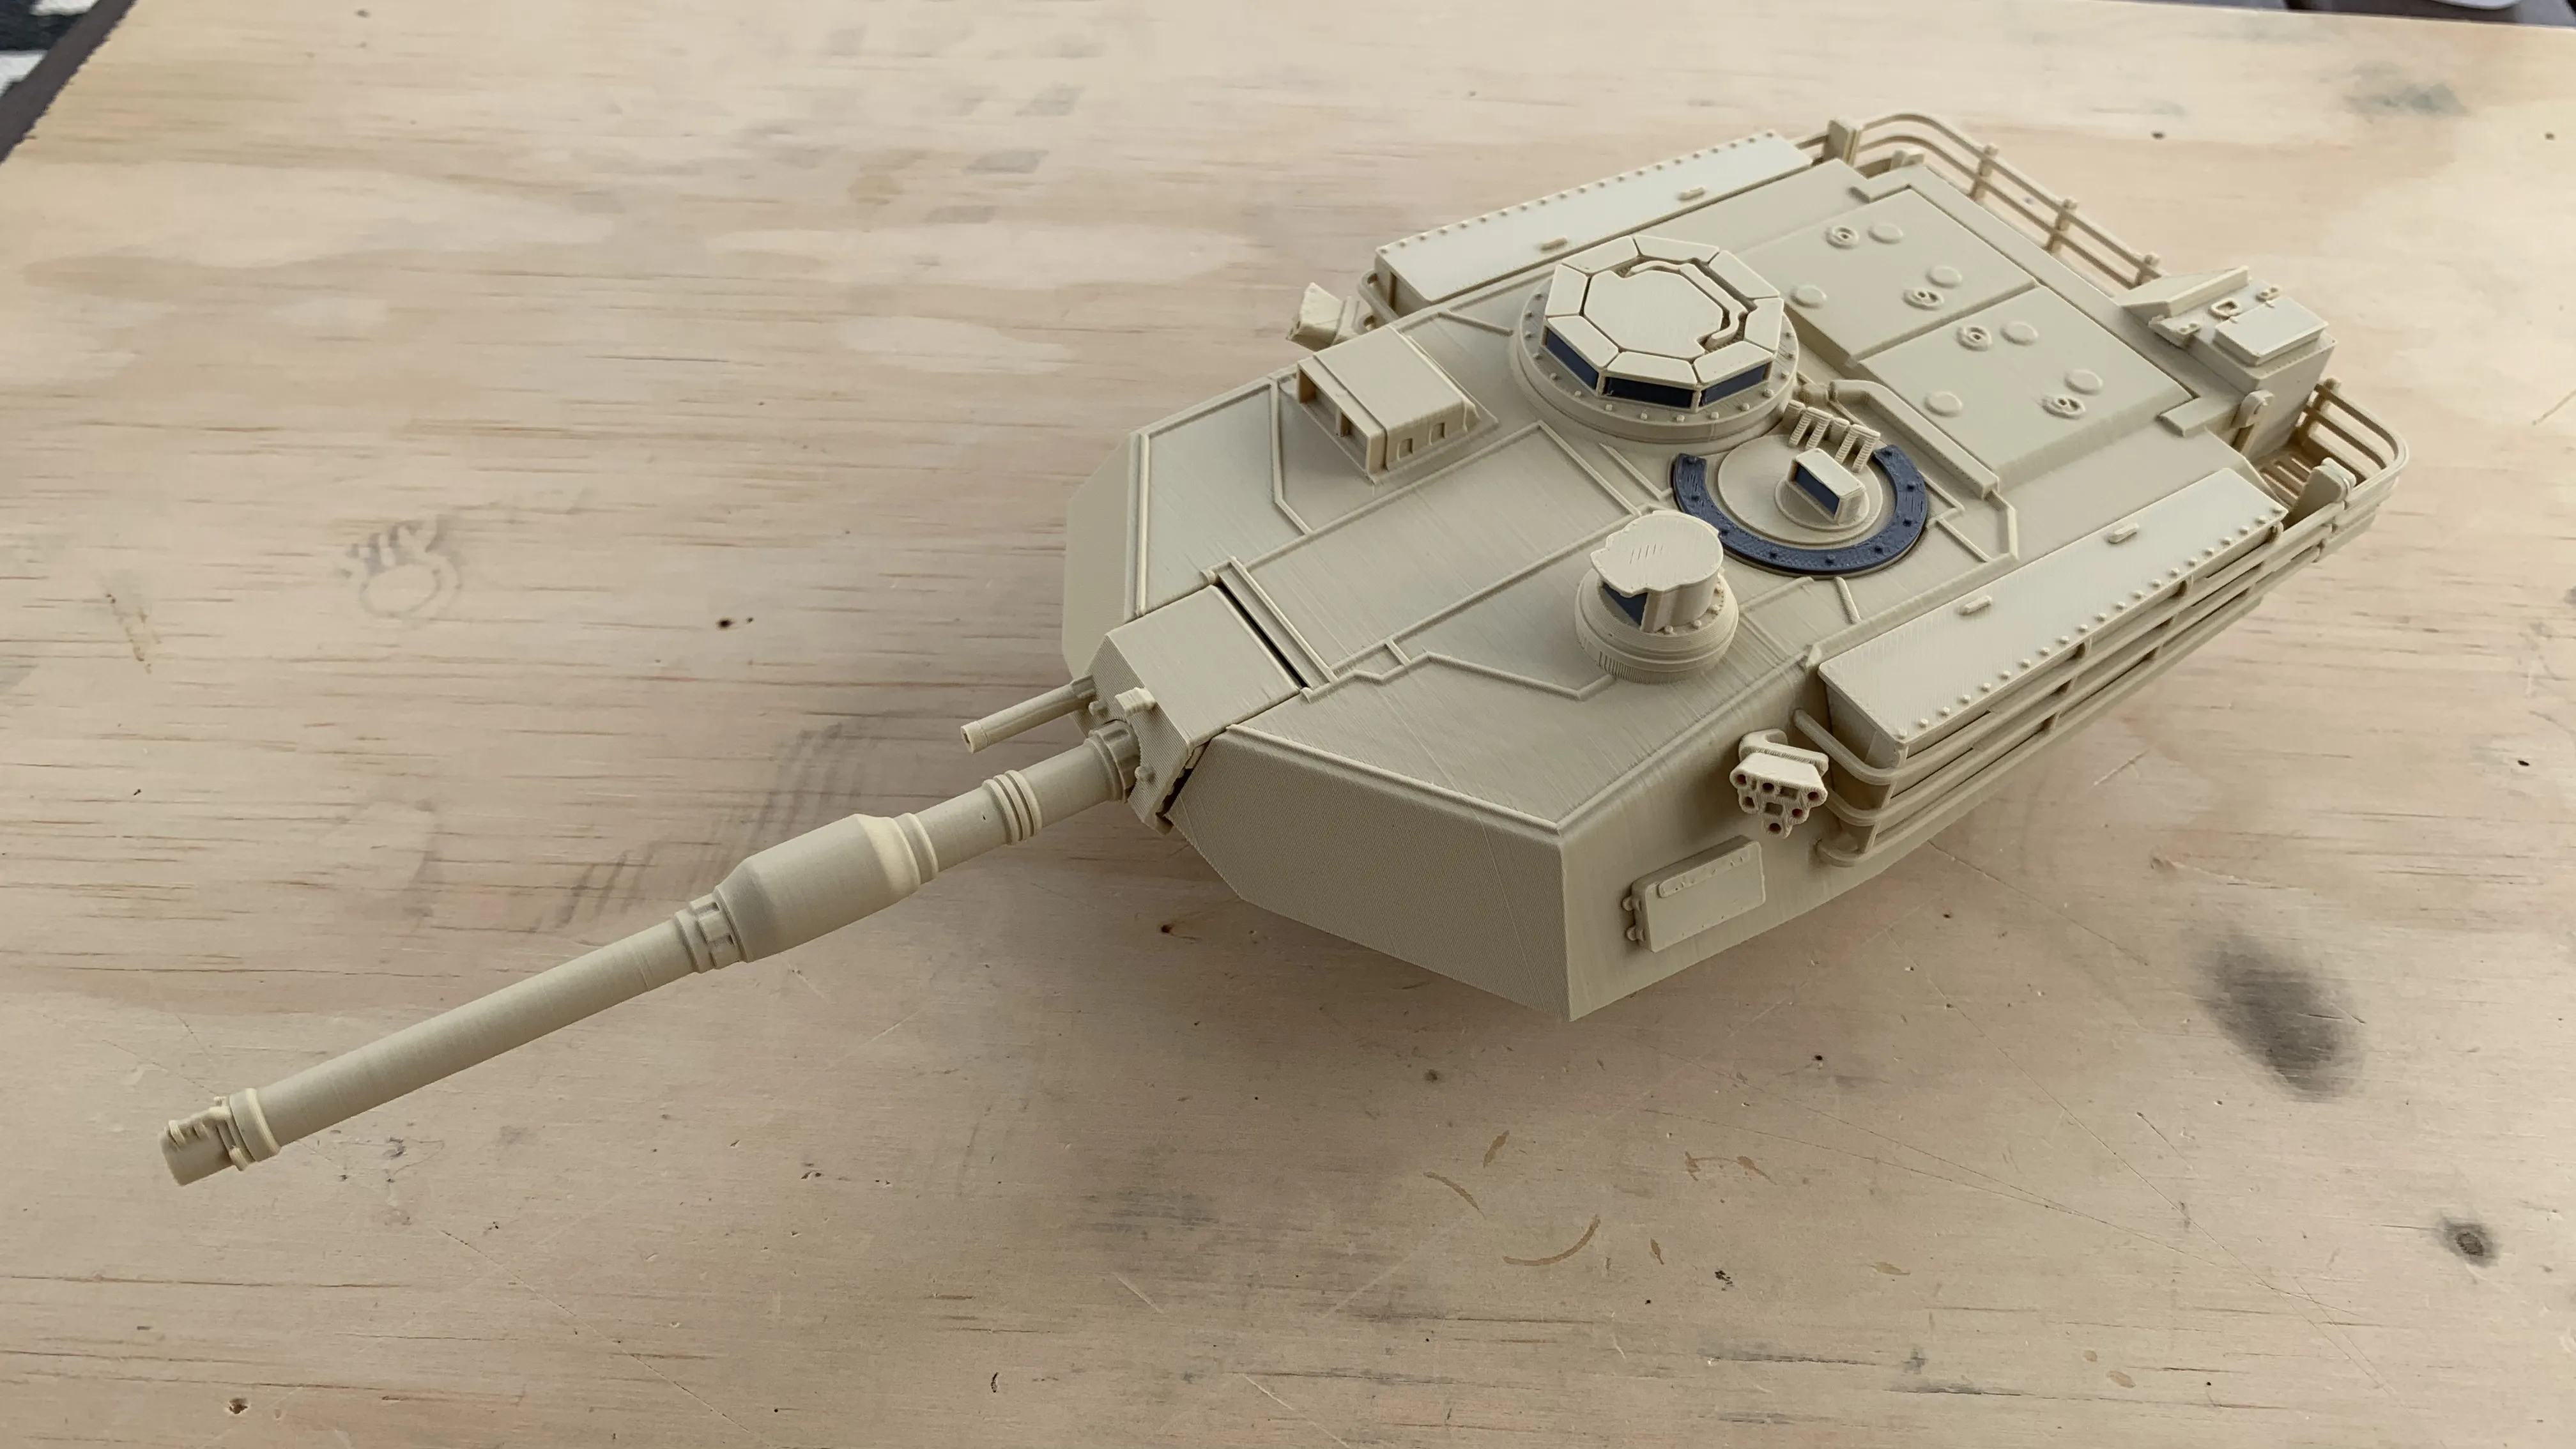
15. Lastly, assemble the two halves of the M2 .50 Cal machine gun onto the base of the remote weapon station.
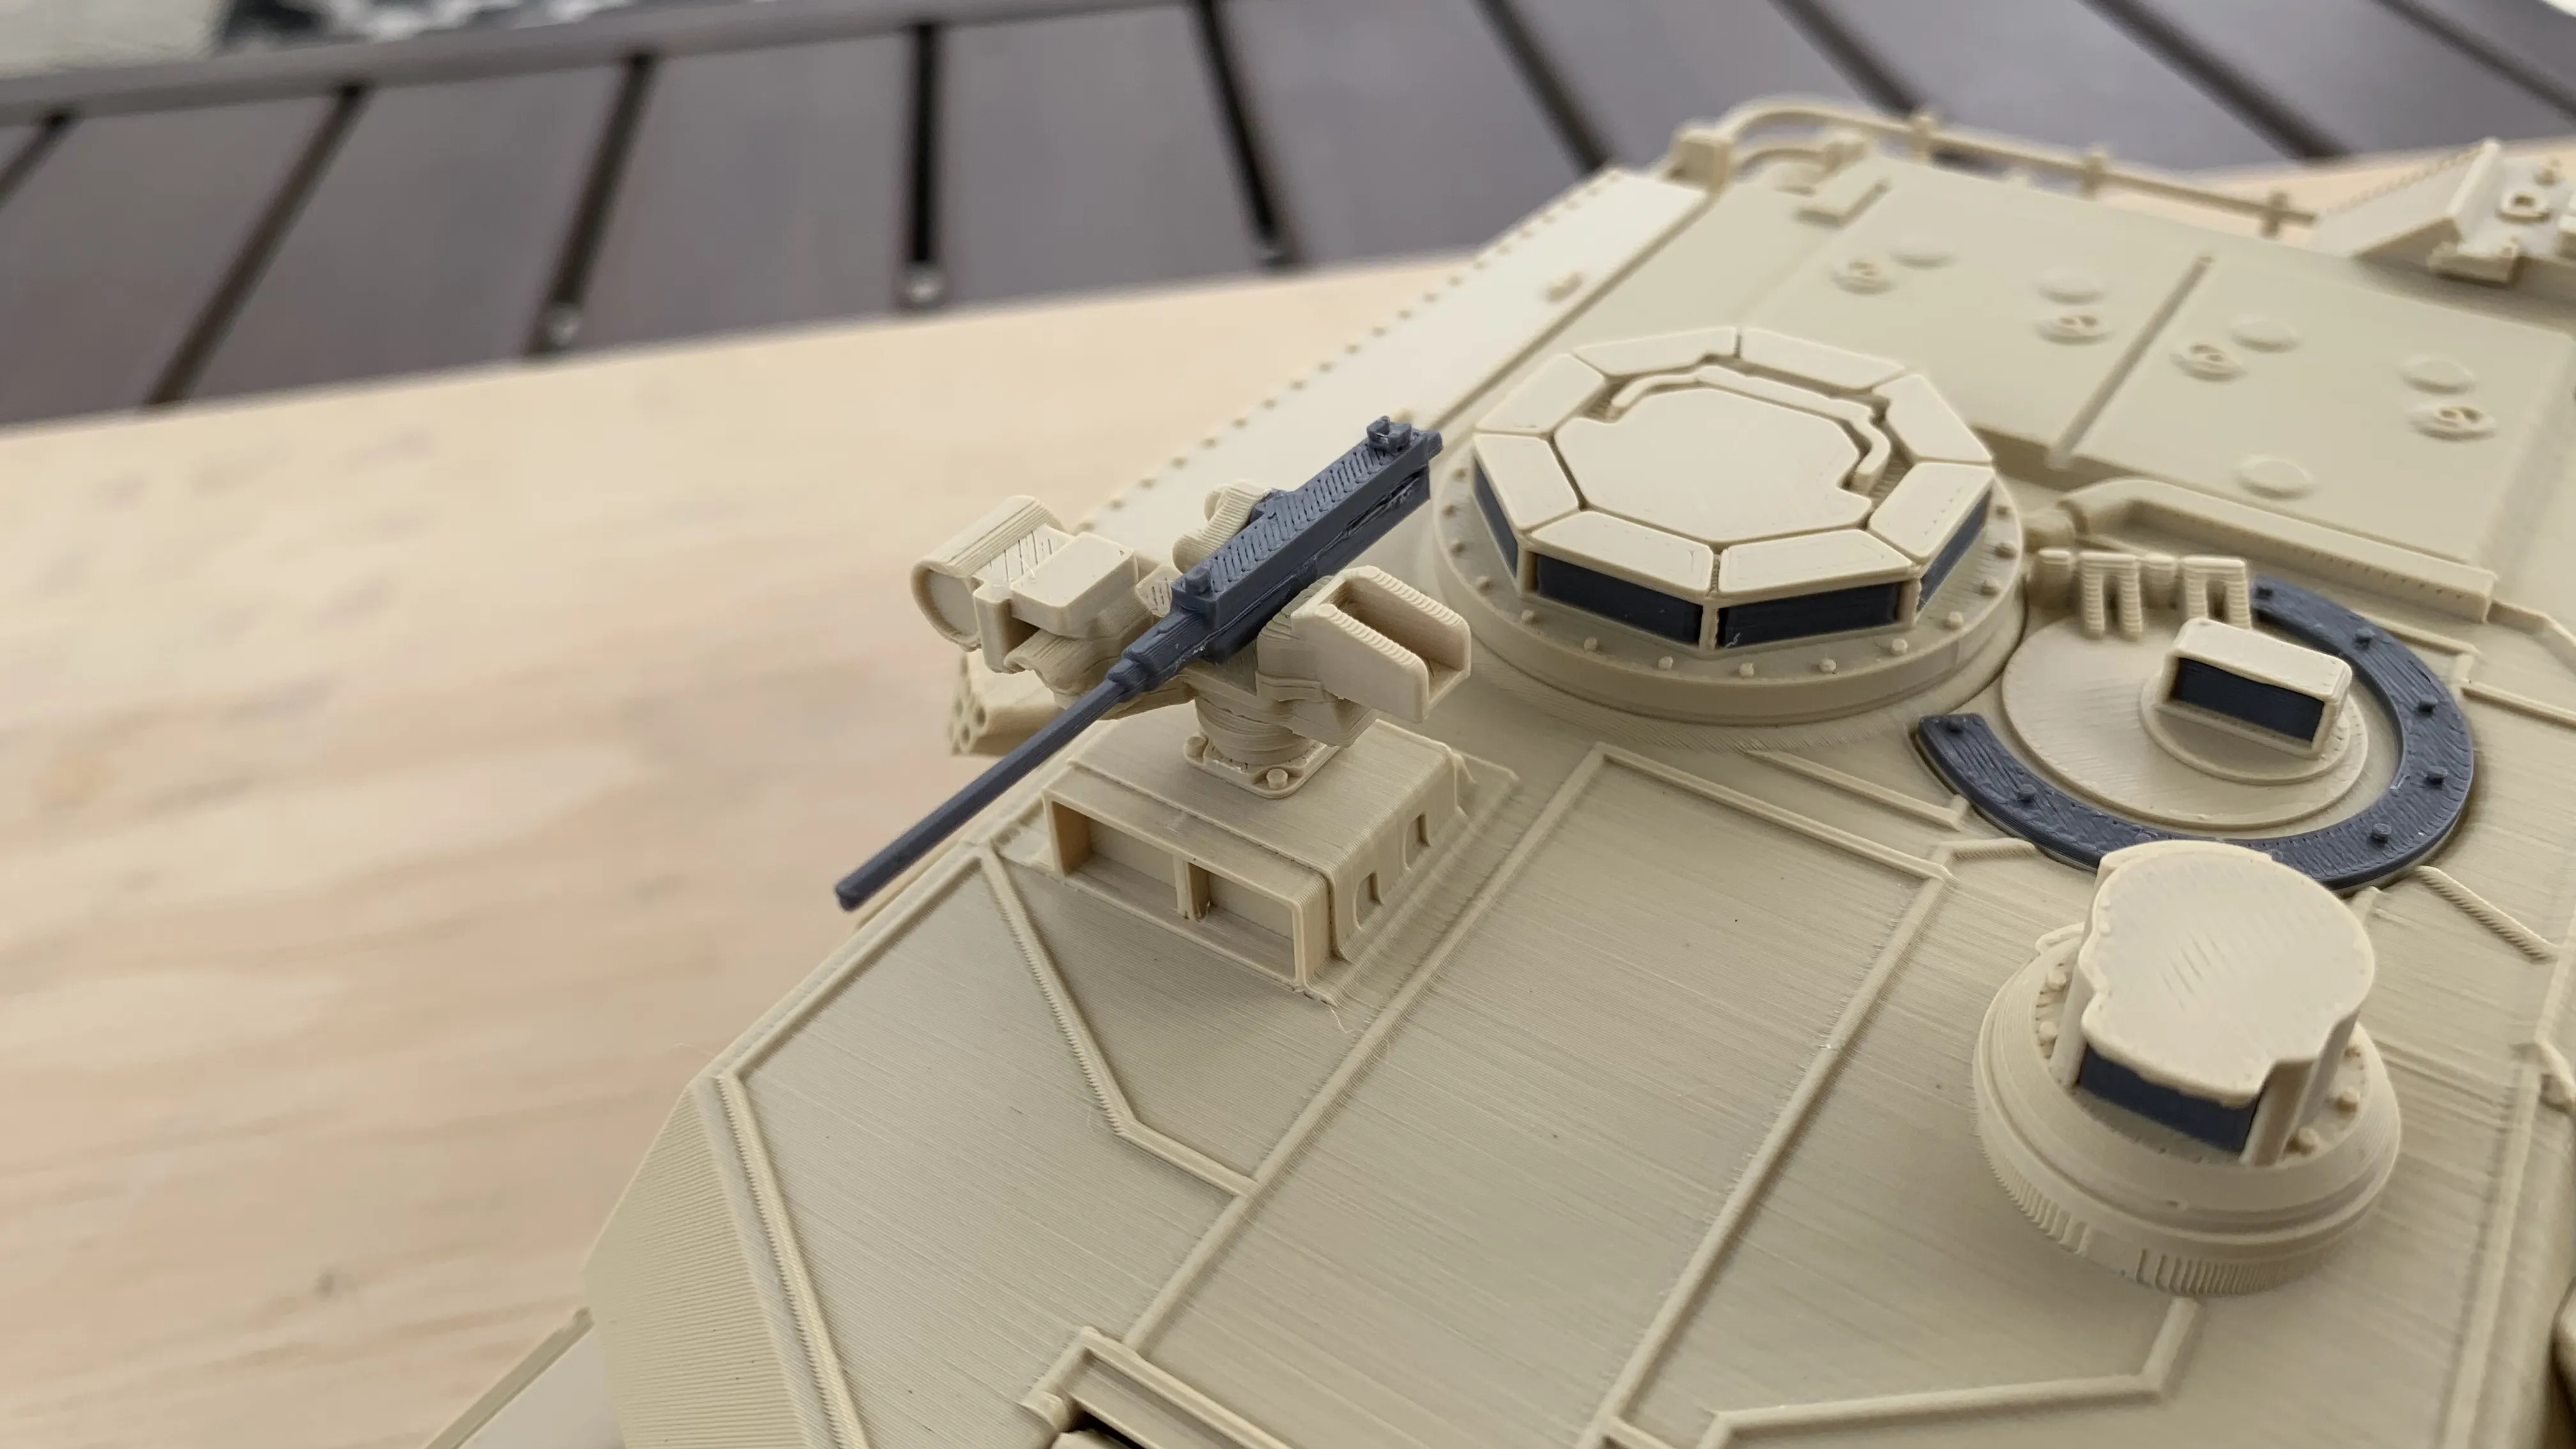
16. Seat the turret assembly onto the hull assembly and you are finished! Congrats!
Membership
Want commercial license? You just found it!
Documentation (1)
License

You shall not share, sub-license, sell, rent, host, transfer, or distribute in any way the digital or 3D printed versions of this object, nor any other derivative work of this object in its digital or physical format (including - but not limited to - remixes of this object, and hosting on other digital platforms). The objects may not be used without permission in any way whatsoever in which you charge money, or collect fees.


Comment & Rating (689)