
10th Anniversary 3DBenchy
Print Profile(1)

Bill of Materials





- Kleber x 1: für die zu klebenden teile
Description
Boost Me (for free)
Boost me to support me so I can make more 3D Models for you.
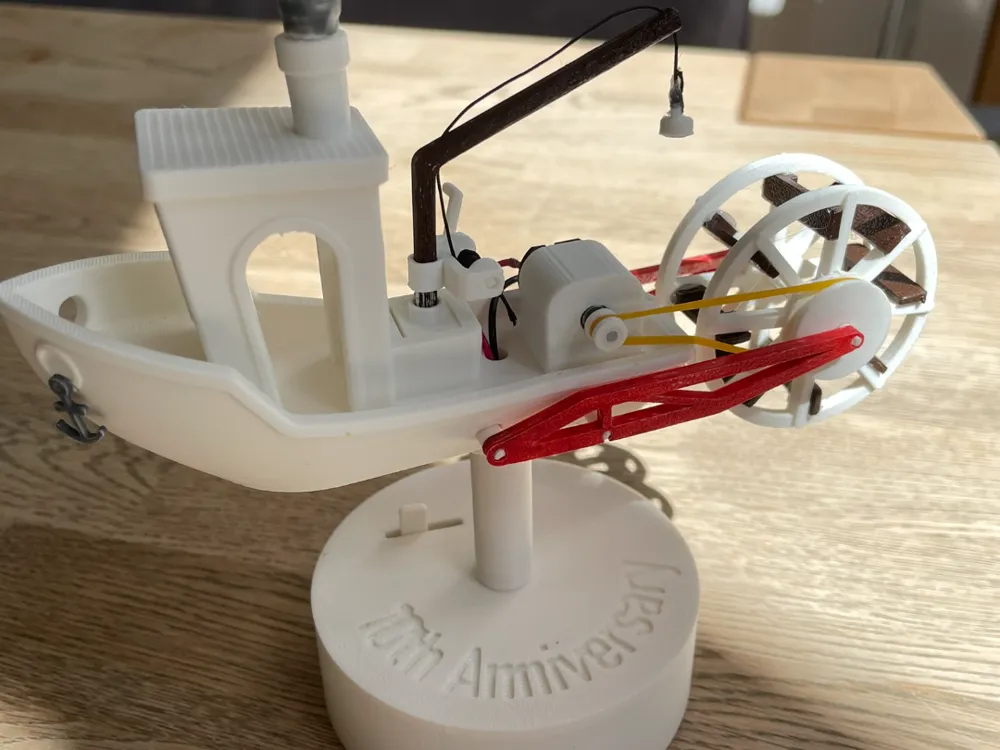
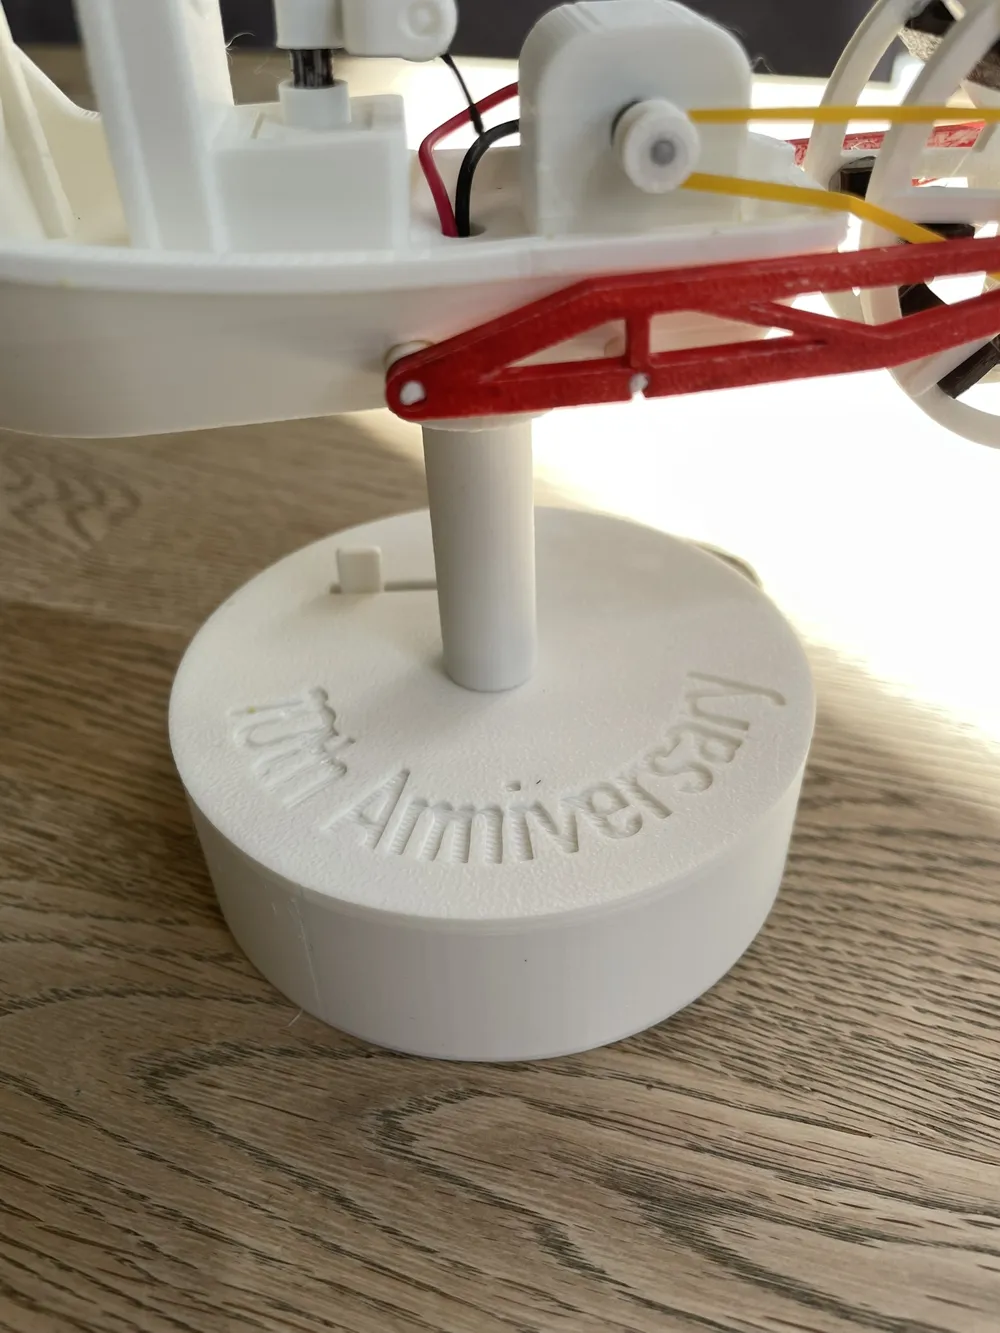
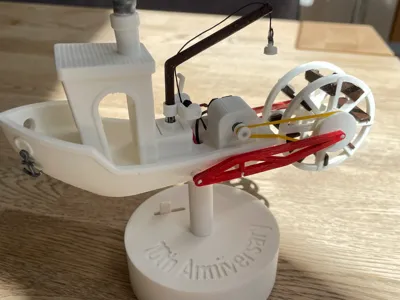
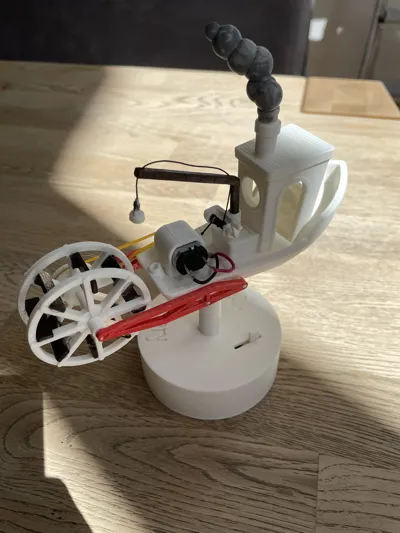
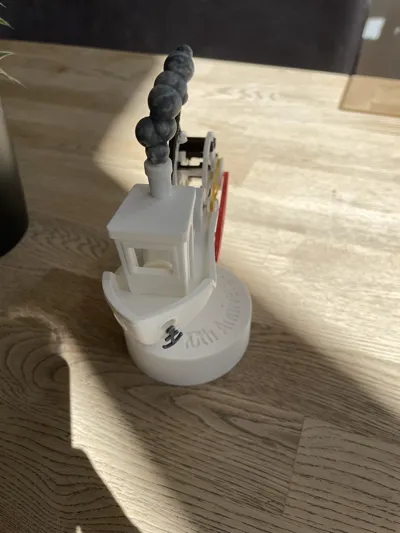
10th Anniversary 3D Benchy Trawler
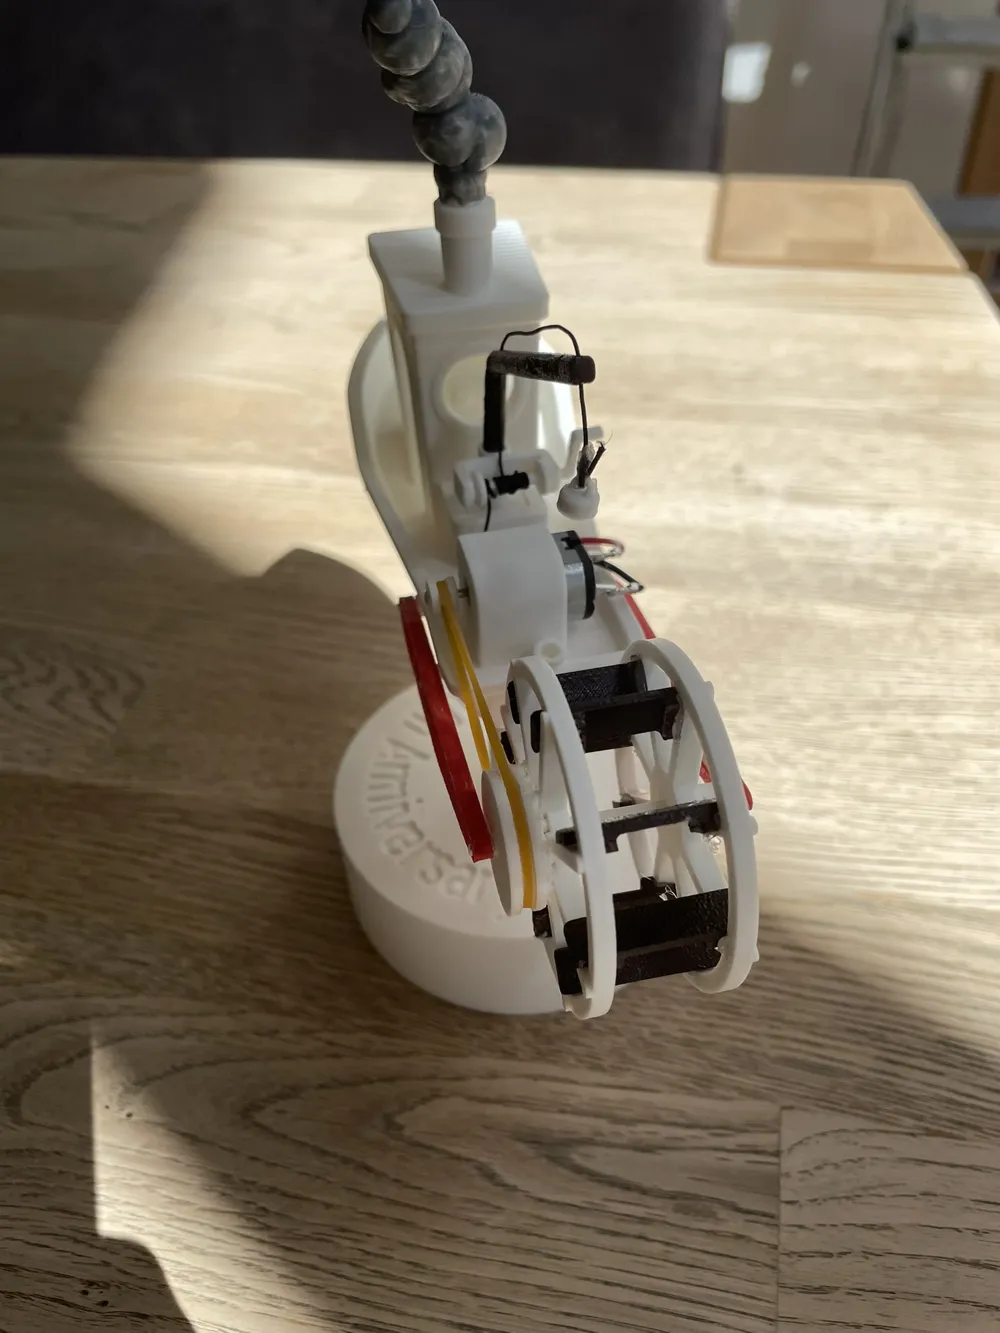
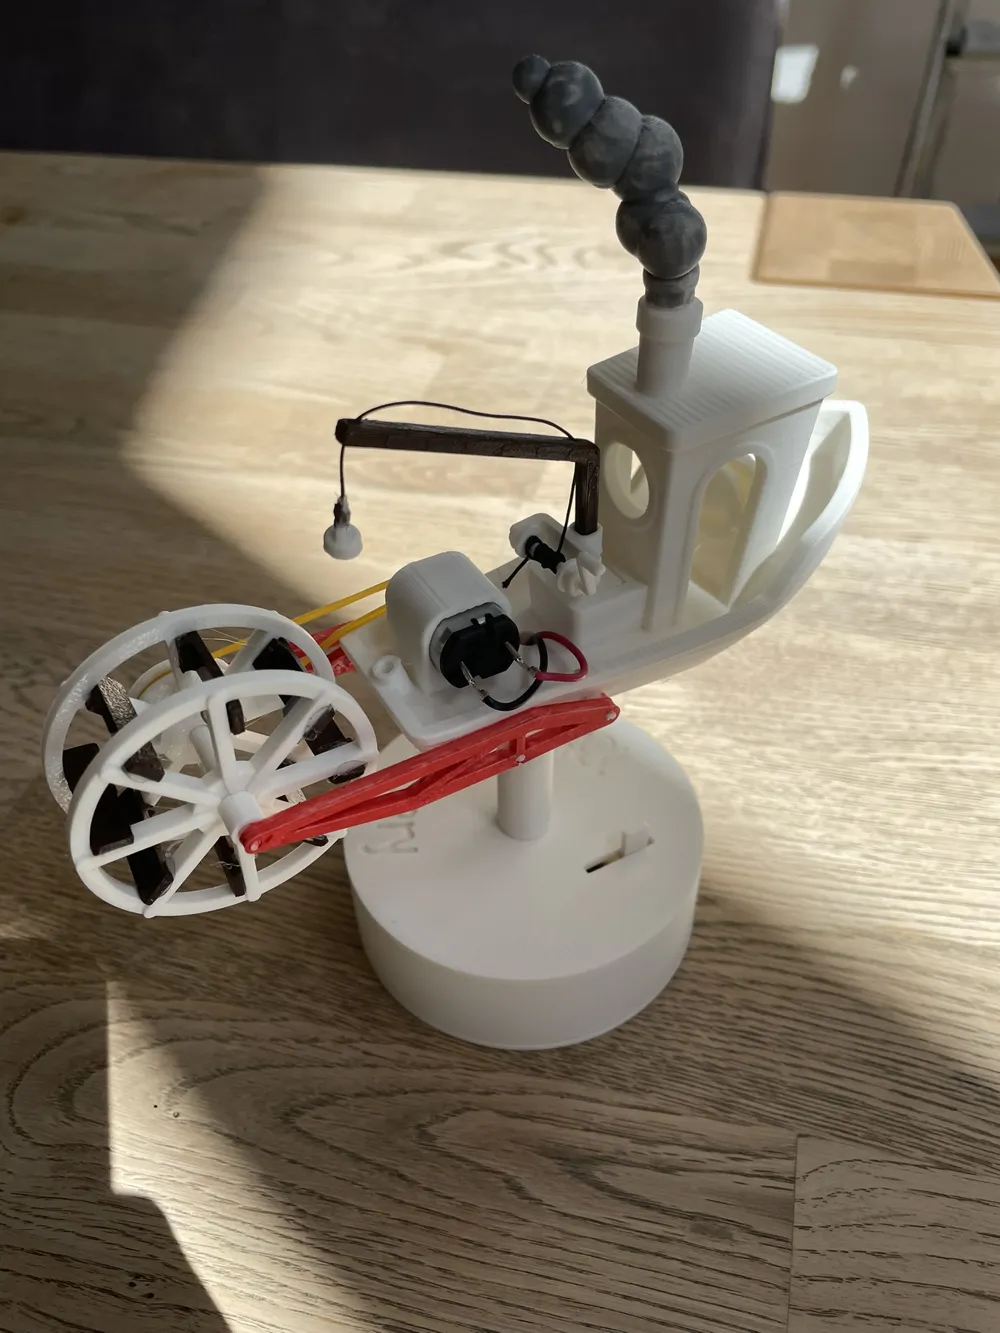
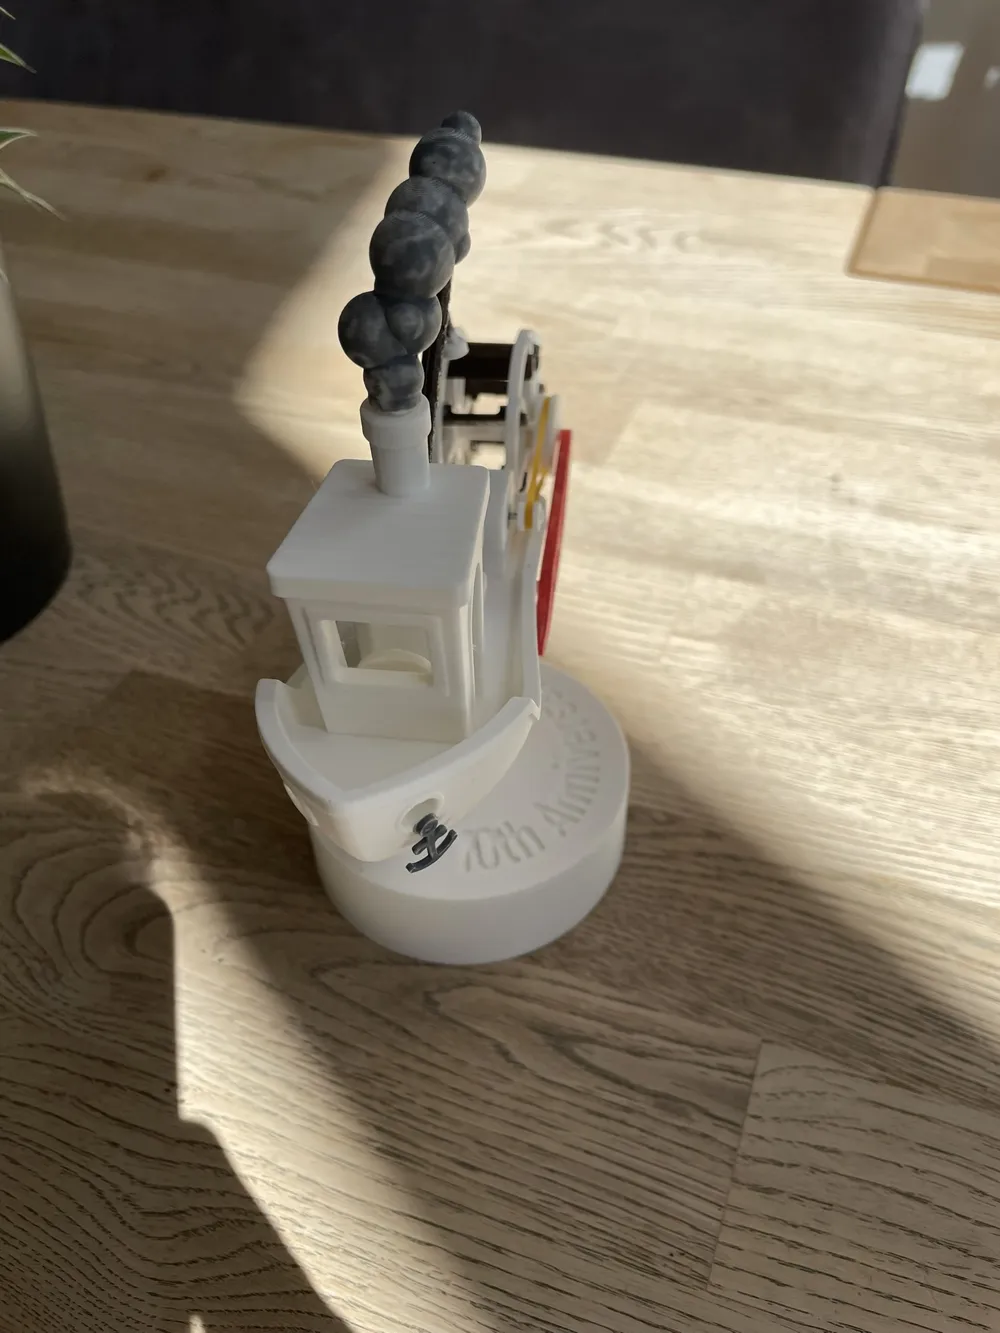

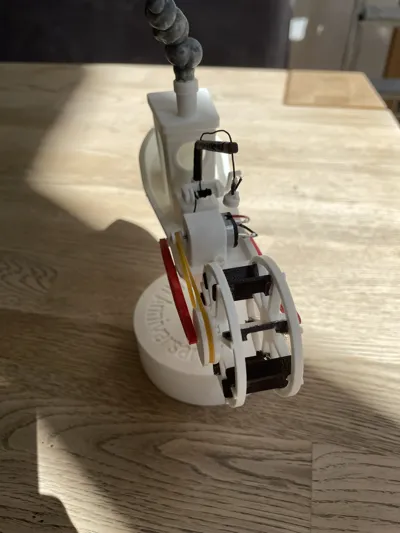
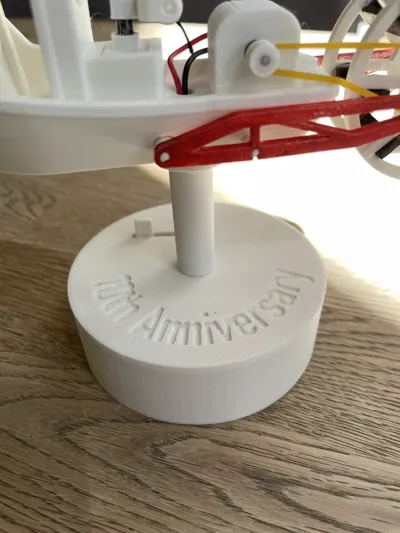
This is my remix of the Benchy, designed to depict a Benchy fishing trawler on a pedestal. The pedestal commemorates the 10th anniversary.
The Bambulab Makers Beginner Kit is required for this model!
Assembly Instructions:
First, print all five plates. Use white for the first two, gray for the third, red for the fourth, and brown for the last. This eliminates the need for an AMS.
Makers Beginner Kit Components:
1x Magnet
1x String (approx. 18-20cm)
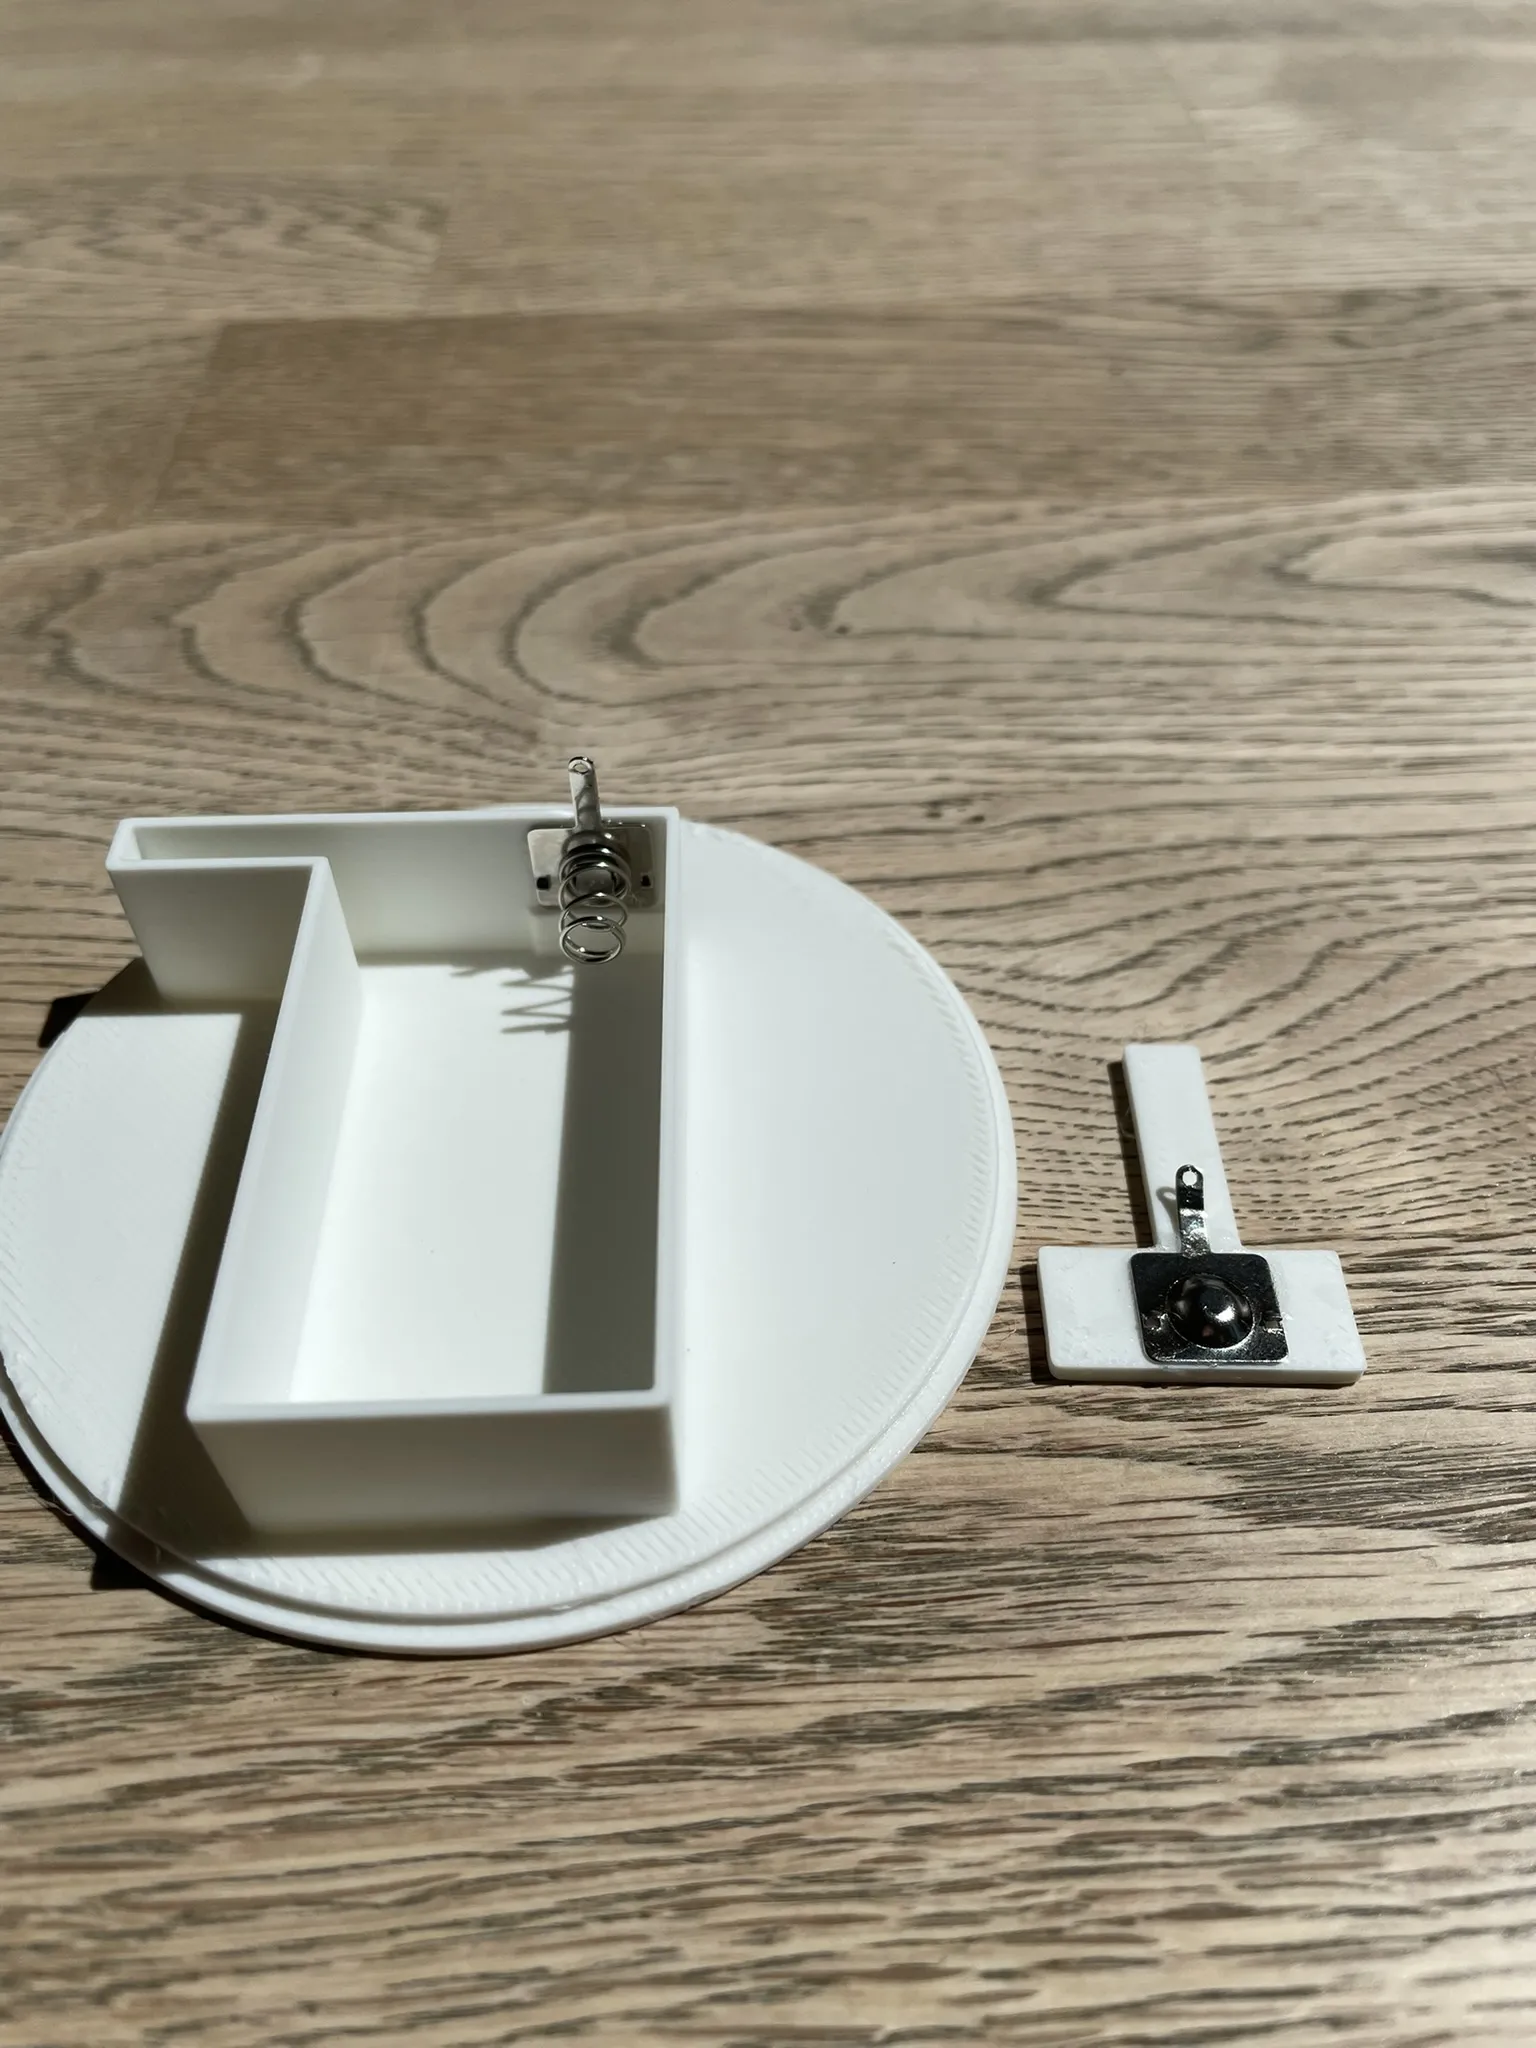
2x Small Battery Terminals
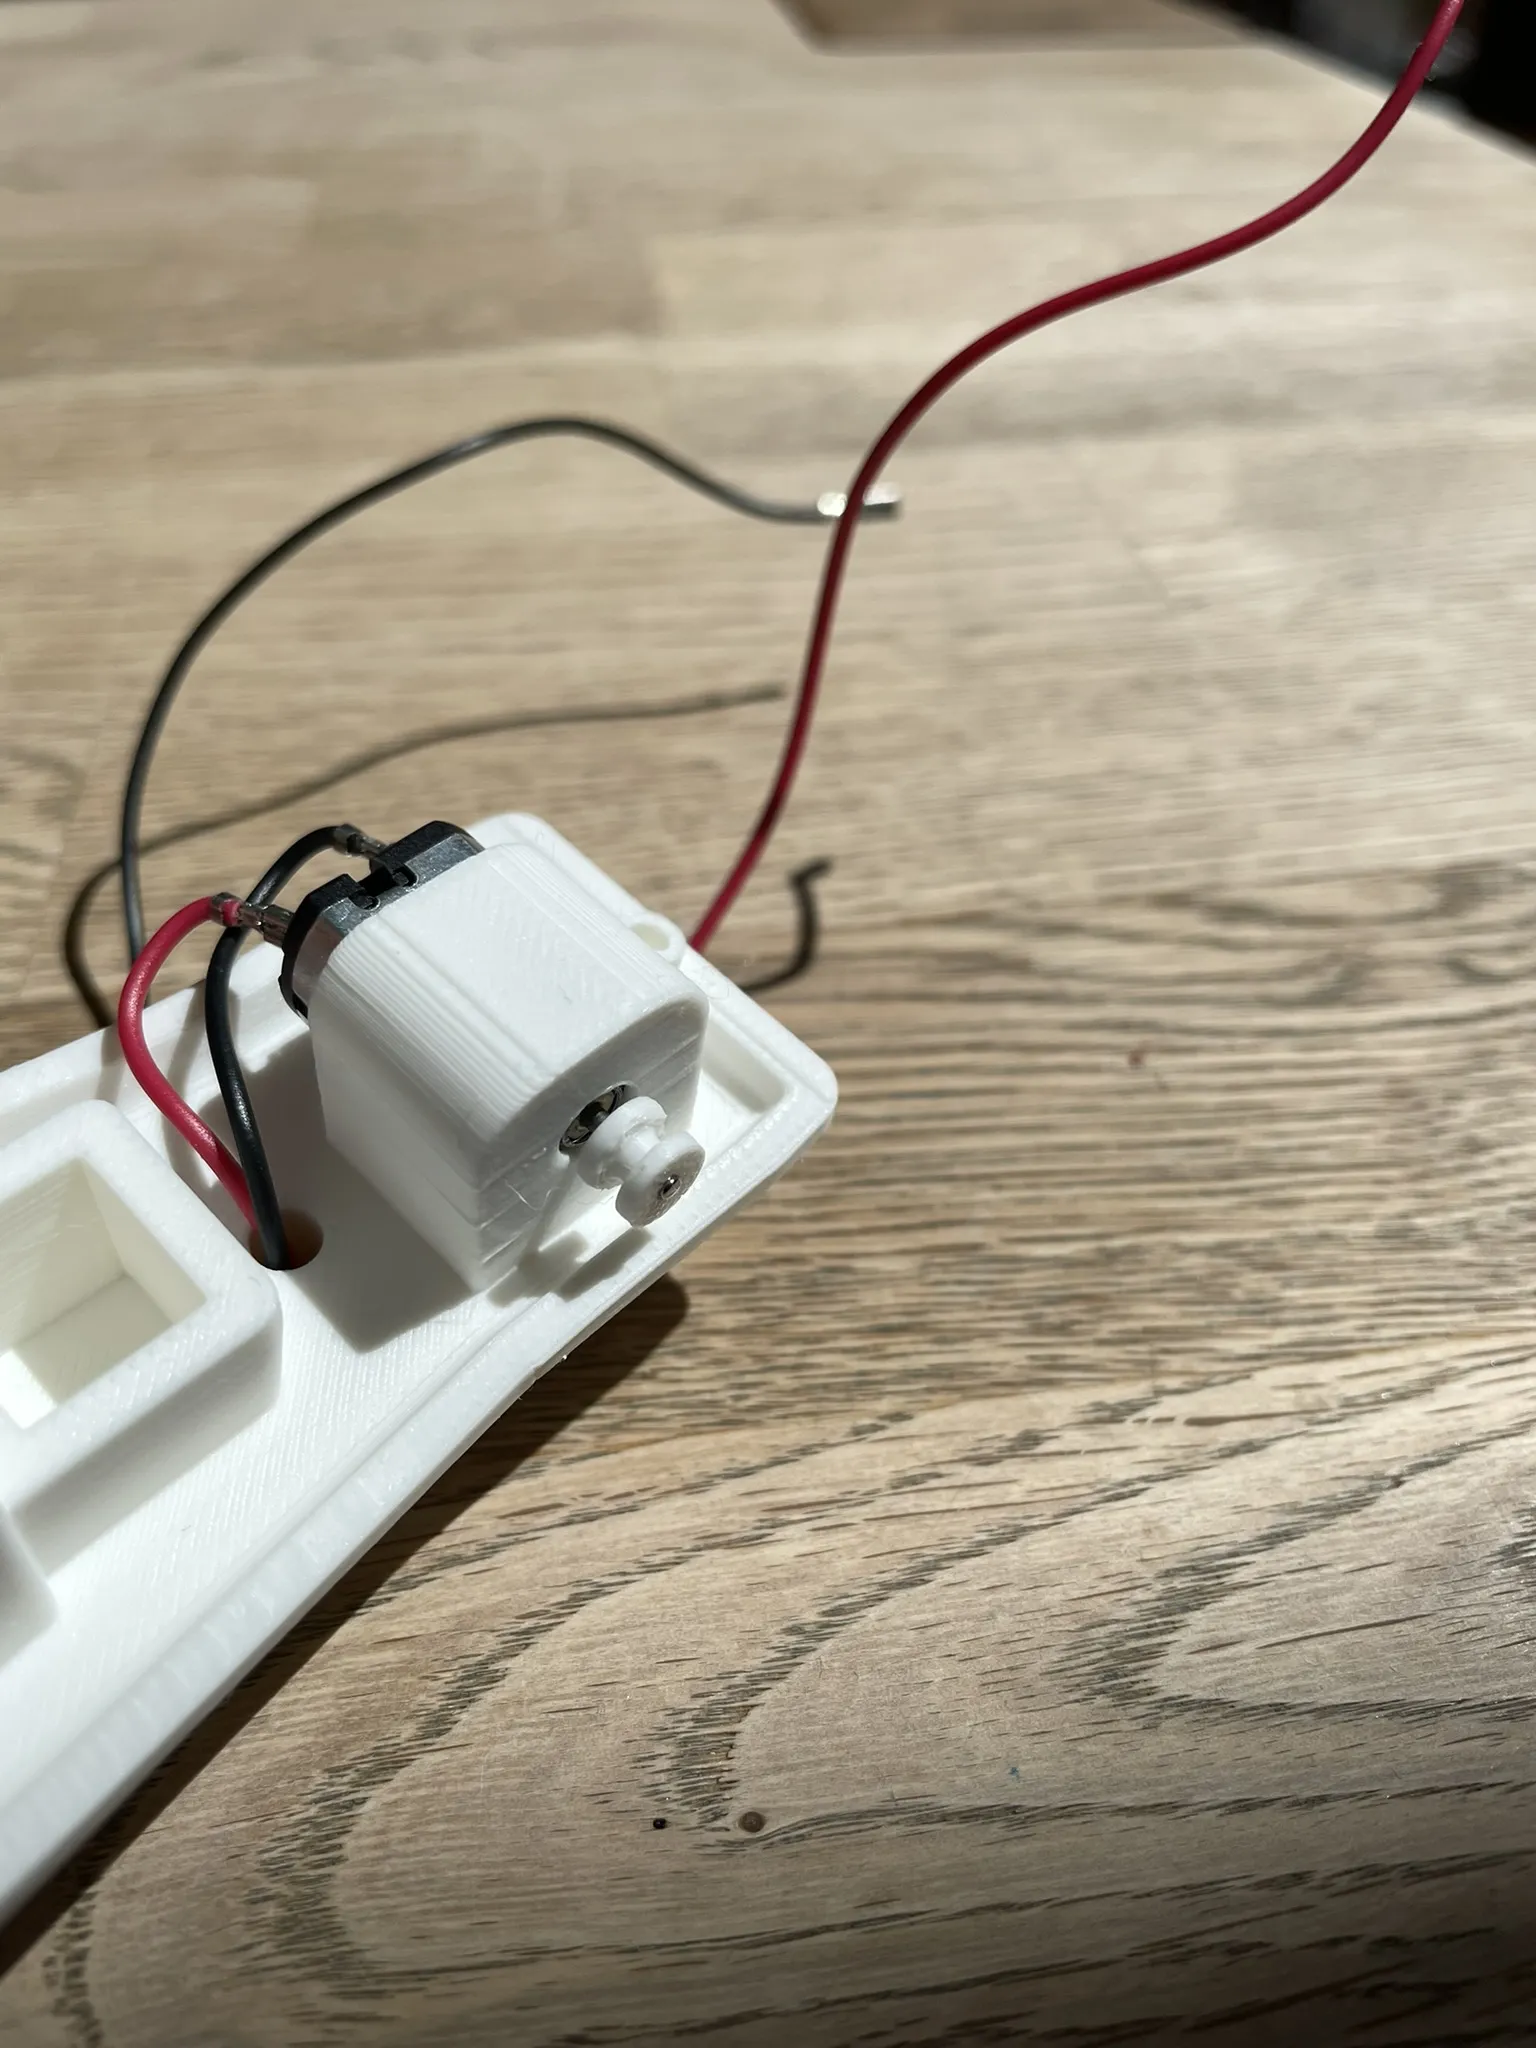
1x Motor with Cable
1x Rubber Band
Printing Information:
Print with supports enabled; the three axles require rafts.
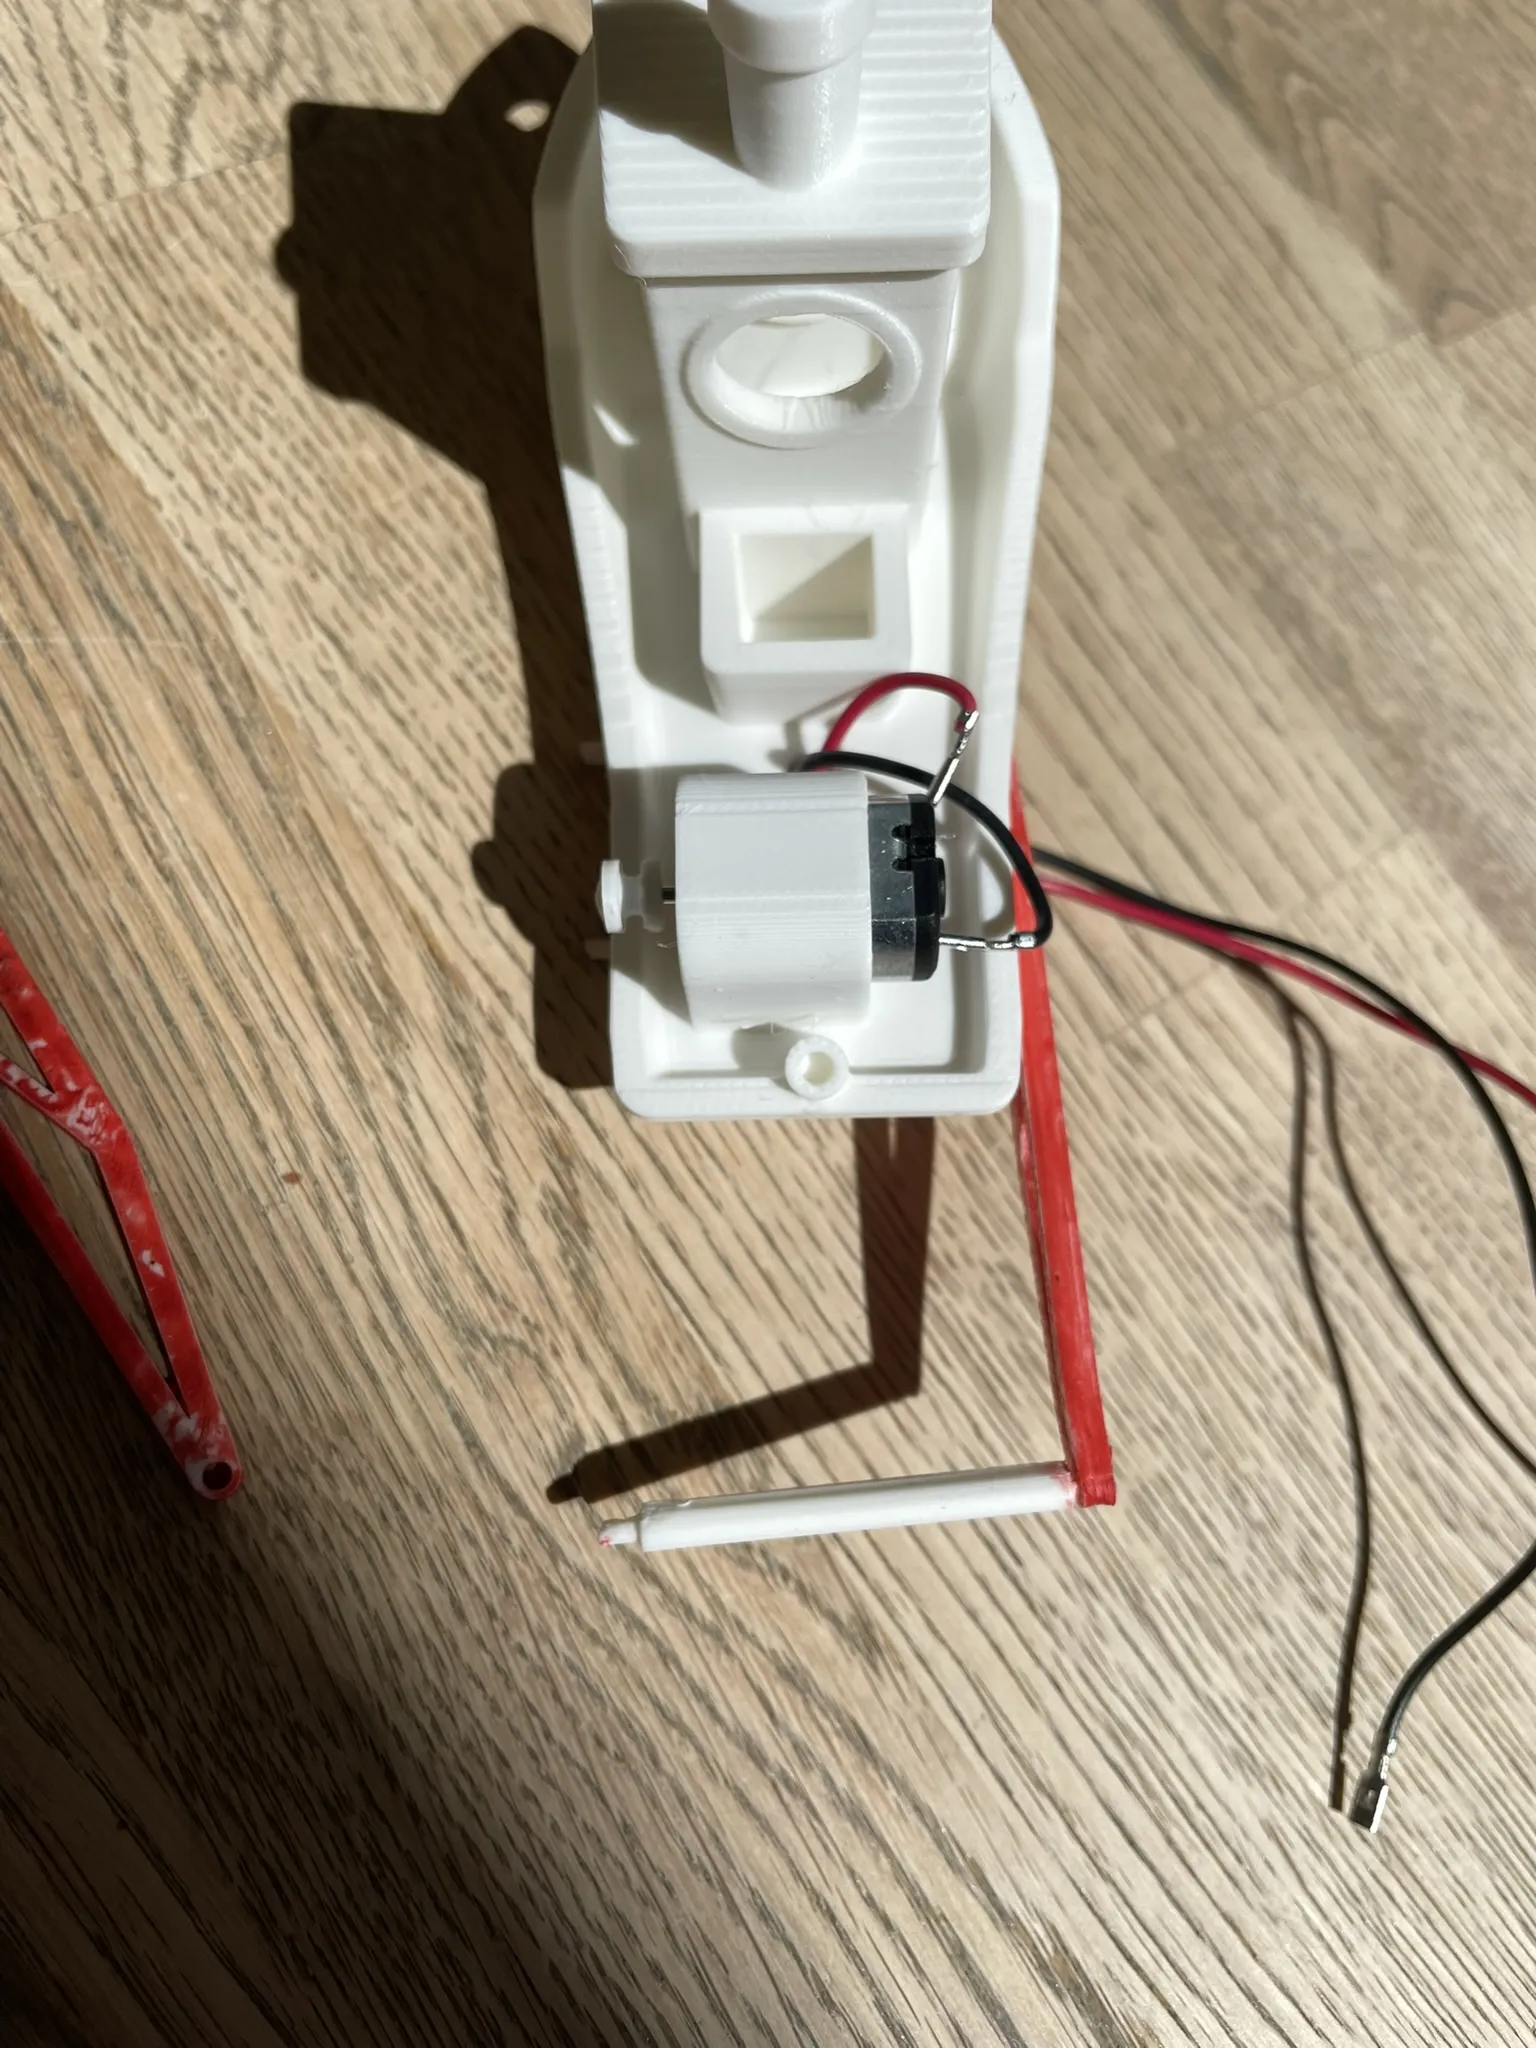
First, insert the motor into its holder and feed the cables through the hole in the base.
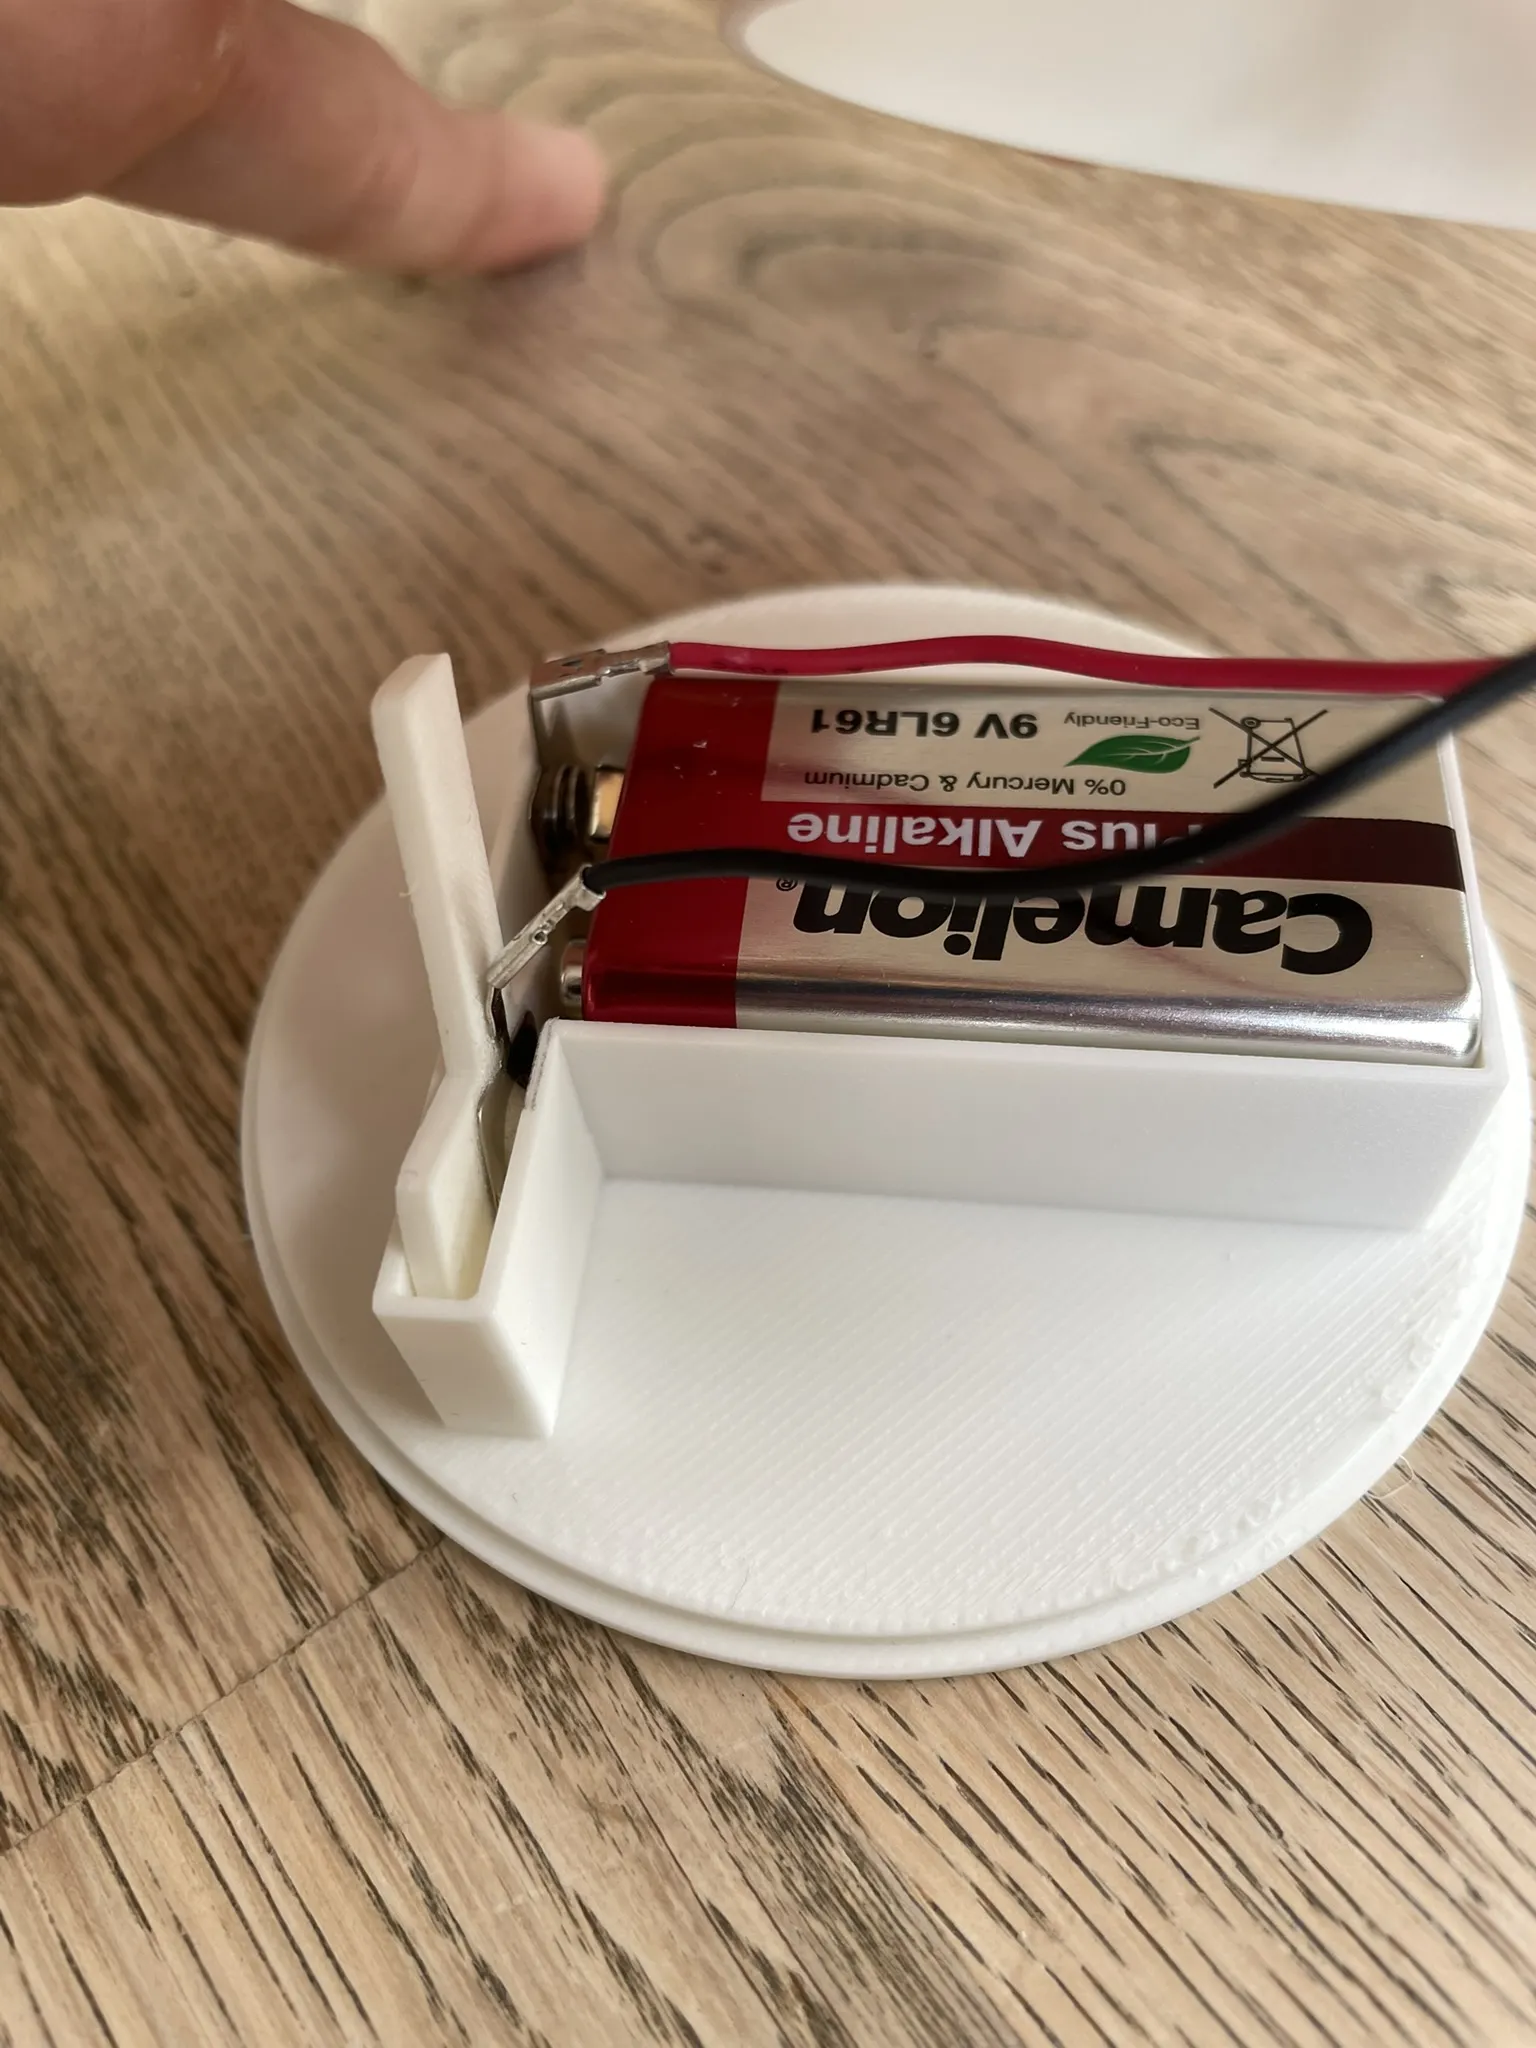
Next, adhere the battery terminals as shown in the image.
Next, connect the two red supports to the three axles as follows:
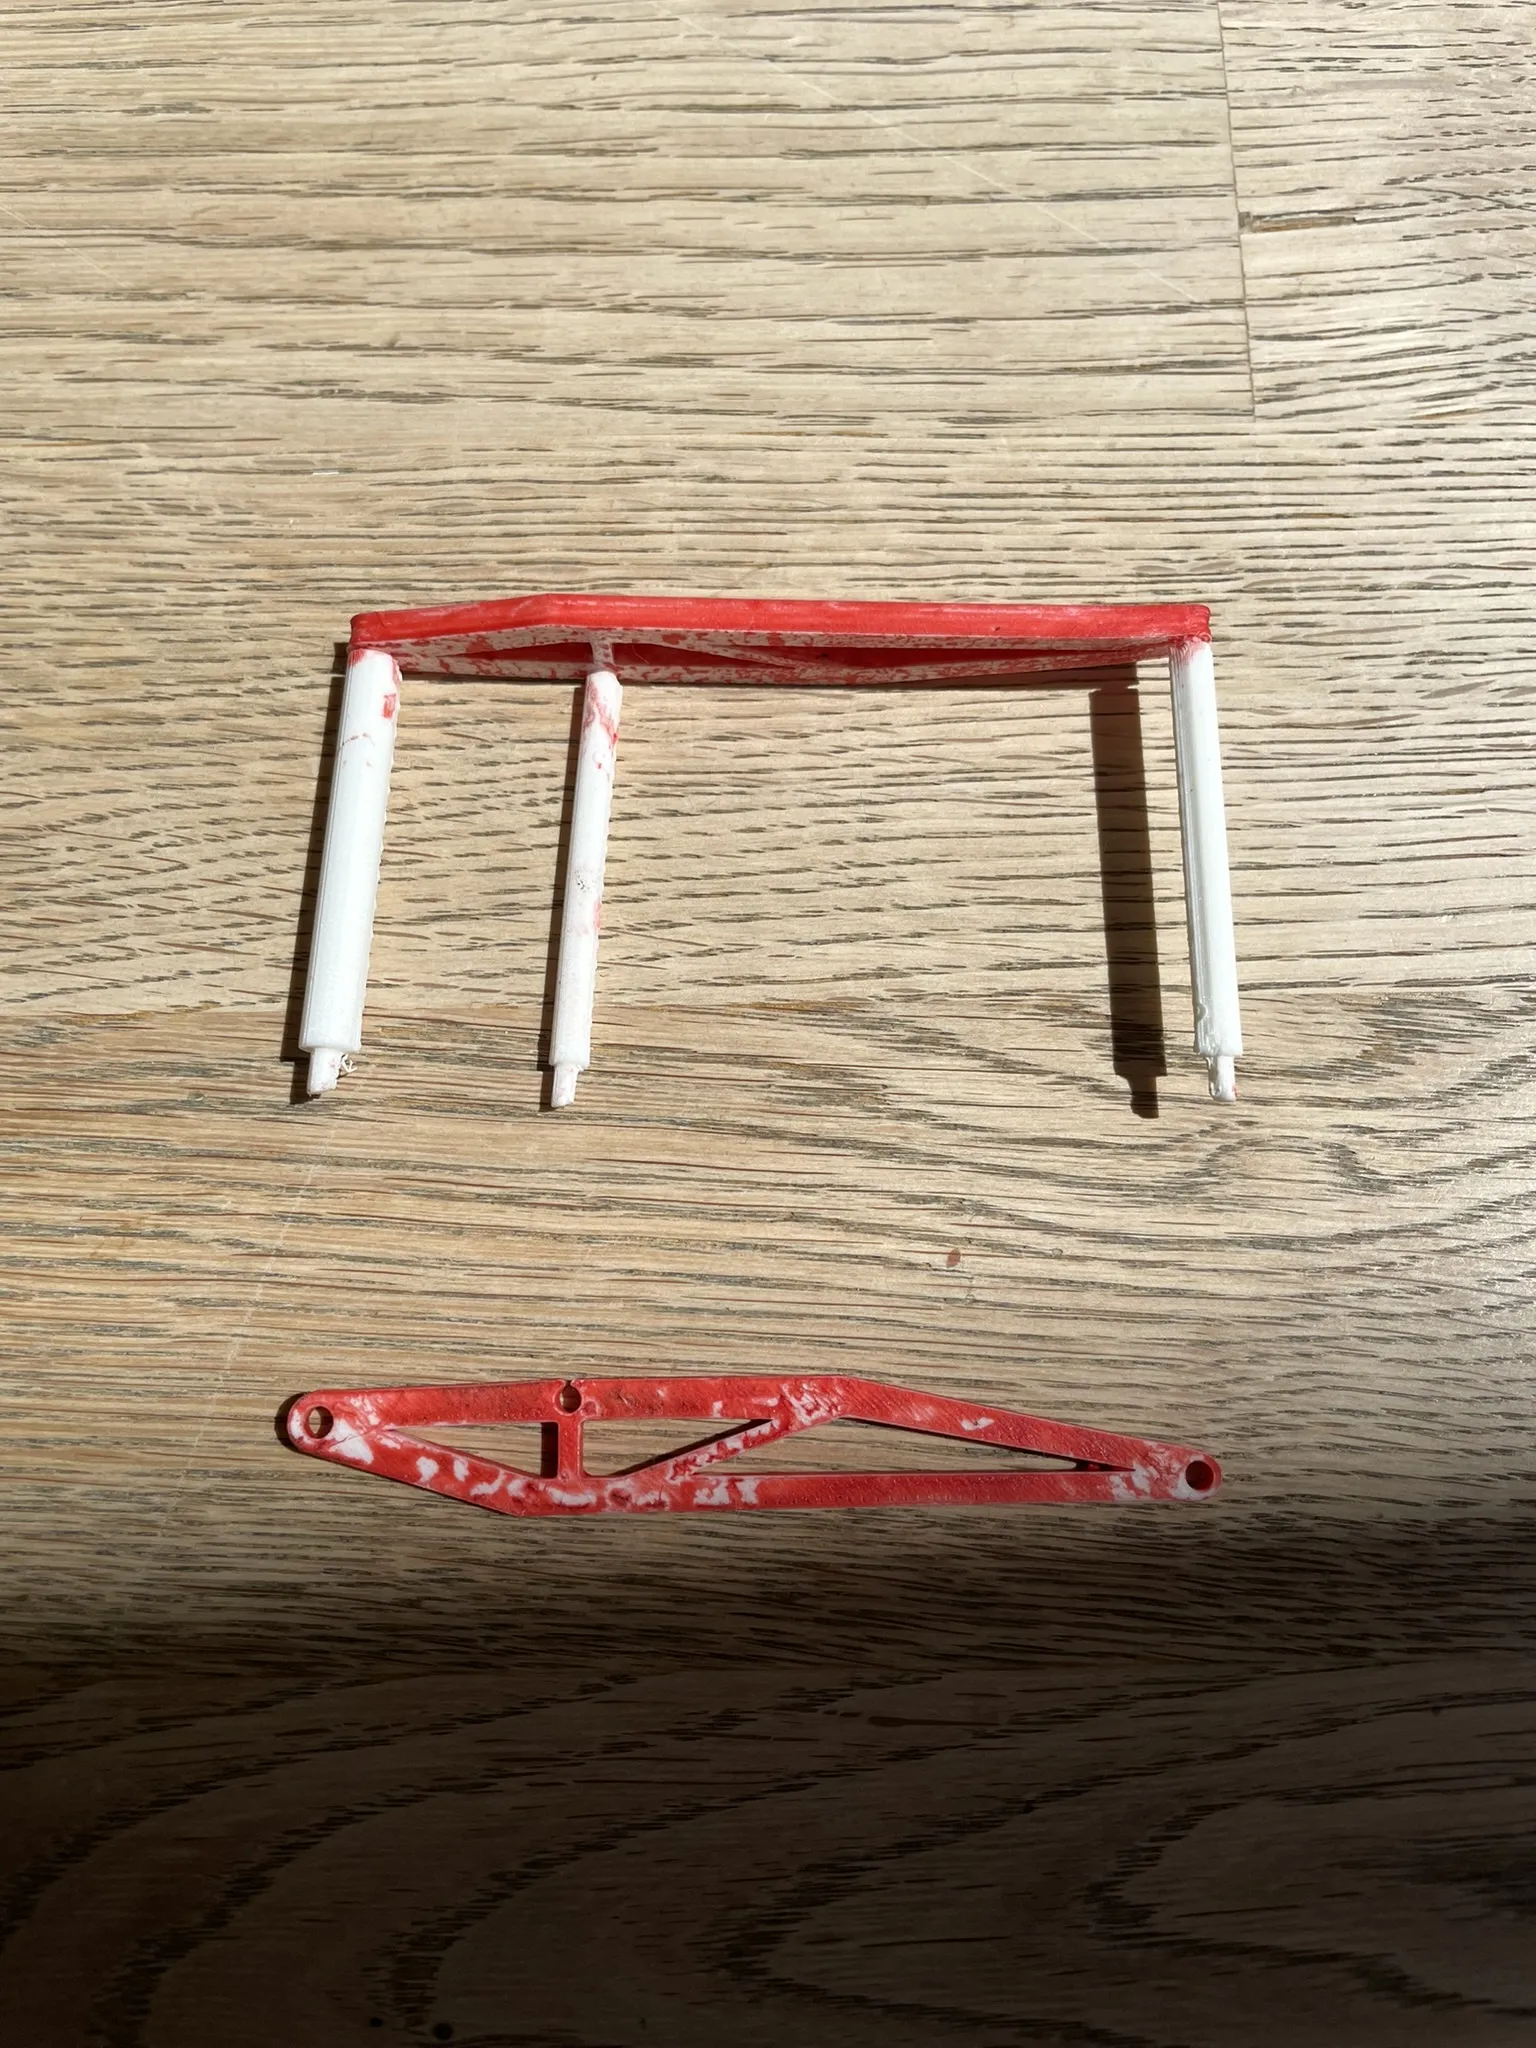
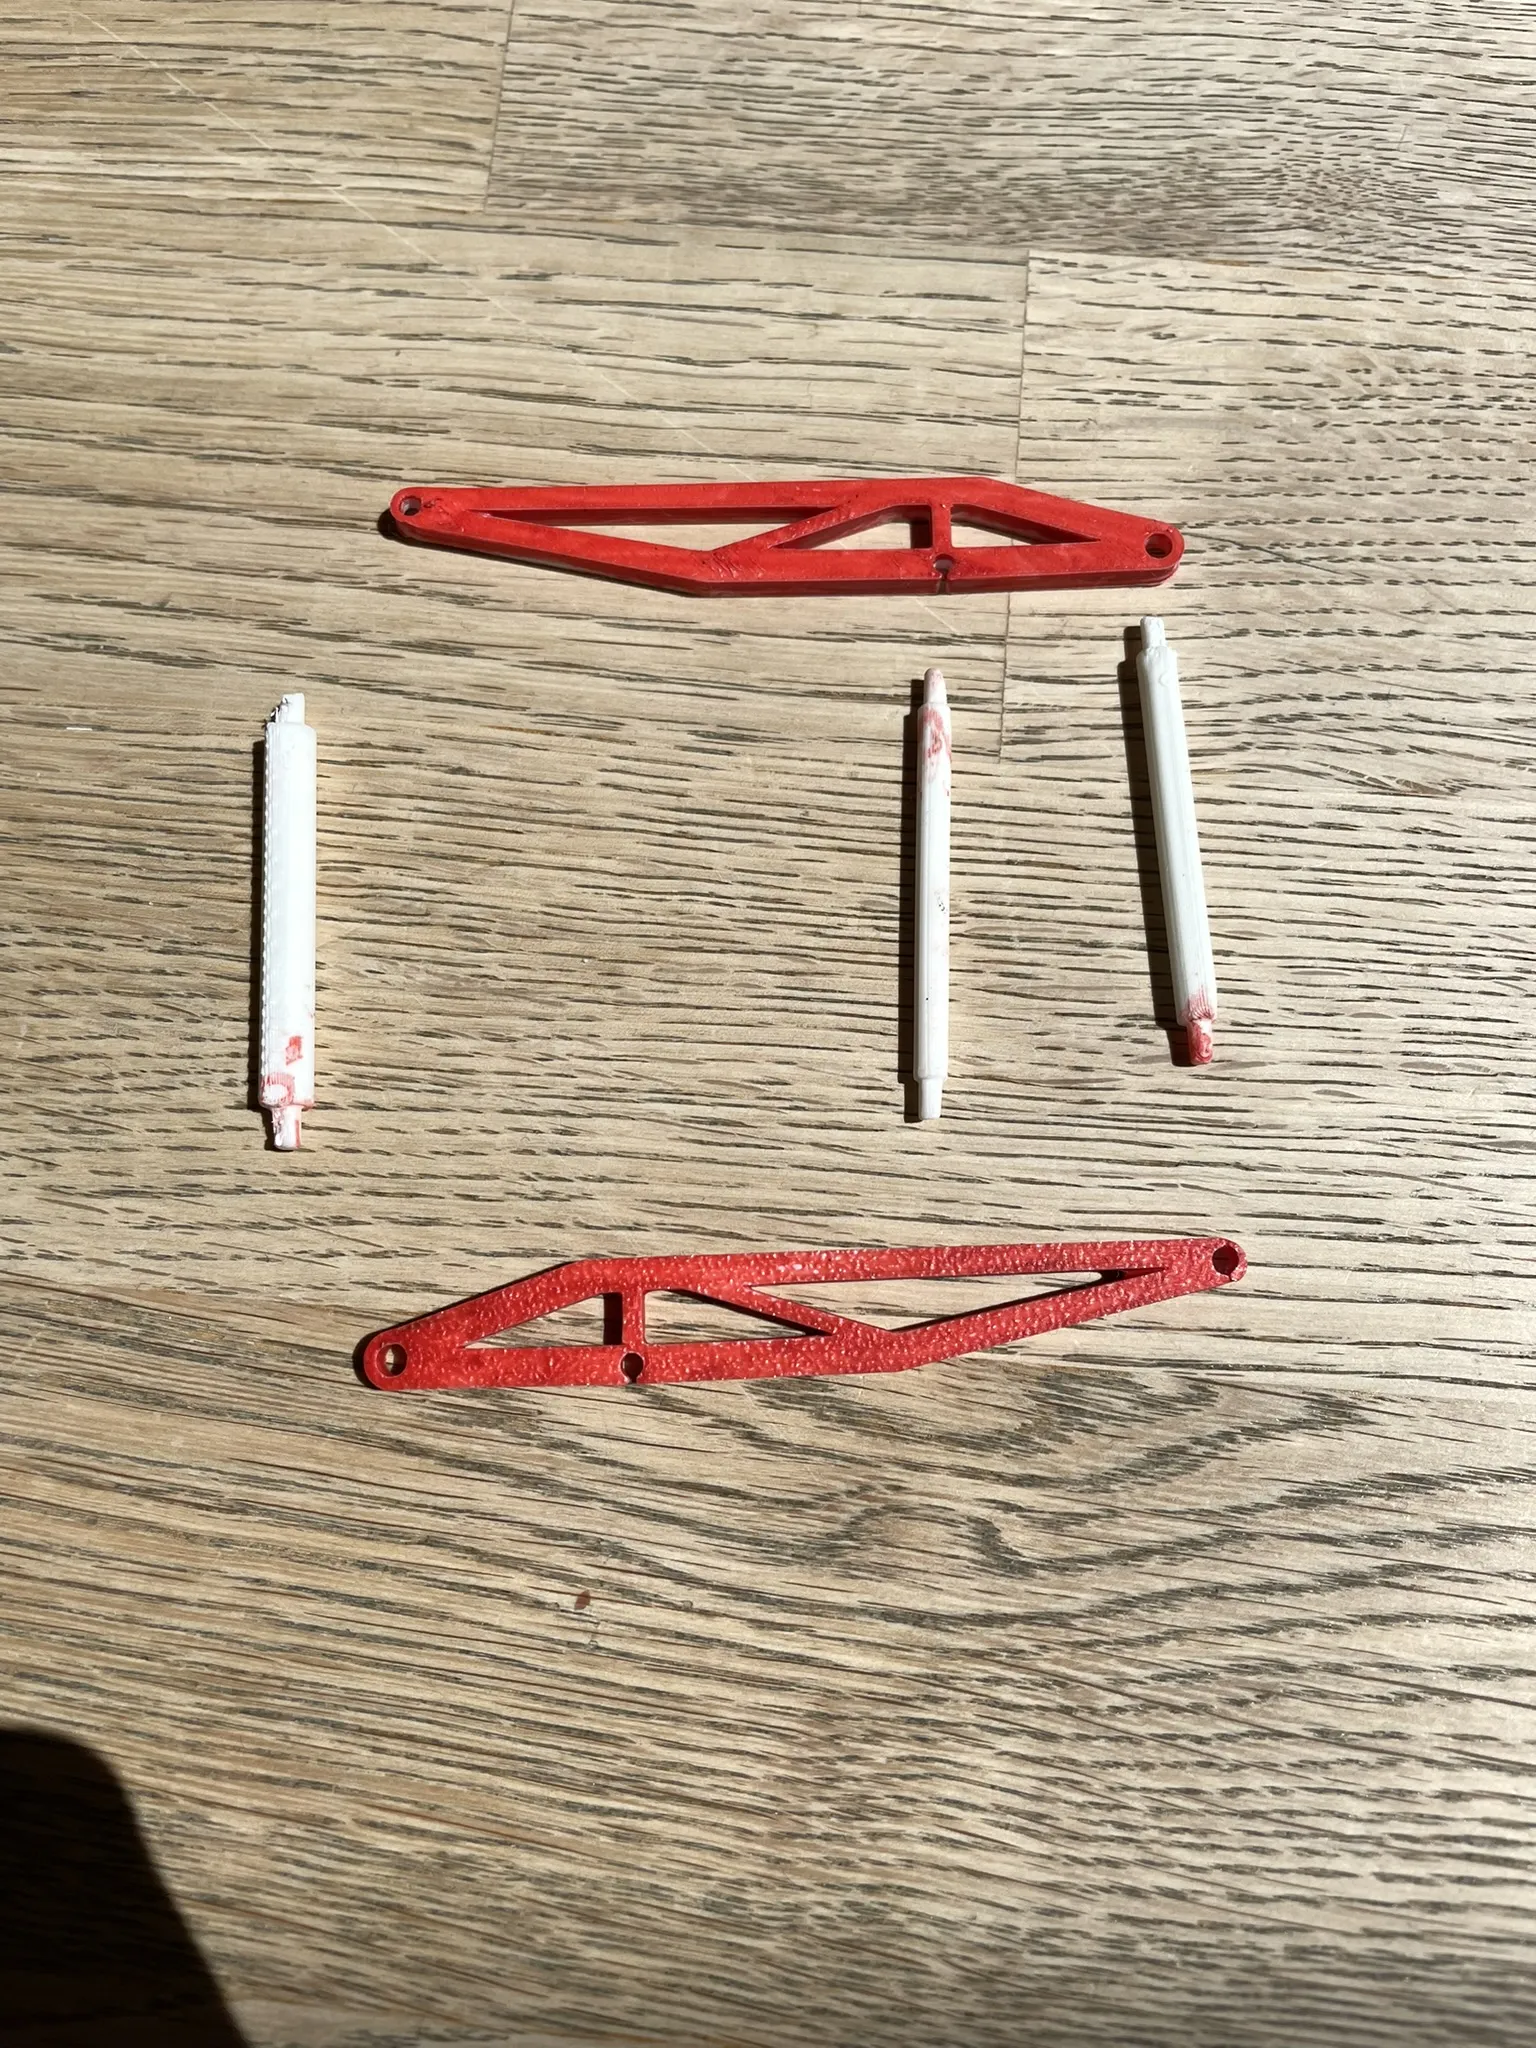 The axles should be arranged with the thickest on the right, the medium on the left, and the thinnest in the center.
Insert the three axles into one of the two red connectors and then push them through the Benchy.
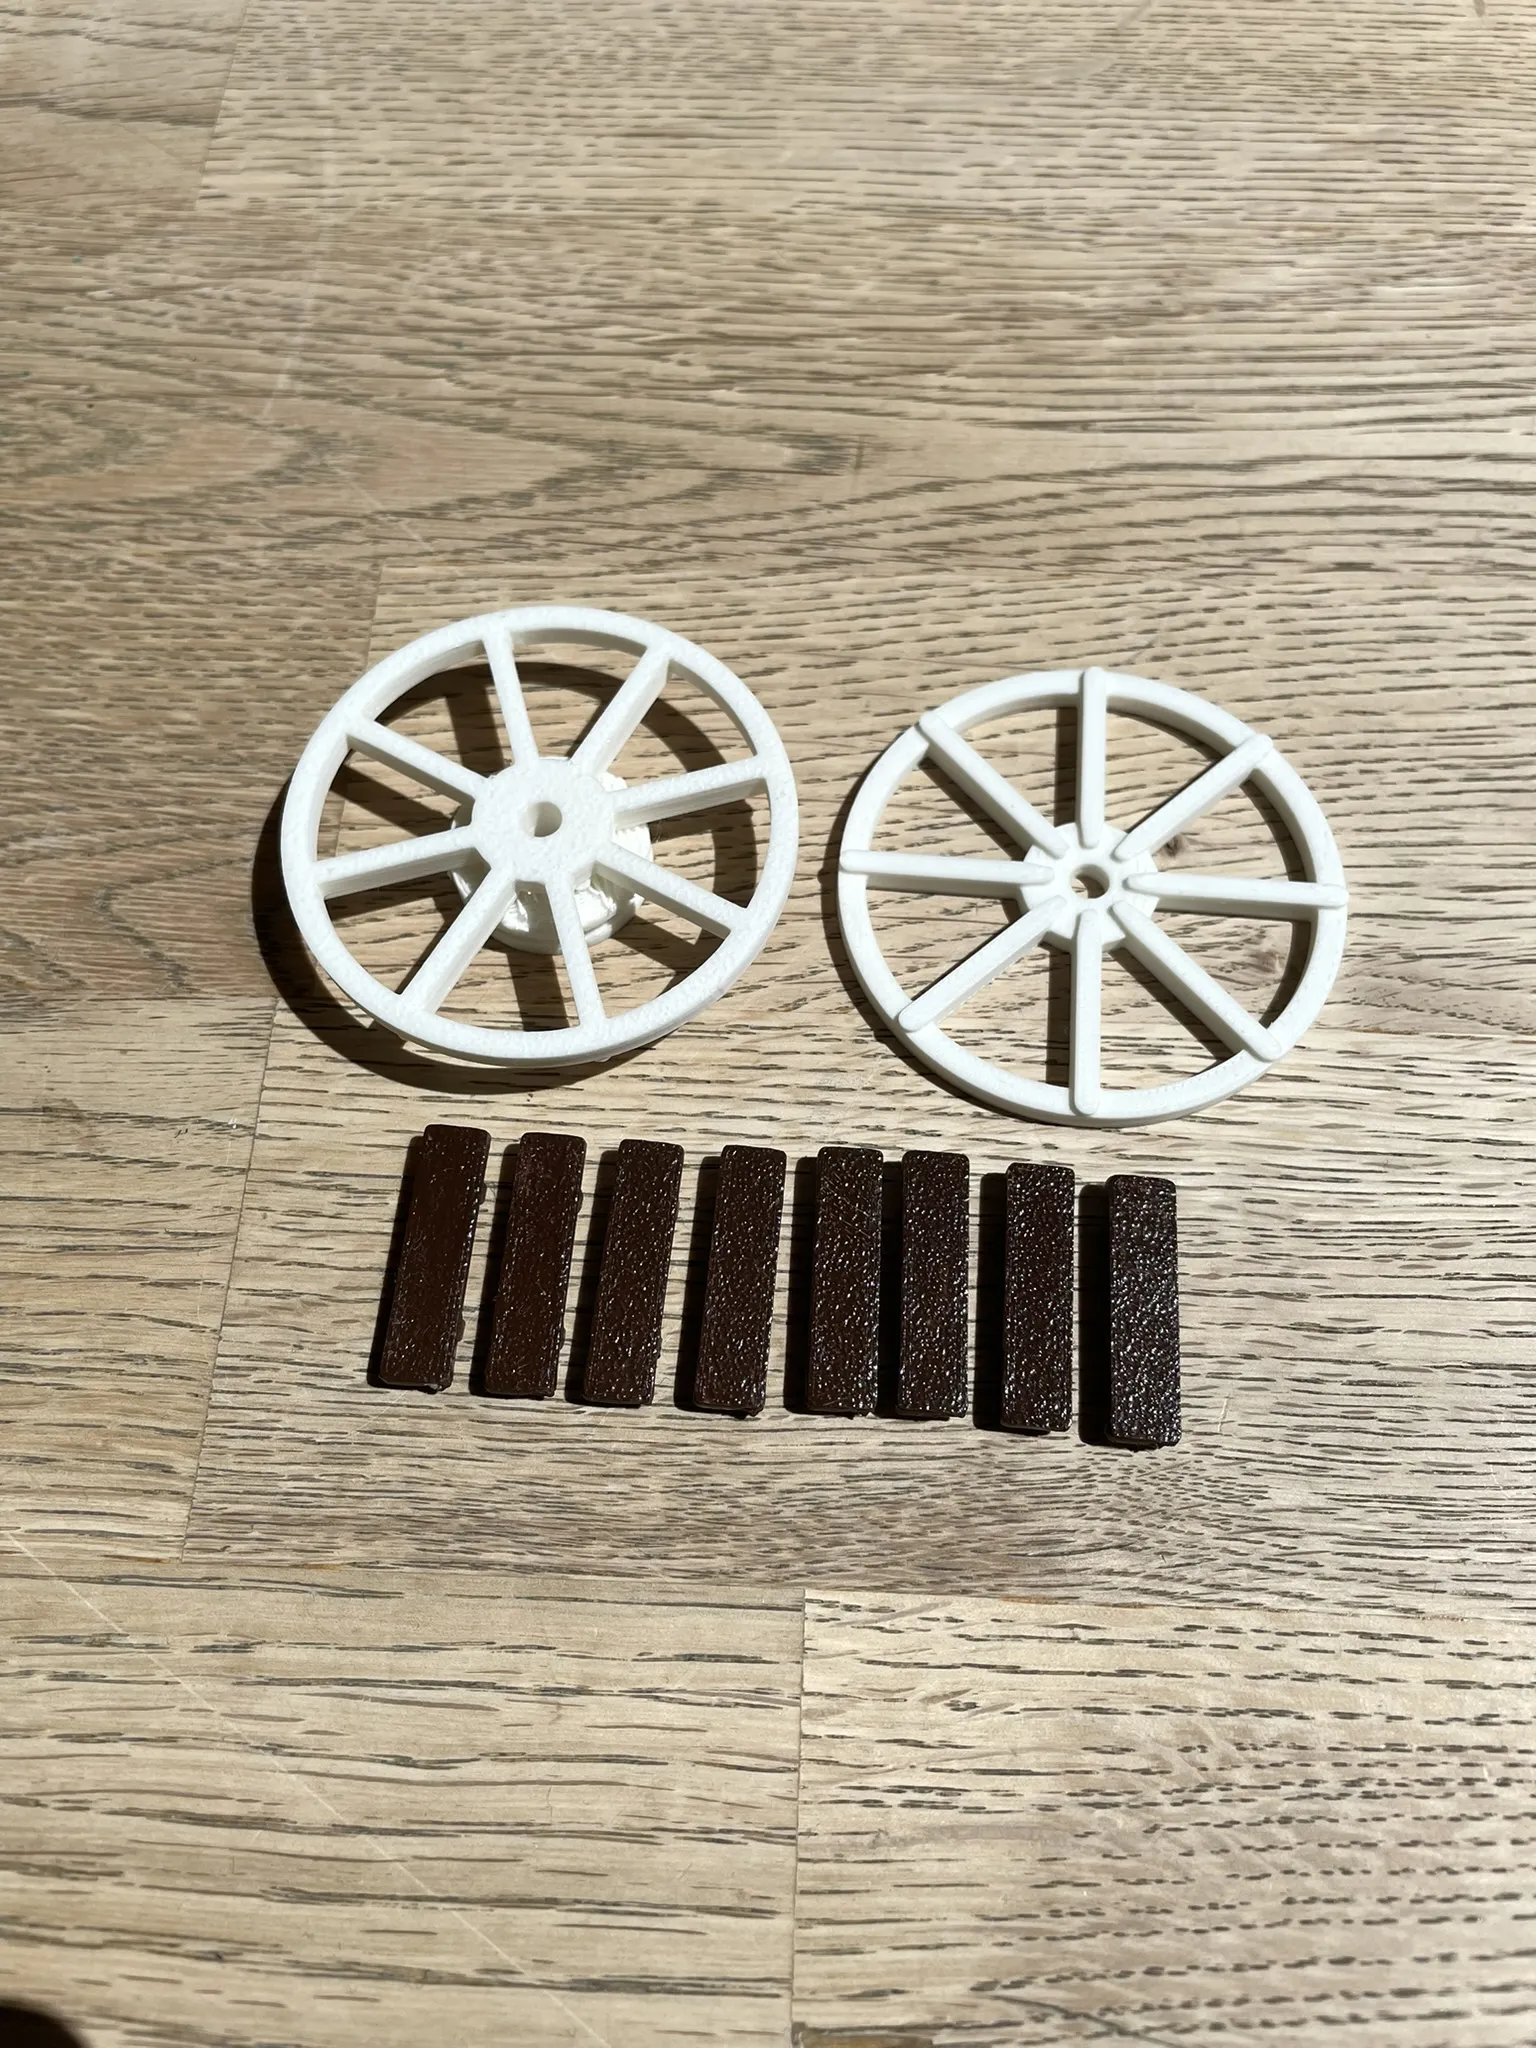
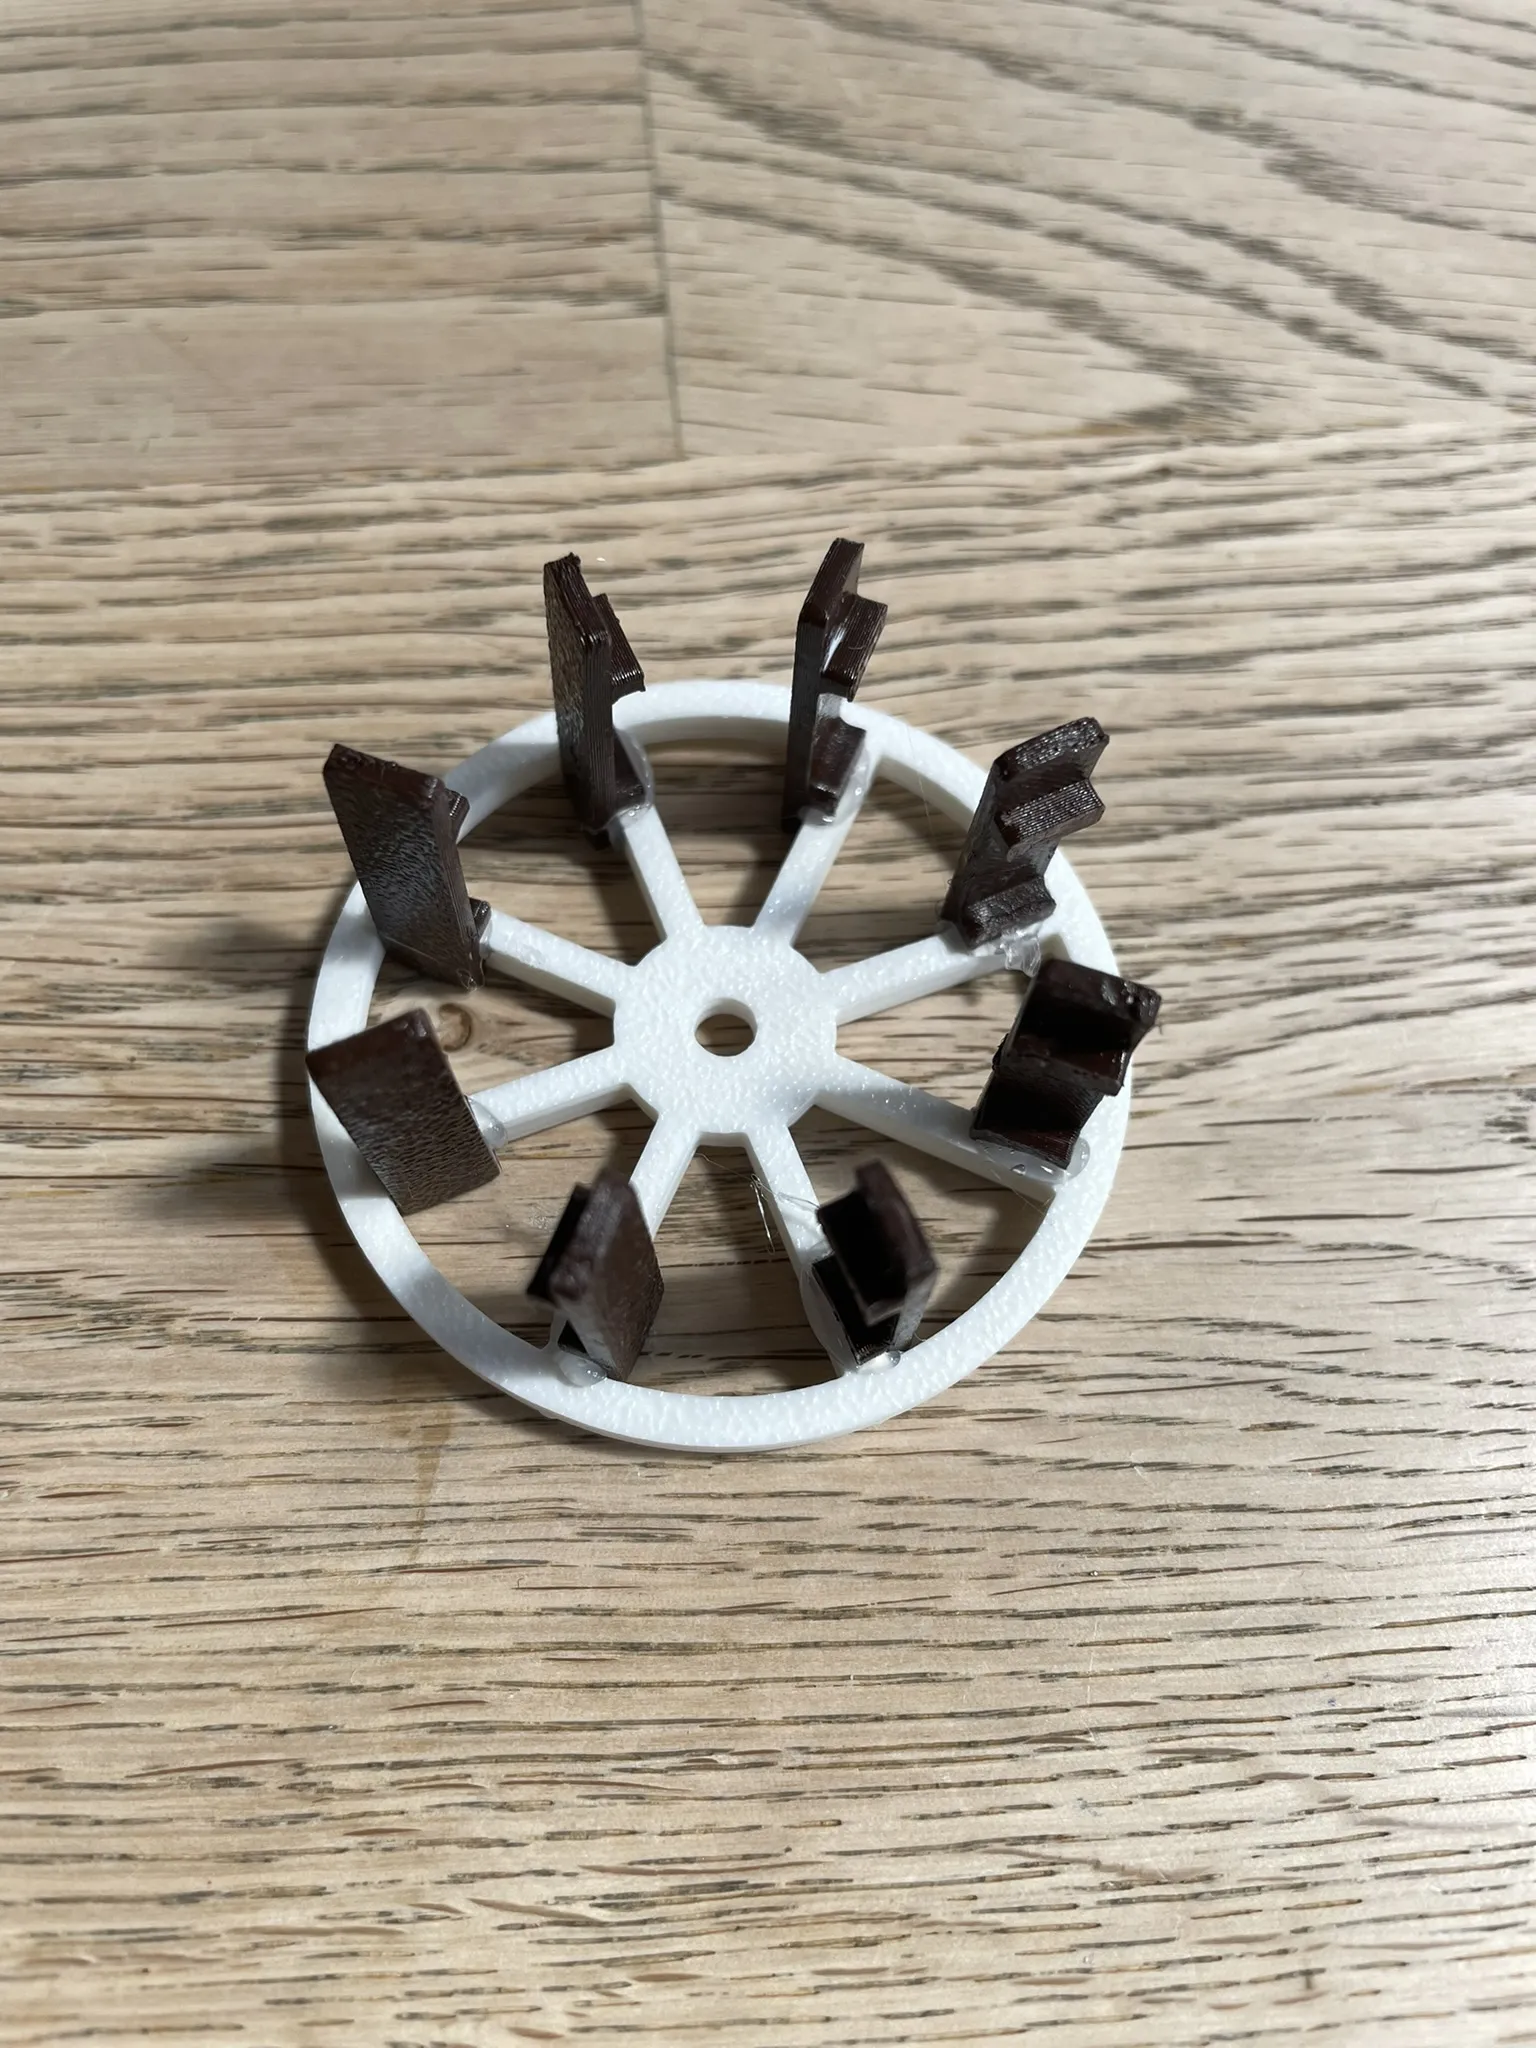
 Assemble the paddle wheel using eight brown pieces and the two wheels, employing adhesive as needed.
Assemble as follows:
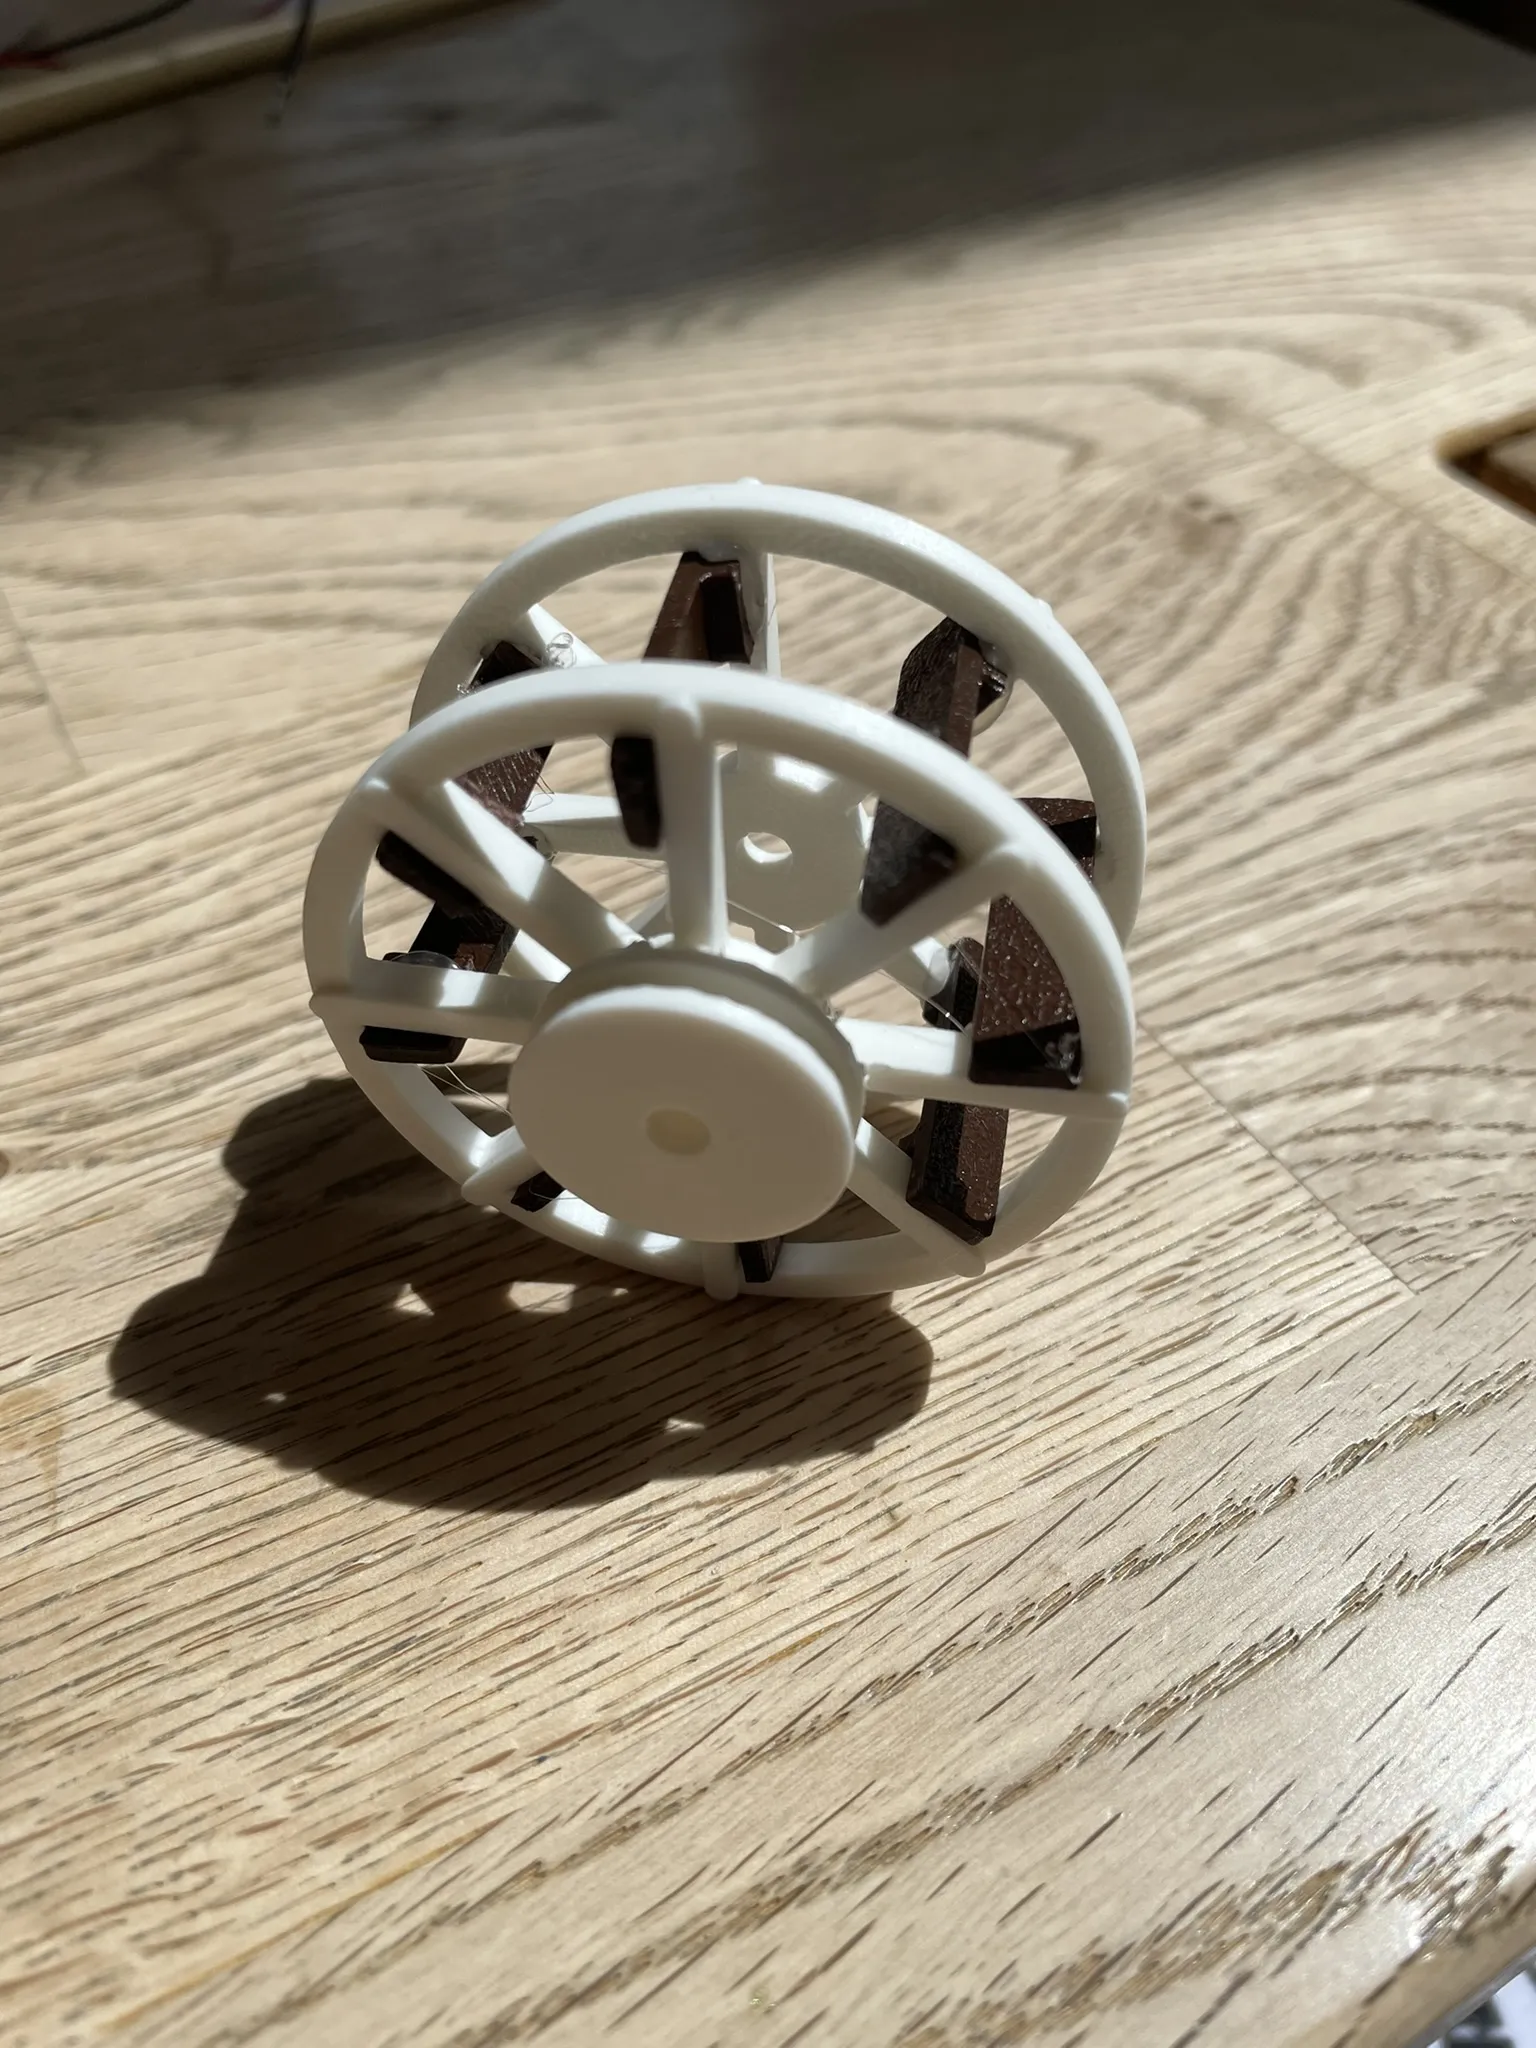
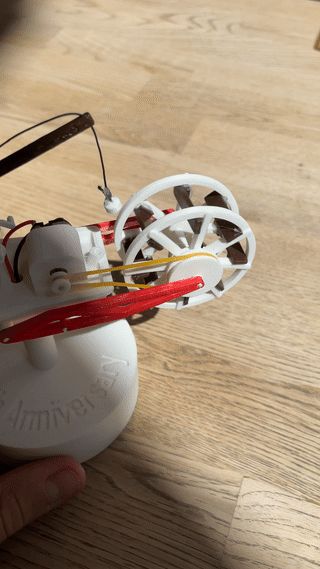
Place the rubber band around the wheel and then install the wheel.
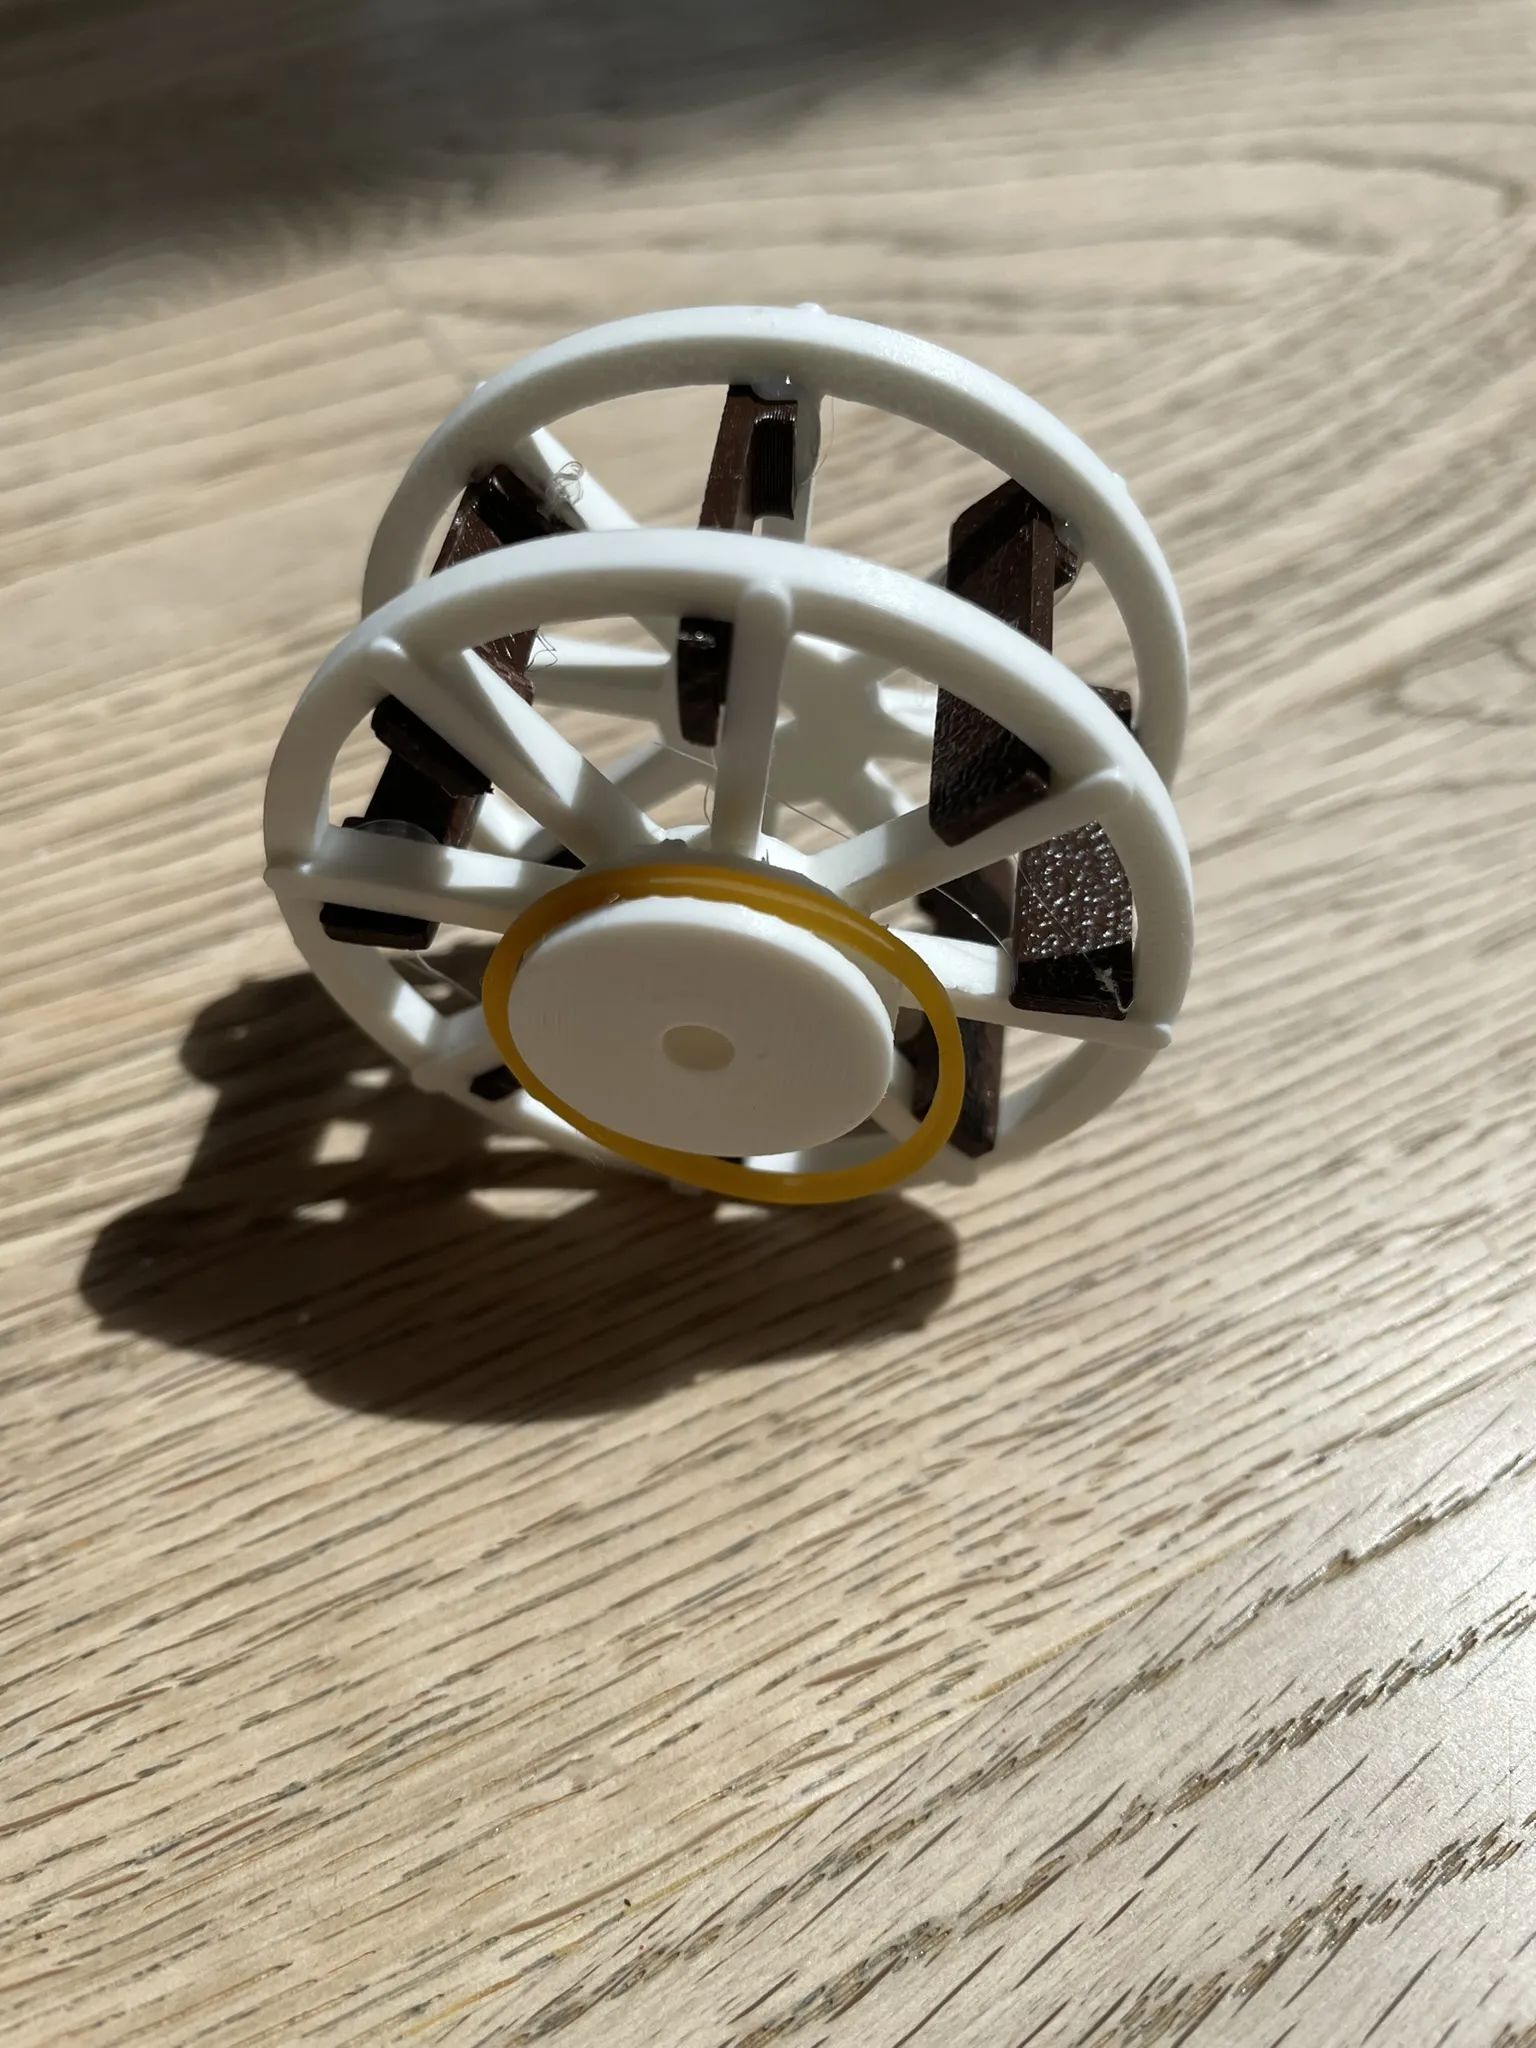
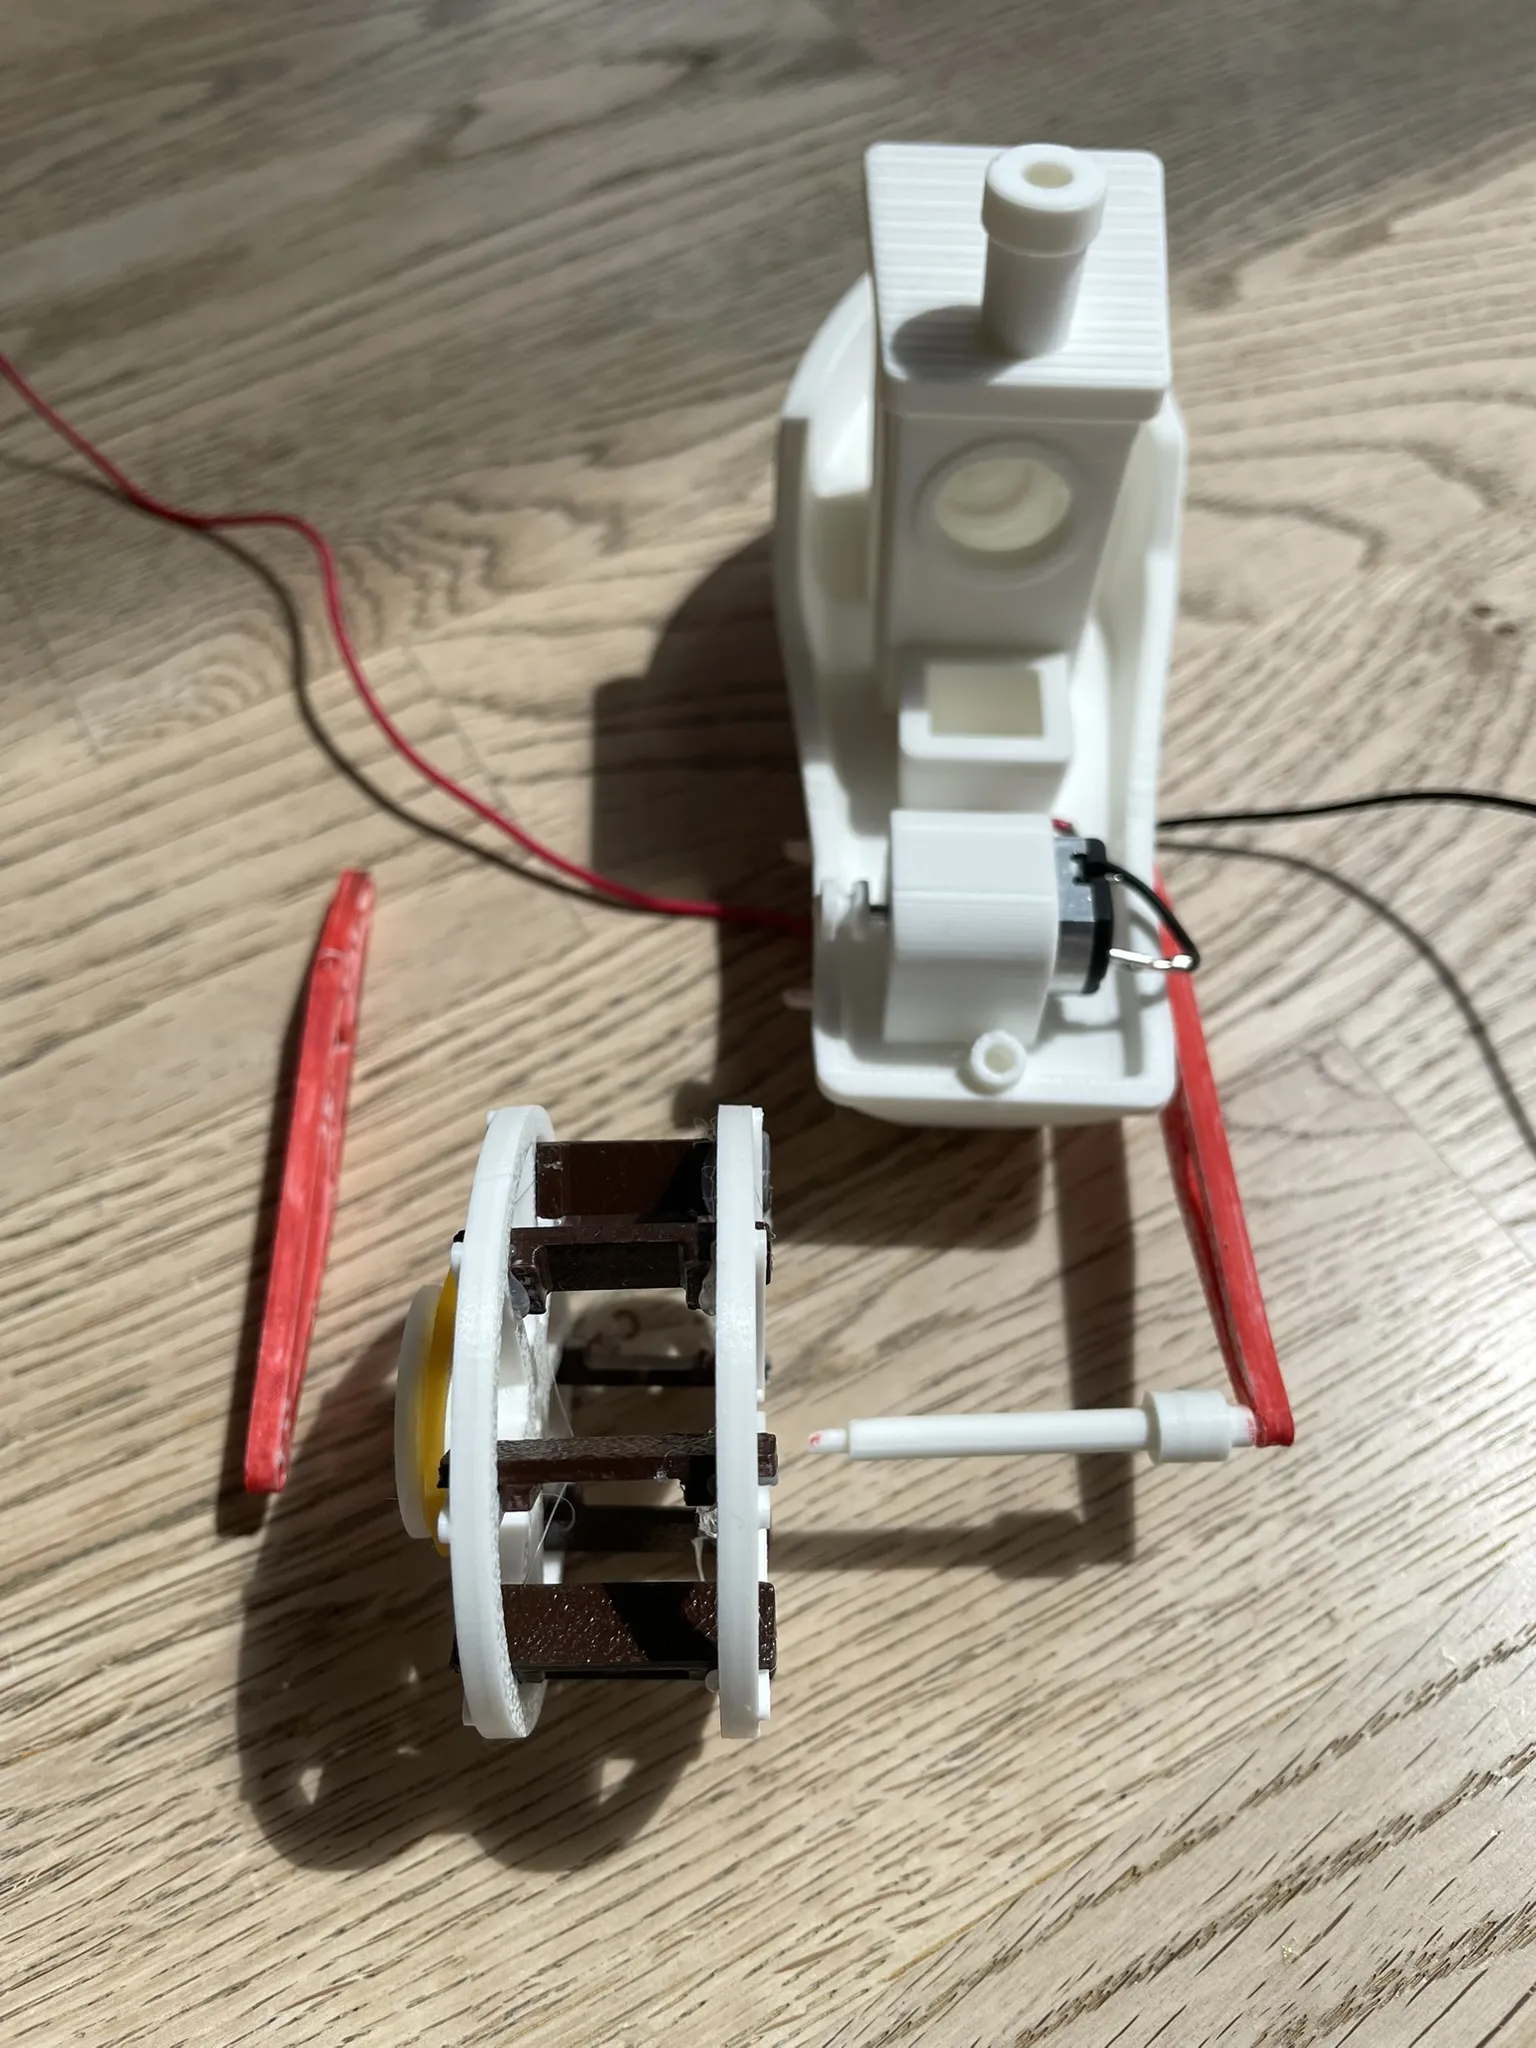
For installation, slide the spacer onto the axle, then the wheel, and finally the second red mounting arm. Use adhesive if necessary, but ensure the wheel remains rotatable. It should look like this.
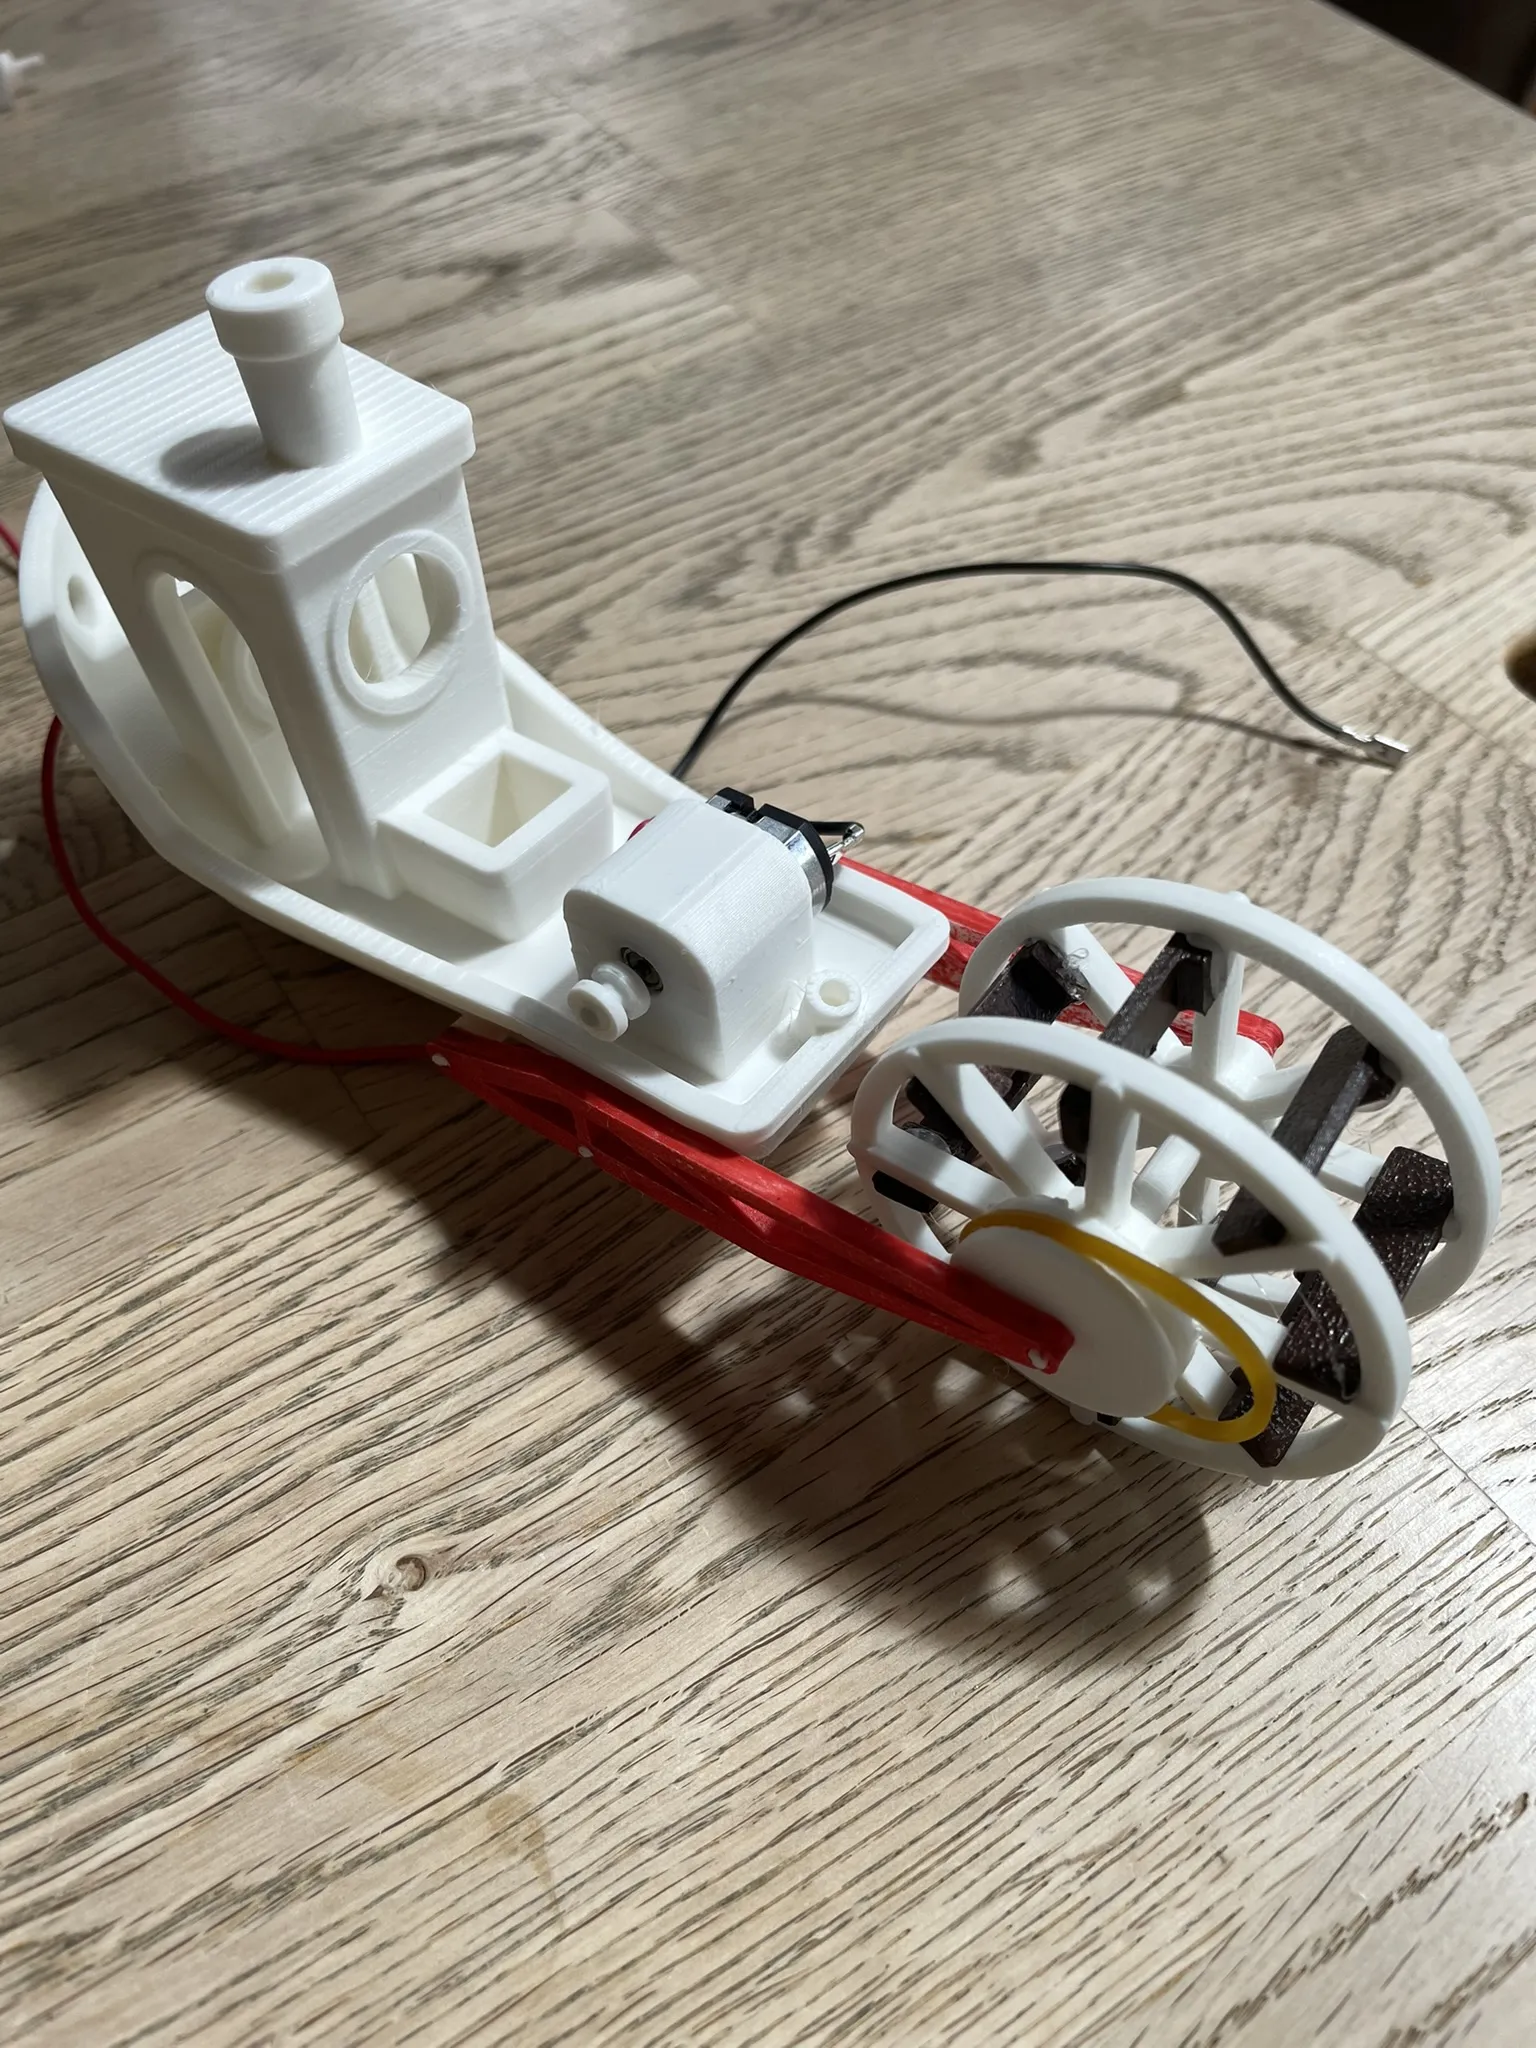
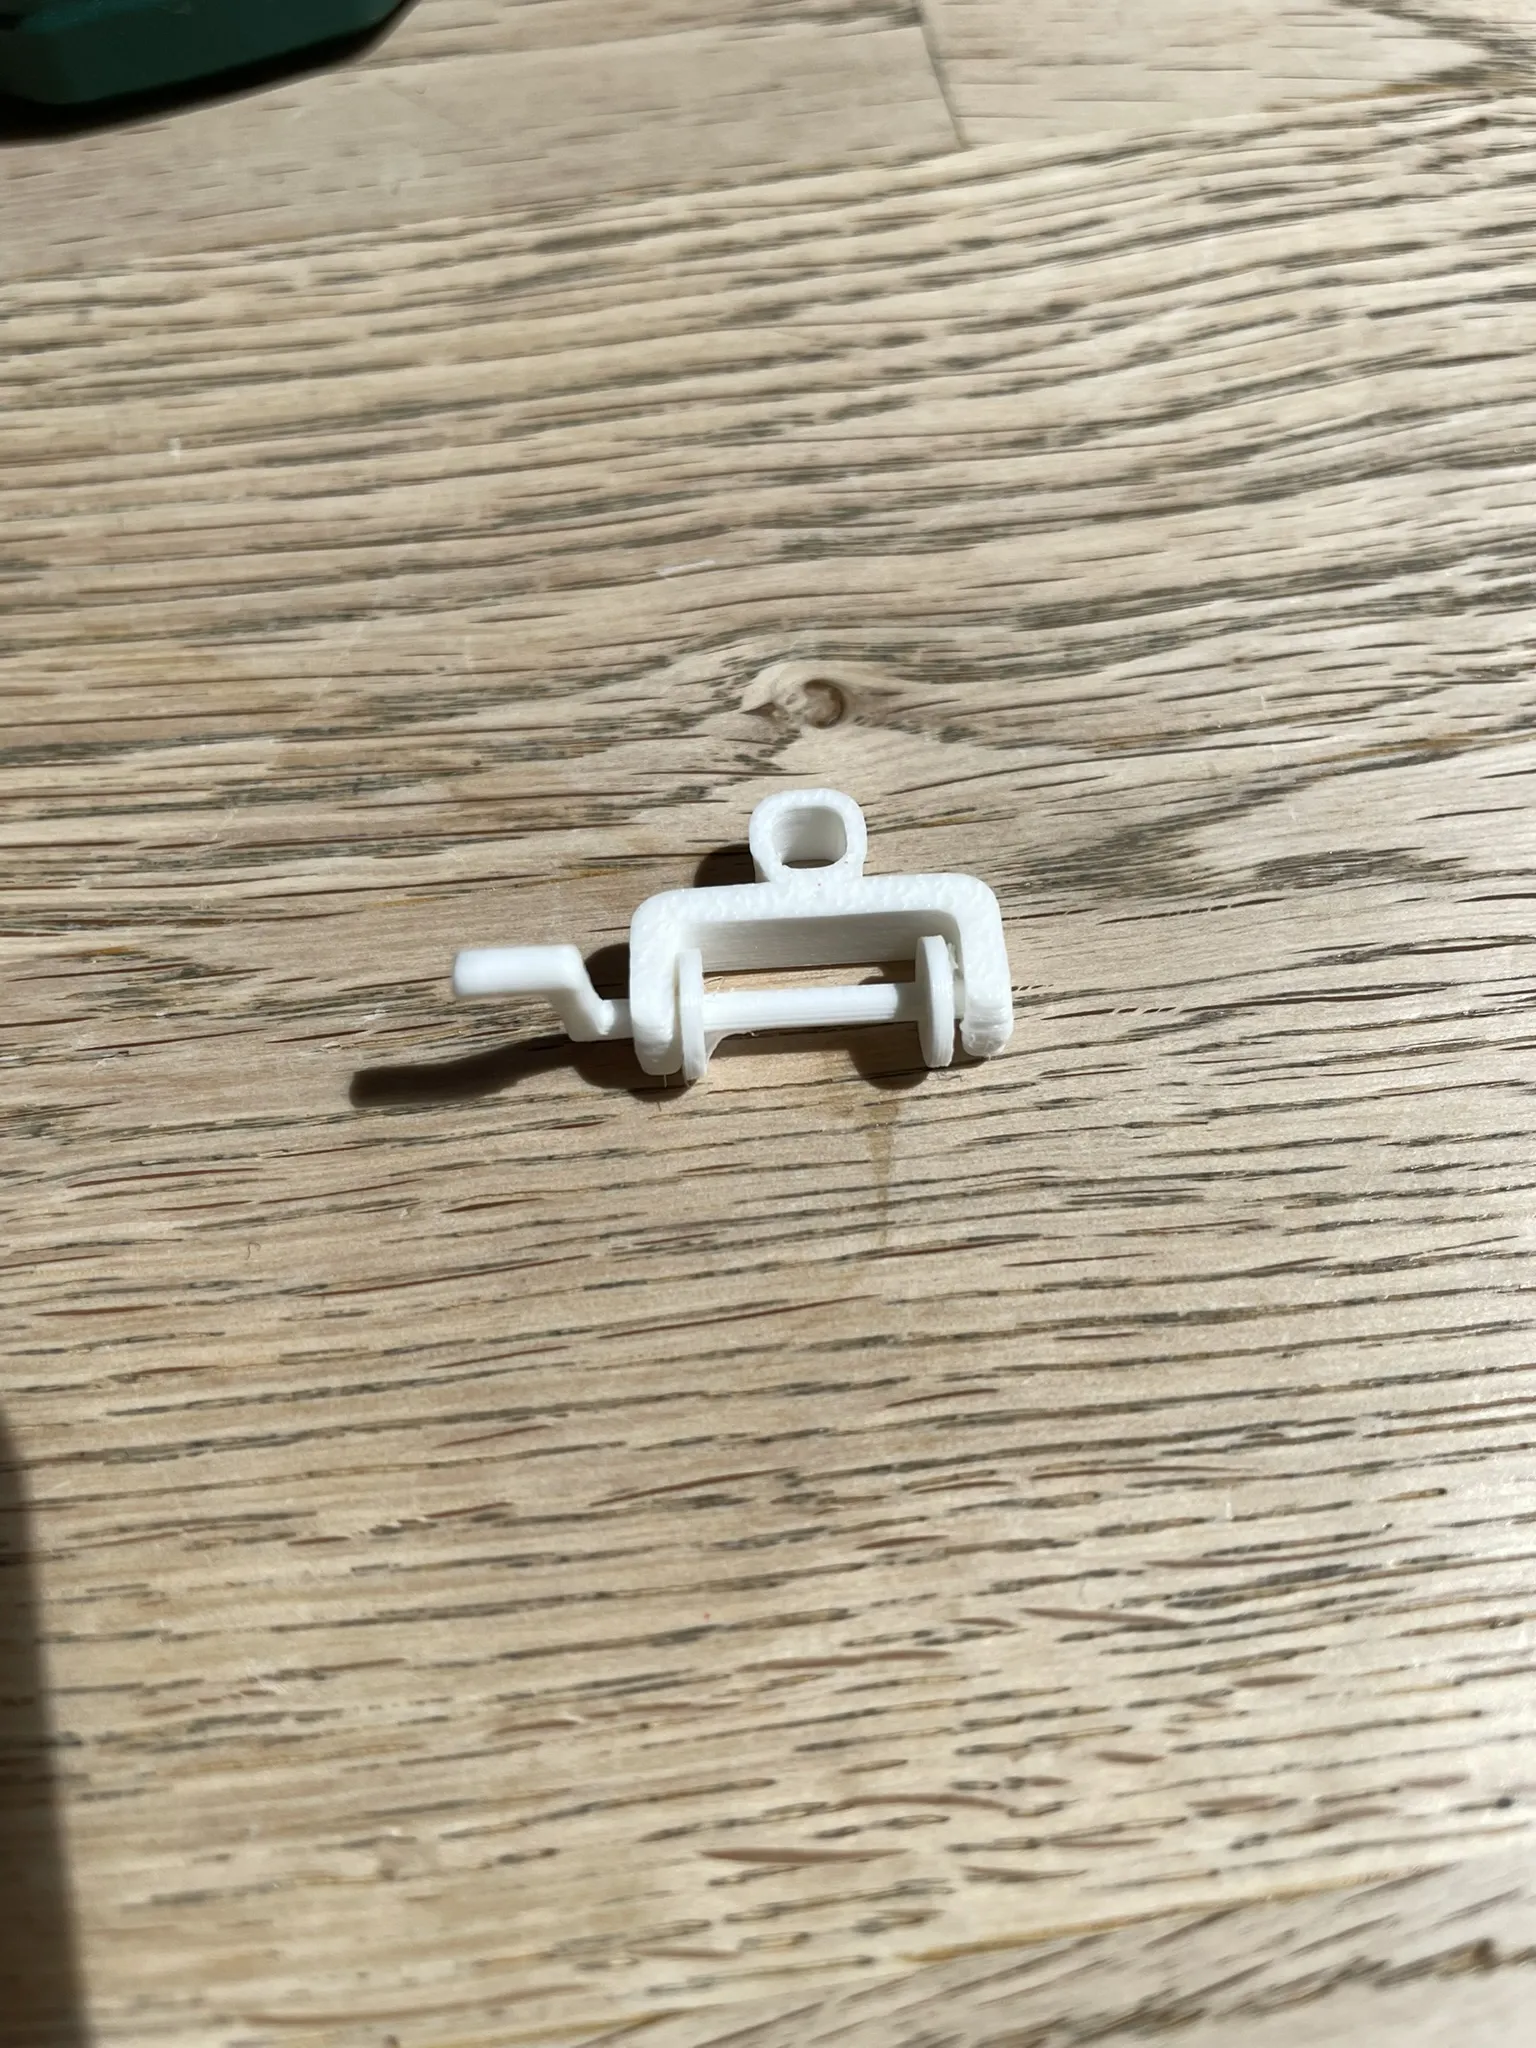
Assemble the crank handle from these parts:
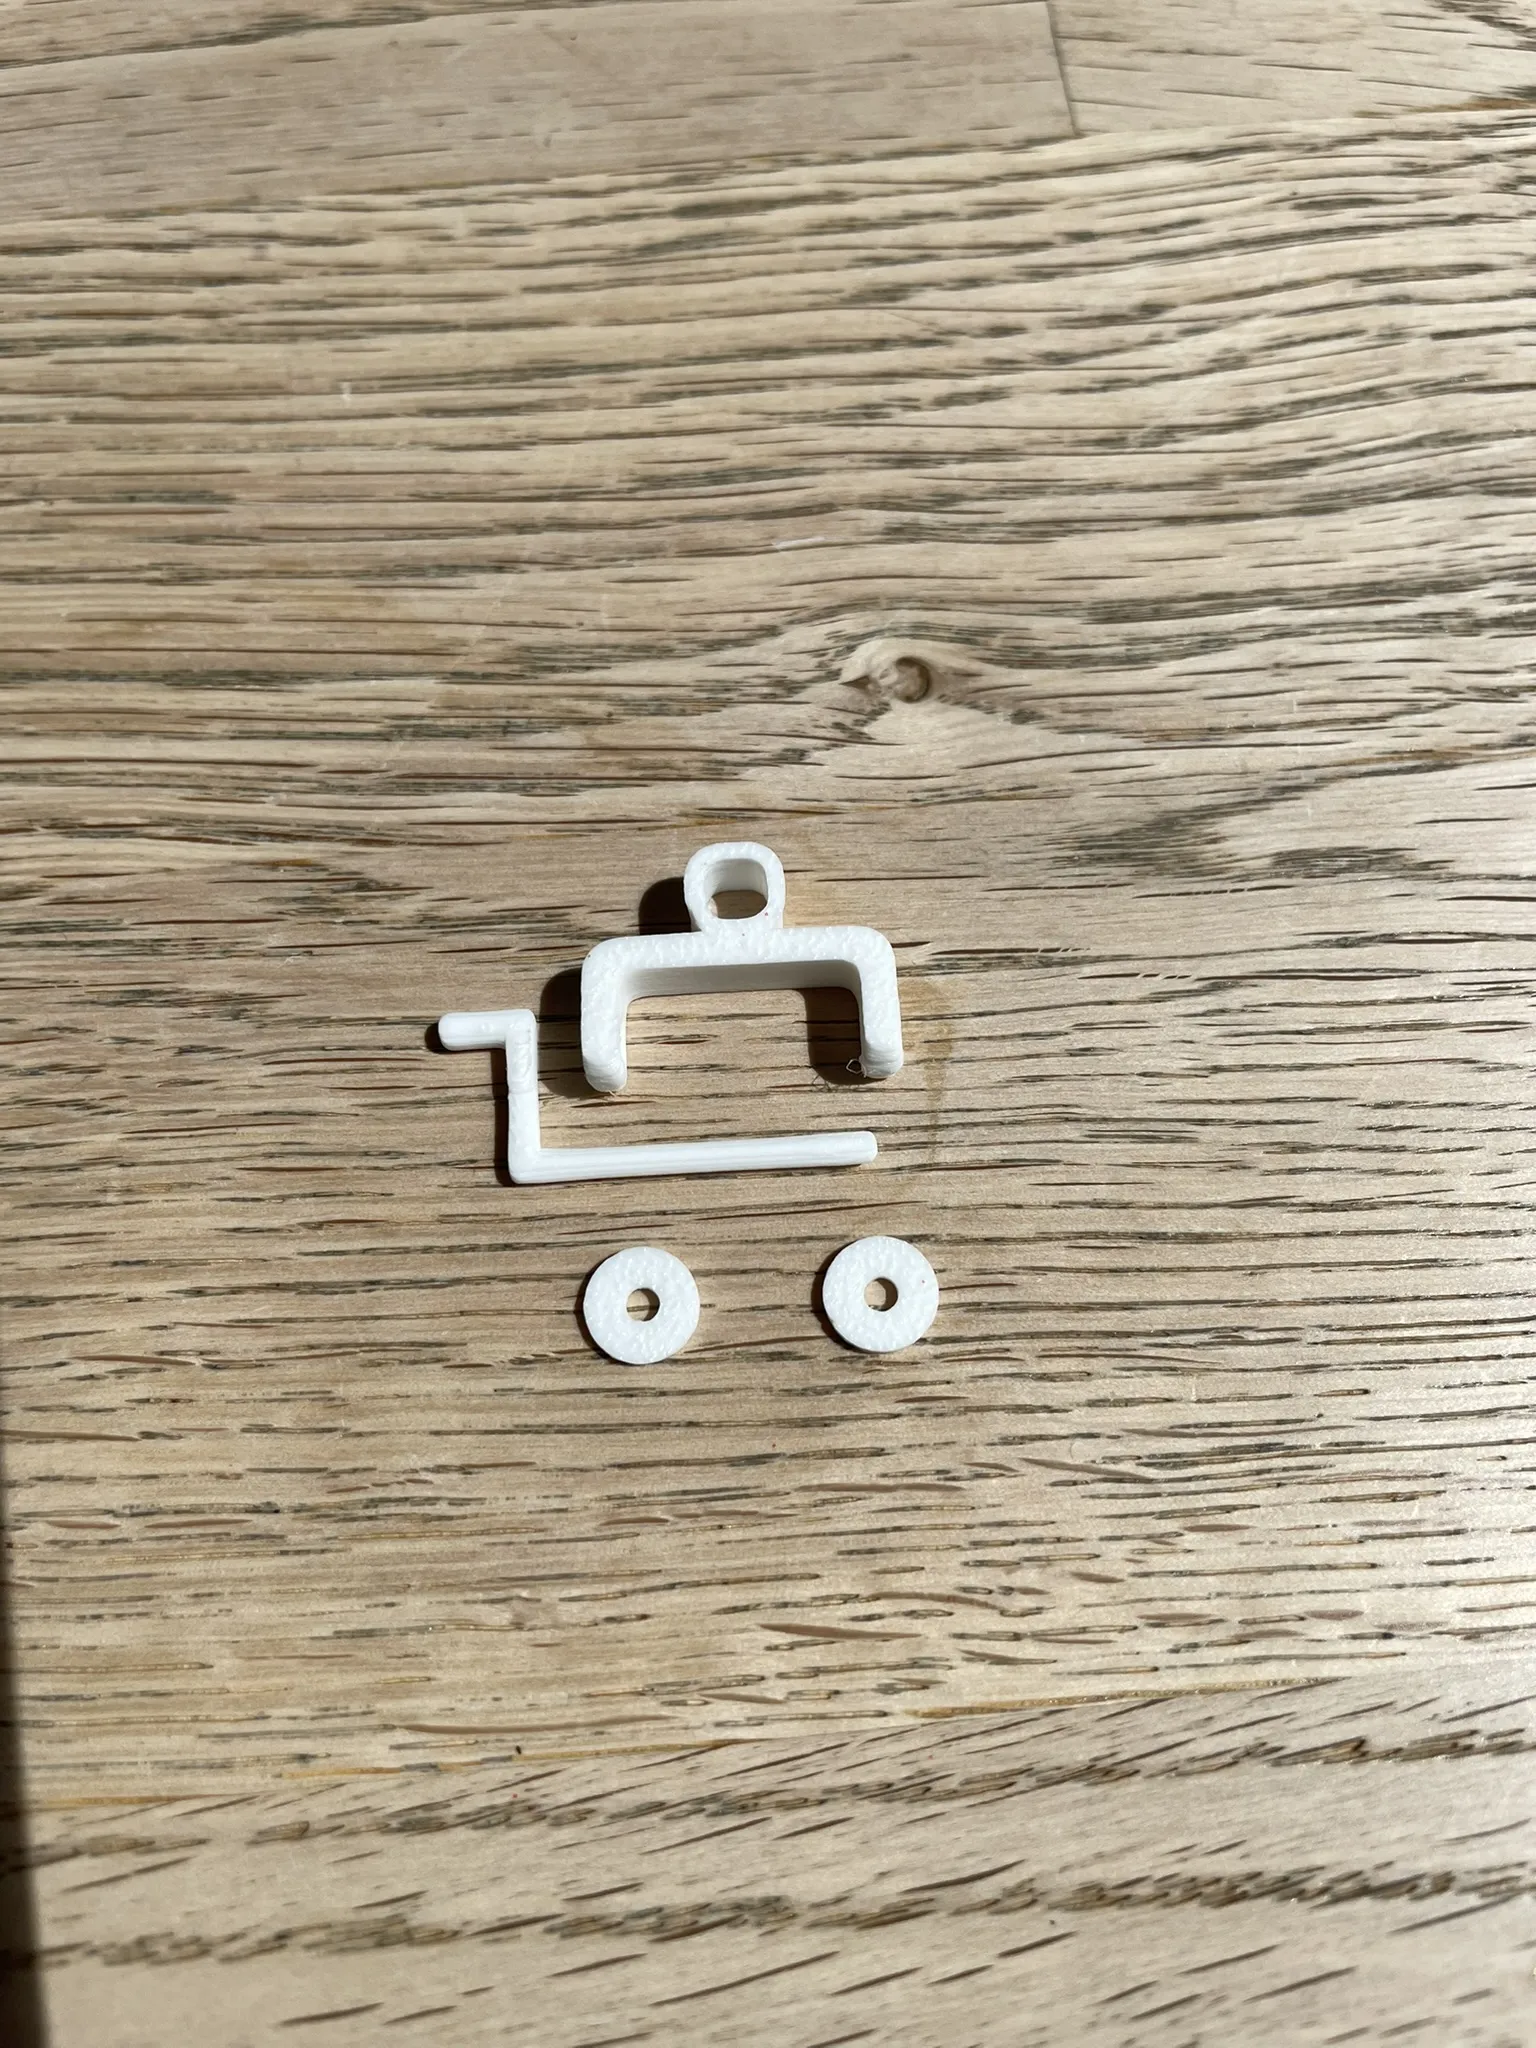
It should appear as follows. You may adhere the two small plates to the handle, but ensure it retains rotational capability.
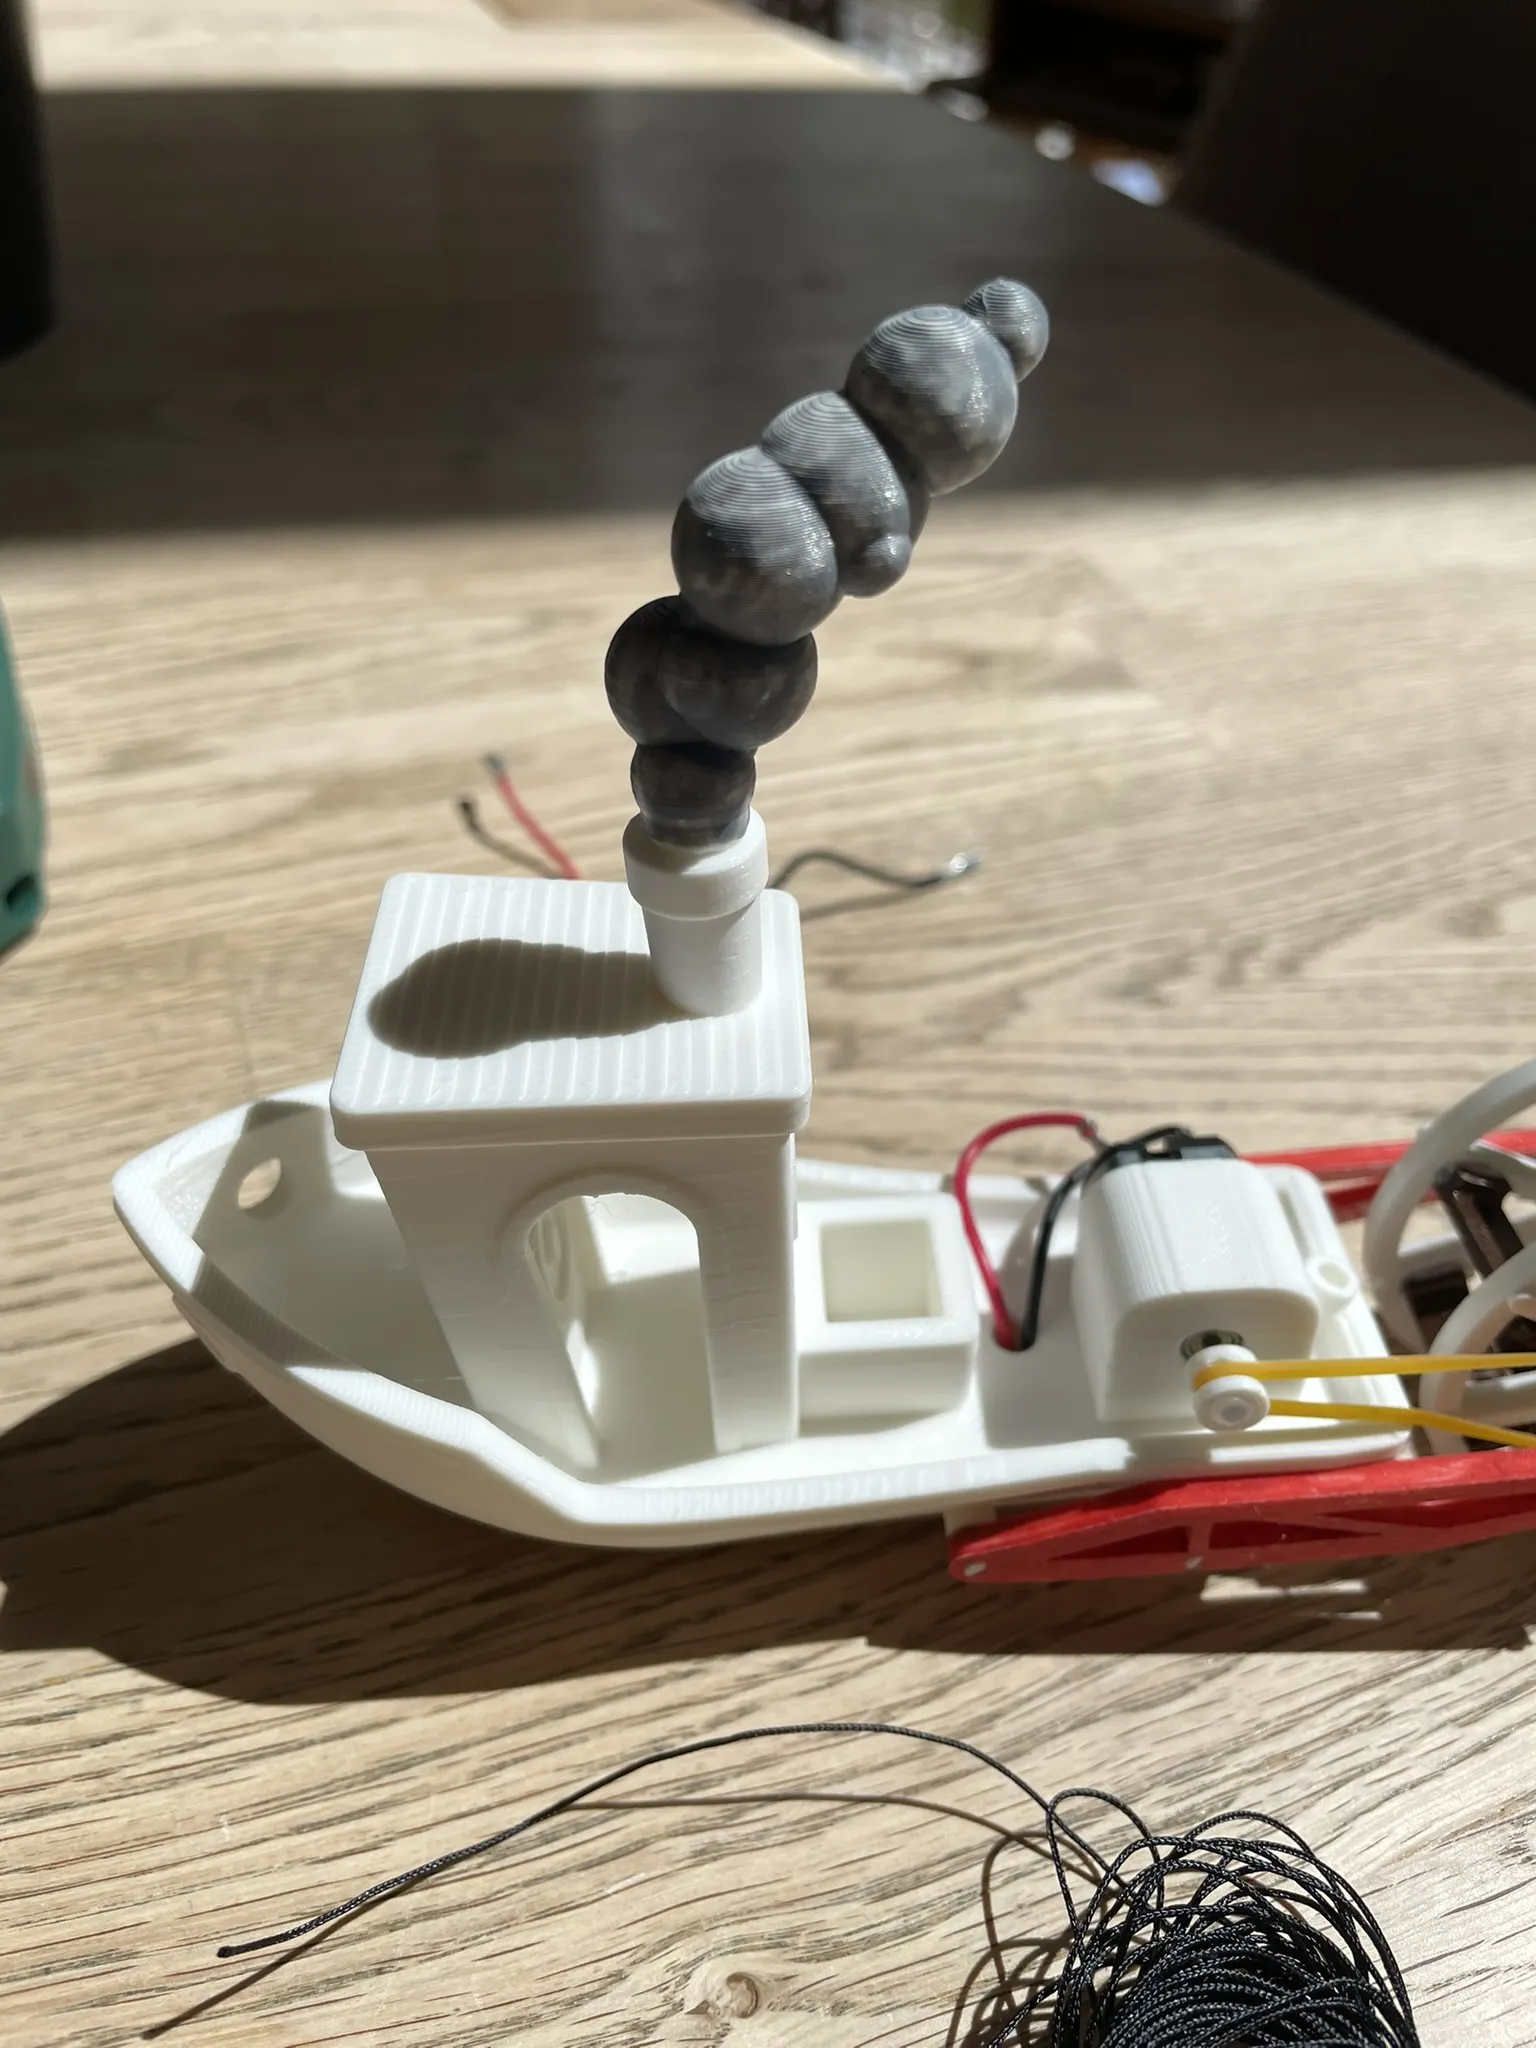
Insert the smoke (from the gray plate) into the chimney. Adhesive is optional.
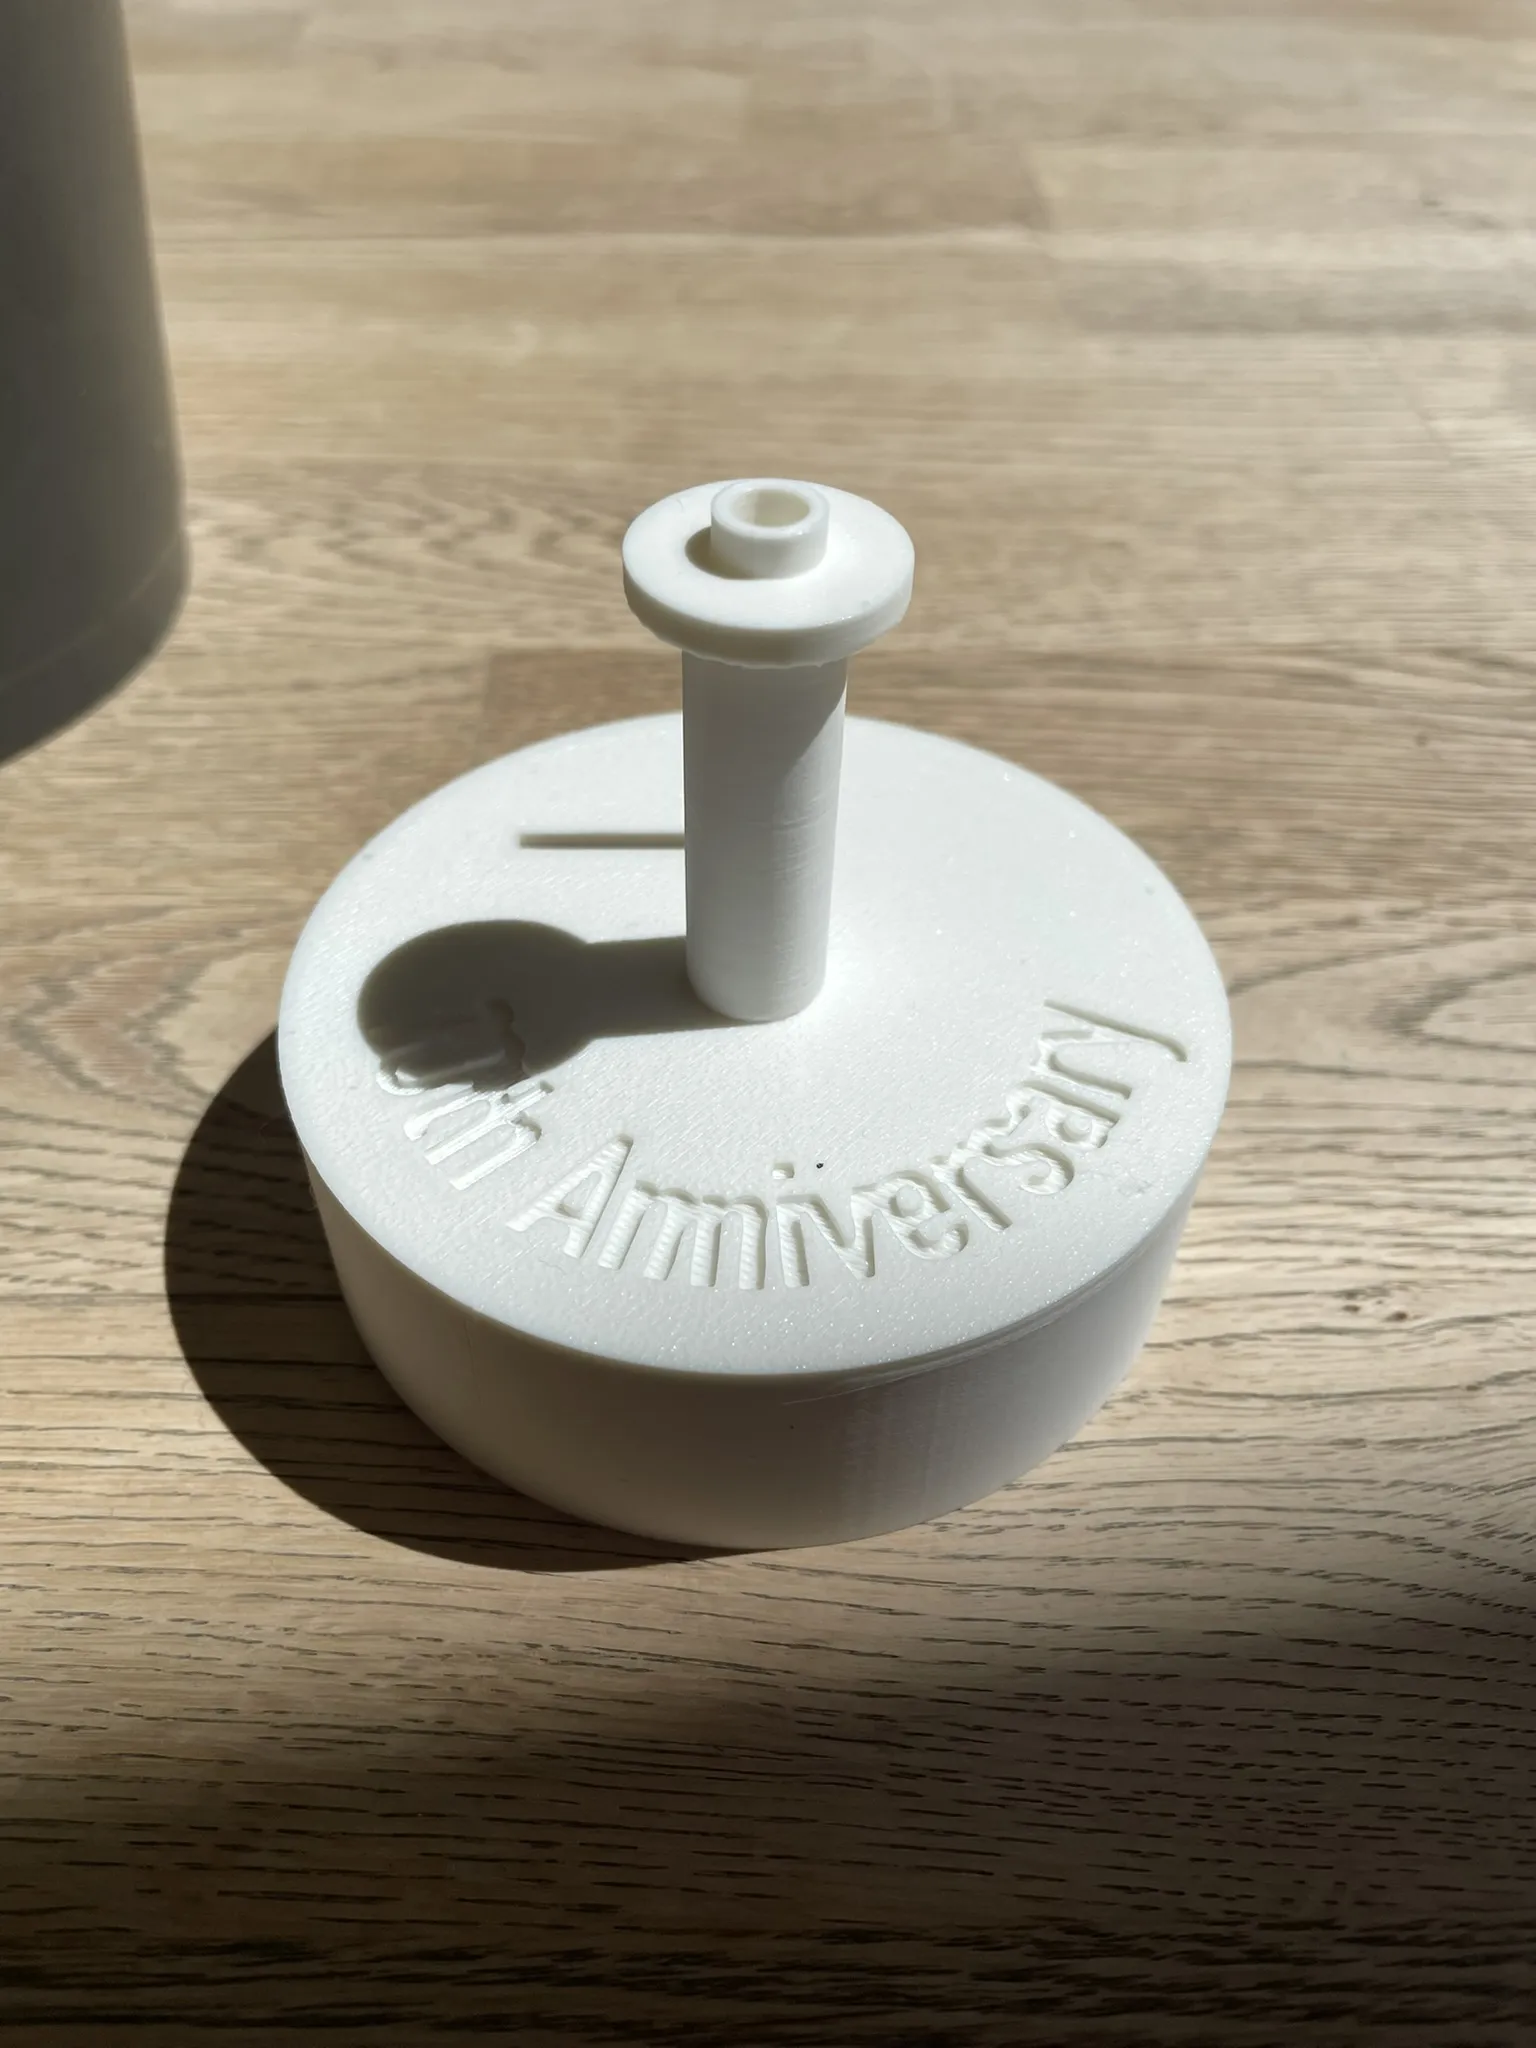
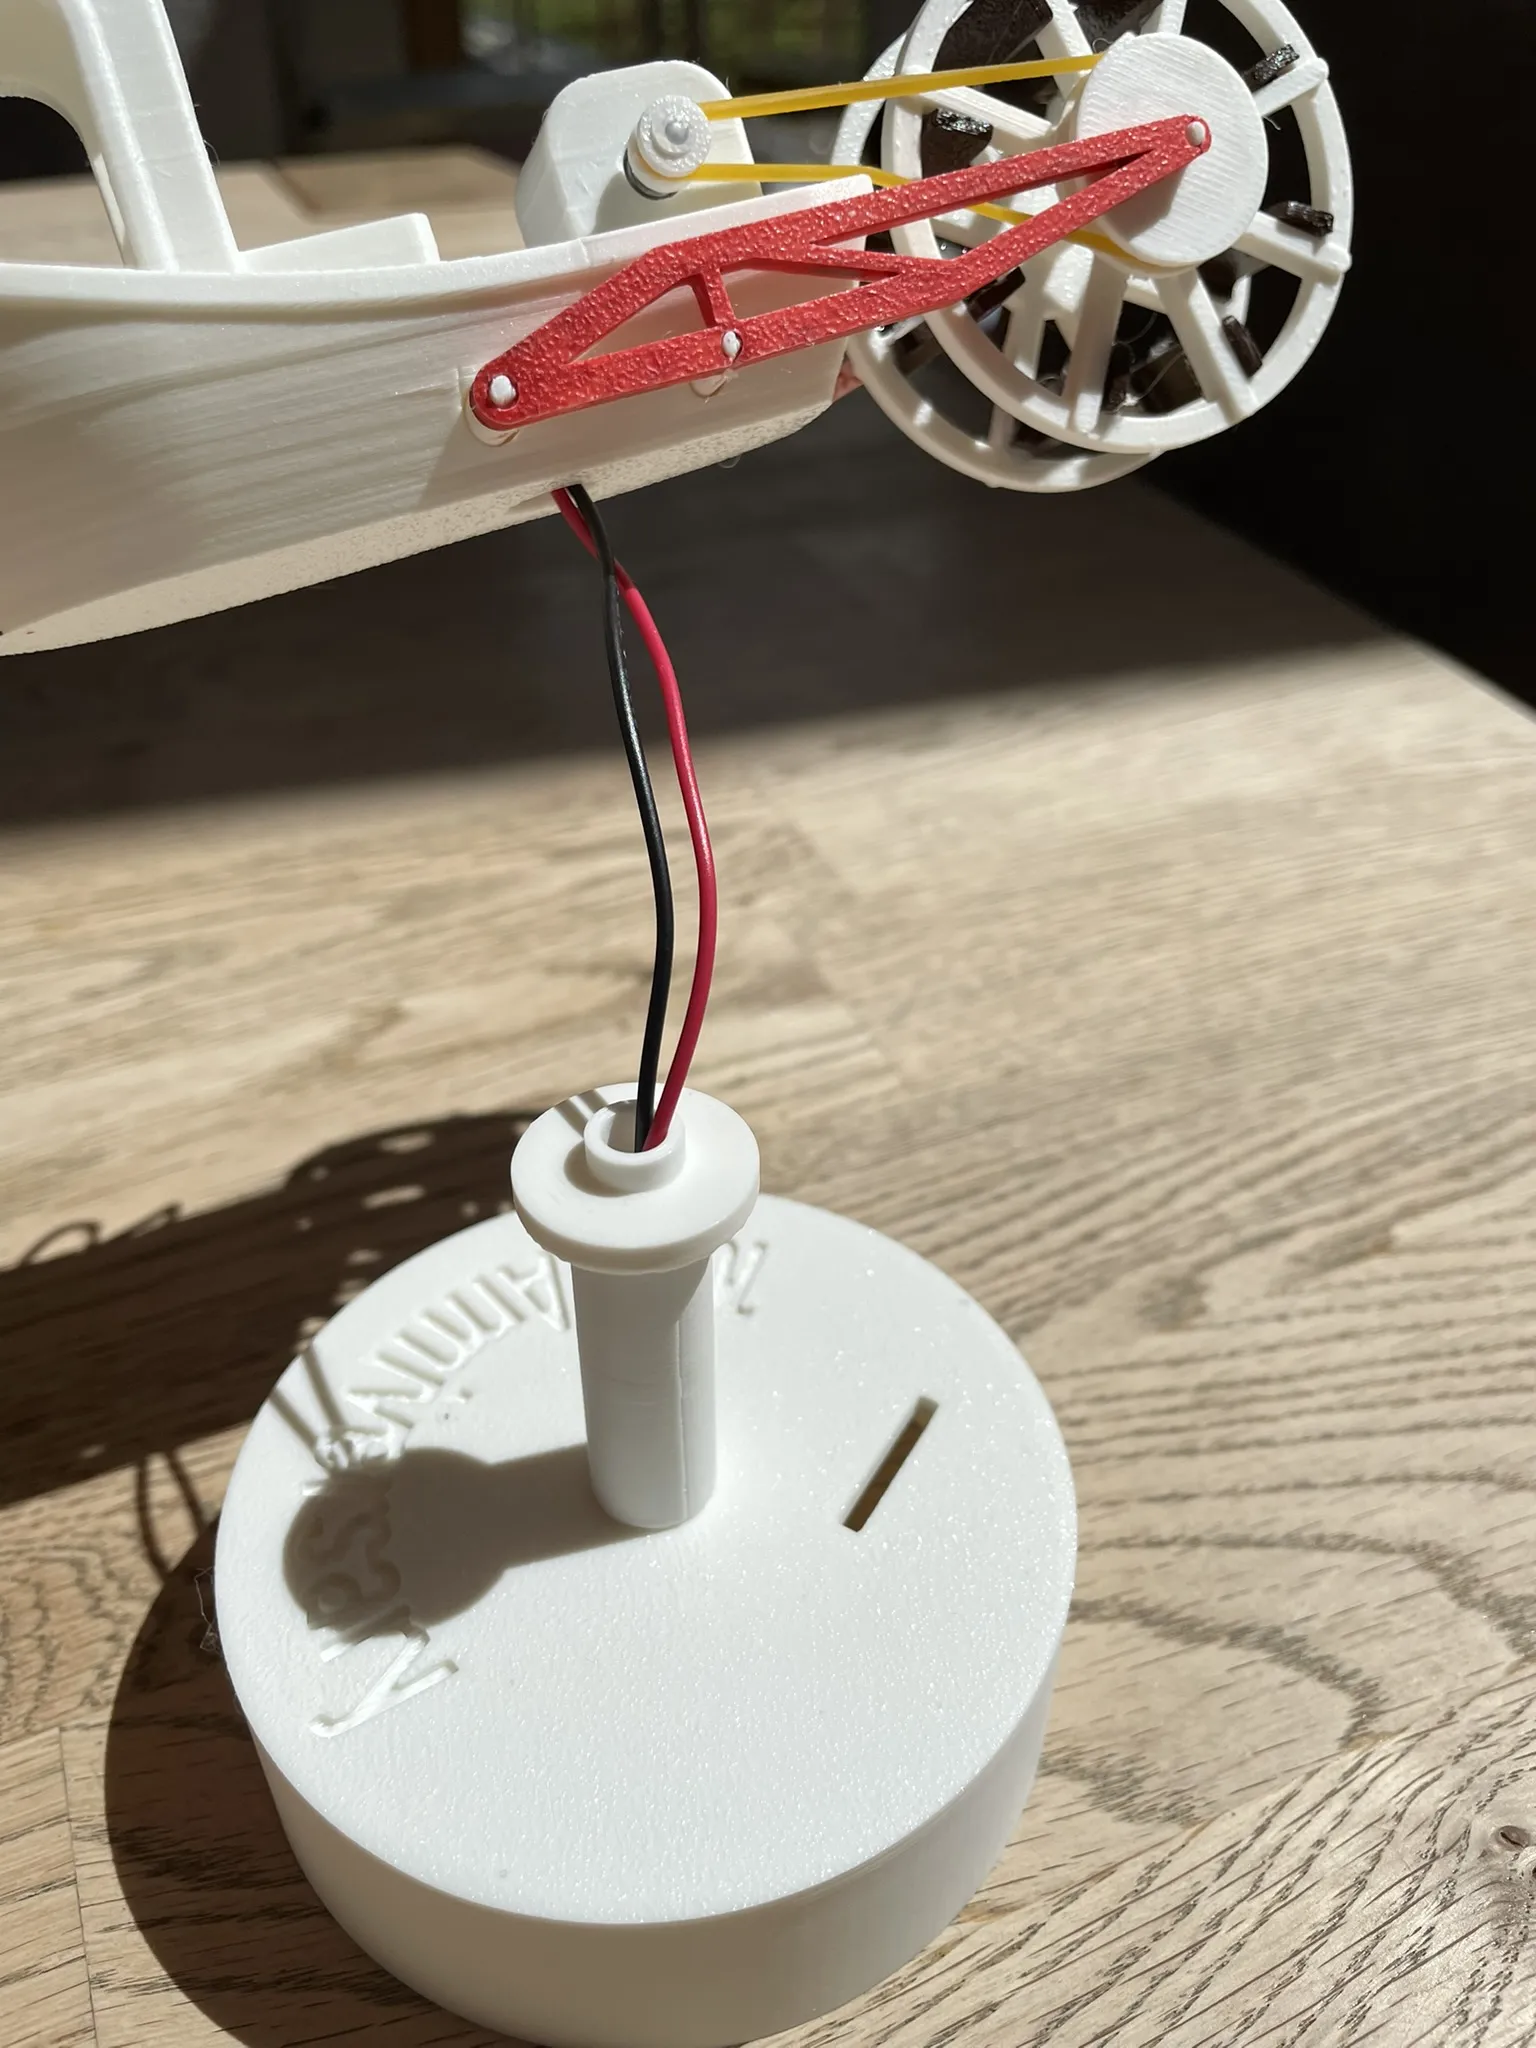
Adhere the Benchy to the mount. First, attach the mounting rod to the base plate with the inscription, then attach the Benchy to the rod, routing the cables through it.
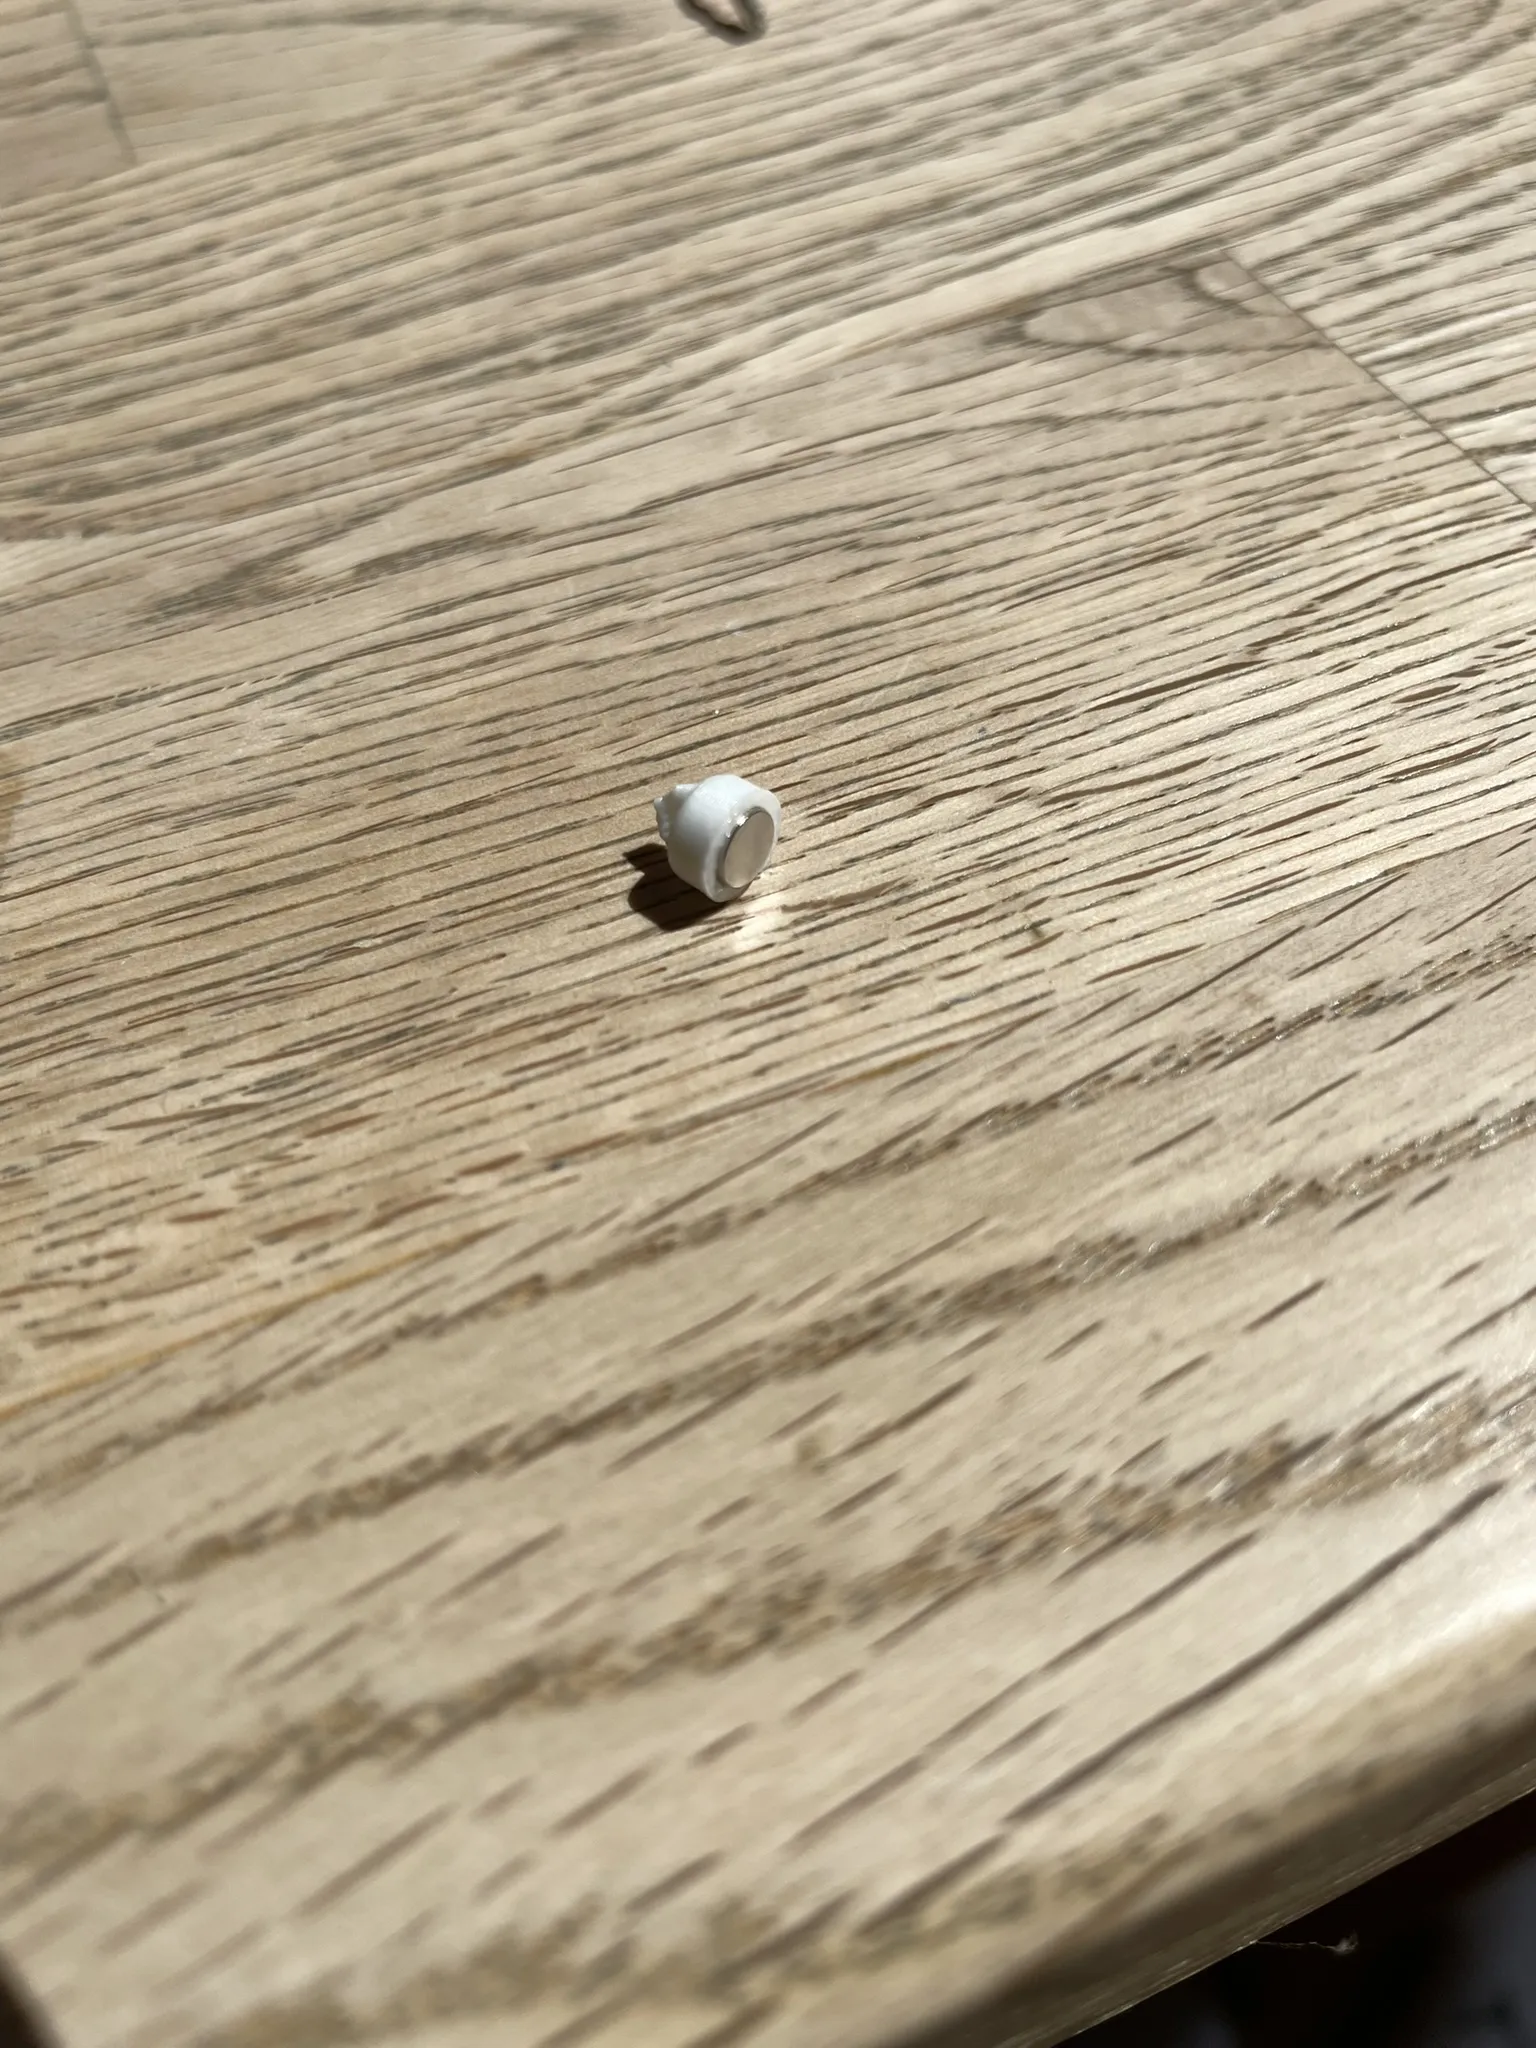
Now, adhere a magnet from the Beginner Kit to its designated holder.
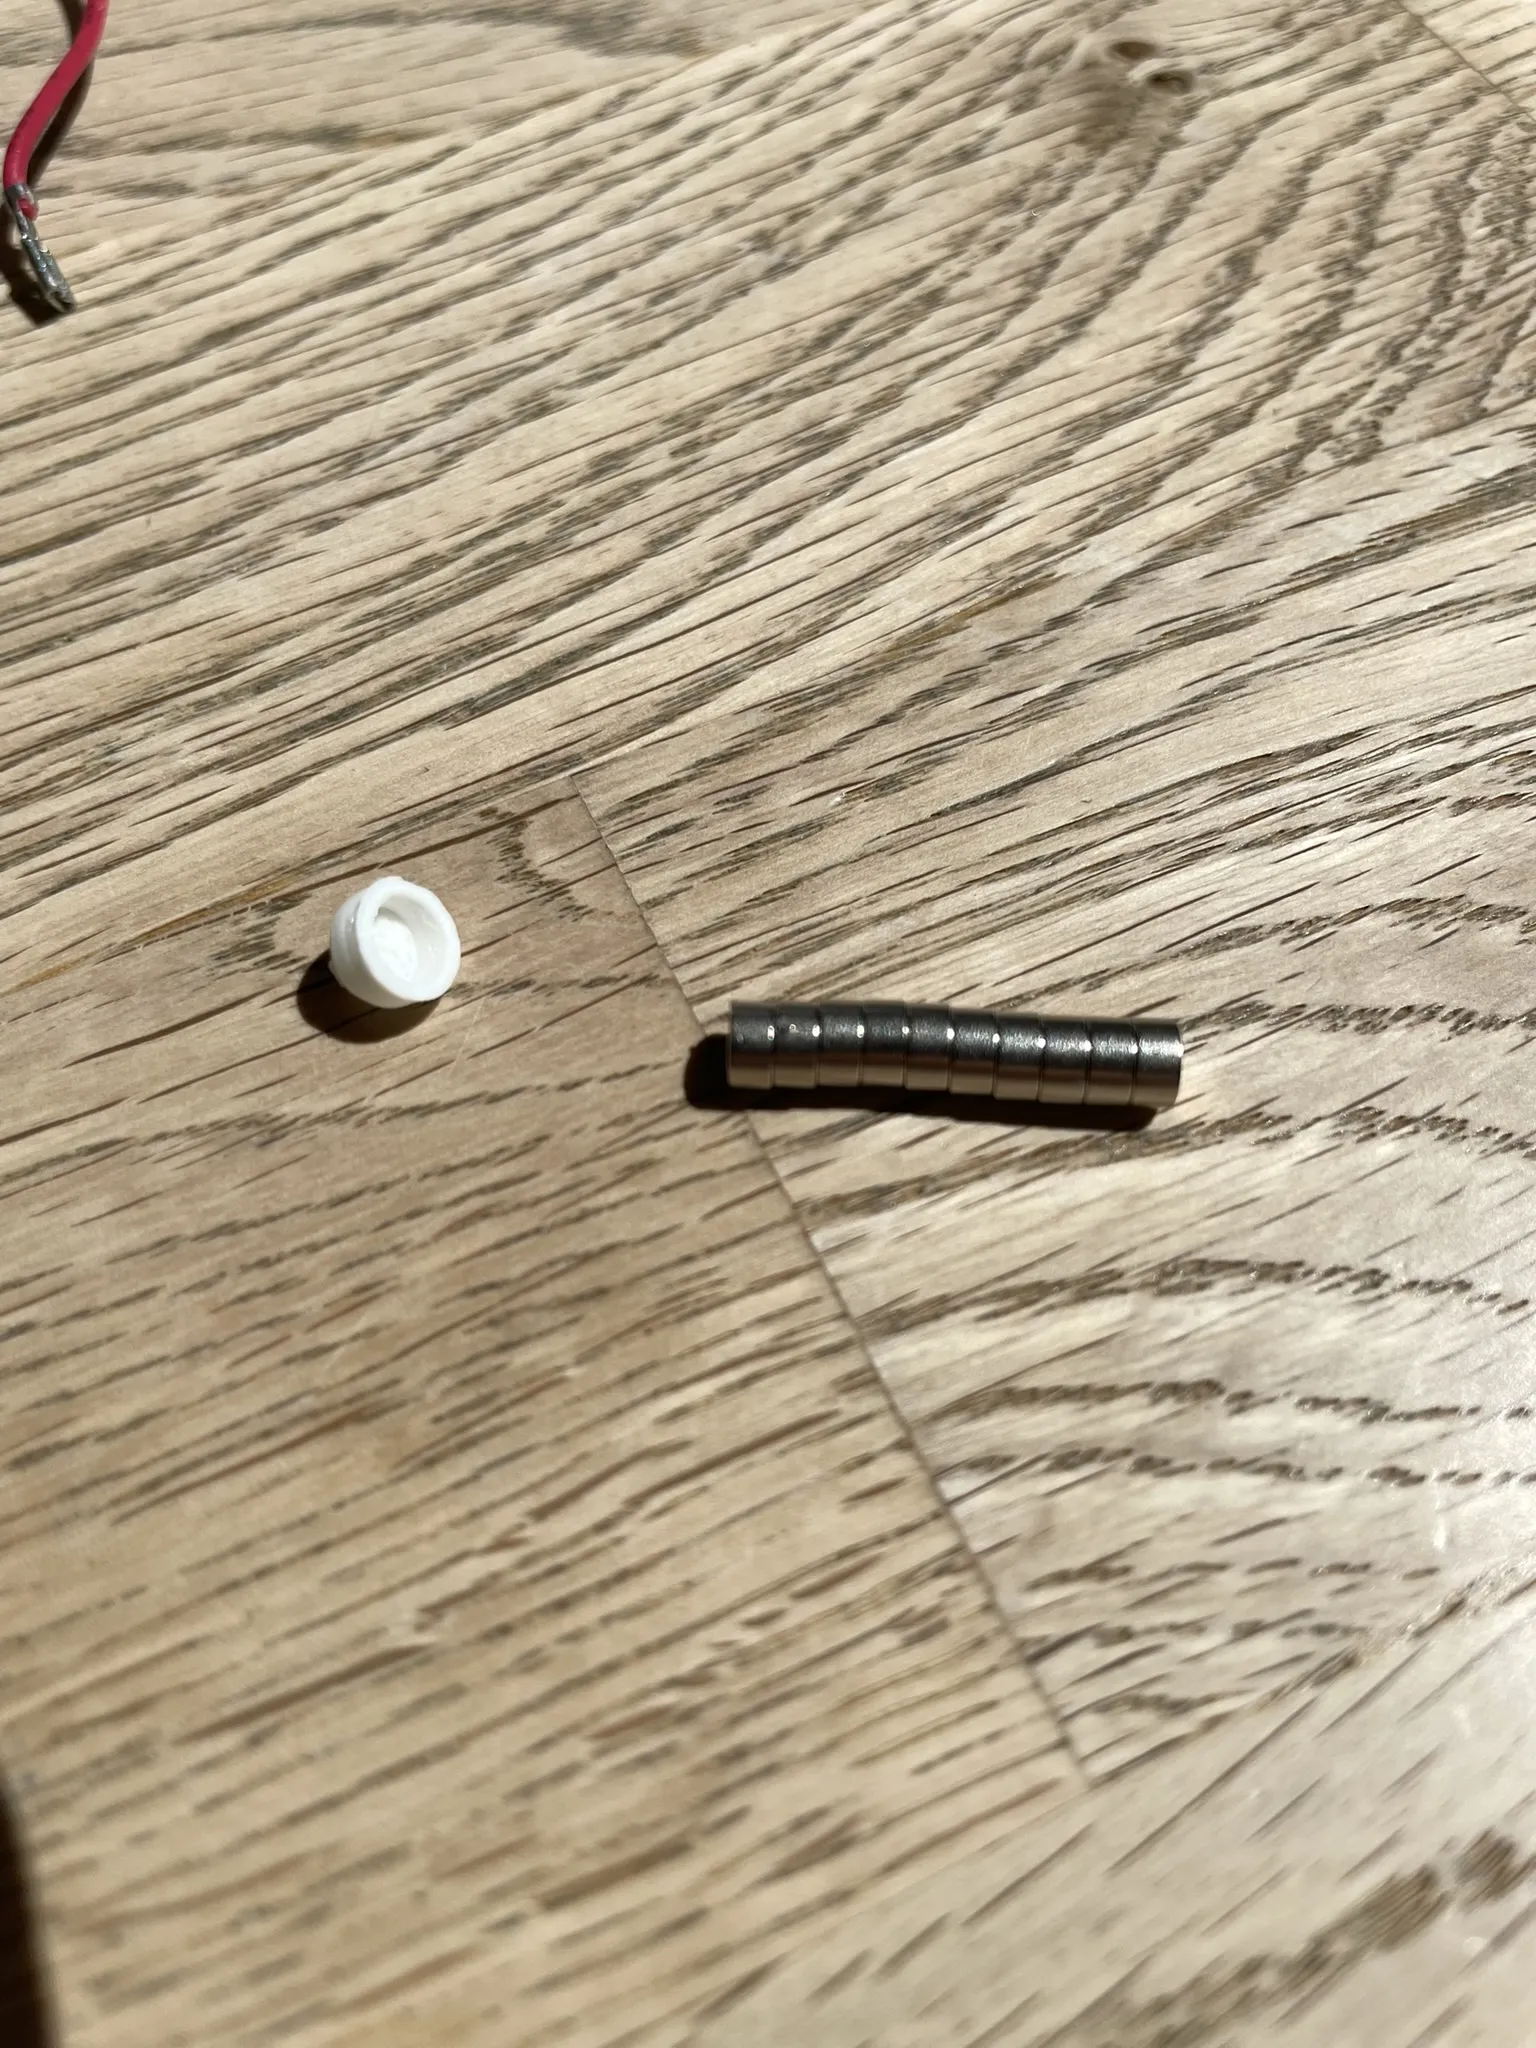
It should look like this.
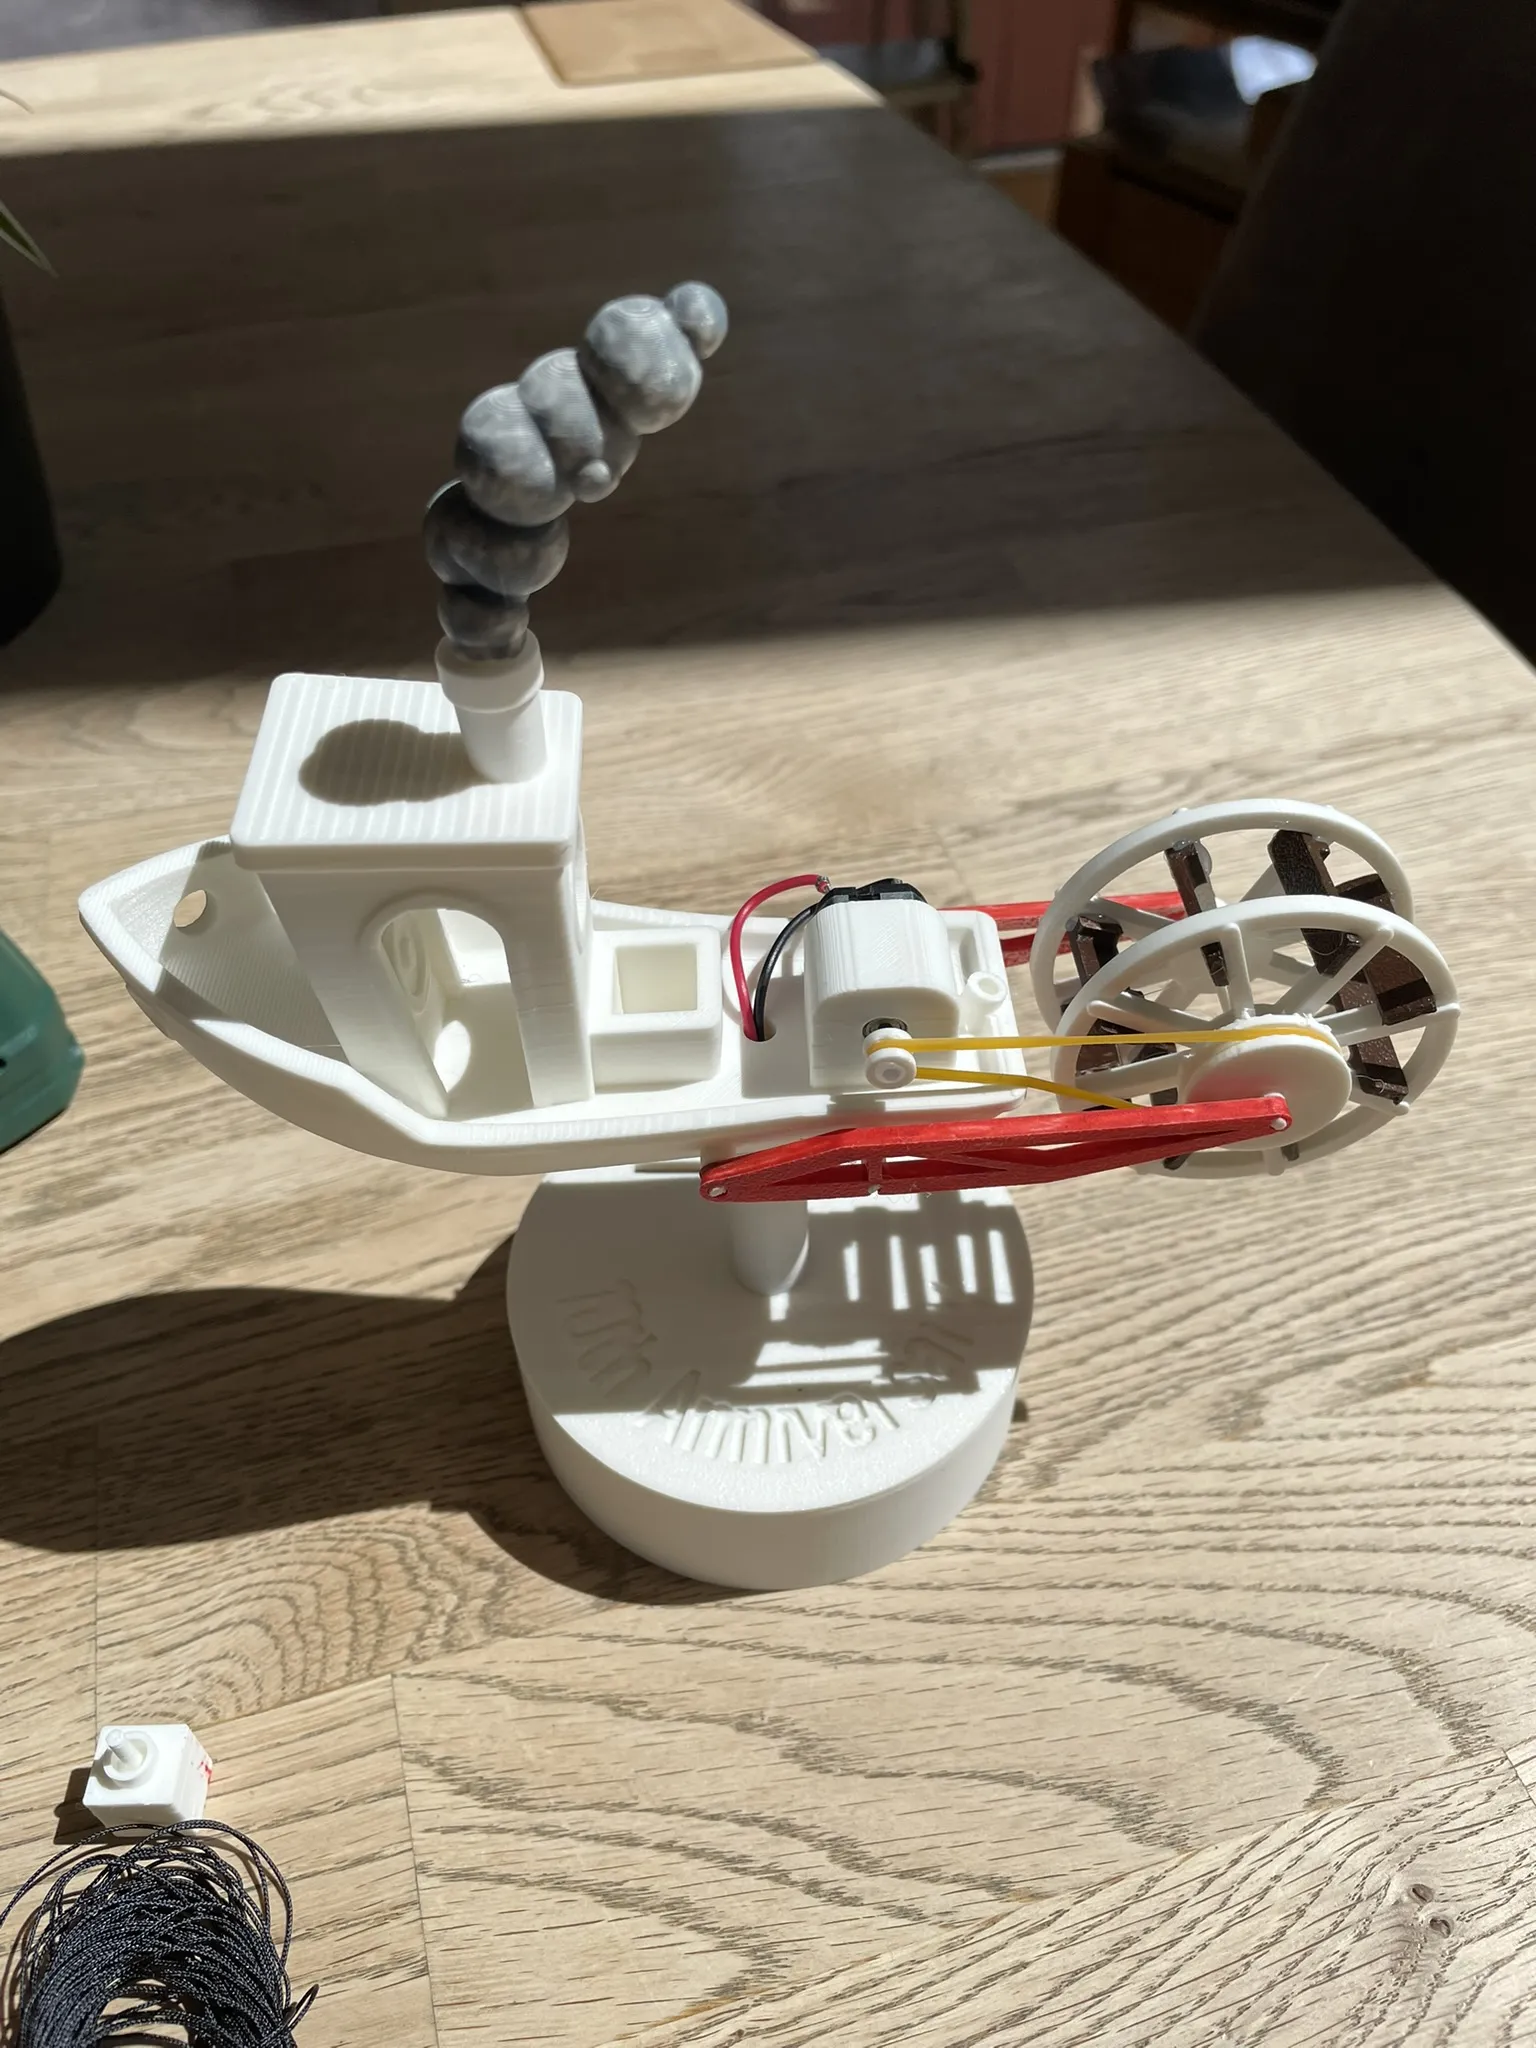
Next, adhere the small wheel to the motor axle and stretch the rubber band over it. The assembly should now appear as follows.
Attach the 18-20cm length of string to the crank (using adhesive and a knot).
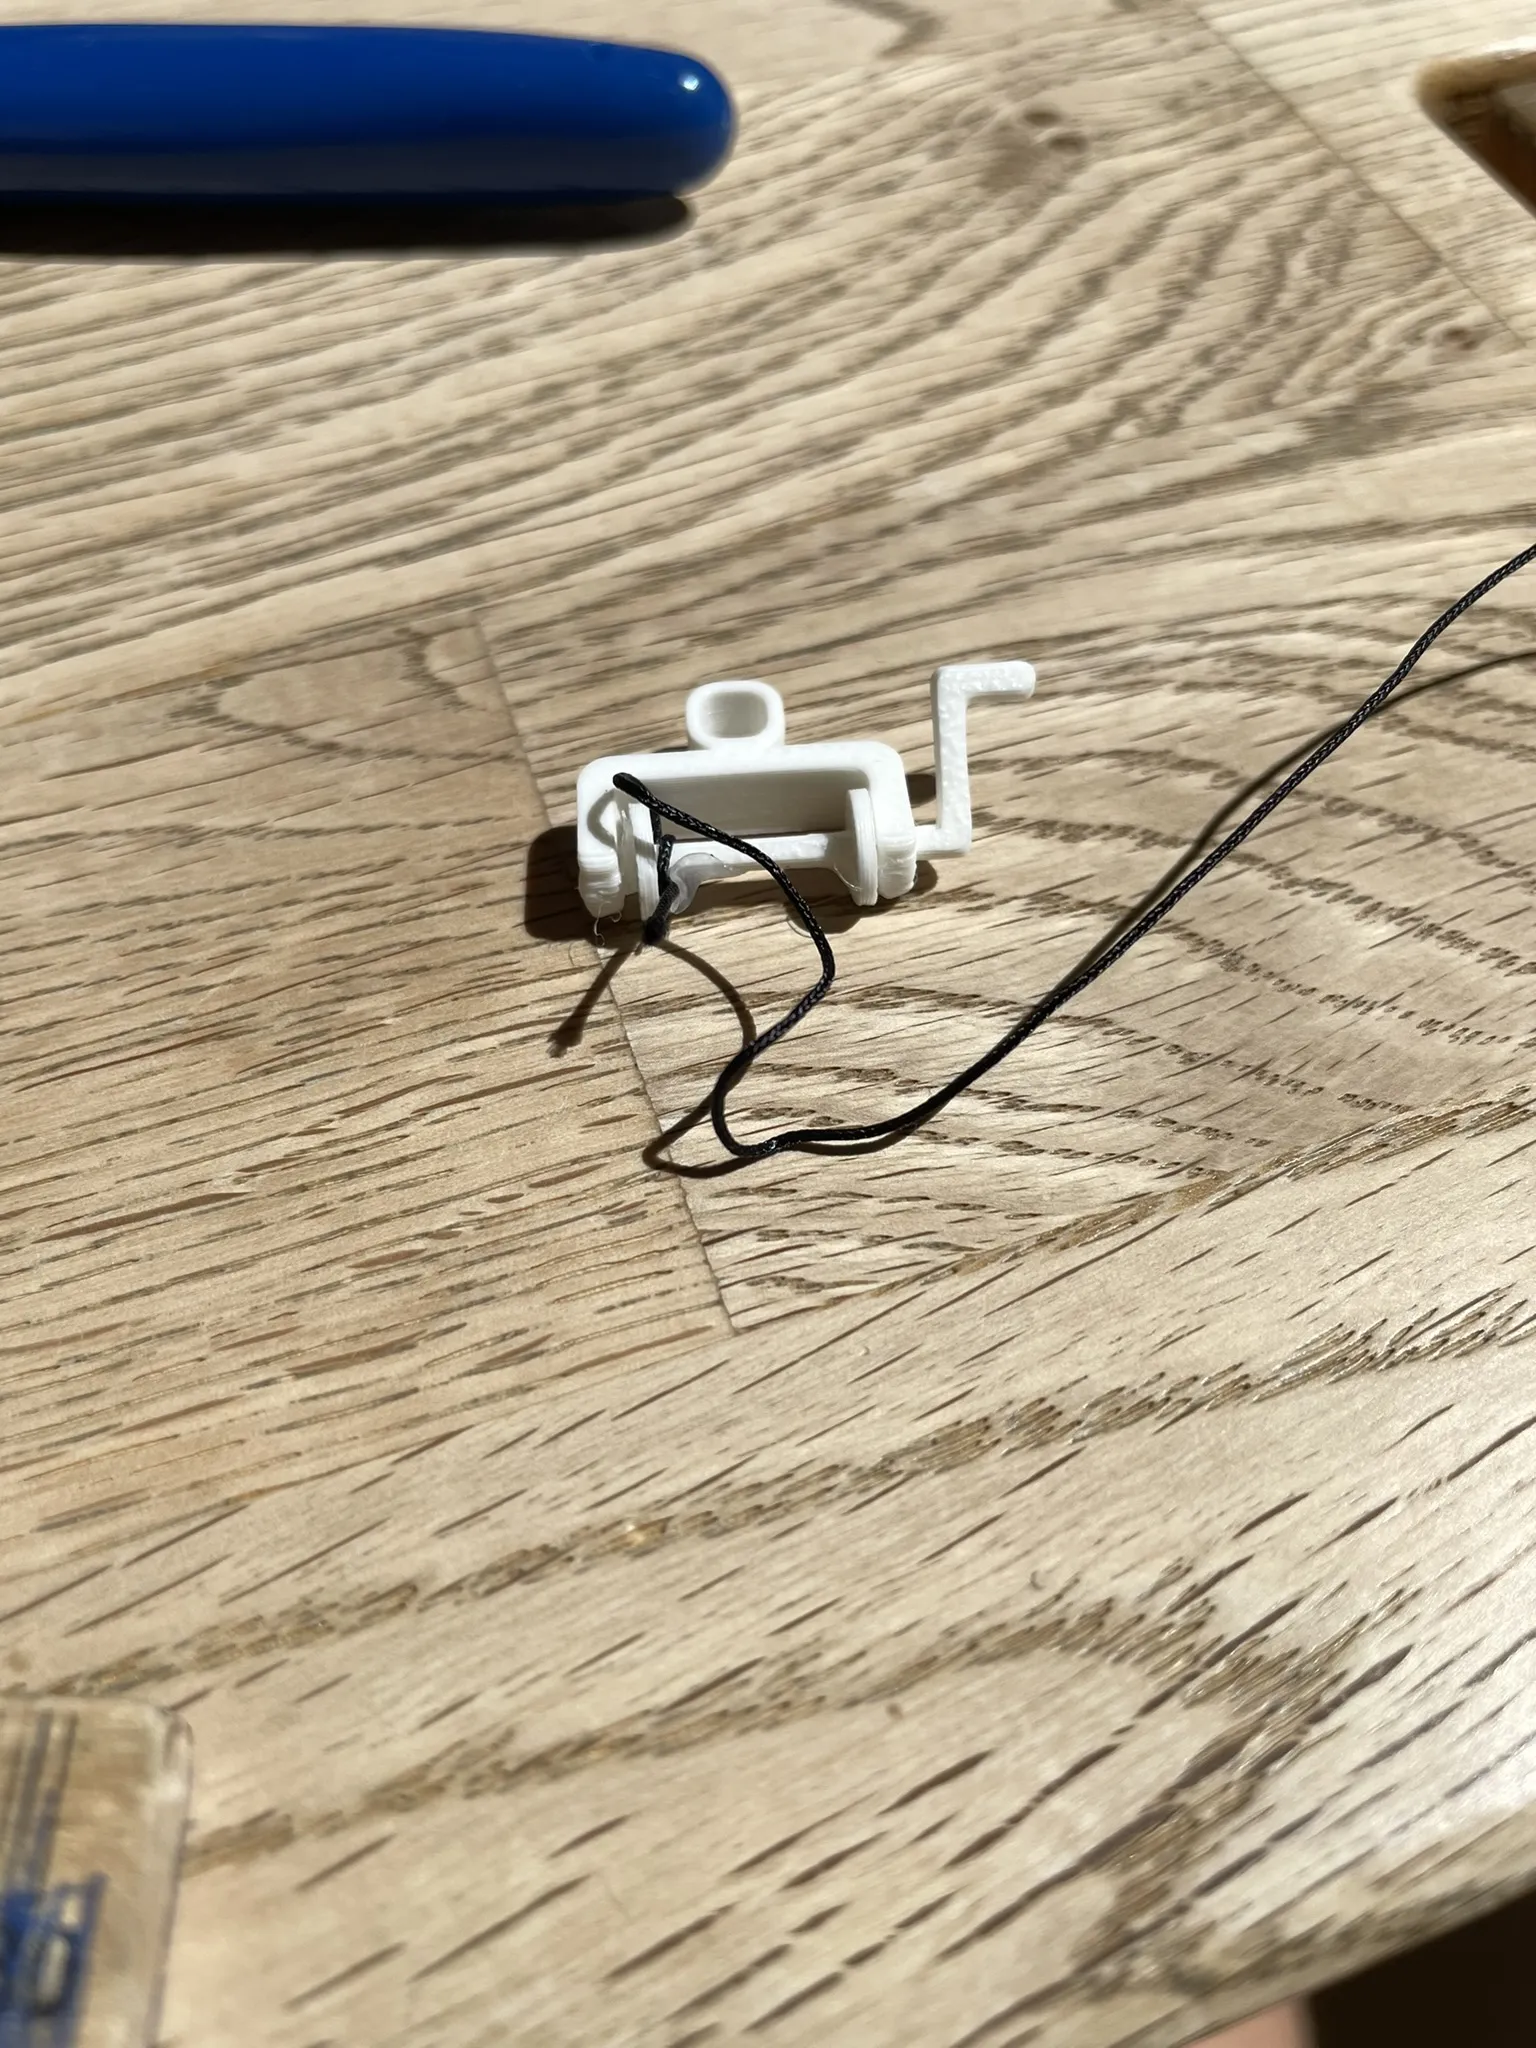
Slide the crank onto the crane (also from the brown plate).
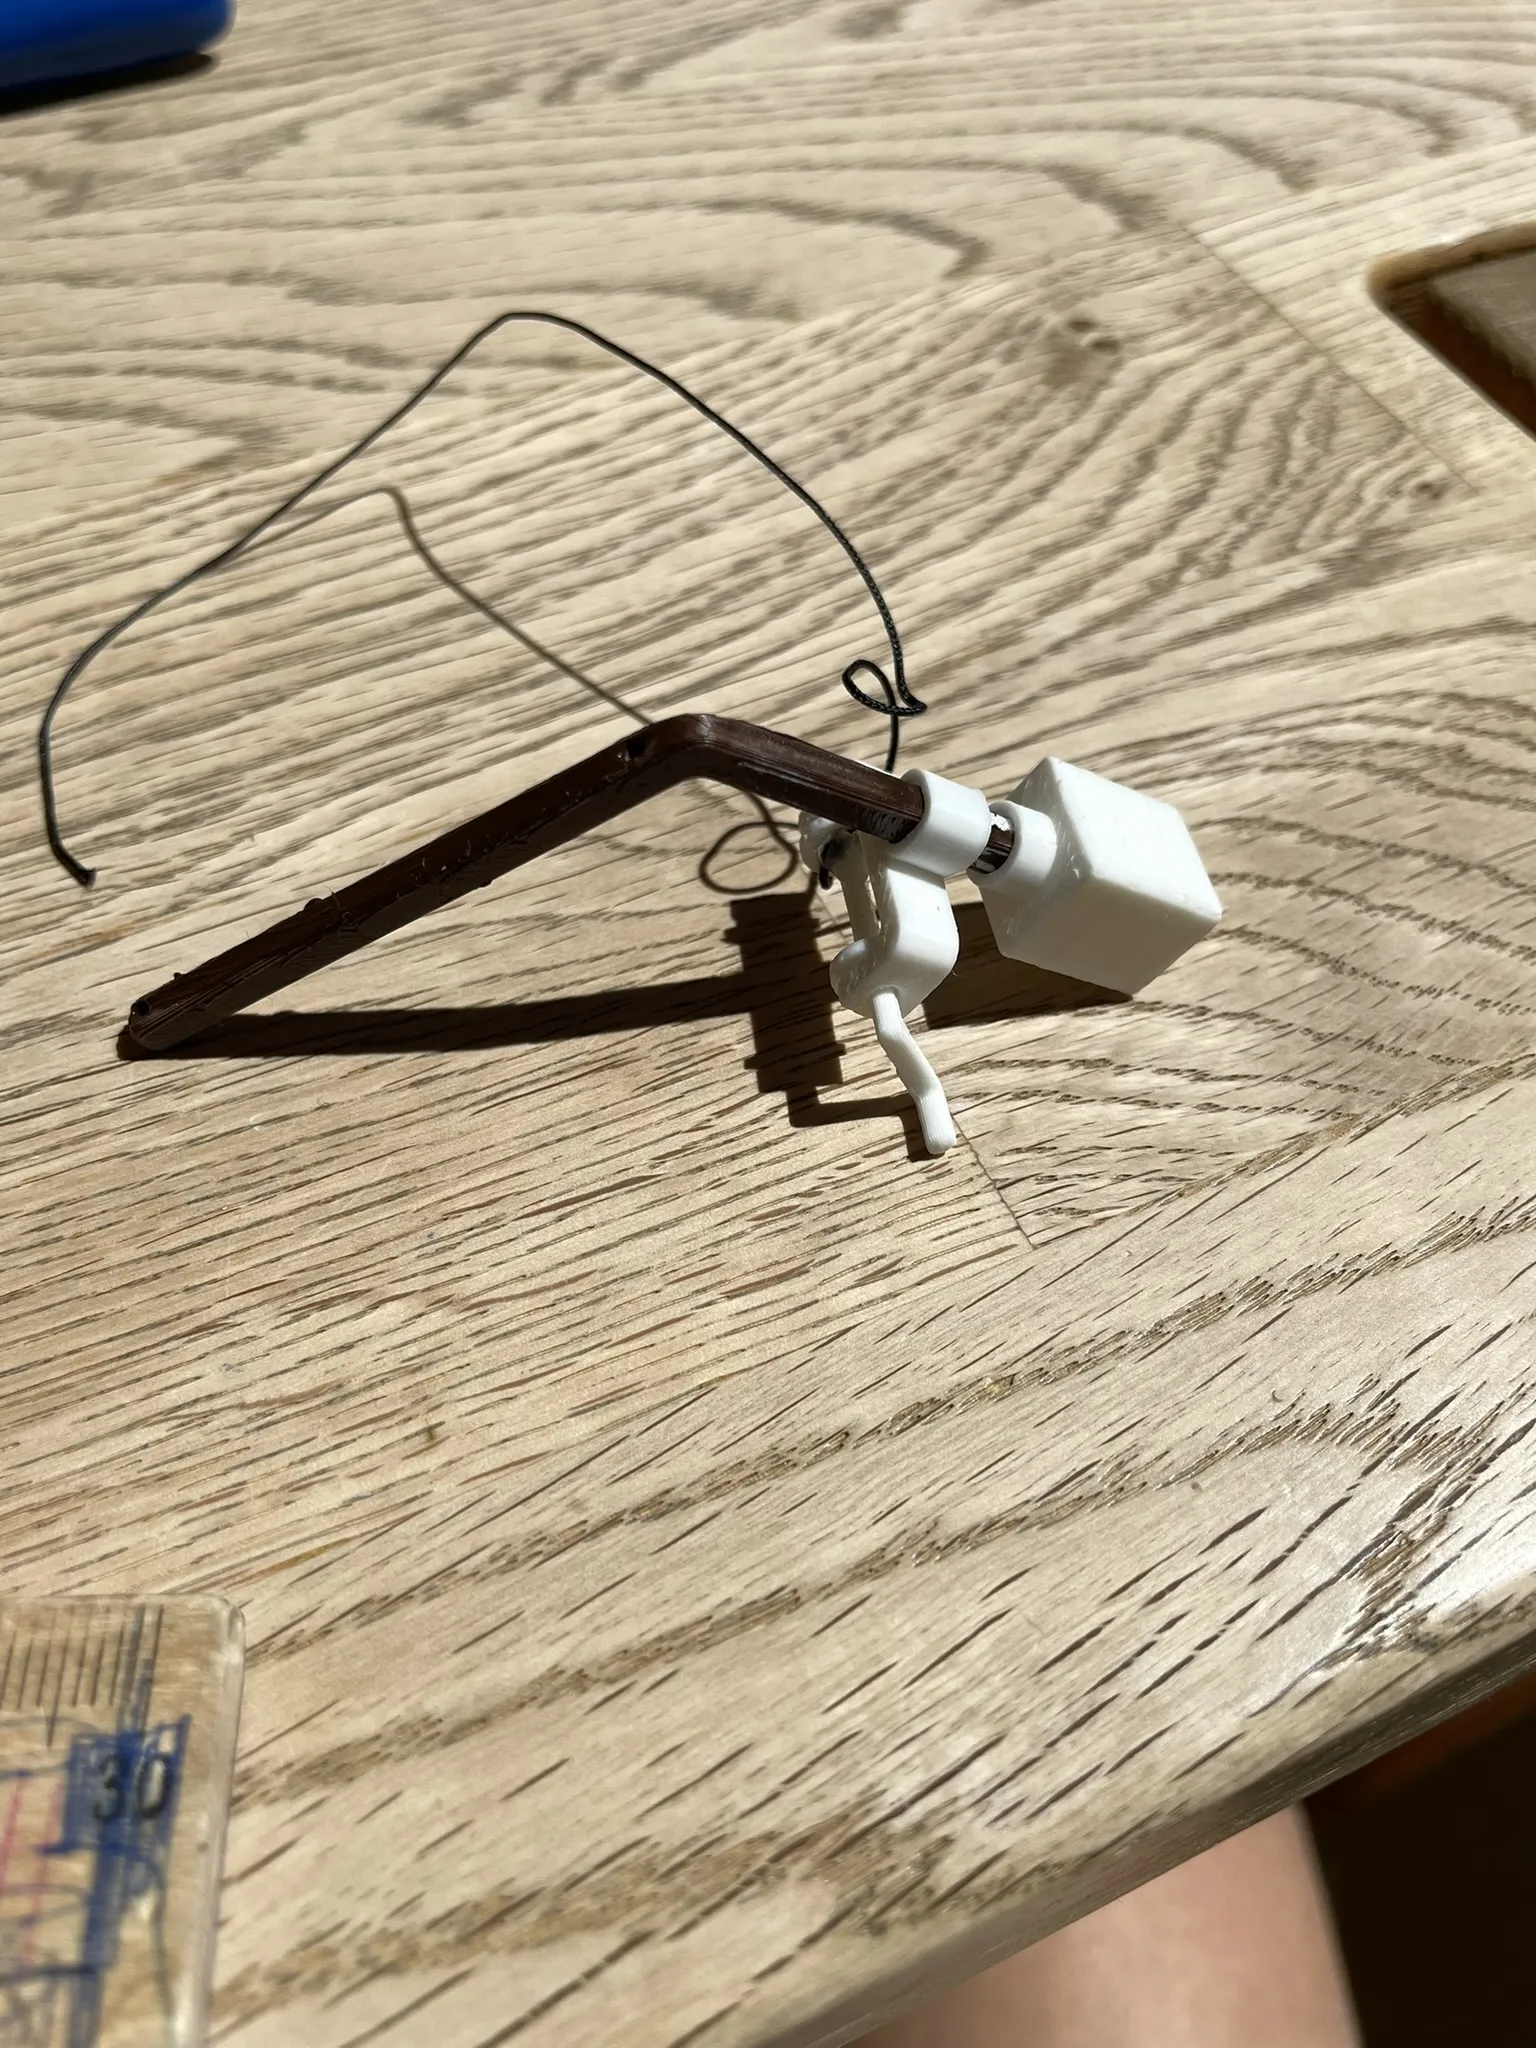
Feed the string through the two holes and attach the magnet to the other end.
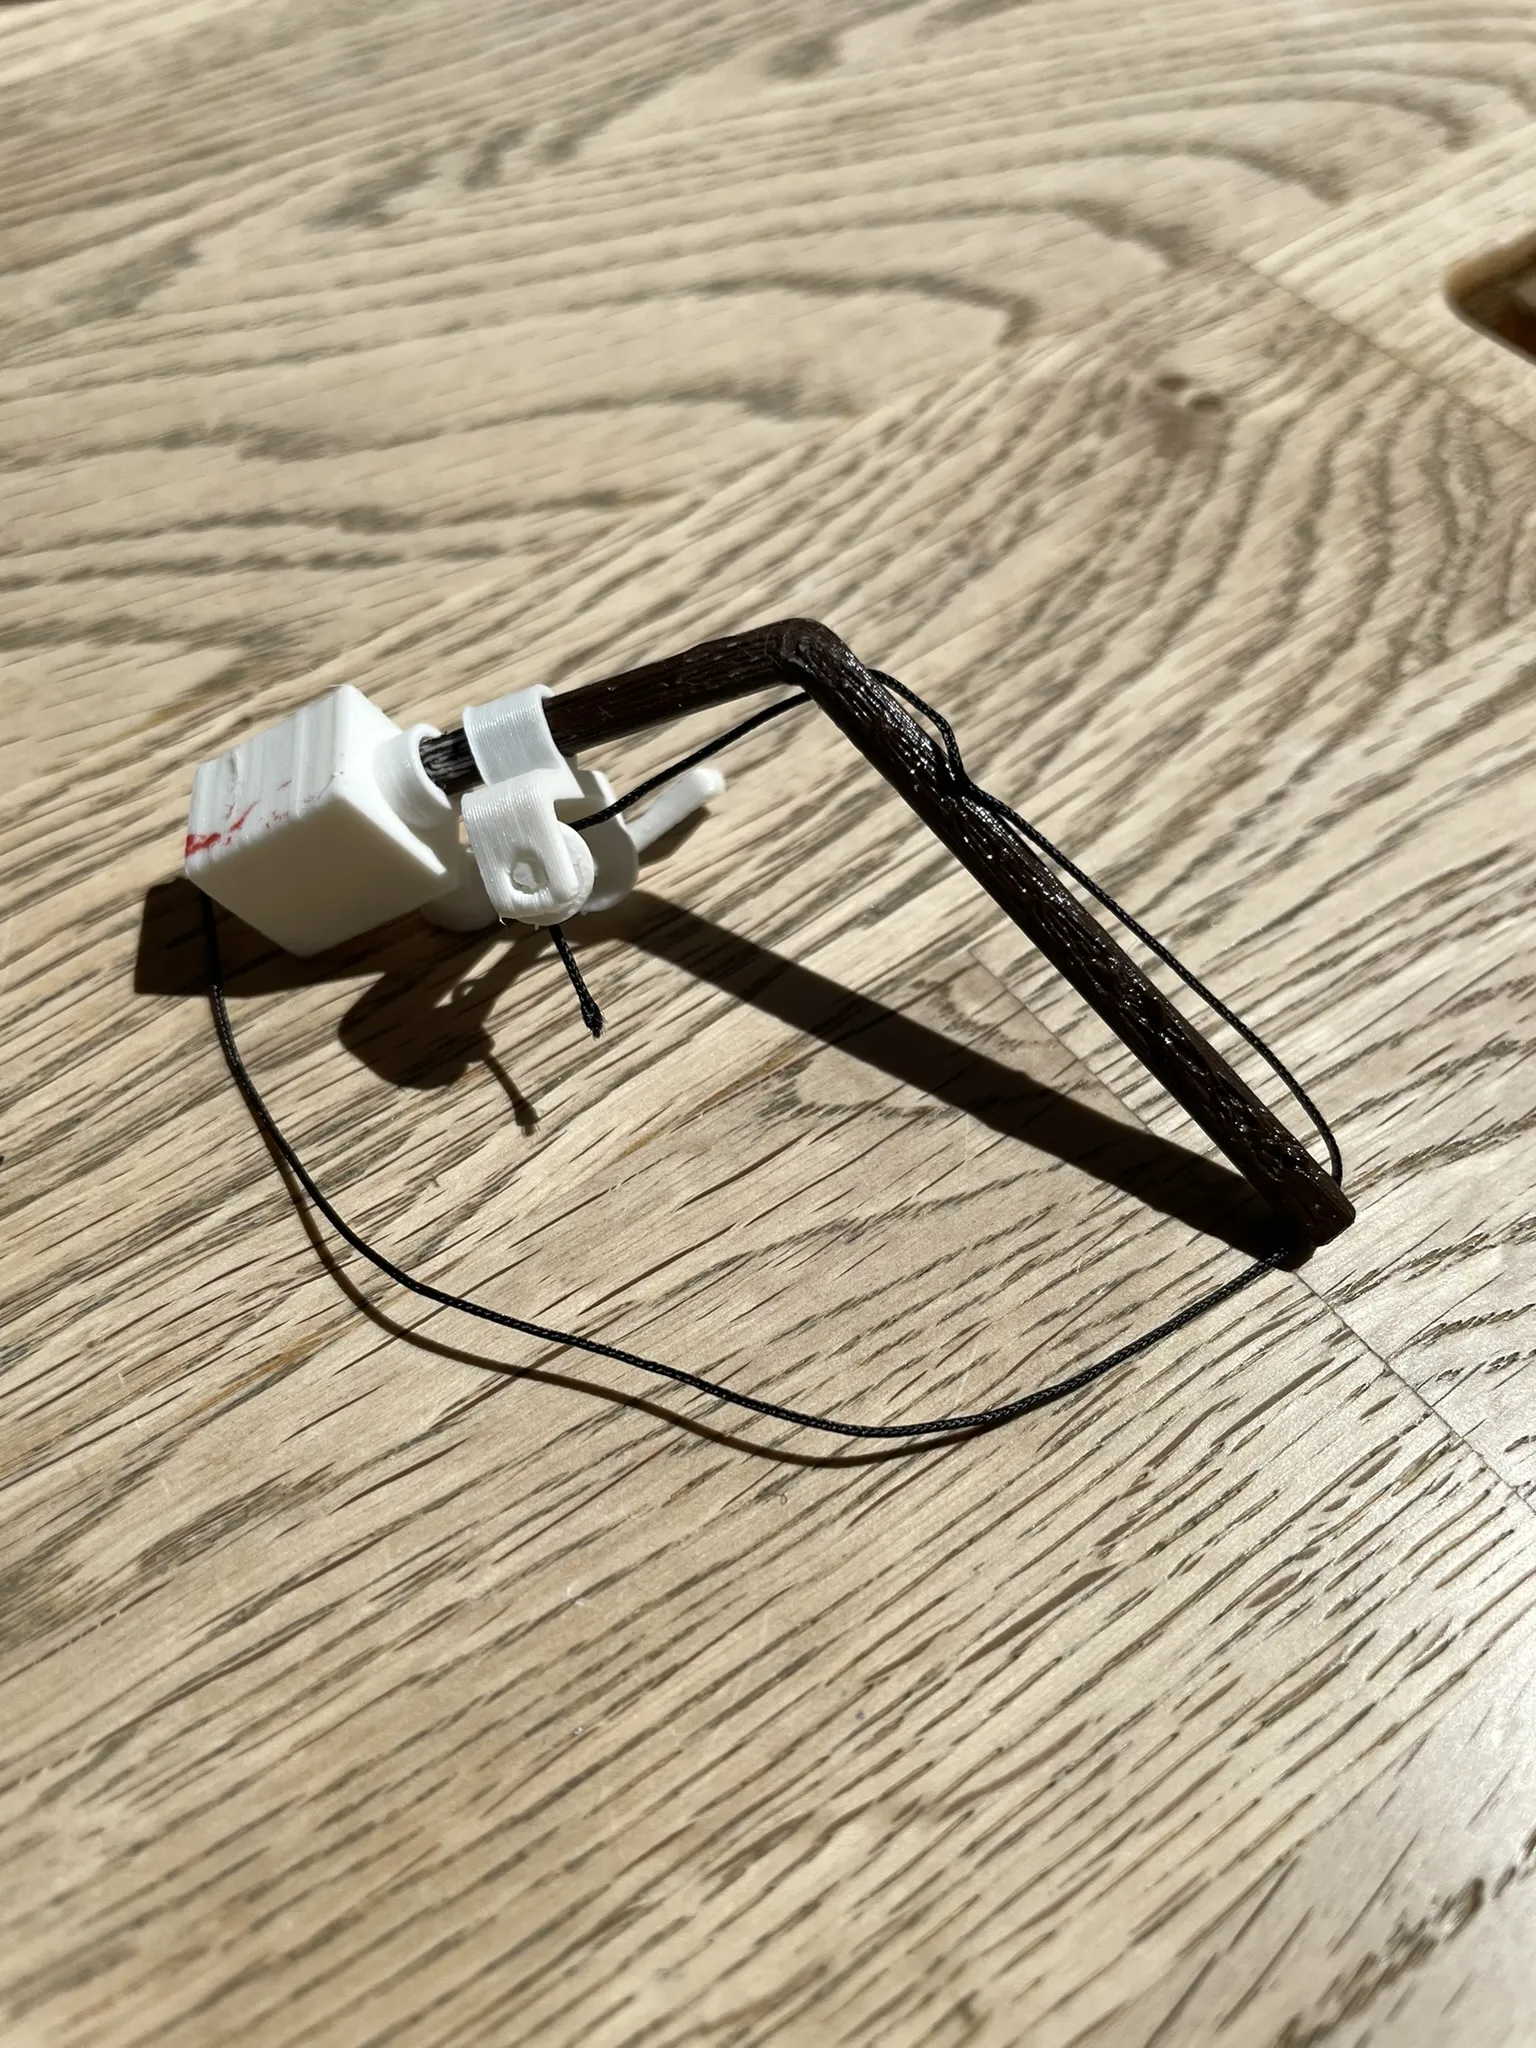
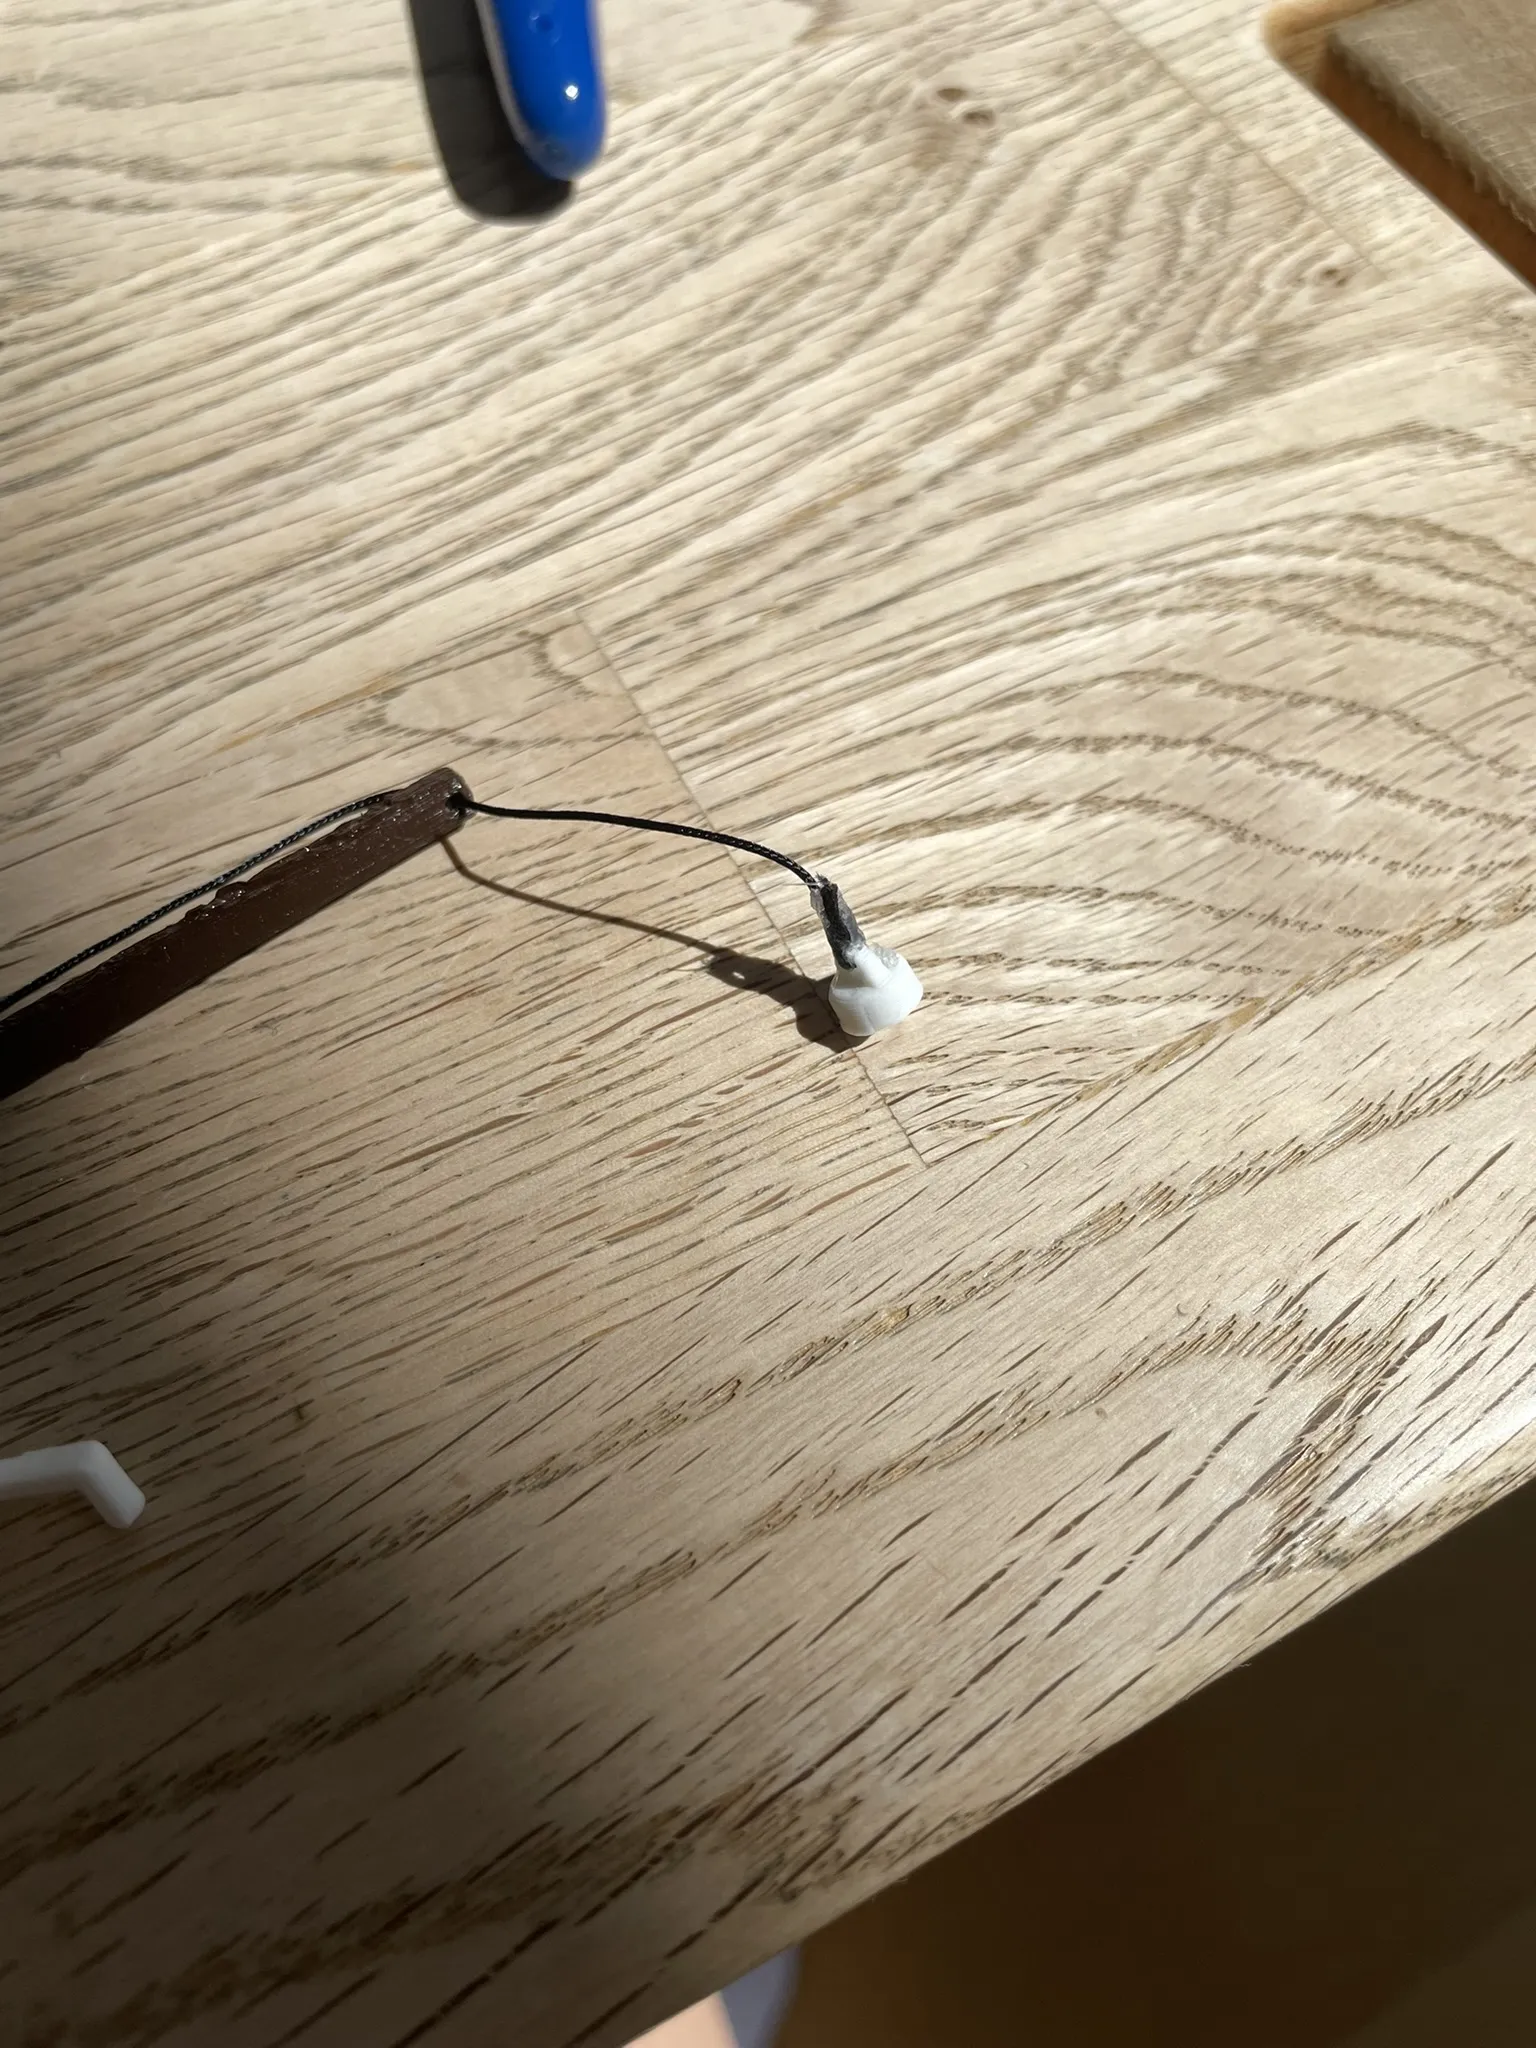
The assembly should now look like this.
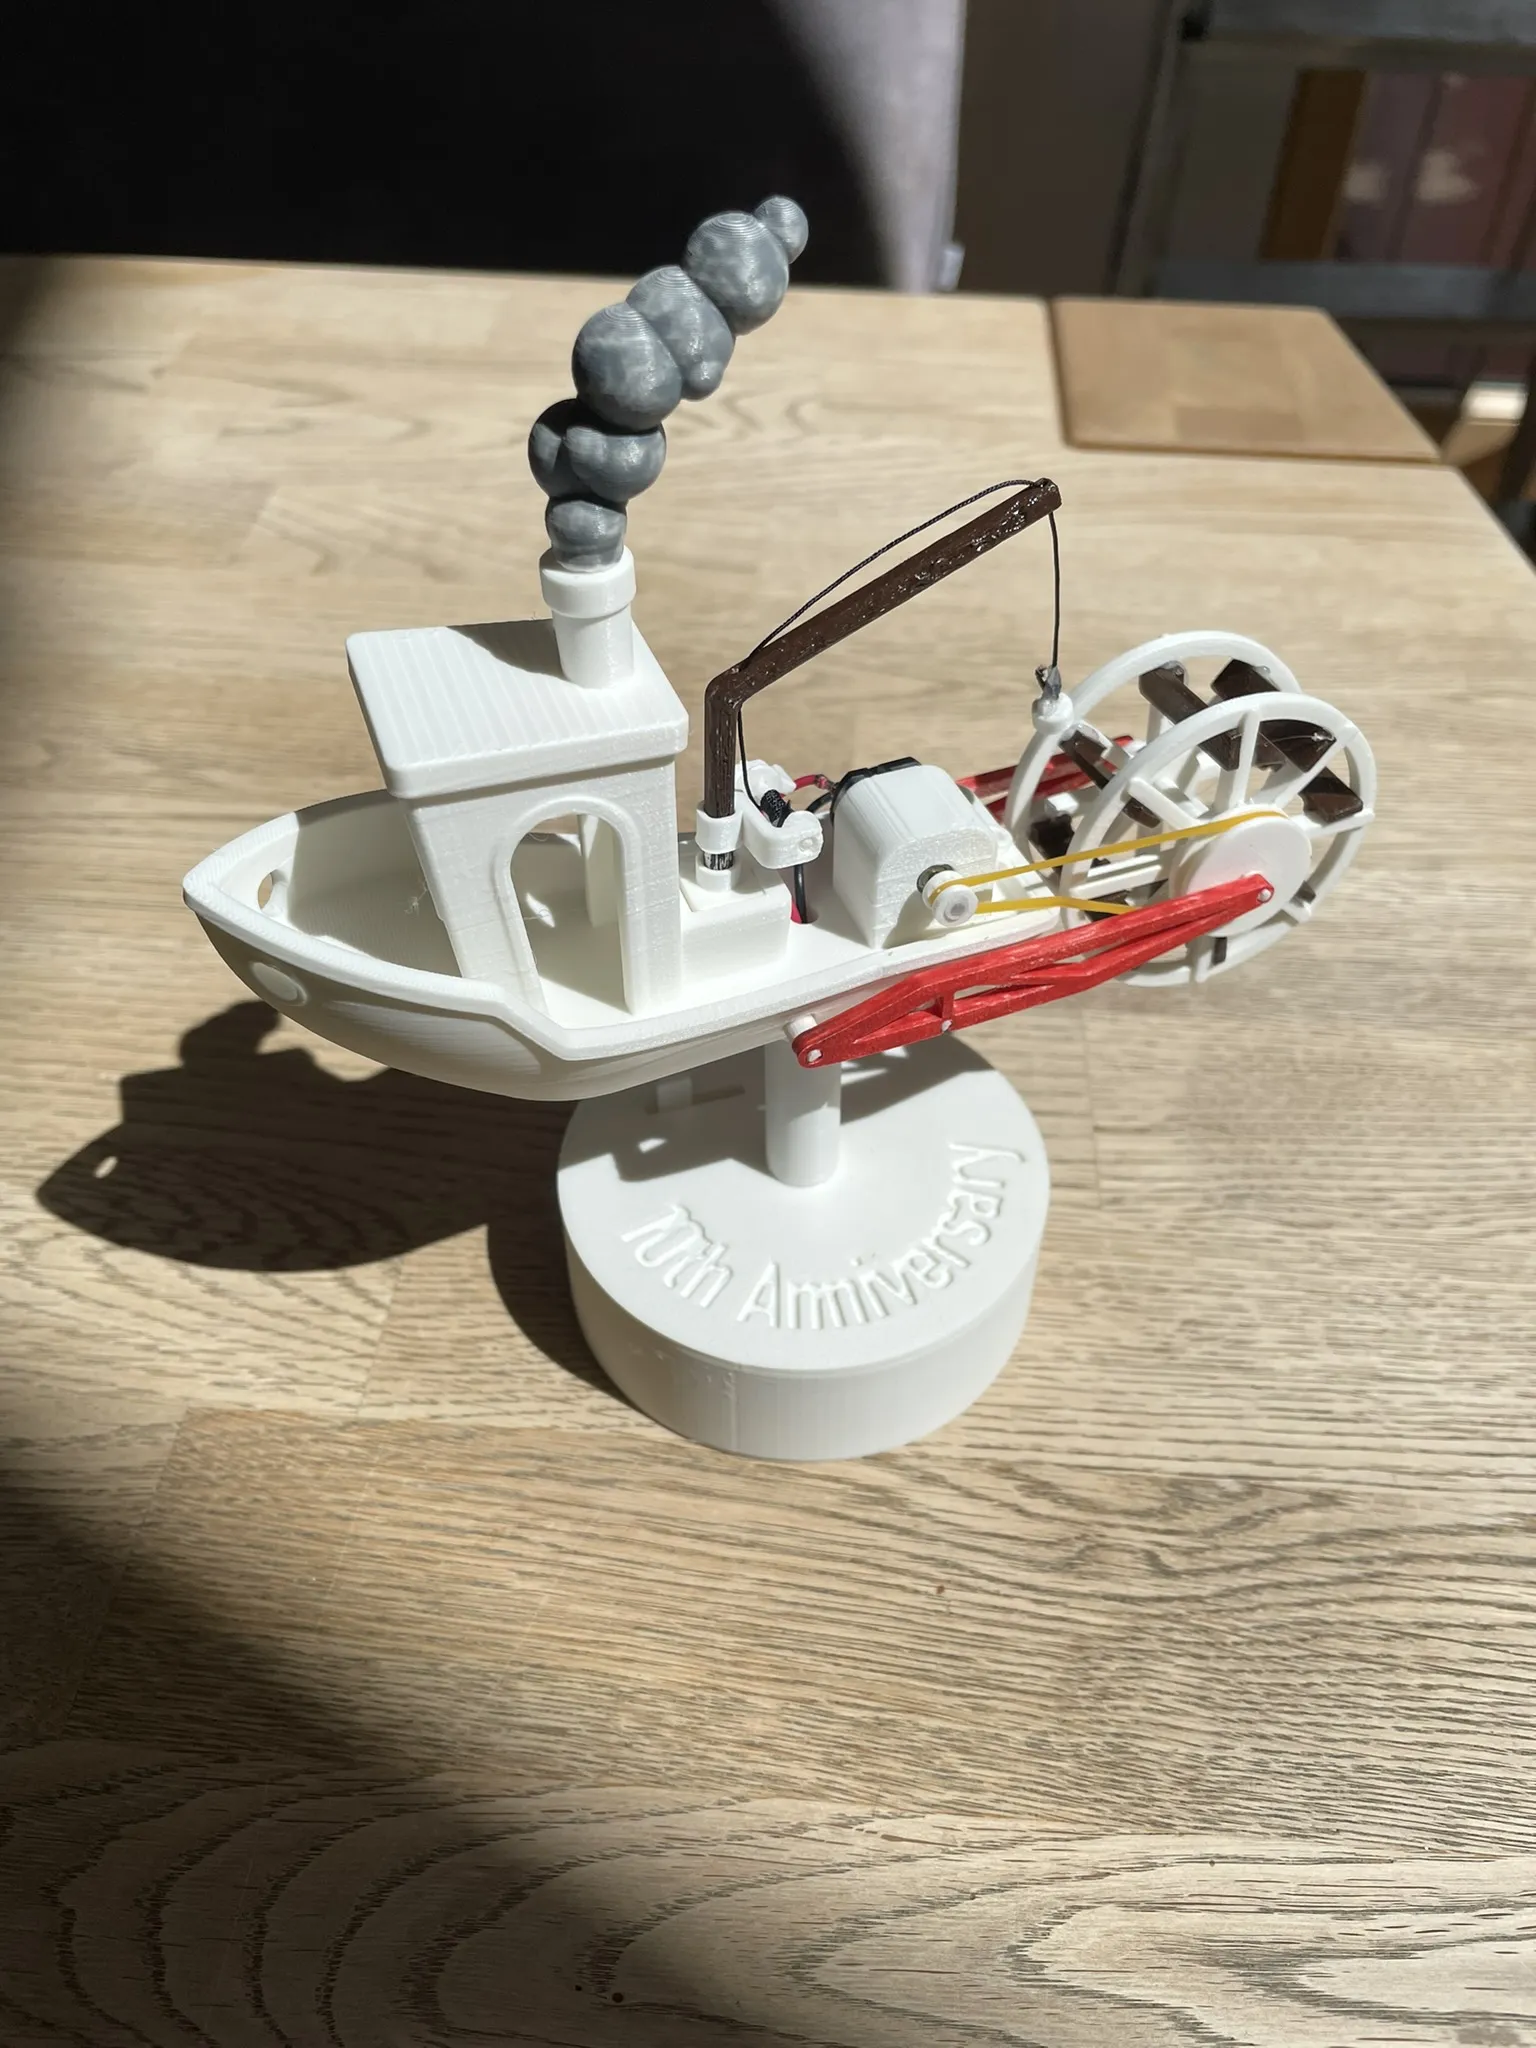
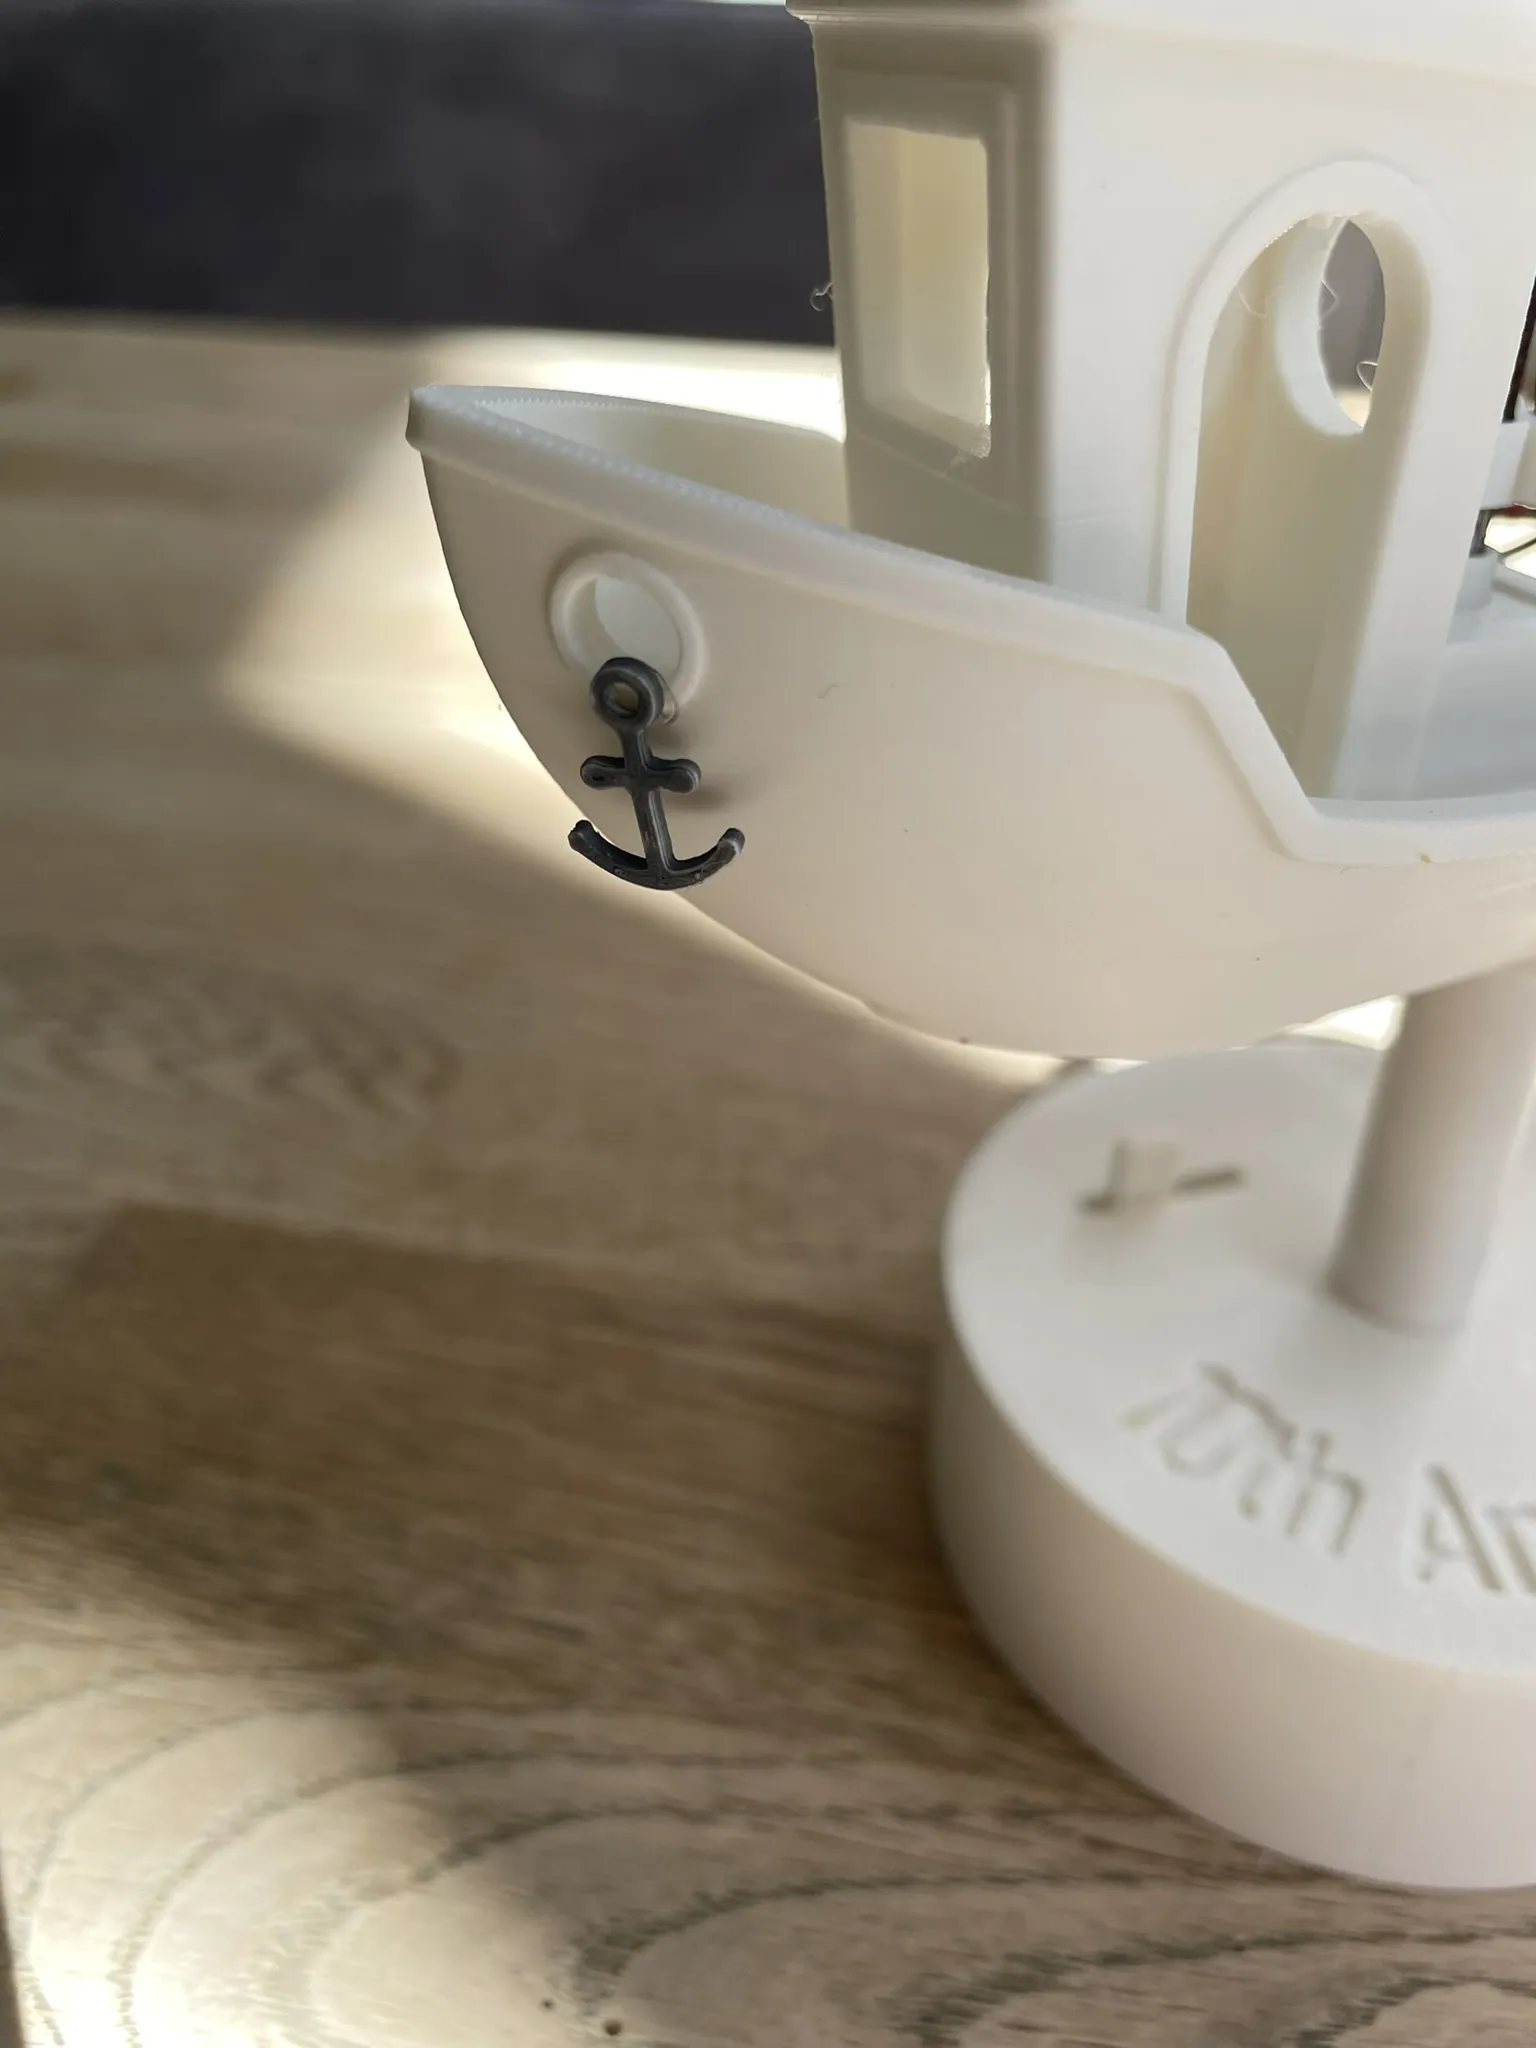
Finally, adhere the anchor to the front, connect the motor's two cables to the battery terminals in the base, insert a block battery, and slide the switch through the opening in the lid.
Connect the cables and gently bend the two battery terminals.
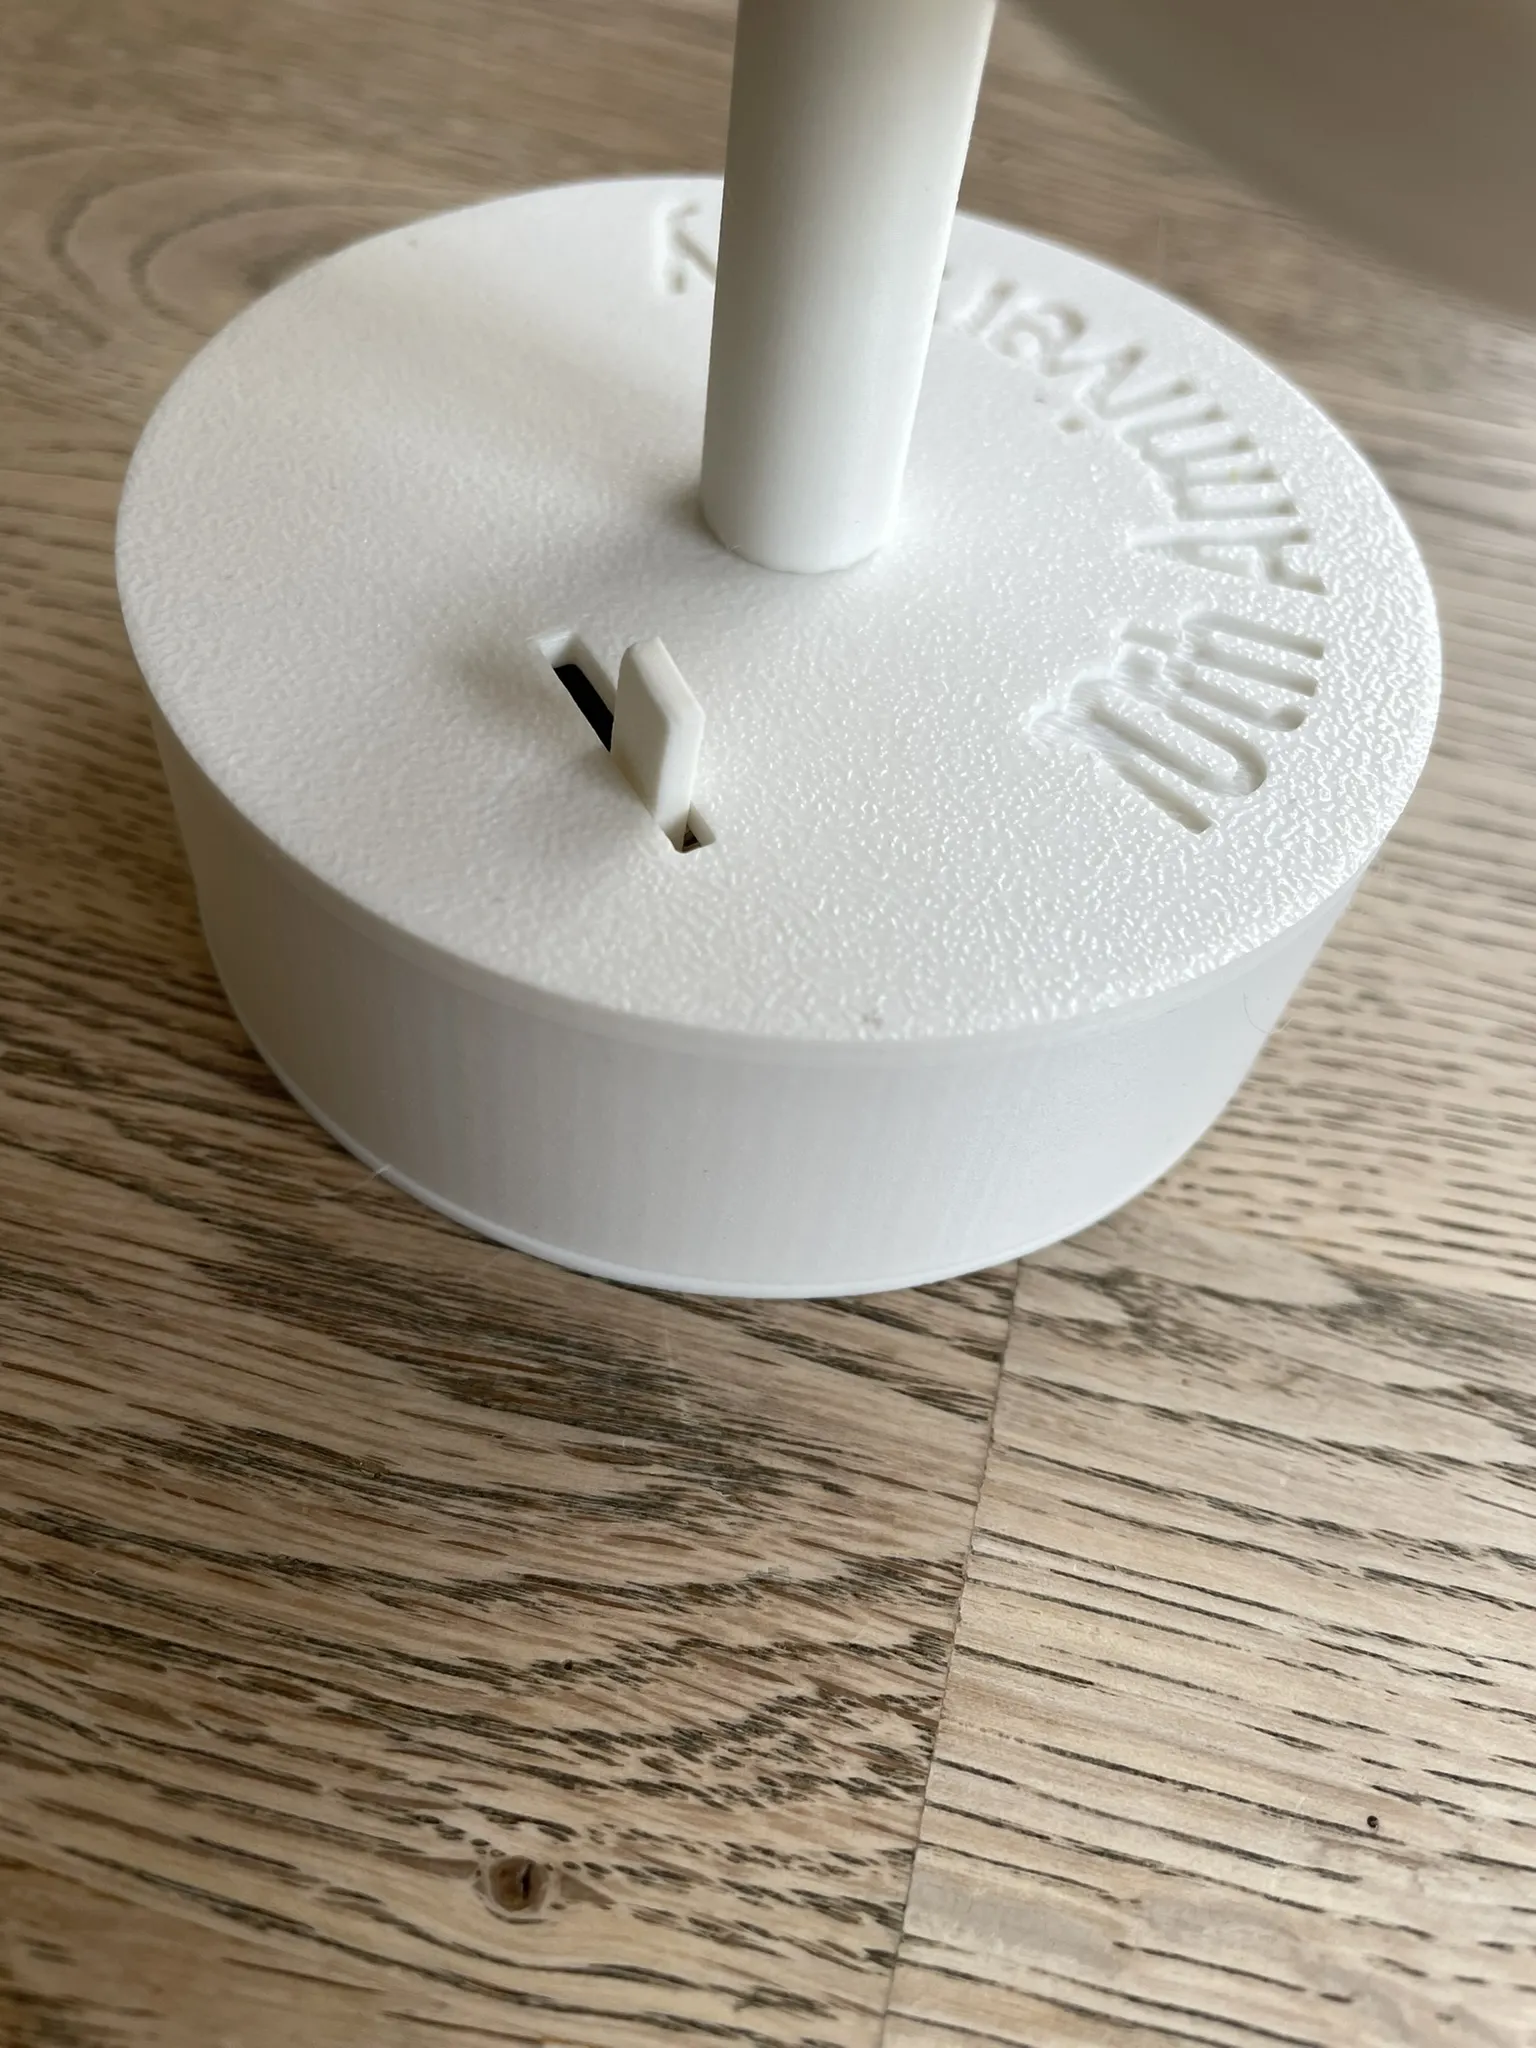
The switch should protrude from the slot in the off position.
That's it—it's now fully functional.
The remixed Benchy model originates from: https://makerworld.com/de/models/1272656-original-3dbenchy-public-domain-cad-step-file#profileId-1336828
License

You shall not share, sub-license, sell, rent, host, transfer, or distribute in any way the digital or 3D printed versions of this object, nor any other derivative work of this object in its digital or physical format (including - but not limited to - remixes of this object, and hosting on other digital platforms). The objects may not be used without permission in any way whatsoever in which you charge money, or collect fees.


Comment & Rating (2)