
Turbo Exhaust Pipe for Kid’s Bike


Print Profile(1)

Description
update exhaust 1.1 : If you have the original base, you can use it.
https://makerworld.com/en/models/1426768-turbo-exhaust-pipe-for-kid-s-bike-v-1-1#profileId-1483039
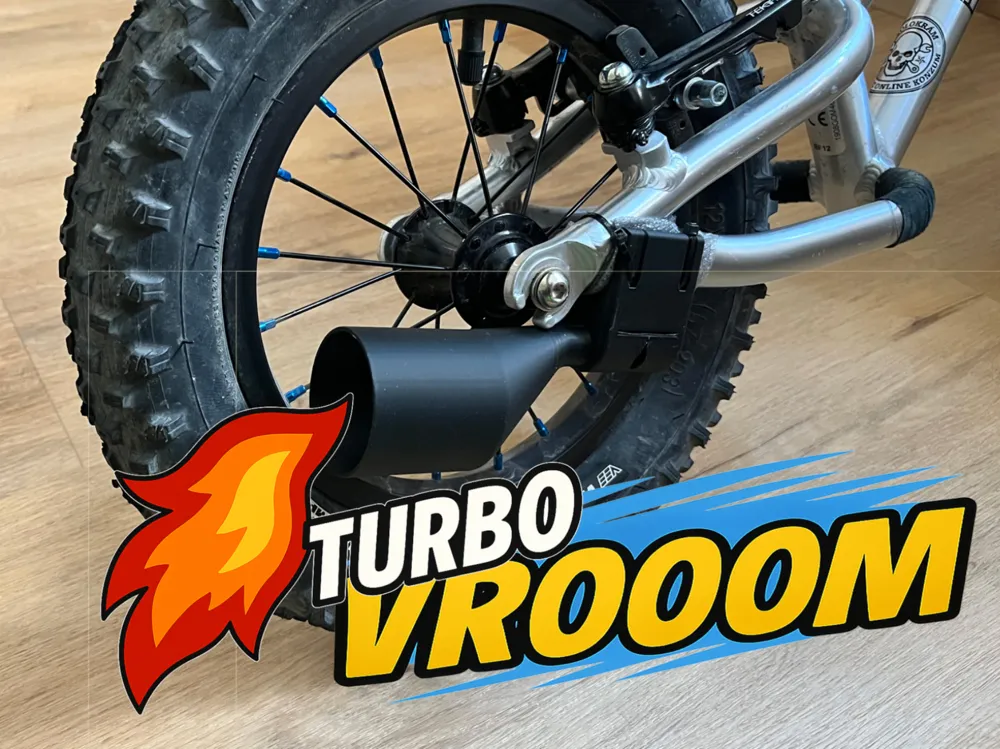
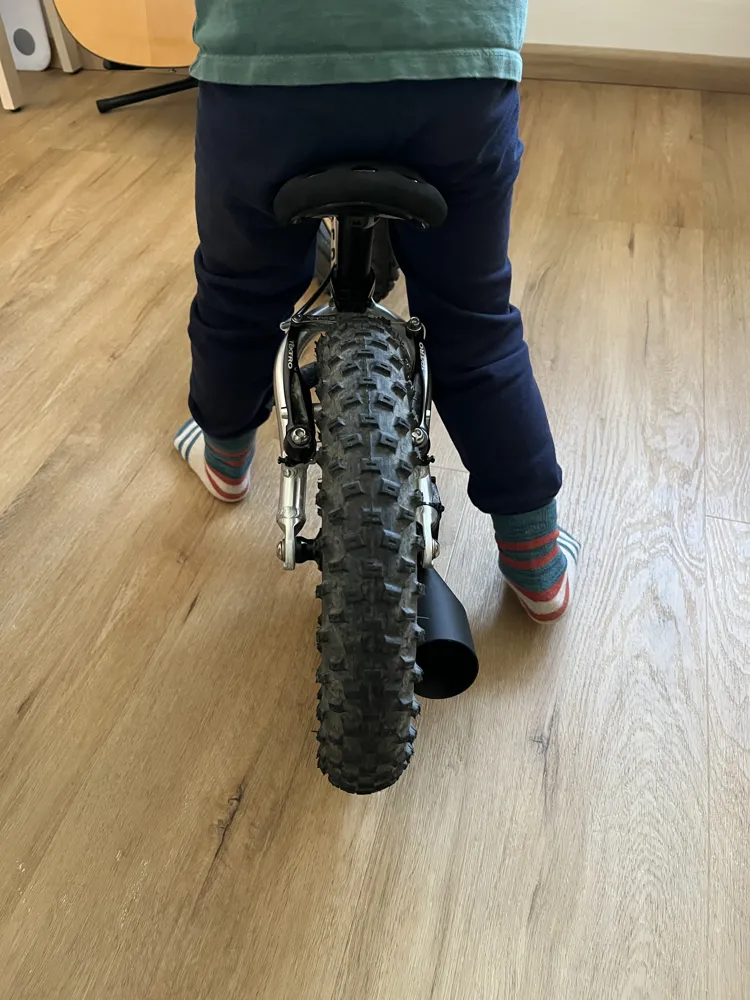
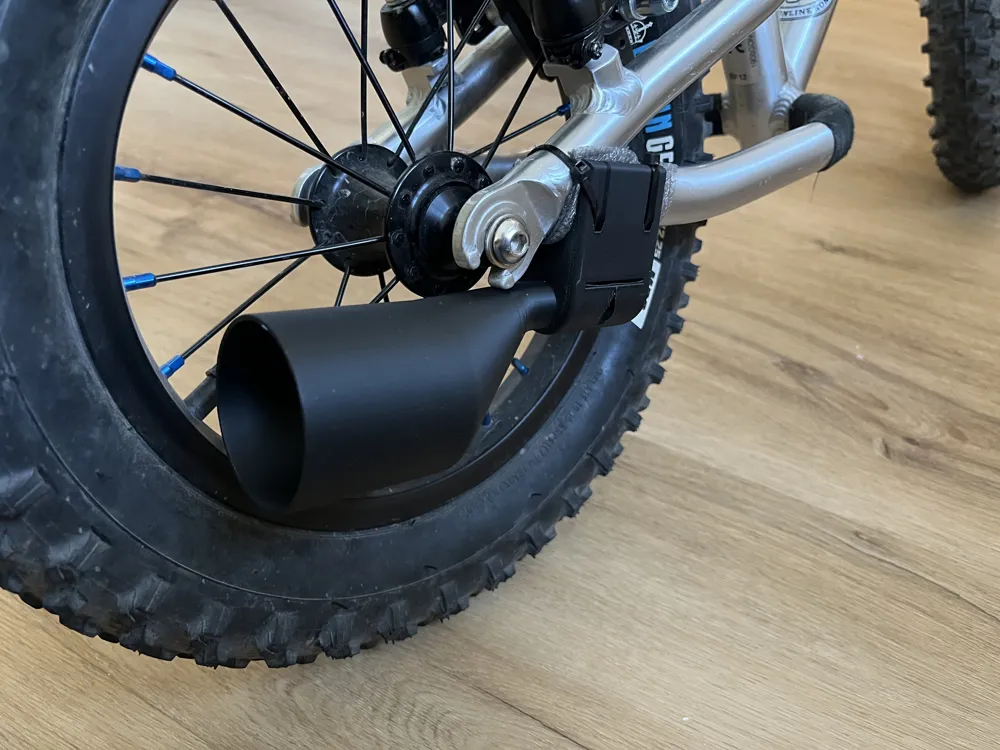
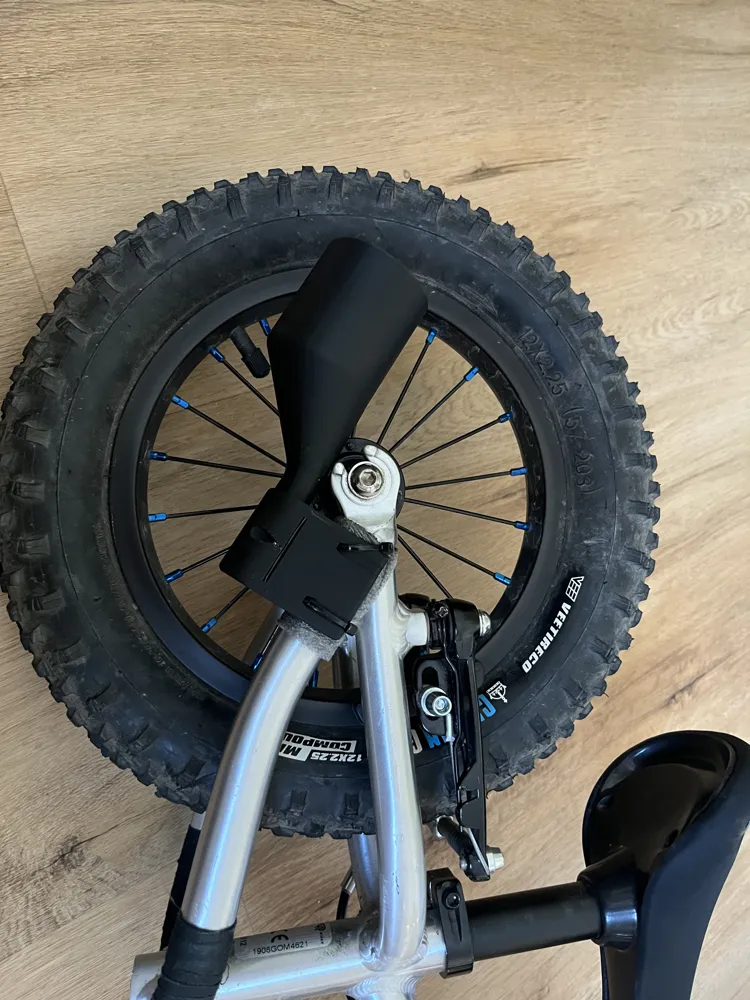
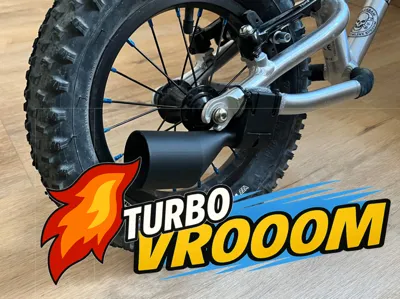
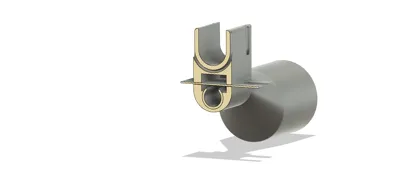
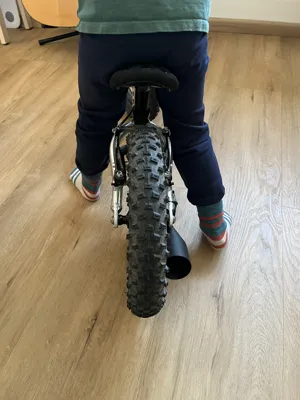
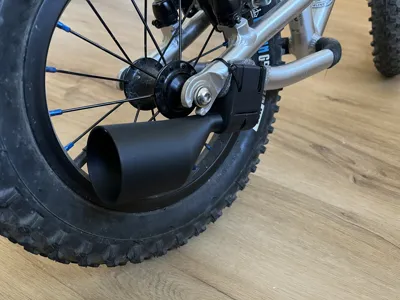
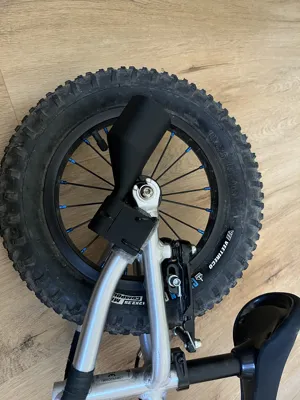
Turn your child’s bike into a roaring racer with this fun 3D printable toy exhaust! I designed this playful accessory to fit most kids’ bikes – and personally mounted it on an Early Rider Bigfoot. It attaches easily using zip ties, and I used foam tubing (miralon) to fill the gap between the frame and the exhaust mount for a snug, scratch-free fit.
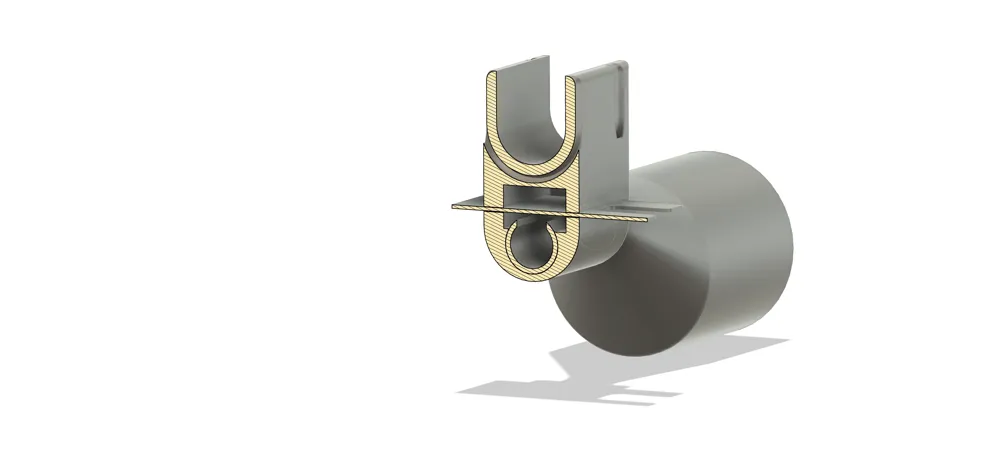
The exhaust features a rotatable tip, allowing you to adjust the angle so it doesn’t get in the way of the little rider’s legs. Inside, there’s a sound chamber that amplifies the clicking noise for added fun.
It includes a clicker plate that can be 3D printed, but I’ve had the best results using one cut from a plastic binder coverusing the provided template. The clicker is secured with a 2–2.5×10 mm screw, and its position can be easily adjusted based on the bike type.
- Mounted with zip ties + foam insert (miralon) between mount and frame
- Rotatable exhaust tip for proper alignment
- Built-in sound chamber to amplify clicks
- Functional clicker – printable or cut from plastic sheet
- Requires only one small support during printing
- Durable and kid-friendly design
- Tested on Early Rider Bigfoot
- A perfect gift for young riders
Let the adventure begin – with style and an amplified (pretend) roar! 🏁
🛠️ Mounting Guide – Kid’s Bike Exhaust
What you’ll need:
- Printed parts (main body, rotatable tip, mount, clicker – optional)
- 2 zip ties (3-4 mm wide, 10 cm long or connect two)
- Foam tubing (Miralon) or any soft spacer material
- 1x screw 2–2.5×10 mm for the clicker
- Optional: Clicker cut from a plastic binder cover using the included template
Assembly Steps:
- Assemble the exhaust:
Connect the main exhaust body to the rotatable tip. You can easily adjust the angle to fit the bike. - Attach to the frame:
Place a foam spacer (e.g., Miralon) between the bike frame and the mount. Hold the exhaust in place and tighten it with zip ties. - Install the clicker:
Choose between a printed clicker or one cut from plastic using the template. Position it so it touches the spokes while riding, and secure it with a 2–2.5×10 mm screw. - Test ride:
Check the fit – the exhaust should be firm and the clicker should make a fun clicking noise when the wheel turns.
License

You shall not share, sub-license, sell, rent, host, transfer, or distribute in any way the digital or 3D printed versions of this object, nor any other derivative work of this object in its digital or physical format (including - but not limited to - remixes of this object, and hosting on other digital platforms). The objects may not be used without permission in any way whatsoever in which you charge money, or collect fees.


Comment & Rating (67)