
Star Trek DS9 PADD v2
Print Profile(2)


Description

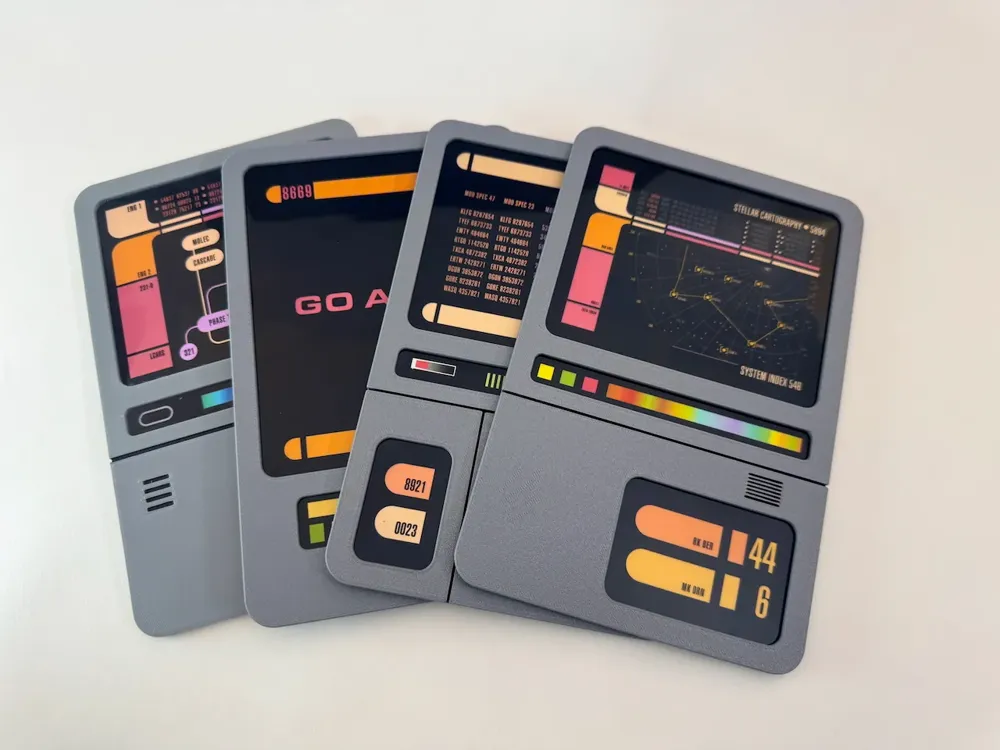
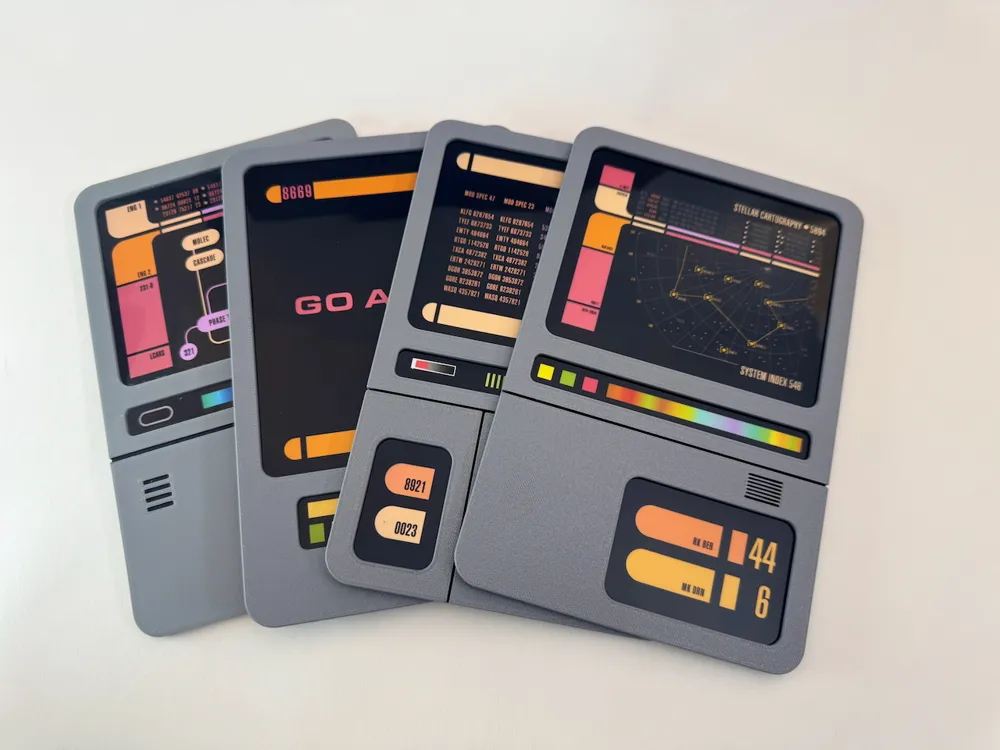
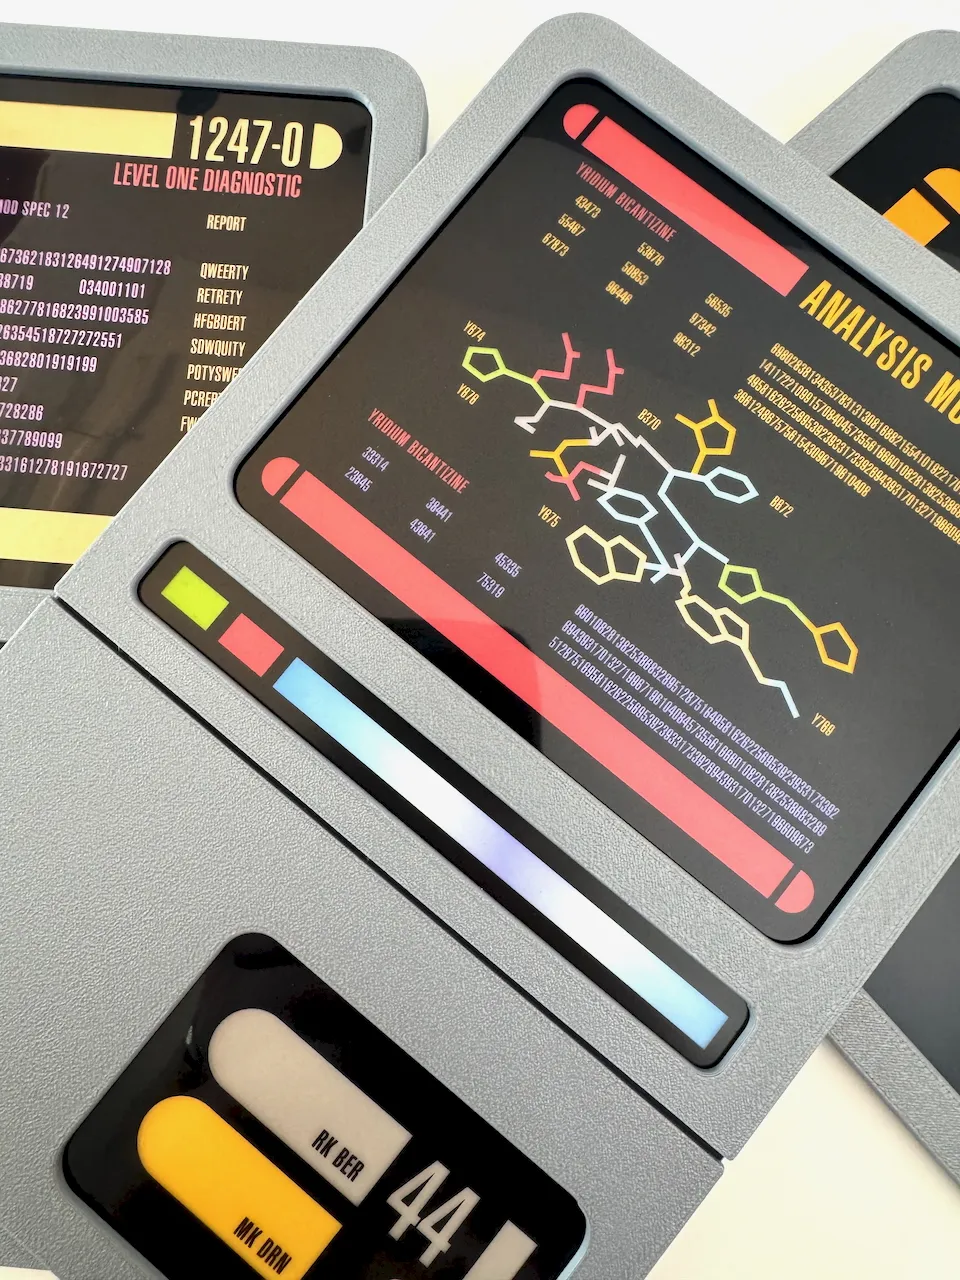
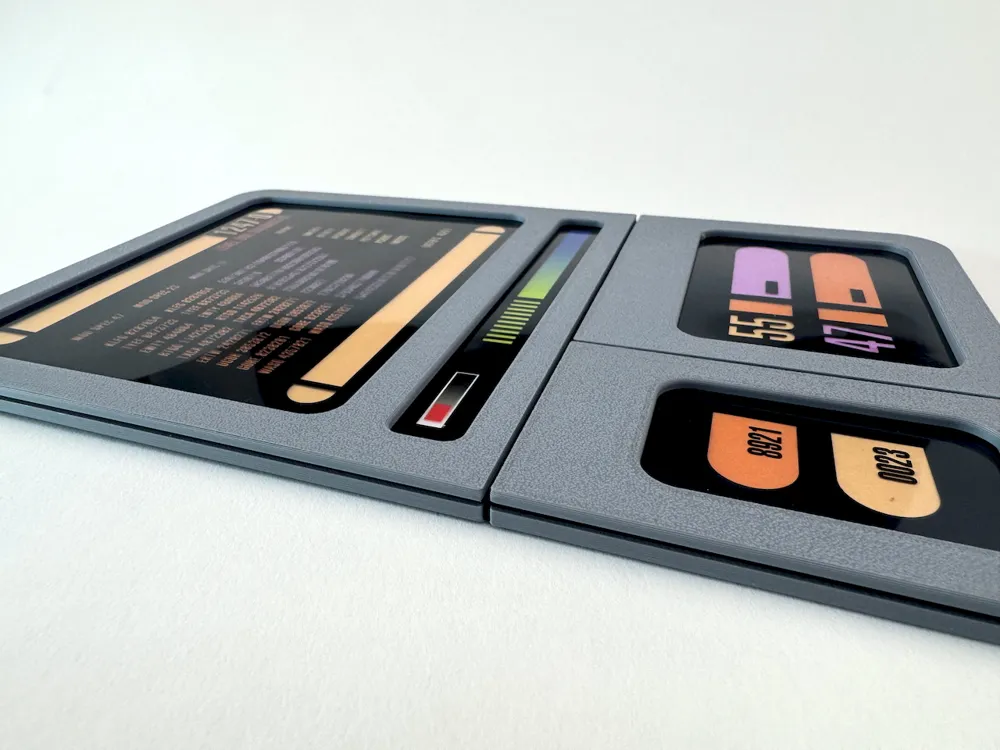
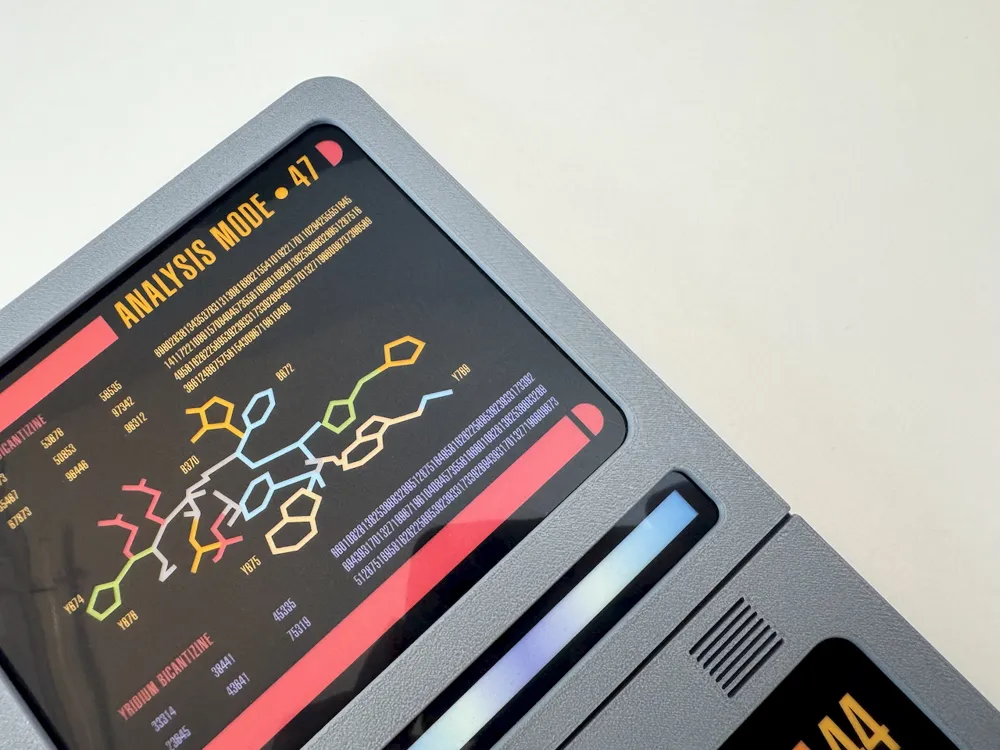
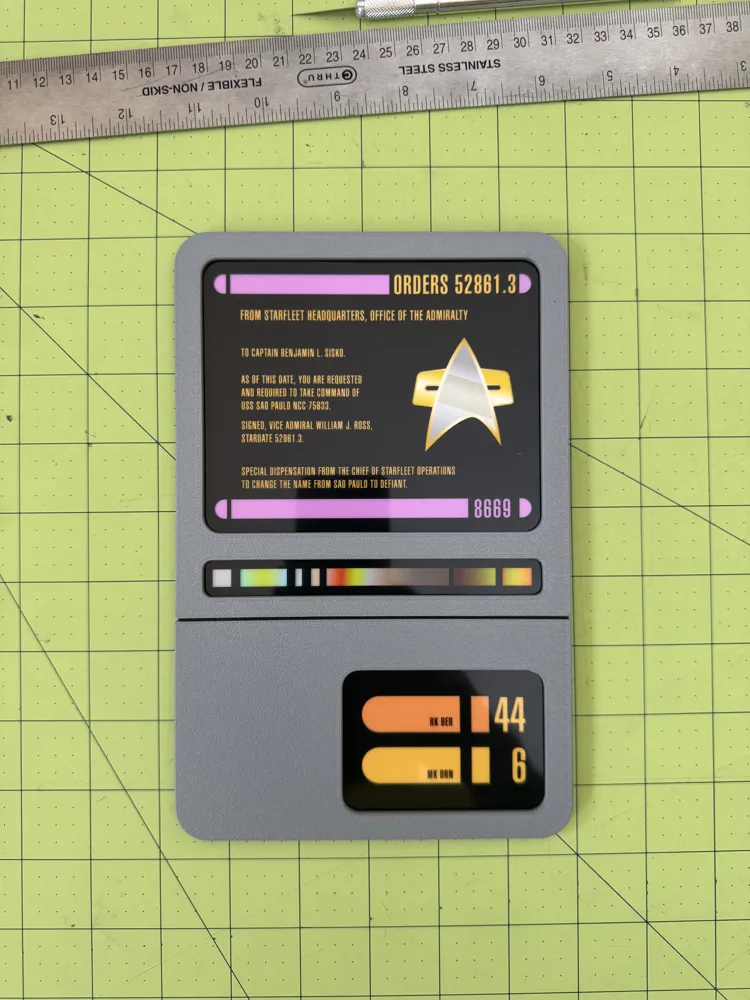
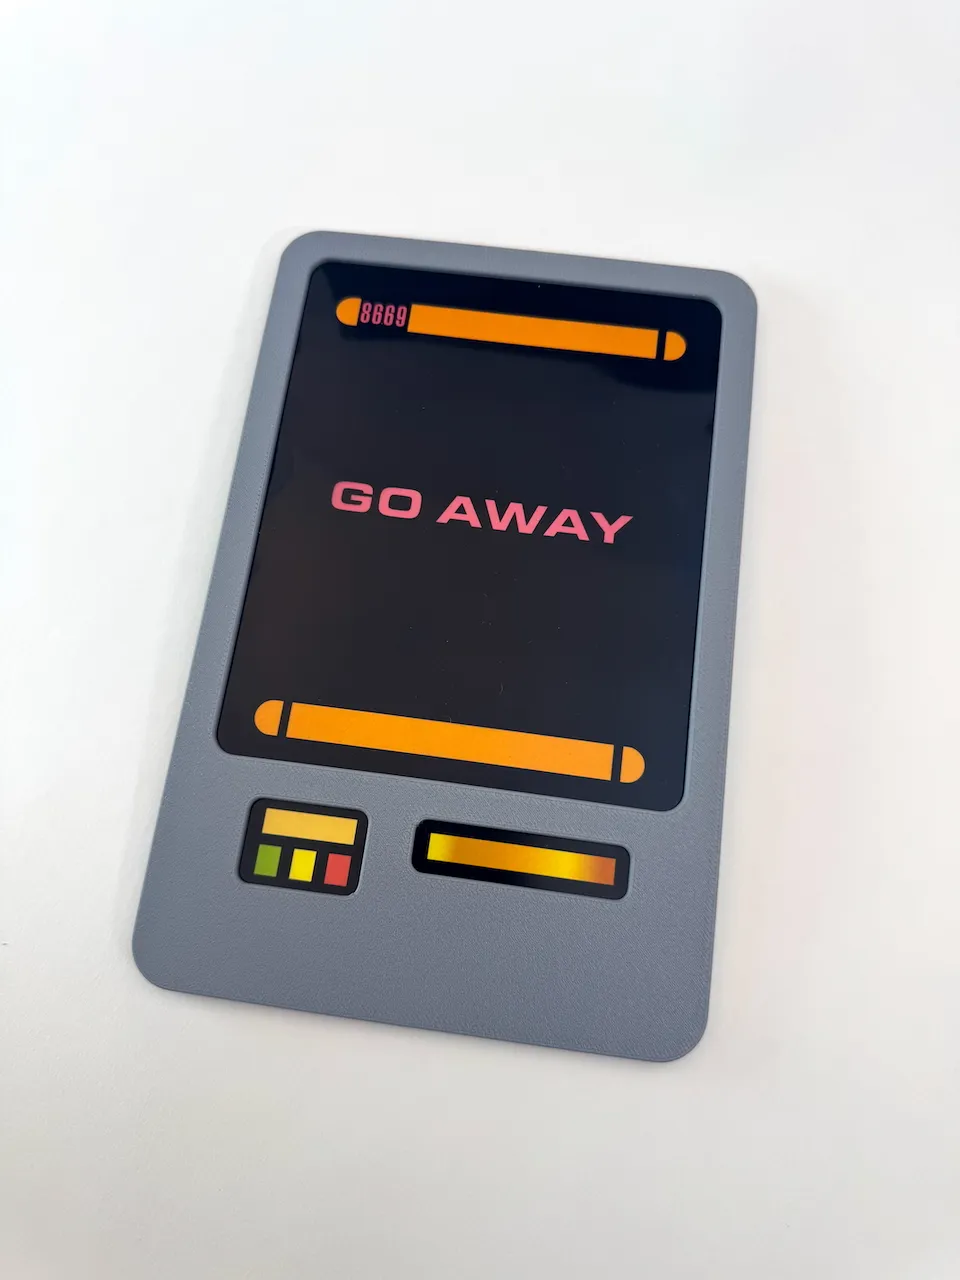
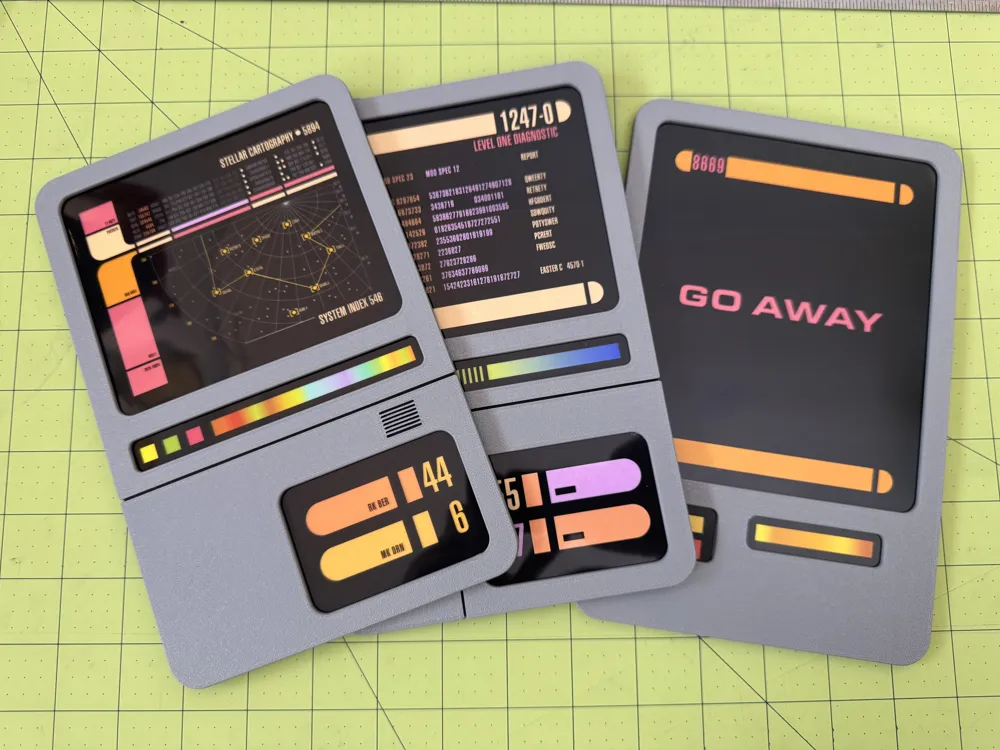
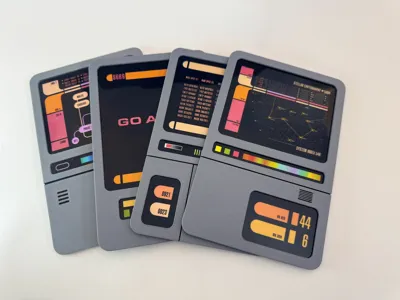
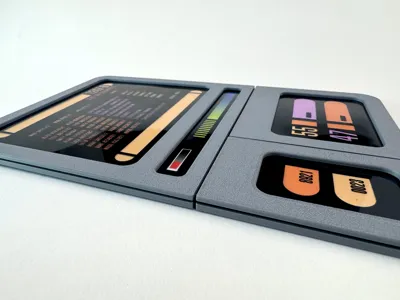
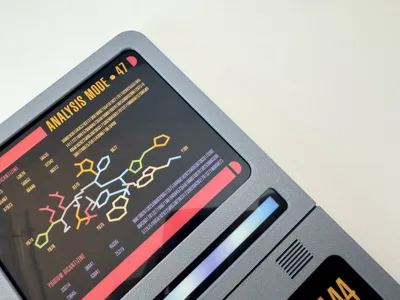
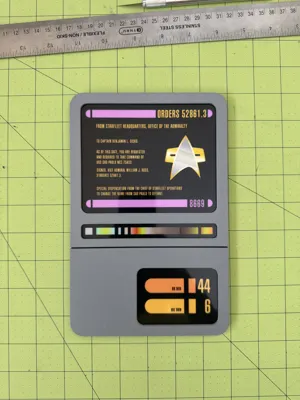
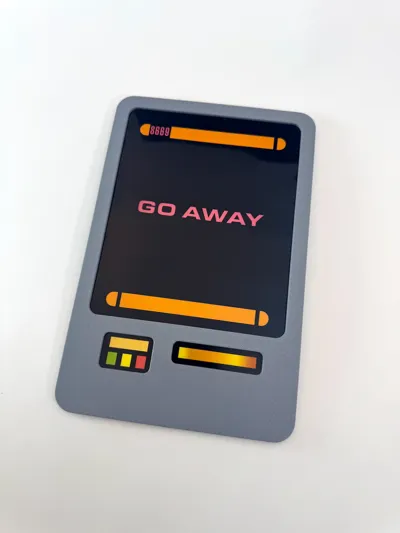
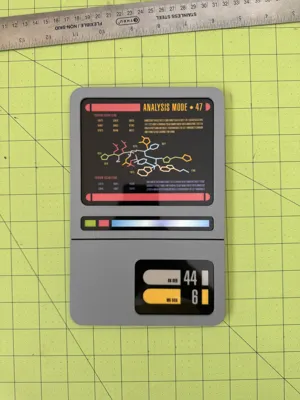
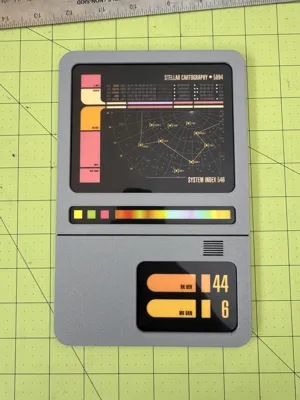
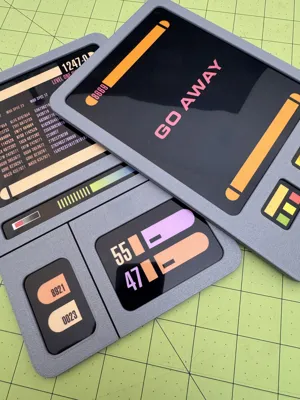
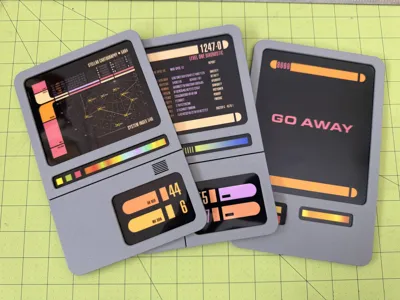
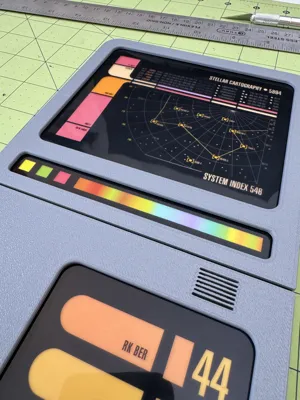
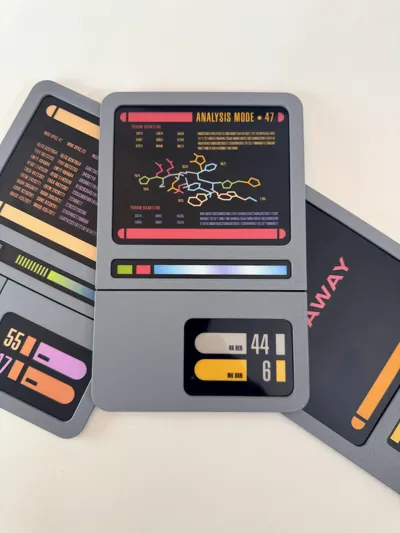
This is the v2 of my PADD model based on some feedback.
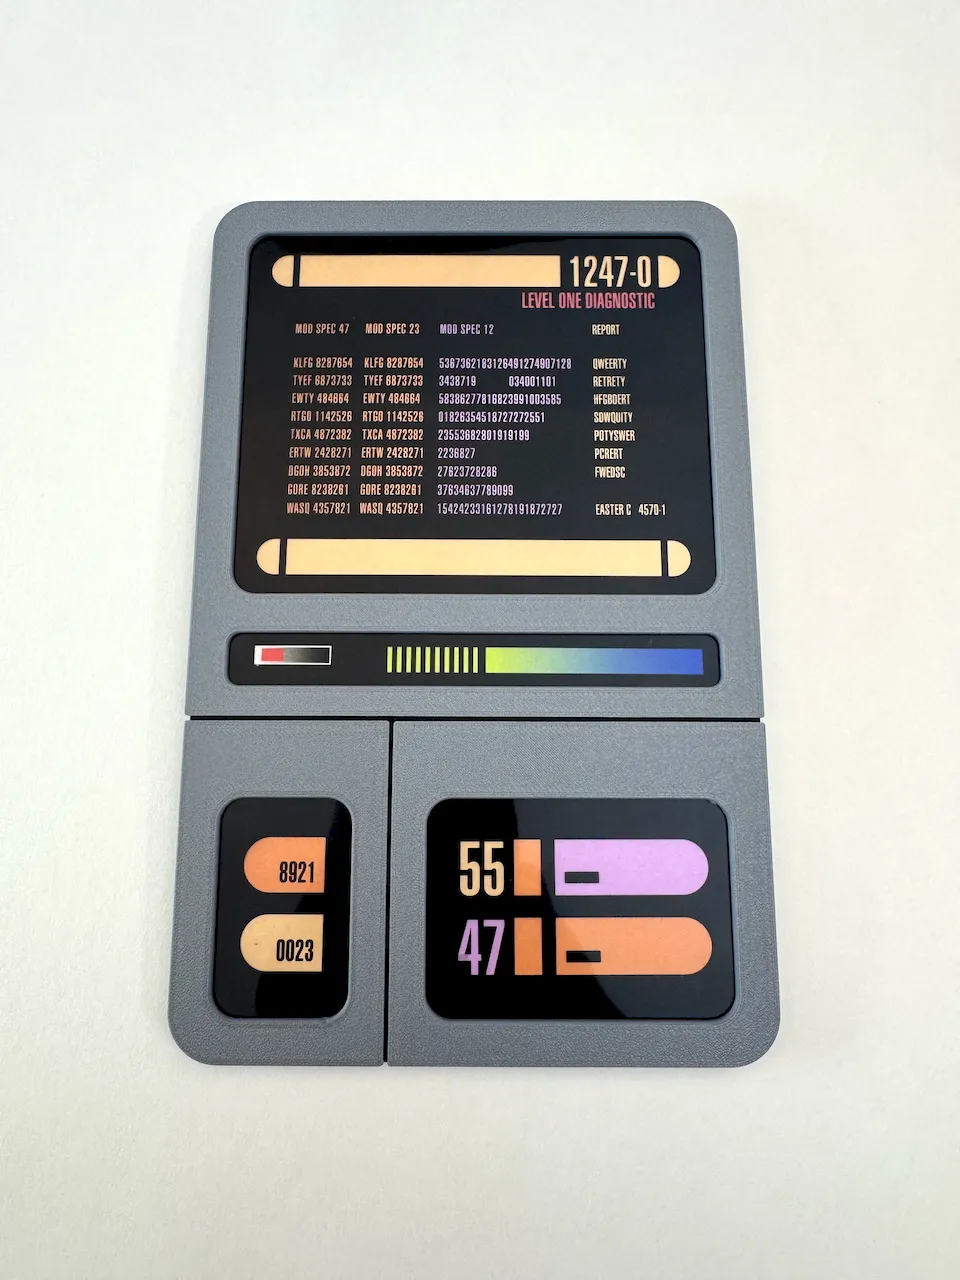
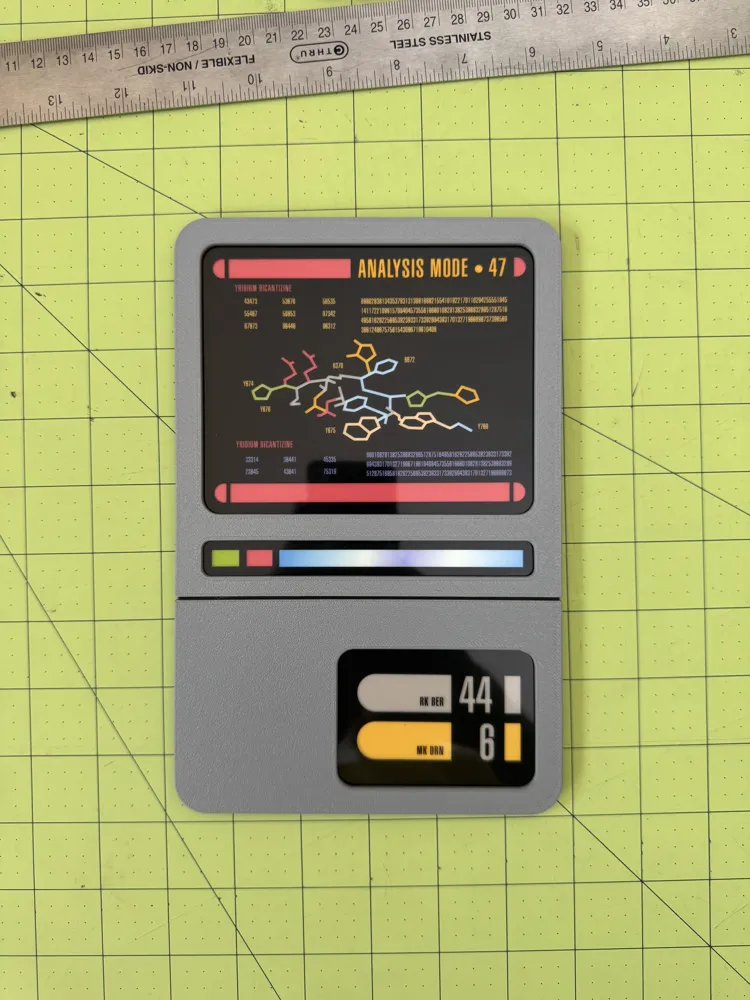
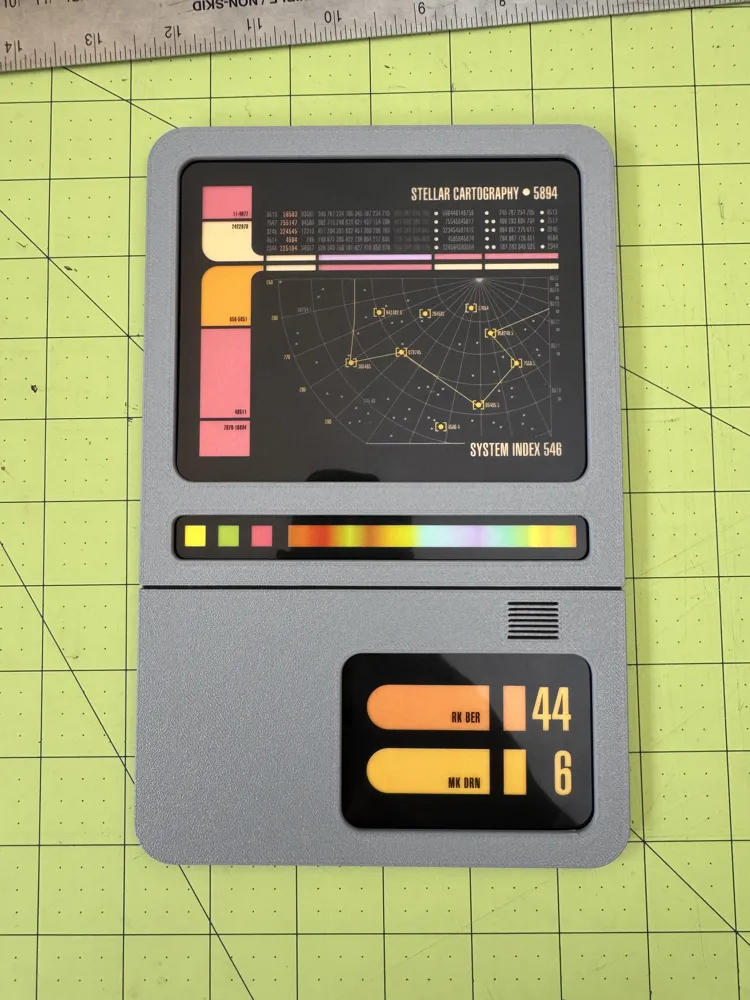
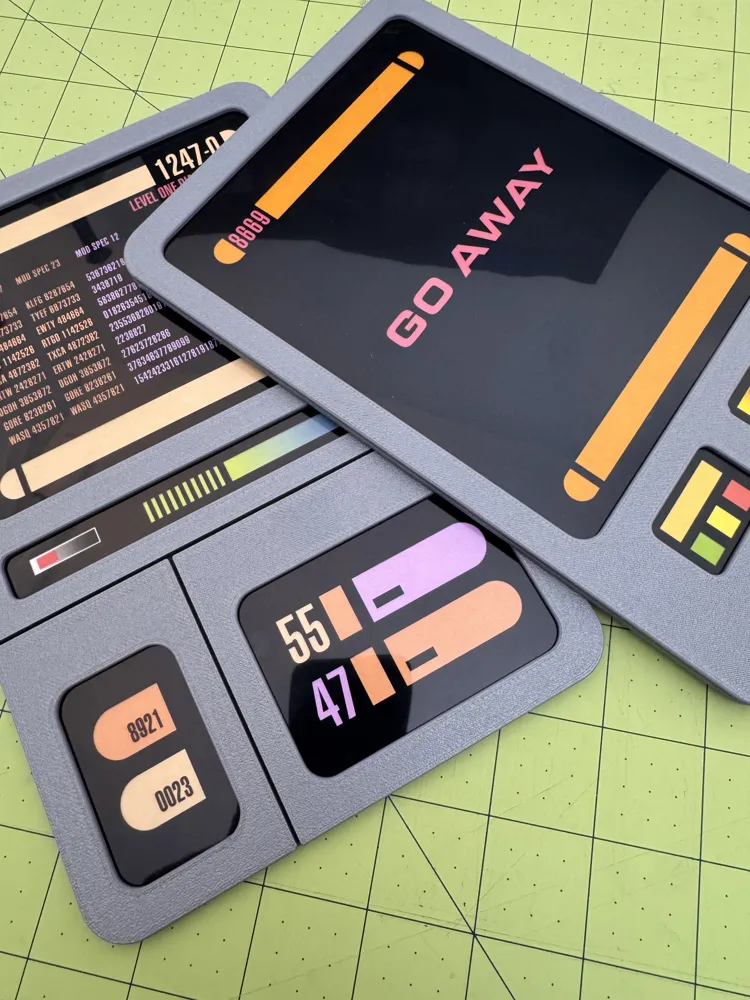
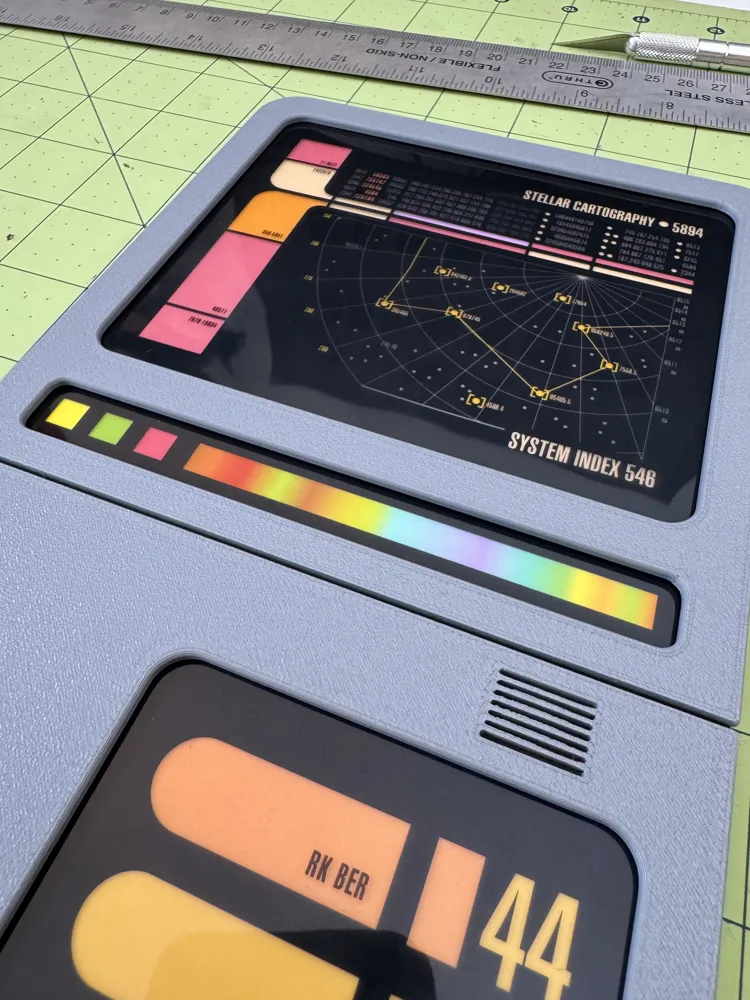
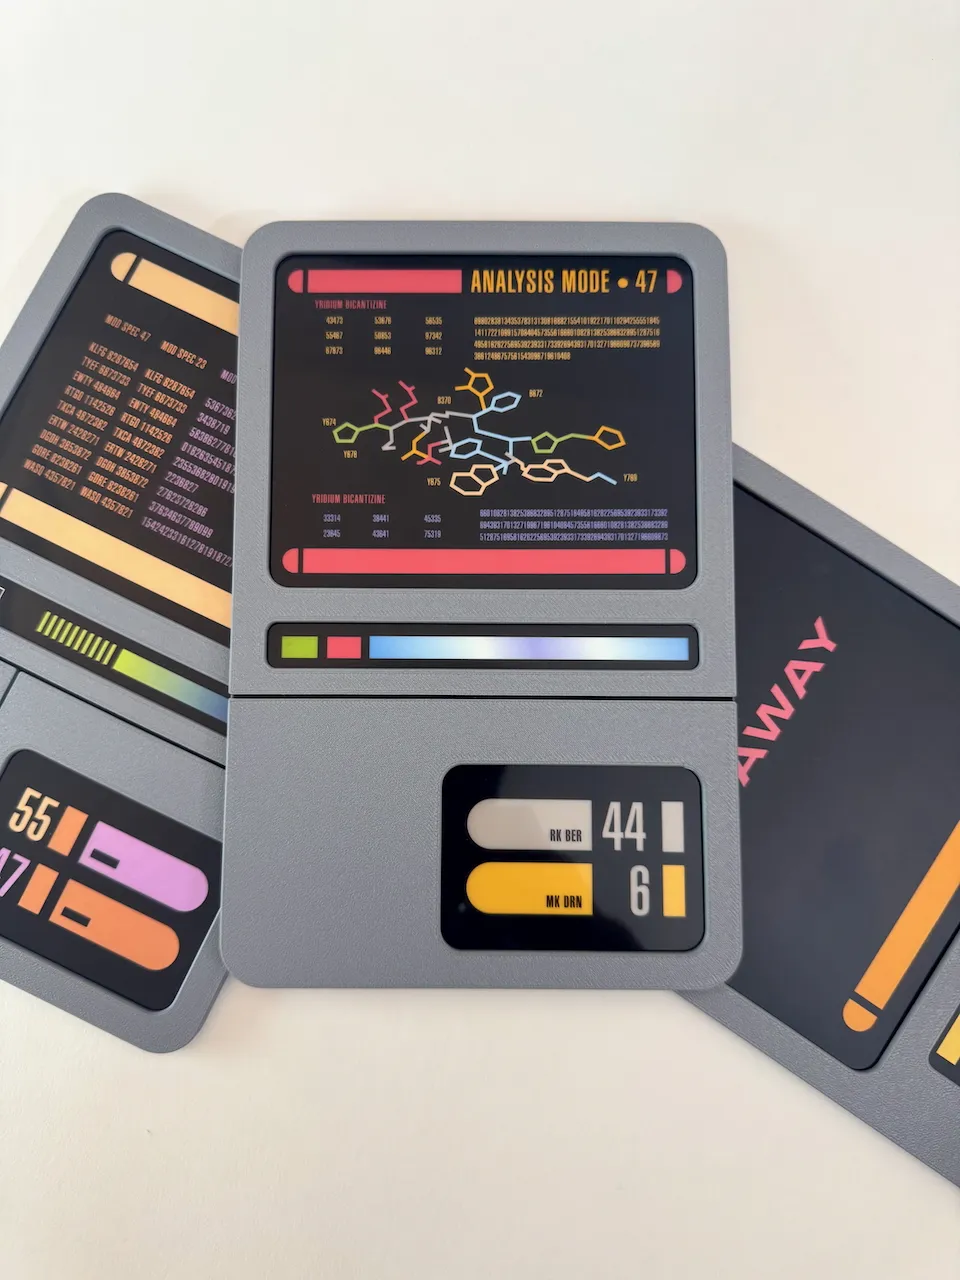
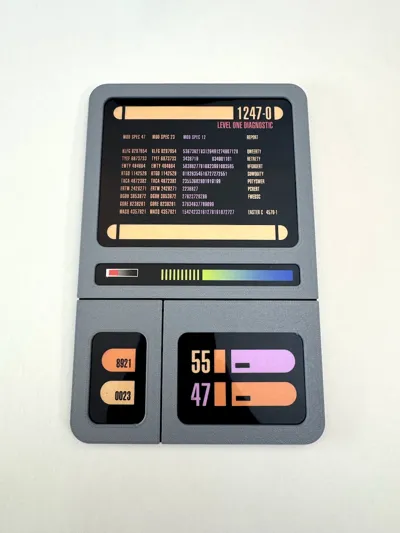
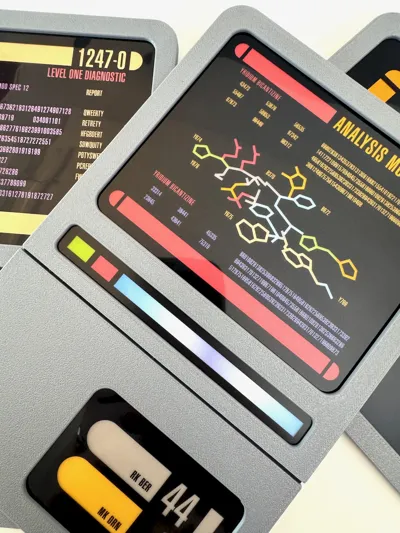
PADDs (Personal Access Display Devices) are hand-held tablets used by the Federation in a number of Star Trek series. In Deep Space Nine, PADDS had slightly different design details but usually shared similar screen/panel position. I've created a few of my favorites and I hope you enjoy the latest update! Bases print in around 2 hours, faceplates in around 45 min.
Change log
- More PADD graphics!
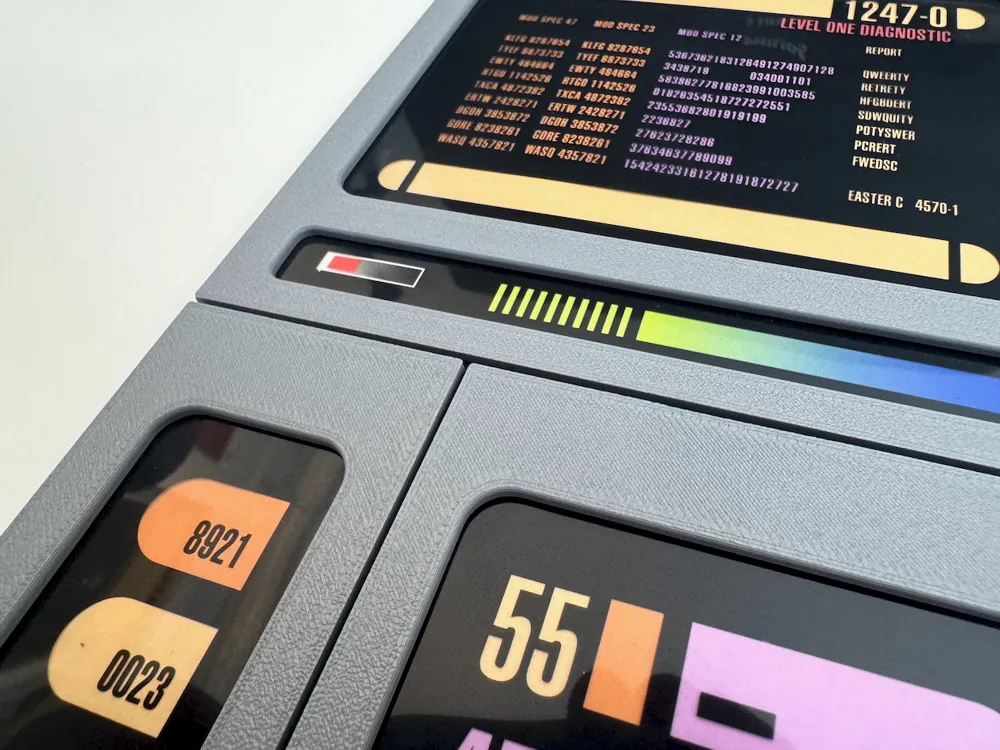
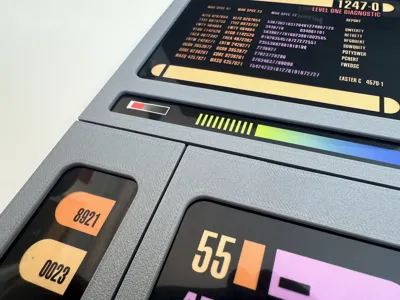
- Added panel line details seen in many episodes.
- Includes indent for graphics and face plates that snap on like frames, removing the need to cut precise rounded corners!
Boost Me (for free)
Rule of Acquisition #18:
A Ferengi without a boost is no Ferengi at all.
Variations
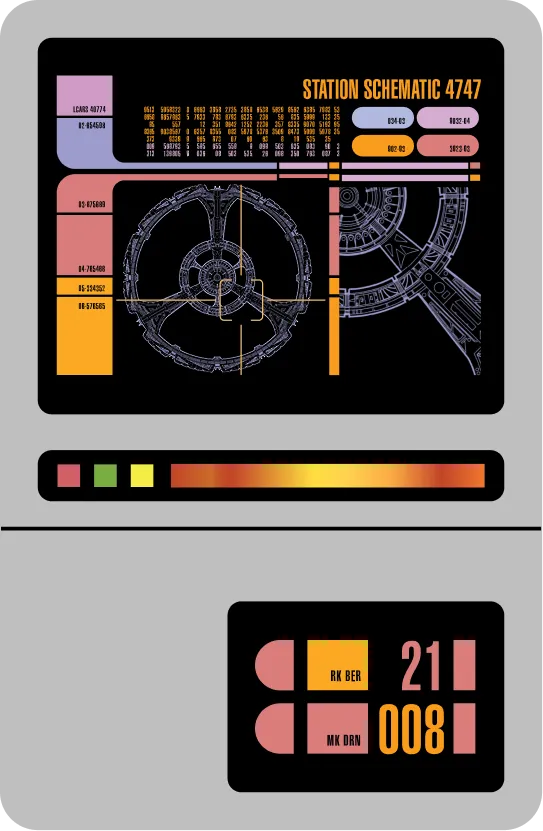 | 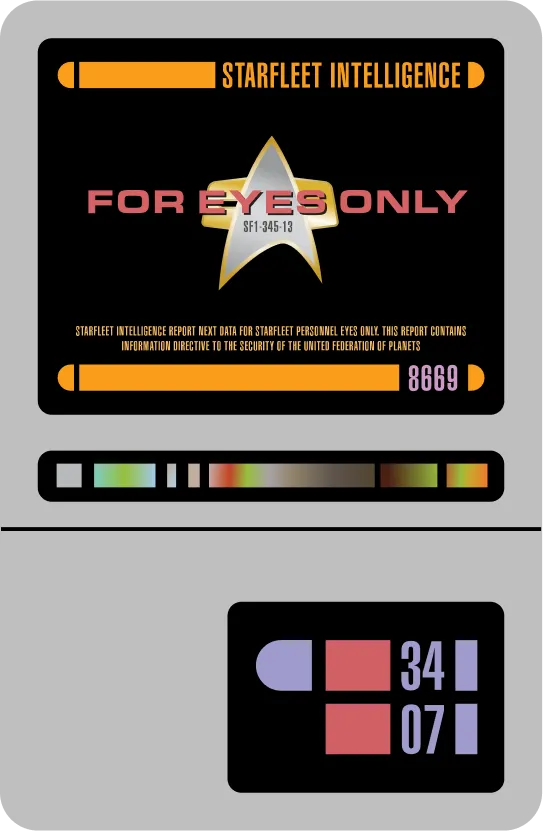 |  |
The Assignment | Behind The Lines | Statistical Probabilities |
5.05 | 6.04 | 6.09 |
PADD A | PADD A | PADD A |
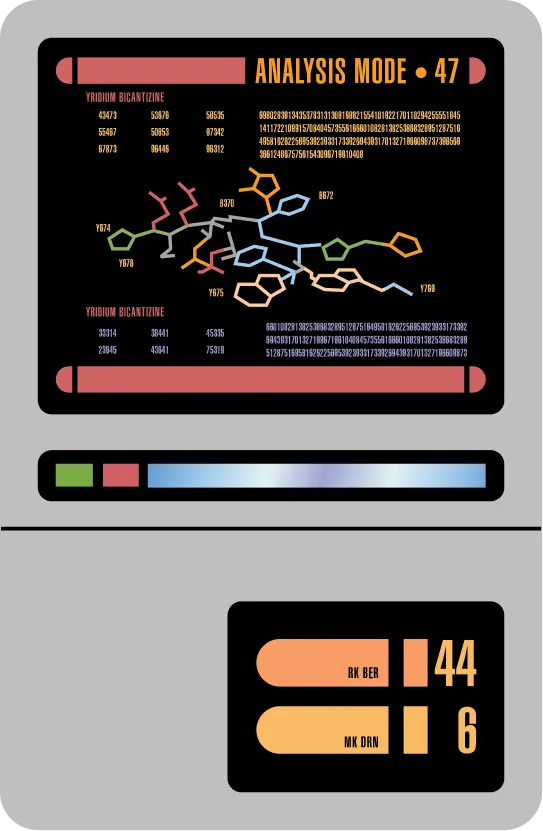
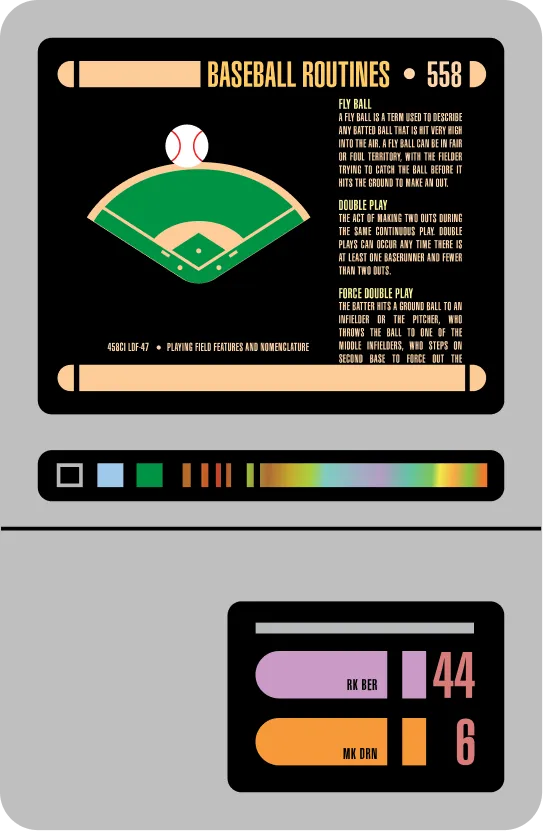 | 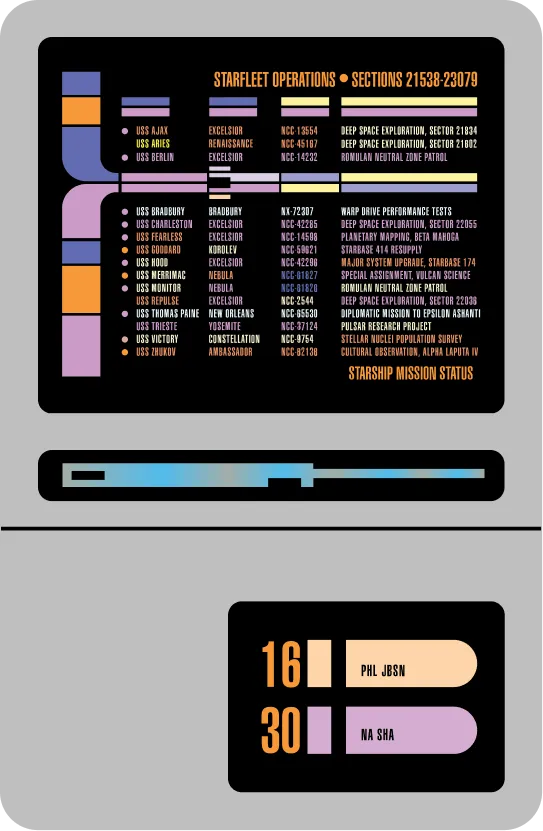 | 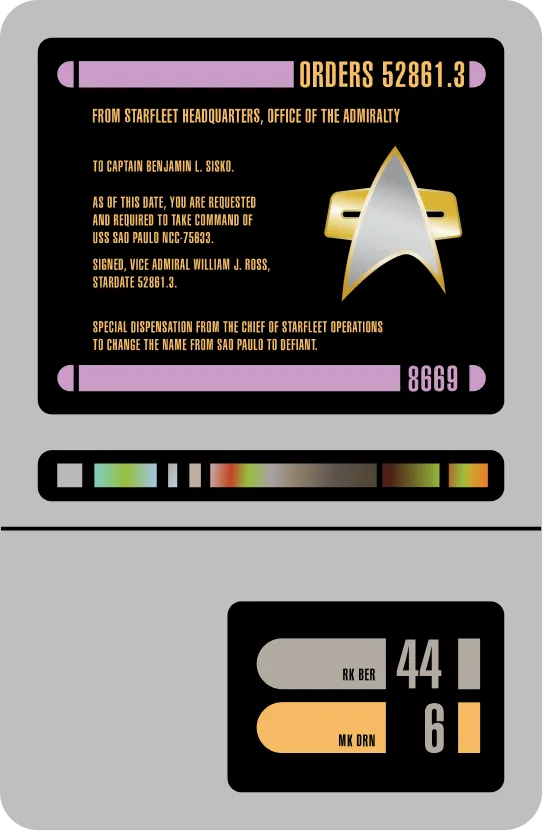 |
Take Me Out to the Holosuite | Extreme Measures (Operation Status) | The Dogs of War |
7.04 | 7.23 | 7.24 |
PADD A | PADD A | PADD A |
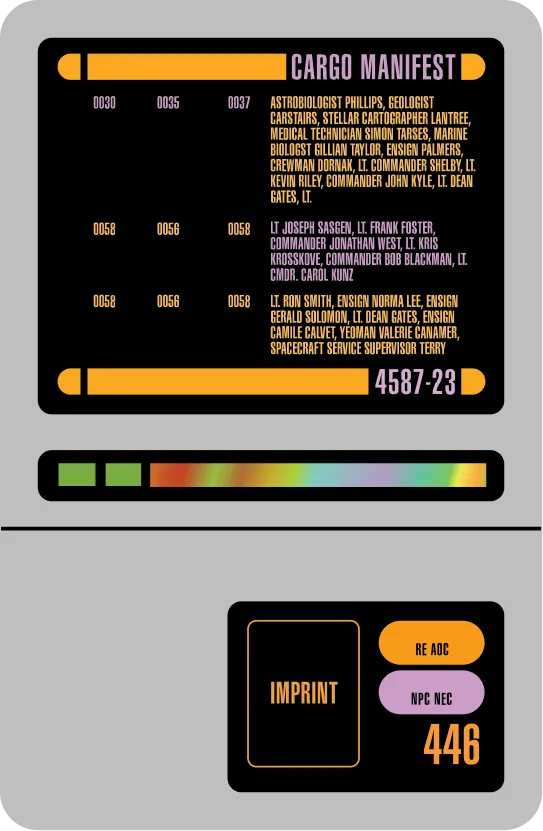 | ||
Who Mourns for Morn | ||
6.12 | ||
PADD A |
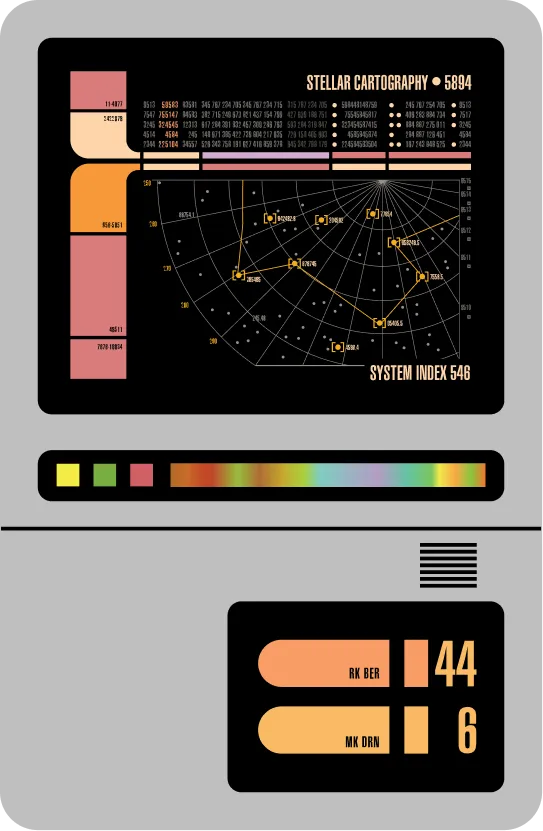 | 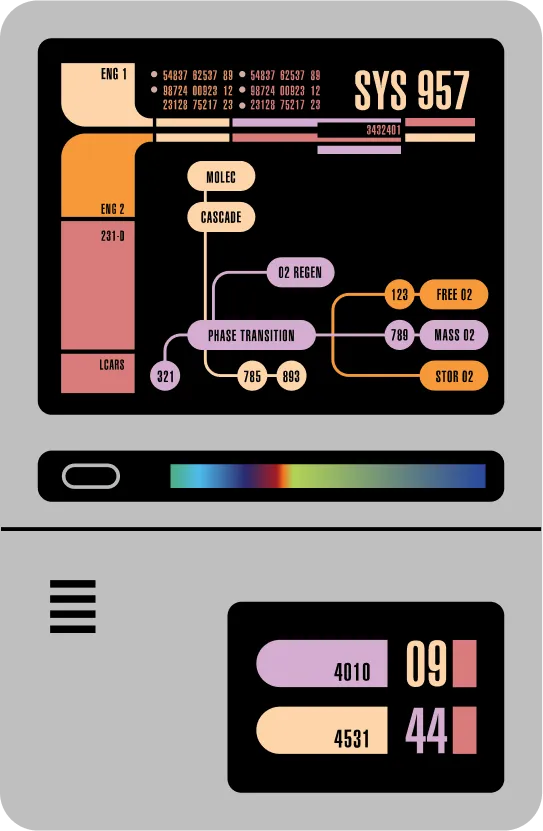 | 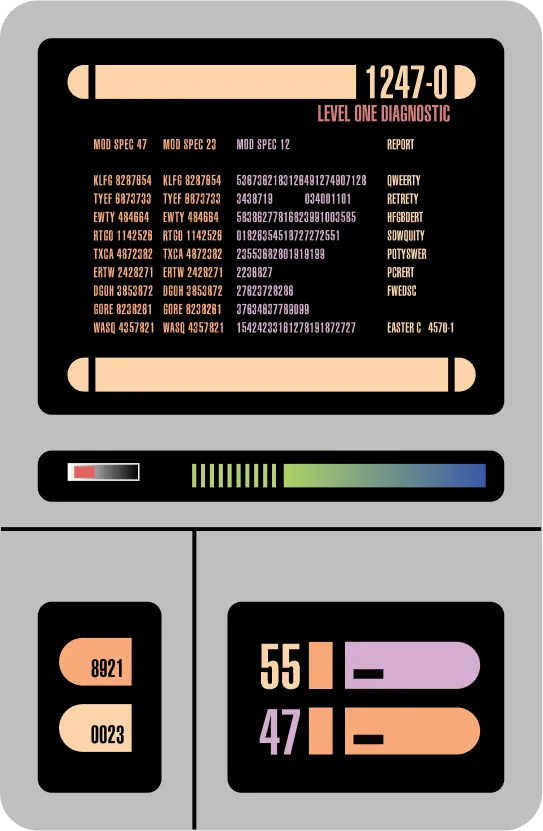 |
Image In The Sand | Extreme Measures (Diagram) | Level One Diagnostic |
7.01 | 7.23 | Unknown |
PADD B2 | PADD B1 | PADD C |
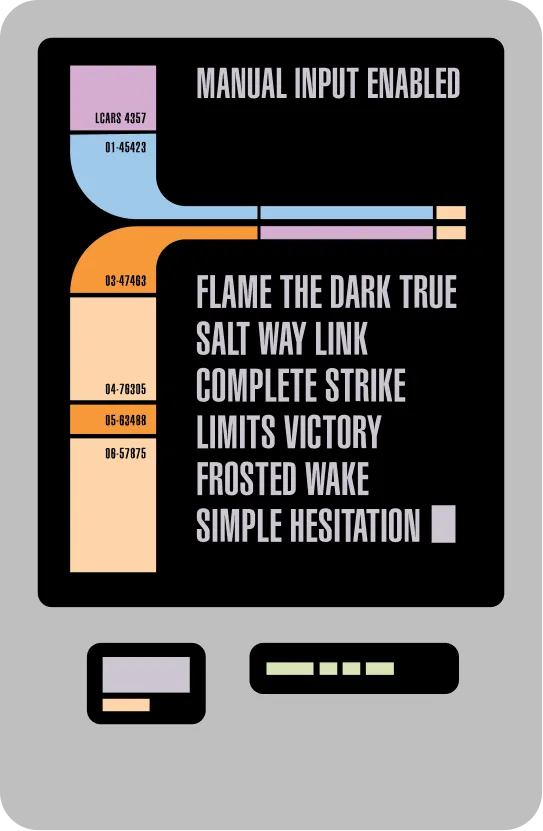 | 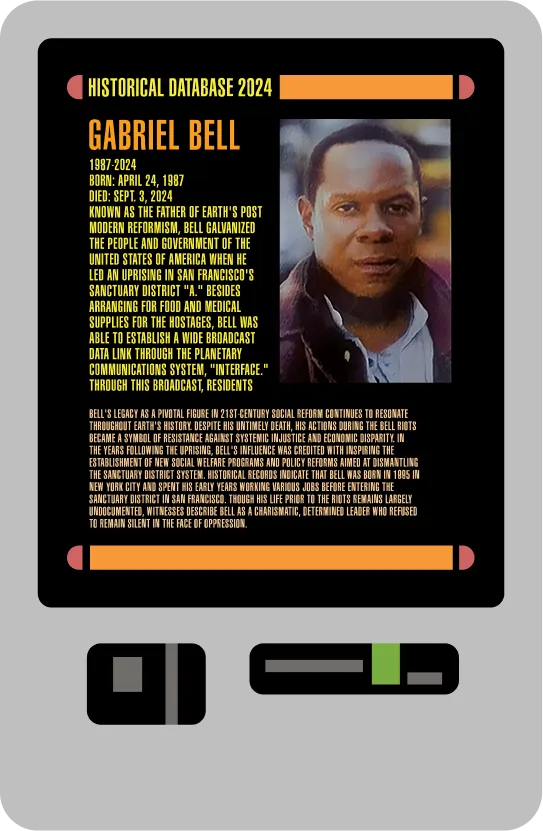 | 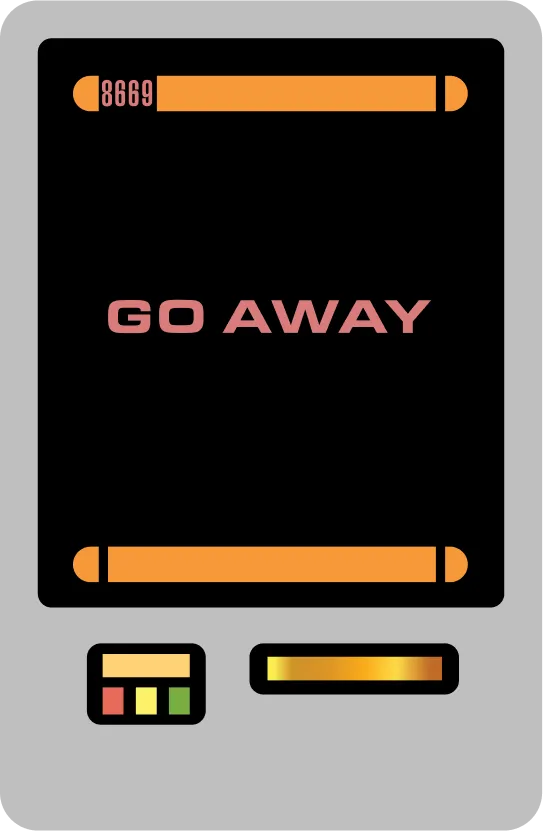 |
Babel | Past Tense, Part II | Explorers |
1.05 | 3.12 | 3.22 |
PADD D | PADD D | PADD D |
Assembly
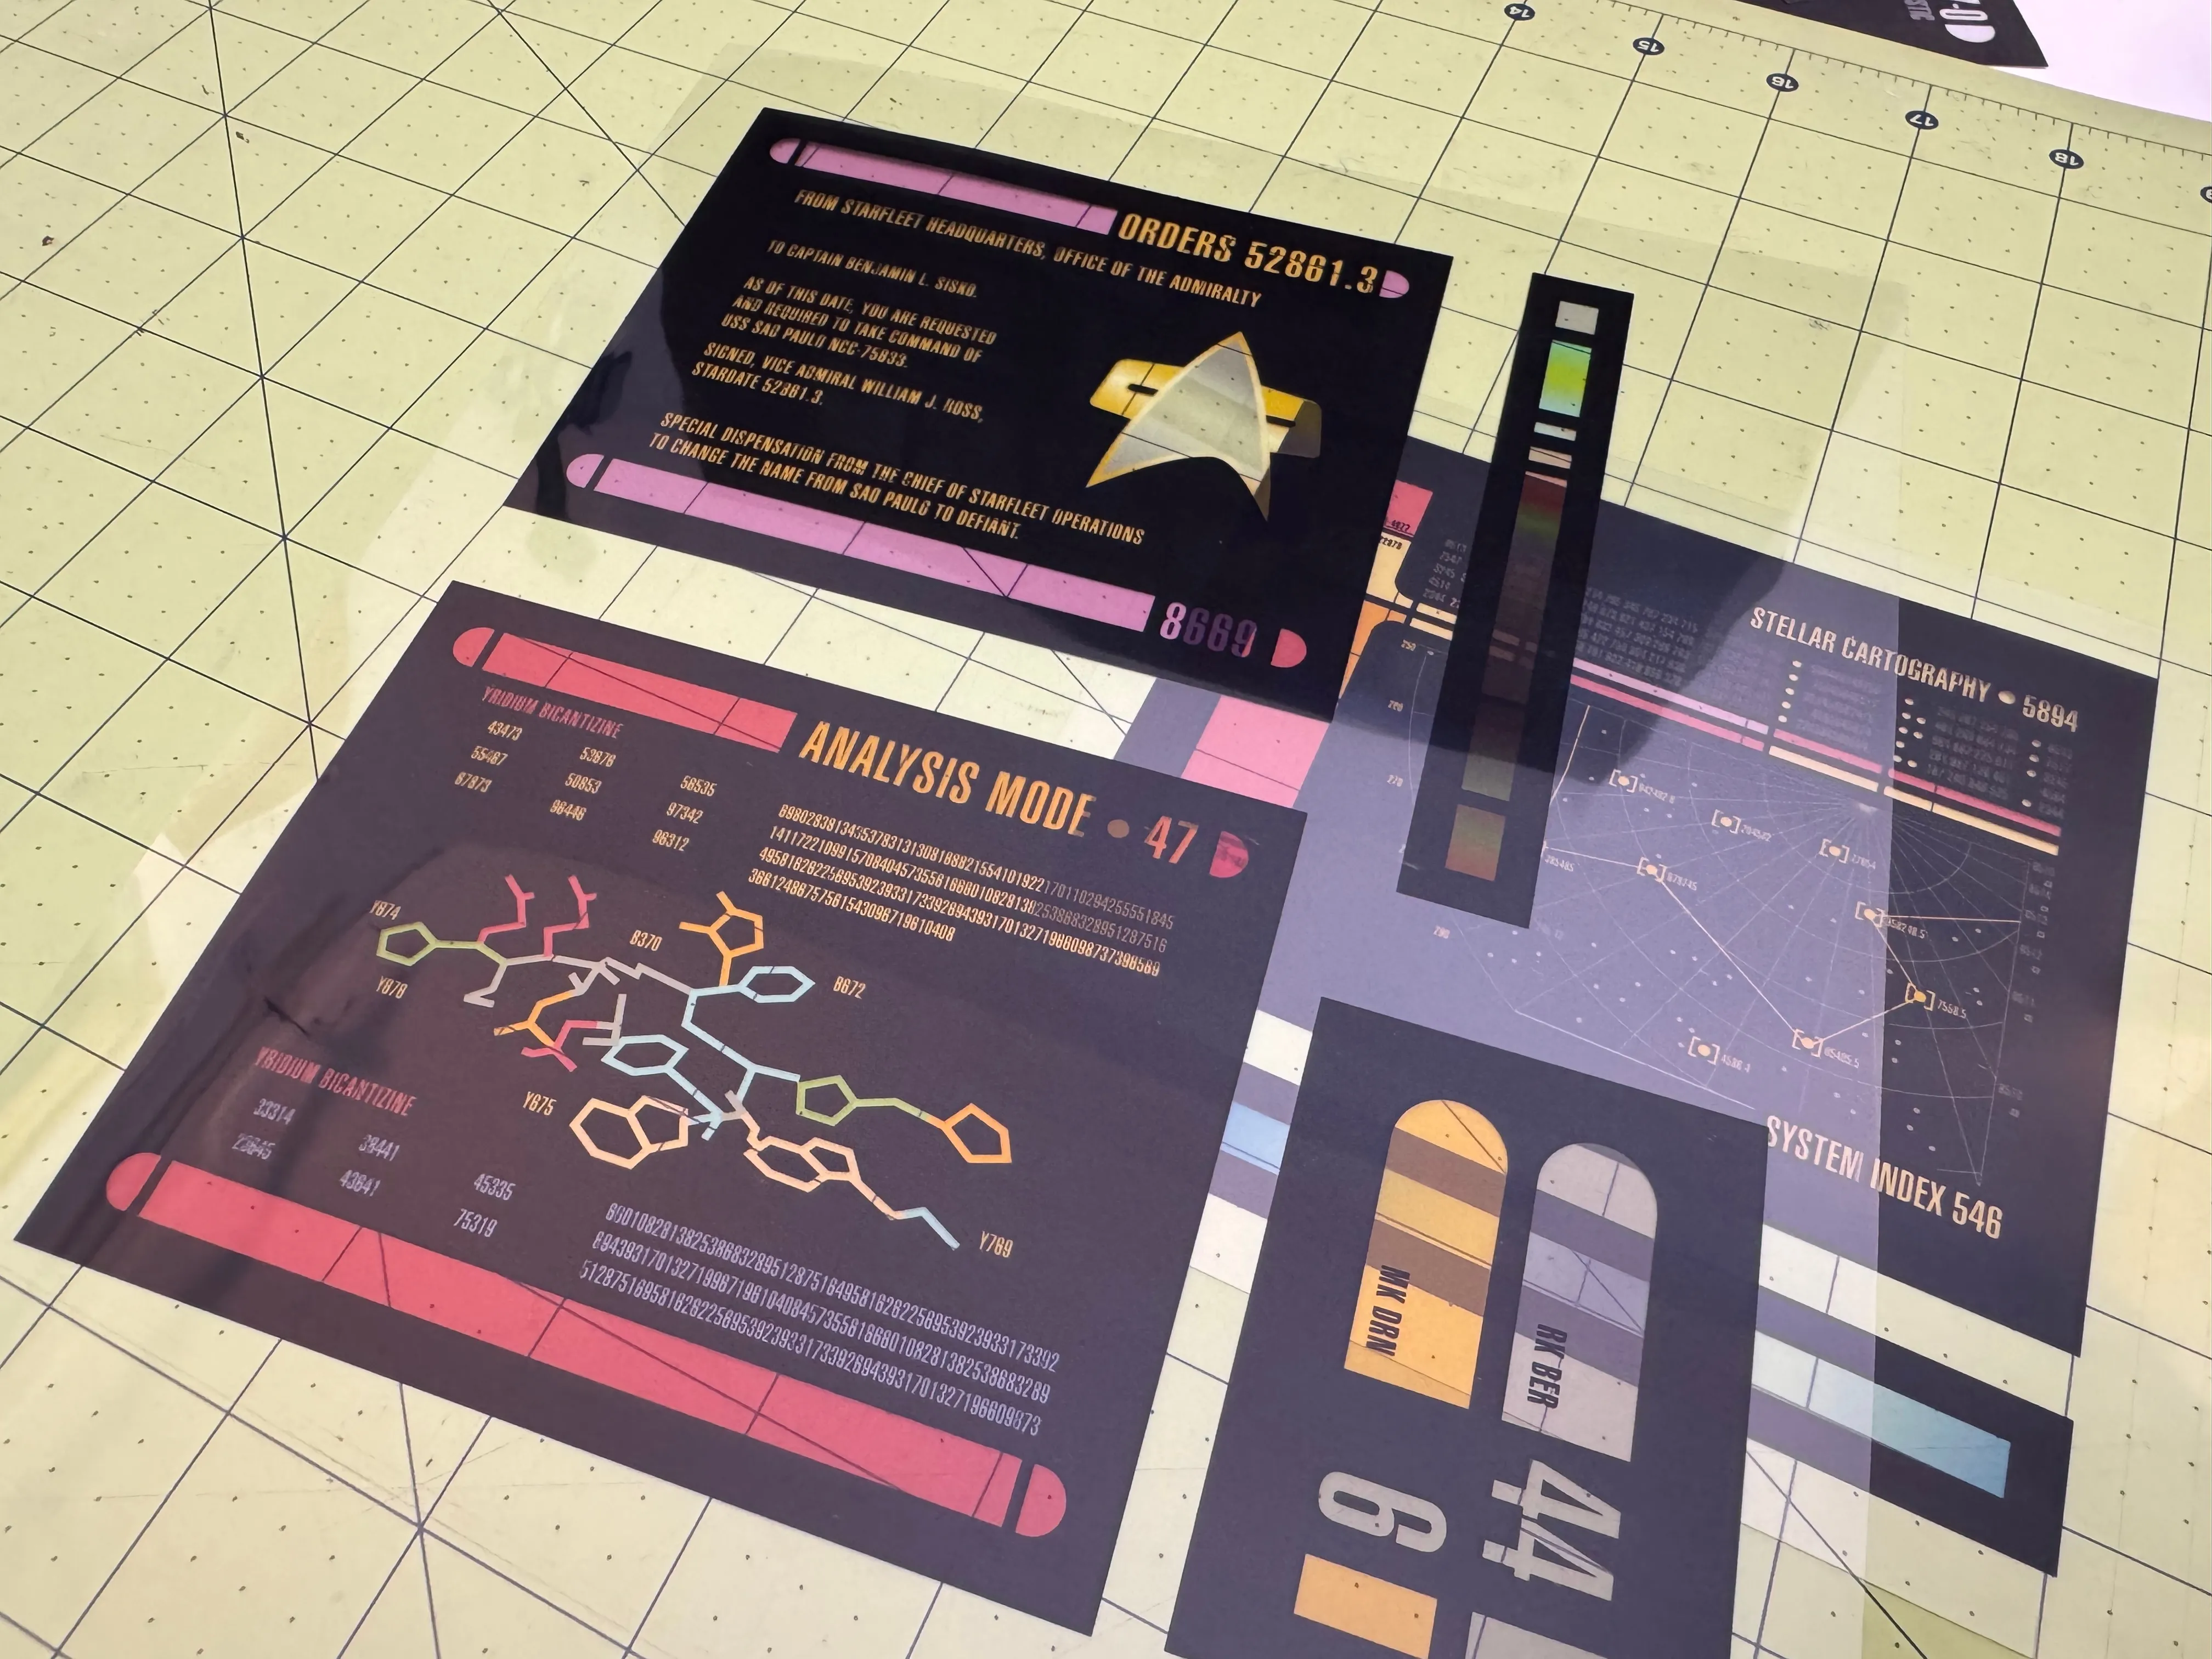
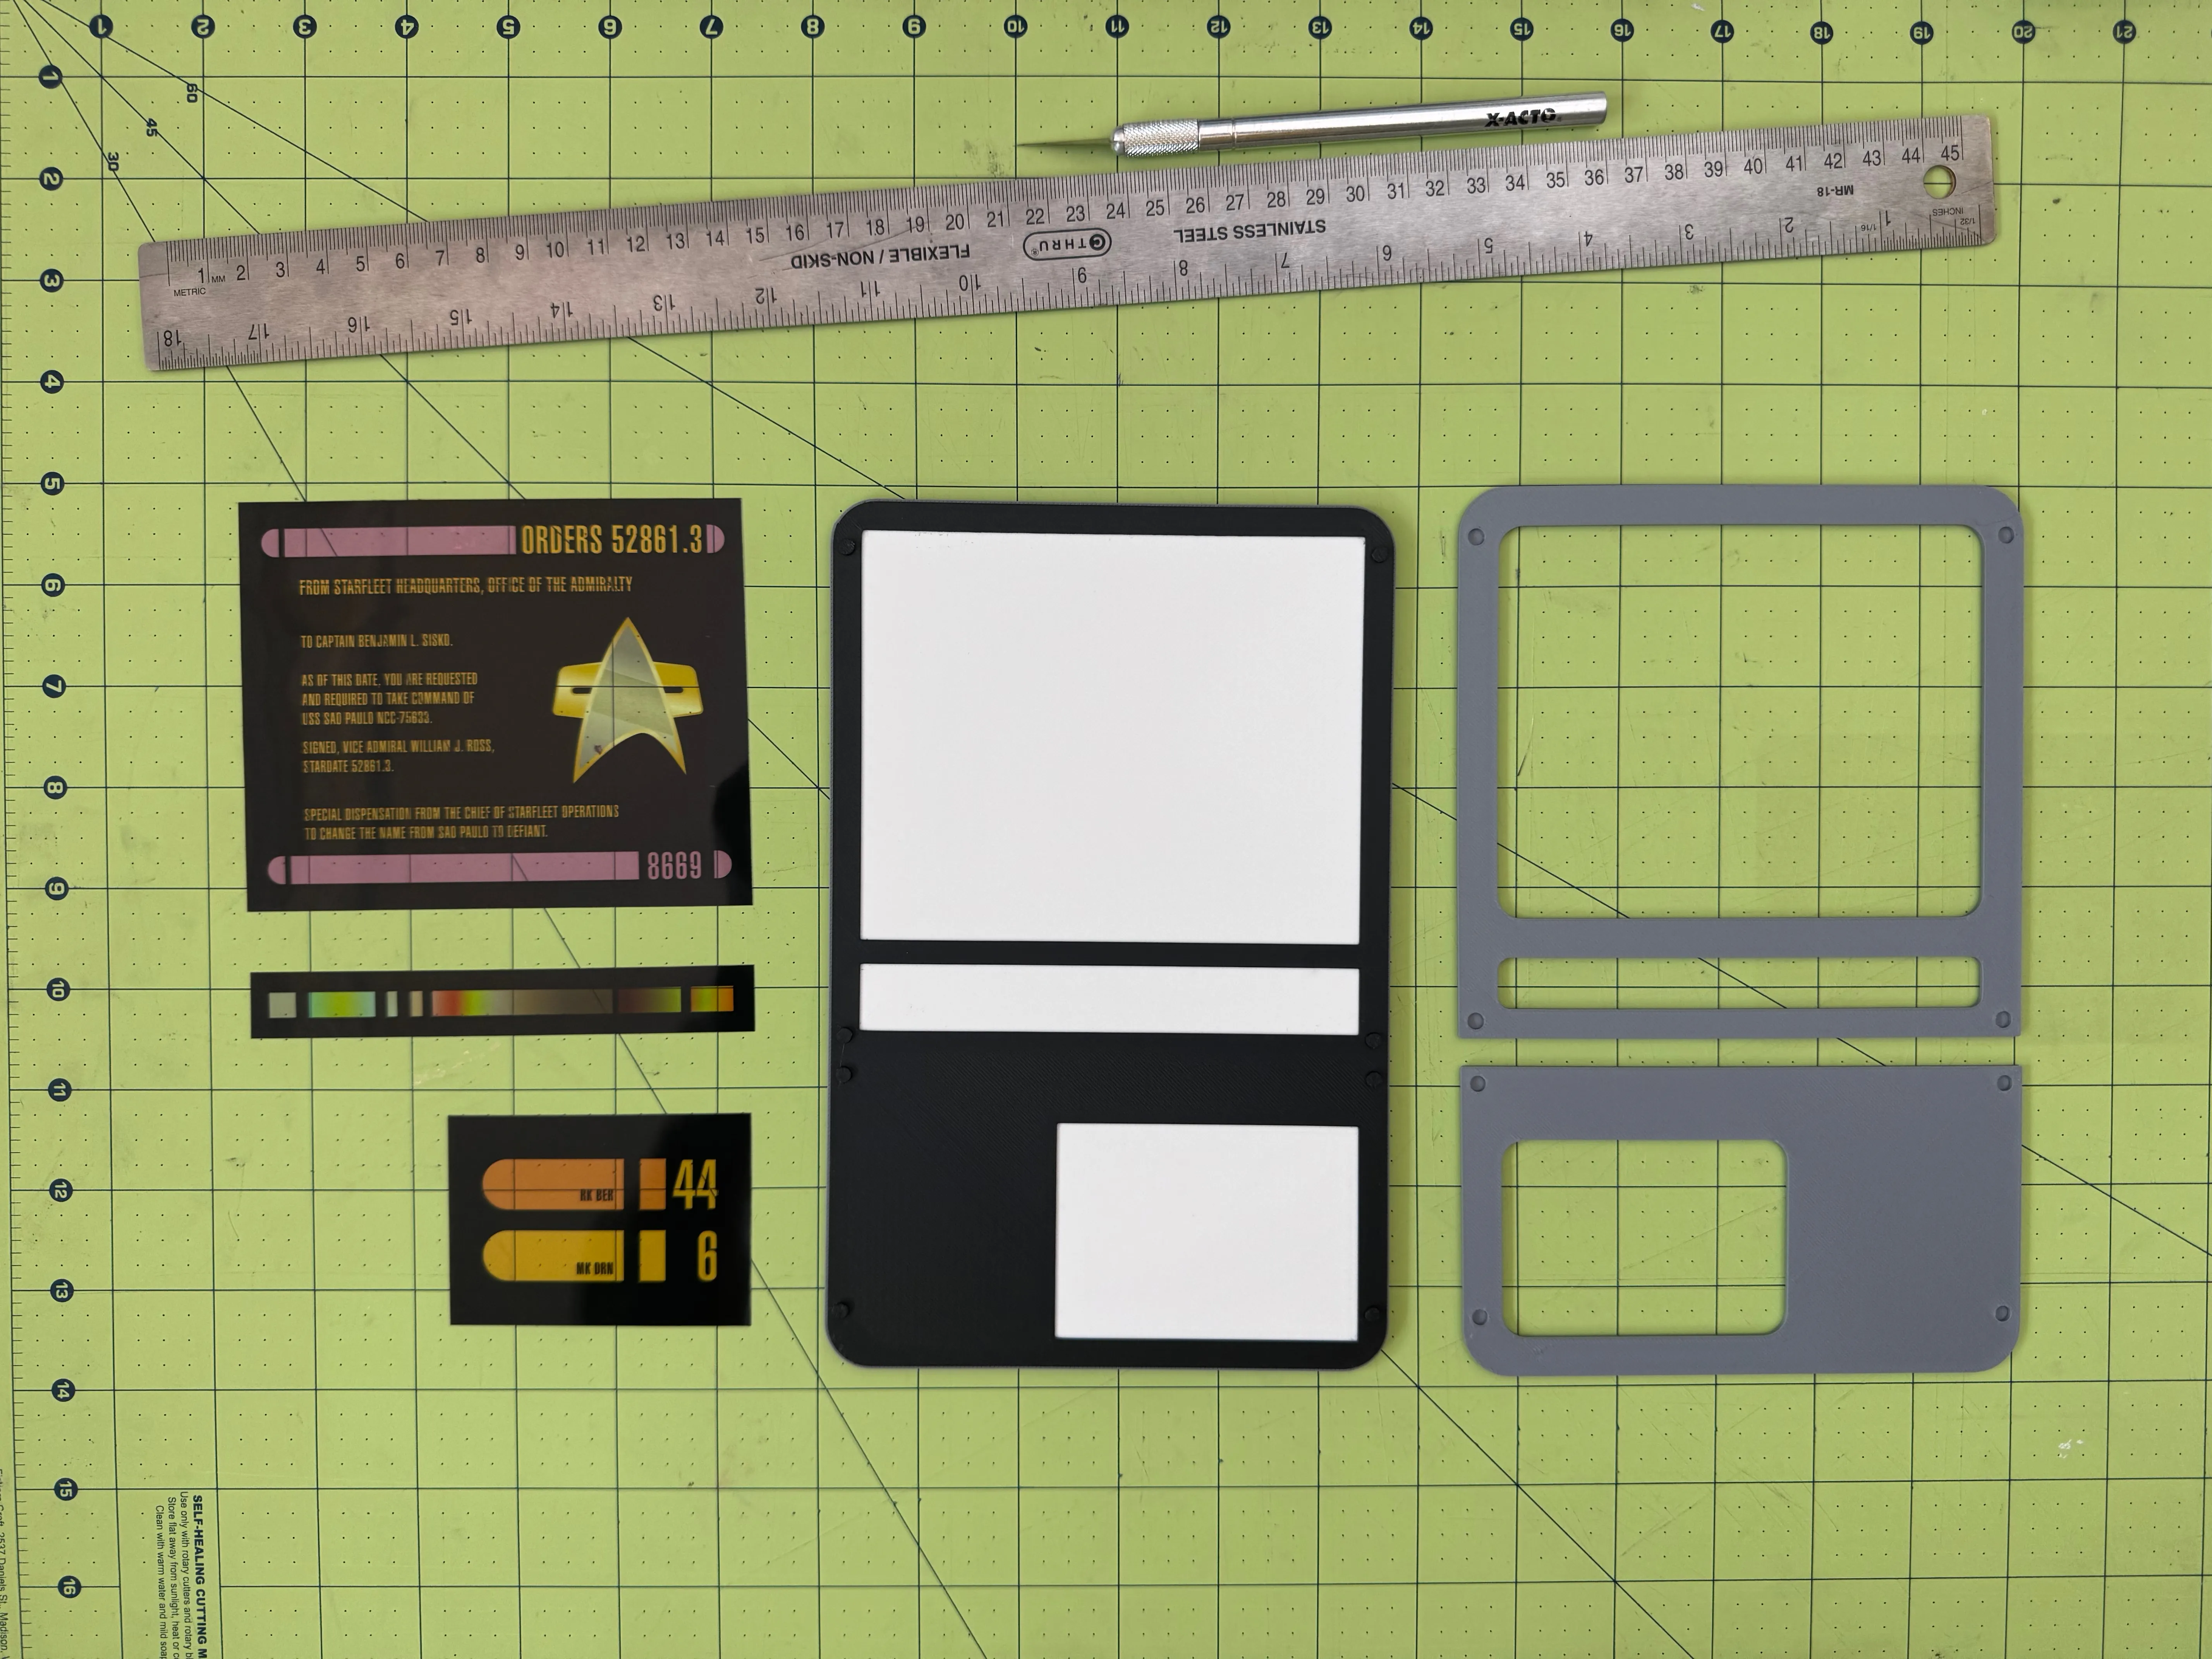
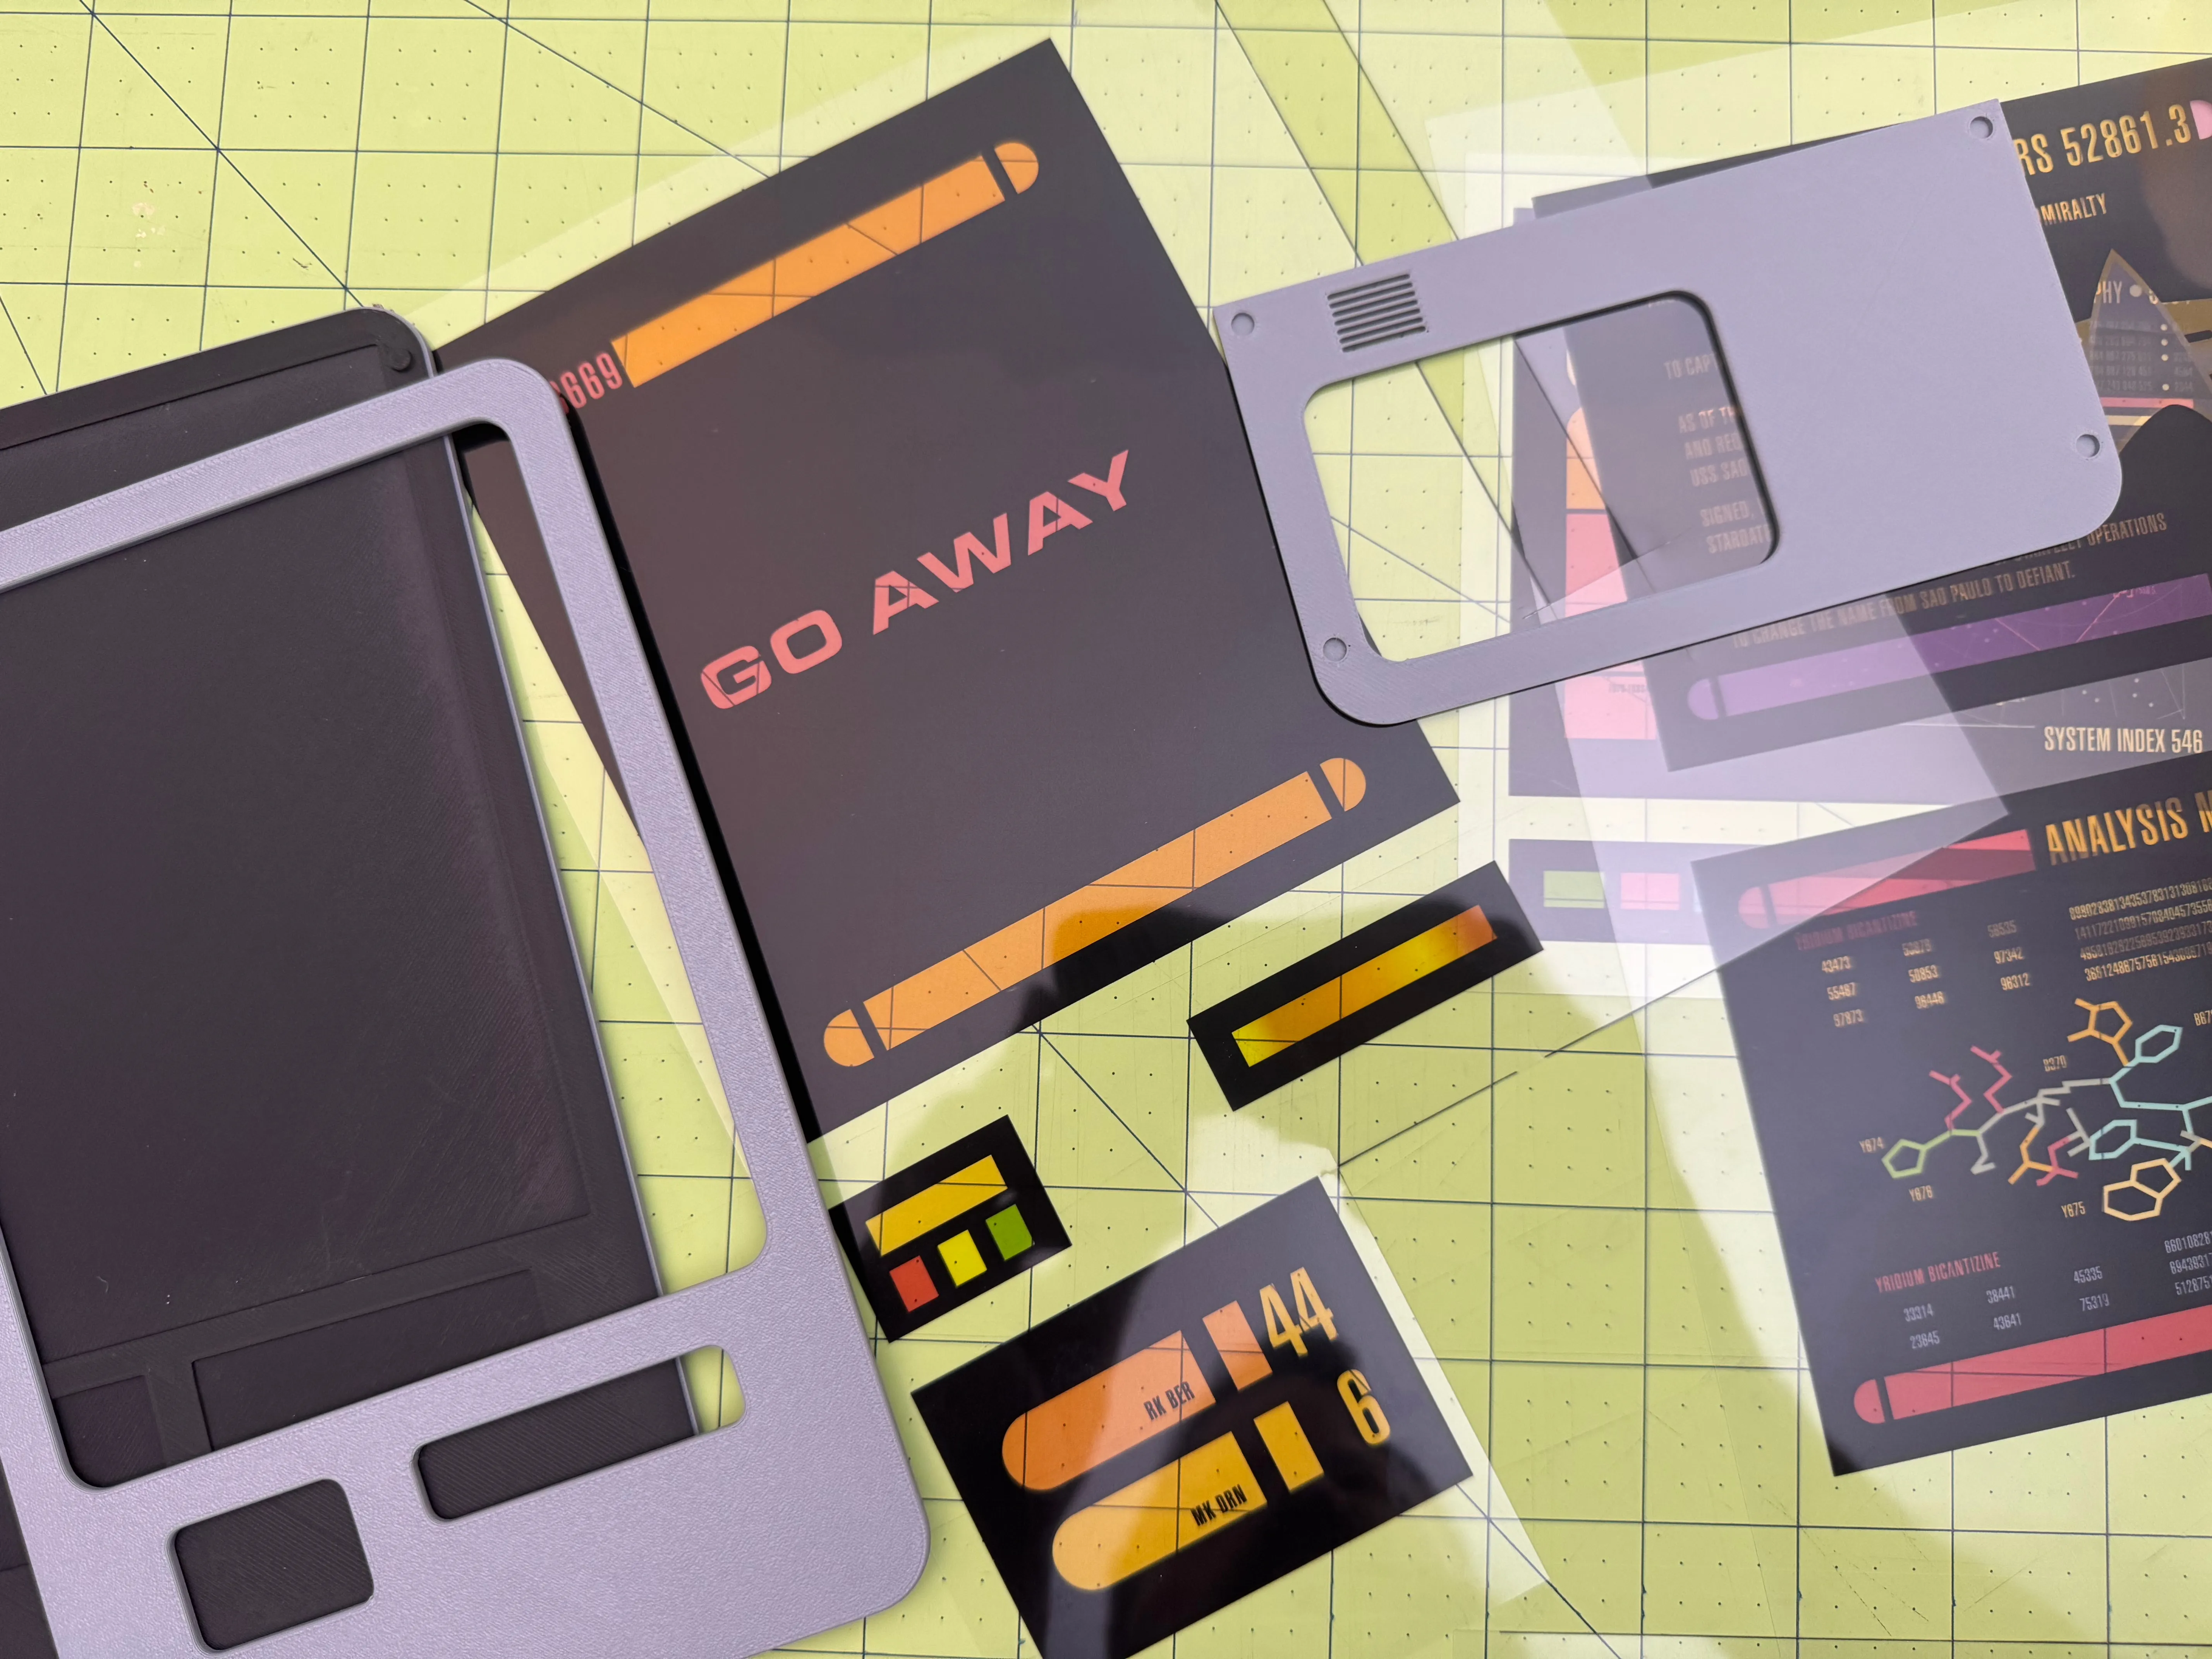
- 2D print your PADD graphics of choice with a laserjet printer on Transparency film/paper. (I had it printed at Fedex)
- 3D print the corresponding PADD model.
- Use your AMS to print the “backlight” in white and the panel lines in black.
- or cut out a piece of white paper to include behind the transparency and paint details black.
- Tape/glue the graphics down
- Glue the face plates
- Done!
Documentation (5)
License



Comment & Rating (24)