

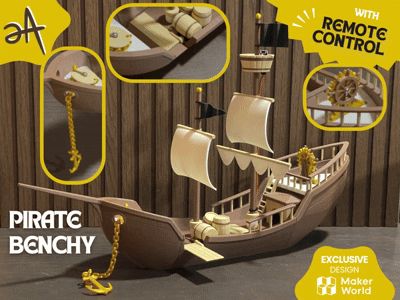
Pirate Benchy - Remote Control
Print Profile(1)



Description
Pirate Benchy - Remote Control


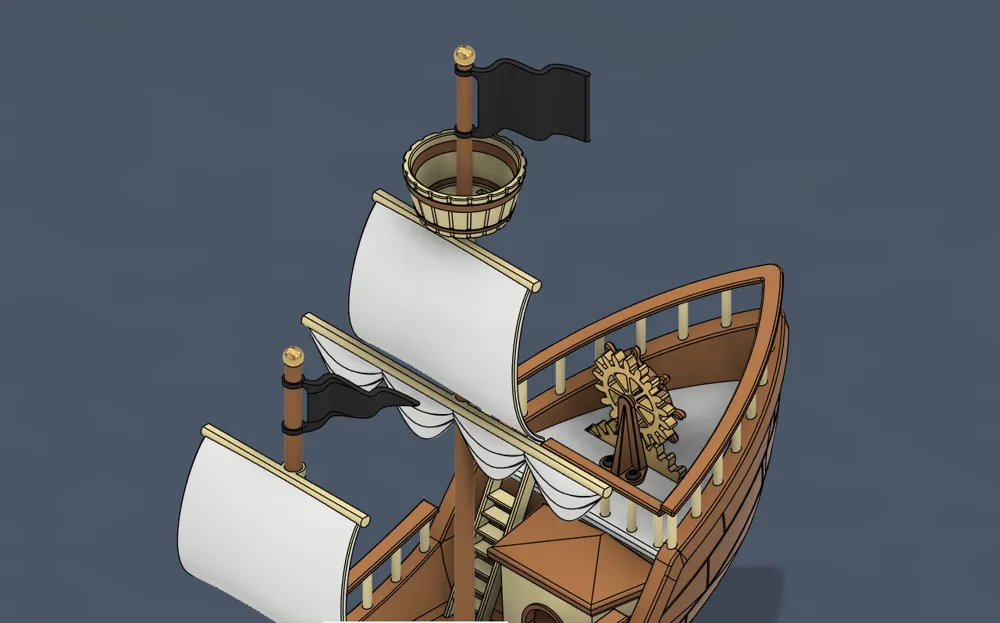
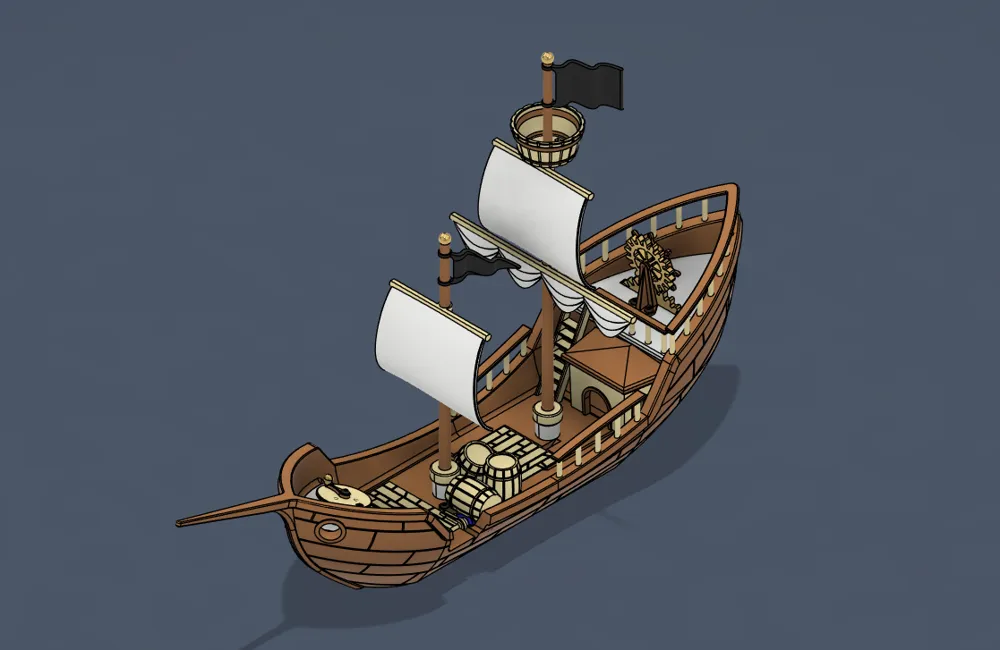
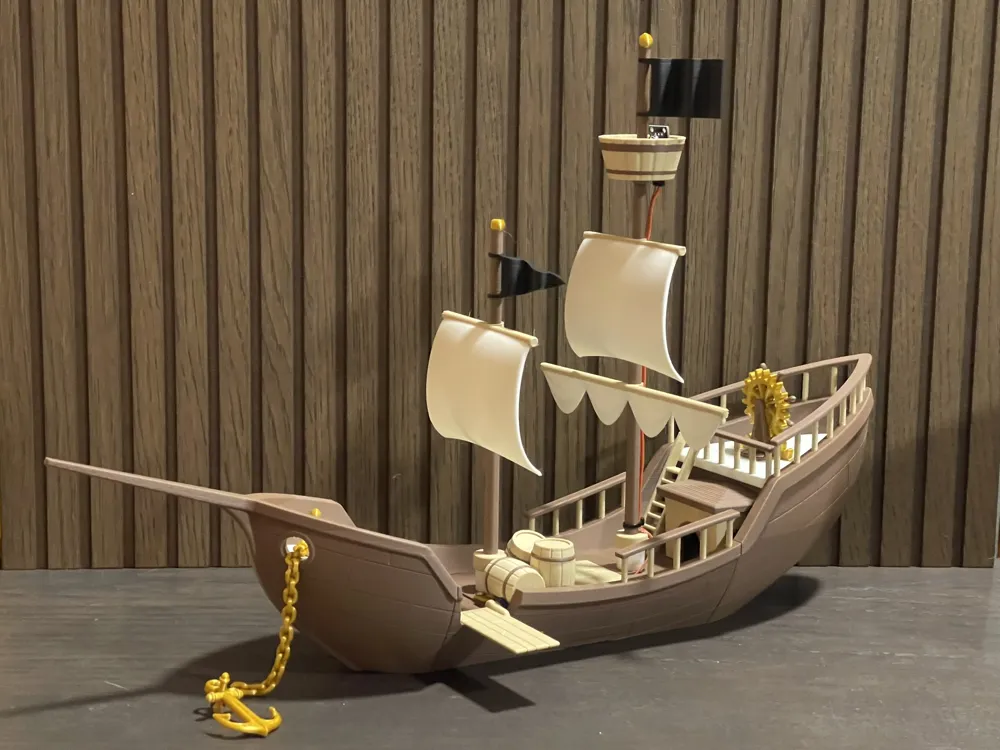
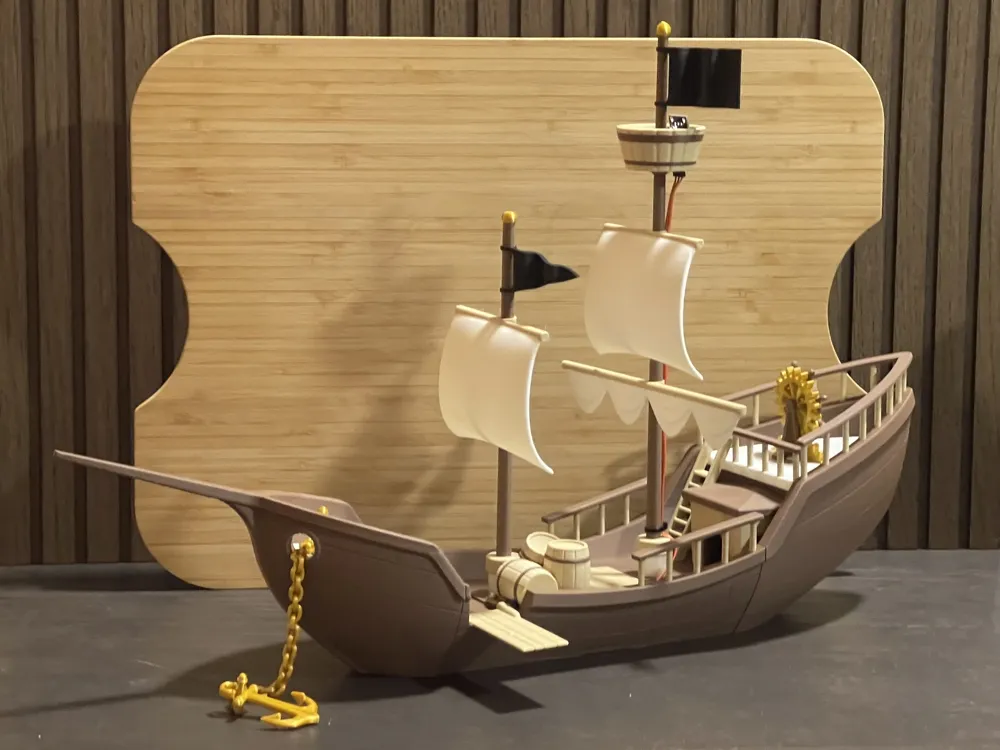
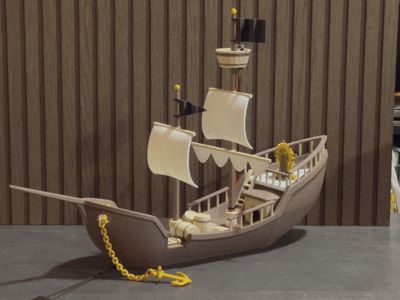
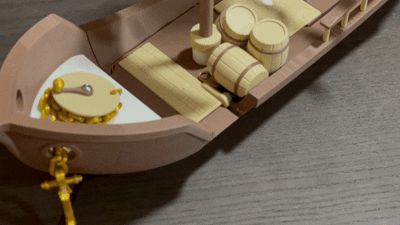
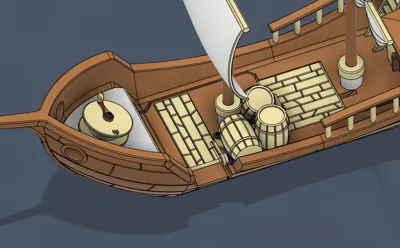
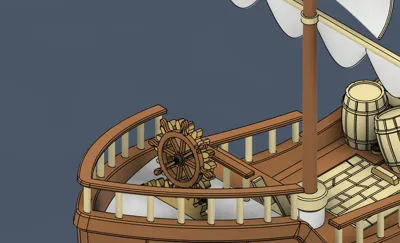
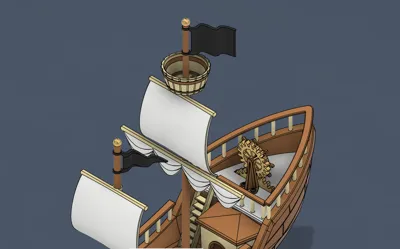
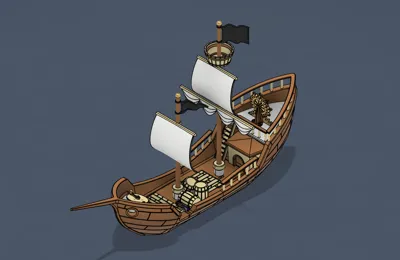
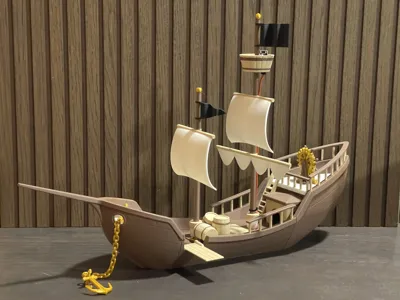
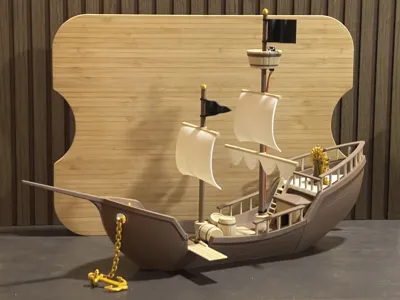
To celebrate the 10th aniversary of the Benchy I've remixed the original model actual parts of it to create a magic pirate ship! And to spice it a little bit I made it whit some moving parts!


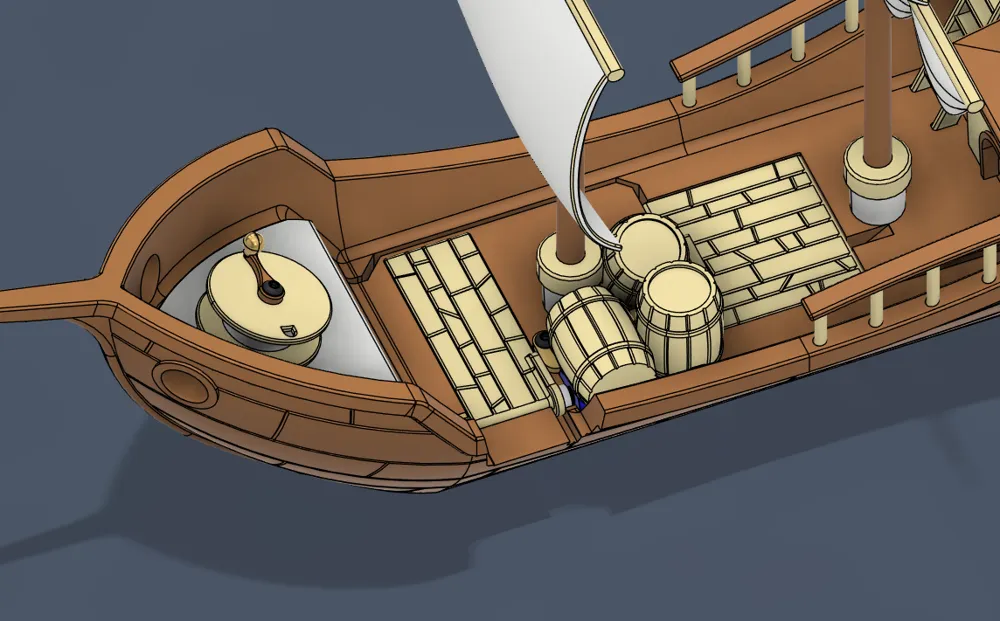
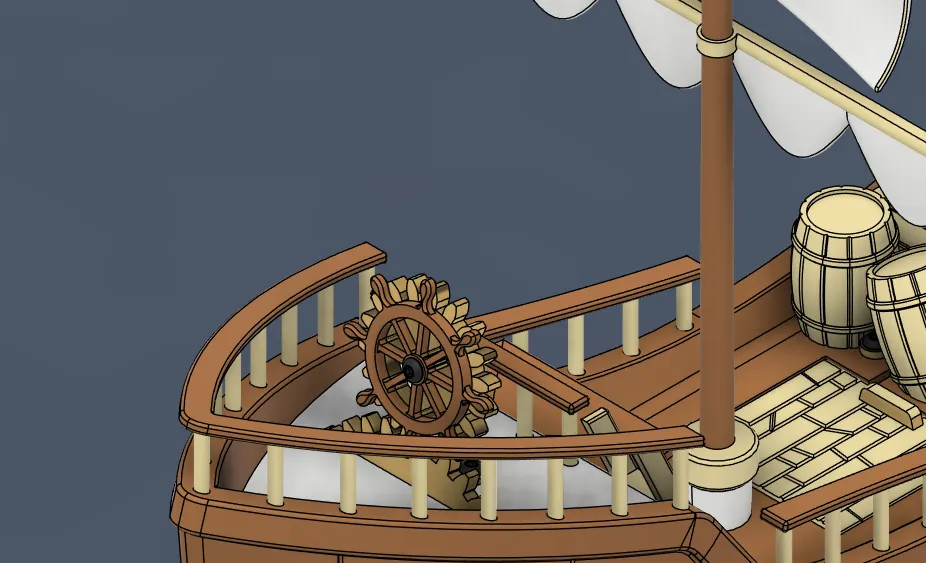
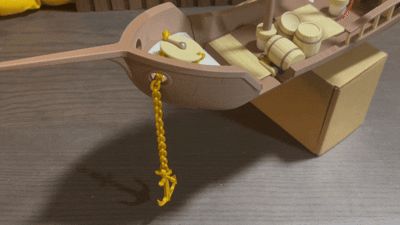
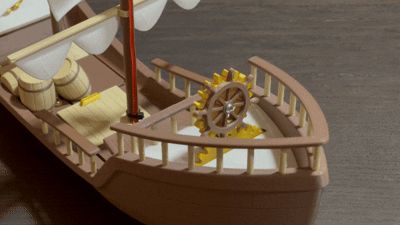
Apart of the whole body, sails and flags, you can control the anchor, wheel and table! Play with it with a remote control and watch it come to life!



All is controled by an Arduino Nano, 3 servos and a IR Module, but I give here a list with all the parts you will need to print and built this amazing project.
DISCLAIMER: this model works connected to a 5v power source.
WHAT'S COMING NEXT? With the new amazing BambuLab project, CyberBrick, I'll try to adapt this Pirate Benchy to it, to make it easier to built and code, making it more accesible to all of you. So… see you in the future!
Also I will be uploading an analog model of this Pirate Benchy soon, for you all to play with it without electronic parts! Stay tune!
Boost Me (for free)
Do you want to see more of these? Help me by boosting me! IT'S FREE!
PLEASE, READ CAREFULLY!
ASSEMBLY INSTRUCTIONS DOWN BELOW
But for the moment we have this model here, in wich you will need the next non printed parts:
| ITEM | QUANTITY | AMAZON LINK |
| Arduino Nano | 1 | |
| USB Mini Cable | 1 | |
| IR Module | 1 | |
| SG90 Servo | 3 | |
| Jumper Wire | some of them (hehe) | |
| 8 x 3mm Round Magnets | 24 | |
| M3 x 5mm Screws | 11 | |
| M3 x 10mm Screws | 1 | |
| M3 x 12mm Screws | 1 | |
| 2.5mm Clamps | 4-5 |
Apart from that, you will need superglue, screwdriver and a pc to program the Arduino. To assembly the electronic part you may need a breadboard, soldering tool, etc.
I printed the whole model with BambuLab PLA filament: matte white, matte dessert, matte dark brown and silk gold. Linked down below.
ASSEMBLY INSTRUCTIONS
PLEASE, READ CAREFULLY!
| We have to start printing all the pieces. You can start with any part EXCEPT the MASTS PIECES. | |

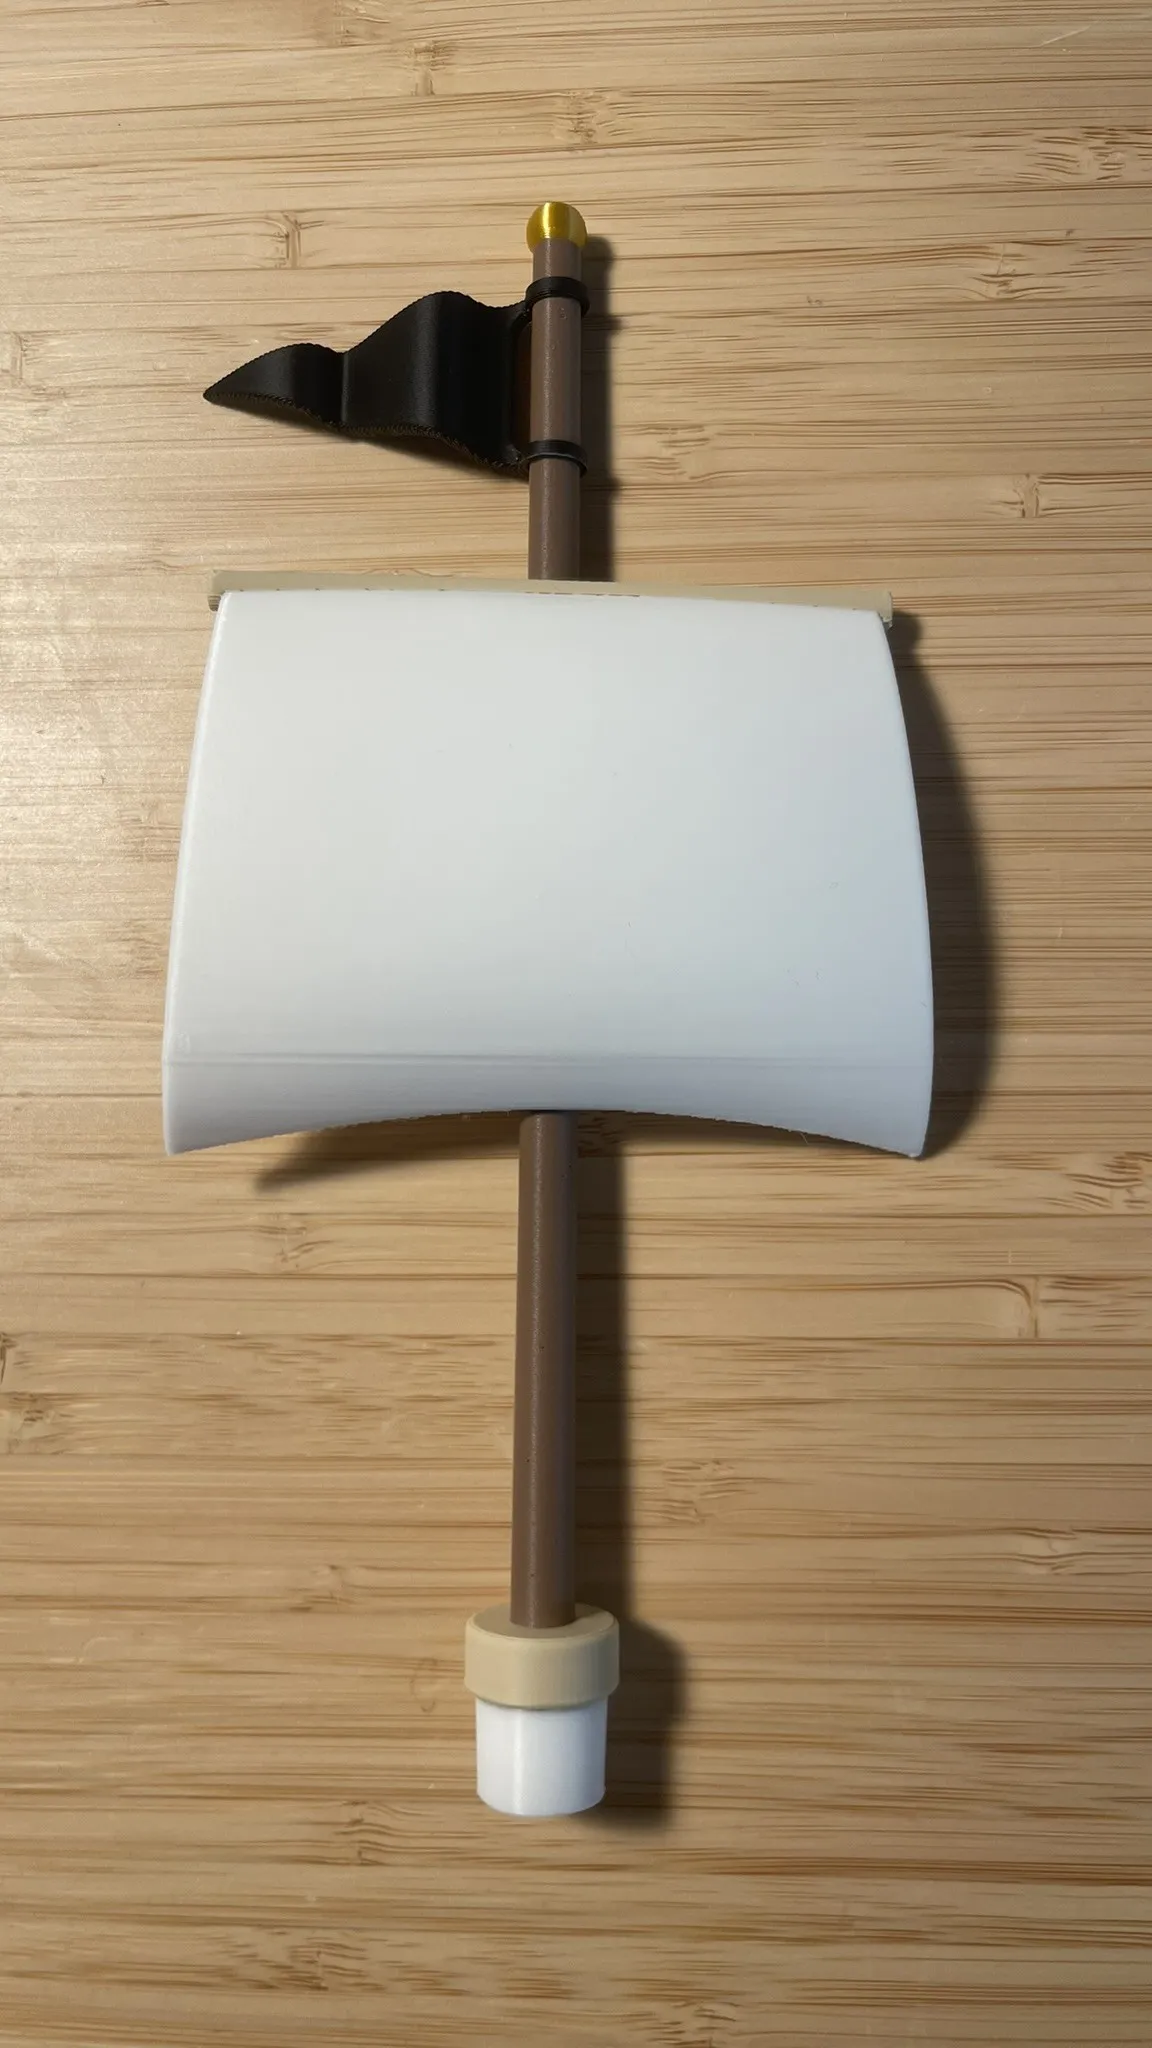
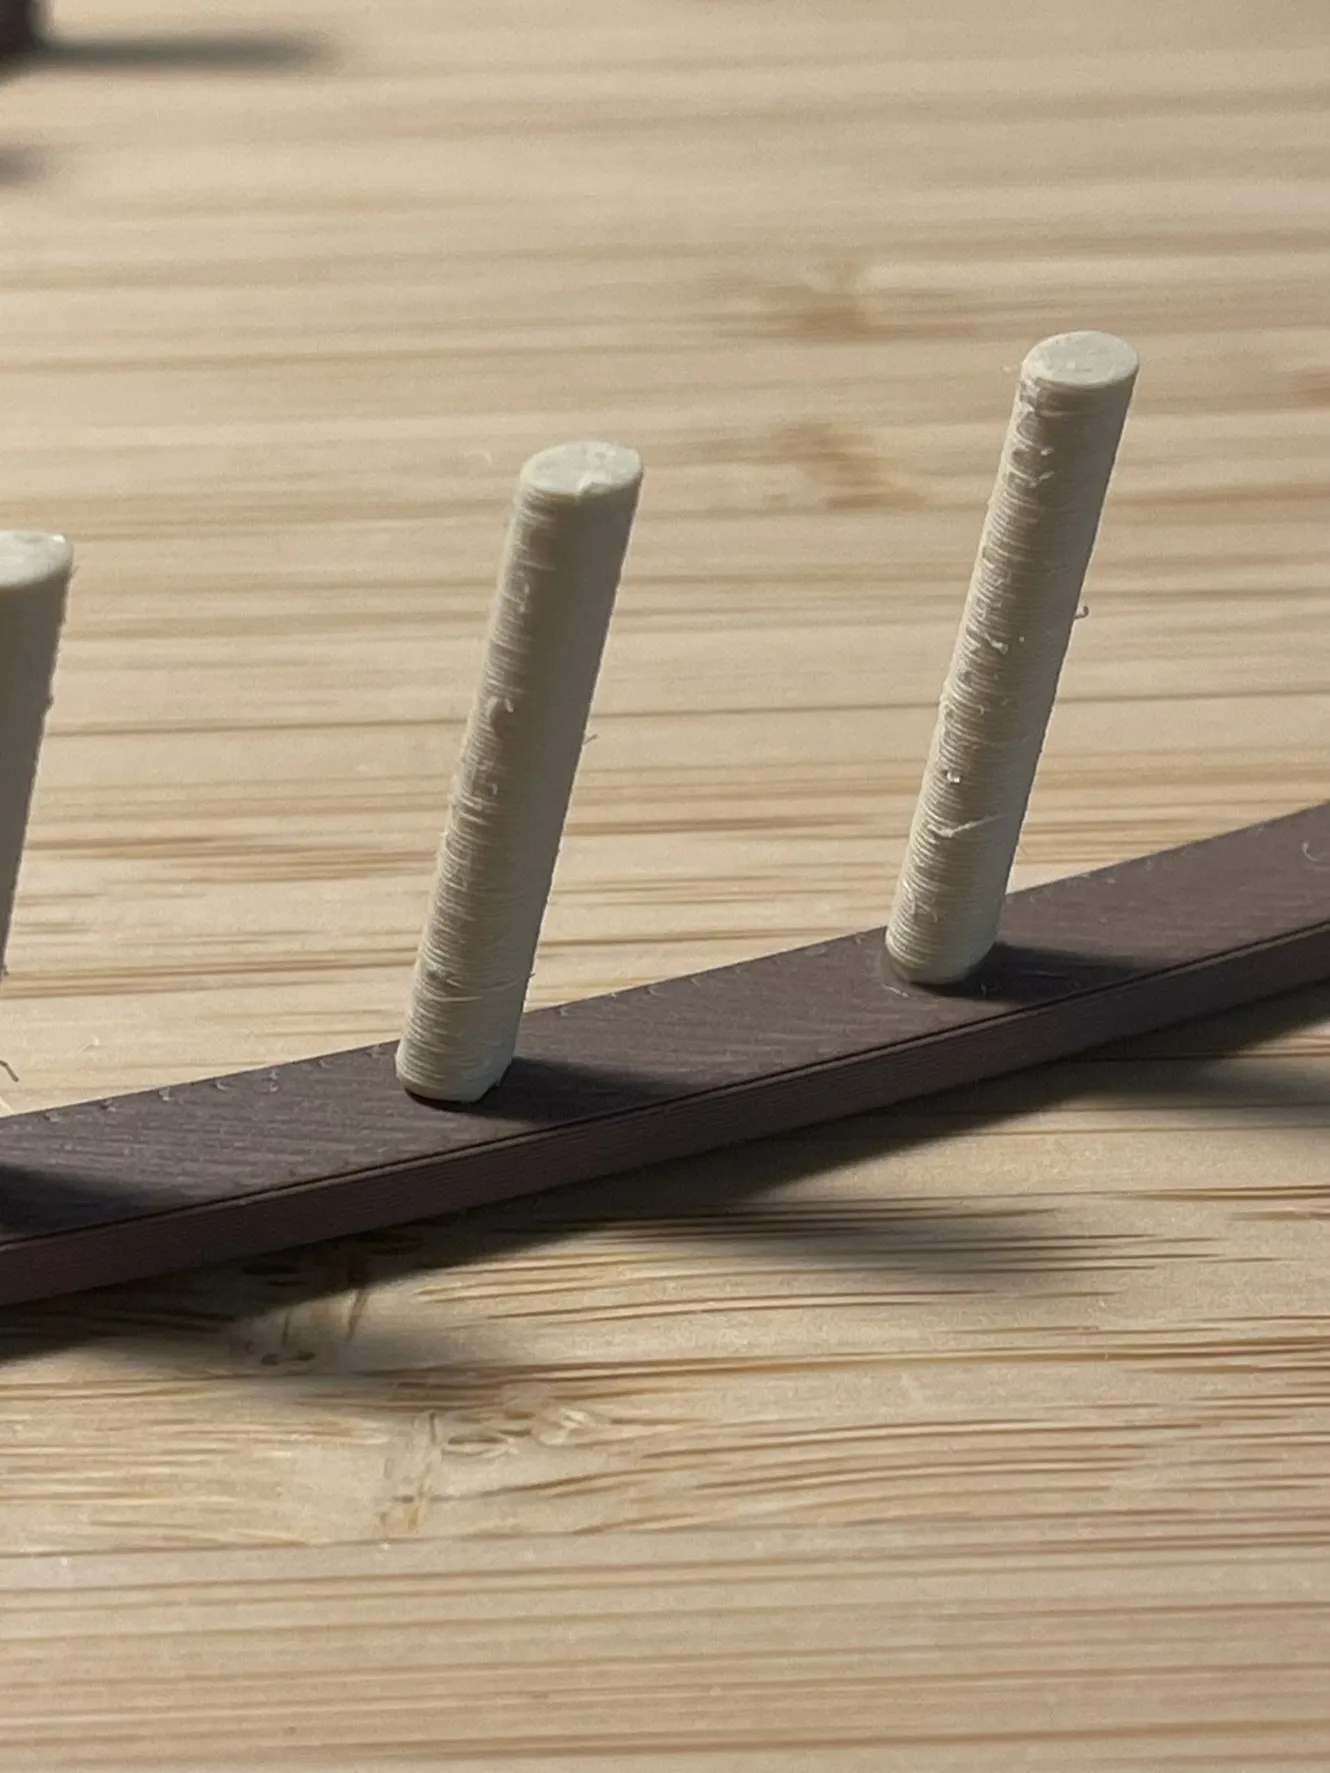
| In order to get the masts correctly, print the whole PHASE 1 first: flags, nest and sails and main mast (base). | |
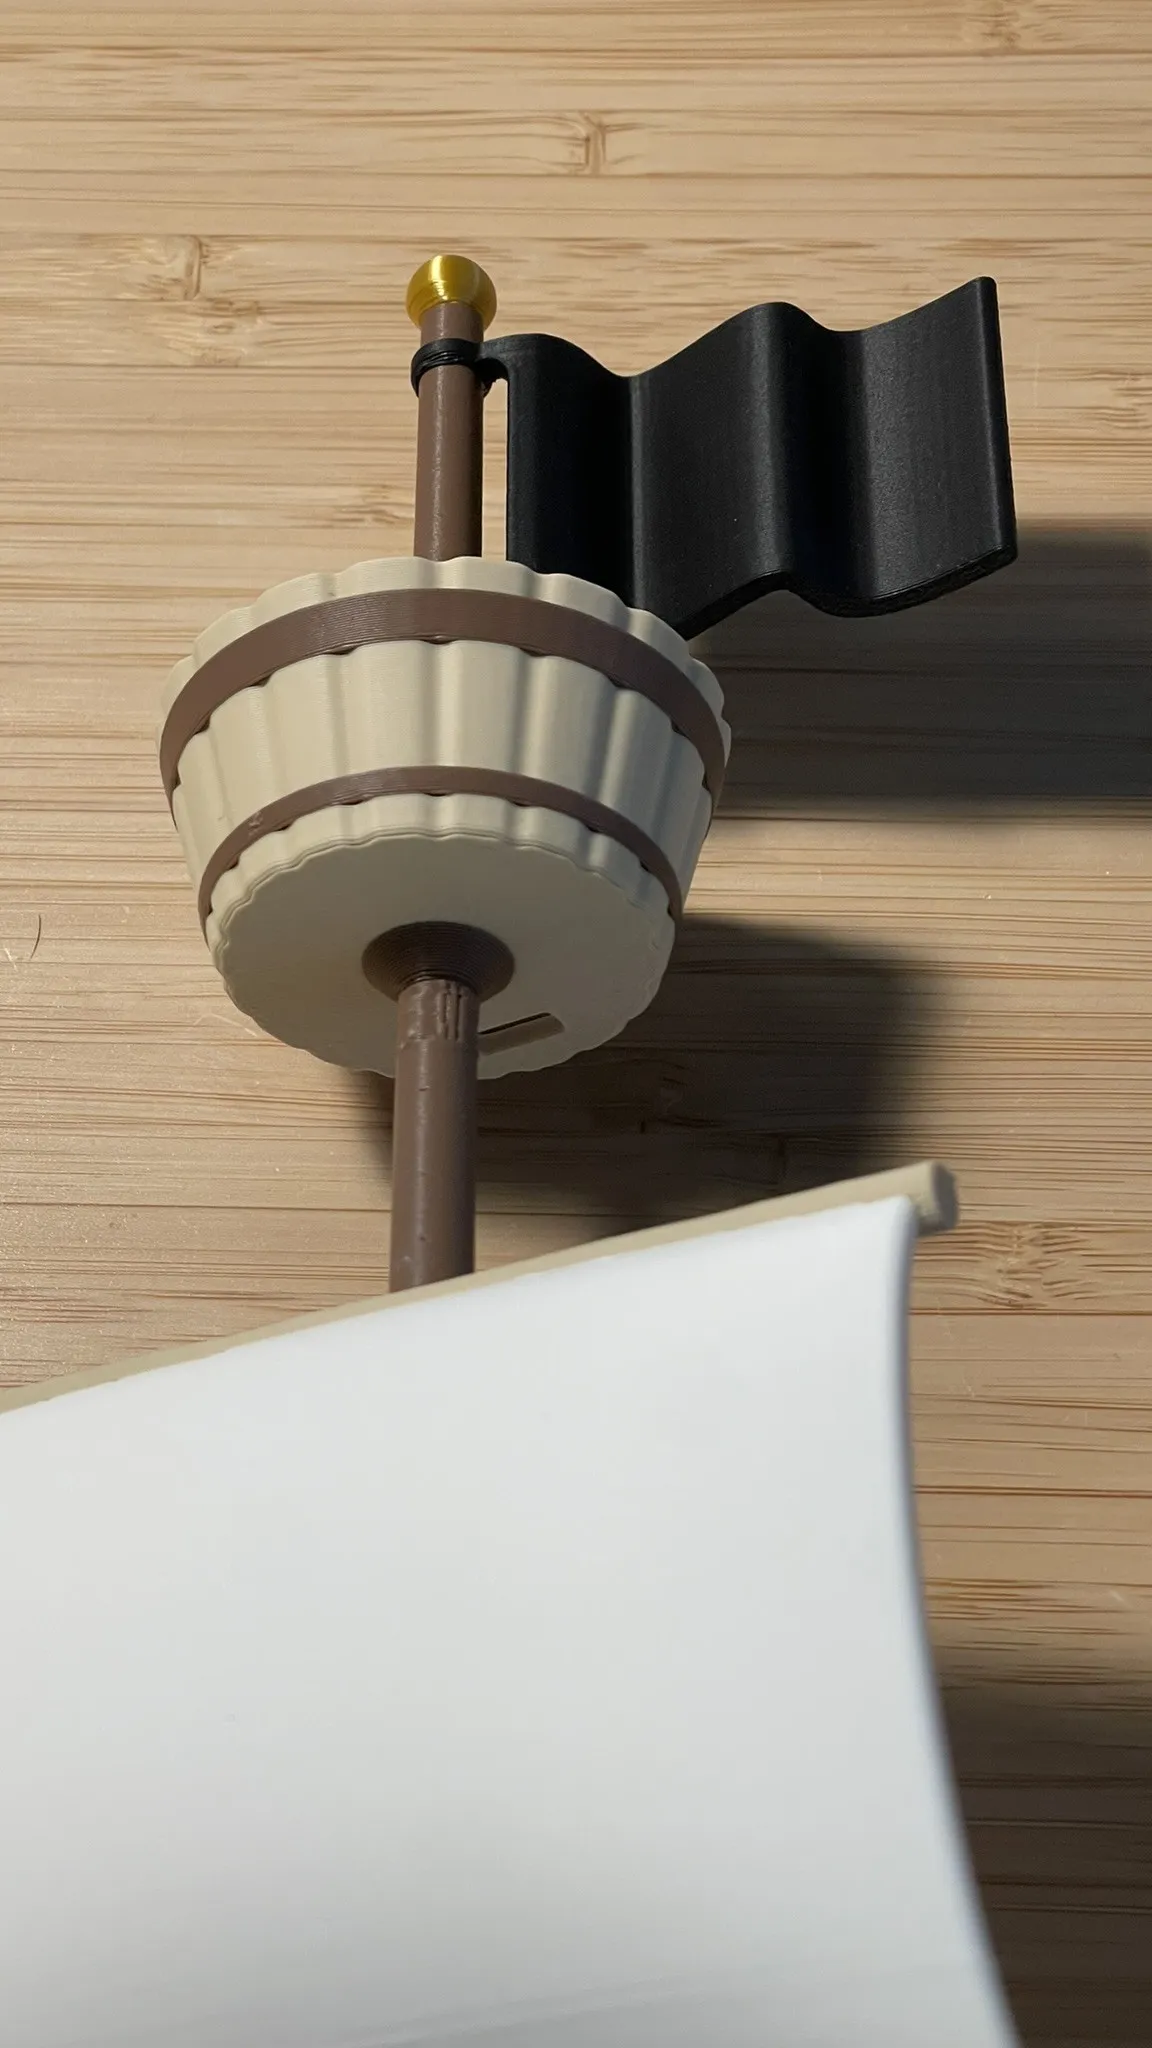
| Once the PHASE 1 is fully printed, print the PHASE 2.1 and, at the print stop, insert the Nest and the Flag_B into the pole as in the video and continue with the print. |
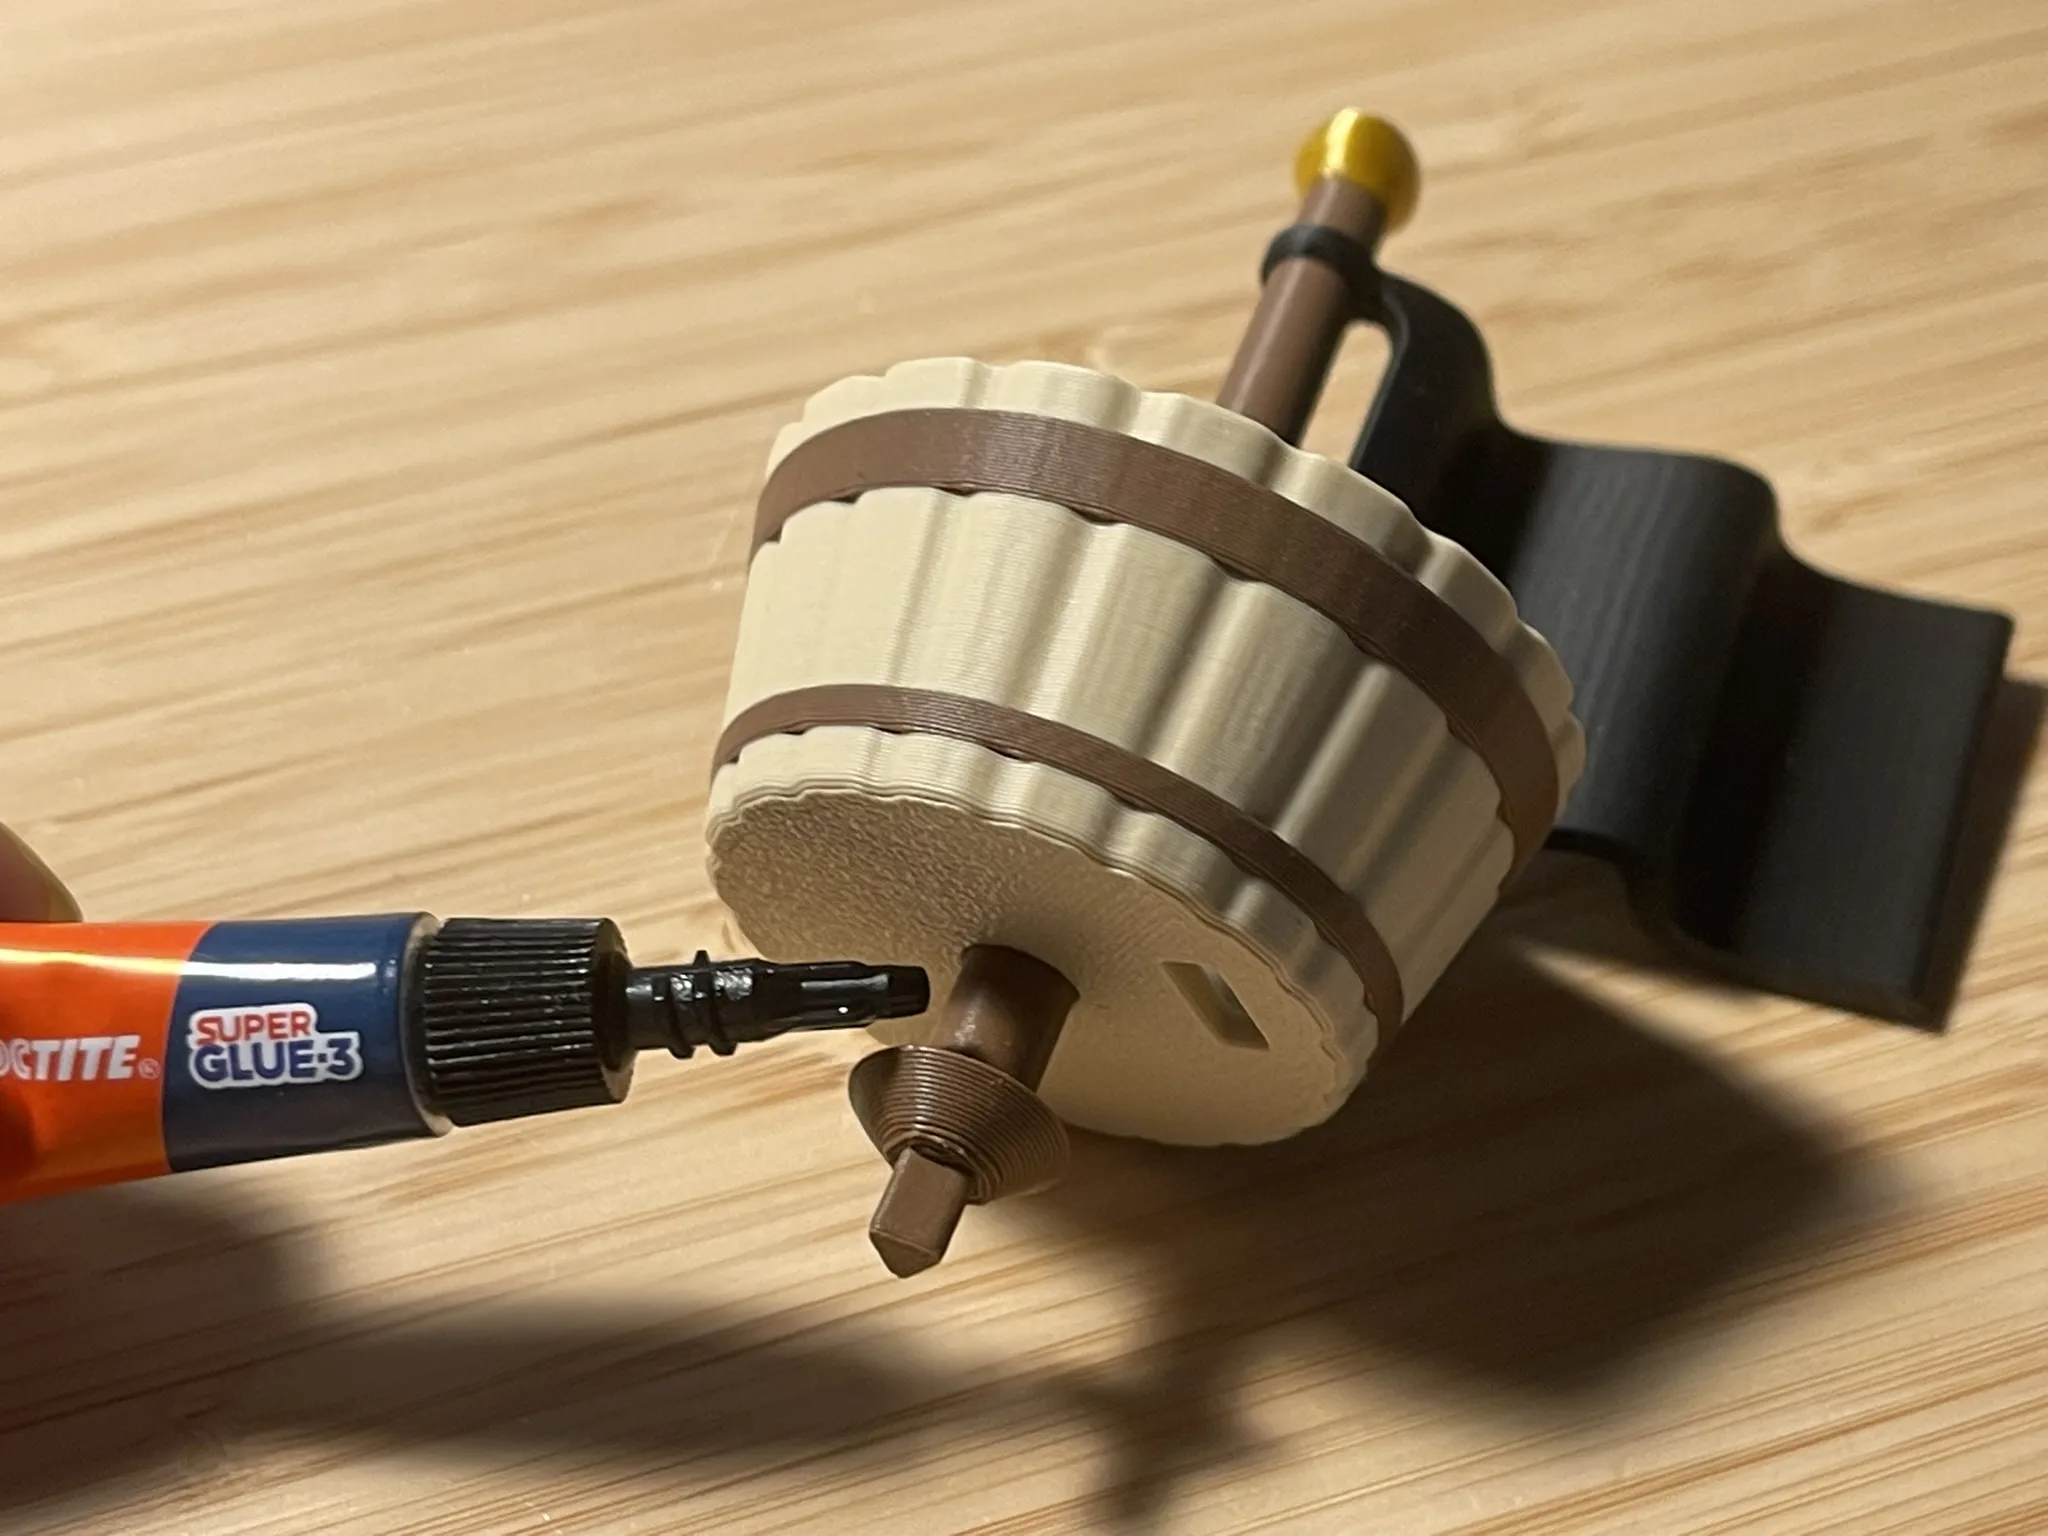 | Then glue the nest to the pole. Orient the nest so that the hole is aligned with the seam and the vertex of the triangle. |
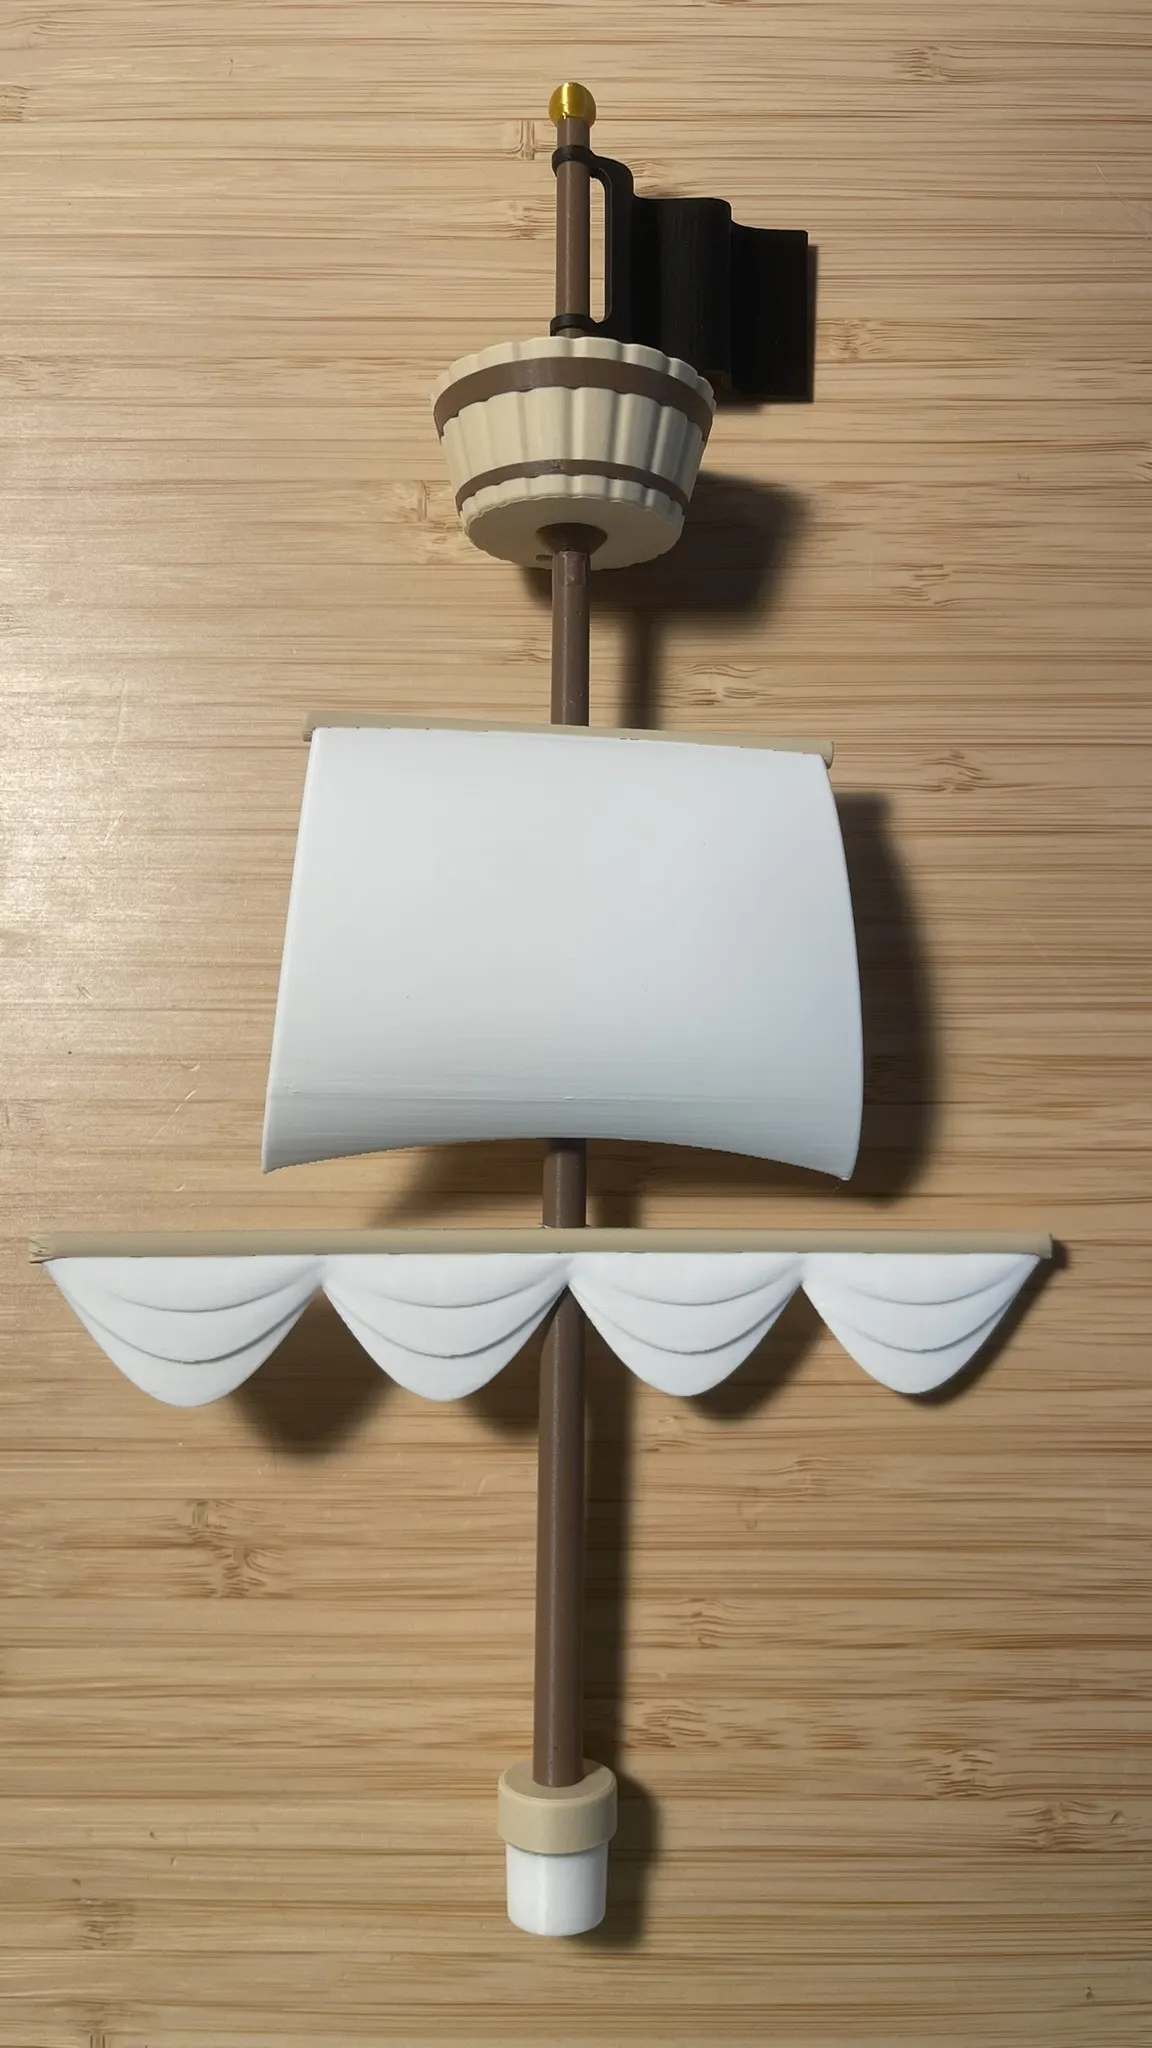
| When PHASE 2.1 is finished, insert the Sail_B and Sail_A into the pole and glue the Masts_MainBase and it to the Masts_MainTop. |

| Then print the PHASE 2.2 and, again, at the print stop, insert the Sail_C into the pole as in the video and continue with the print. |
🎉 SAILS FINISHED! 🎉 | |
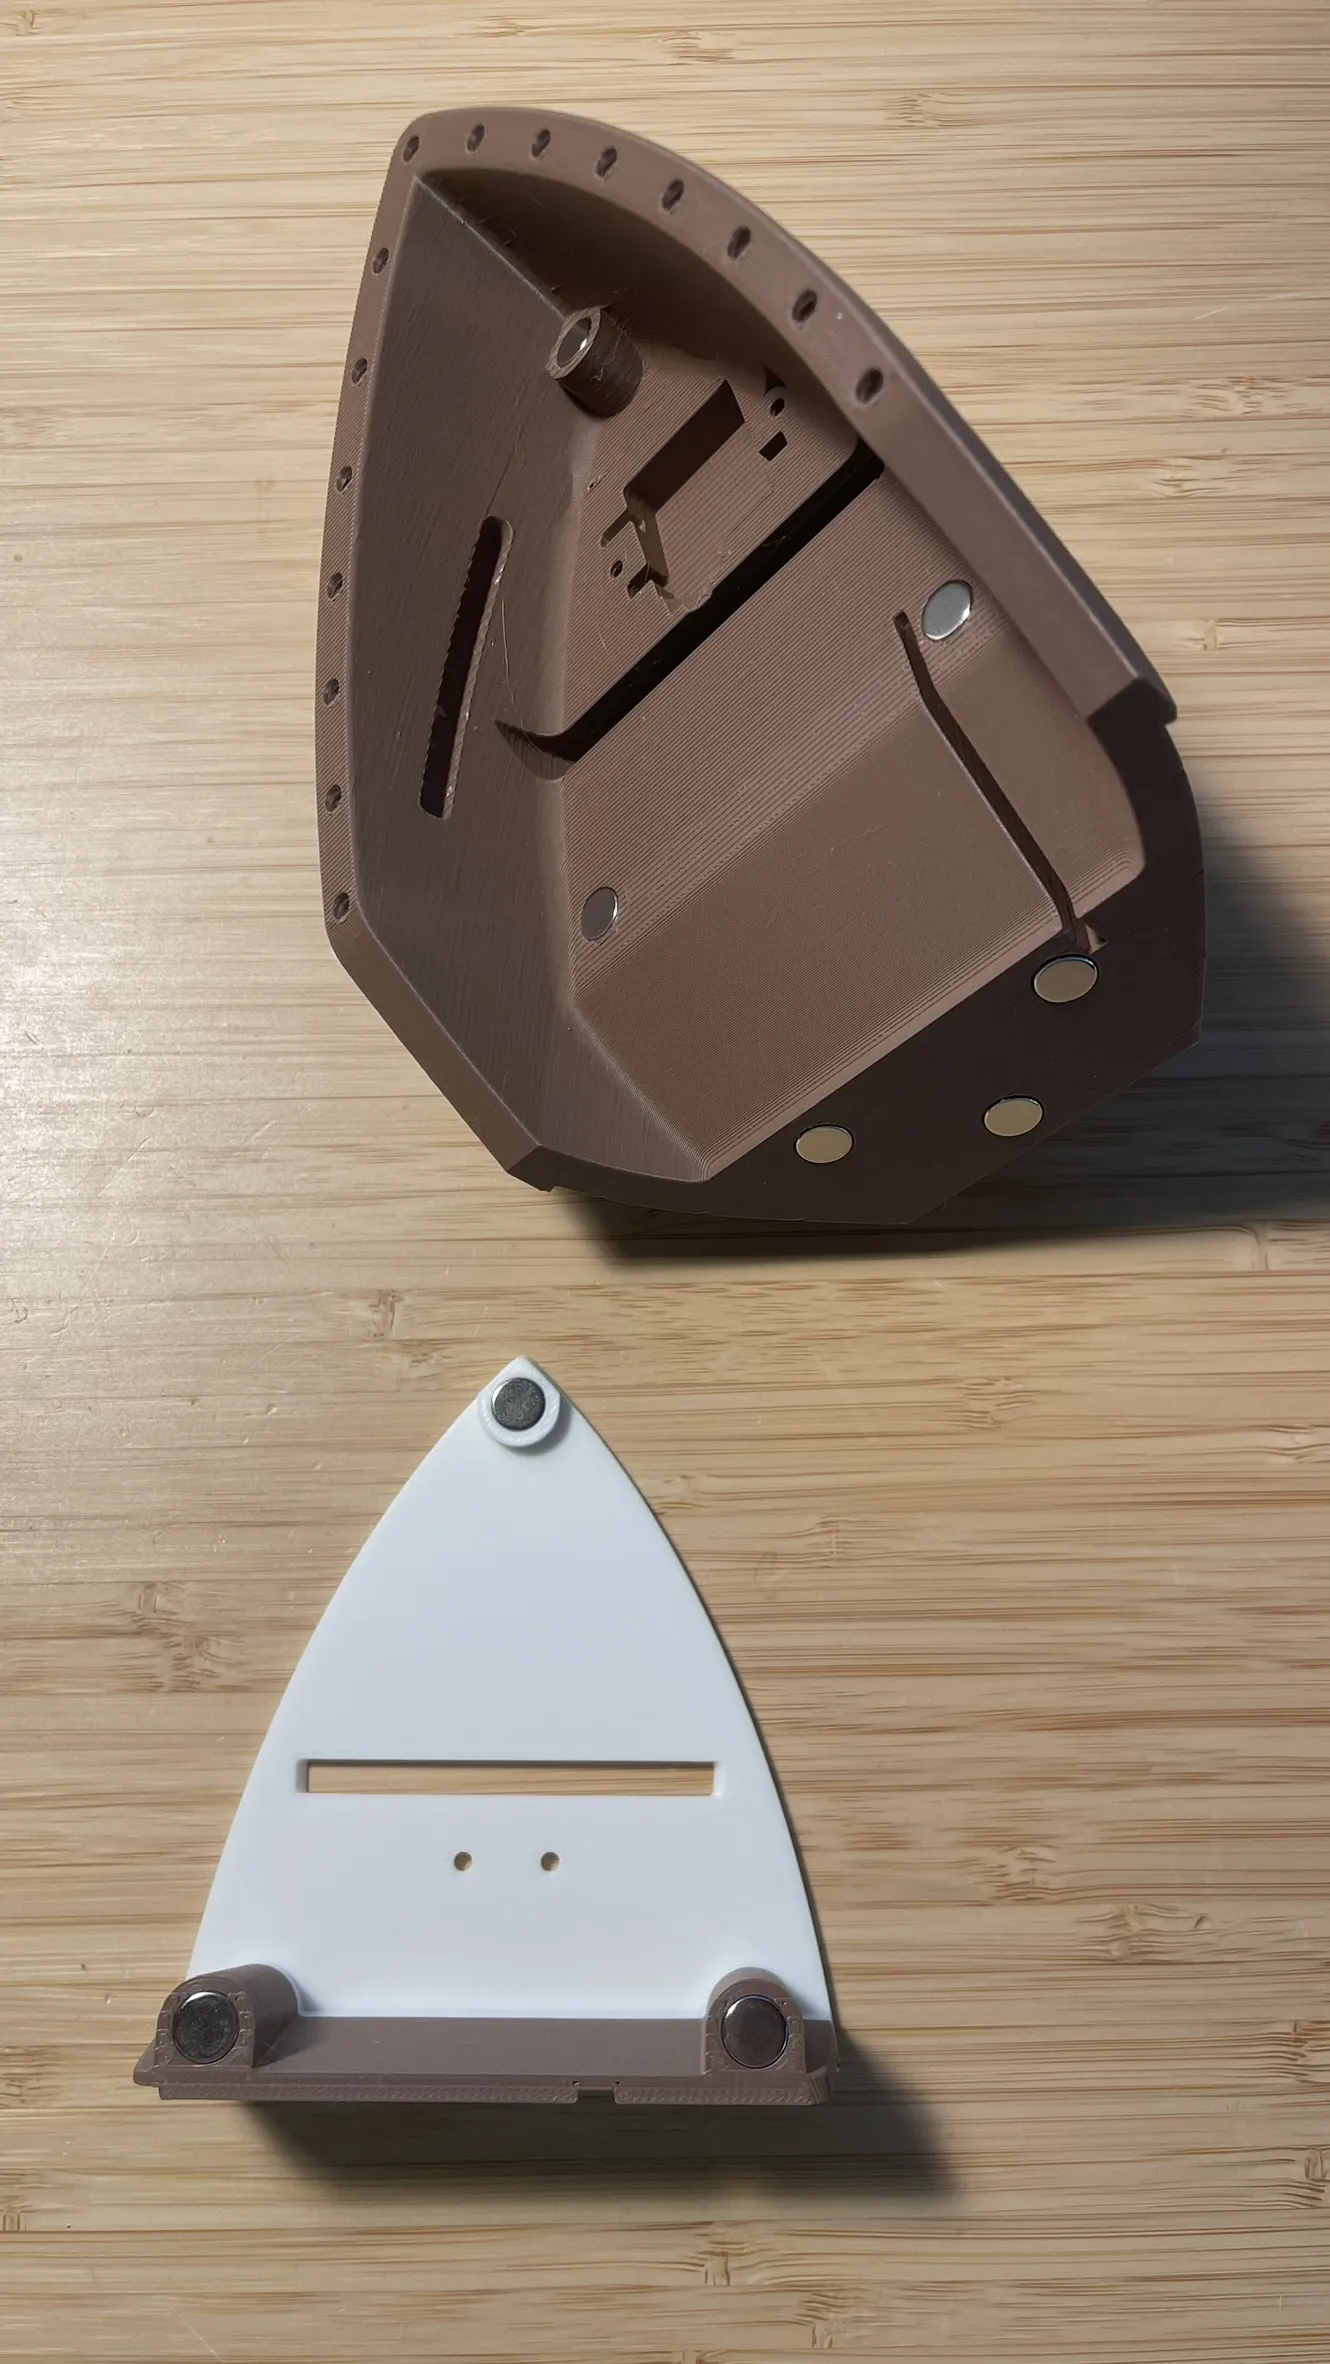
| We will start with the STERN PART: glue the 9 magnets in its holes. Stern_Ship and Stern_Floor will be joined together thanks to these magnets. Make sure you orient them correctly. |
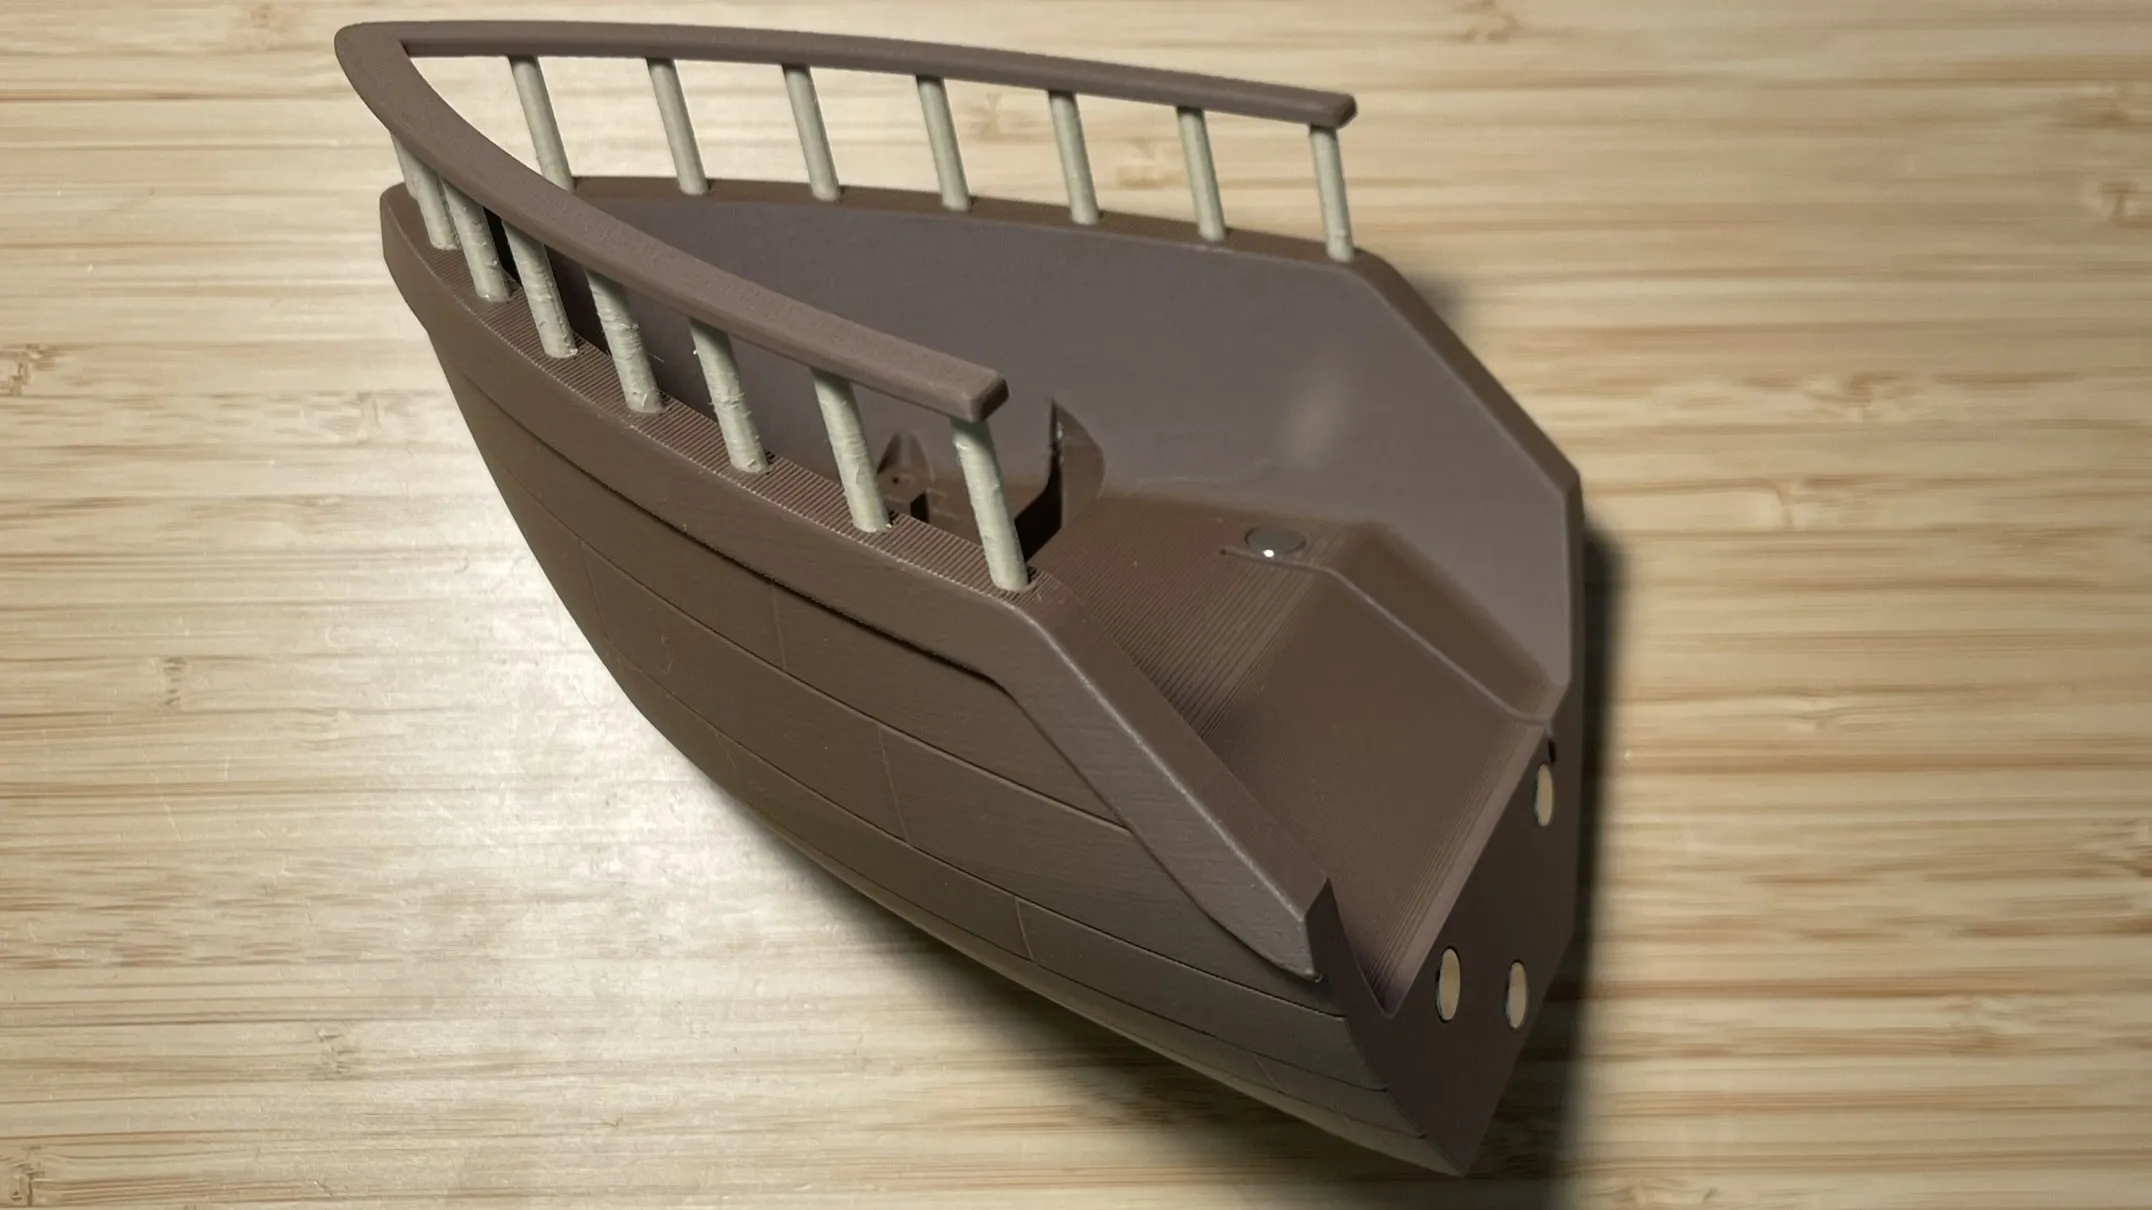
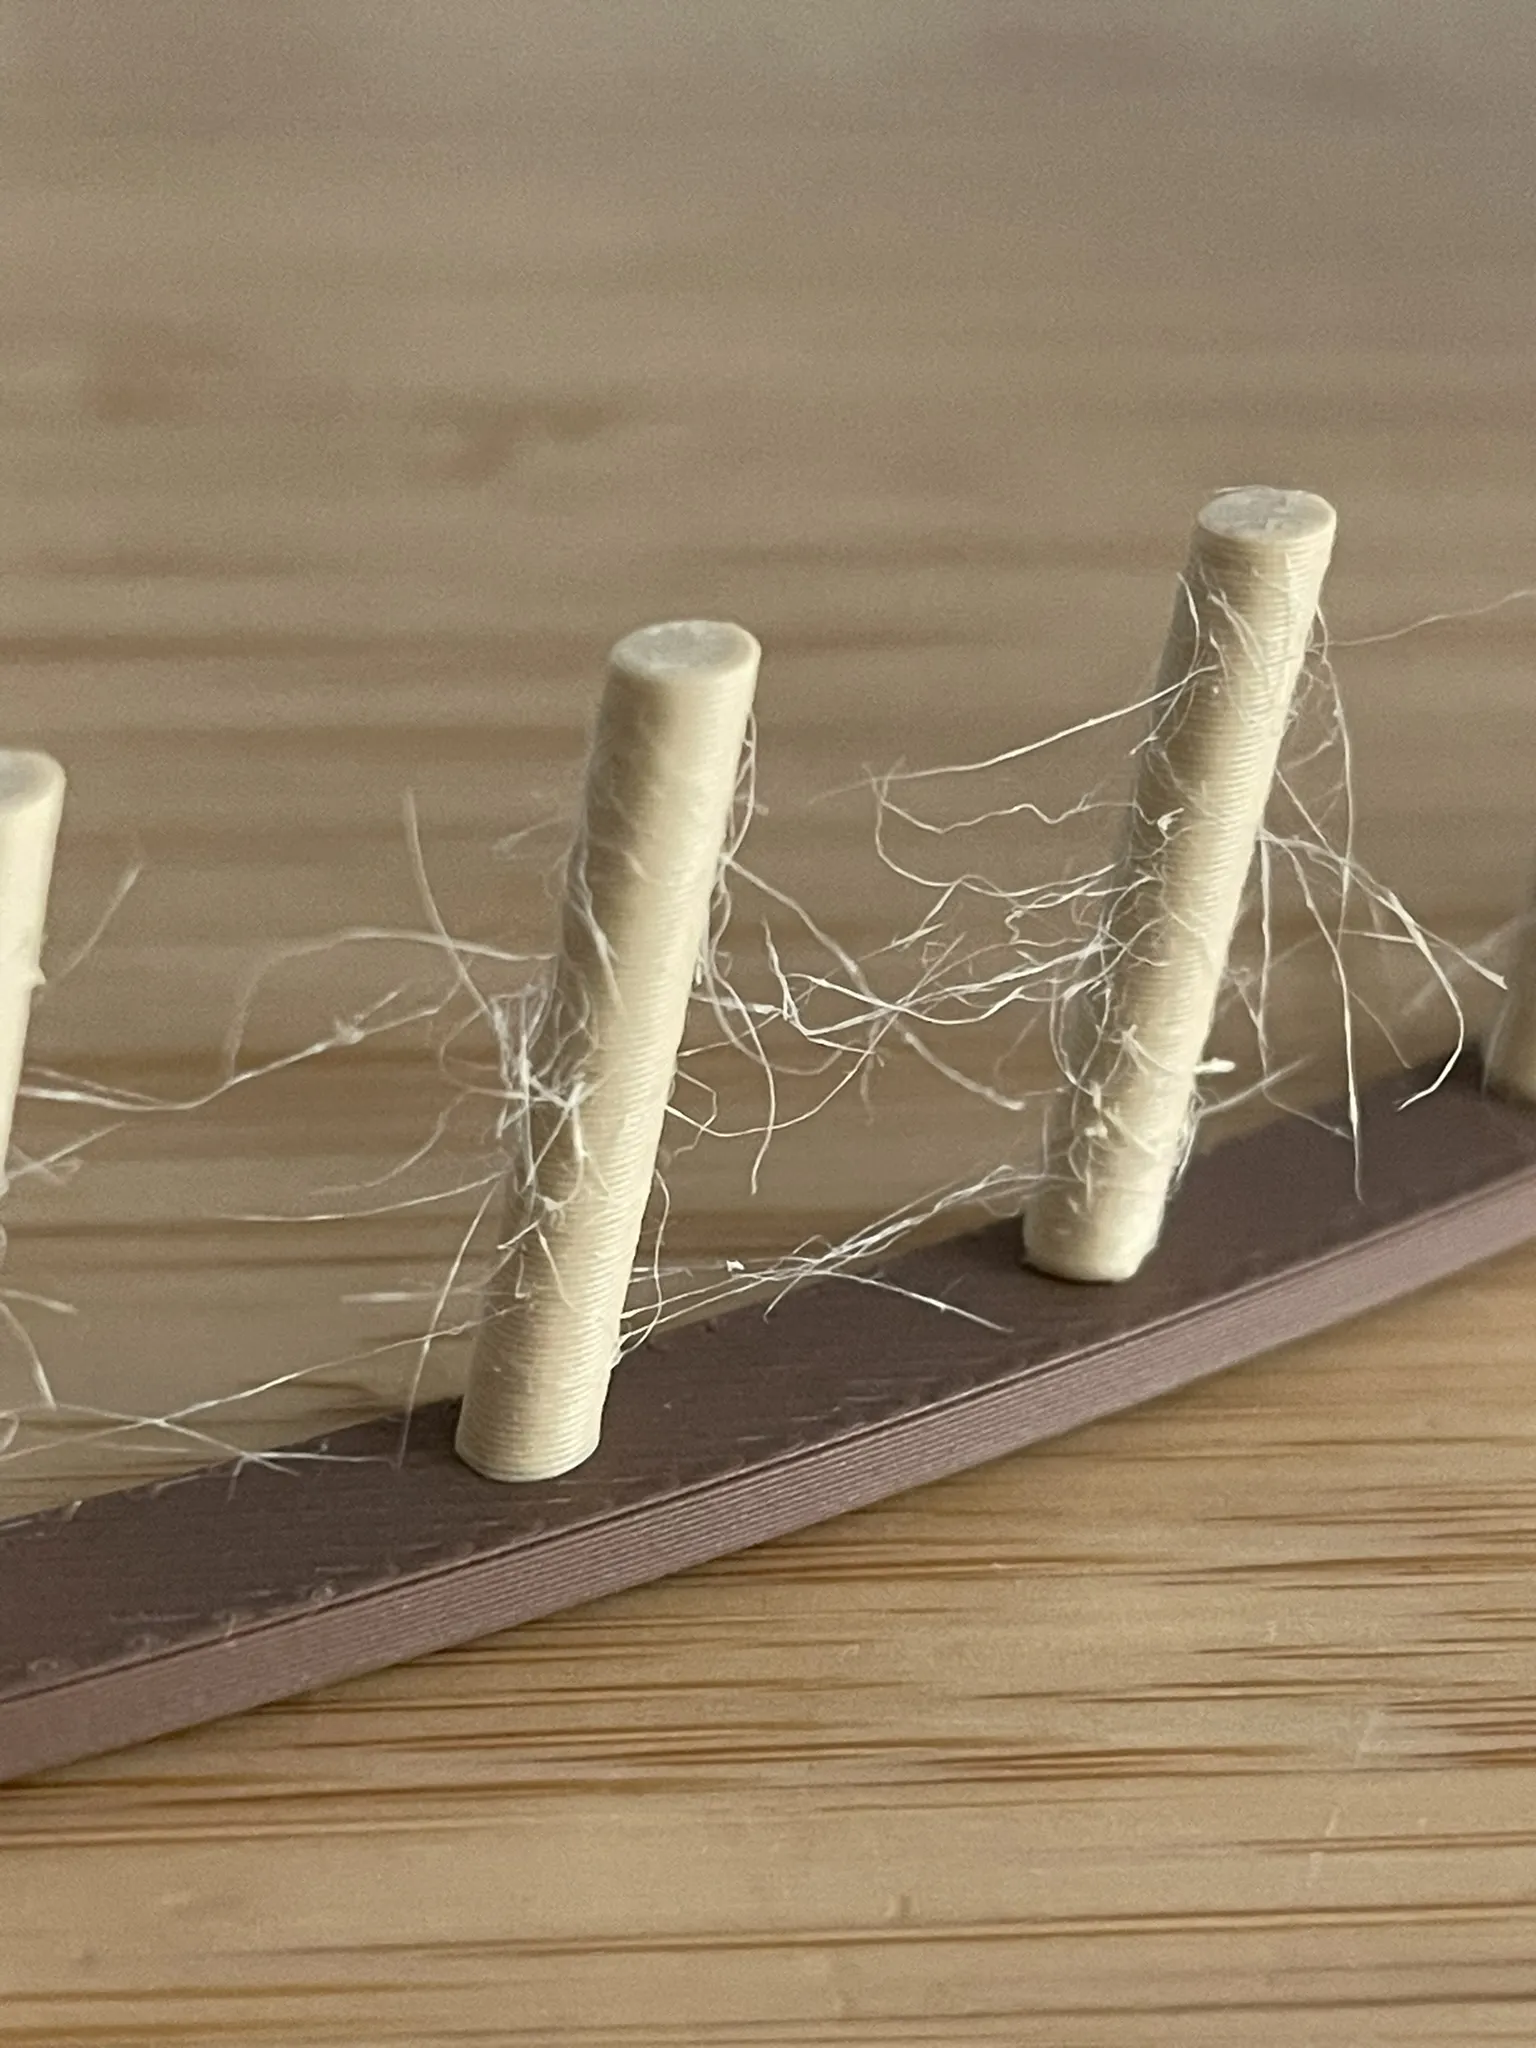
| Then, glue the Baran_A to the Stern_Ship. If you are having this calibration problem, you can “burn it” with a lighter (IF YOU ARE A CHILD, ASK YOUR PARENTS FOR HELP). |
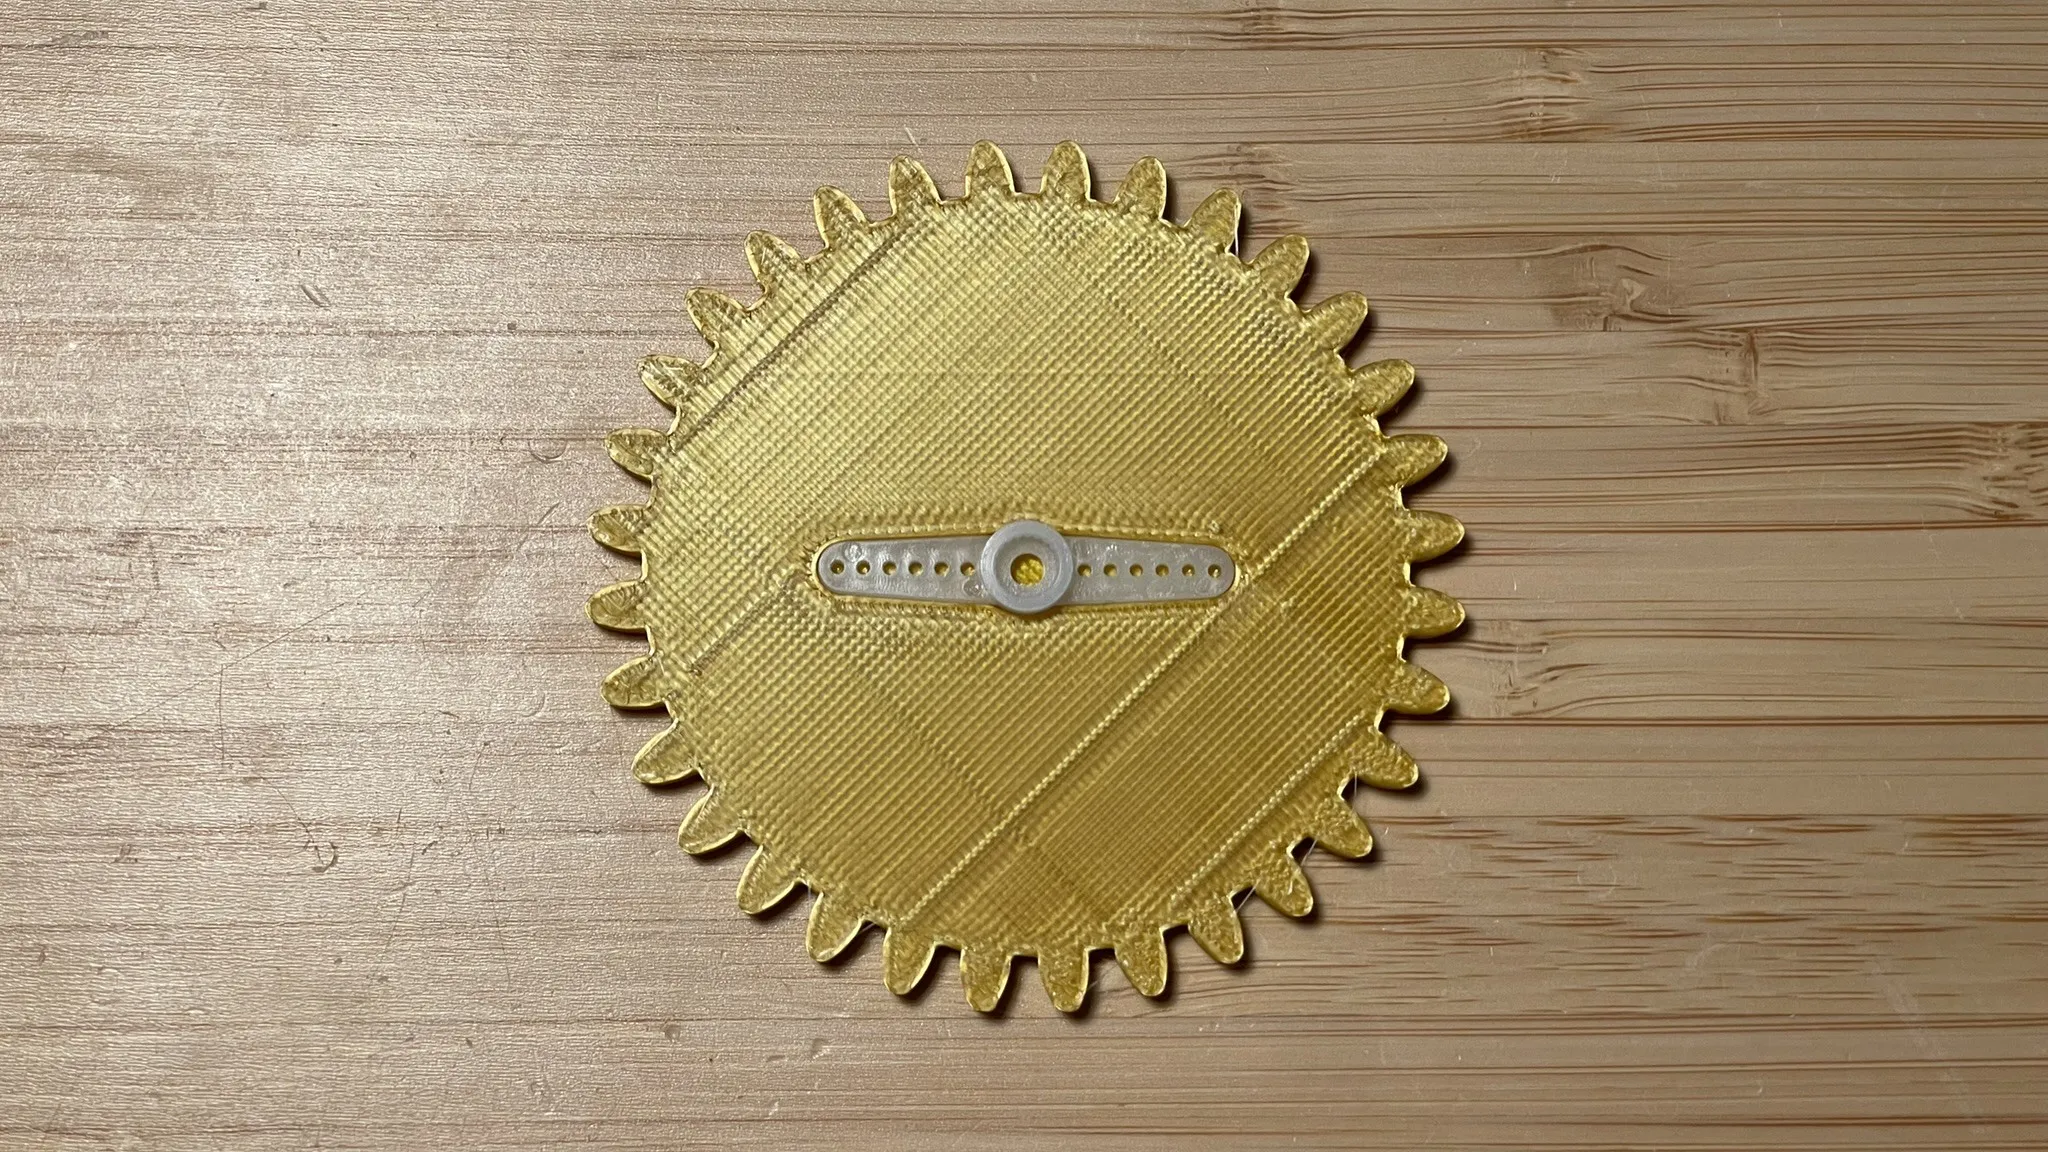 | Next, glue the servo moving part to the Wheel_Gear. |
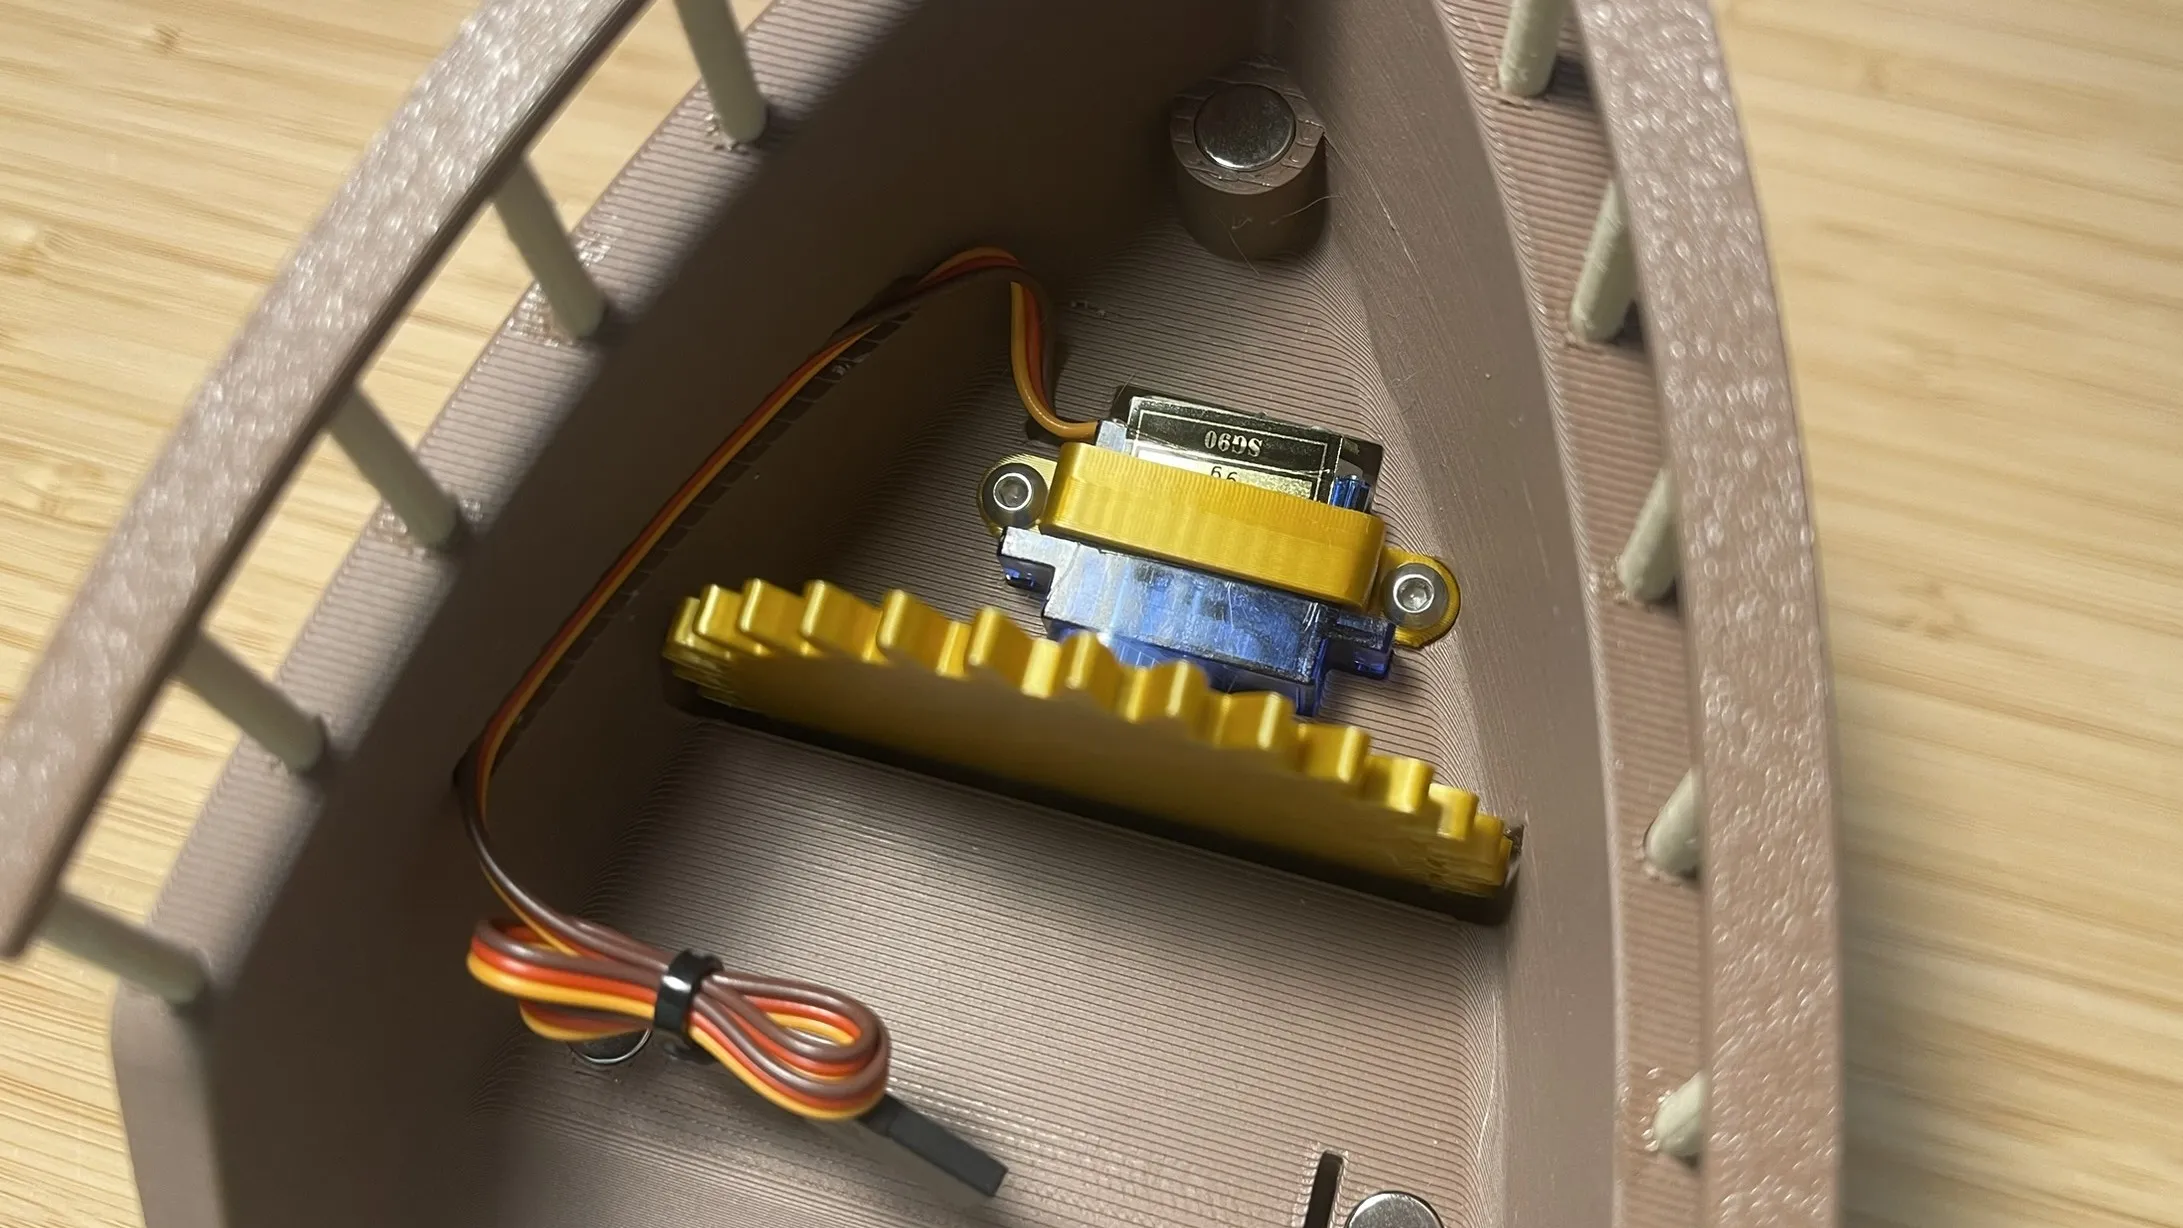 | Then attach it to the servo, insert it in its place and secure it with the Wheel_ServoStuff and M3x5mm screws (2 units) into the Stern_Ship. Put the jumper wires like in image, you will need to glue it and clamp the end of the cable. |
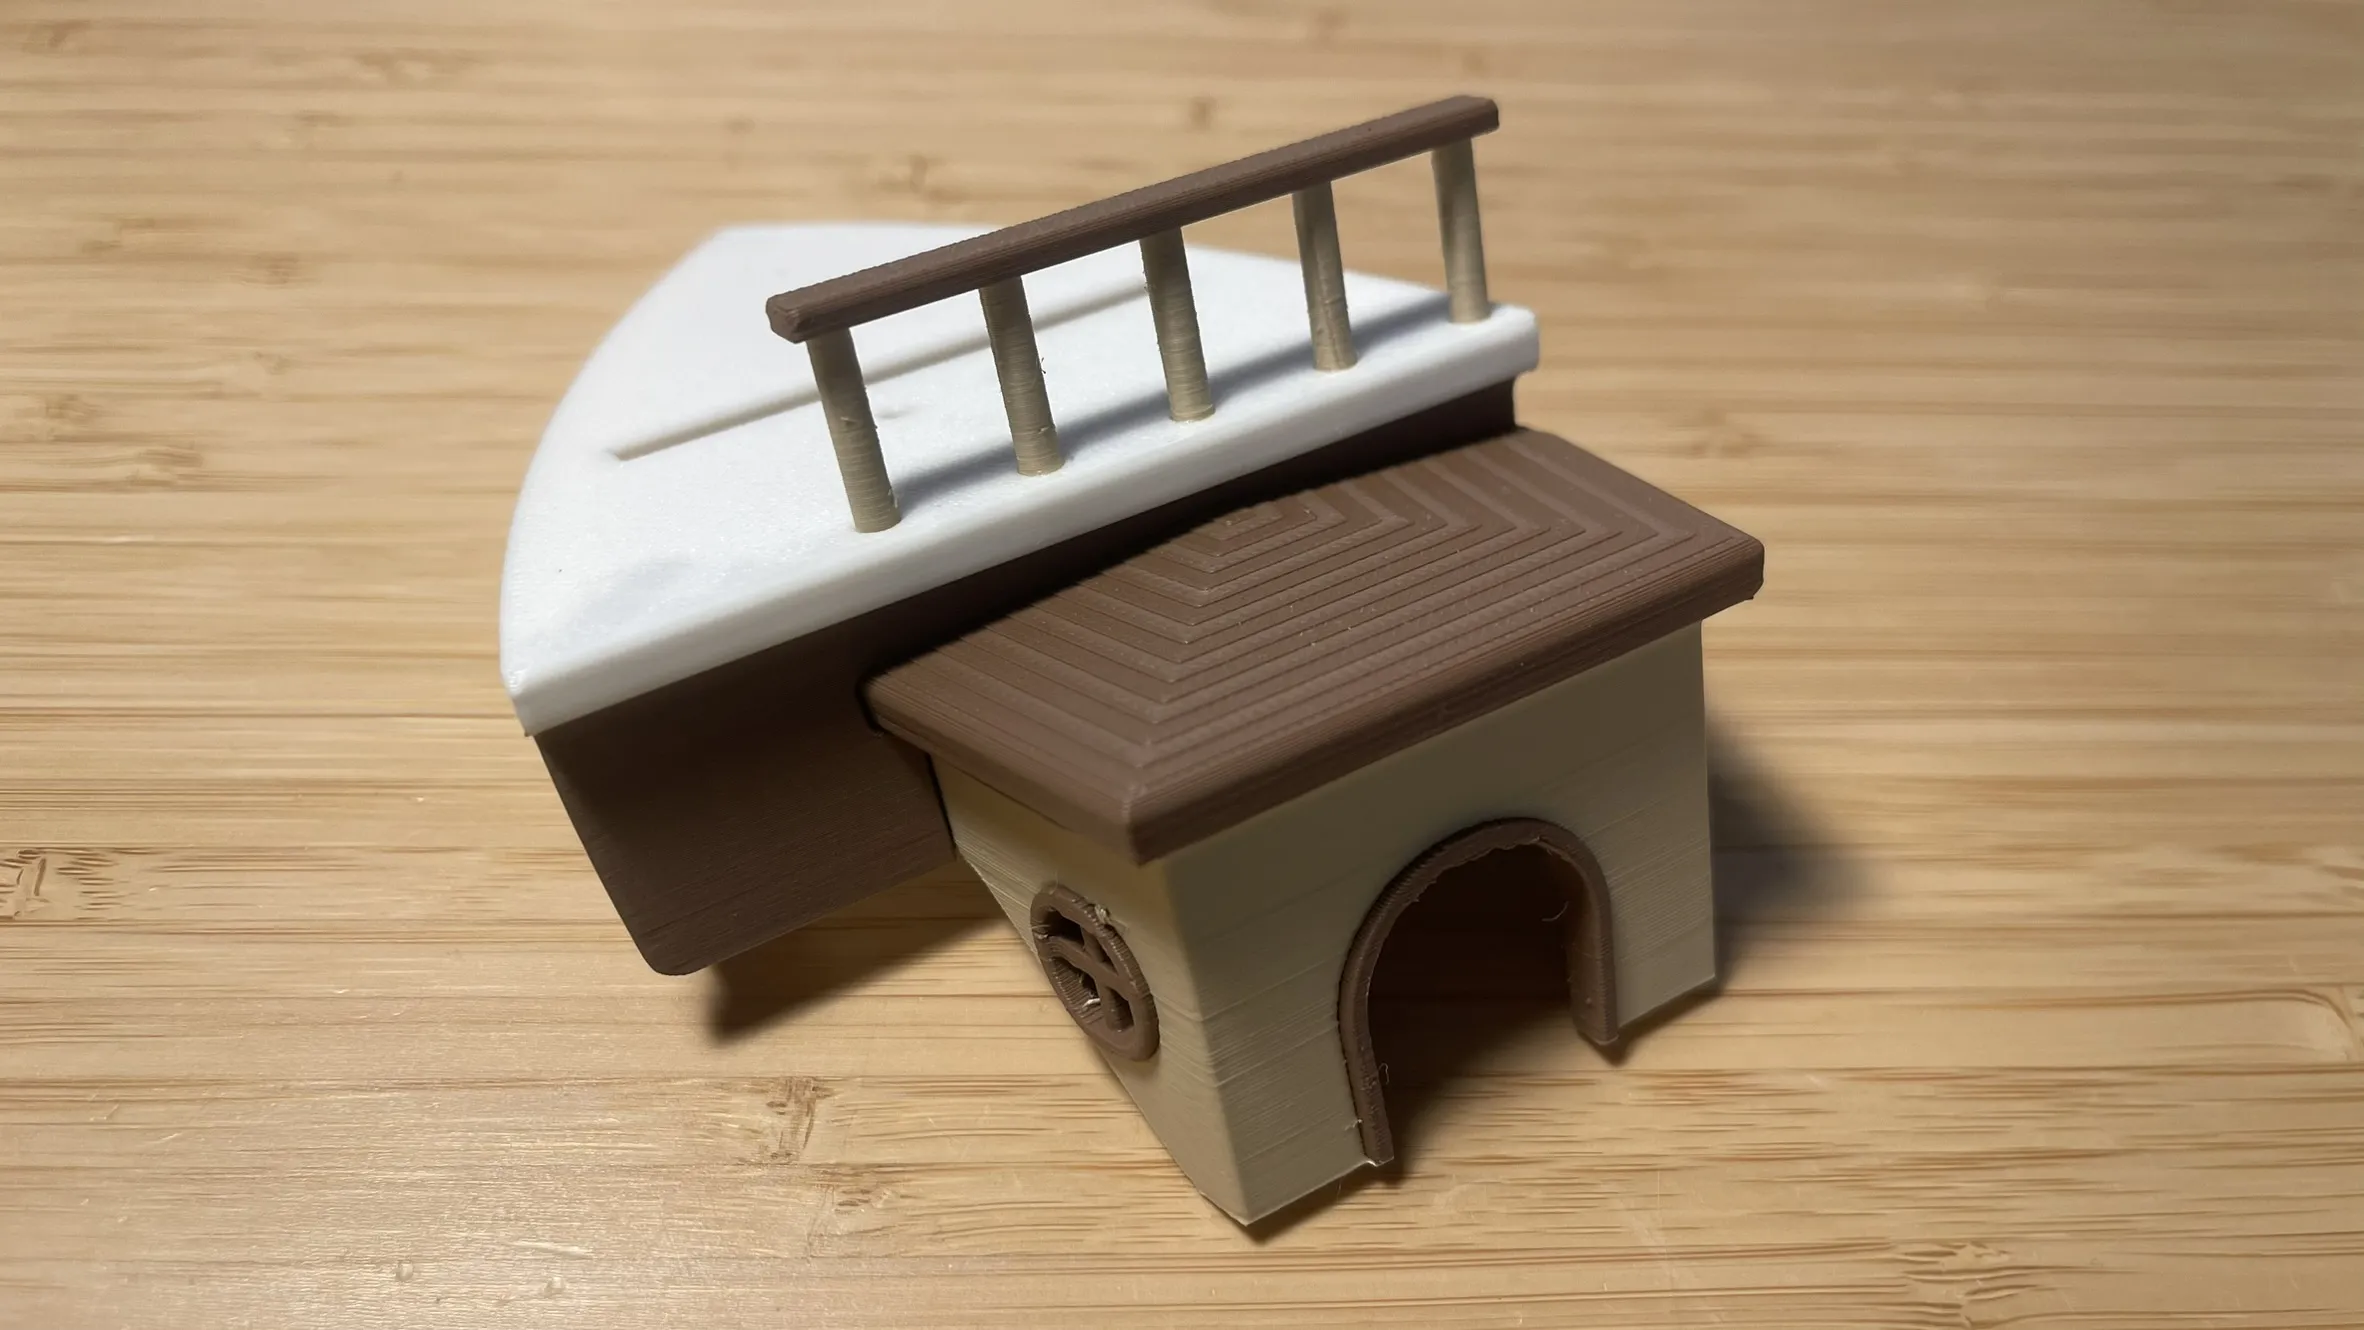 | Now, glue the Baran_C and the Stern_Cabin to the Stern_Floor. |
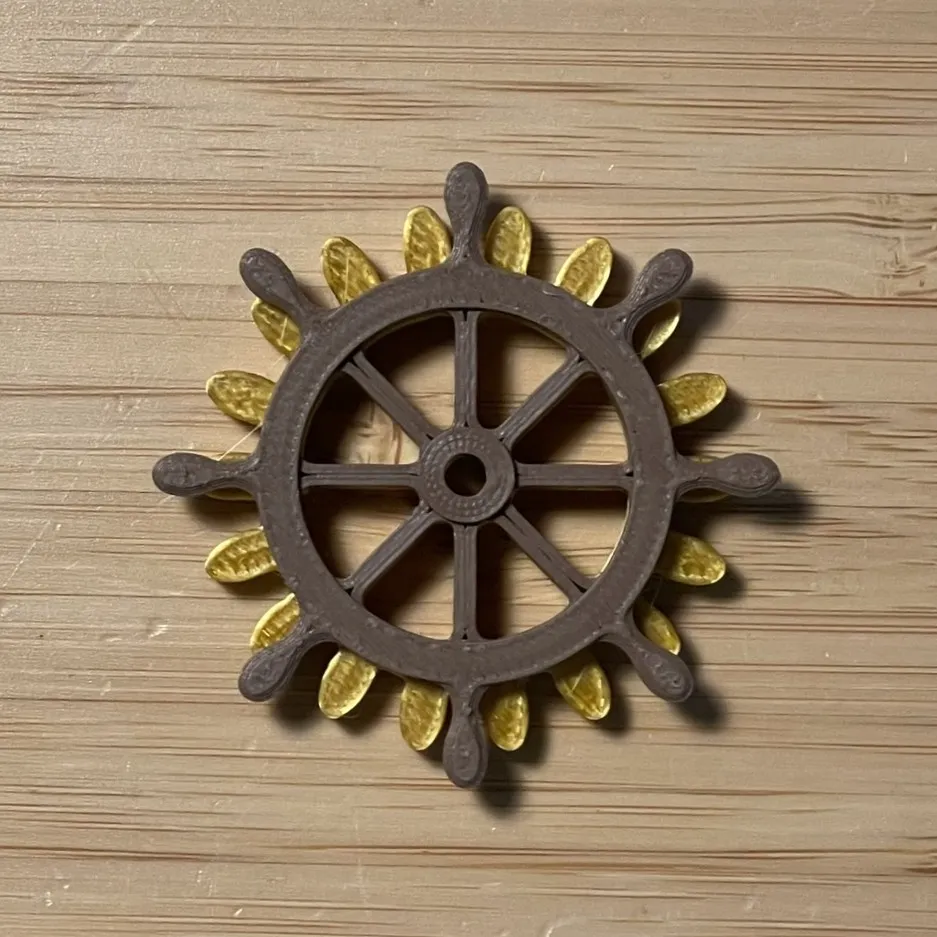

| Glue the Wheel_Pinon to the Wheel_Wheel and screw it to the Wheel_Base with a M3x10mm screw (1 unit). Make sure it spins freely. Screw the base to the Stern_Floor with the M3x5mm screws (2 units). |
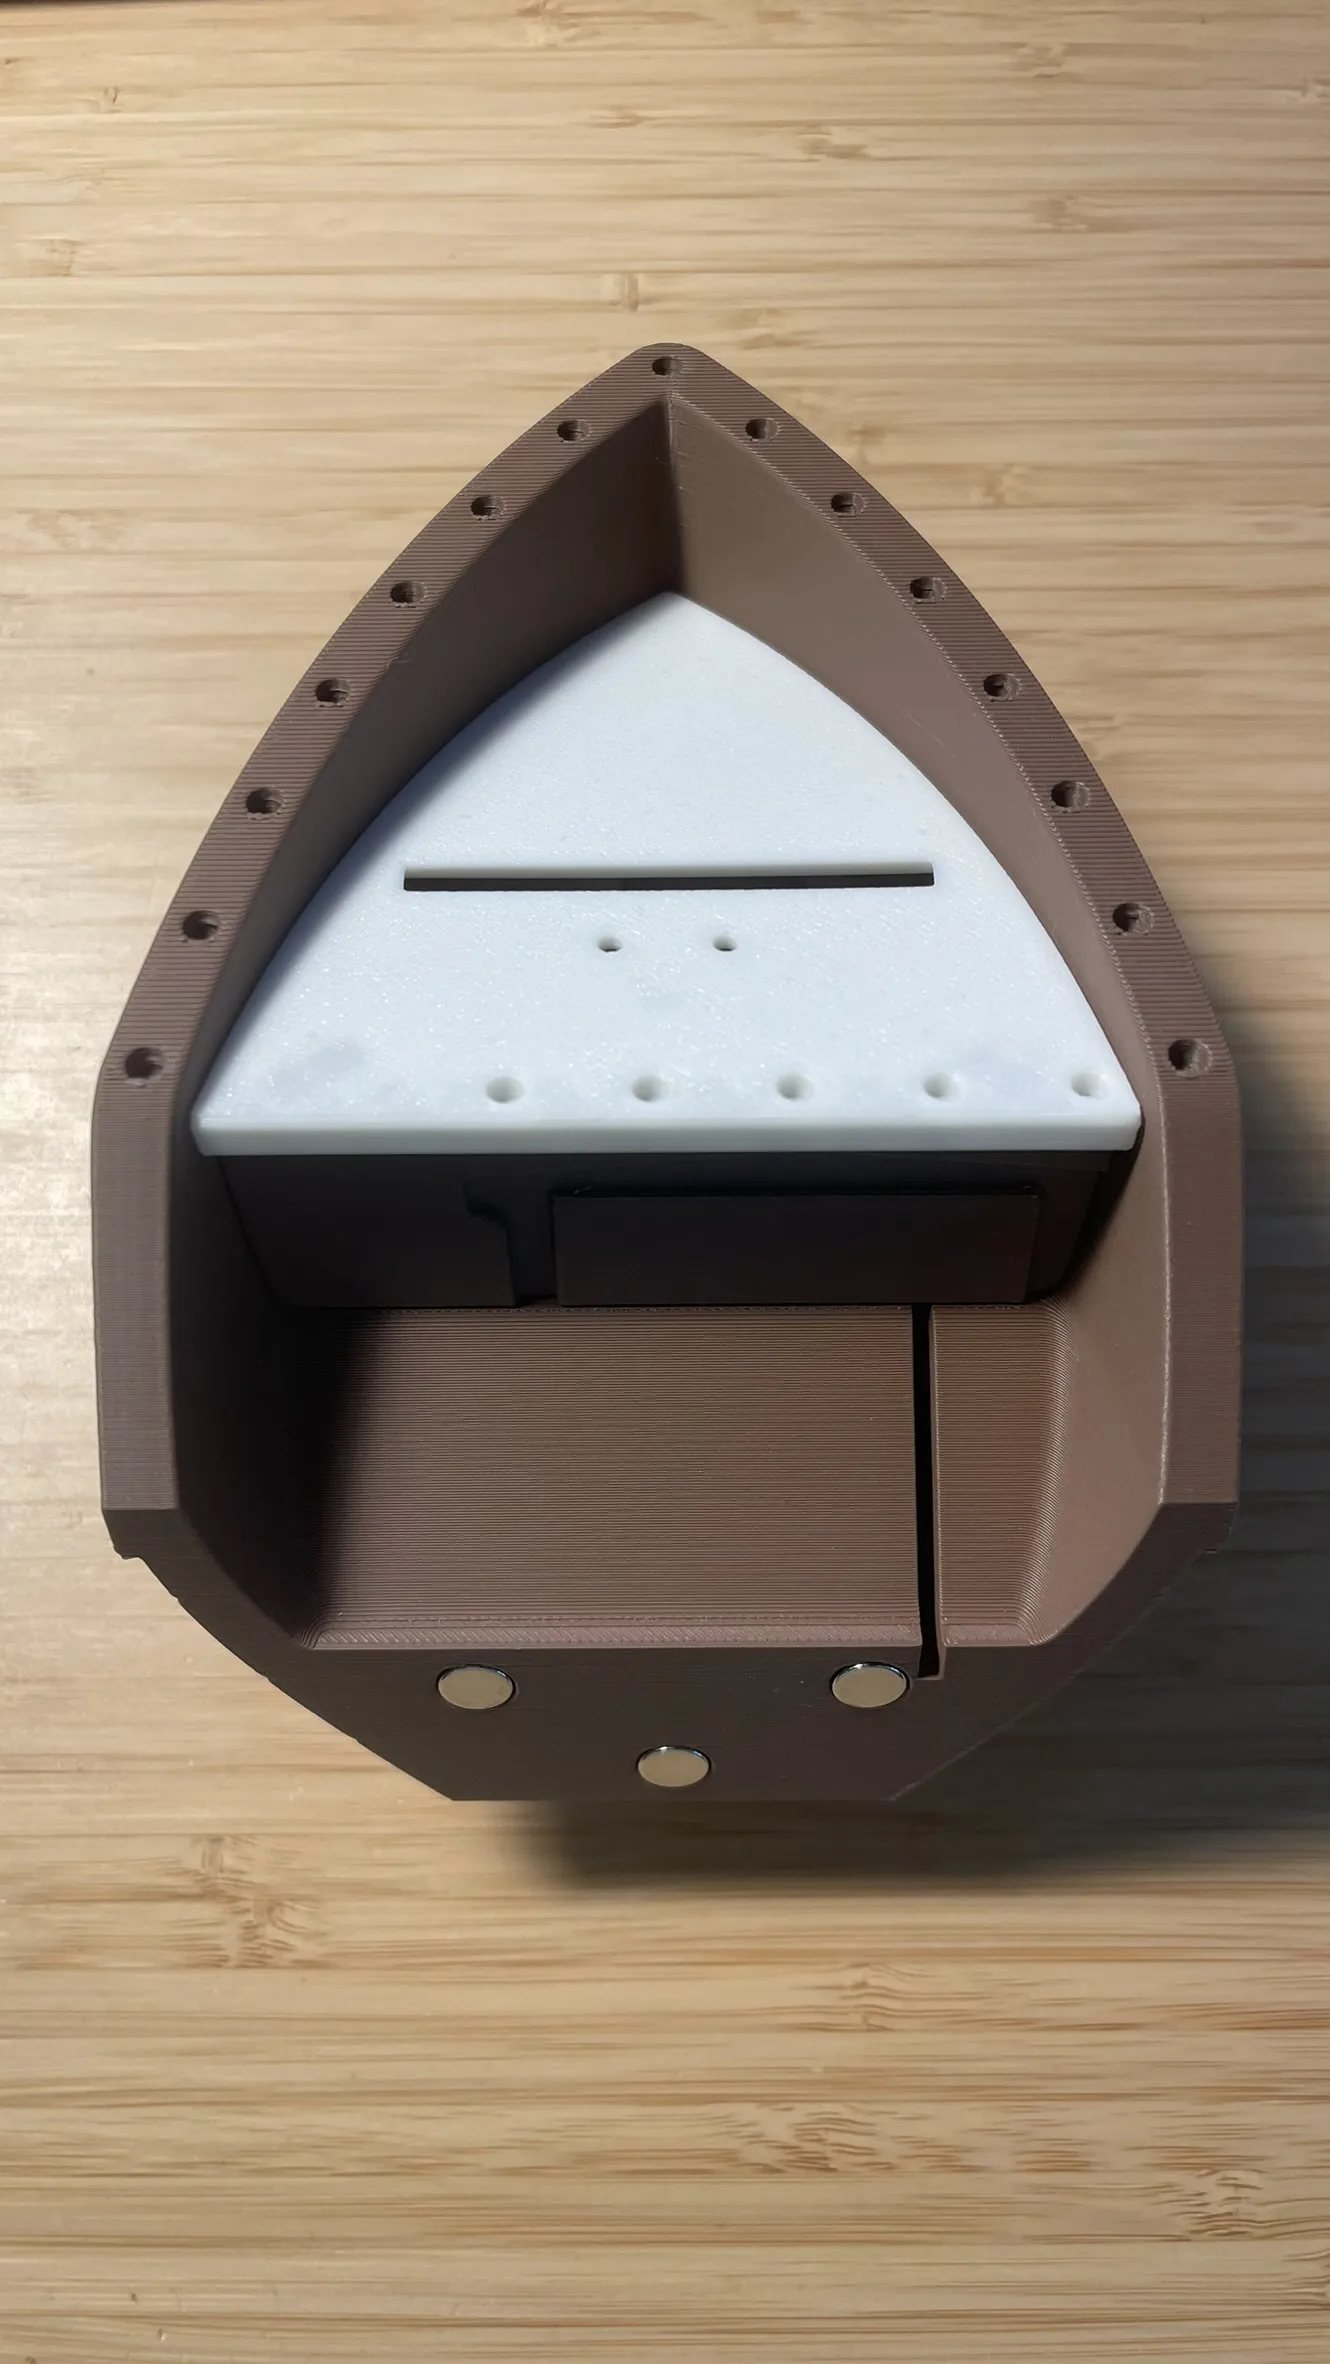
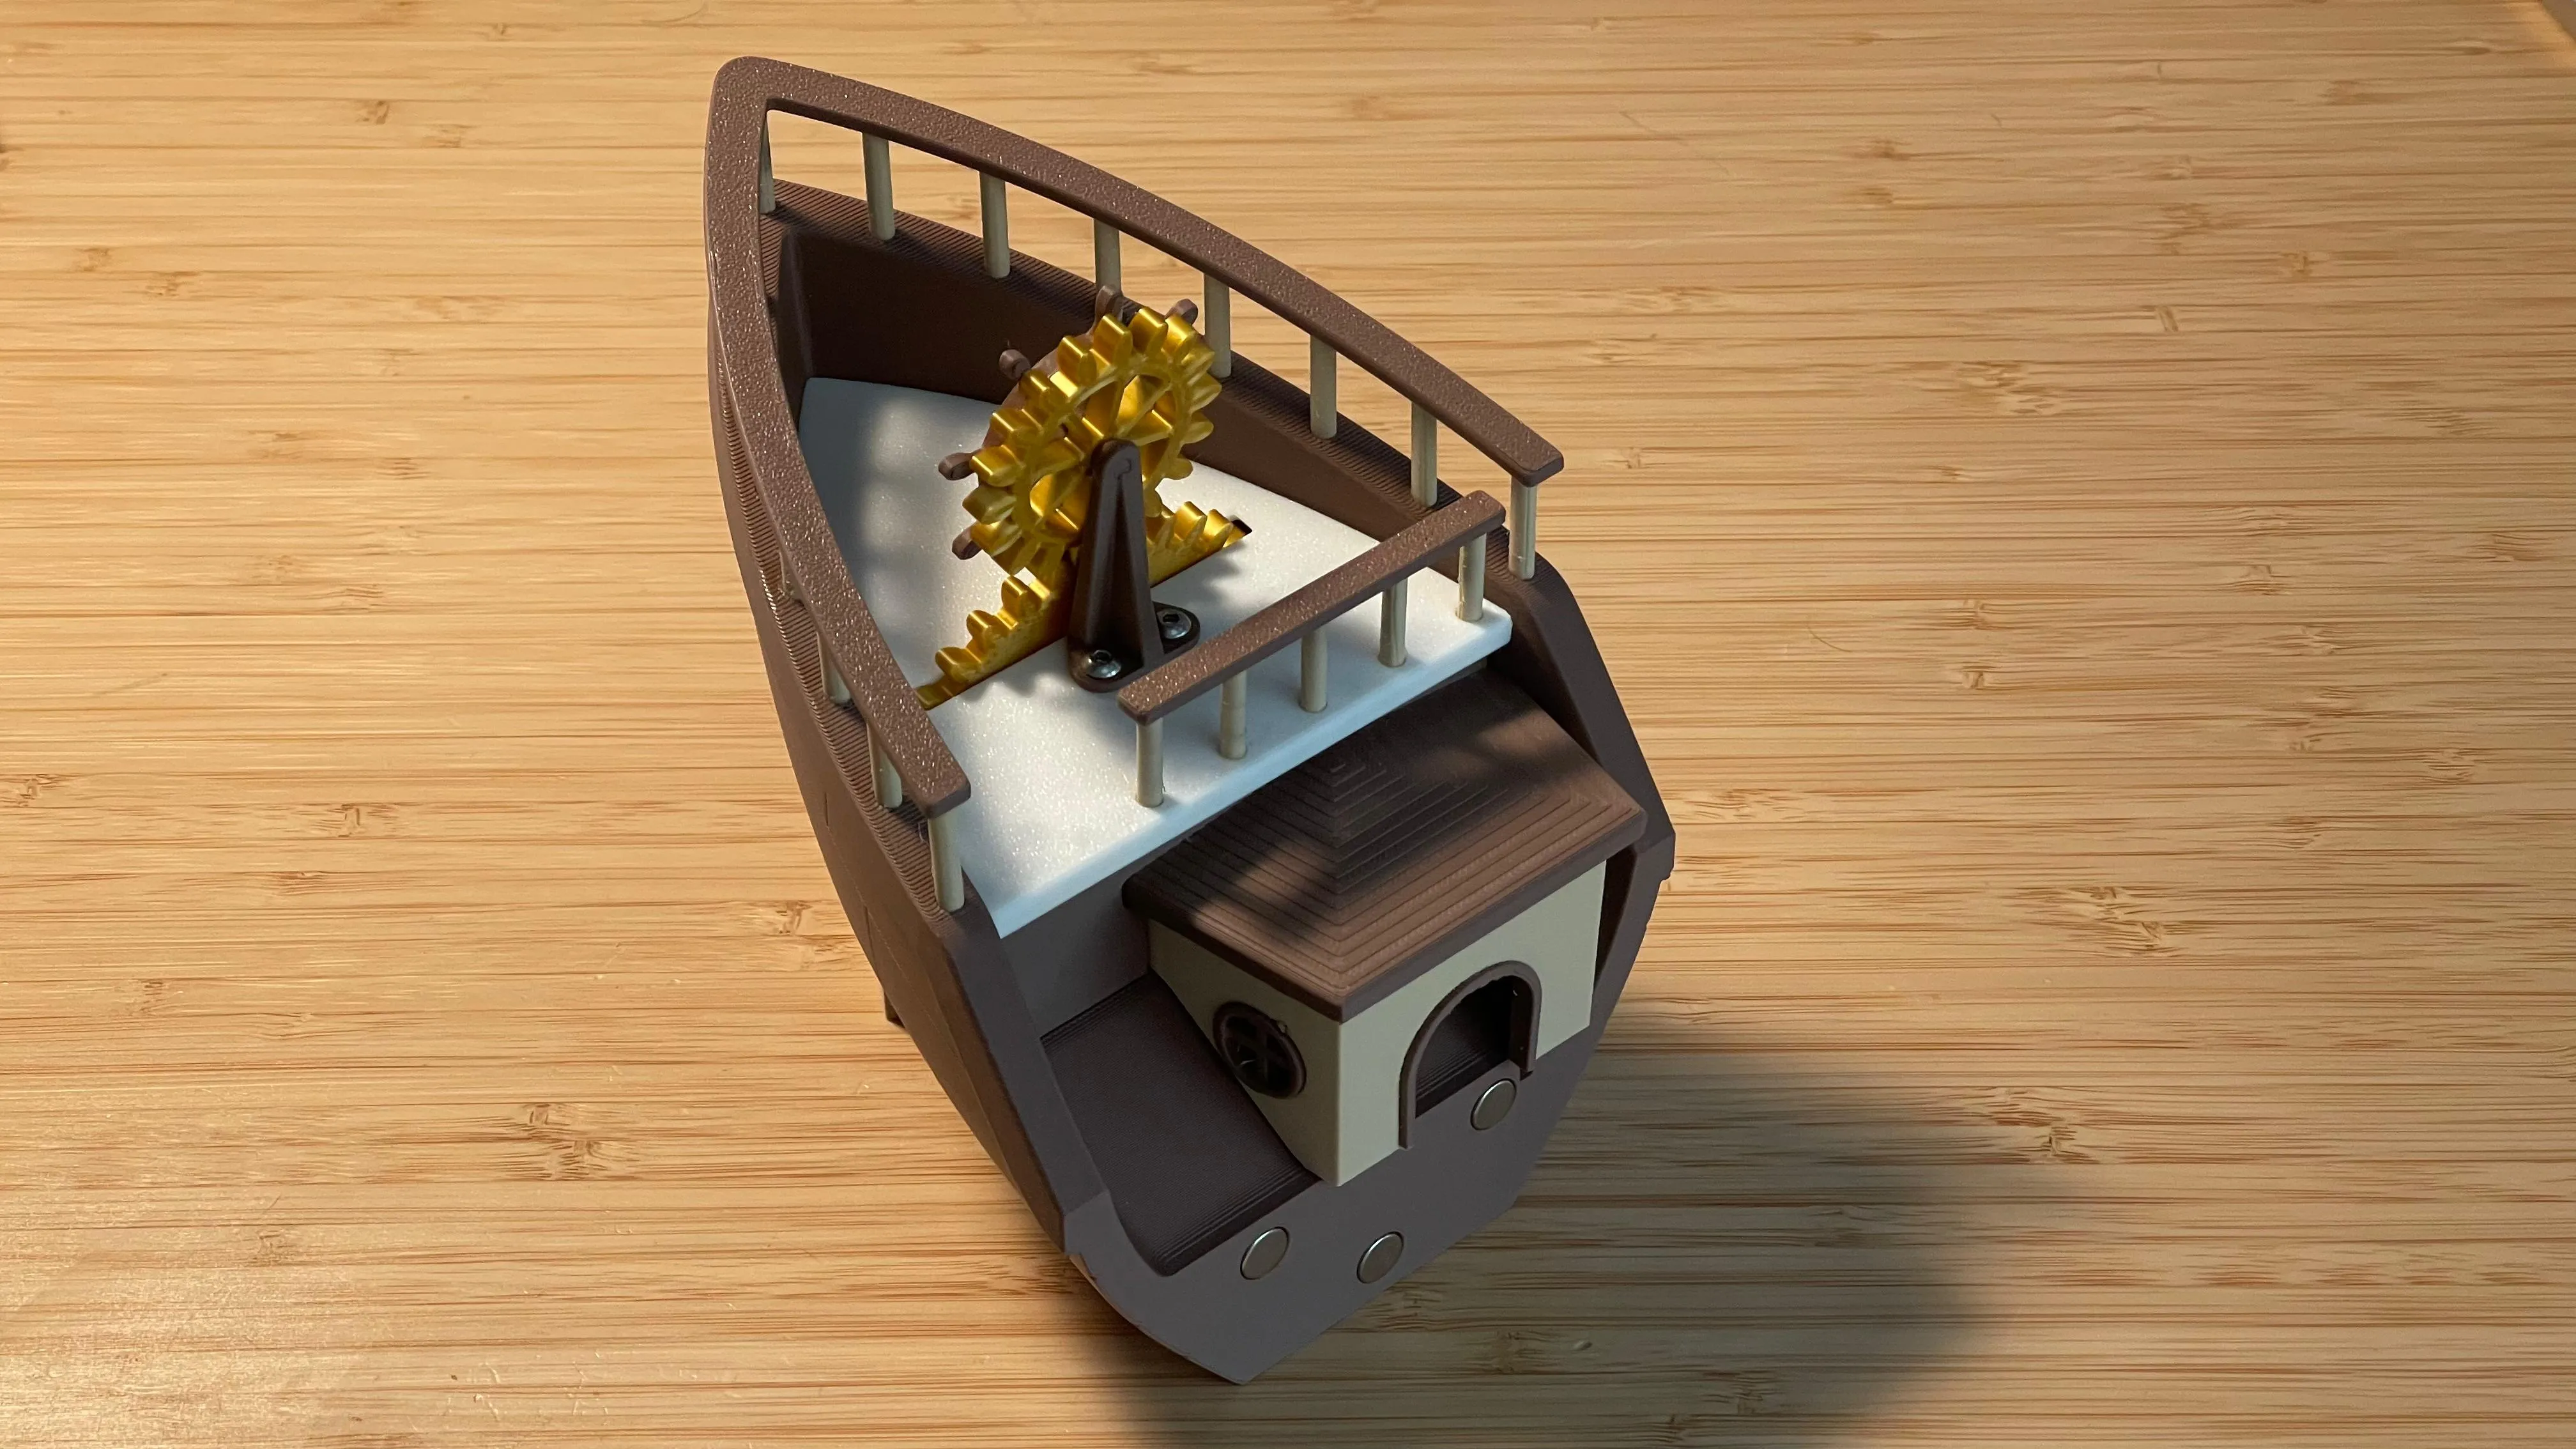 | Then, magnet the Bow_Floor to the Bow_Ship. |
🎉 STERN FINISHED! 🎉 | |
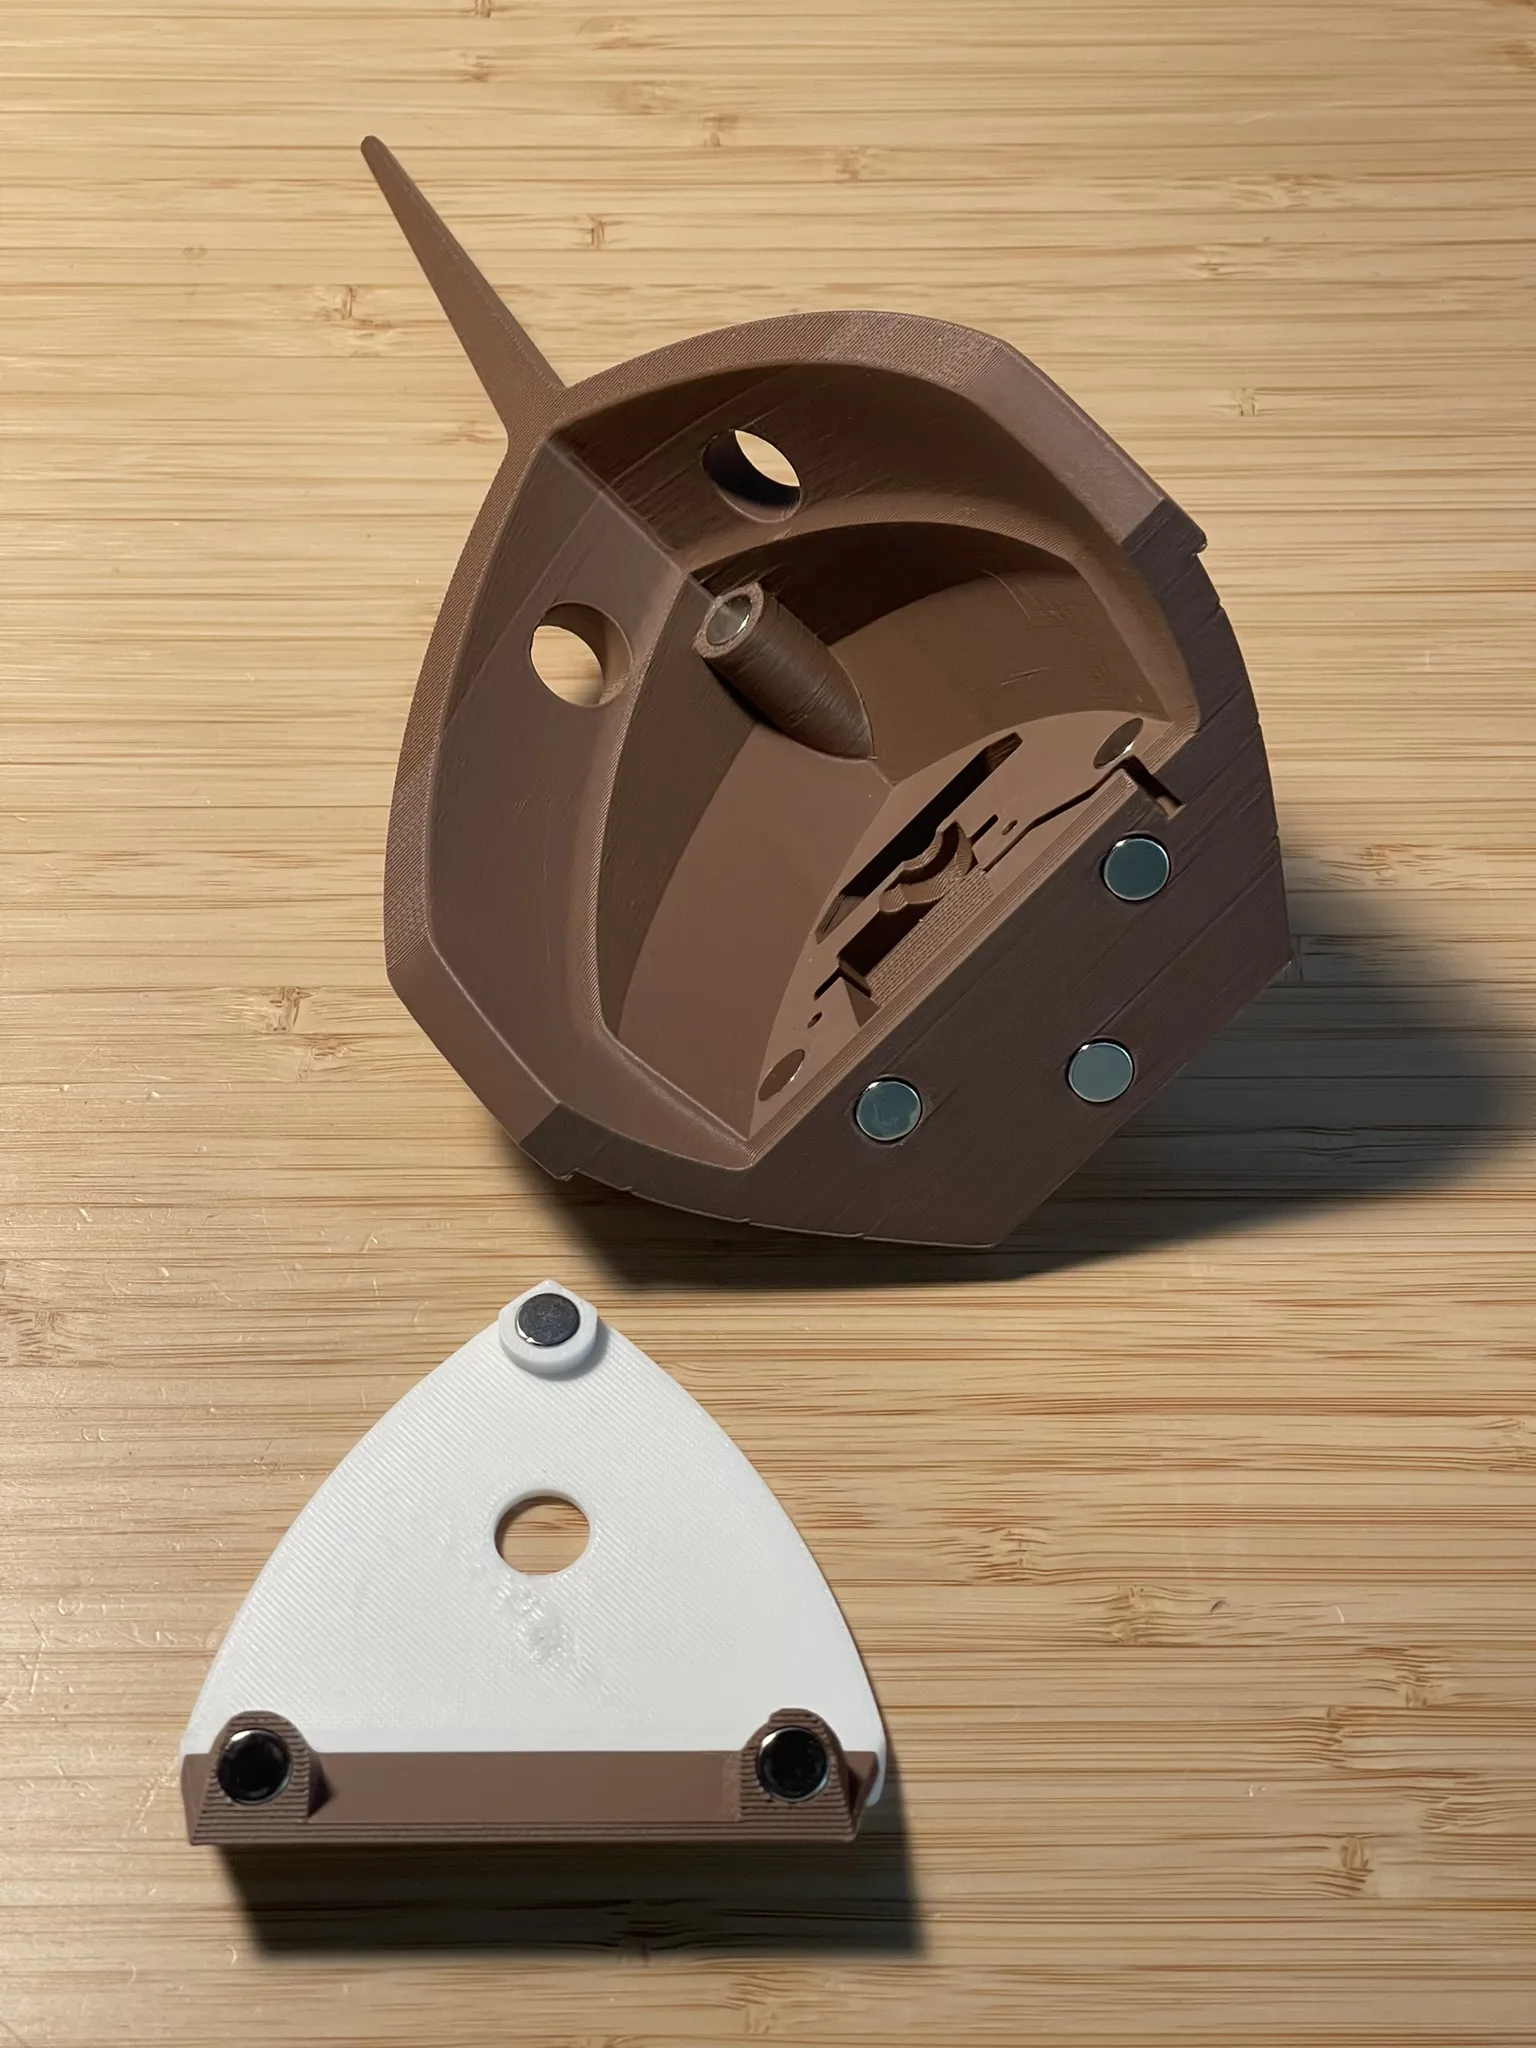 | Now, we will start with the BOW PART: glue the 9 magnets in its holes. Bow_Ship and Bow_Floor will be joined together thanks to these magnets. Make sure you orient them correctly. |
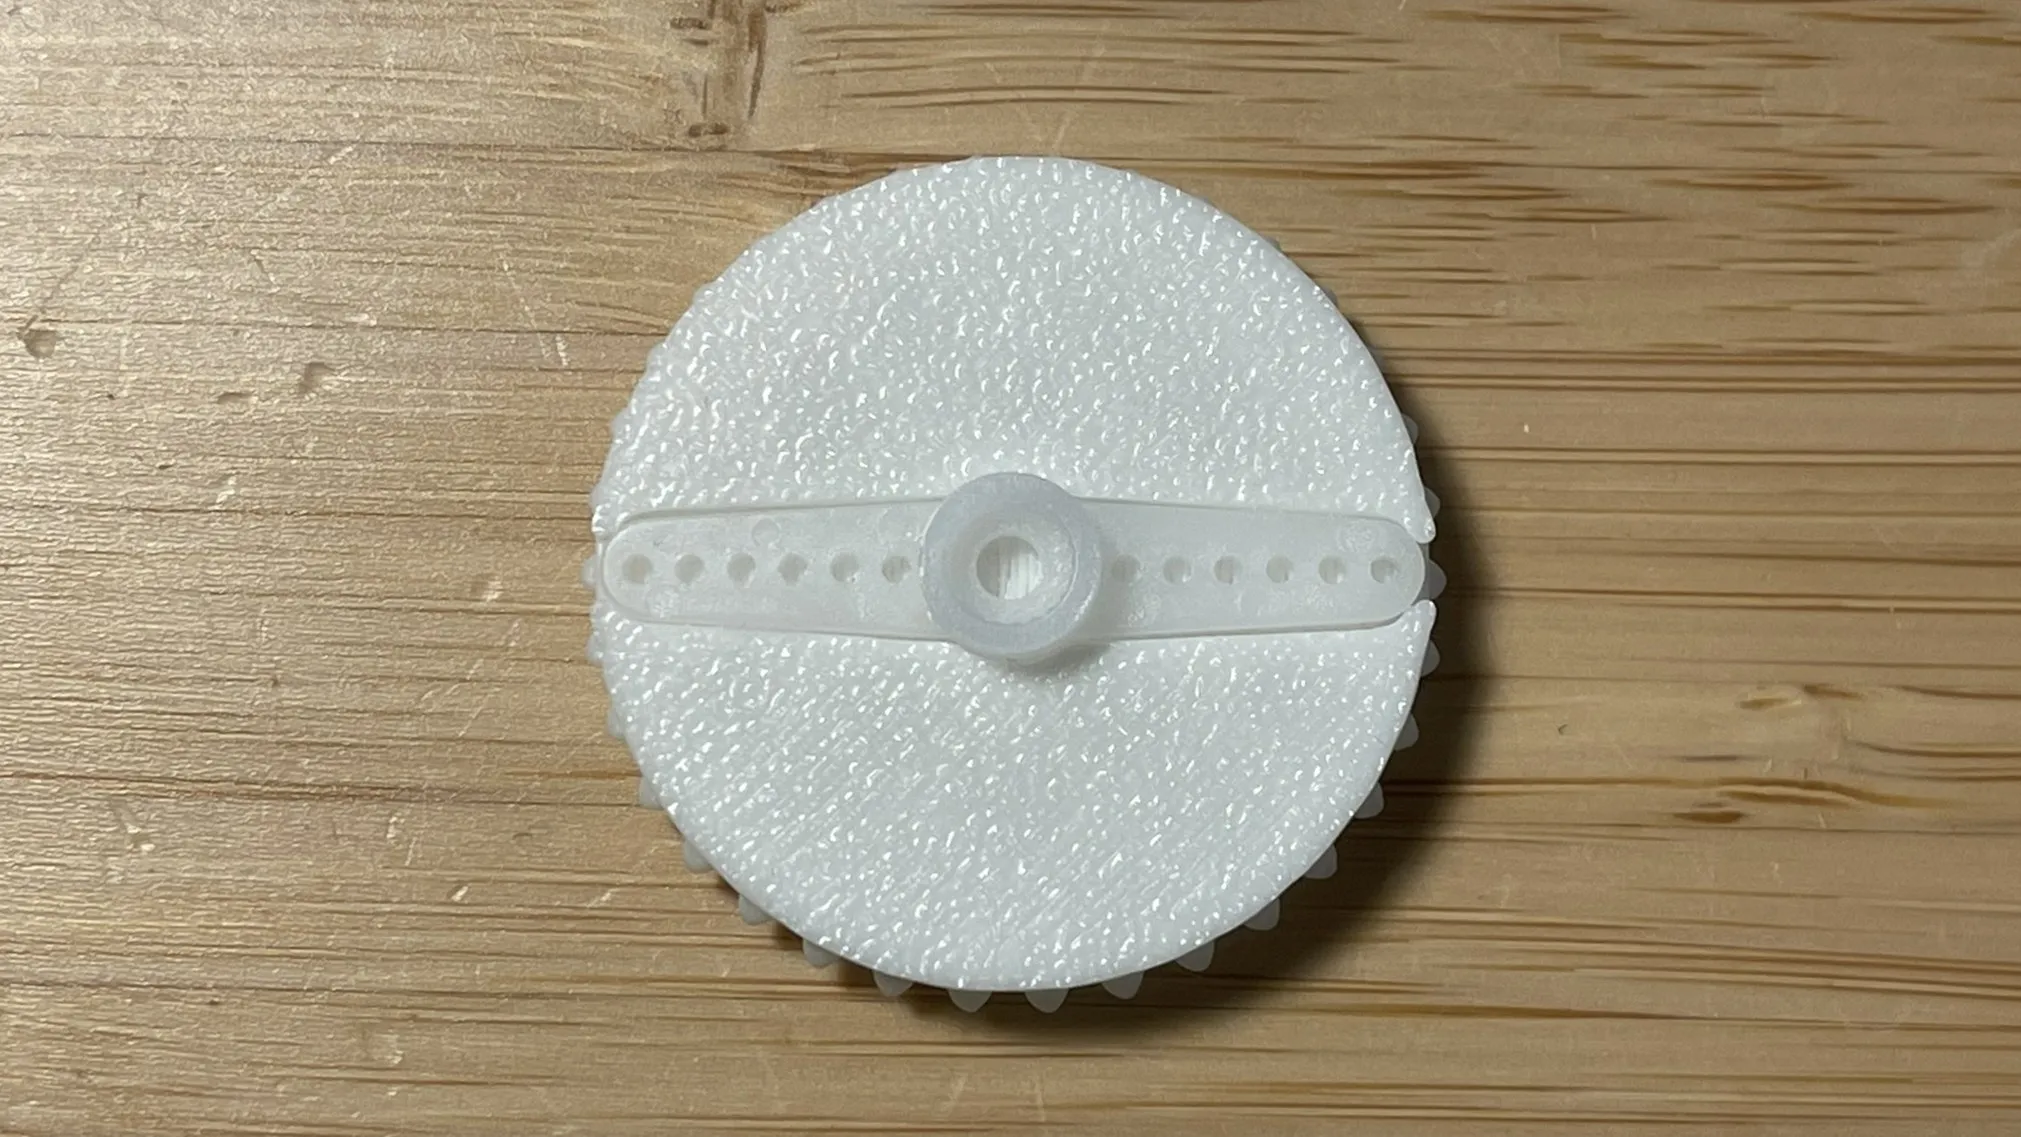 | Glue the servo moving part to the Anchor_Gear. |
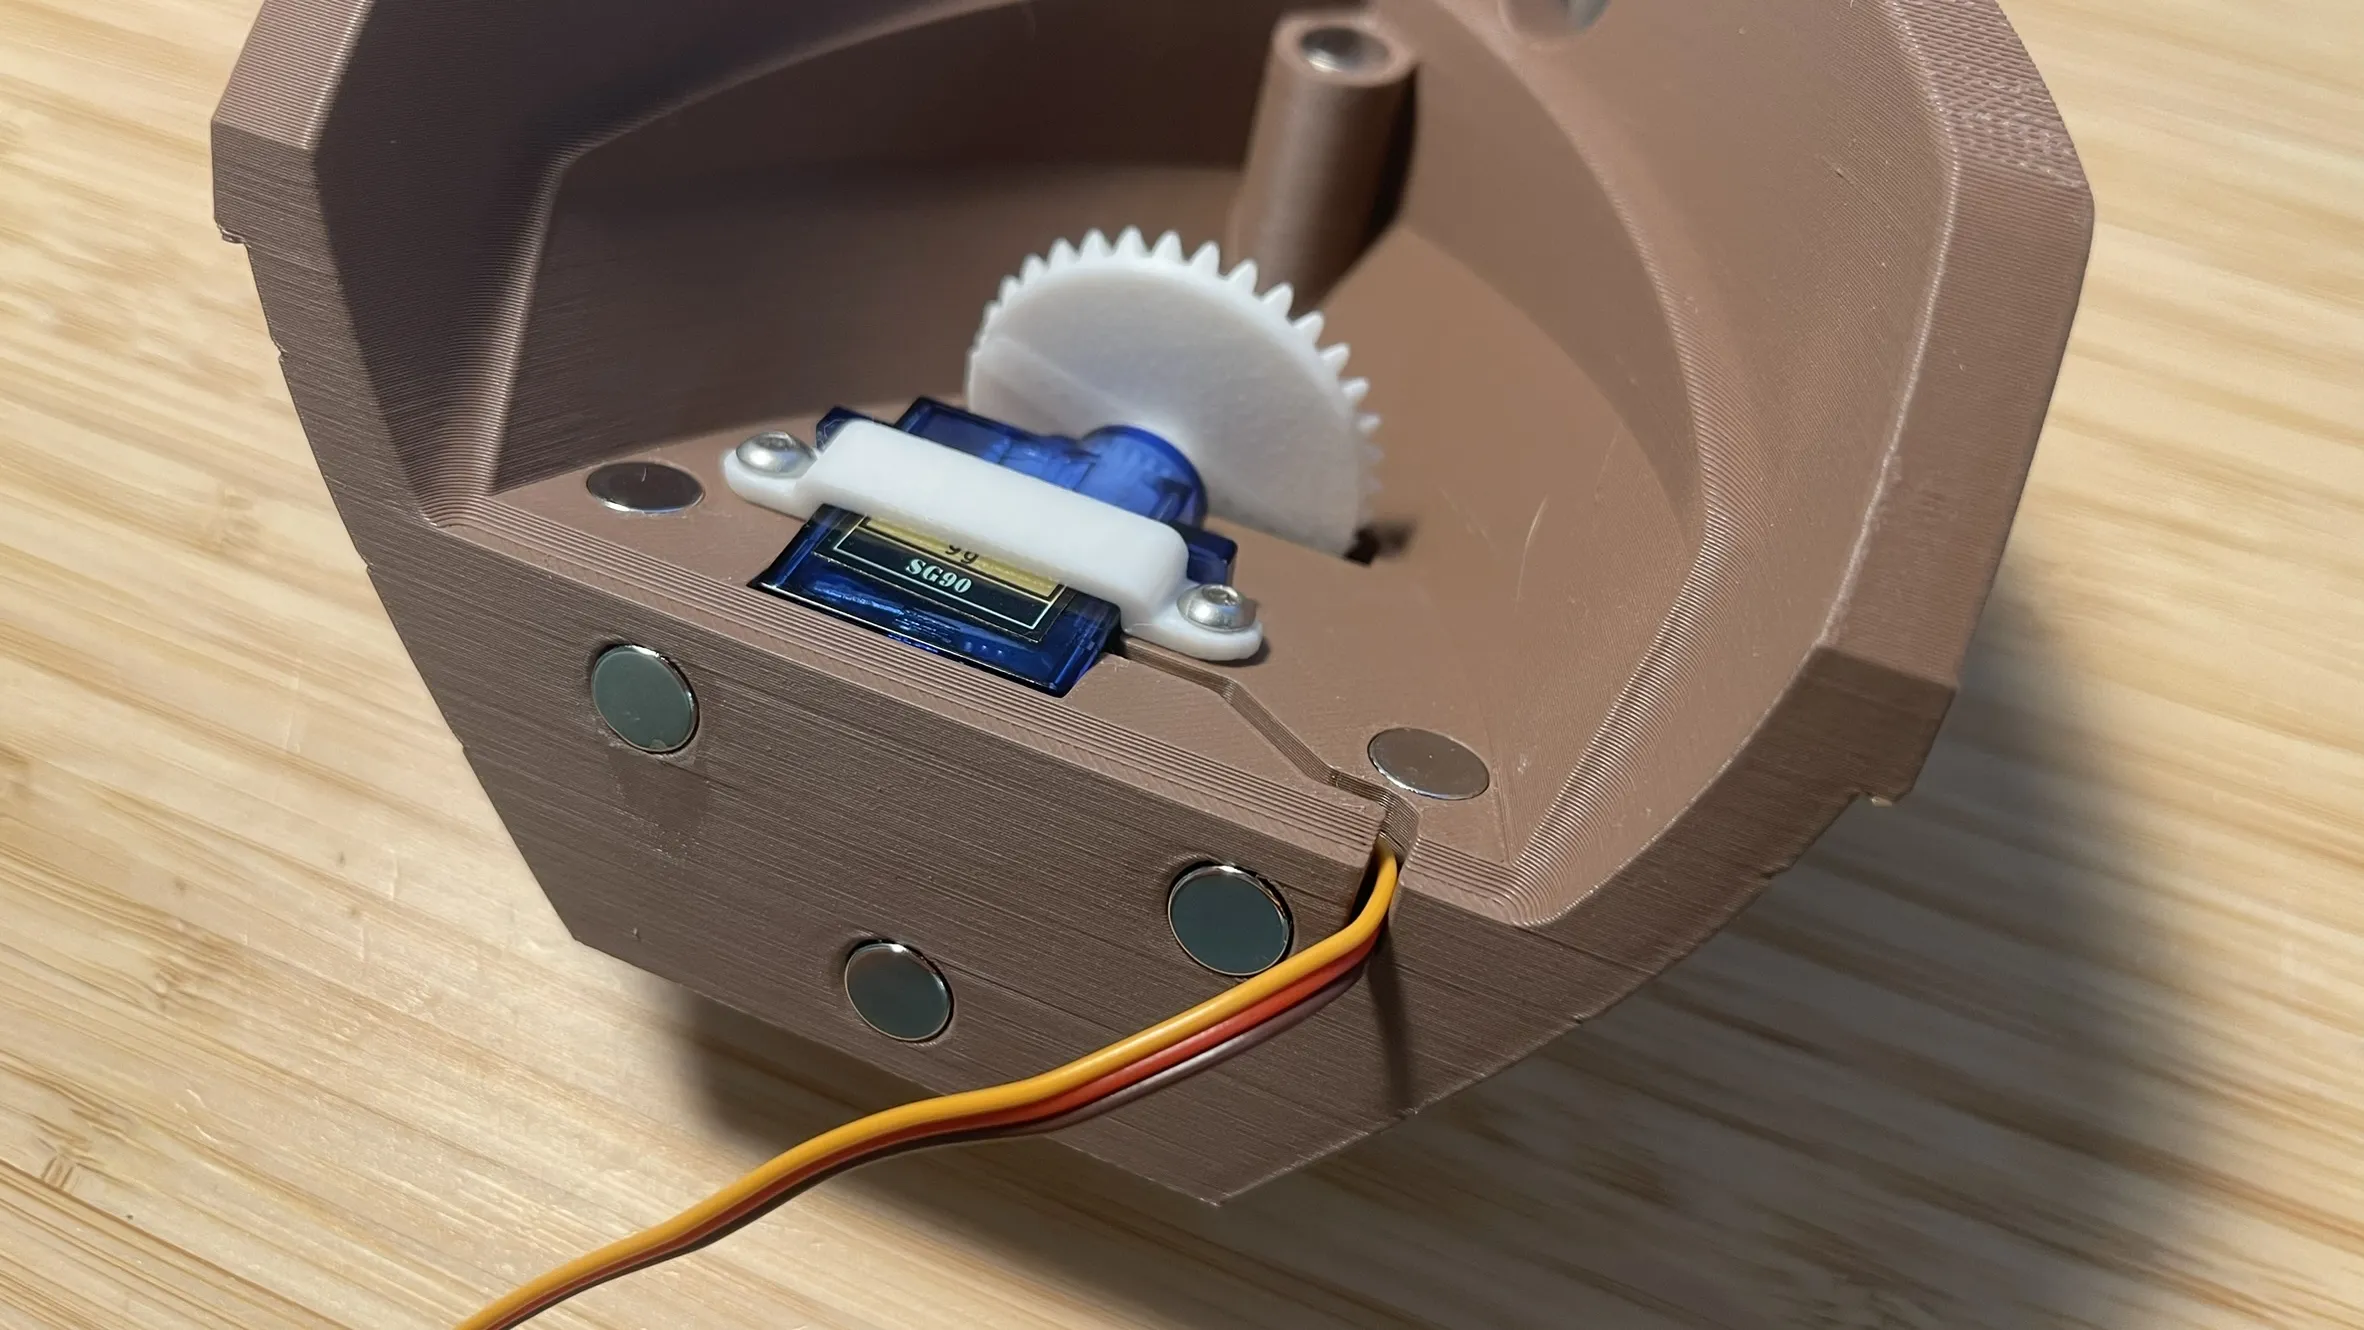 | Then attach it to the servo, insert it in its place and secure it with the Anchor_ServoStuff and M3x5mm screws (2 units) into the Bow_Ship. Put the jumper wire like in the video for the moment. |
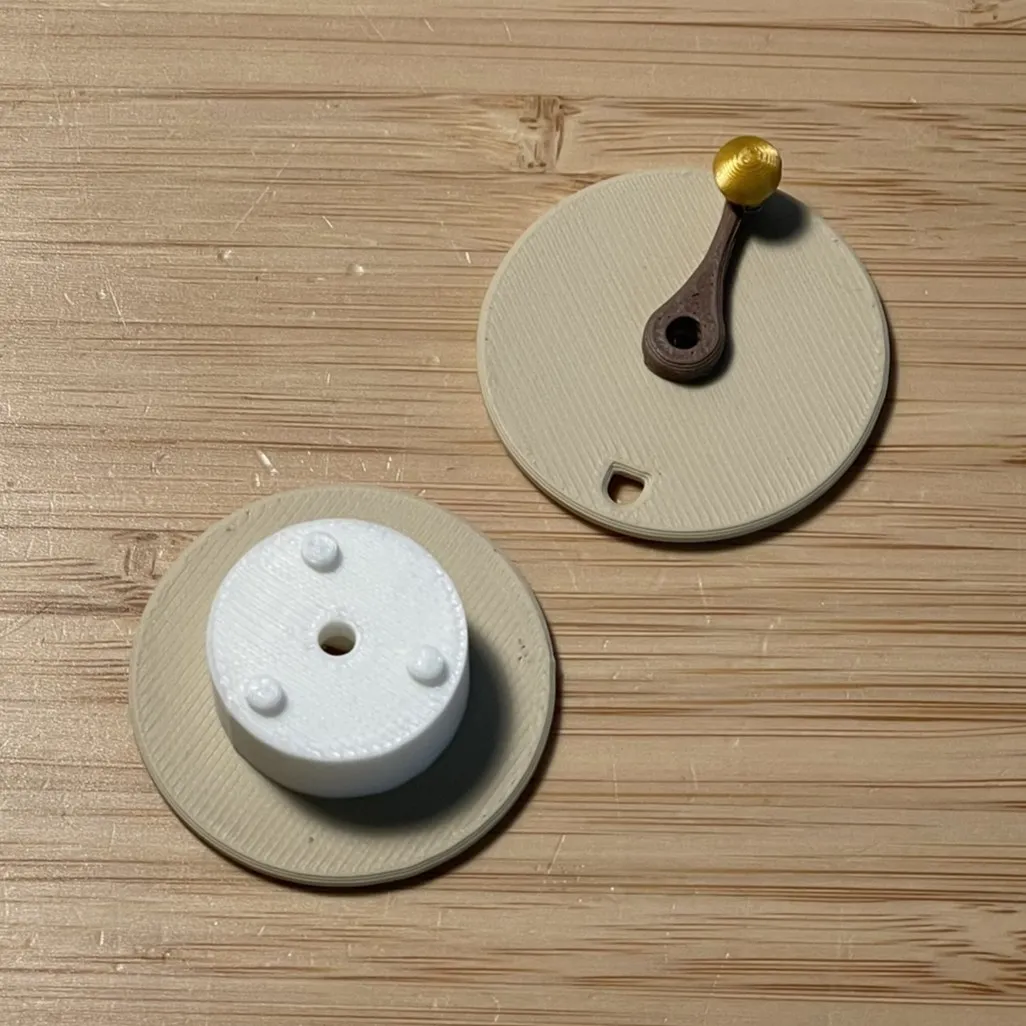 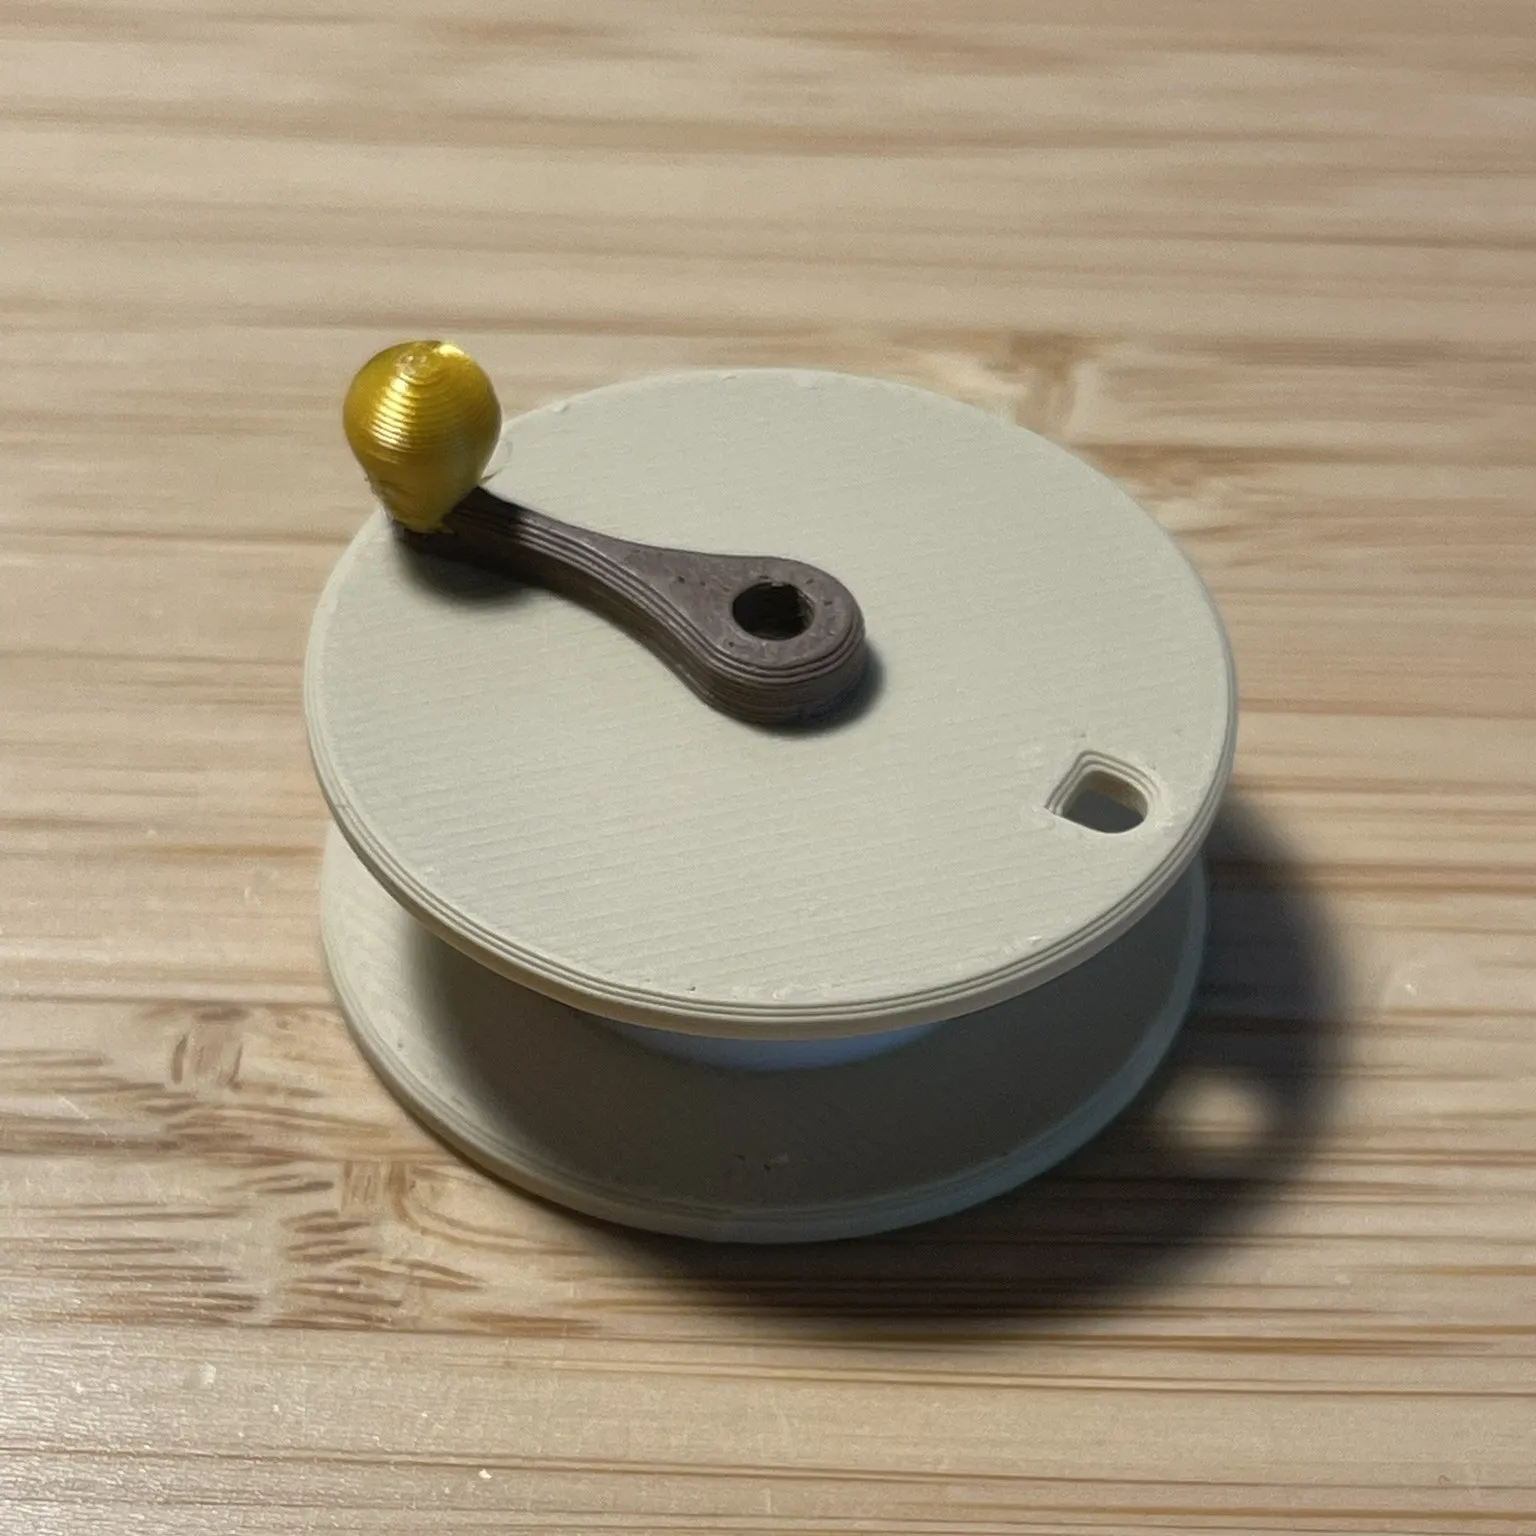 | Glue the Anchor_WheelBase to the Anchor_WheelLid. |
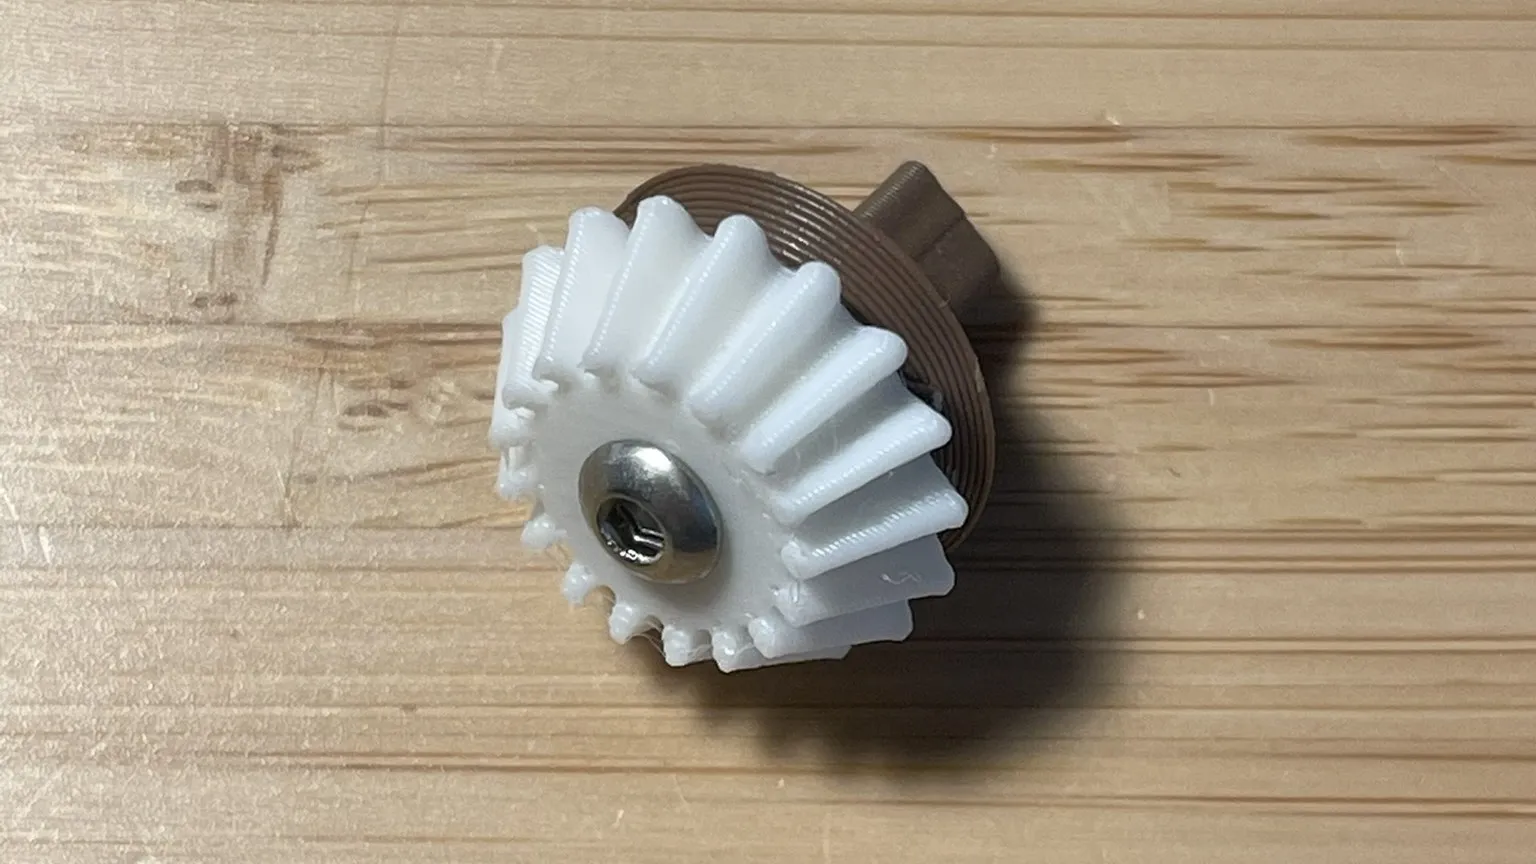 | Screw the Anchor_Pinon to the Anchor_Axis with a M3x5mm screw (1 unit). Insert it through the Bow_Floor and assembly the rest of the anchor wheel. Then screw all together with a M3x12mm screw (1 unit). |
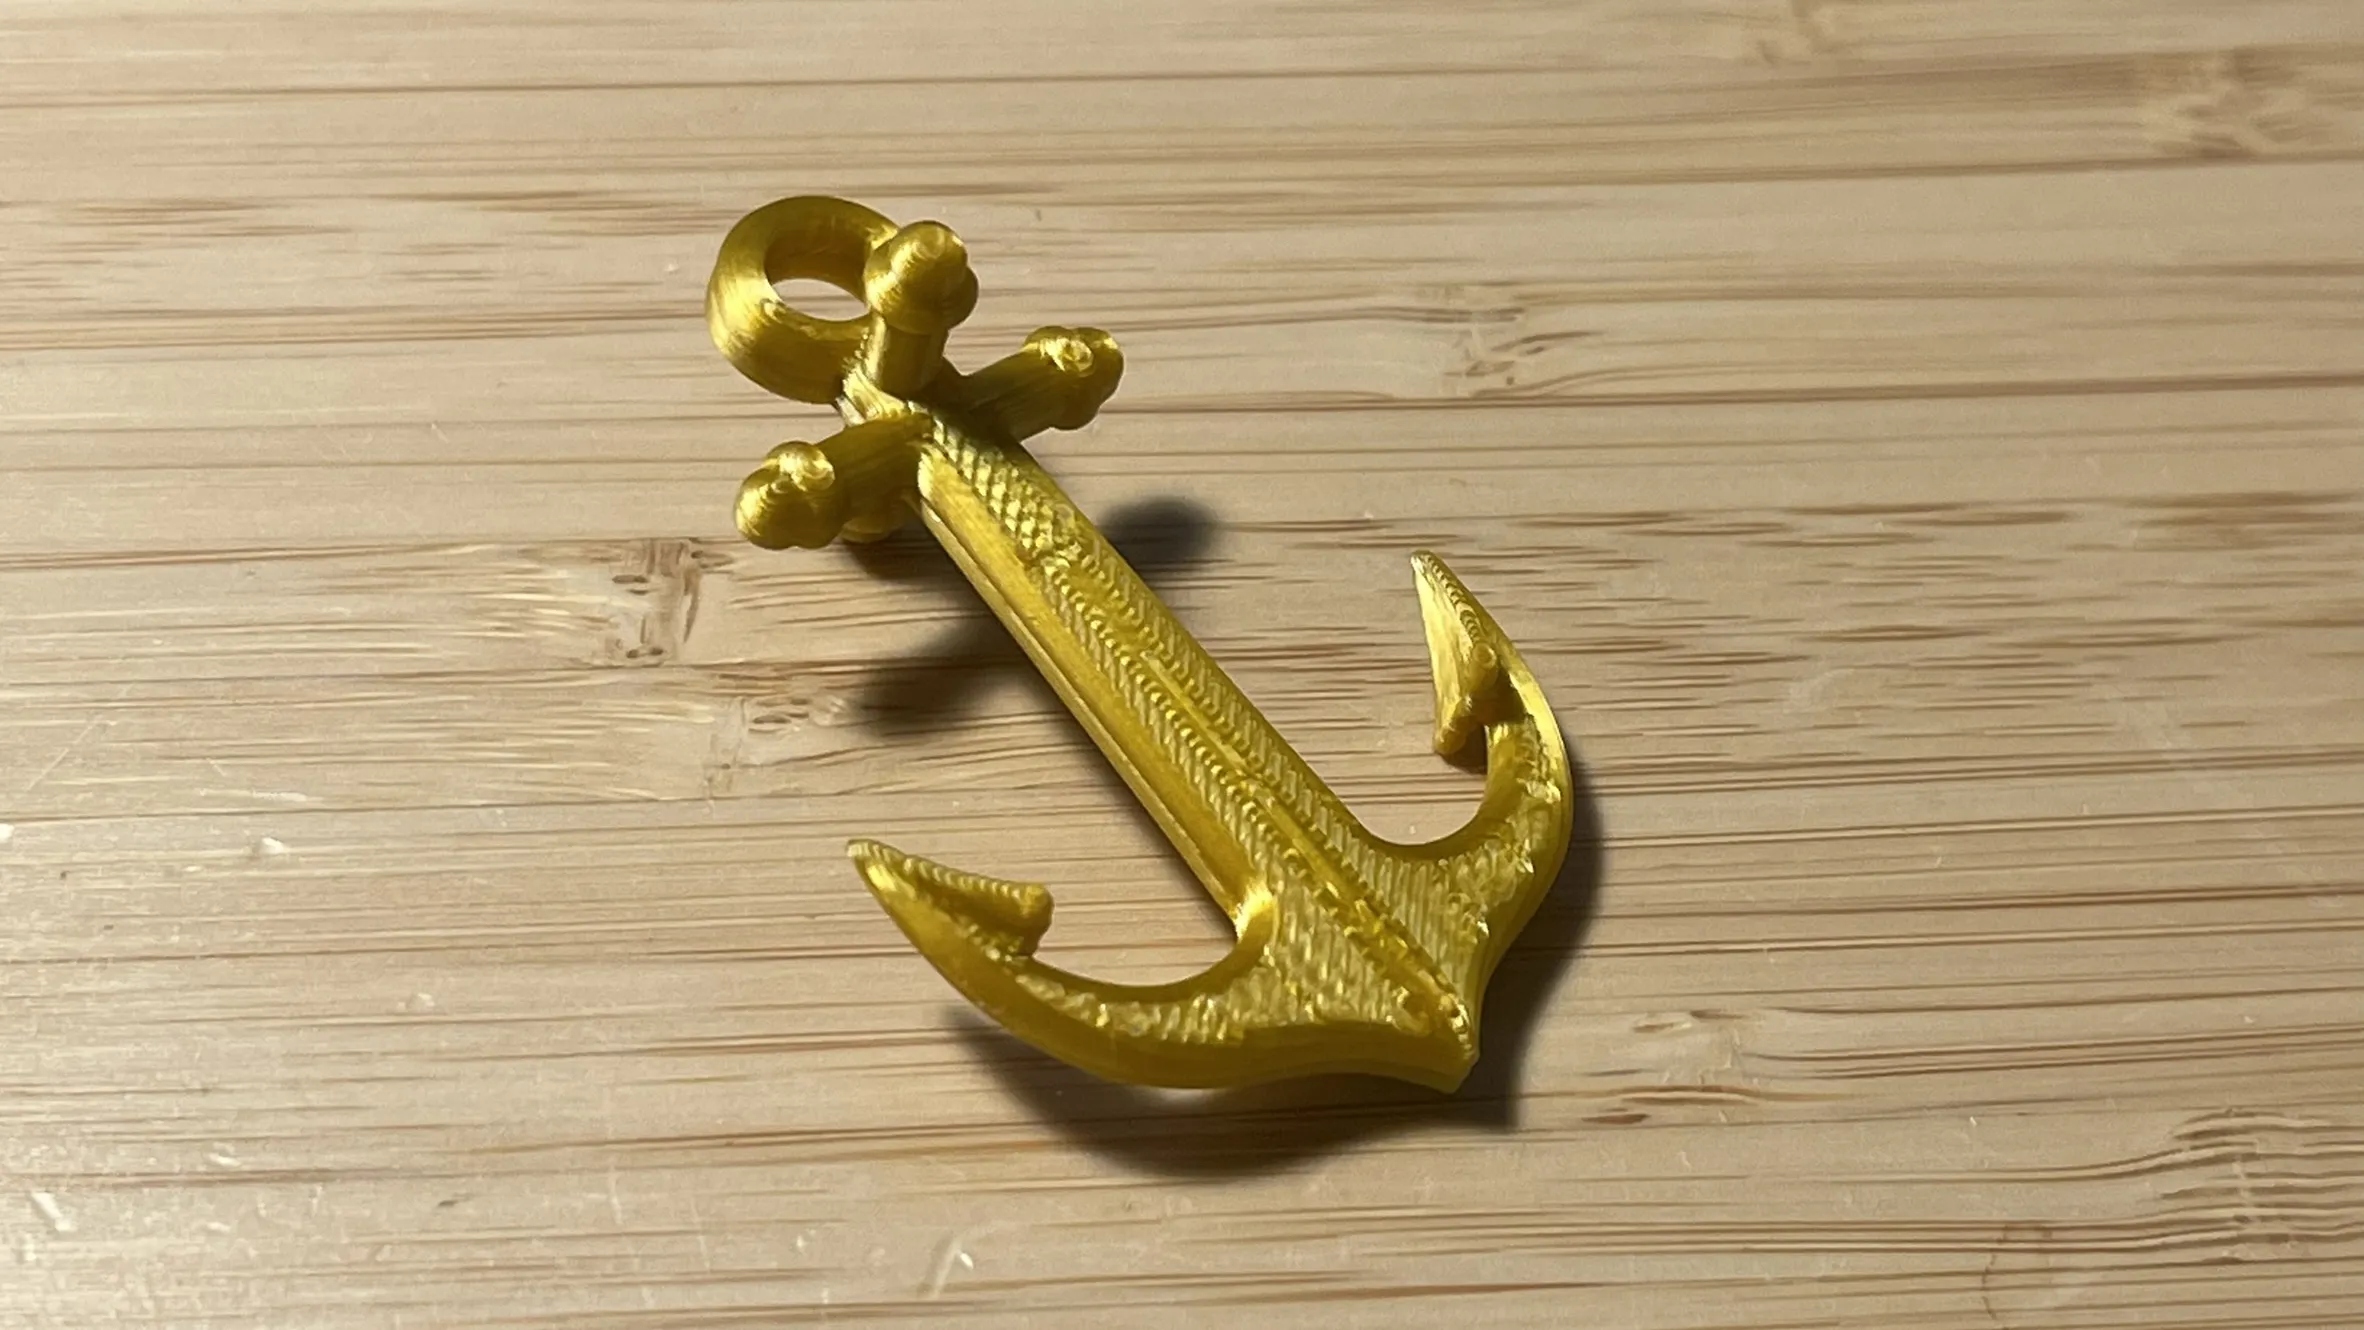 | Now we're going to asembly the anchor: firts glue the two parts of the anchor together, Anchor_A and Anchor_B. |
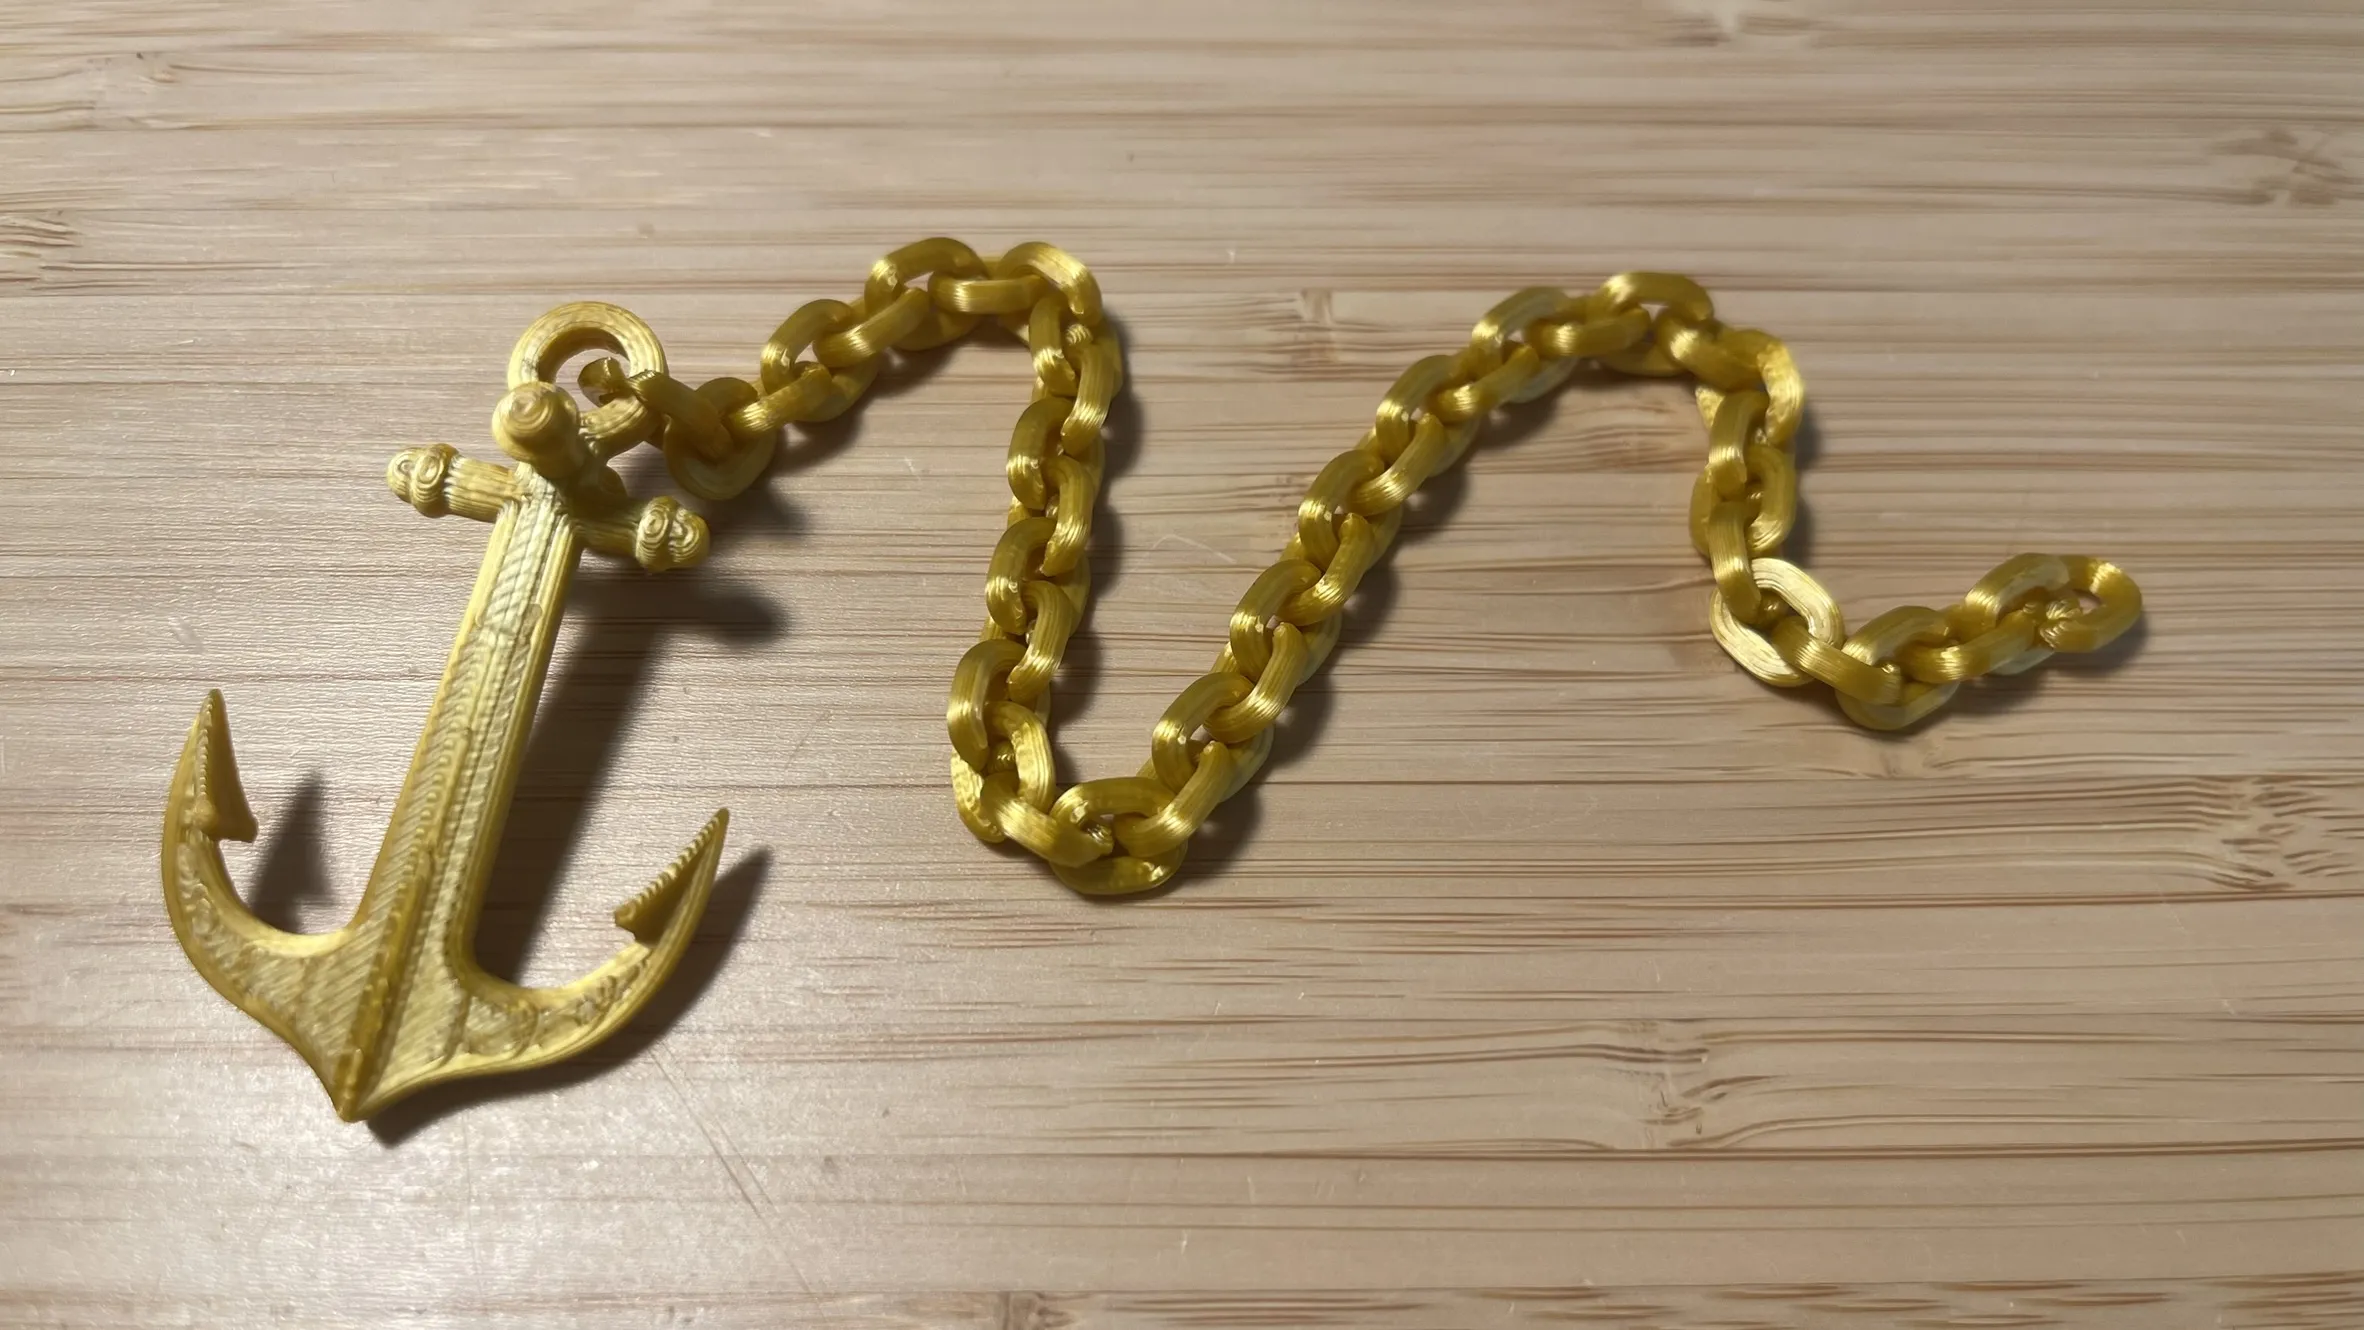 | Chain the Nexus part and then, chain 40 units of the Chain parts. |
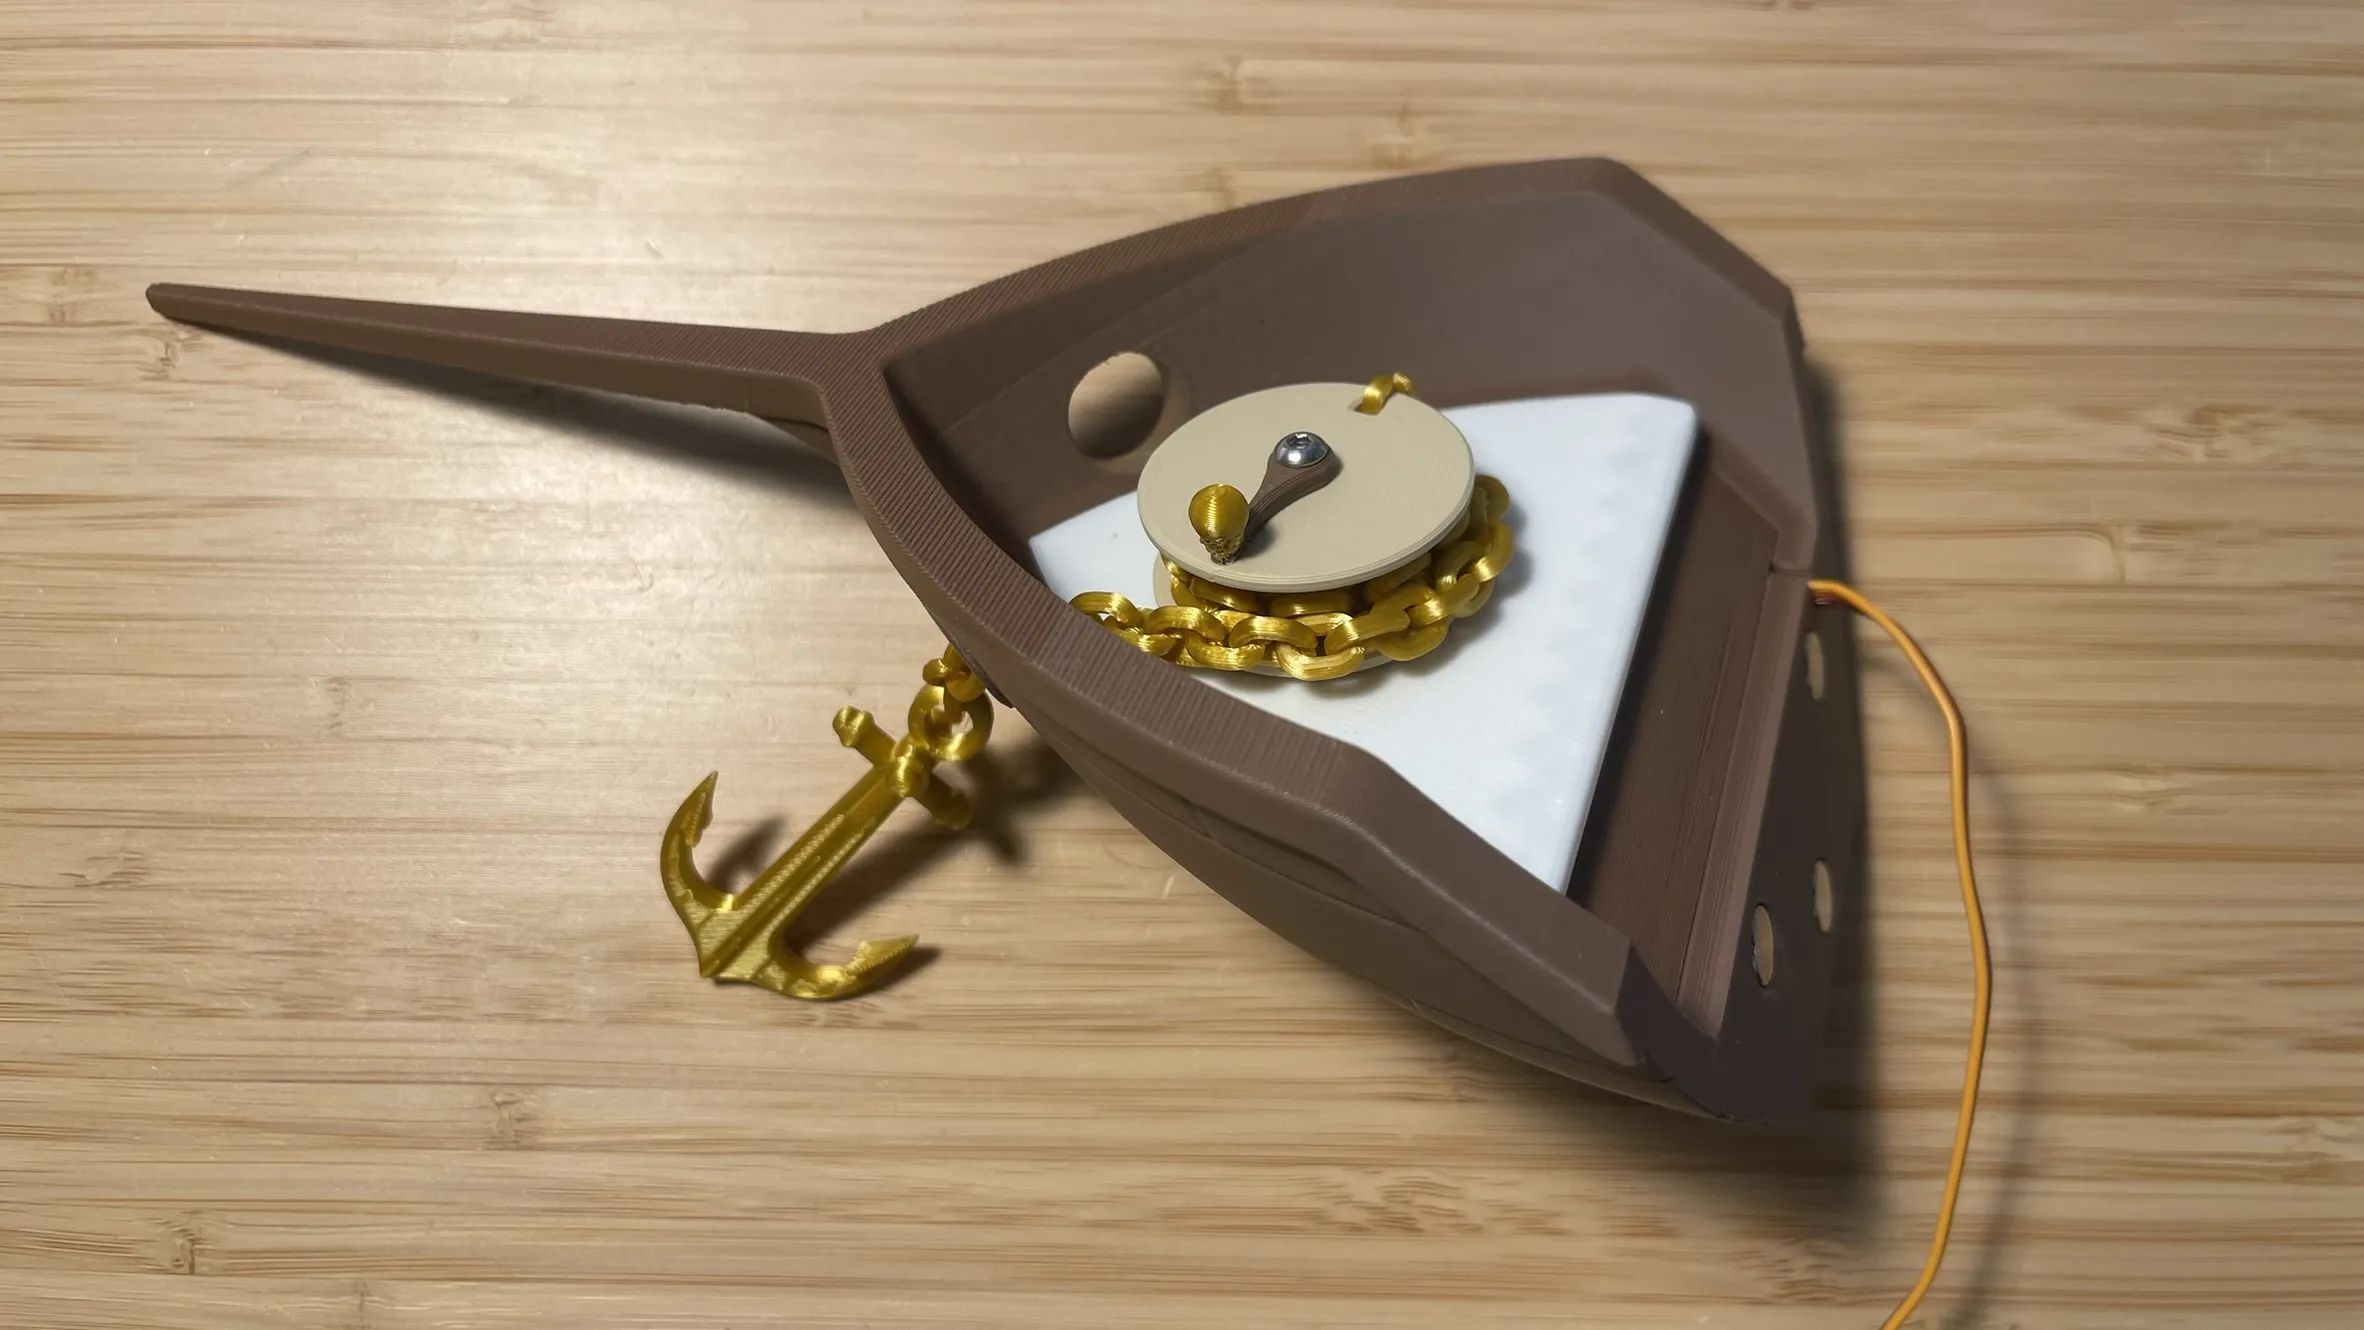 | Then, magnet the Bow_Floor to the Bow_Ship. Insert the chain through the bow left hole and chain it to the Anchor_WheelLid. Spin the wheel counterclockwise til the anchor is next to the bow wall, like in the picture. |
🎉 BOW FINISHED! 🎉 | |
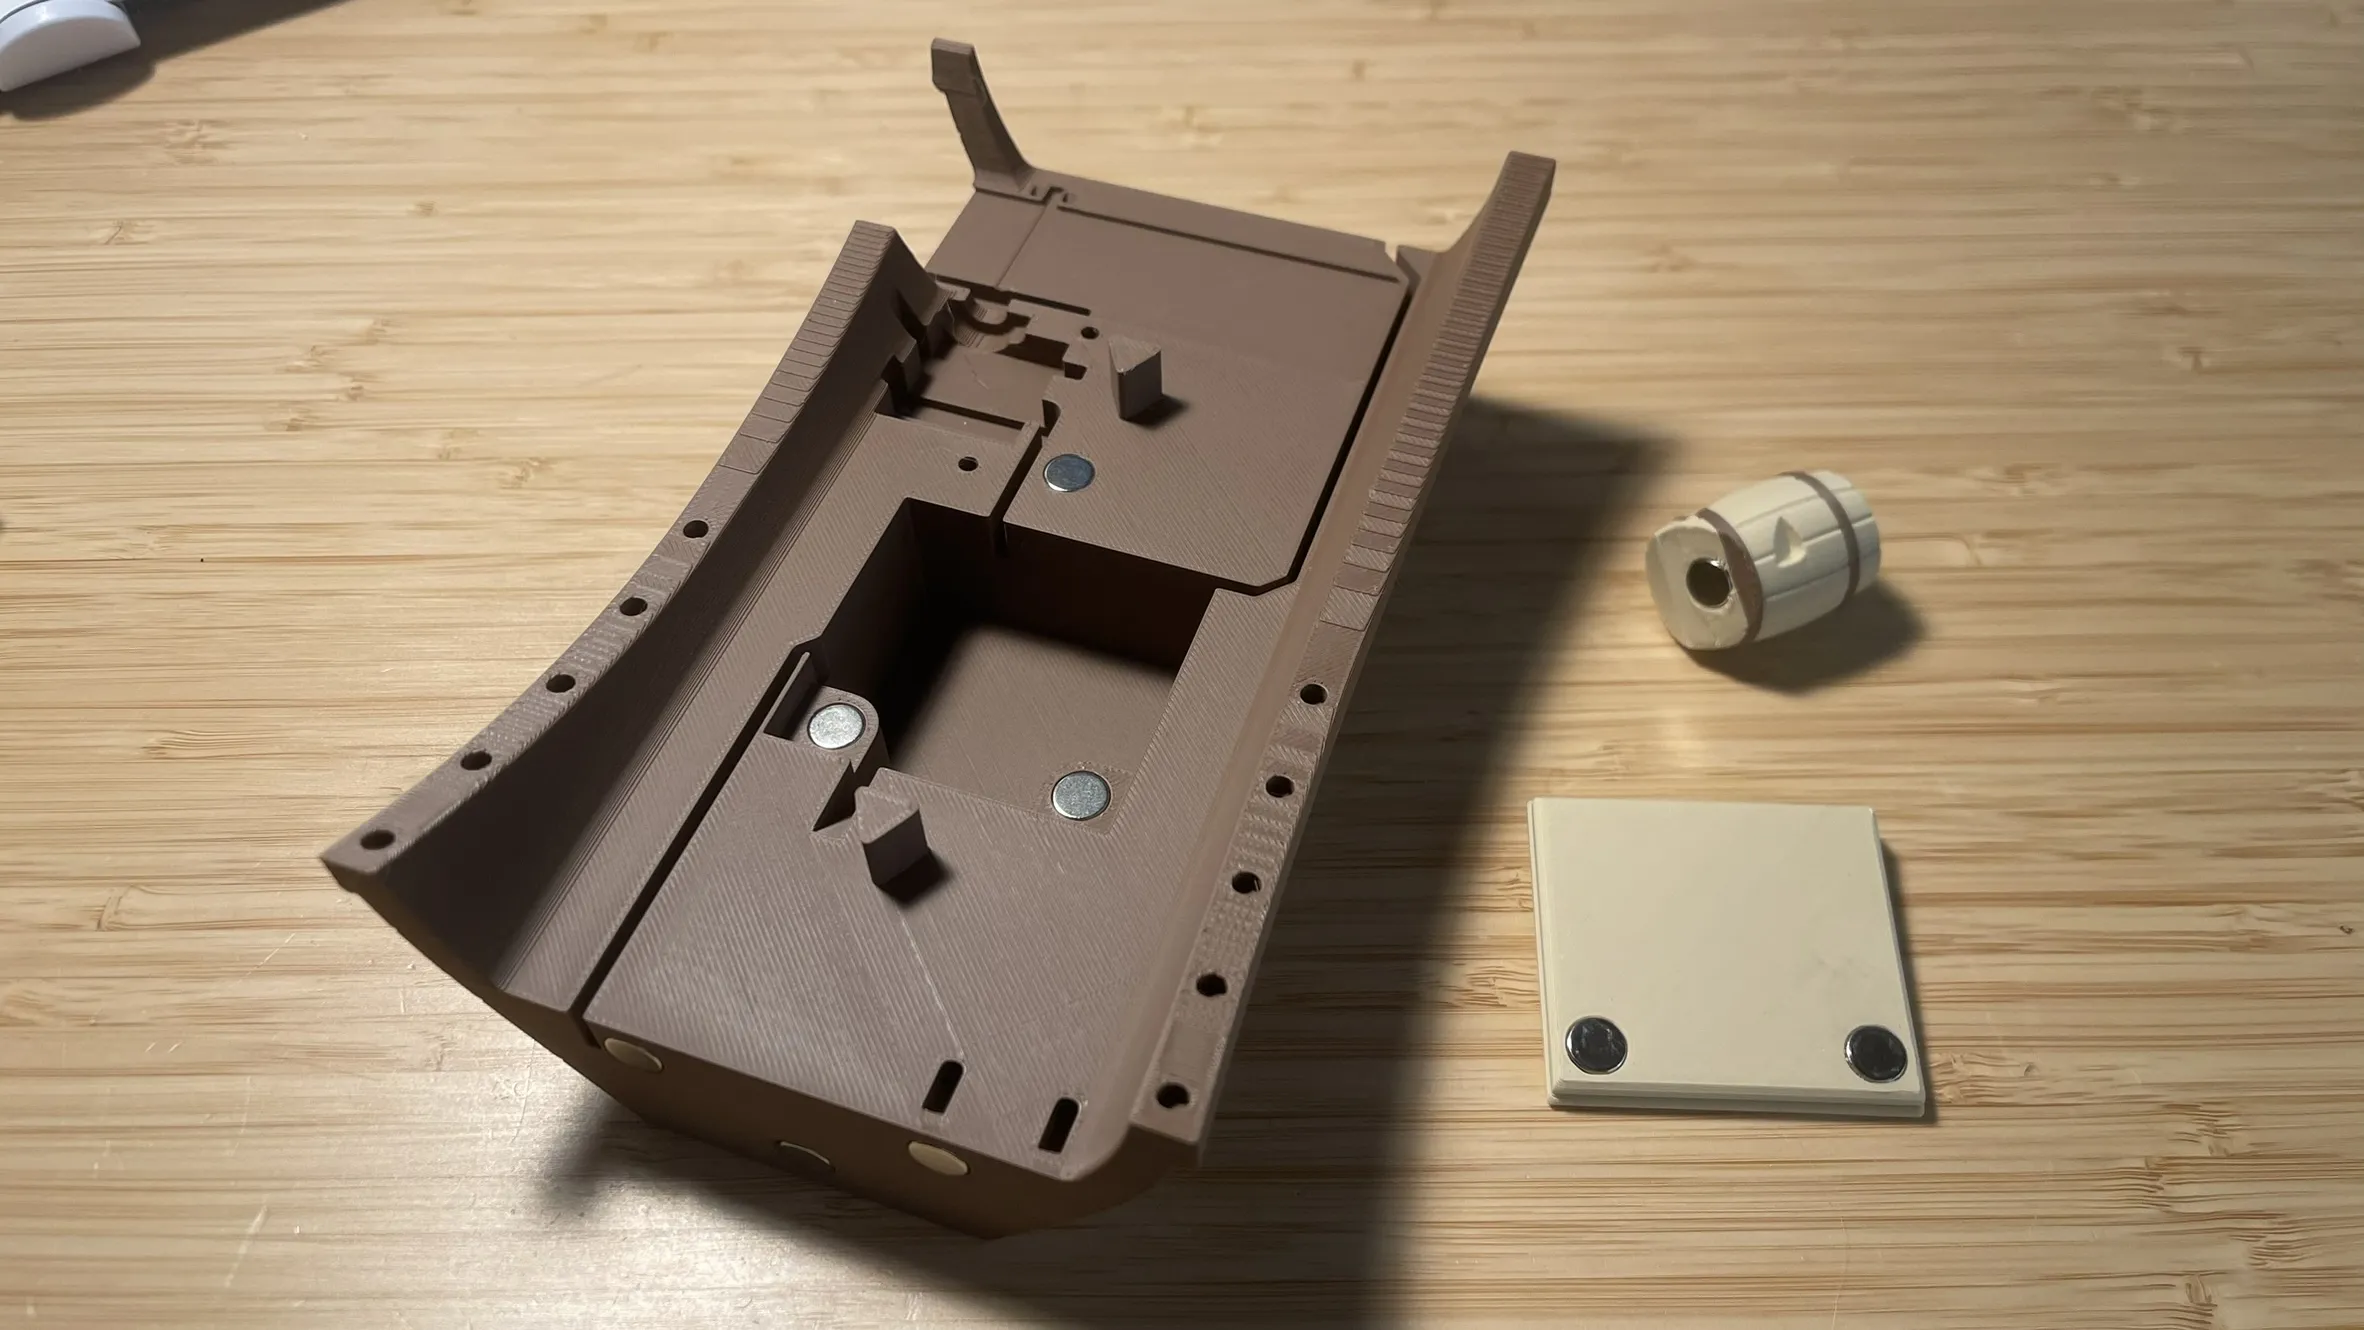 | We continue the assembly with the HULL PART: glue the 11 magnets in its holes. Hull_Ship and Hull_Floor will be joined together thanks to these magnets. Also Bow_Ship and Stern_Ship will be joined at the Hull_Ship by the magnets. And do not forget the Barrel_C magnet (it will be attached to the magnet that is located on the hull's floor. Make sure you orient them correctly. |
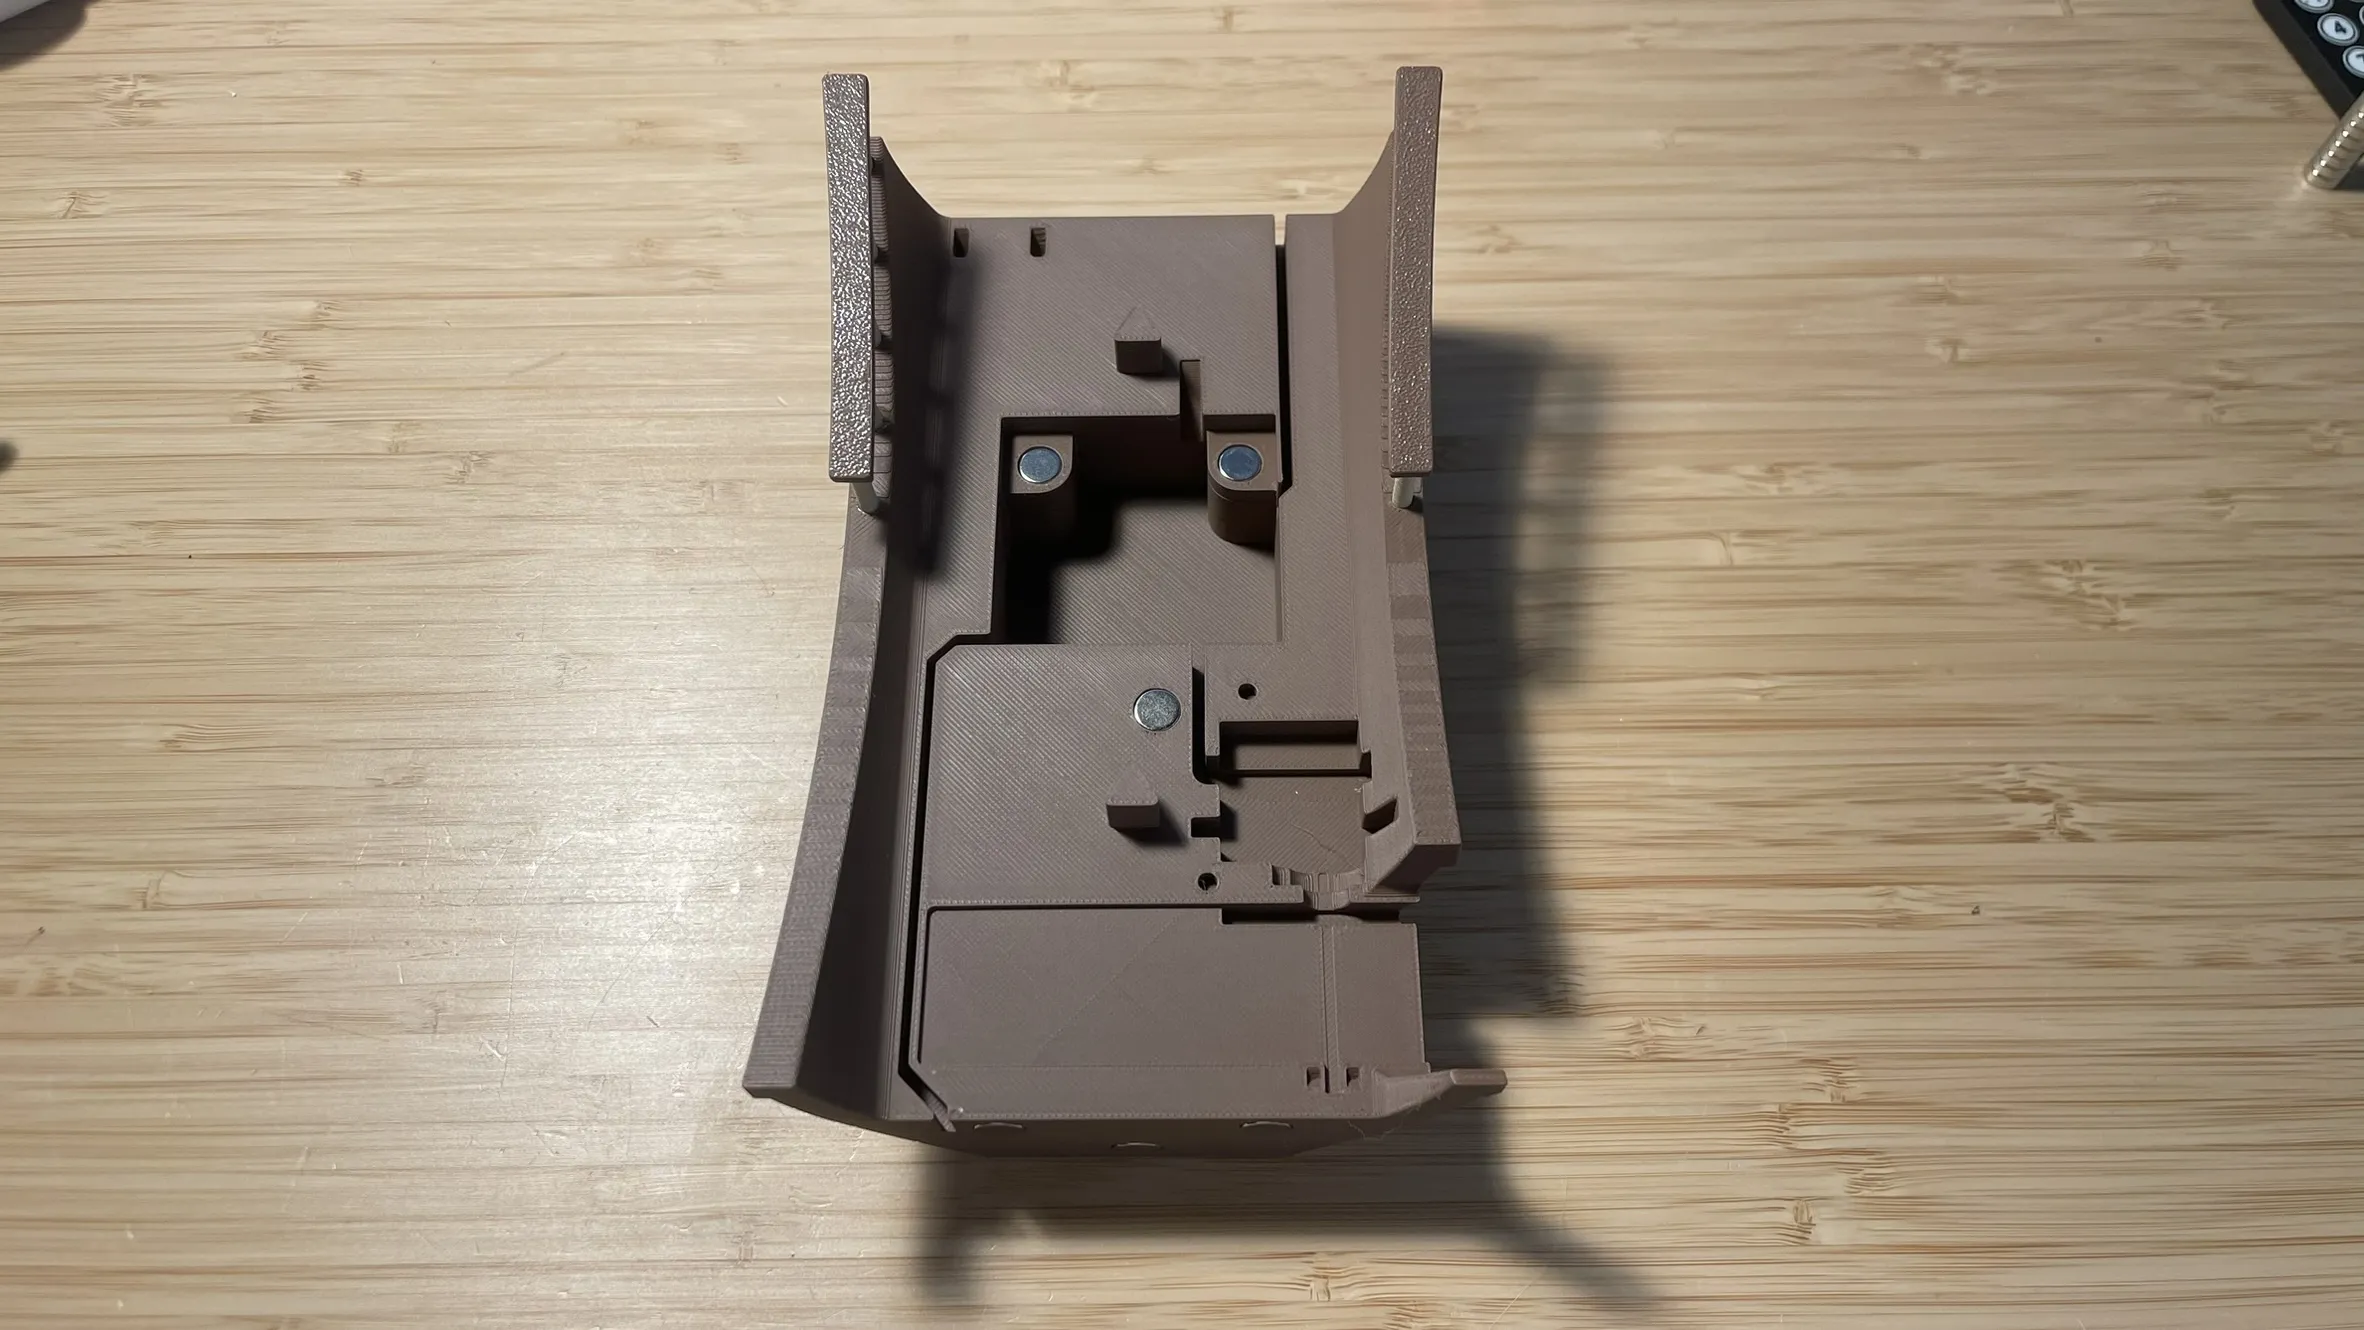 | Glue the Baran_C and Baran_D to the Hull_Floor. They are simetrical but not equal, make sure you glue Baran_C in the holes next to the cable canal. |
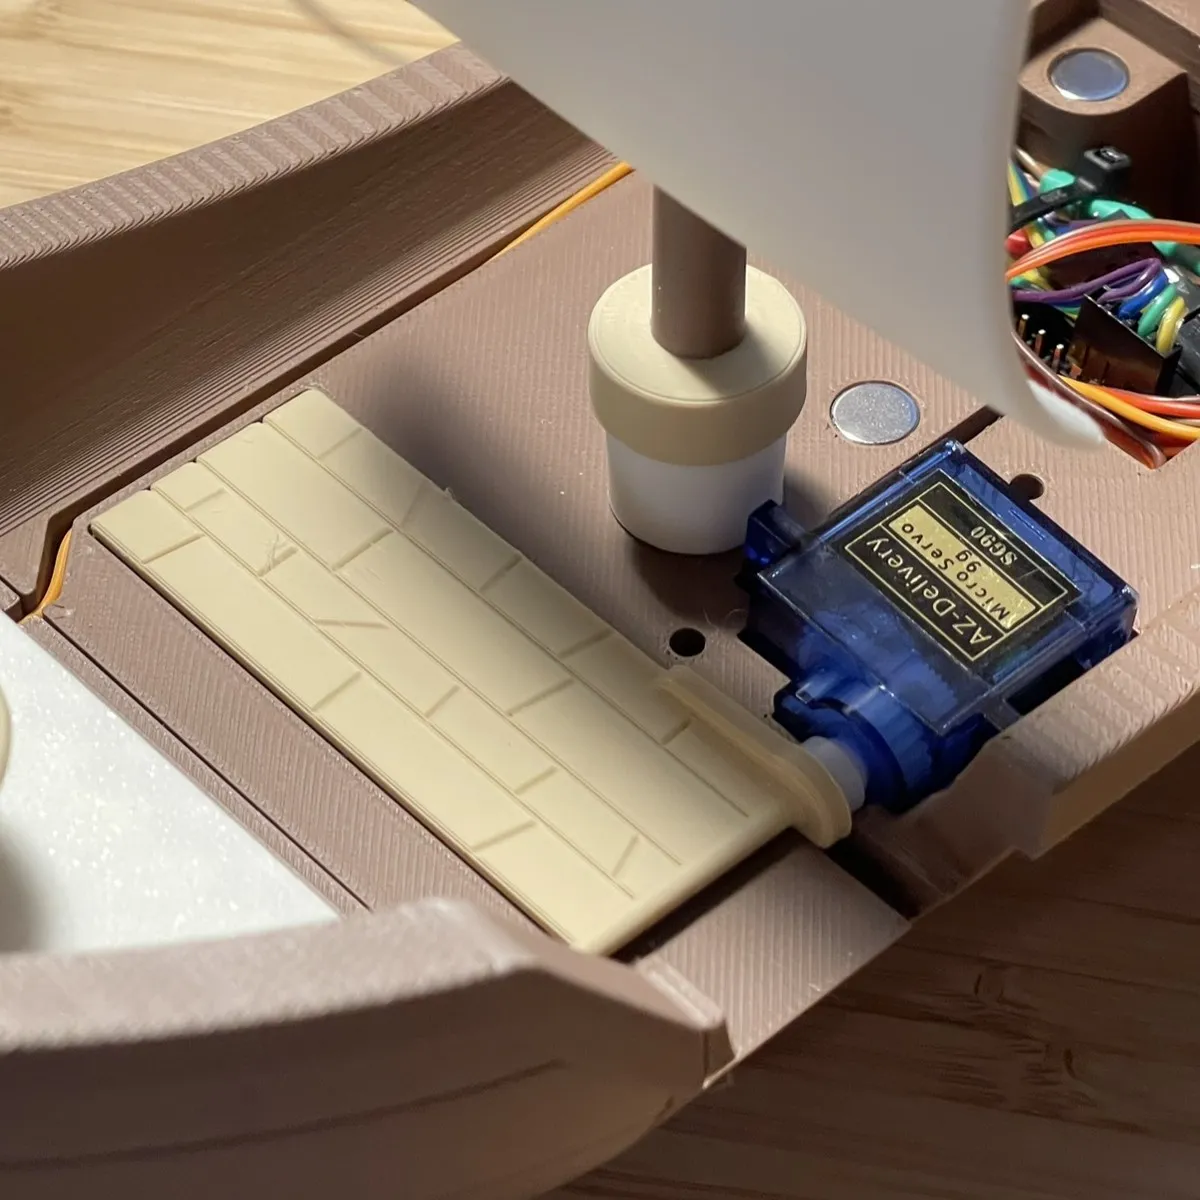
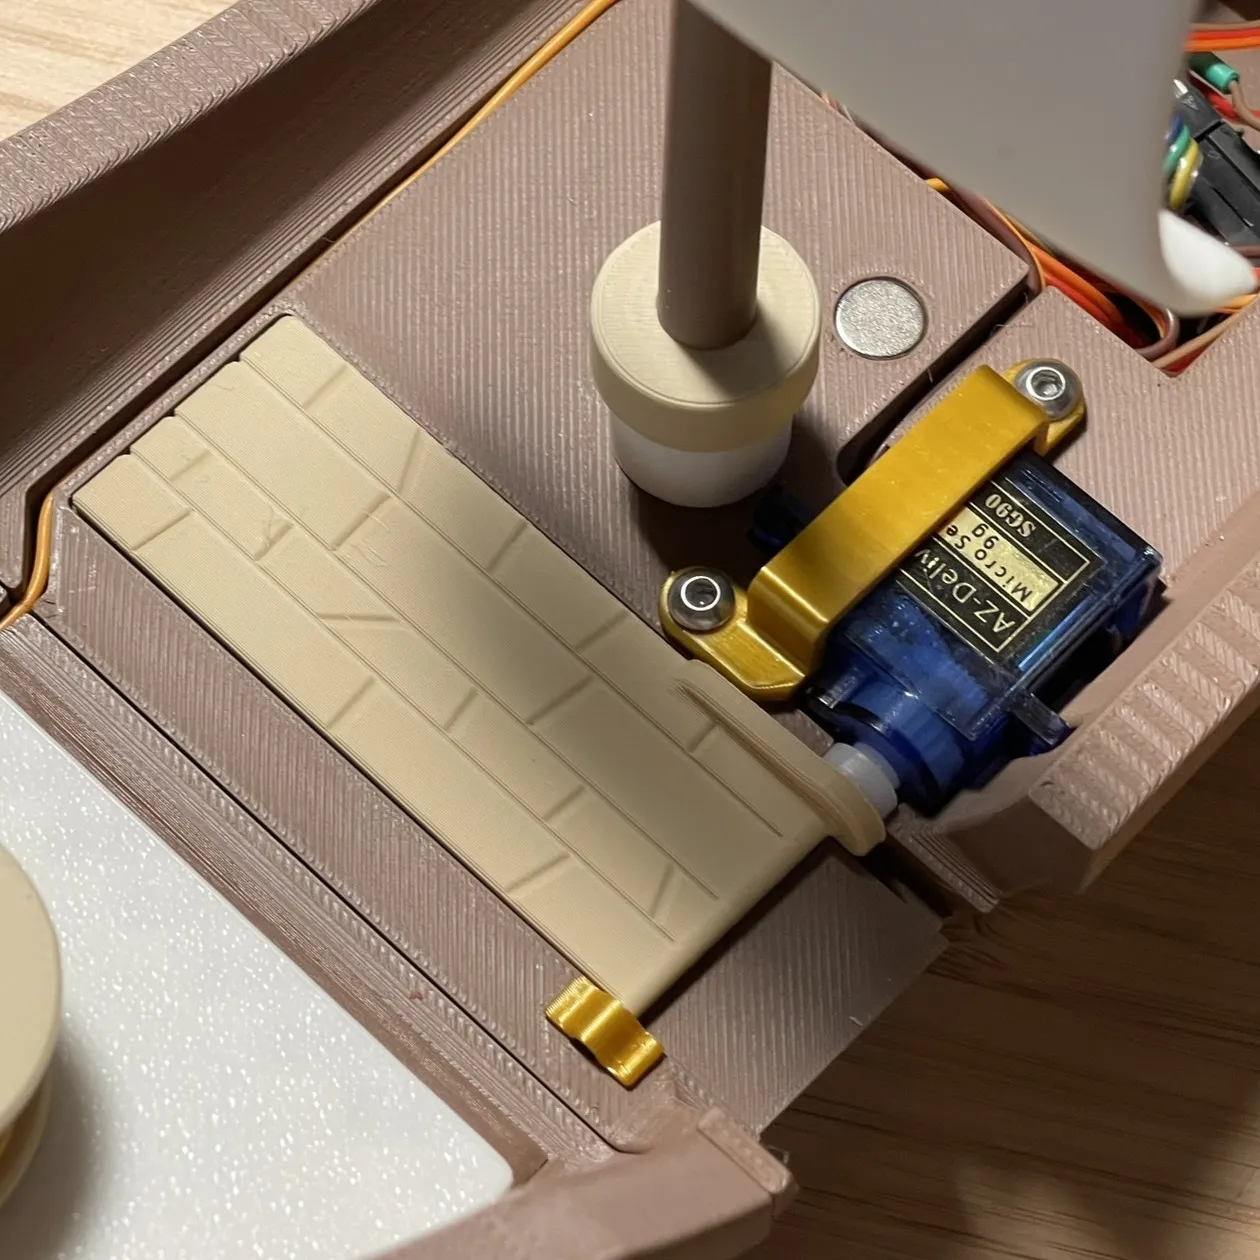
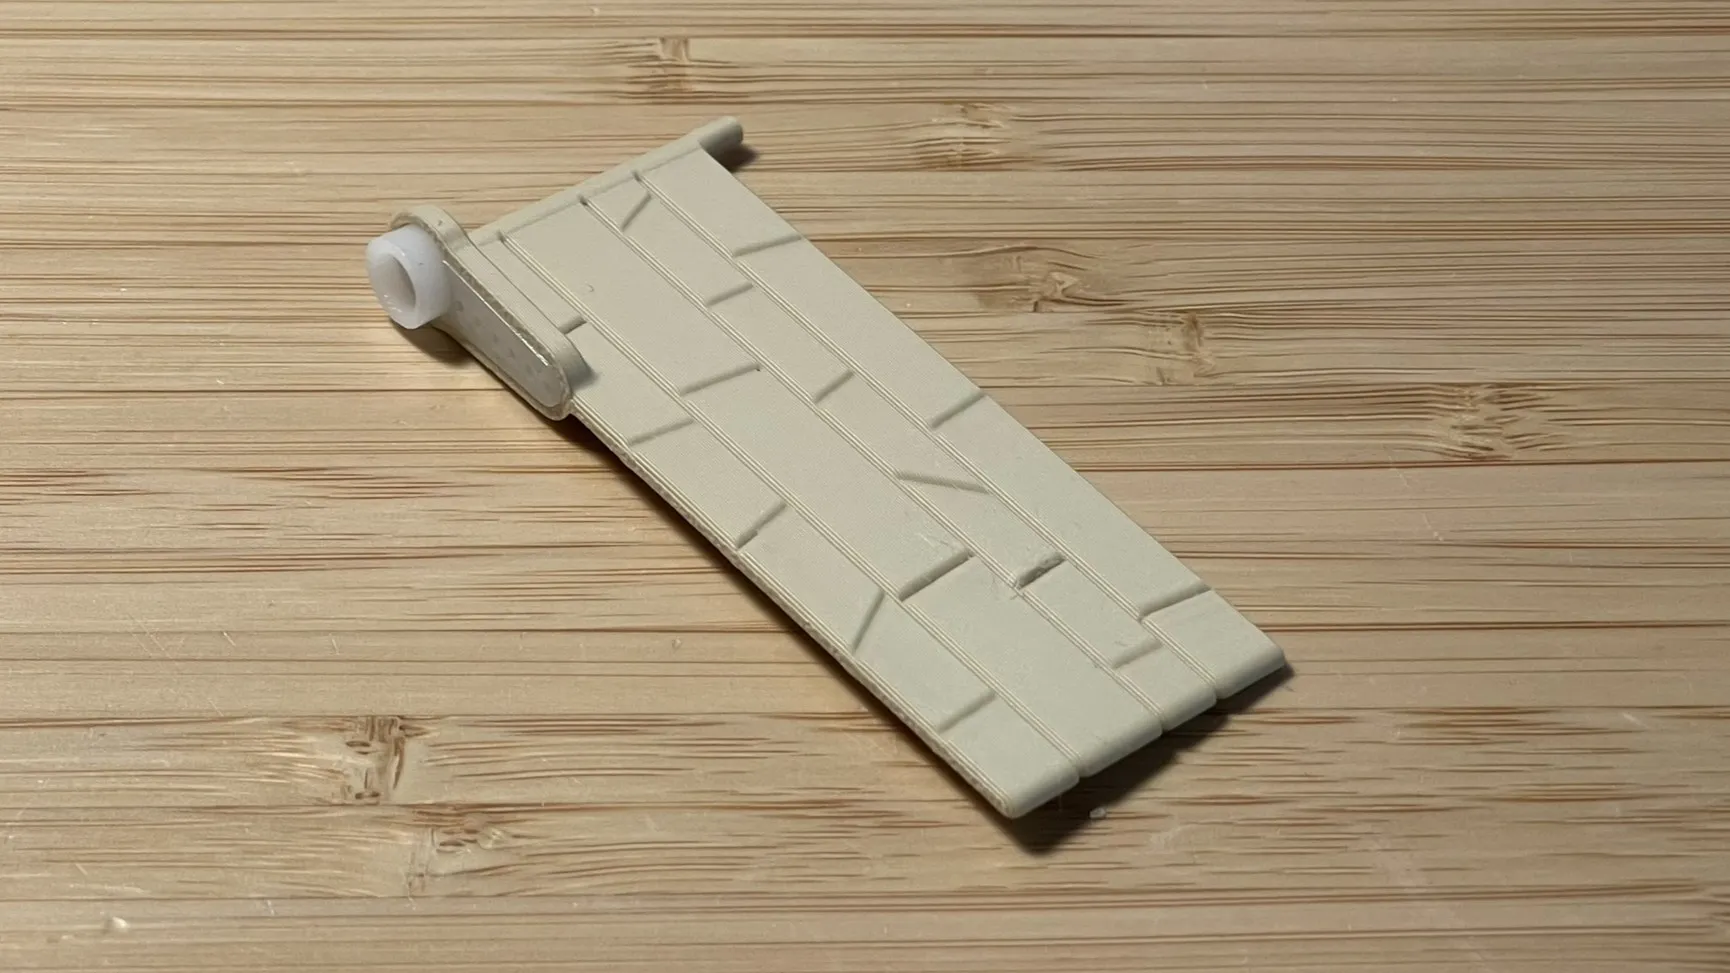 | Glue the servo moving part to the Table. |
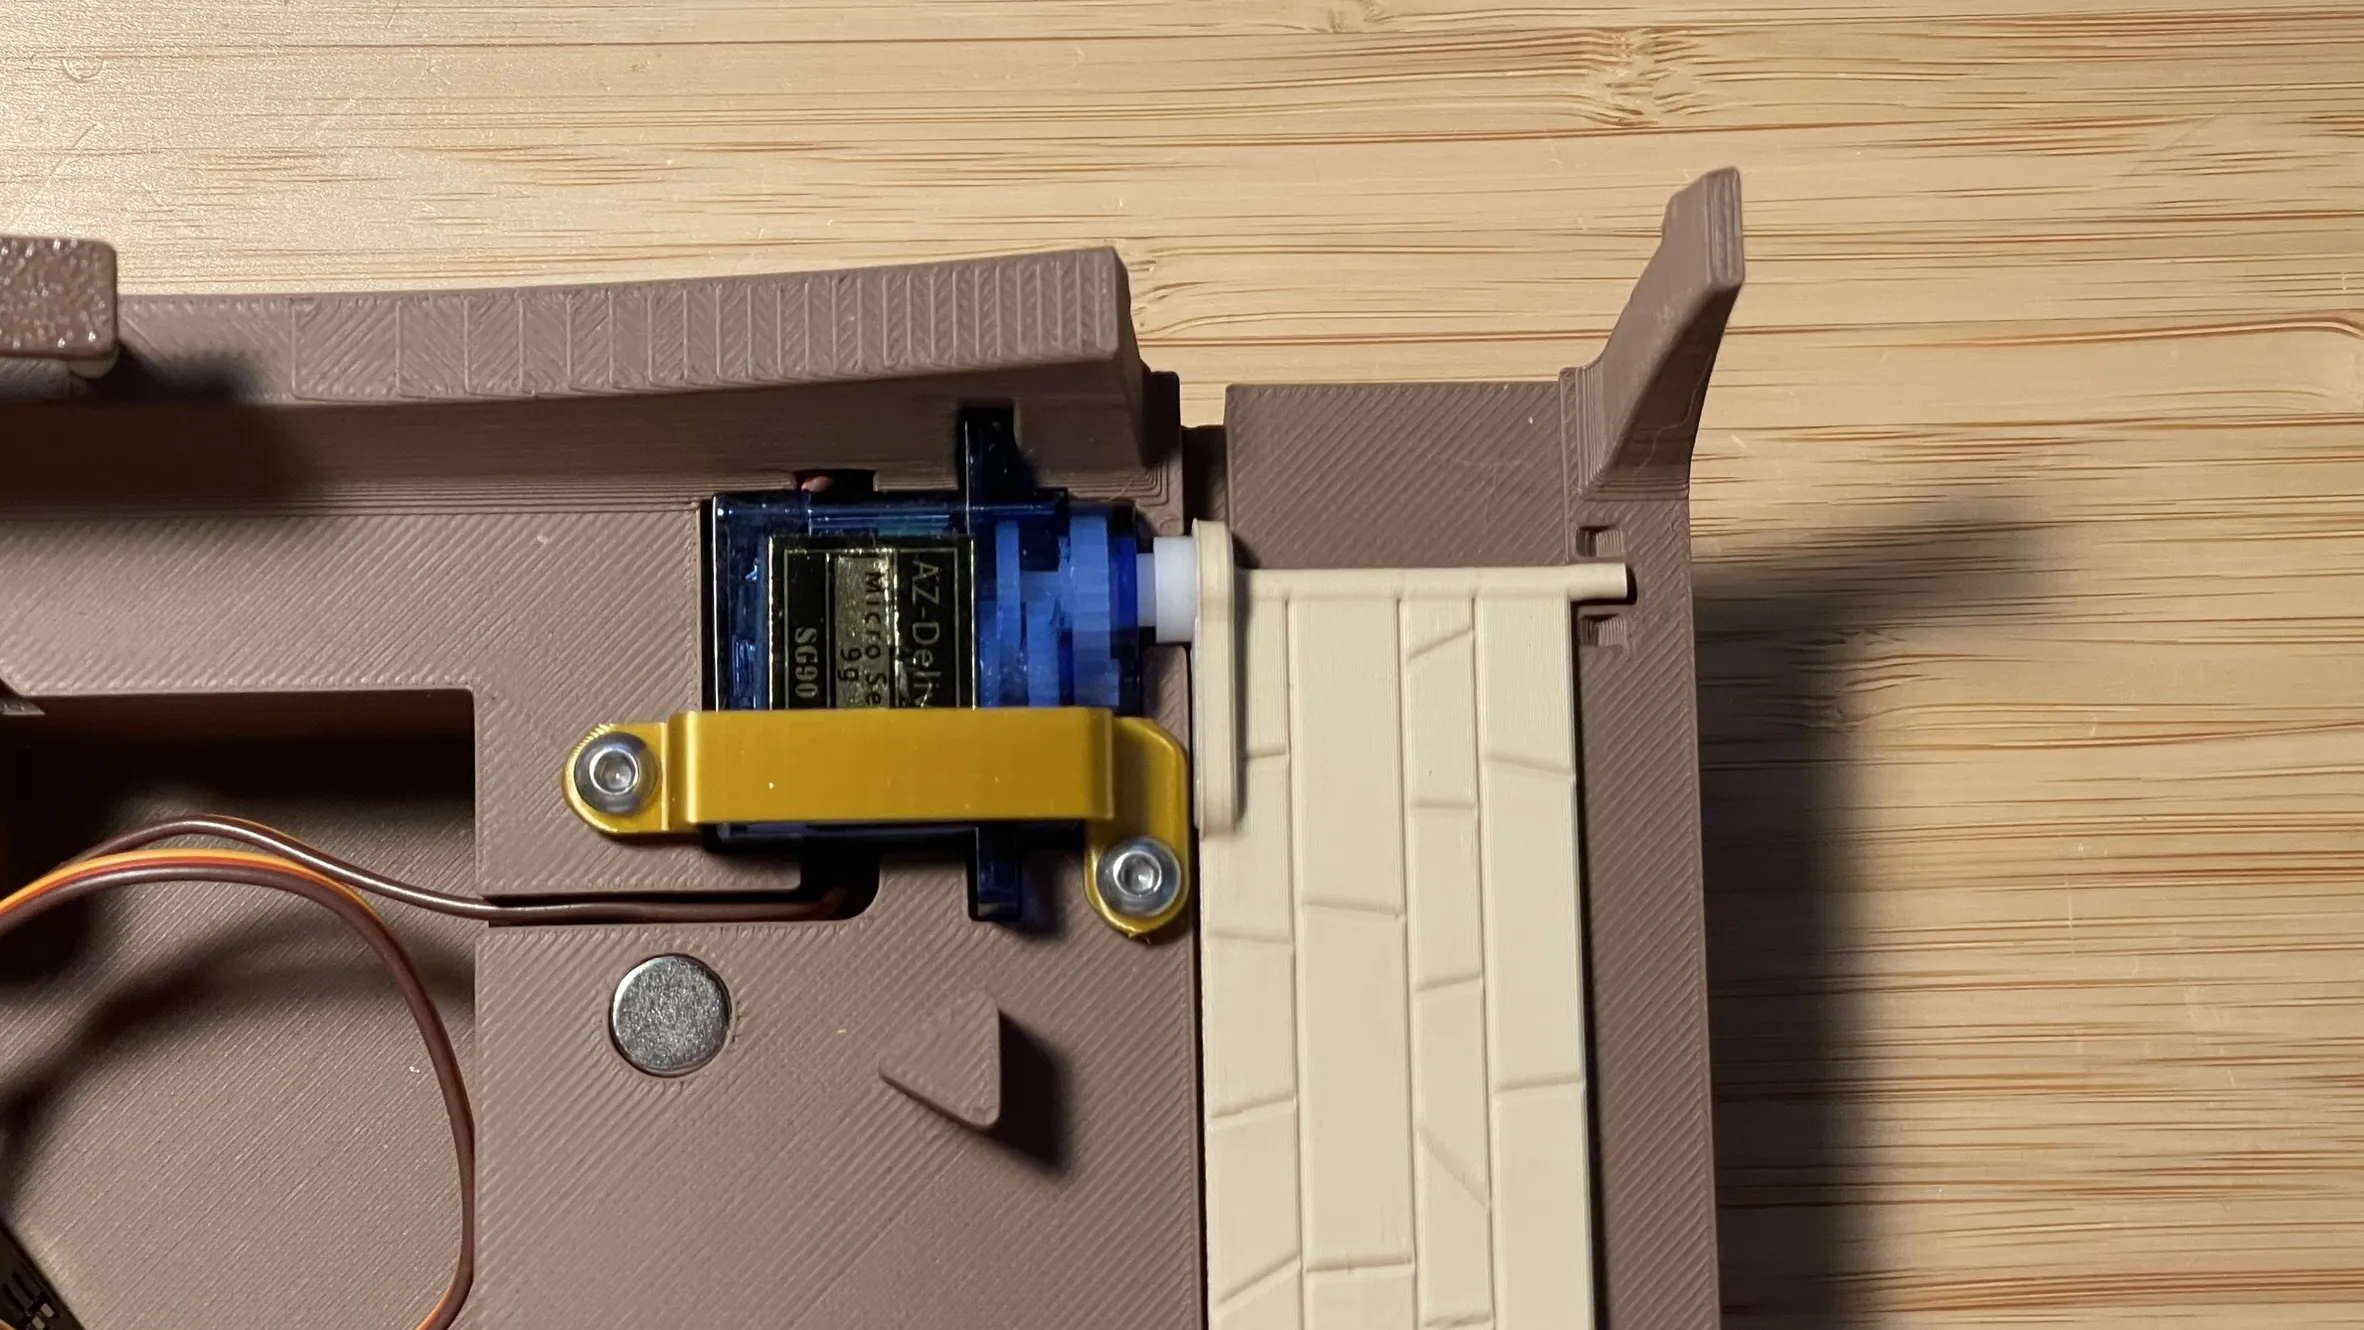 | Then attach it to the servo, insert it in its place and secure it with the Table_ServoStuff and M3x5mm screws (2 units) into the Hull_Ship. Make sure the jumper cable is under the servo like in the image. |
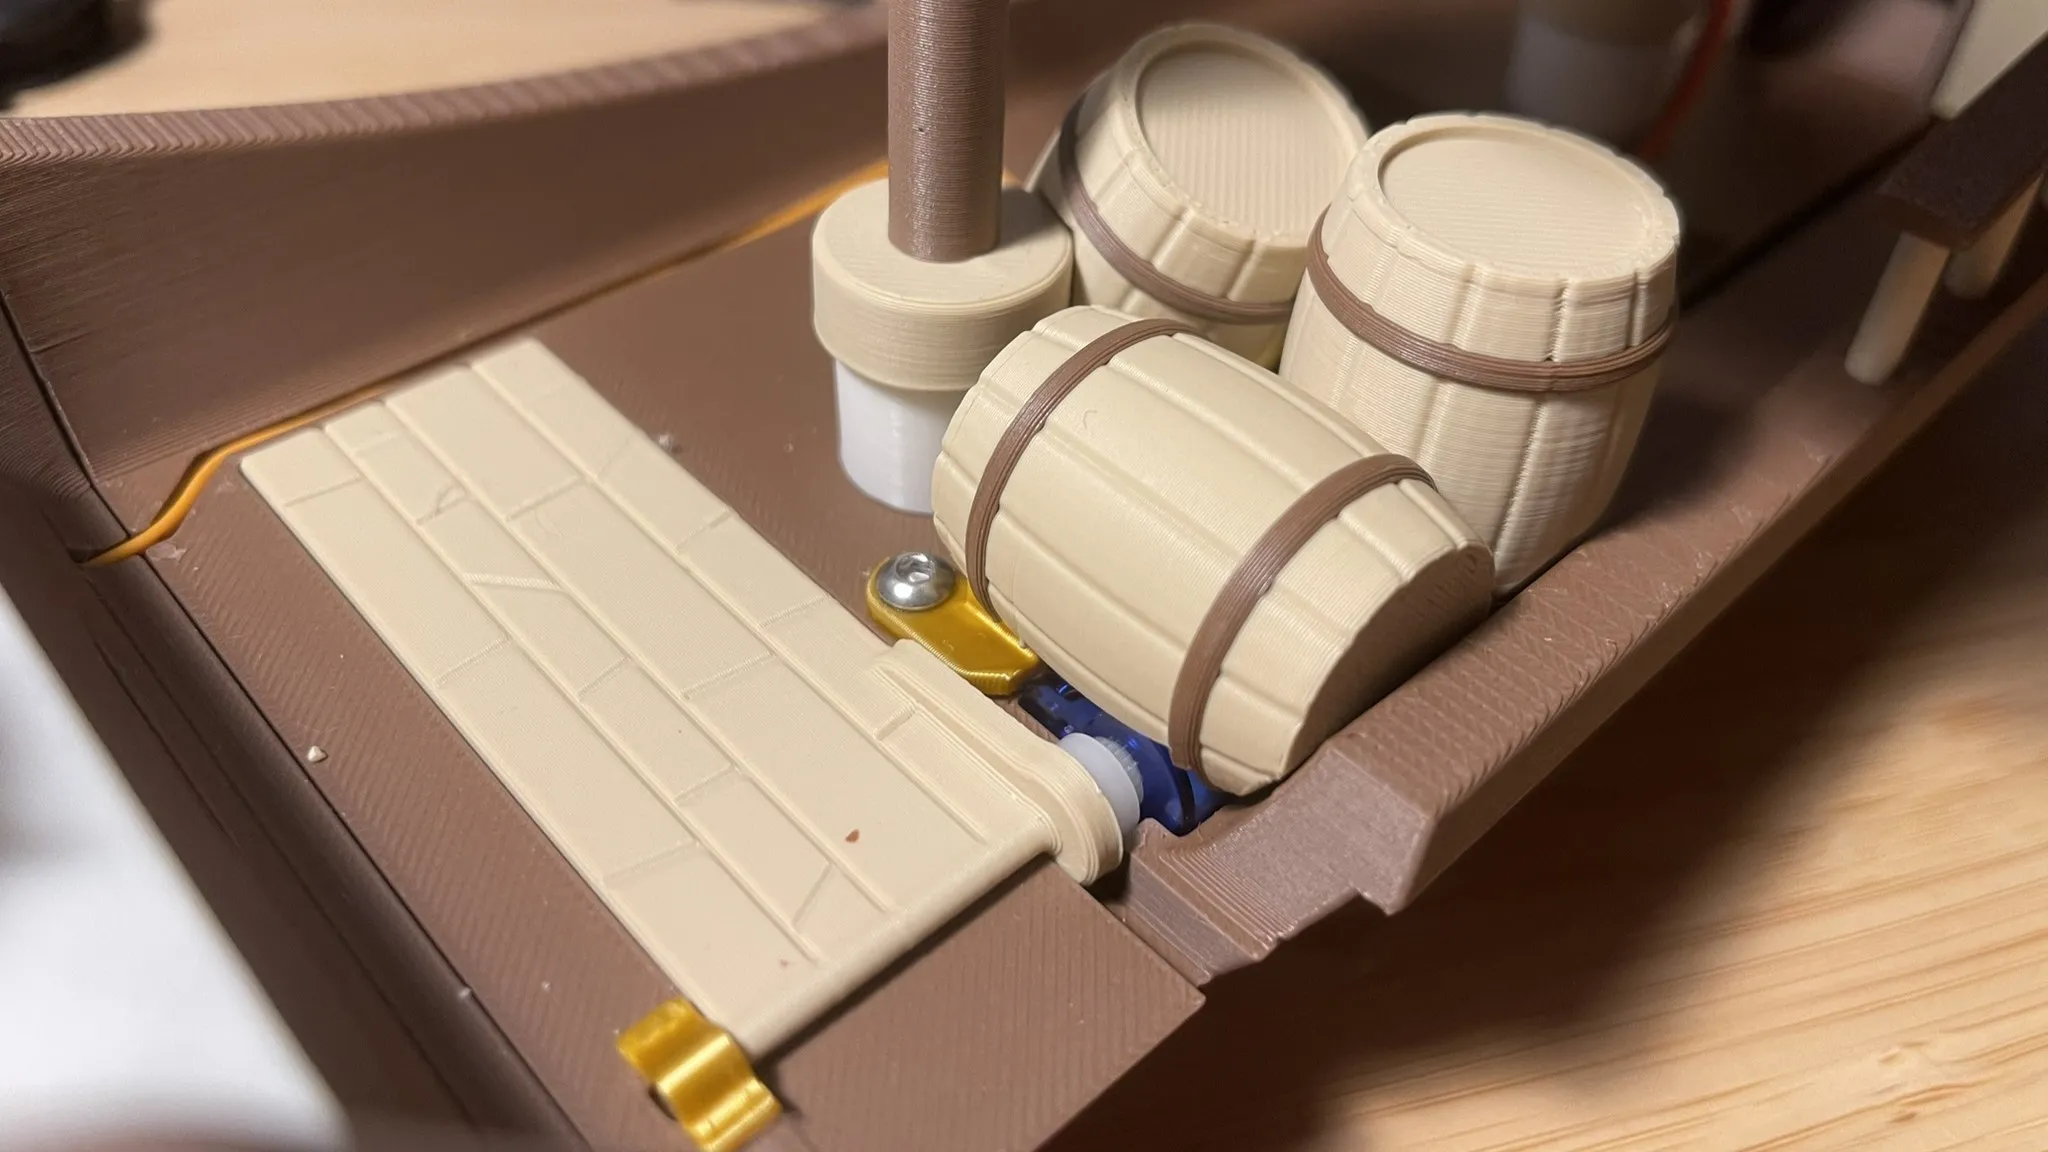
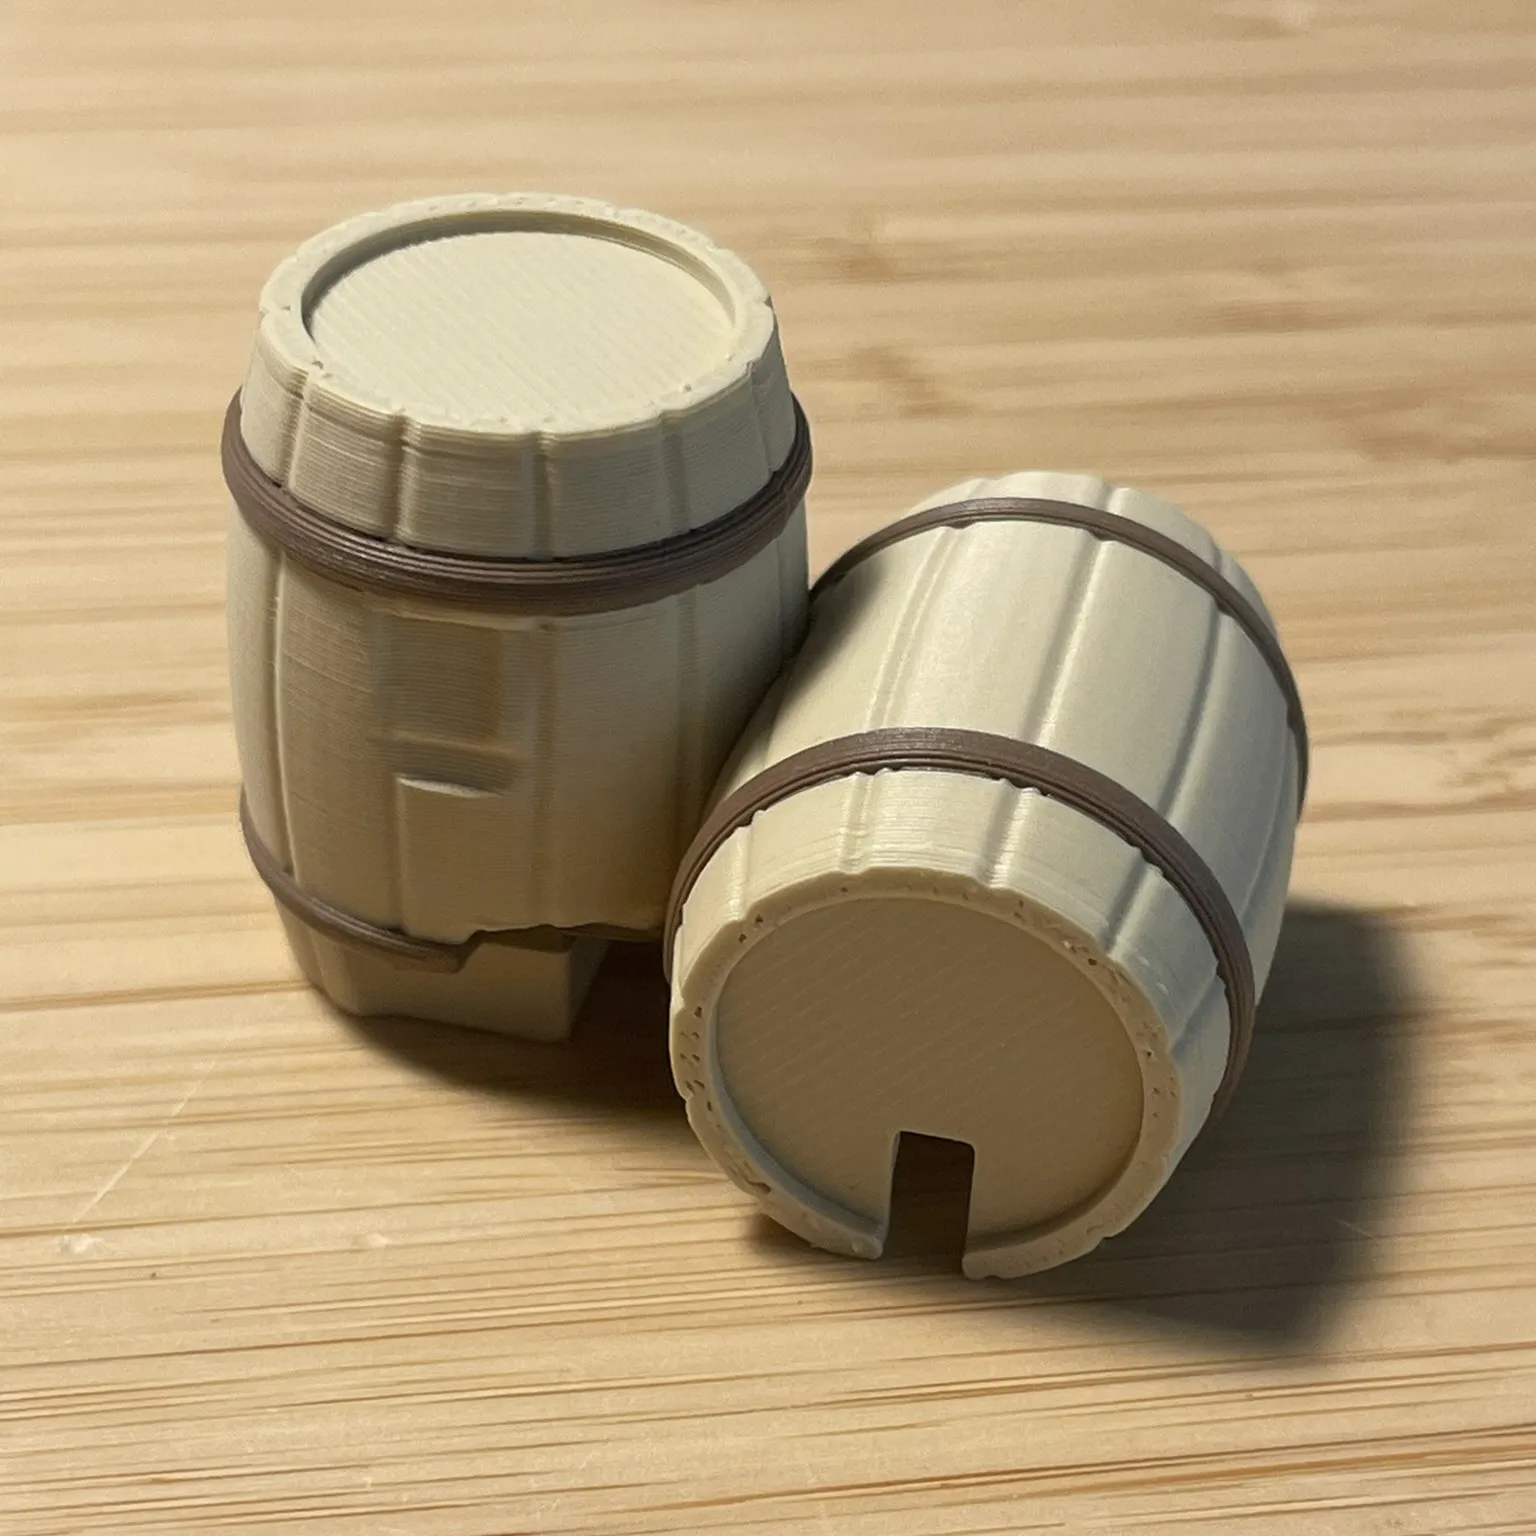 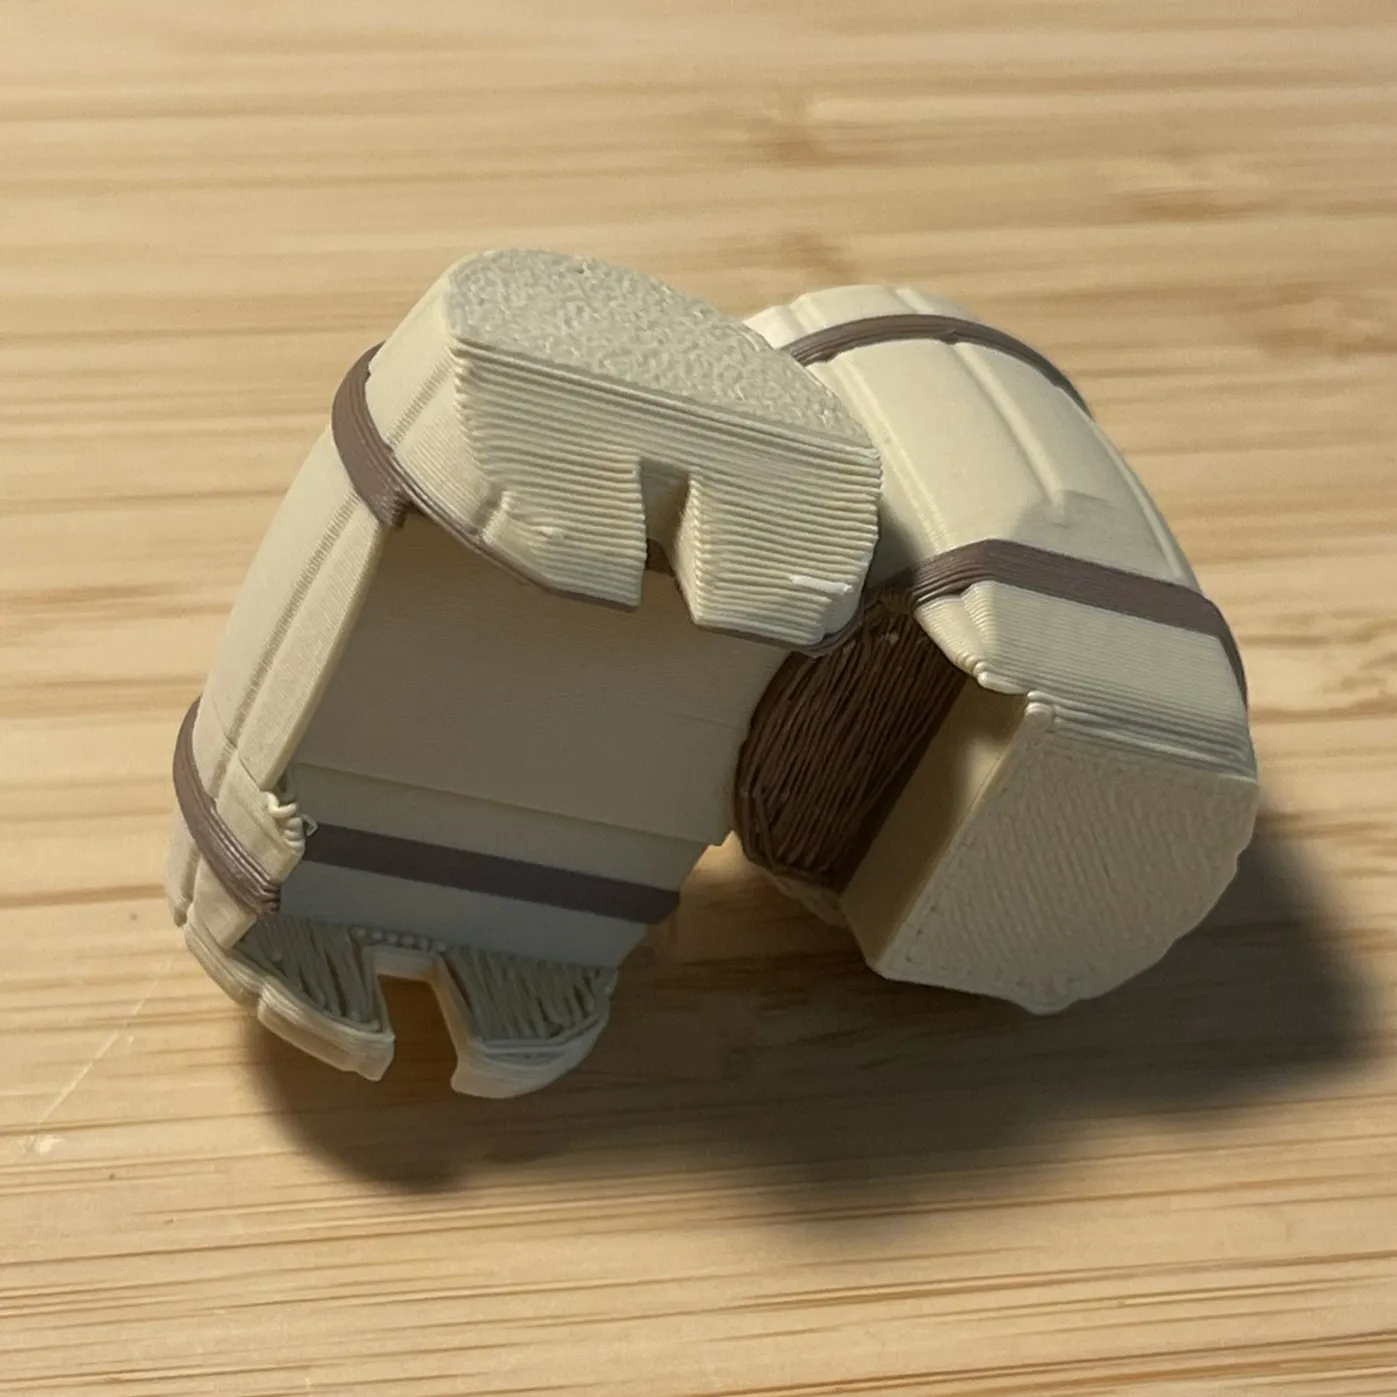 | In order to hide the servo, we will use the barrel set (Barrel_A, Barrel_B and Barrel_C). First glue Barrel_A and Barrel_B, like in the image. |
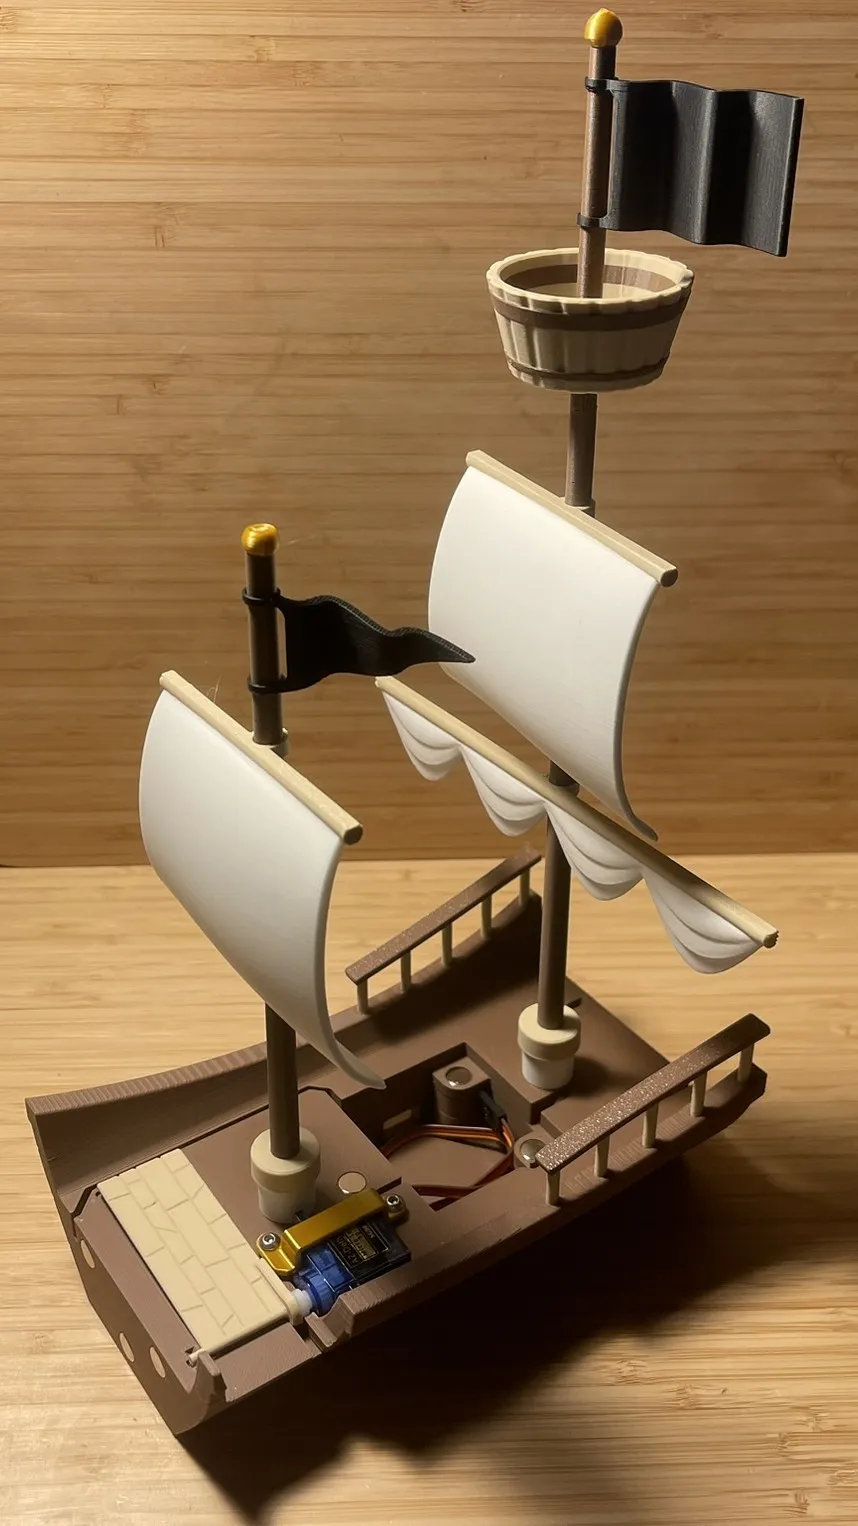 | Now the masts: the short one, the Masts_Minor, must be glued in the front of the hull; the other mast, the Masts_Main, must be glued in the back of the hull; both of them has to be with the sails facing the bow. |
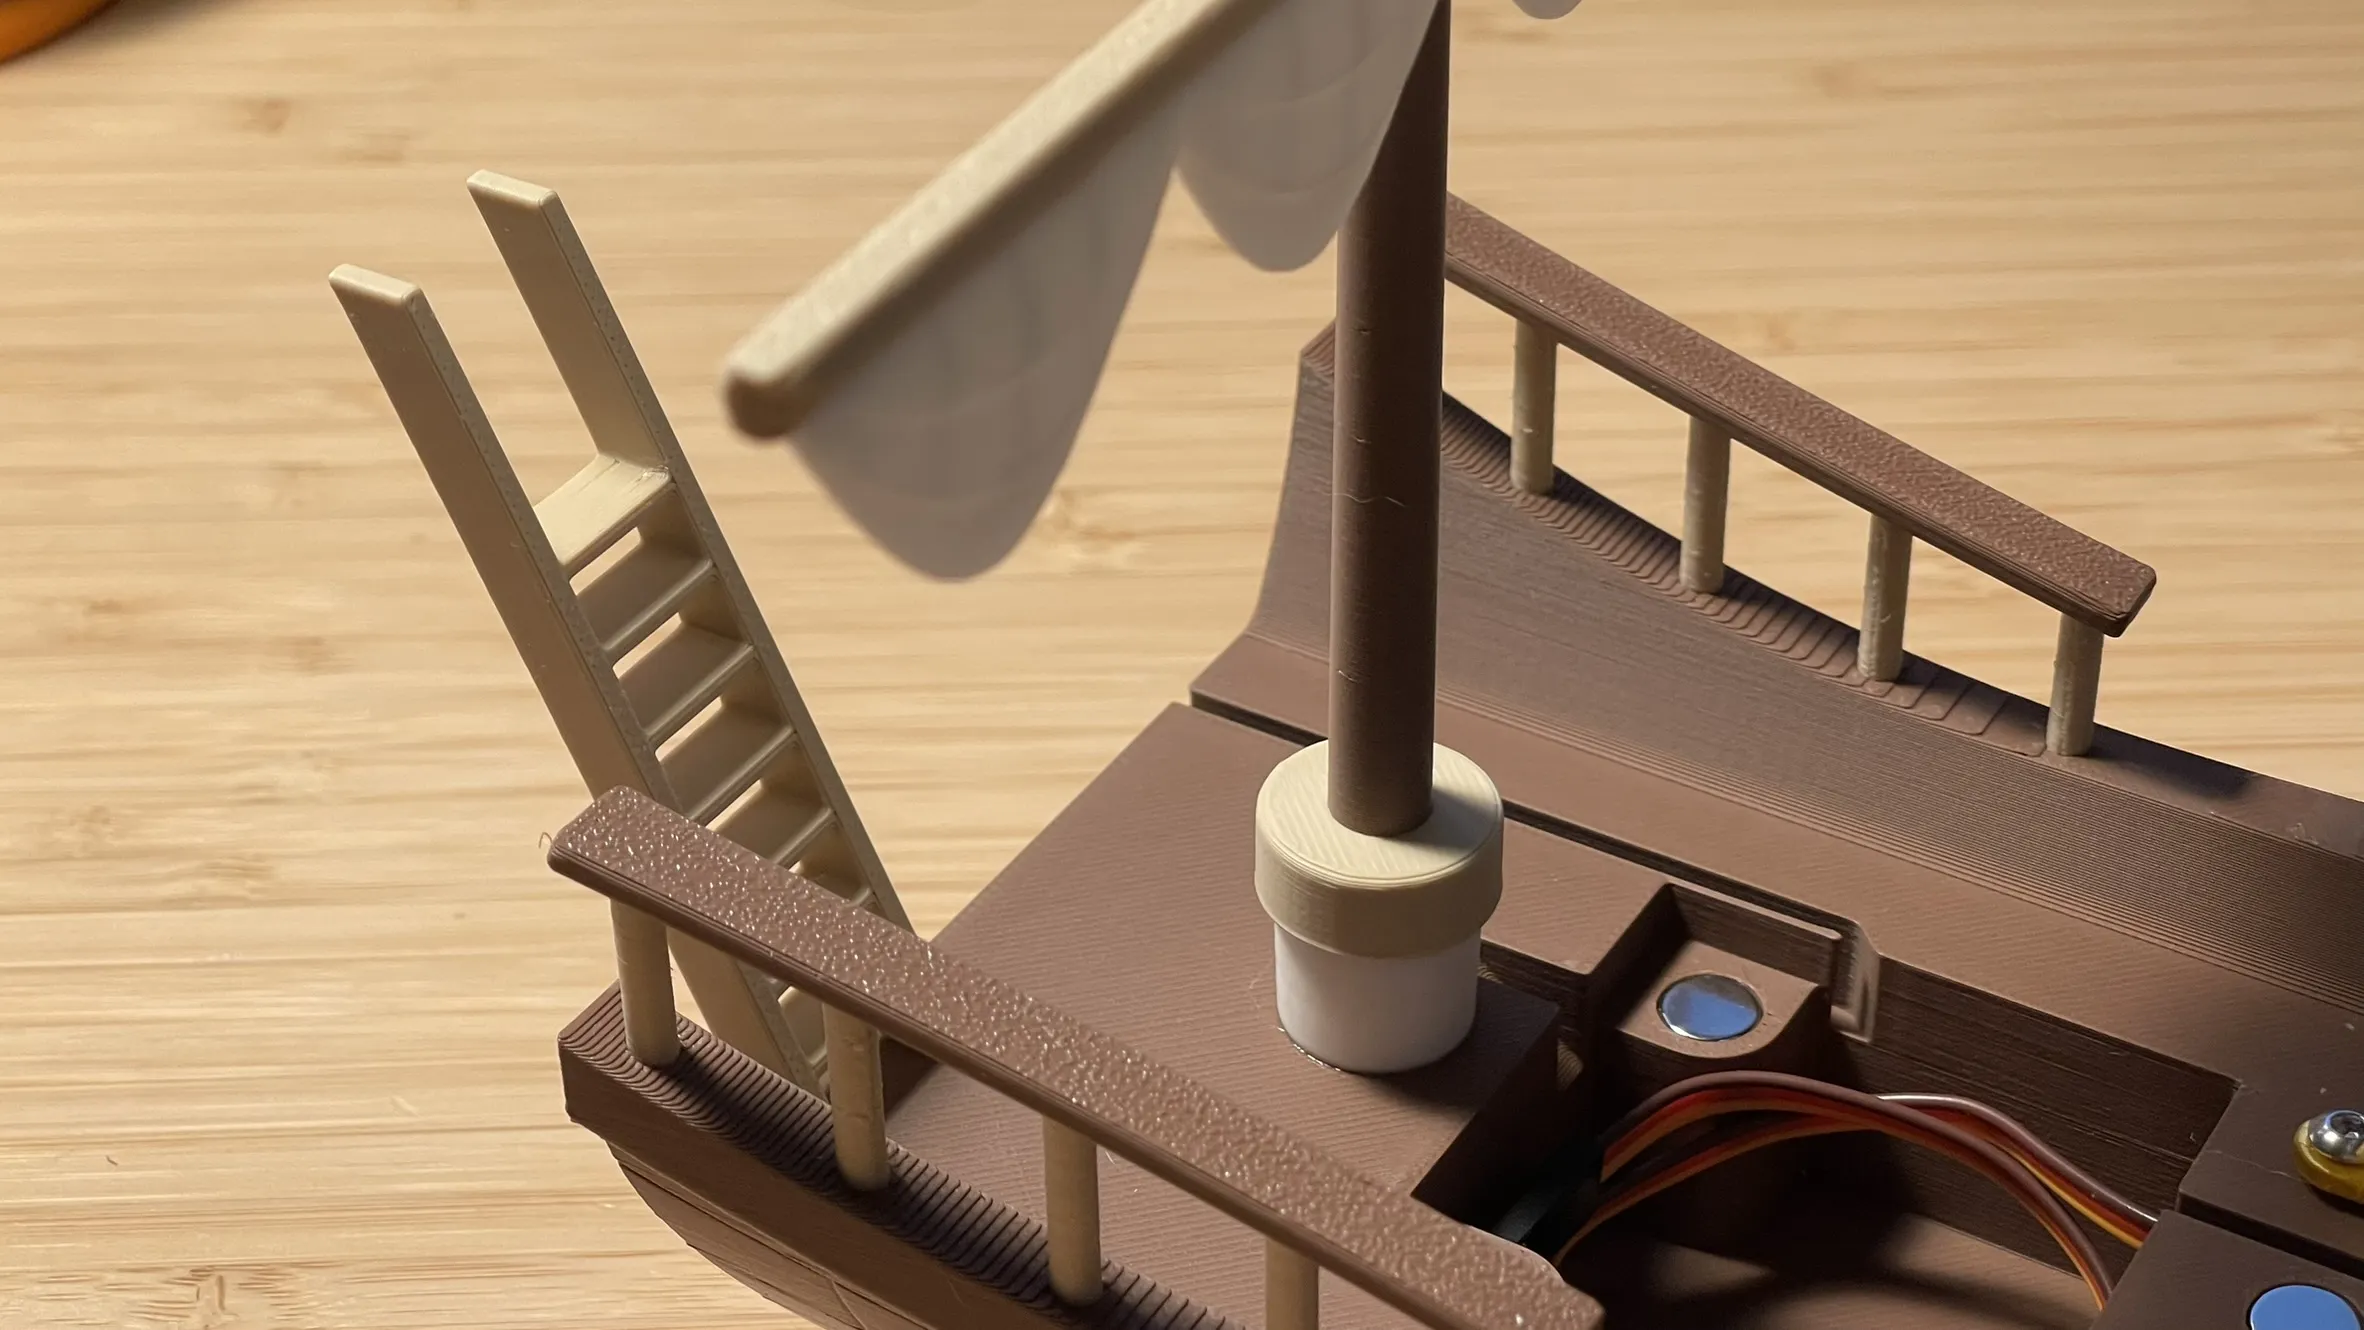 | Insert the Hull_Ladder in its place. Never glue it! You will need to remove it from its place in order to open the the Hull_Floor and access the servo. |
🎉 HULL FINISHED! 🎉 | |
| Now we can magnet the whole Pirate Ship together! In order to hide the cables correctly, you may need to separate again the parts, so… Let's go to the electronic part. | |
| Get your Arduino Nano, upload the code in it(you can find the file in the in the Documentation section and and prepare the next ports: | |
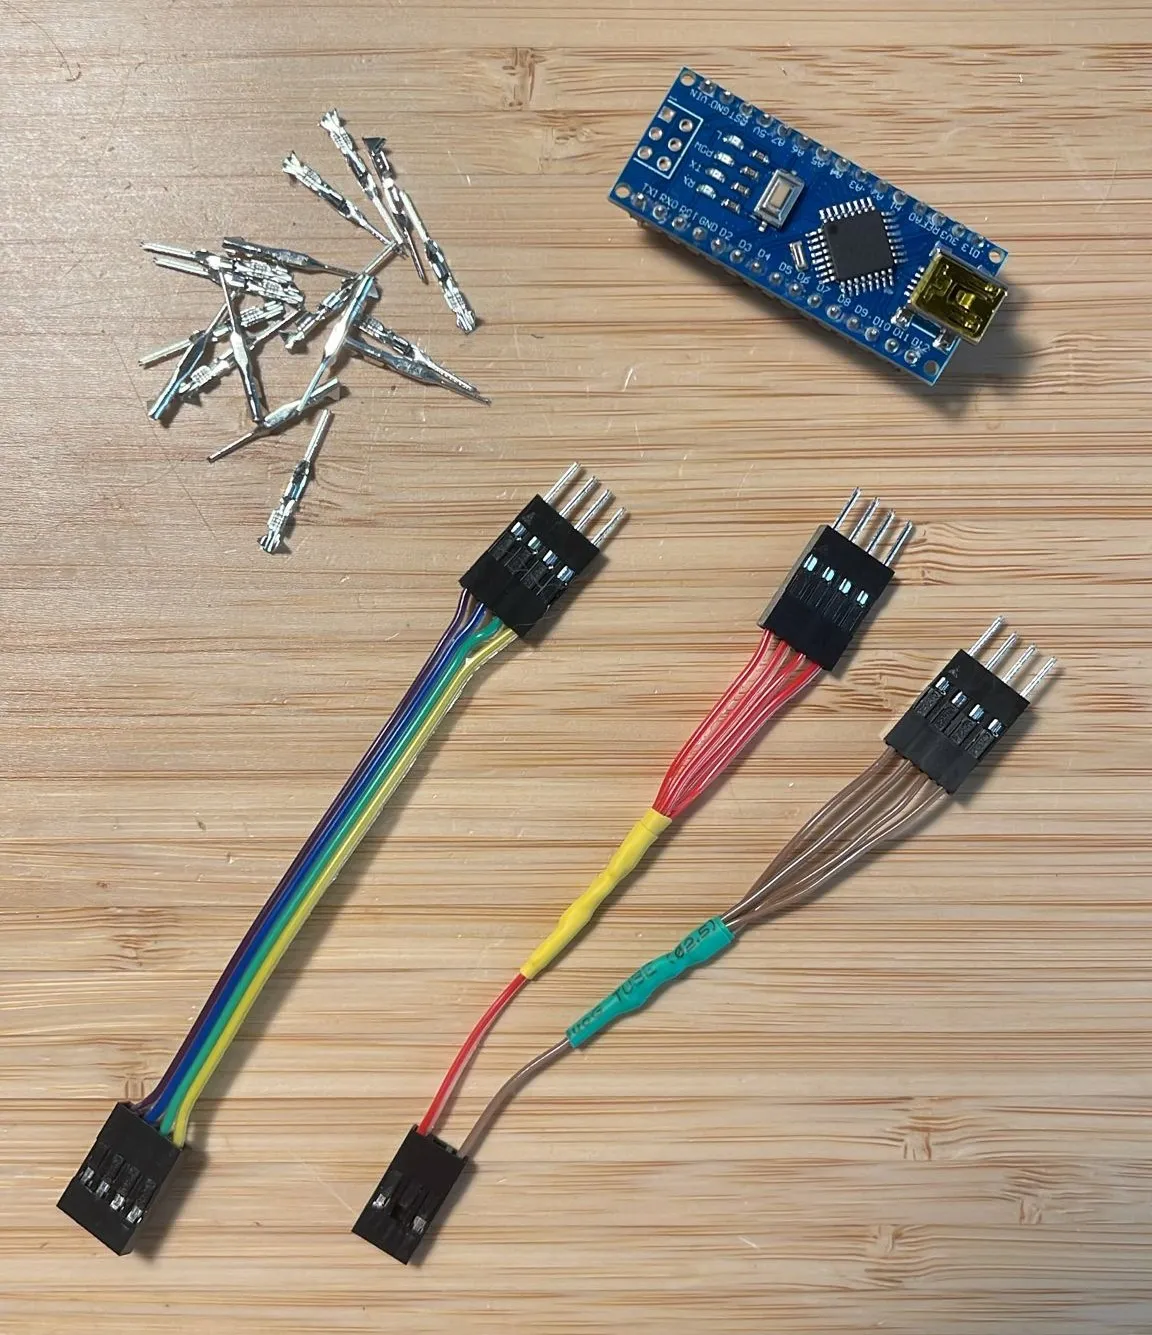 |
|
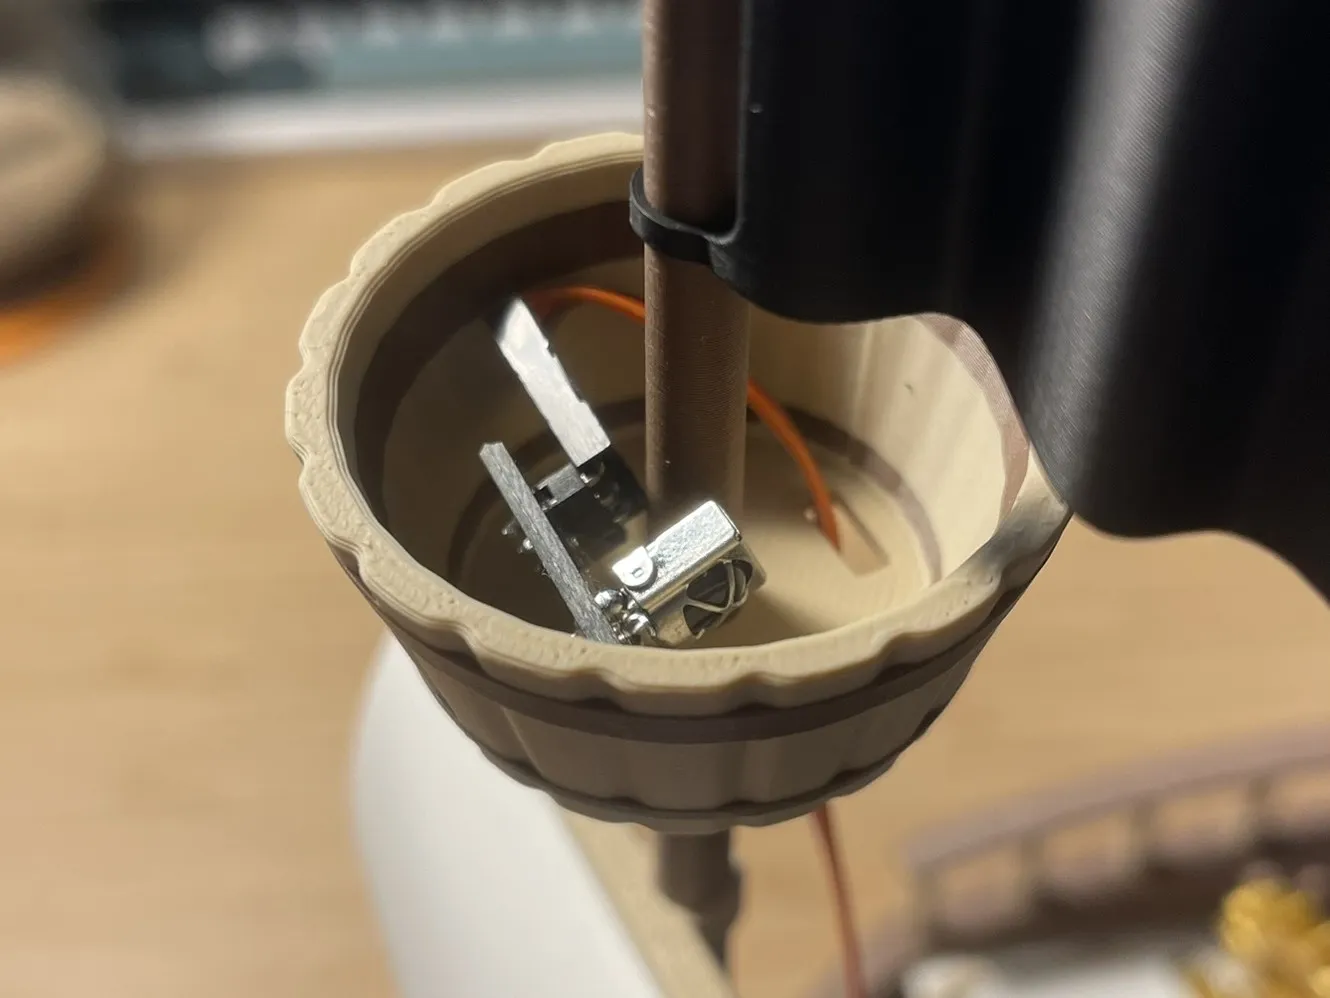 | Place the IR Receptor in the Nest and connect the jumper wire through the hole in the bottom of the nest. Secure the cable along the entire mast with the clamps till the base. |
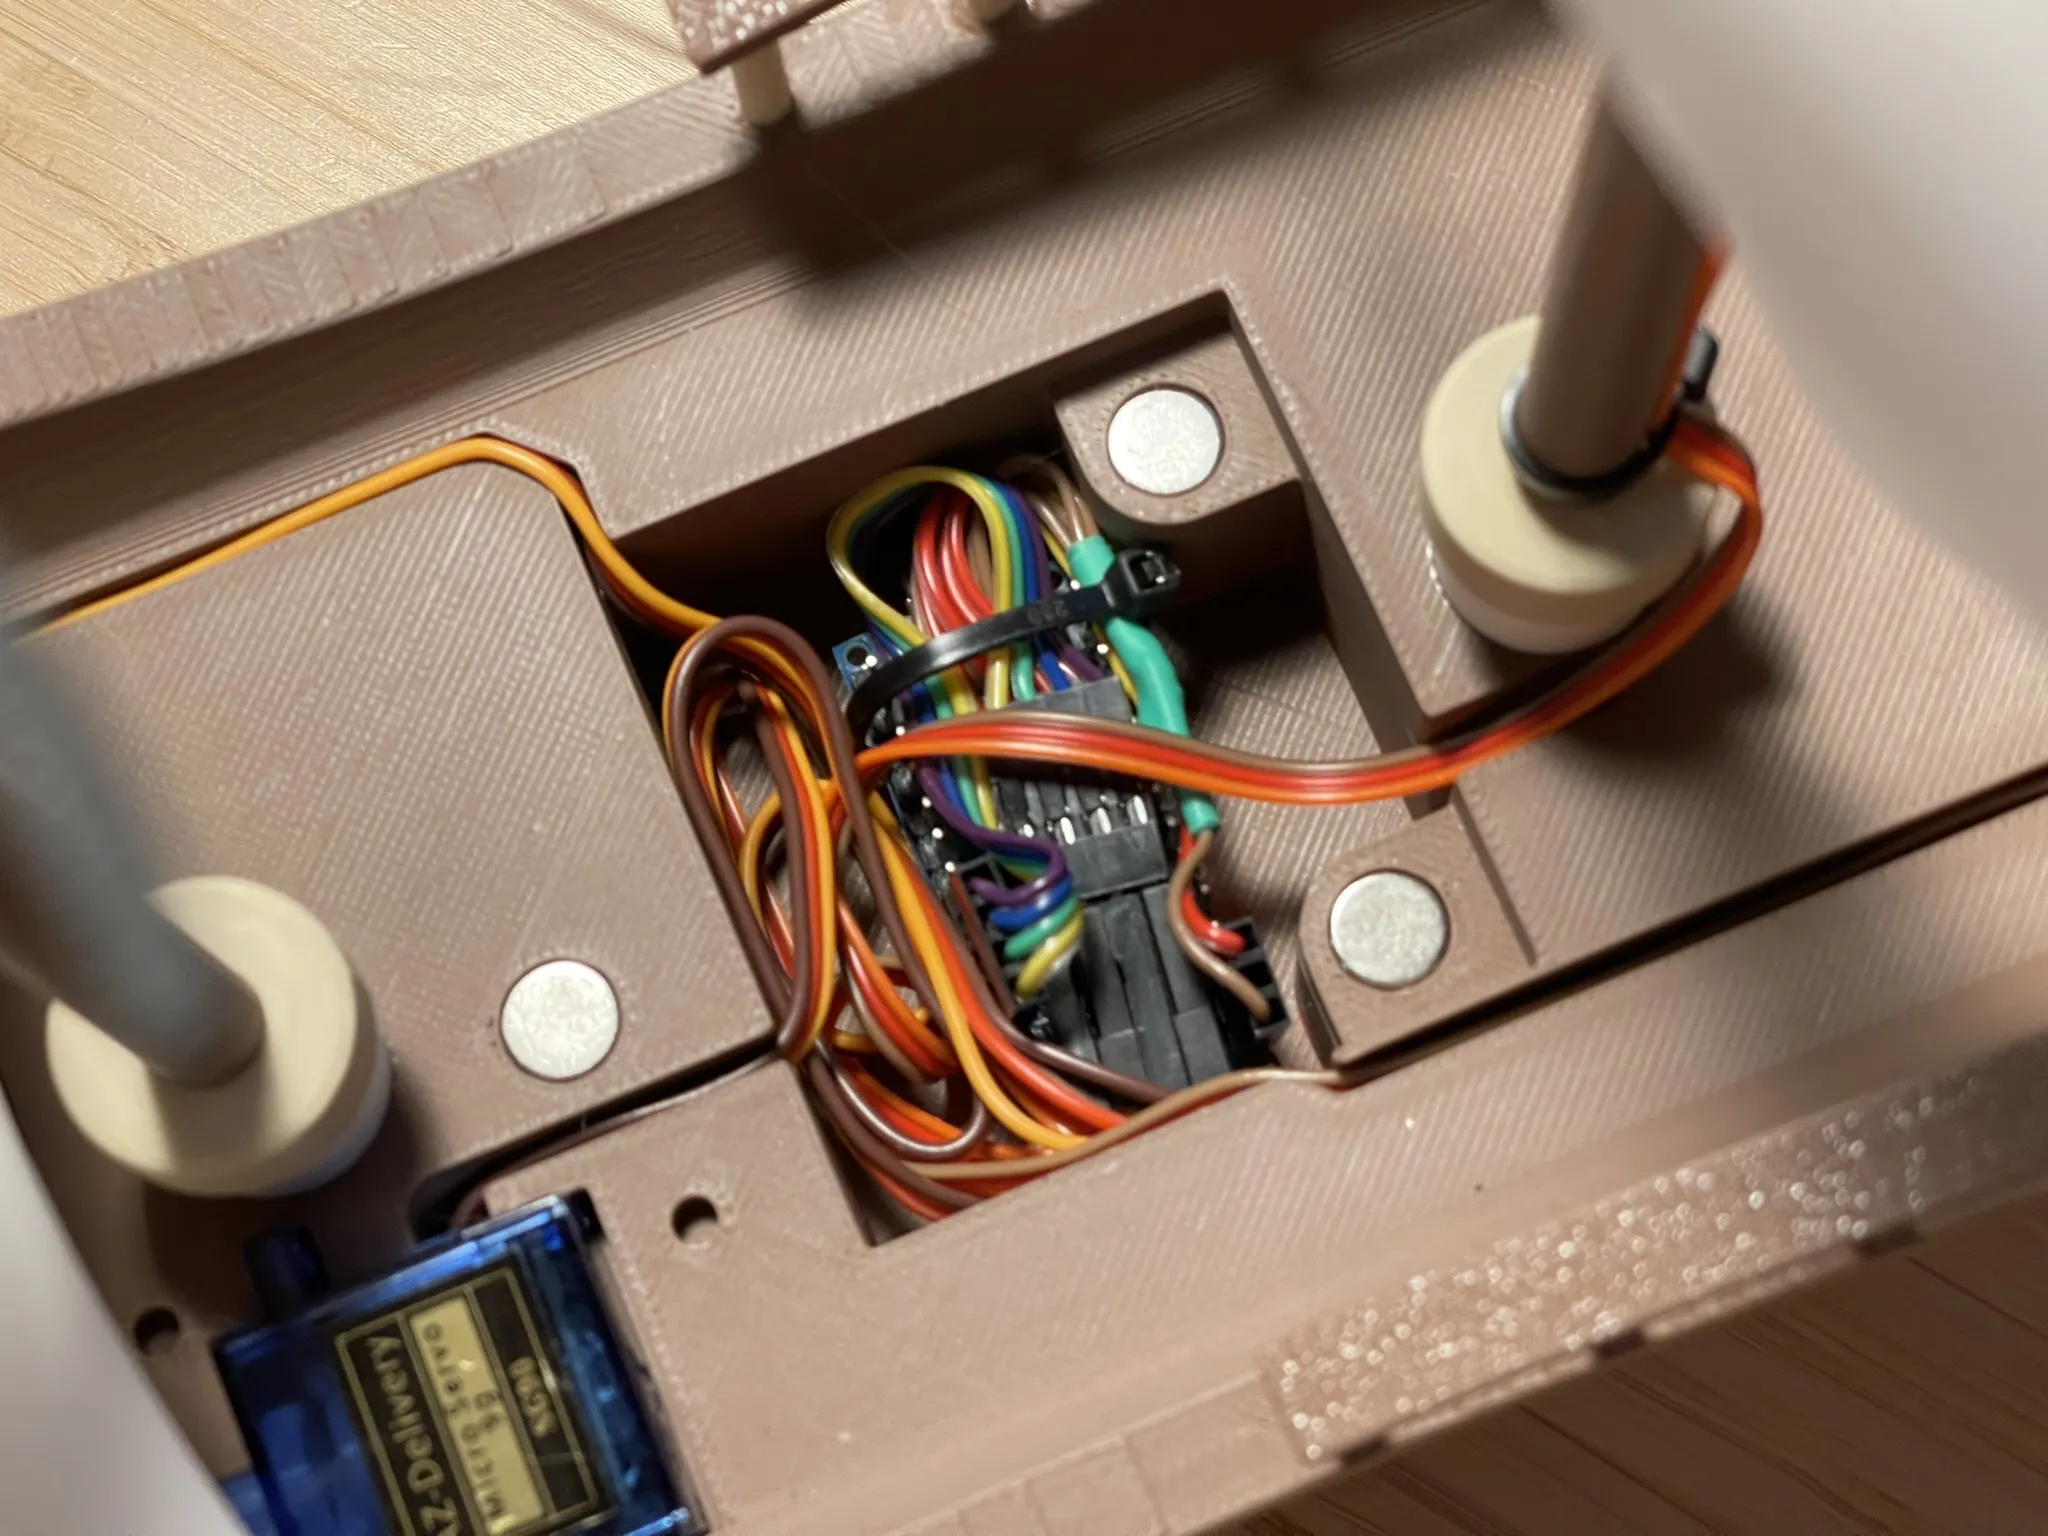 | Connect the servos to the Arduino hiding the cables in the gaps that are on the floor; you can use clamps to organize the cables to make it fit in the dungeon. |
| Unscrew the Table_ServoStuff. Connect the USB Mini Wire through the hull's lateral hole. | |
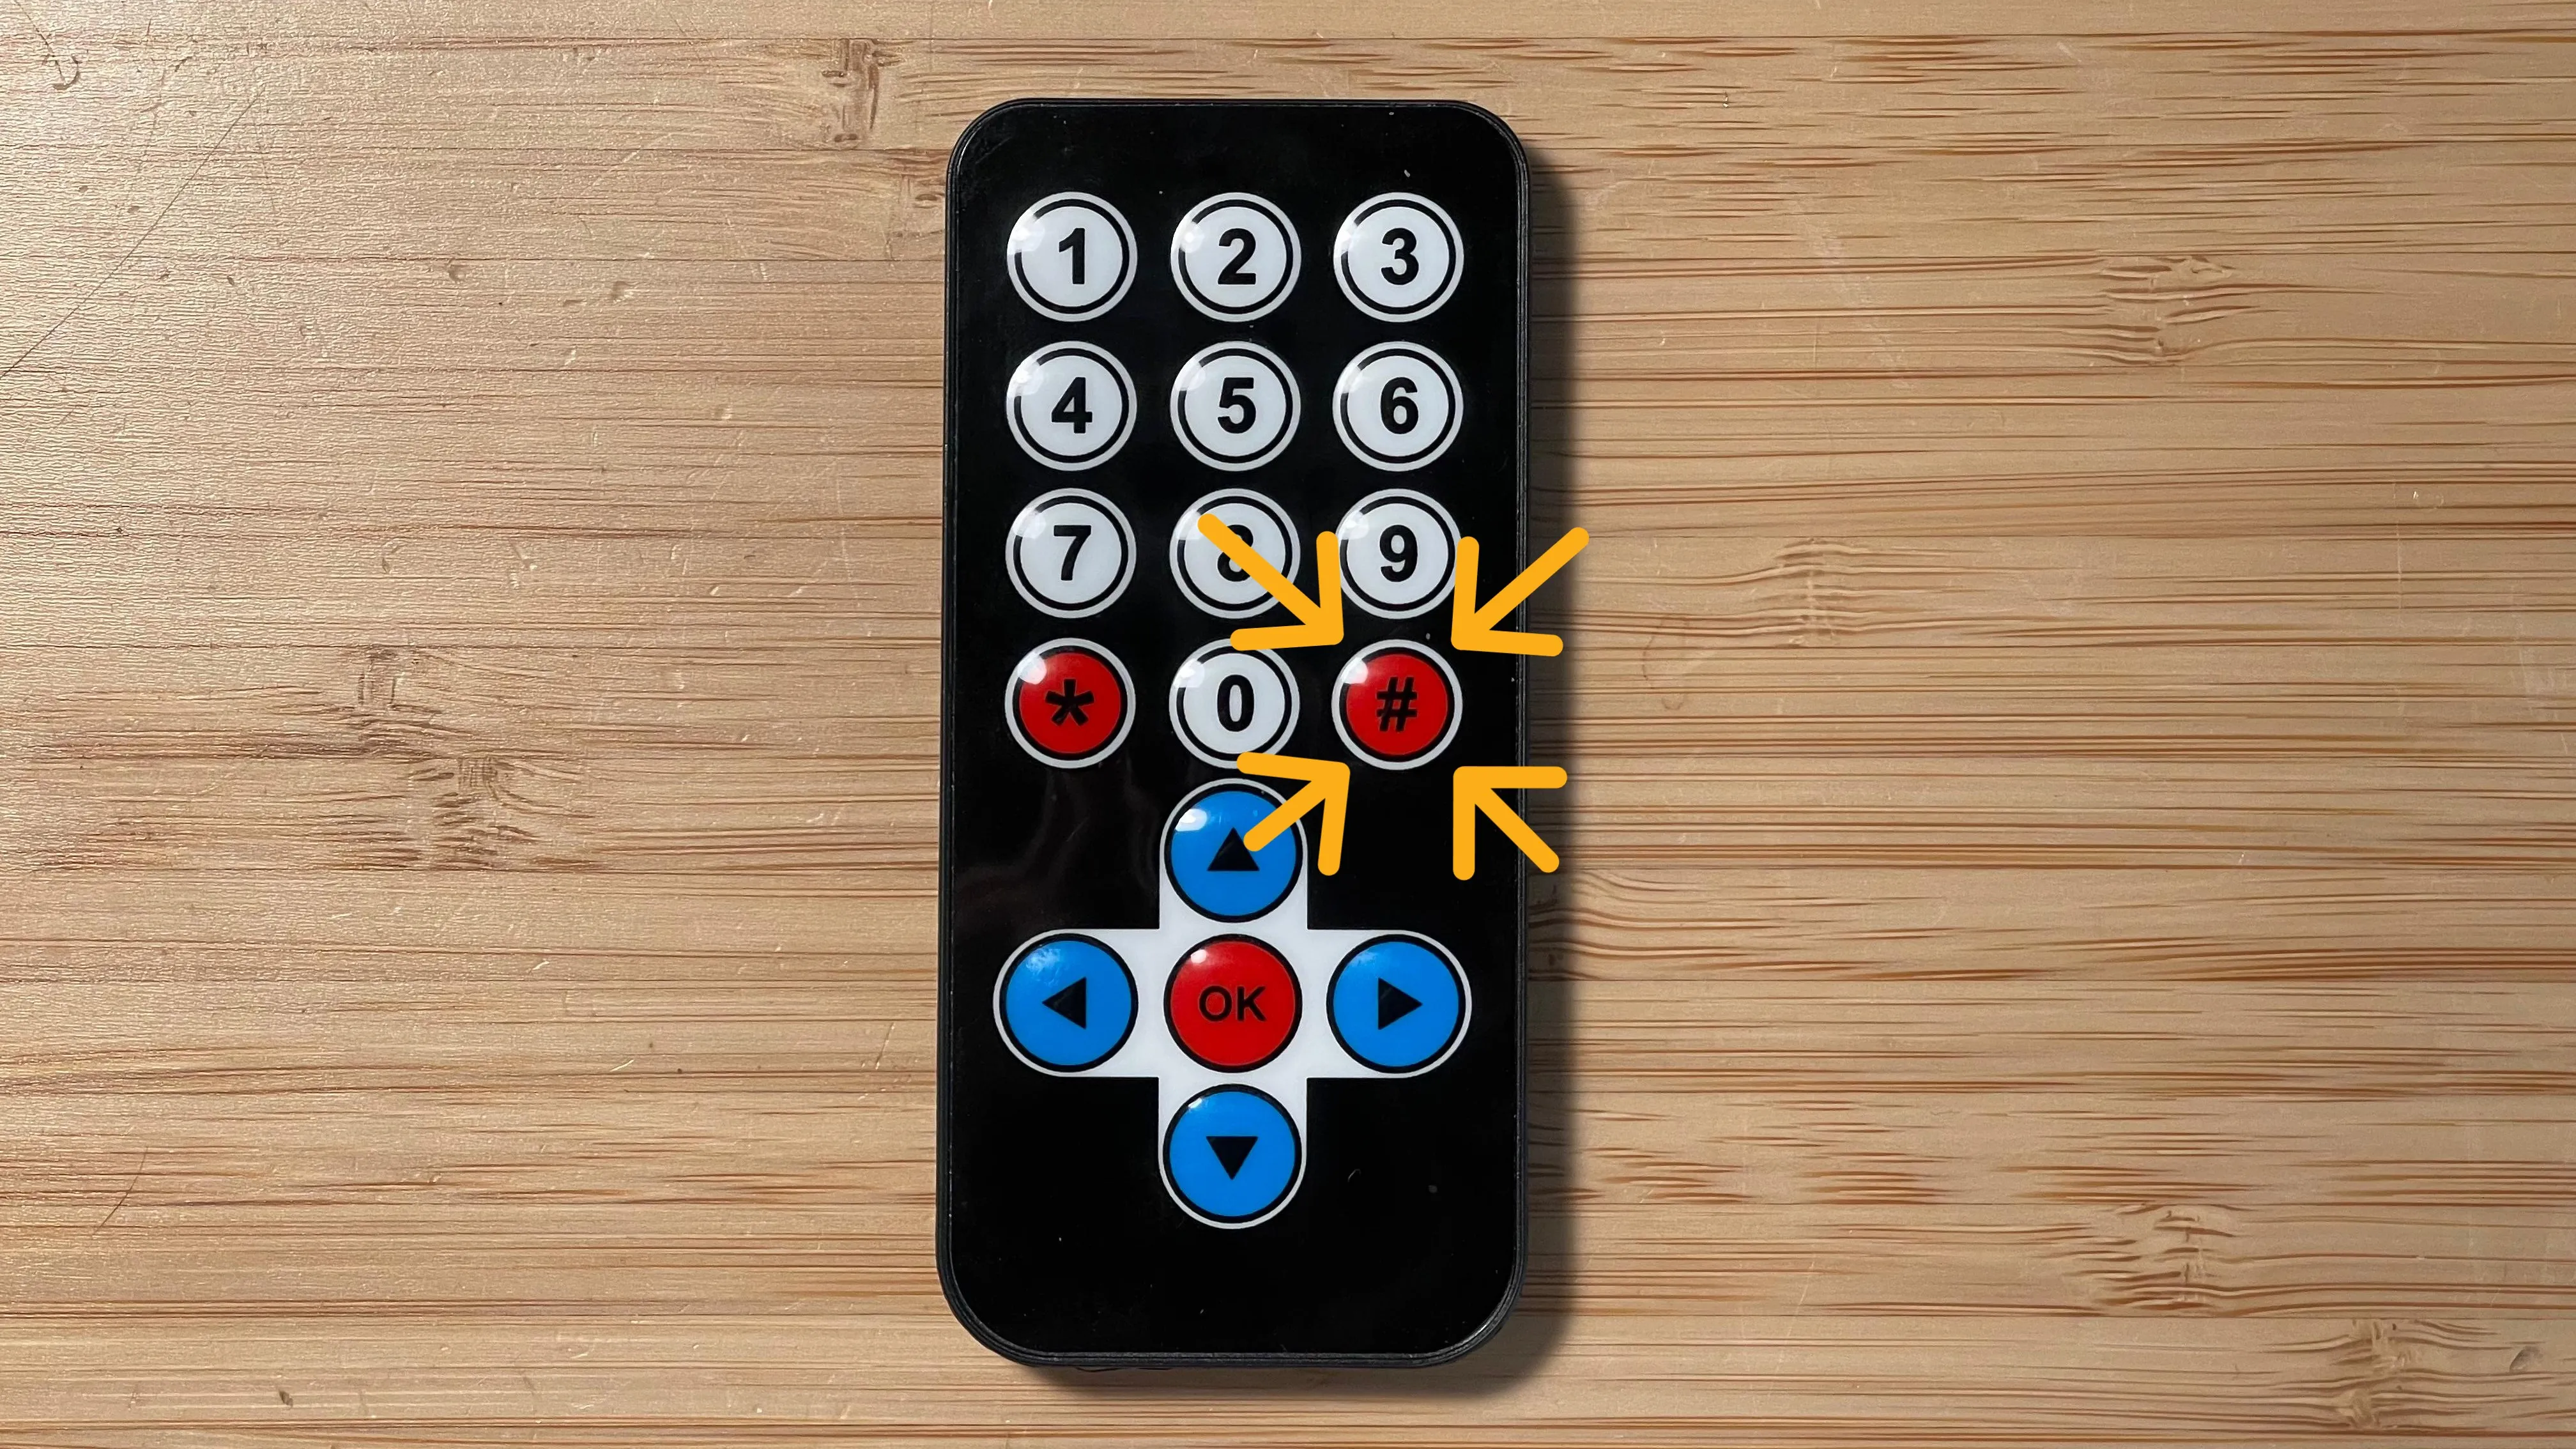 | You will need to adjust the Table_Servo position so: plug your Arduino Nano and press this (#️⃣) button. |
| That position will mean that the Table is inside the ship, so, insert the Table to the servo in this way, put it in its place and screw the Table_ServoStuff again. Glue the Table_Hinge in place and hide the servo with the Barrel set. First insert the Barrel_A and Barrel_B and then, magnet the Barrel_C. |
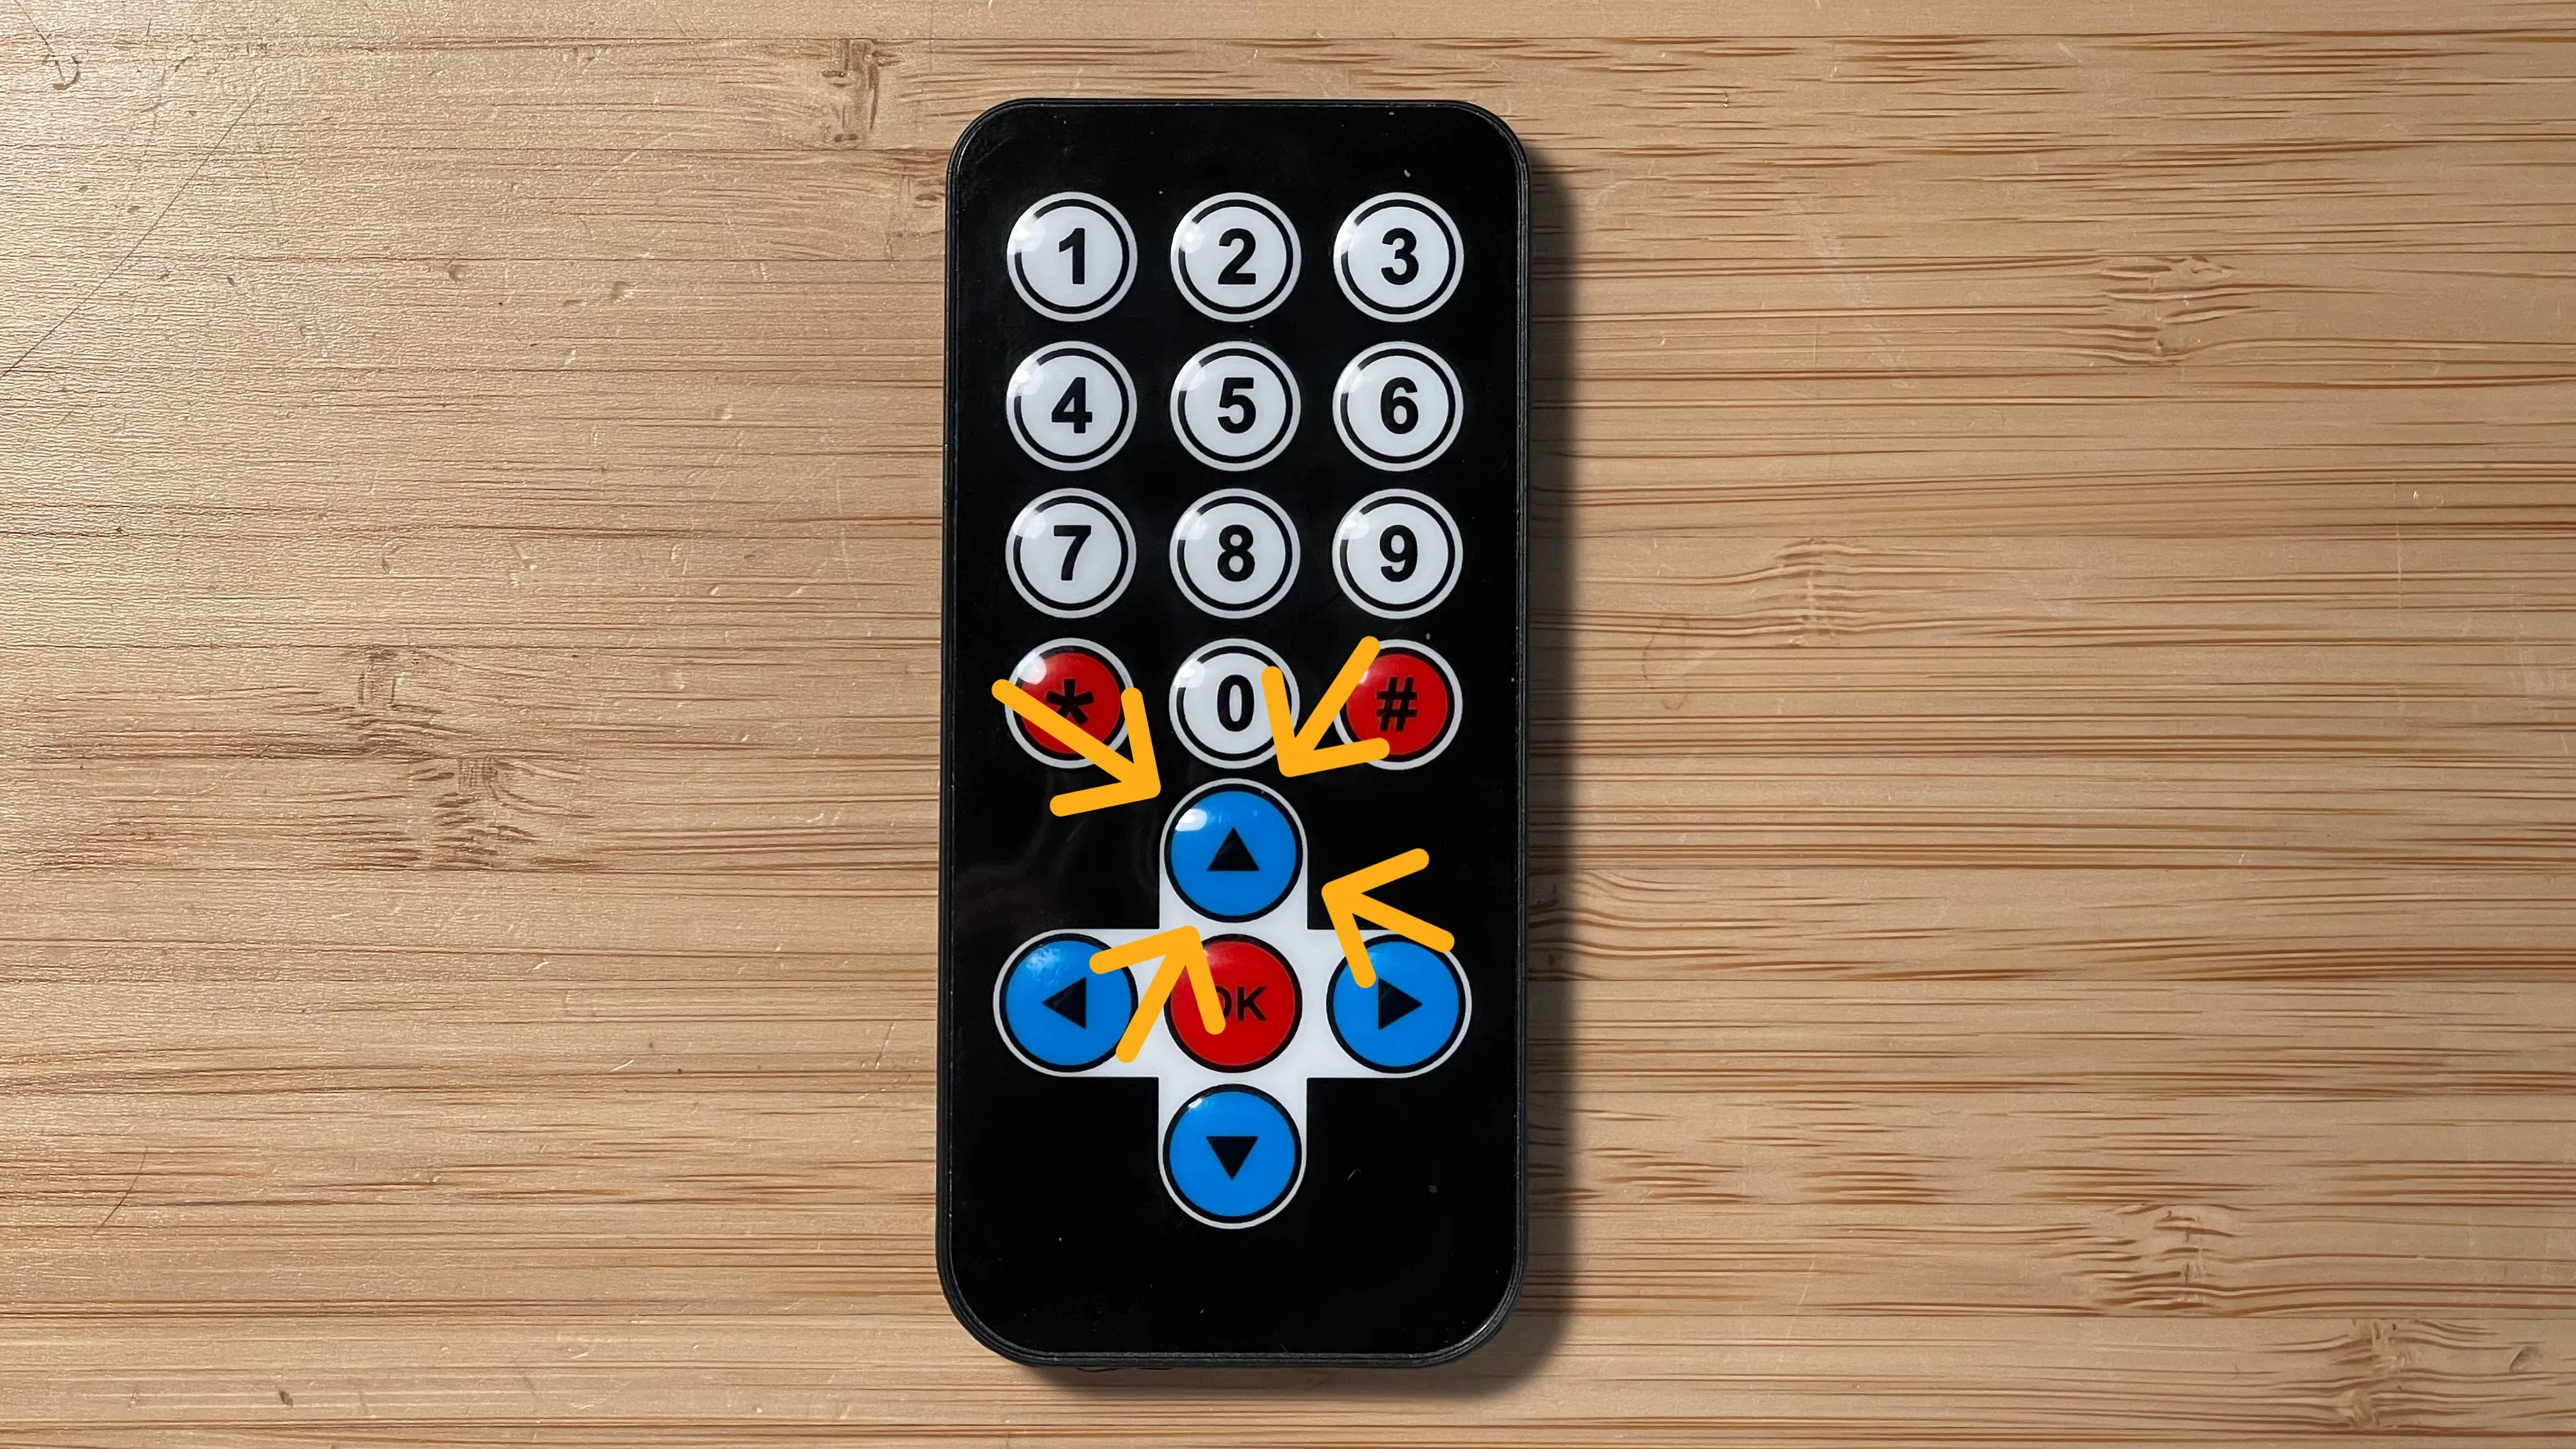 | You'll also need to adjust the Anchor_Servo position so: remove the Bow_Floor, plug your Arduino Nano and press this (🔼) button. |
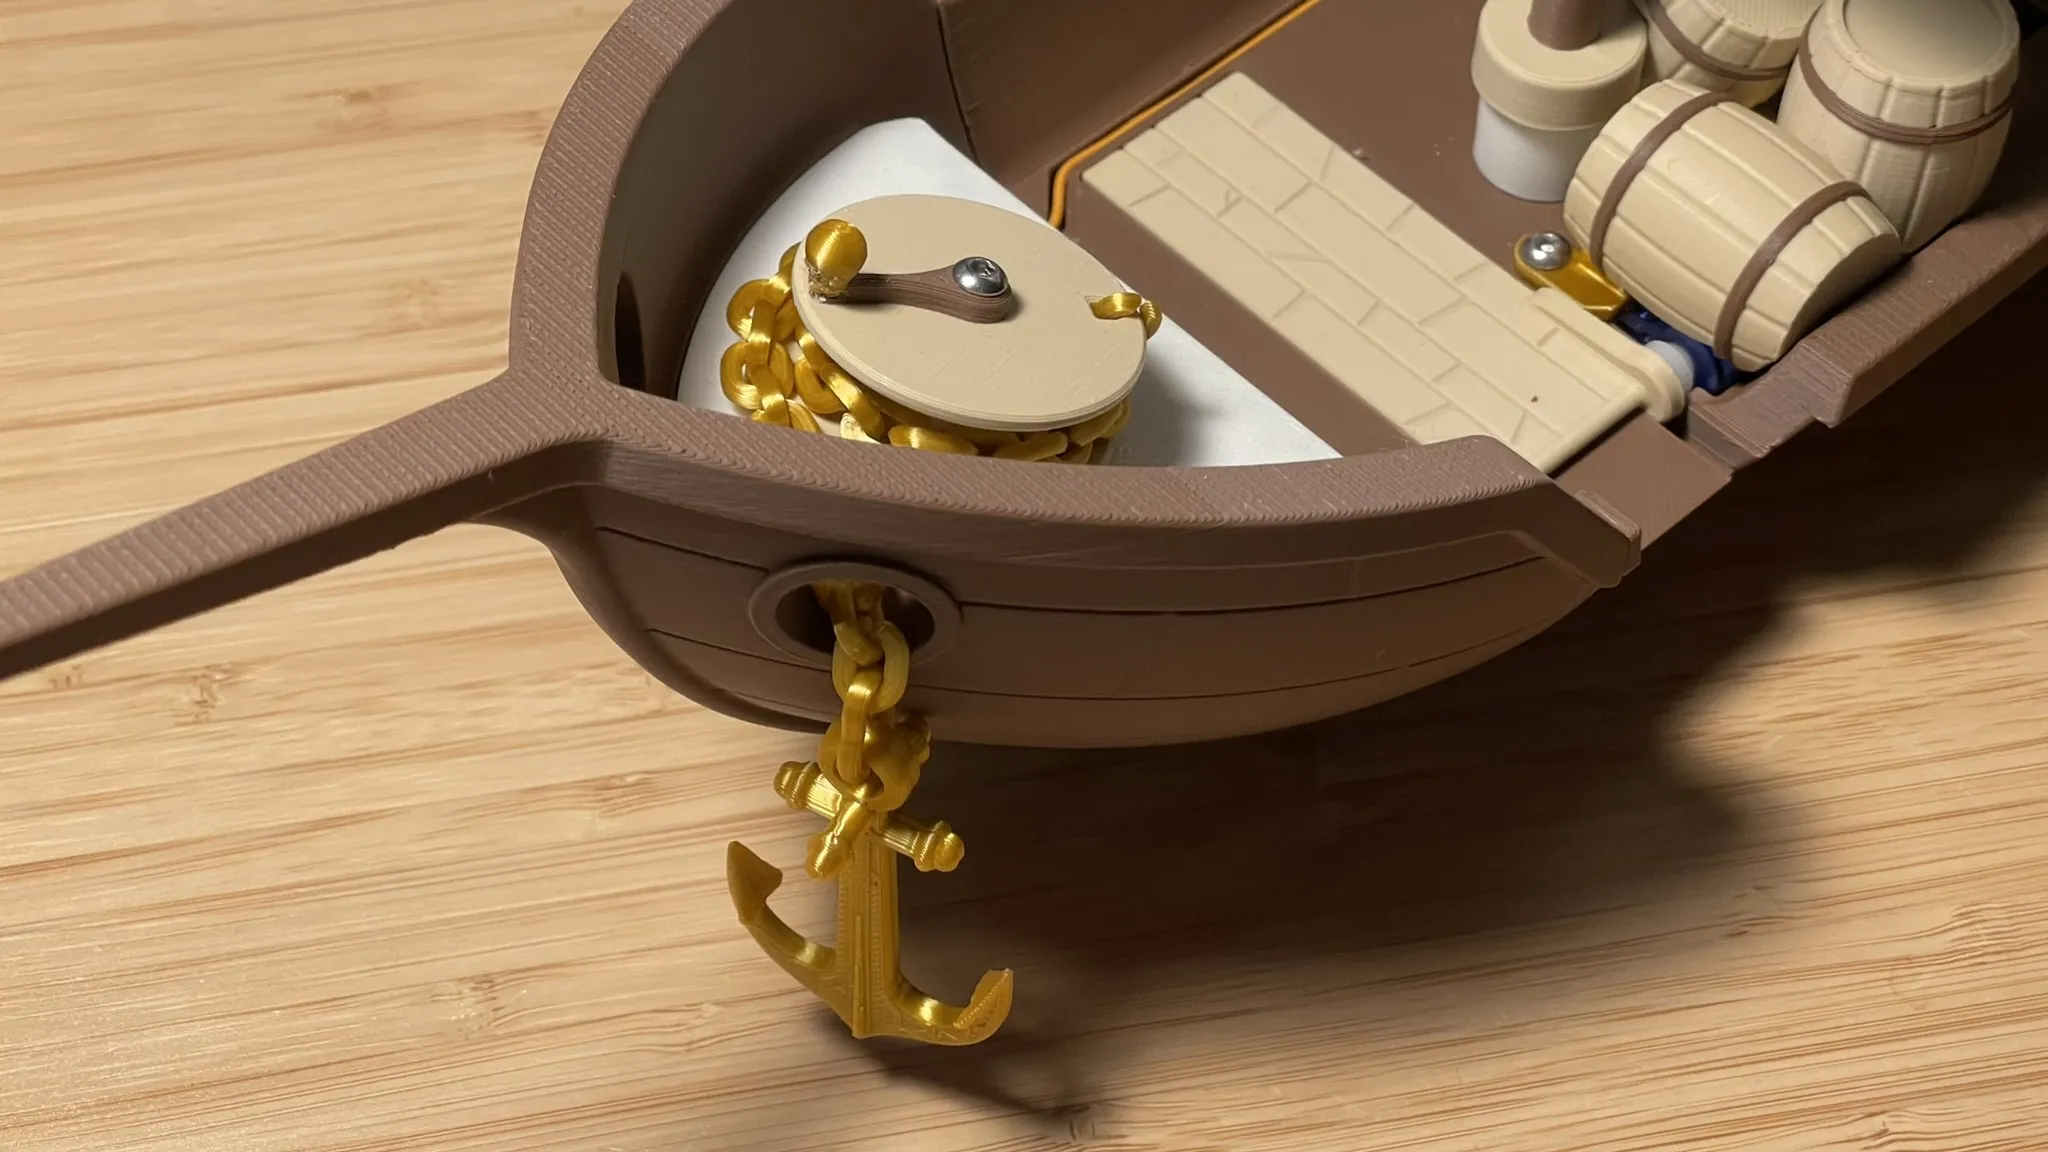 | That position will mean that the Anchor is fully raised, so roll the anchor chain to the maximum and put the Bow_Floor in its place again. |
🎉 ELECTRONICS FINISHED! 🎉 | |
| To control the ship, you'll have to use this buttons: | |
 | UP and DOWN to move the Anchor… |
 | …LEFT and RIGHT to move the Wheel… |
 | …and # and * to move the Table. |
And that's all! I hope you enjoy this project! Share your results! Have fun and best regards! | |
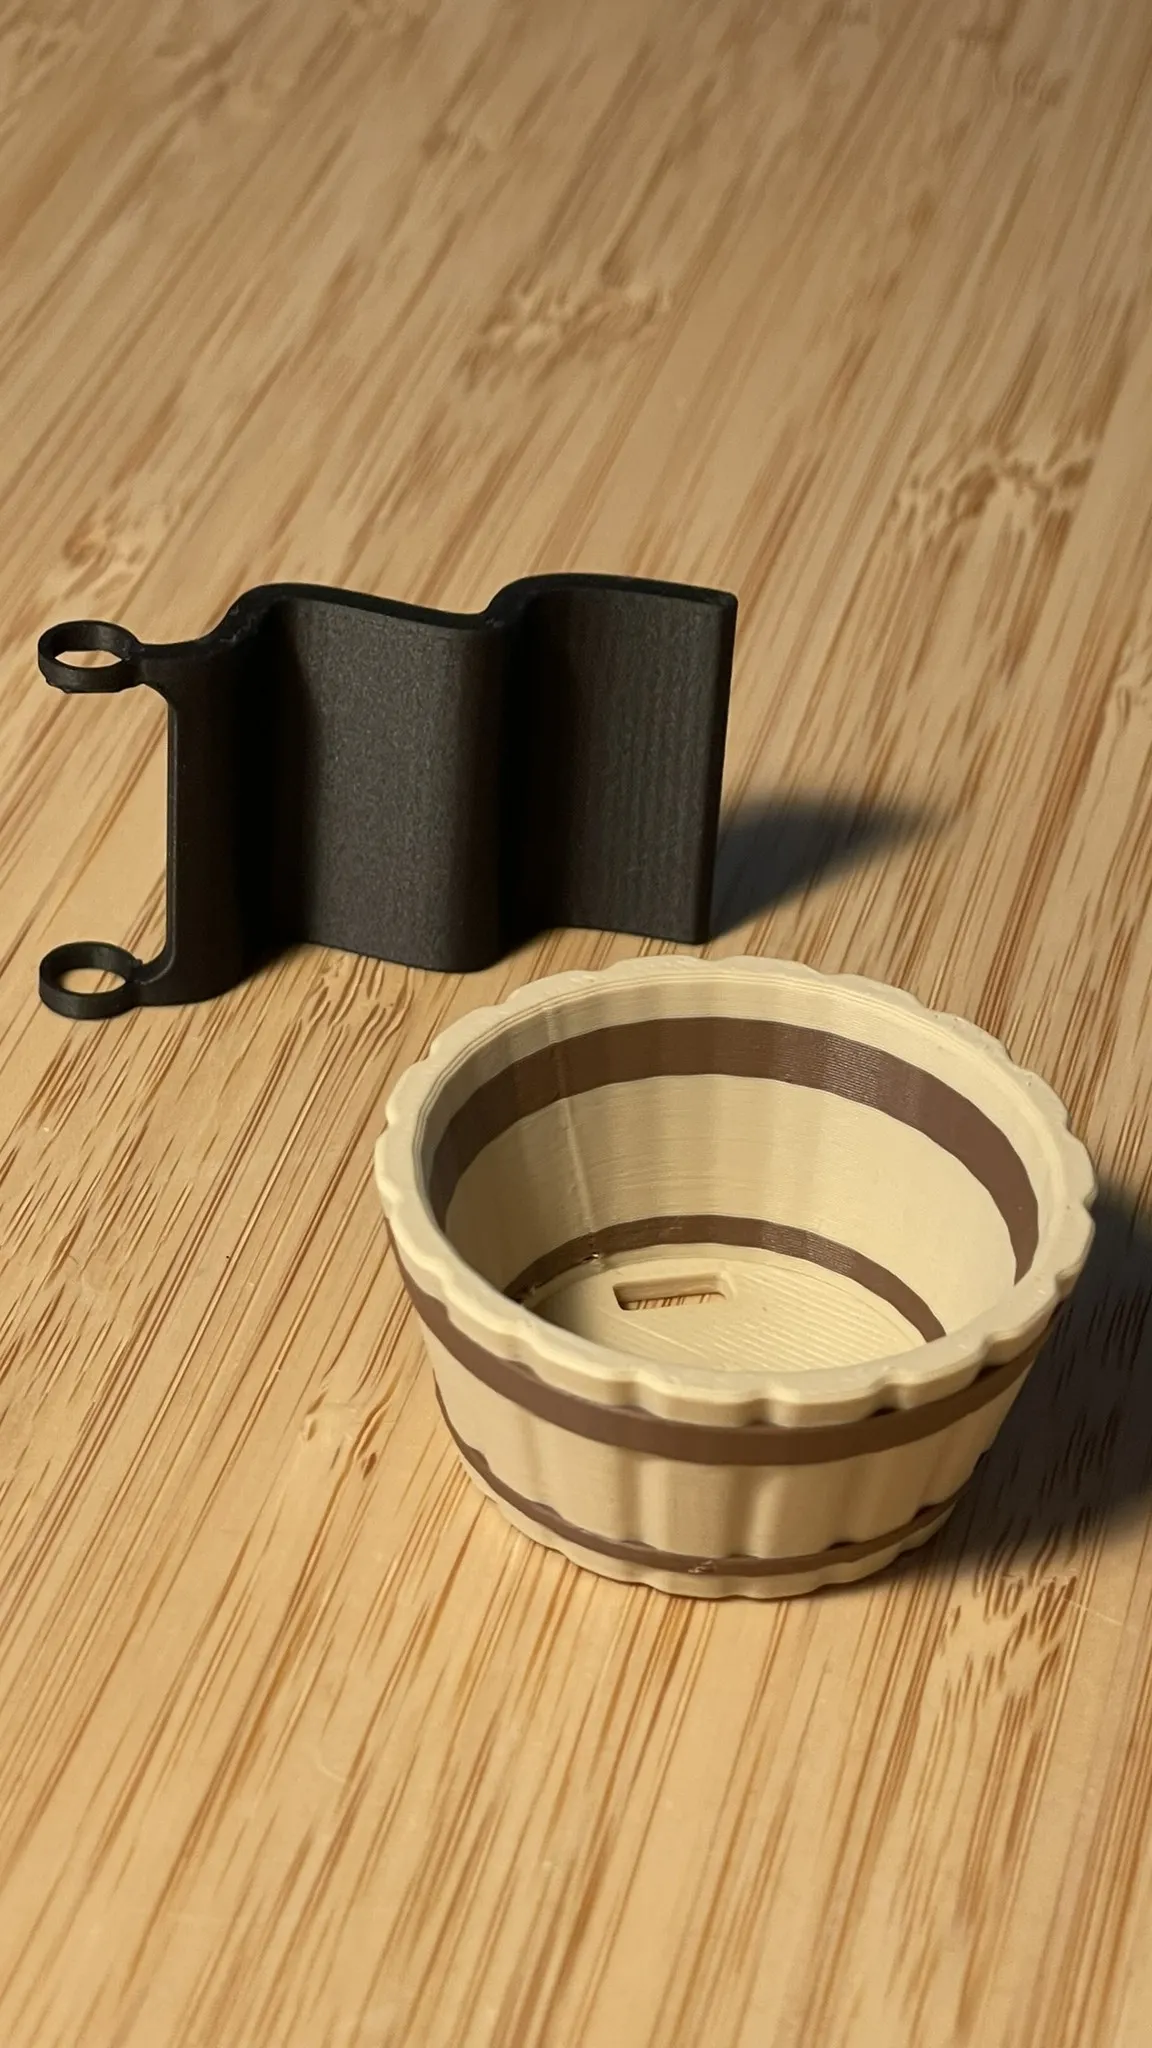
Documentation (2)
License

You shall not share, sub-license, sell, rent, host, transfer, or distribute in any way the digital or 3D printed versions of this object, nor any other derivative work of this object in its digital or physical format (including - but not limited to - remixes of this object, and hosting on other digital platforms). The objects may not be used without permission in any way whatsoever in which you charge money, or collect fees.


Comment & Rating (108)