
Umarex Mp5 Sliding Brace
Print Profile(3)


Description
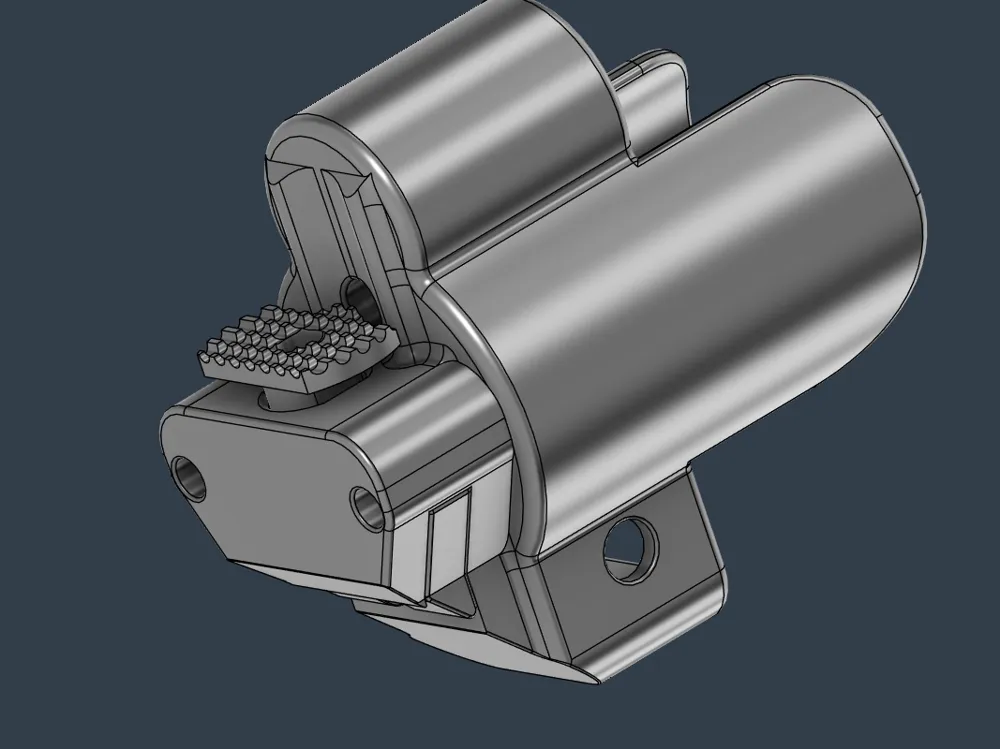
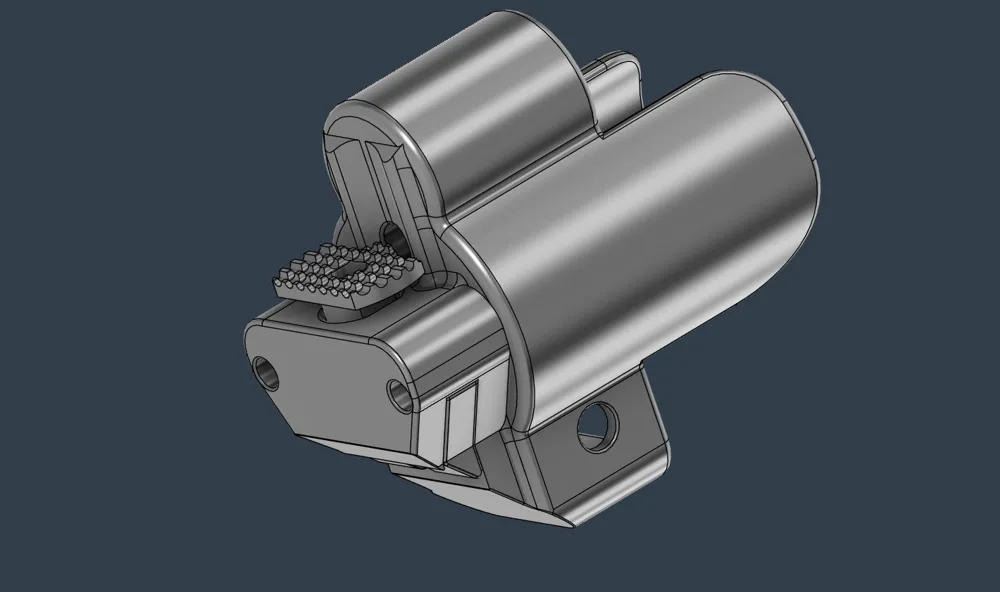

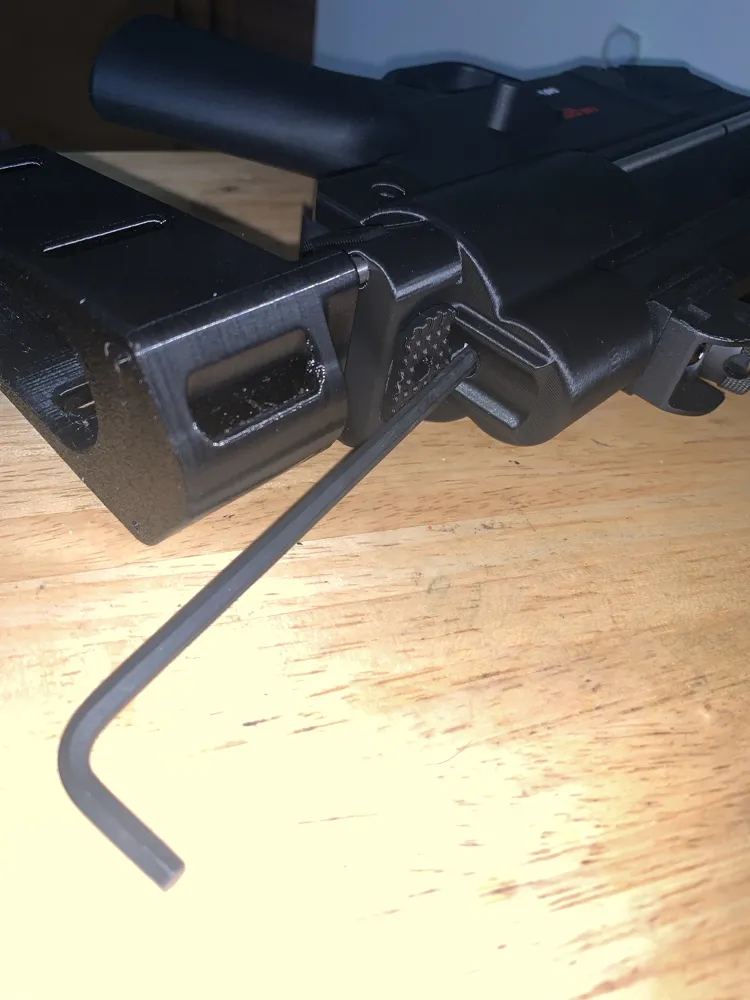
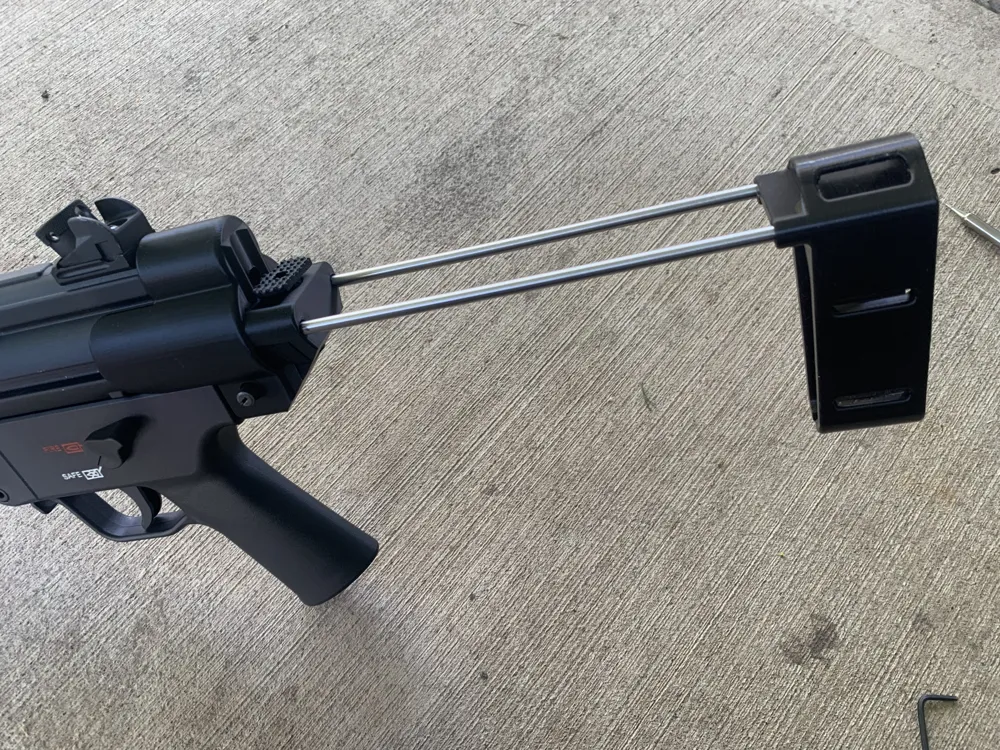
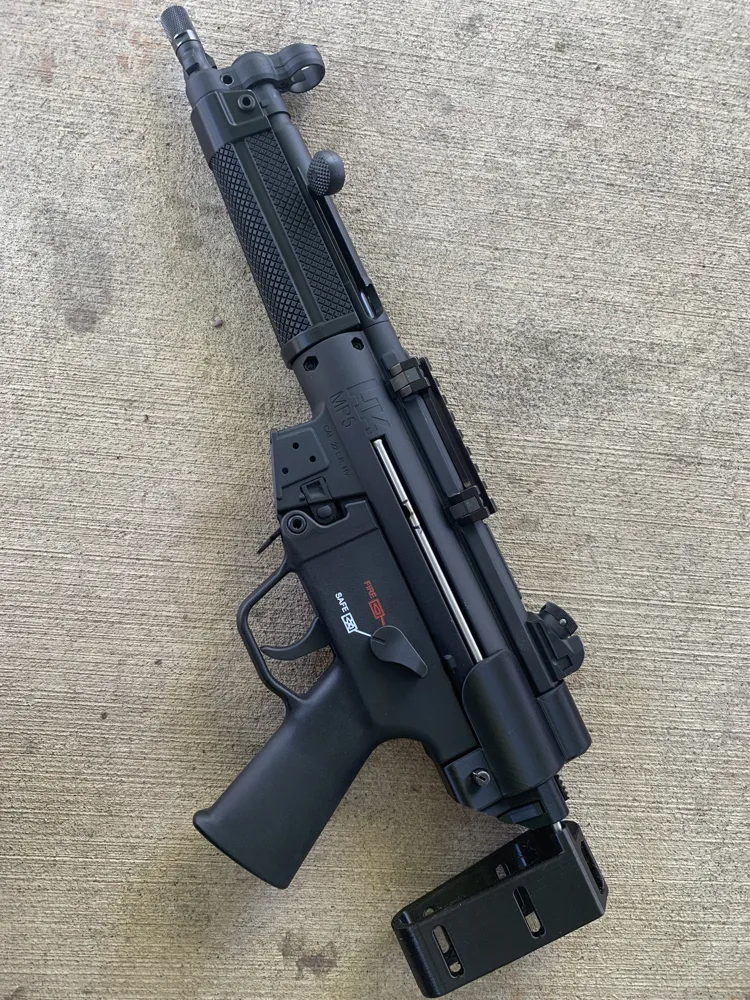
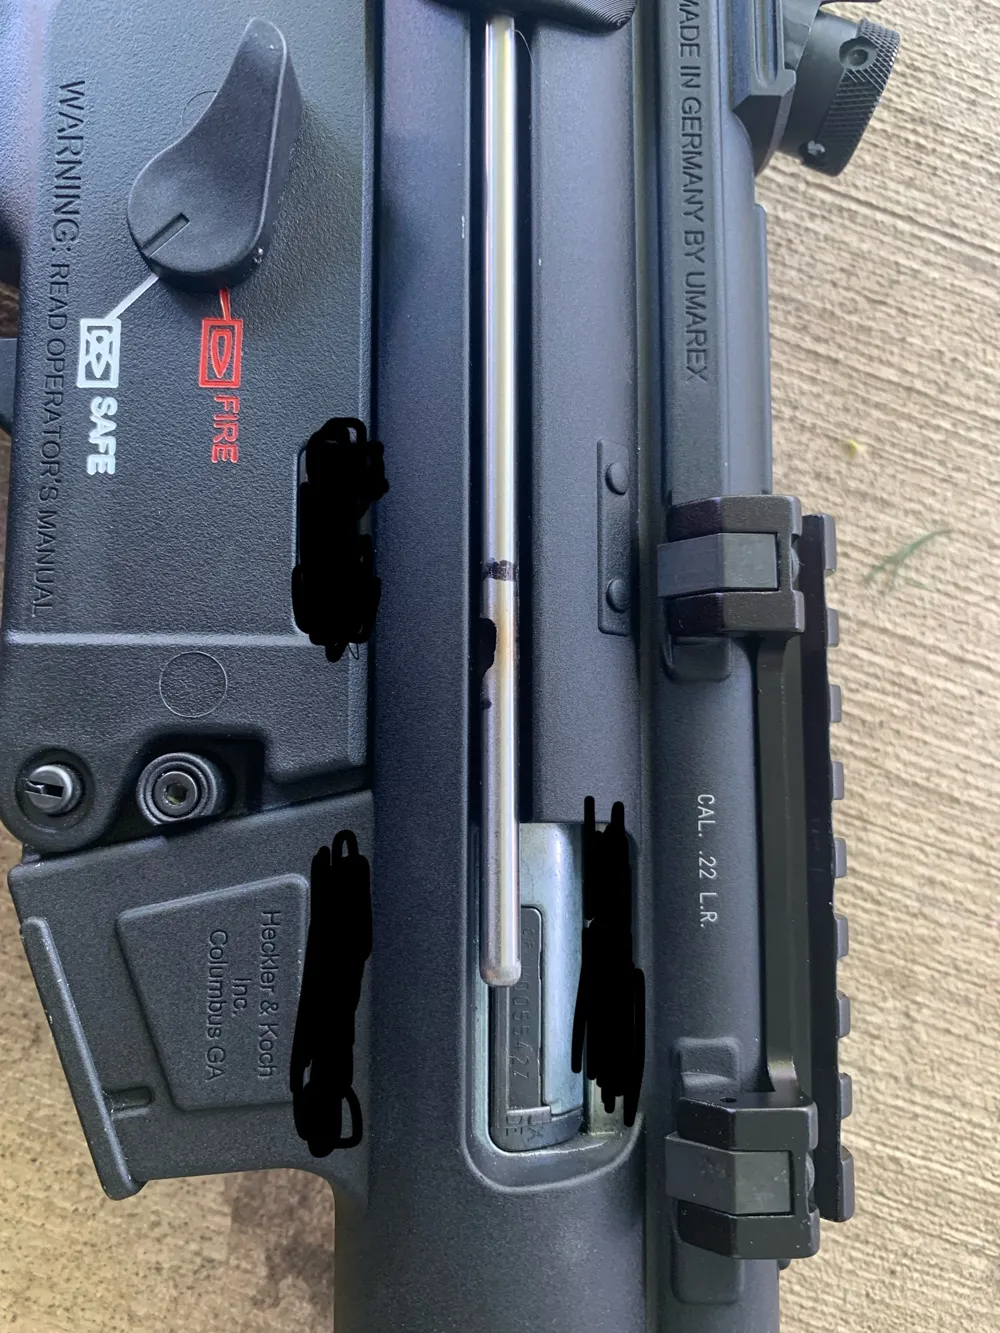
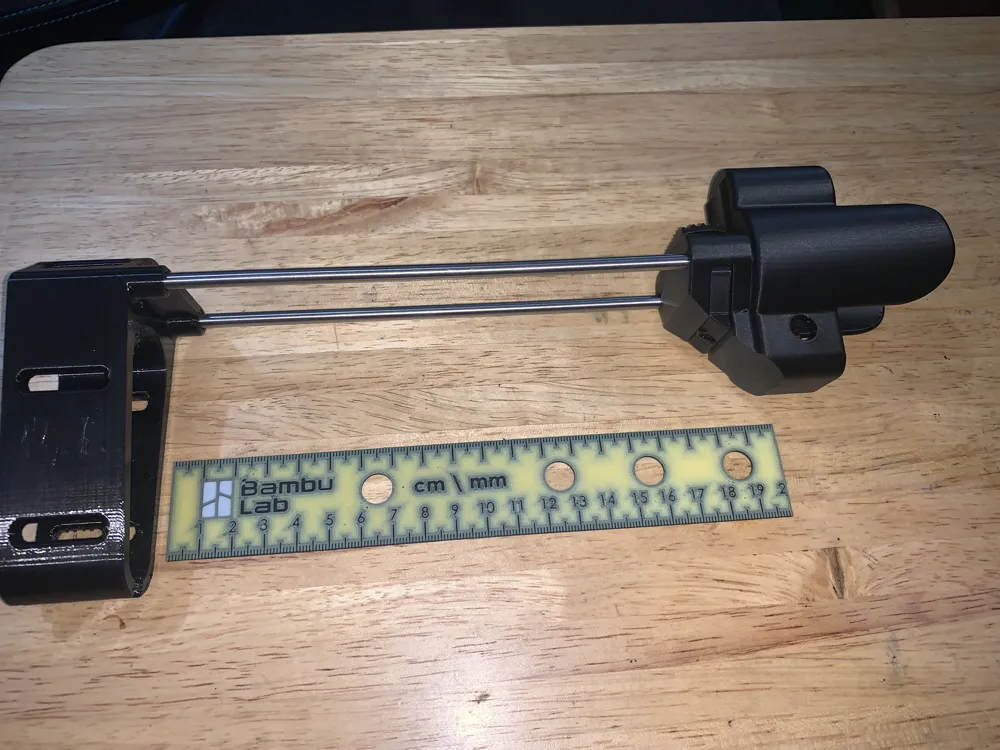
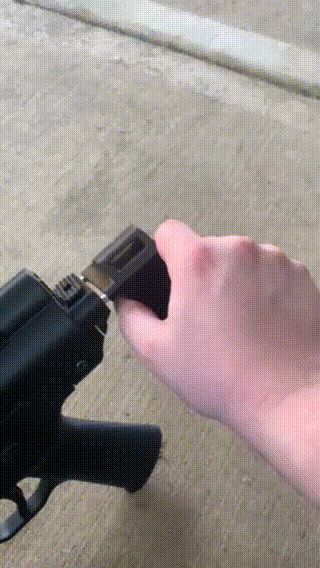
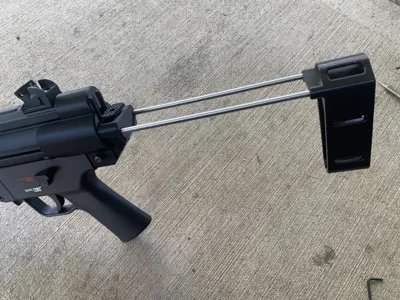
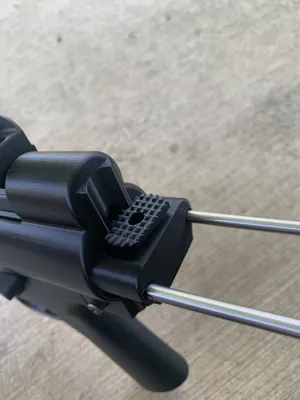
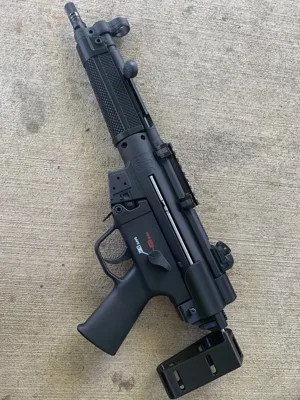
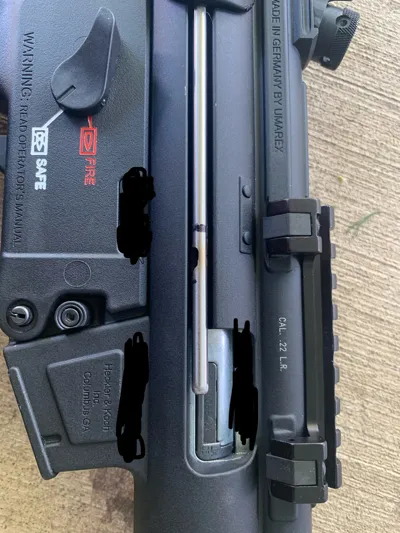
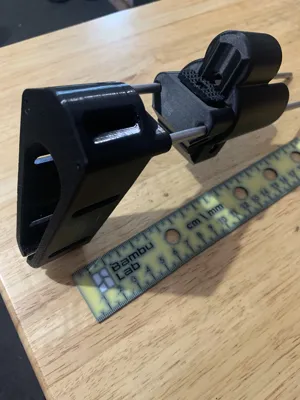
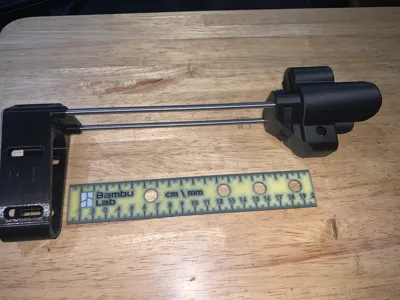
First release of the mp5 sliding brace. This is for the Umarex 22lr model its unknown if it fits any others. Ive been working on this for quite a while across many variations and decided its at a good point to release the first properly working model before i completely redesign it all over again because I know there's a few ways this could be better. Functions fine collapsed with the rod protruding across ejection port. Allows access to the recoil spring adjustment screw while installed.
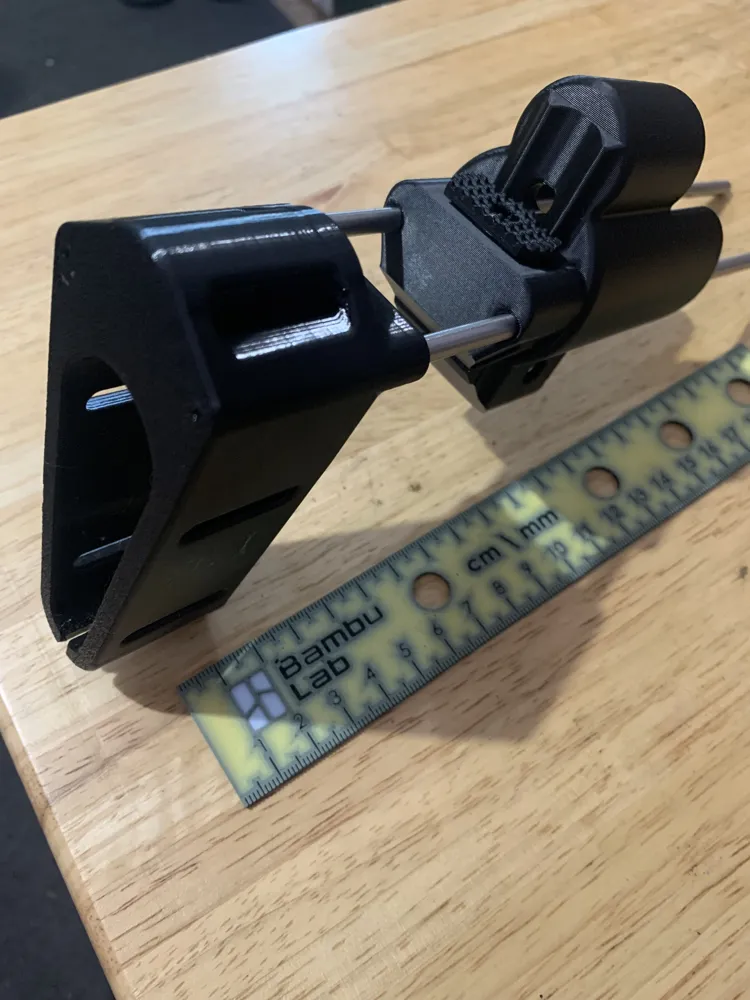
I would like to note, this entire design of the main body was to be printed without supports, that said there is a couple of compound sharp angles that took a while to adjust and I found on my enclosed P1S quality lacked, But on the A1 Mini it was excellent, I had some problems turning down the fans so this main end cap does require ALOT of cooling, atleast 80% fan most of the first half is required for good quality corners underneath the rear holes or else it will warp up into the holes requiring fitting, if printed properly in good quality there shouldn't be any fitting required other than cutting the notches on the rods.
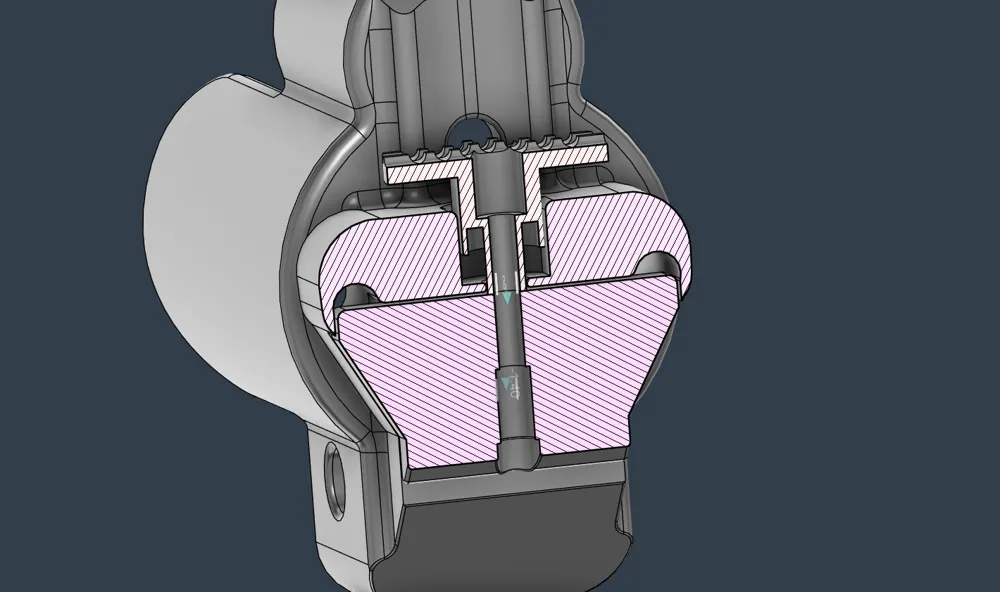
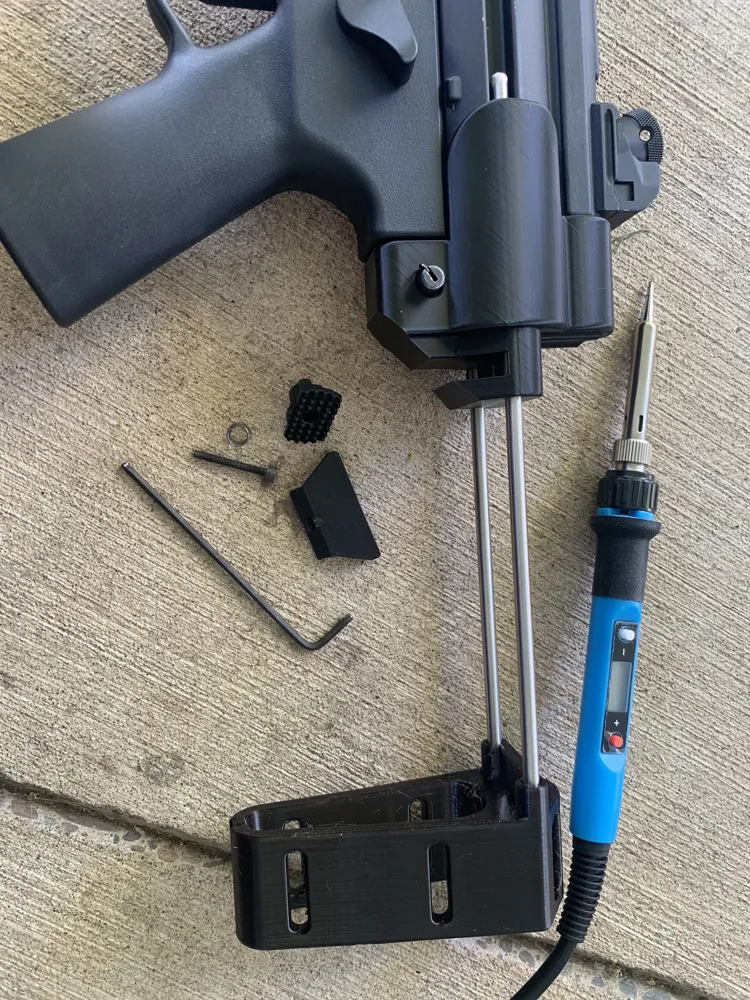
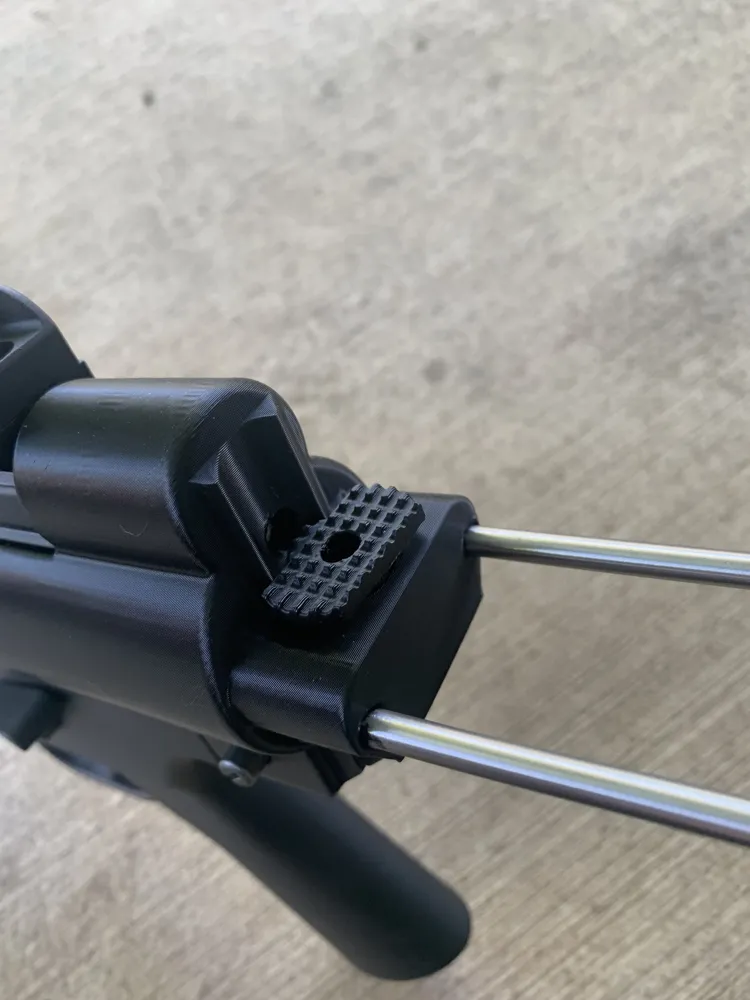
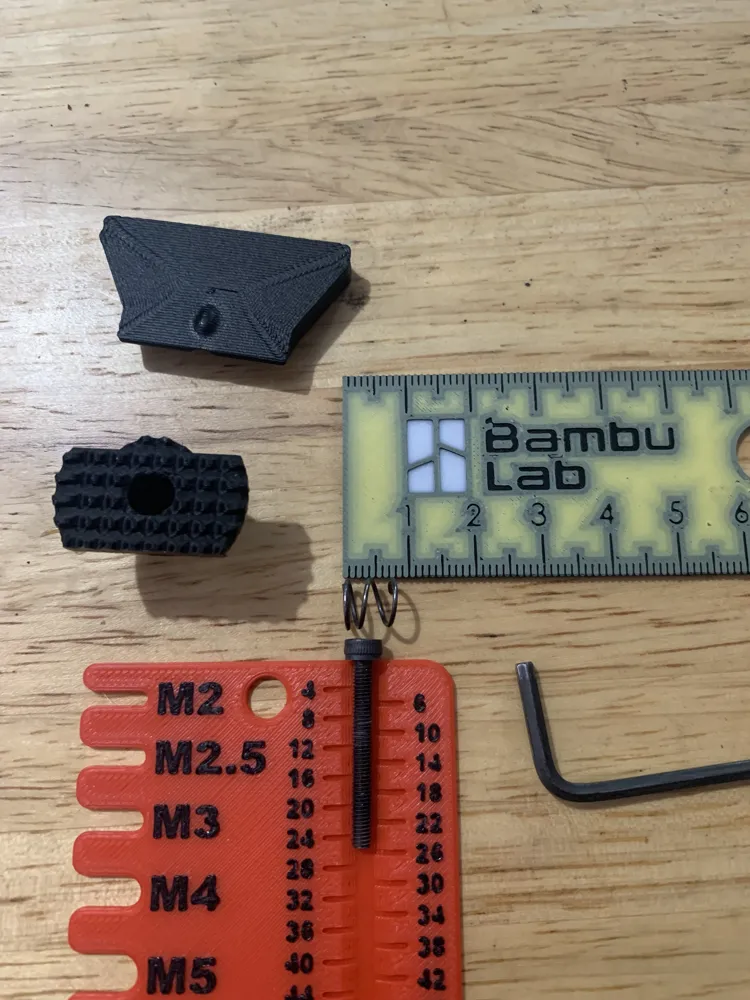
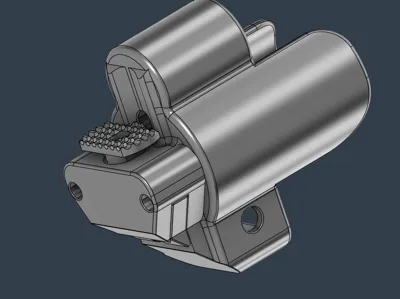
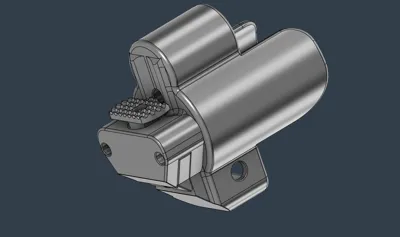
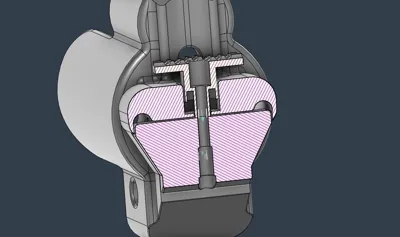
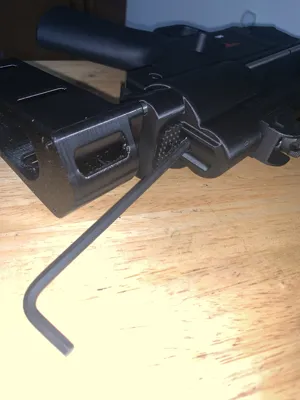
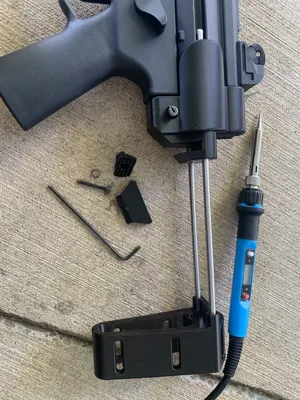
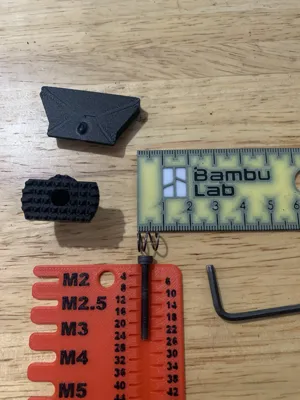
The lock is 6.4mm thick and the rod used is stainless 5x250mm. M3x25 SHCS with m3 heat set insert and should fit ender 3 bed springs cut down really short, I used a pheonix arms 22lr recoil spring cut short. Put teflon lube on the top of the lock that slides on the rod. extend brace until it is 12-13.25" Length Of Pull and then mark rods with sharpie.
TPU required for the tail hook to be a brace. The rods are a press fit into the TPU brace, They stay quite solid in the TPU and aren't too hard to insert.
To make the notches I just taped the rods together after marking cut location, taped them to a pole, then clamped them onto the pole, used an angle grinder with the thick grinding disc of about 6mm, pushed it straight in and found the top had a sharper edge so i flipped the grinder over and cut it again, then filed the corners in sharper. The lock is meant to go half way through the rod so you can also judge if they are cut far enough by installing it and checking the lock to be flush on the outside.
At the time of posting this I'm already designing a newer version but it will continue to use the same rods.
License

You shall not share, sub-license, sell, rent, host, transfer, or distribute in any way the digital or 3D printed versions of this object, nor any other derivative work of this object in its digital or physical format (including - but not limited to - remixes of this object, and hosting on other digital platforms). The objects may not be used without permission in any way whatsoever in which you charge money, or collect fees.


Comment & Rating (9)