


Print Profile(1)

Description
For Non-Commercial, Personal User Only
You are permitted to download and use this model for your own personal projects only. You may not distribute, sell, or share the digital files of this model with others, nor create and sell physical objects based on this model in its current, modified or adapted form.
About This Model
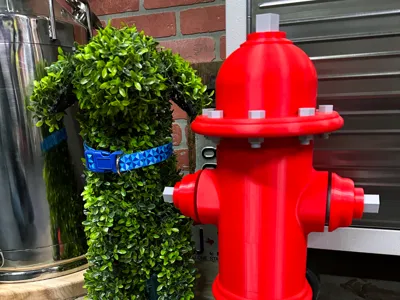
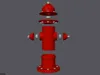
I had been on the look out for a near life sized replica of an old style Fire Hydrant that I could print for my dog to use as an outdoor pee pole. While I did come across several versions online, none of them ticked all of the boxes that I was wanting, so I created the one you see here.
Some of the features of my model include:
- Large Enough For All Dog Breeds (19" Tall)
- Two Hollow Compartments To Add Weight
- Strong Enough For All Season Use
- Multi Color Print With Minimal Waste
- Easy To Assemble
Get Ready To Print
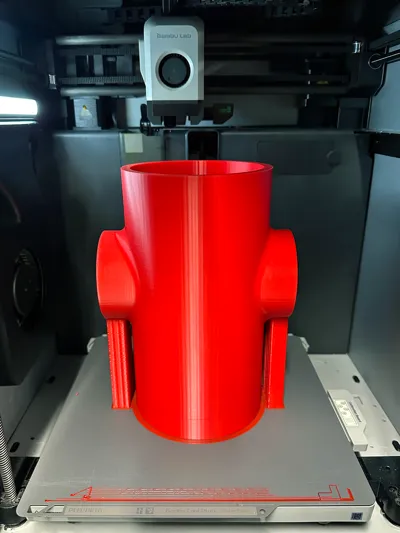
The default profile is a more robust version of the default 0.16 Optimal setting that Bambu Studio ships with. Most notably, the Wall Count has been increased to 4, and the infill is 15% Gyroid. There are a total of six build plates, as seen in the print profile image, using a total of two different filament colors.
I used a Bambu Cool Plate SuperTack when printing mine and had no issues with adhesion. Some of the larger pieces do have a brim in place. You need to use the build plate setup you are comfortable with as well as any adhesives as necessary.
Assemble The Model
Assembly could not be more straight forward as there is only one way to put it together.
- Put “Plate 1 - Base” on the ground and add any weight (rocks, sand, etc) inside if desired. You can run a bead of Super Glue along the inside brim if you would like to permanently assemble the fire hydrant.
- Slide “Plate 2 - Tank” into the top of the base. It will seat to the inside brim, which you may have already applied glue if desired. Decide if you are going to add additional weight and add it inside the Tank at this time.
- Attach both of the parts from “Plate 5 - Arms” to each side of the tank using two of the connectors from “Plate 6 - Connectors”. You will need Super Glue here if you plan on actually using this outside.
- Connect “Plate 3 - Head Bottom” and “Plate 4 - Head Top” using the last of the Connector pieces. Again, if you plan on using this outdoors for its intended purpose, I recommend Super Glue here.
- Insert the bottom of the assembled head into the top of the tank. You're Done!
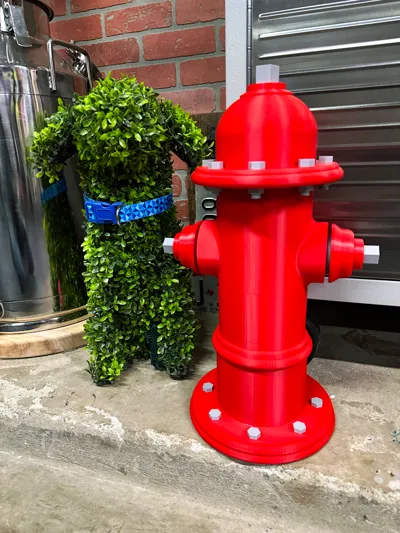
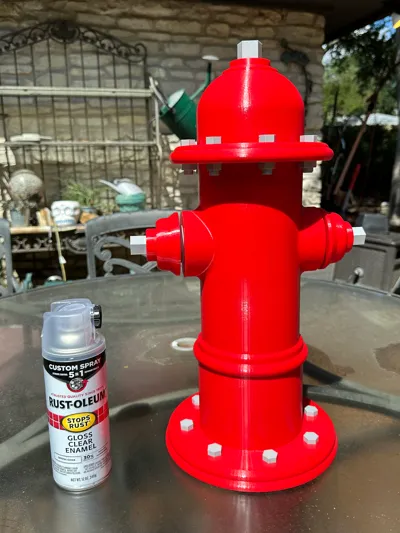
About The Photographed Model
The hydrant you see in the photos was printed using Bambu PETG HF filament in Red and Gray. It has been out in the Texas weather - which has gone from ice, to hail, to near 100 degrees already - for several months and looks as good as it did day one. I filled both the Base and Tank of mine with sand and permanently glued all the pieces using Super Glue. After assembly I applied two generous coats of Rust-Oleum Clear Gloss Enamel since Bambu PETG HF has a matte finish and I wanted one that was high gloss.
Documentation (1)
License
You shall not share, sub-license, sell, rent, host, transfer, or distribute in any way the digital or 3D printed versions of this object, nor any other derivative work of this object in its digital or physical format (including - but not limited to - remixes of this object, and hosting on other digital platforms). The objects may not be used without permission in any way whatsoever in which you charge money, or collect fees.
Comment & Rating (24)