


Print Profile(1)

Description
Inspired by stevecux with his idea on Thingiverse, I created these tires for my Landroid SB700 WR110MI.1.
The advantage of my wheels is that they are not glued together, but screwed together.
The original rims and wheel covers are retained, and the original rubber profiles could also be reused.
In addition, they have a more grippy profile, which practically eliminates any slippage of the wheels (motor control switches off more reliably).
No additional weights or weighting of the Landroid is needed.
The lawn is spared and damaged less frequently.
My robotic lawnmower has already had to cope with a great deal in our garden; inclines of 30% and more are not uncommon.
When driving downhill towards the boundary wire, it sometimes happened that it did not come to a stop quickly enough.
Now I no longer have that problem.
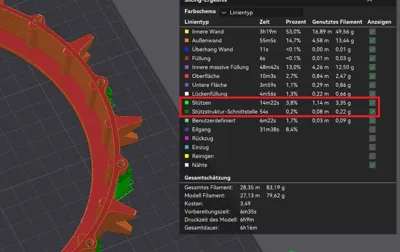
These must be printed in TPU, very little support. I used Shore 95A and with the tires the robot also drives steep passages on cobblestones.
I cannot say exactly which models this profile fits, but based on the rim/axle mounting you can see if it is compatible with your model. Please write it in the comments. I suspect that the S + M series works completely.
According to feedback from @user_1382357302, the tires can also be fitted to an M model with minimal effort, see review.
Boost Me (for free)
If you like my work, I would be very happy about a like, boost, comment and make… With good reviews you support and motivate me to design more great things :-).
Material:
- ca 400g TPU Filament
- 24x countersunk universal/wood screw 3x16mm or 3x20mm (possibly stainless steel)
Assembly:
- Remove old wheels
- Place complete wheels in warm water for 5 minutes
- Strip off rubber from back to front
- Dry
- Pull on printed parts
- Screw on tightly, do not overtighten (universal screw/wood screw countersunk head 3x16mm or 3x20mm)
- Reassemble complete wheels
- Put on wheel cover
- DONE
I hope that this profile will save you a lot of trouble in the garden in the future.
Let me know what experience you have had with my design :-).
Boost Me (for free)
If you like my work, I would be very happy about a Like, Boost, comment, and Make… With your reviews, you support and motivate me to design more great things :-)
Use at your own risk !
Small parts can be swallowed. Use only under adult supervision.
I assume no responsibility !
Comment & Rating (11)