
Magnetic Dust Collection Adapters (Modular)
Print Profile(1)

Description
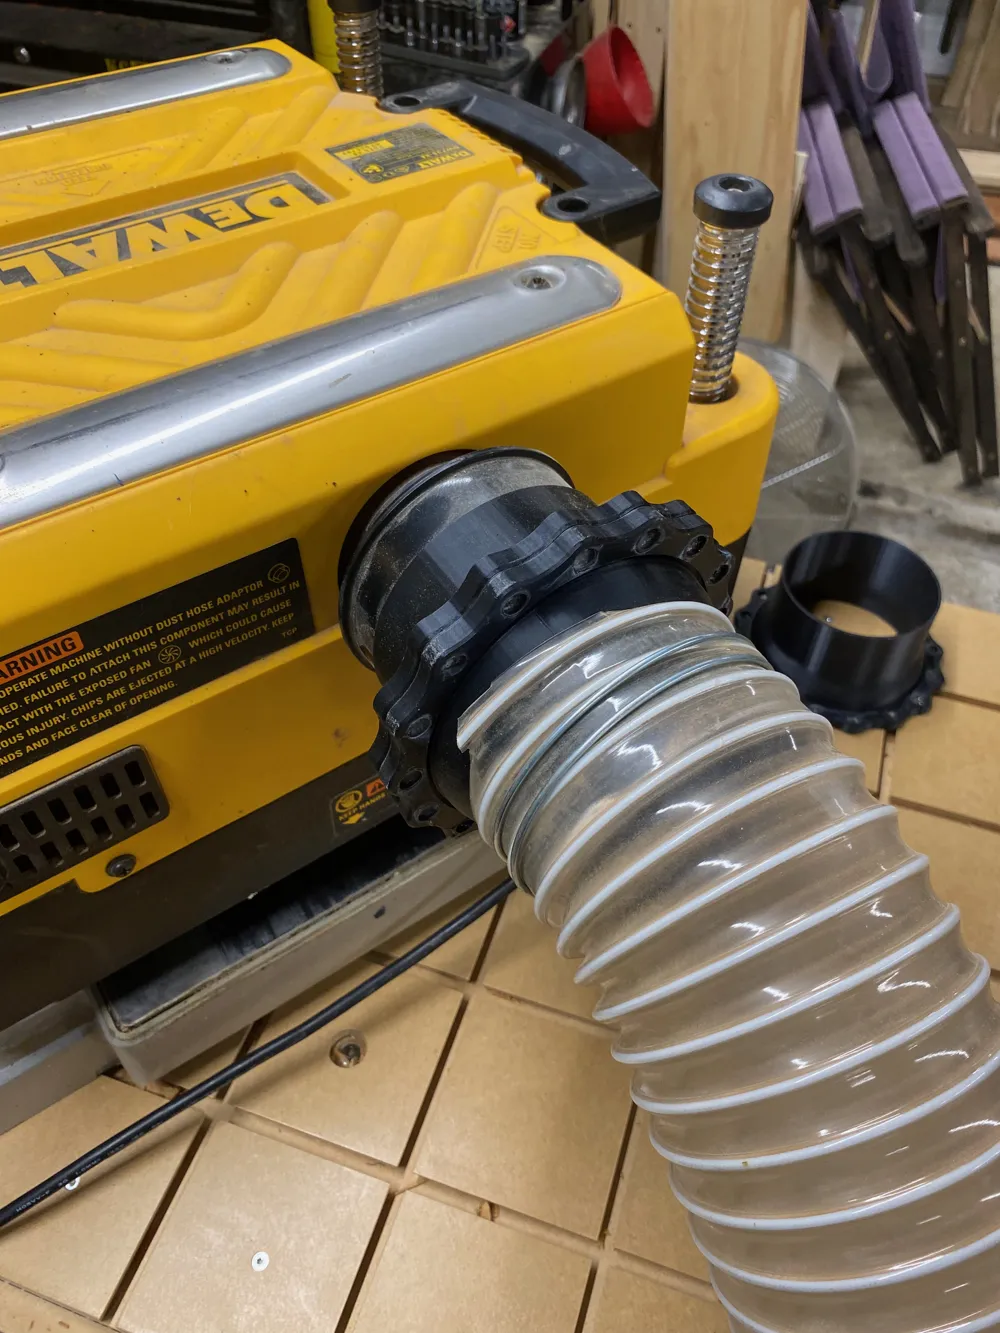
This model is the start of my dust collection adapters. Will be adding more soon hopefully.
Overview
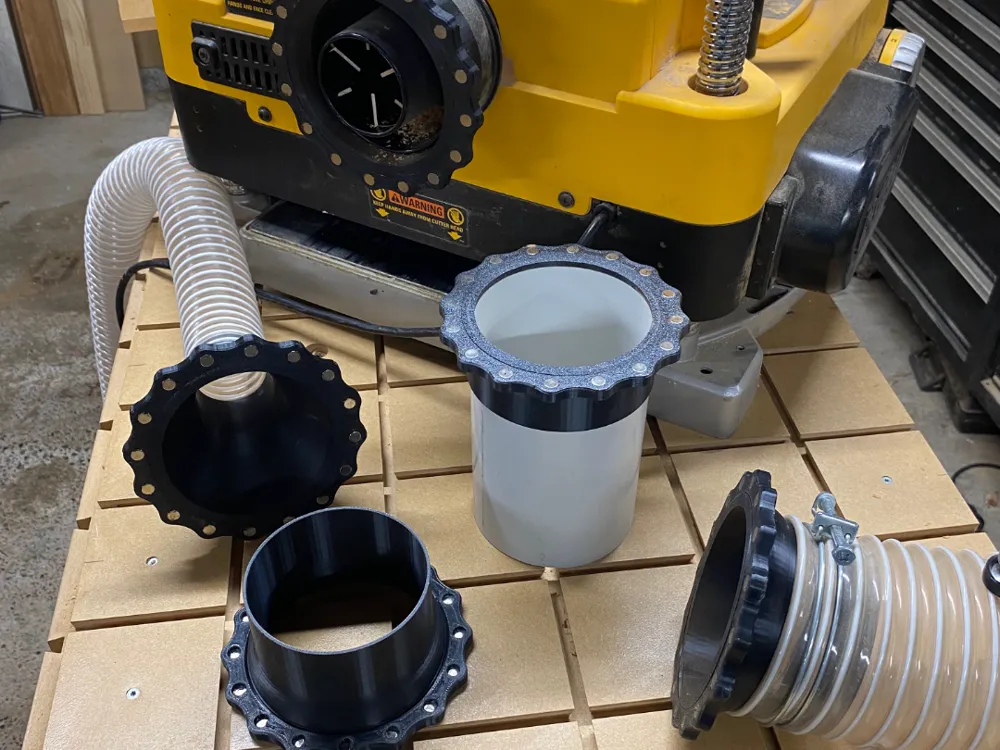
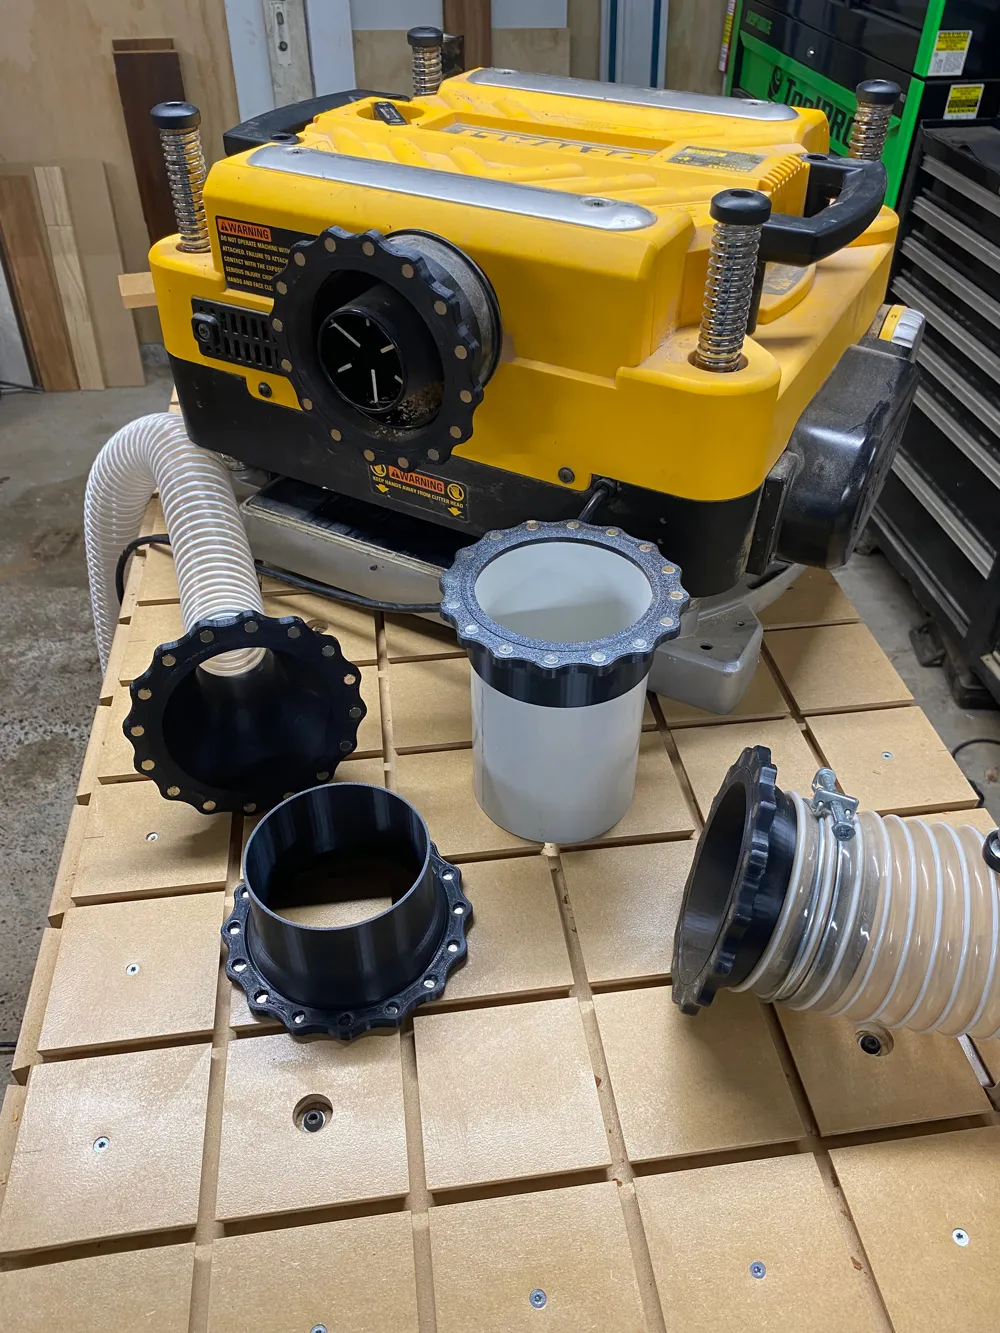
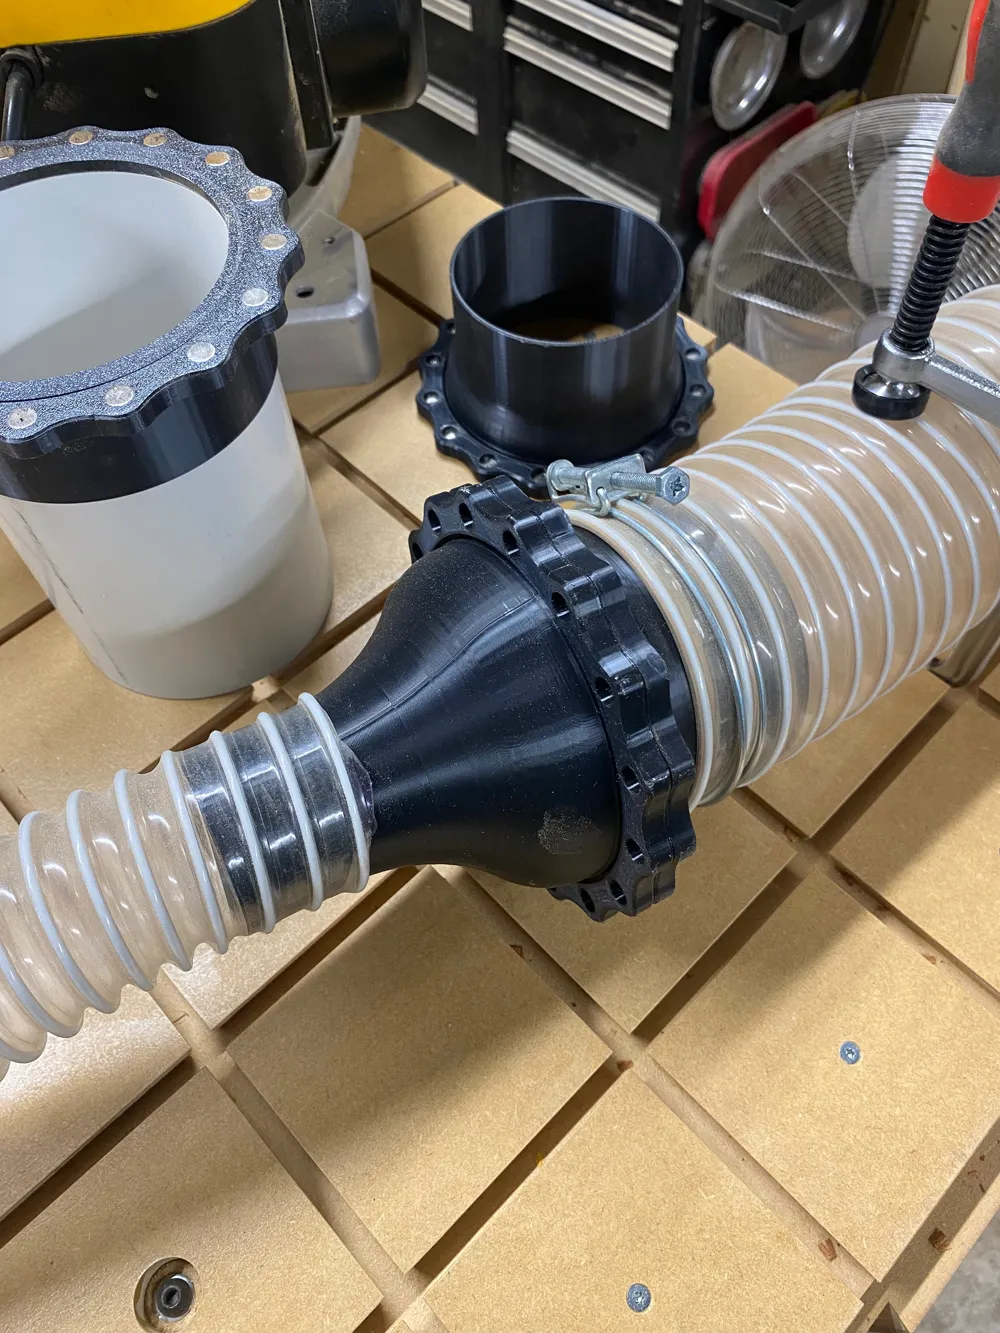
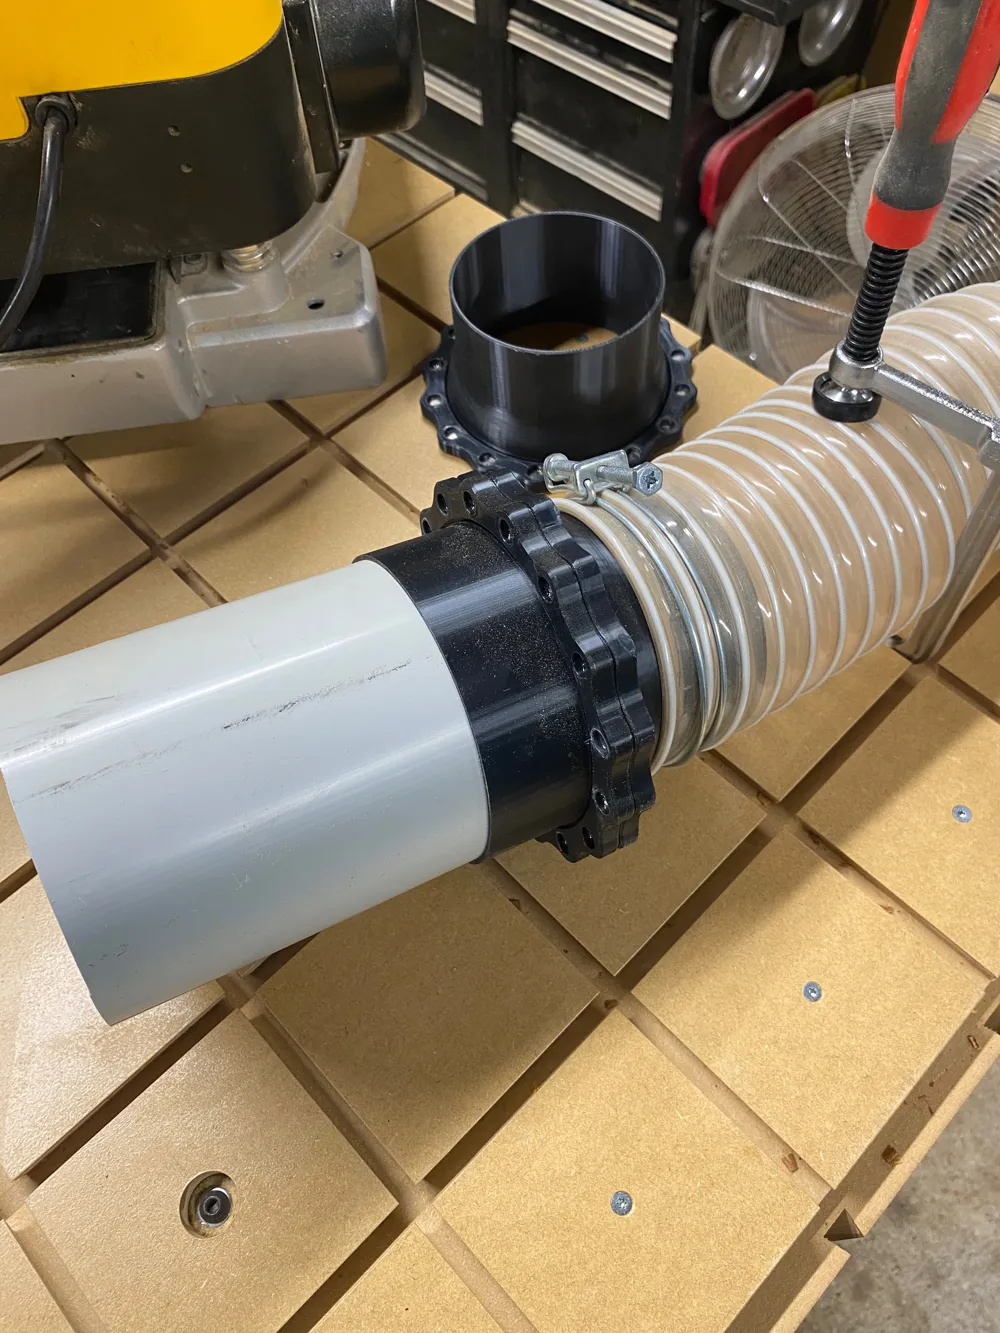
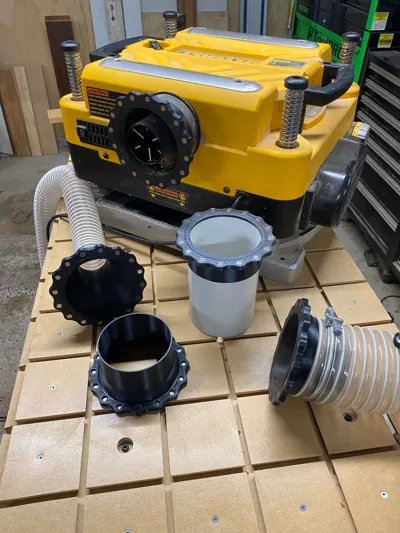
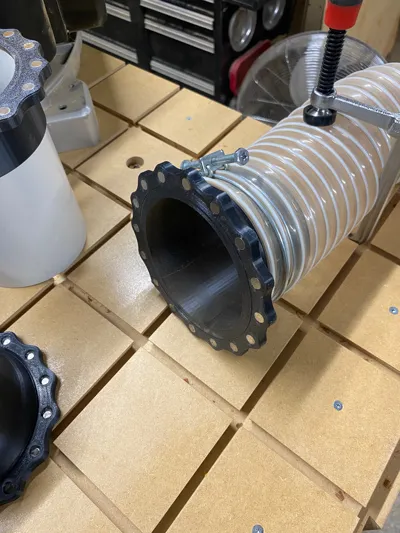
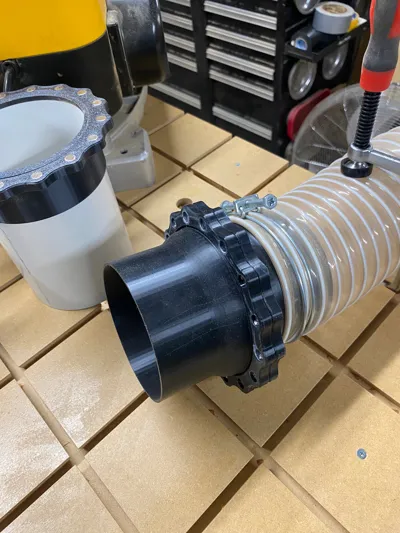
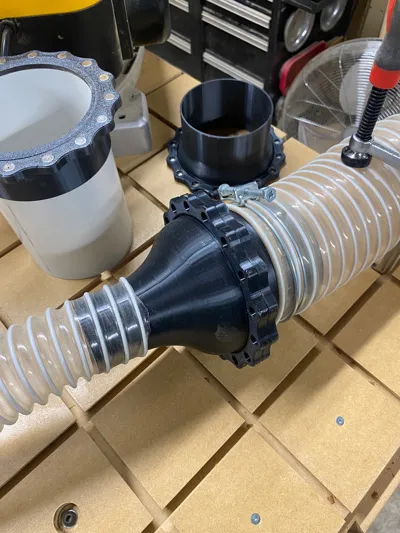
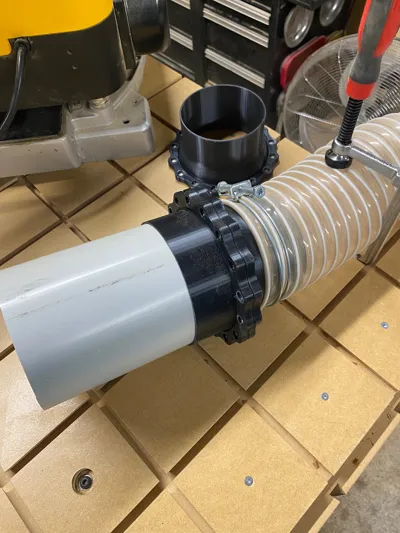
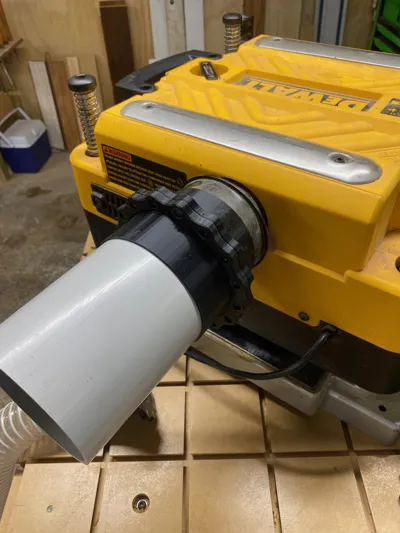
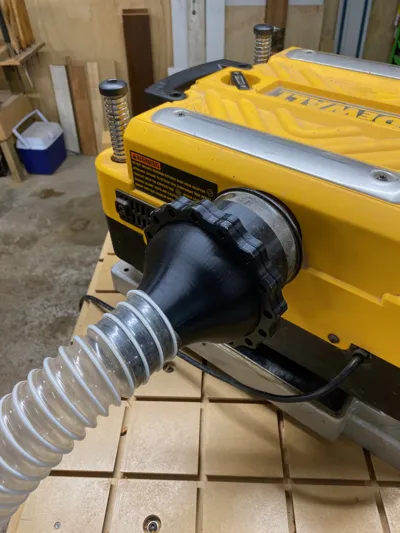
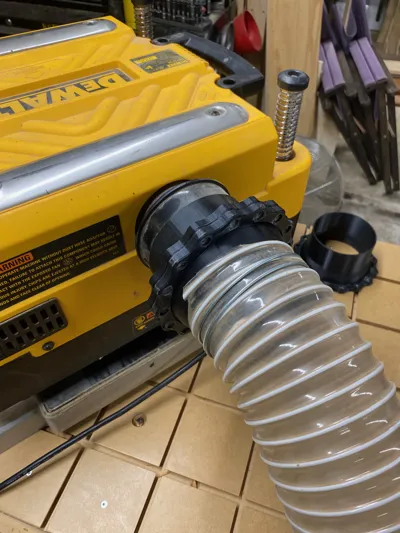
These are modular & magnetic dust collection adapters.
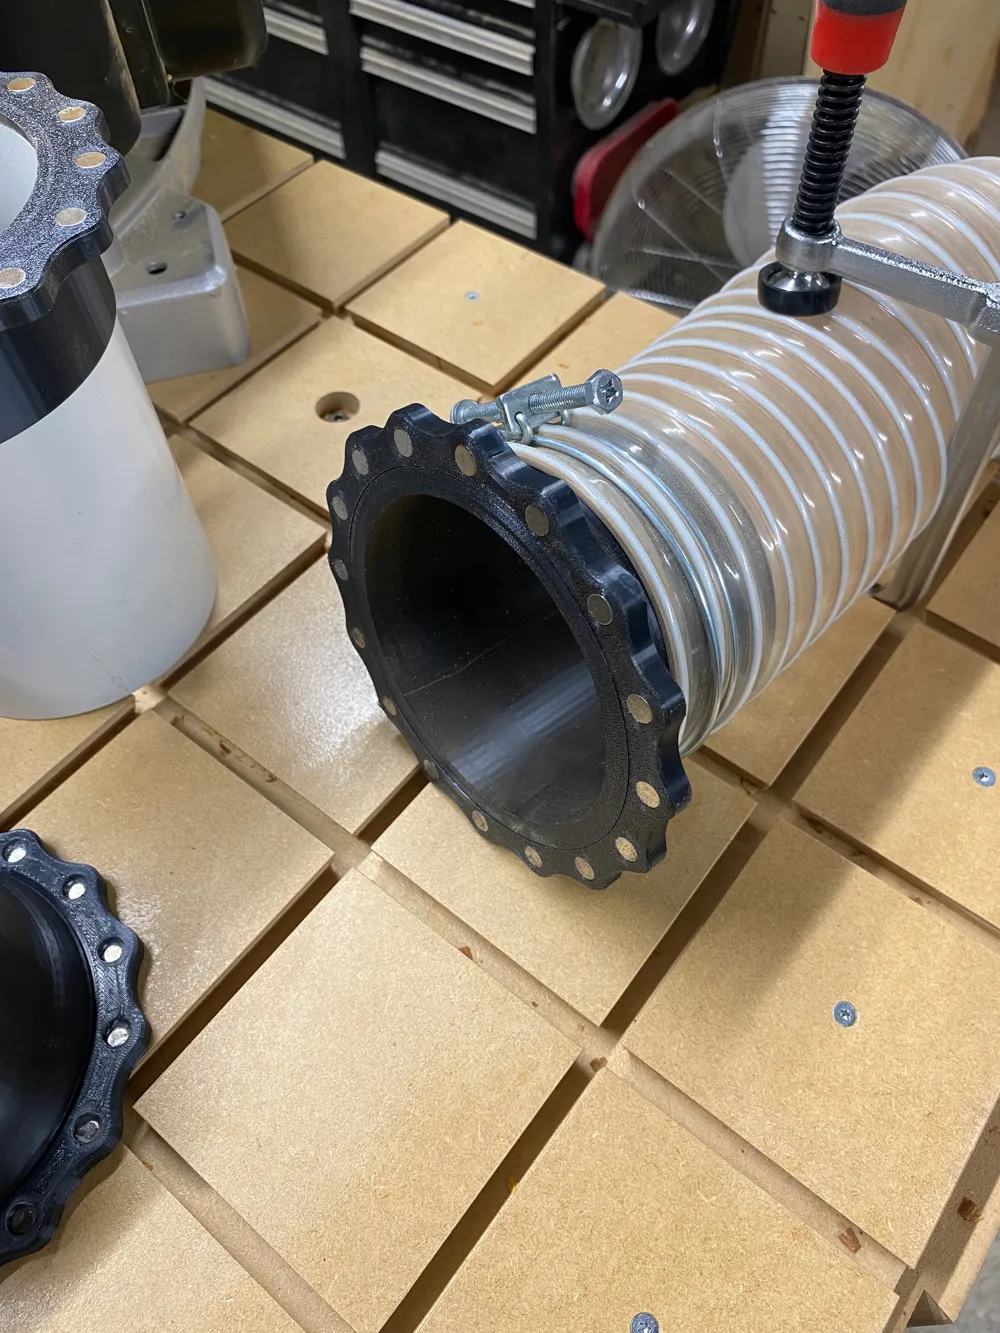
- Allow you to use cylindrical magnets, either 6, 8 10 or 12mm in diameter.
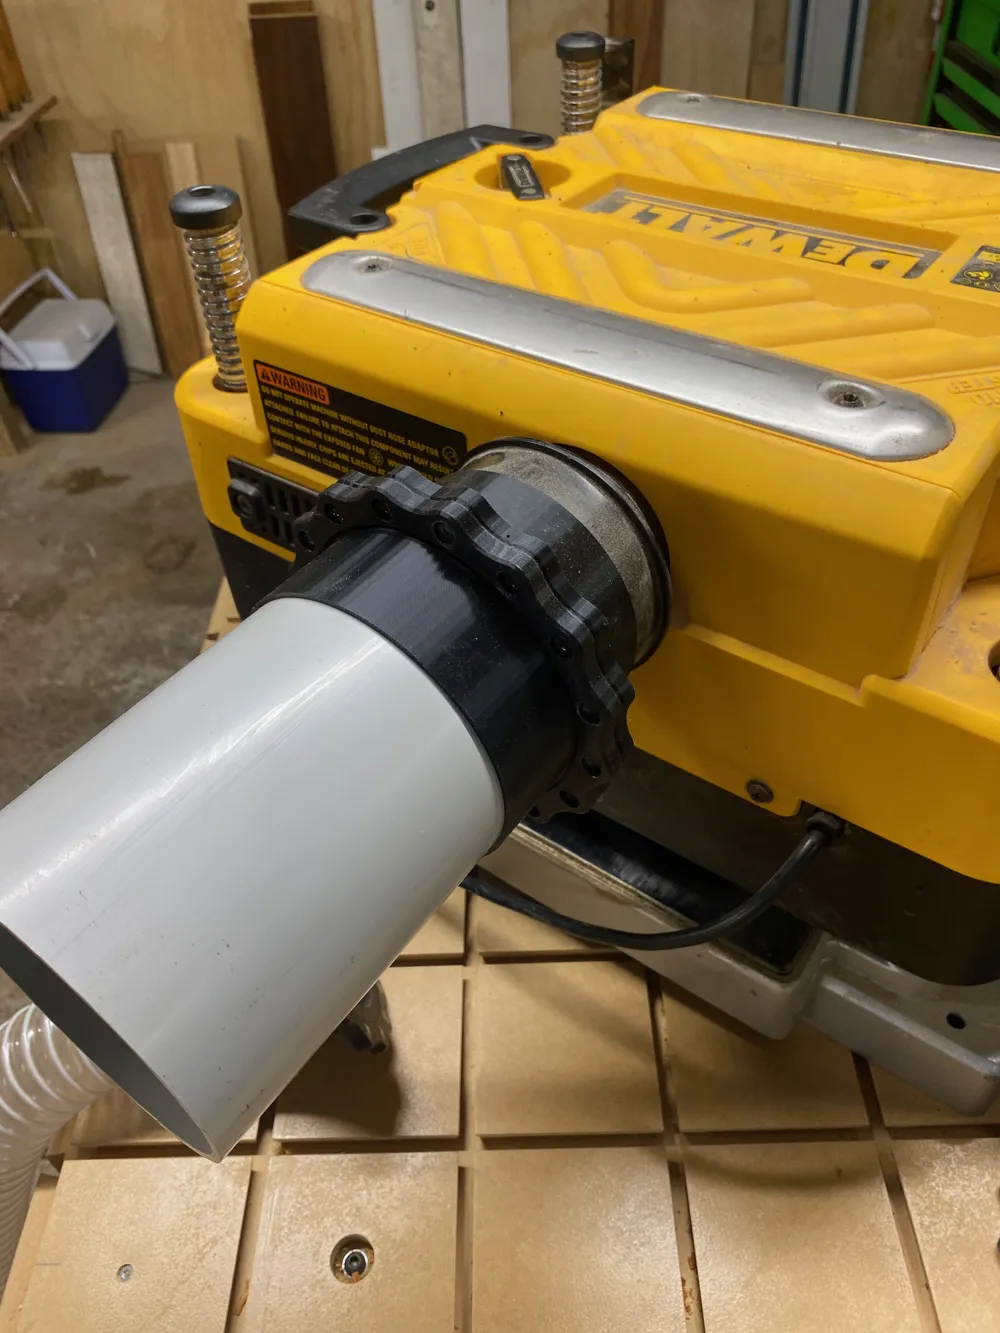
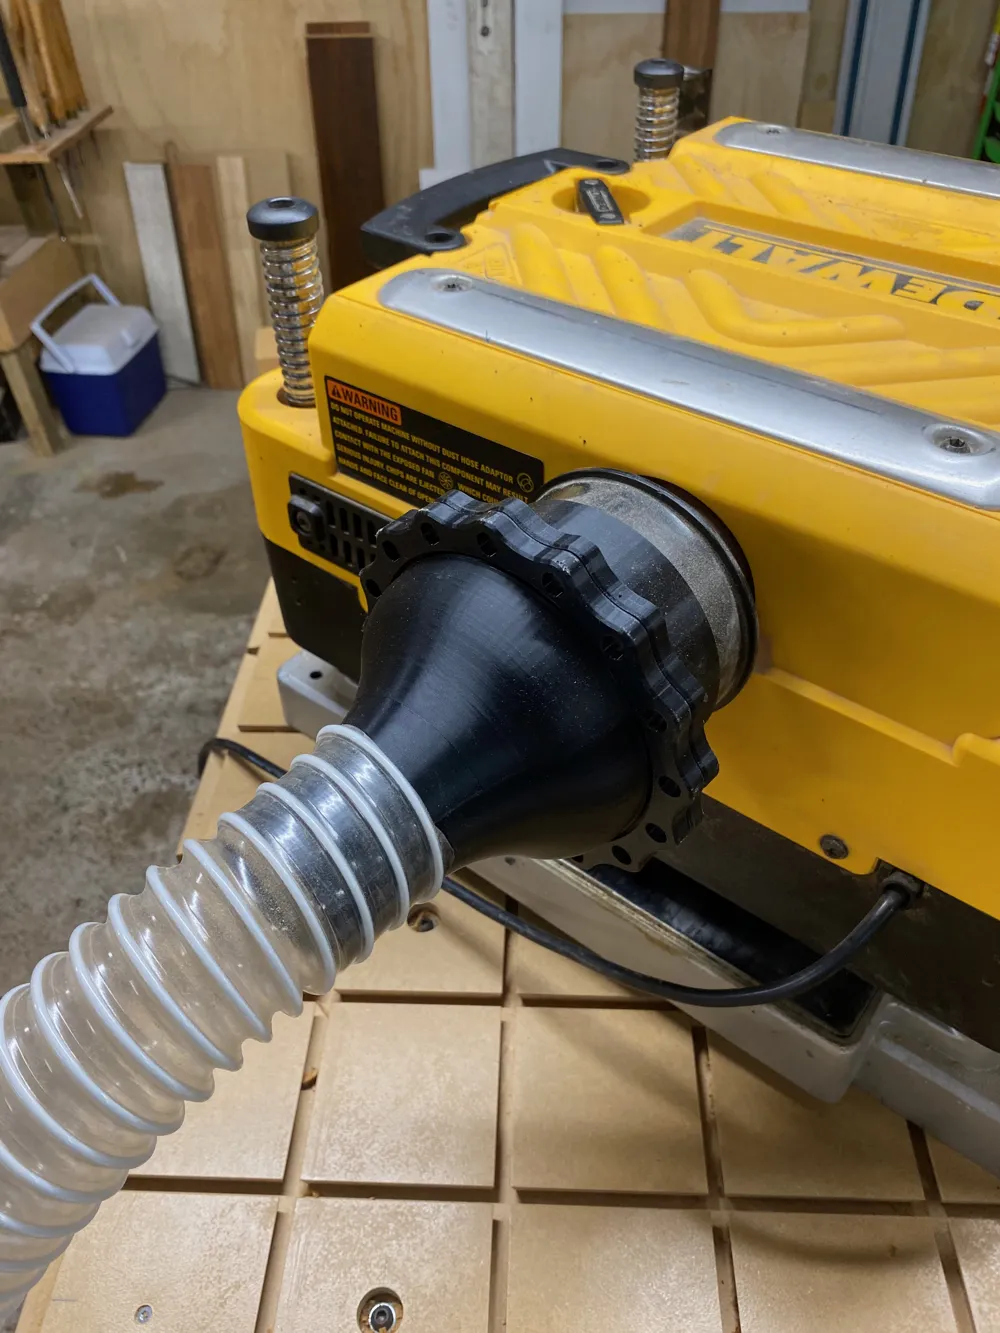
- Connect tools, DWC pipe and flex hose together.
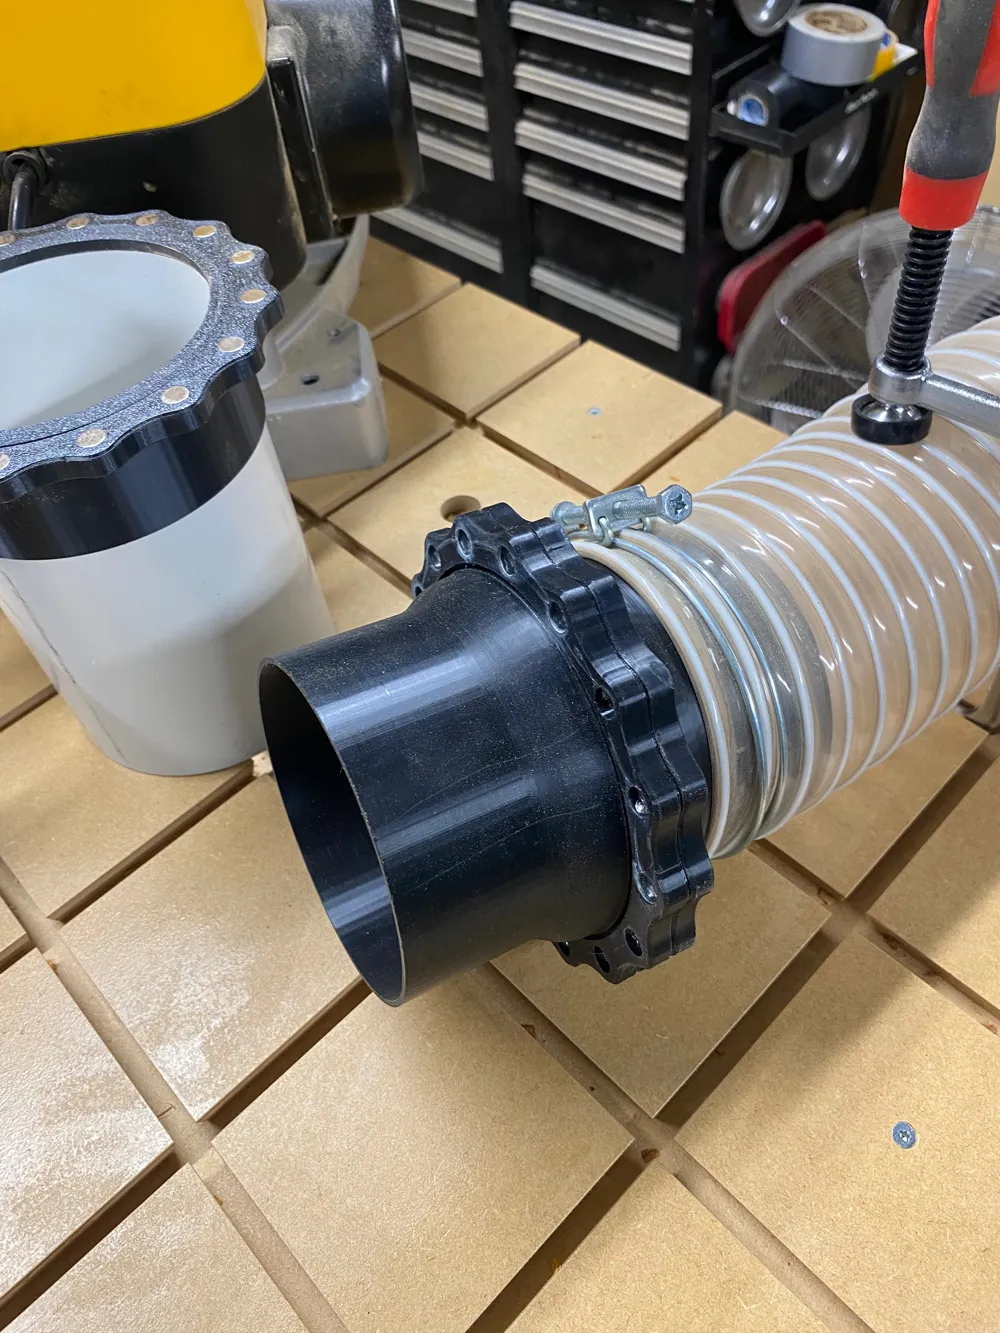
- Do not require male and female connectors, any 100mm part will connect with any other 100mm part.
- They swivel, no tangling.
While there already were a number of options available online, the magnets I would need for them were quite expensive, so I designed a few variations so you can pick which magnets work out cheapest for you. For me, these were 8x5mm, cylindrical, N52 magnets. I was able to buy 100 of them for just under $20NZD
Note: you will still need to have all your ring use the same sized magnet, you cannot mix magnet diameters, eg a ring that uses 6mm magnets will not fit onto one that uses 10mm magnets. This is mostly because each ring uses a different number of magnets to accomodate the different strengths of the magnets, so they won't line up.
Magnet requirements
6mm - 20 per ring
8mm - 16 per ring
10mm - 12 per ring
12mm - 8 per ring
The rings are 8mm thick, so if buying 5mm thick magnets, they will sit well below the surface and you can put another set of magnets behind the first should you need more holding power. (For example if you use N35 magnets)
Adaptors
- Tool Outlet
- 100mm DWV Pipe (downpipe/drainpipe)
- 100mm Flex Hose
- 50mm Flex Hose
Any of these adaptors will fit any other provided they use the same rings. So you could have a 50mm flex hose coming off a 100mm DWV pipe or any combination of the above.
They are not directional either, it doesn't matter which goes at what end.
Assembly
Important: Be sure to alternate magnet polarity on each hole.
I found it best to press the magnets in using a wooden dowel or something similar, once they were all in, I used a small drop if CA glue on the back of each to hold it in place. Most of mine were a pretty firm fit, so the glue is just insurance. I would test the pull apart strength of the parts before committing to the glue. If for example you user N35 magnet which are weaker than the N52 ones, you may want to double up on the magnets.
Fitting the ring in place can be a little tricky, as it's a pretty snug fit, but if you do this quite soon after it comes off the printer it'll be a little easier as the print will still be warm and won't have shrunk yet.
License

You shall not share, sub-license, sell, rent, host, transfer, or distribute in any way the digital or 3D printed versions of this object, nor any other derivative work of this object in its digital or physical format (including - but not limited to - remixes of this object, and hosting on other digital platforms). The objects may not be used without permission in any way whatsoever in which you charge money, or collect fees.


Comment & Rating (14)