
1:12 Scale Doll Collapsible Flatbed Delivery Truck (No AMS Required, Updated to Support AMS)
Print Profile(3)


Description
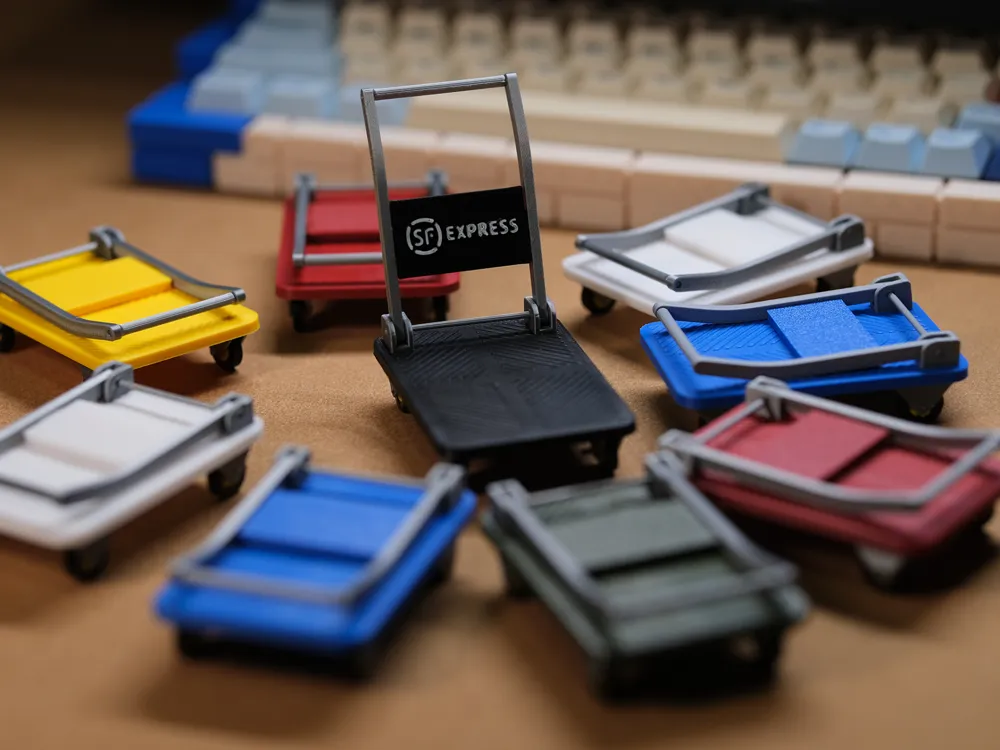
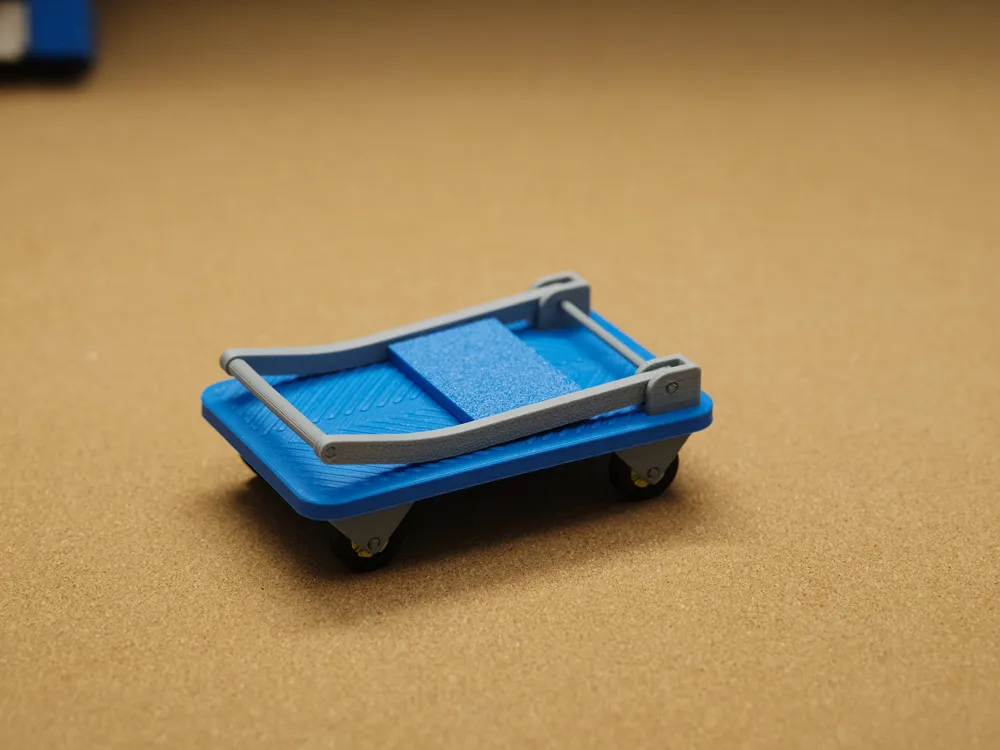
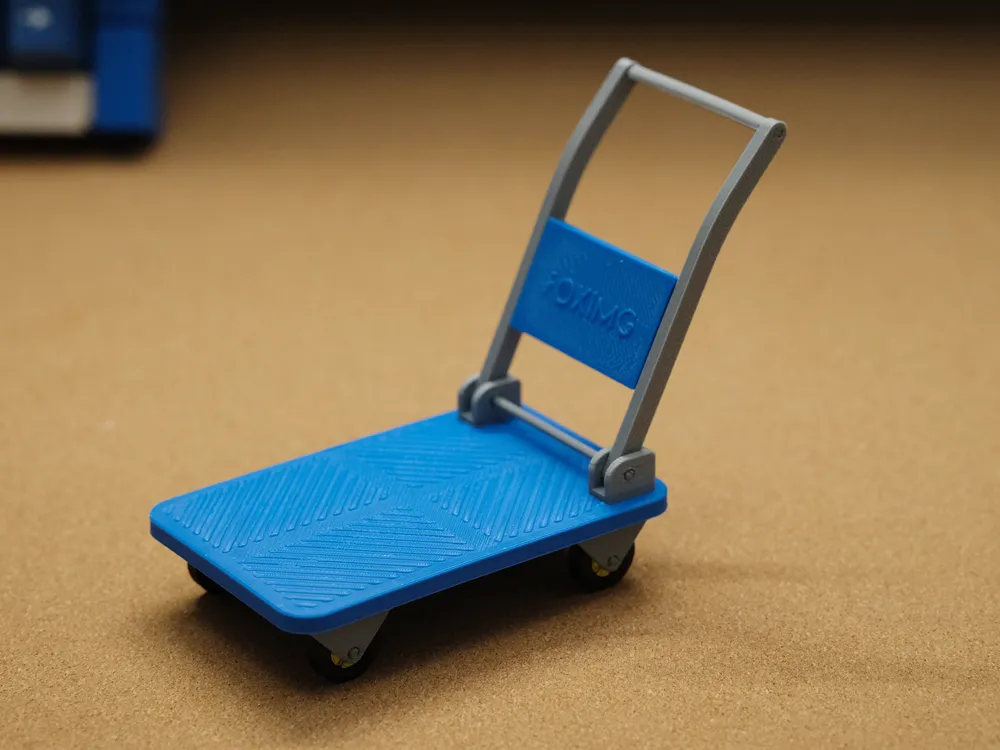
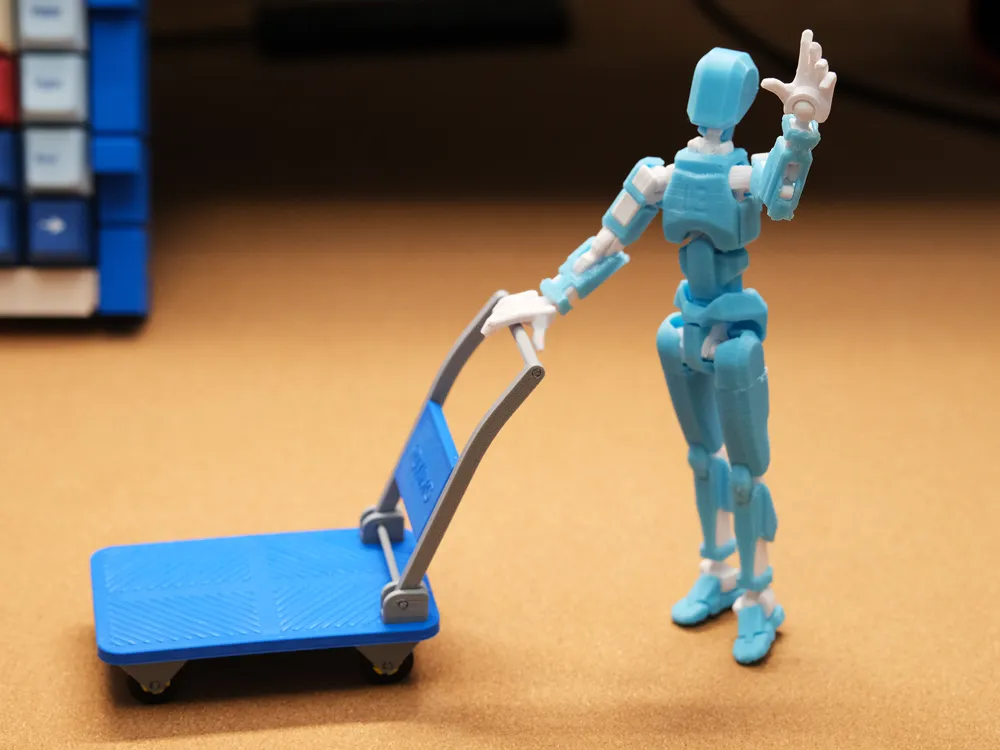
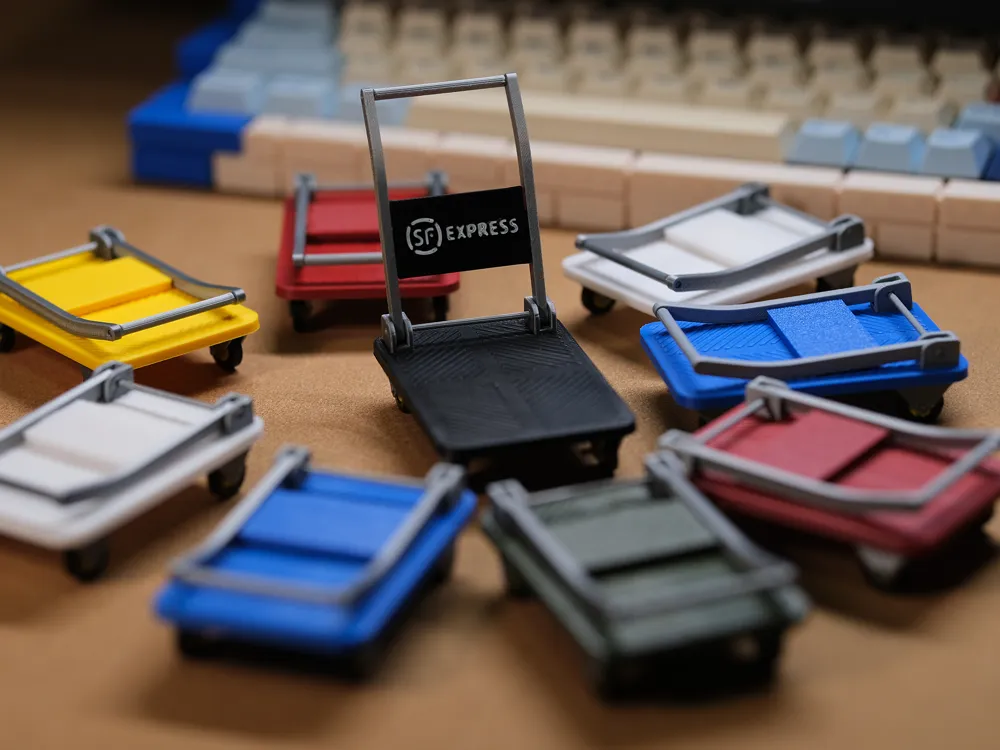
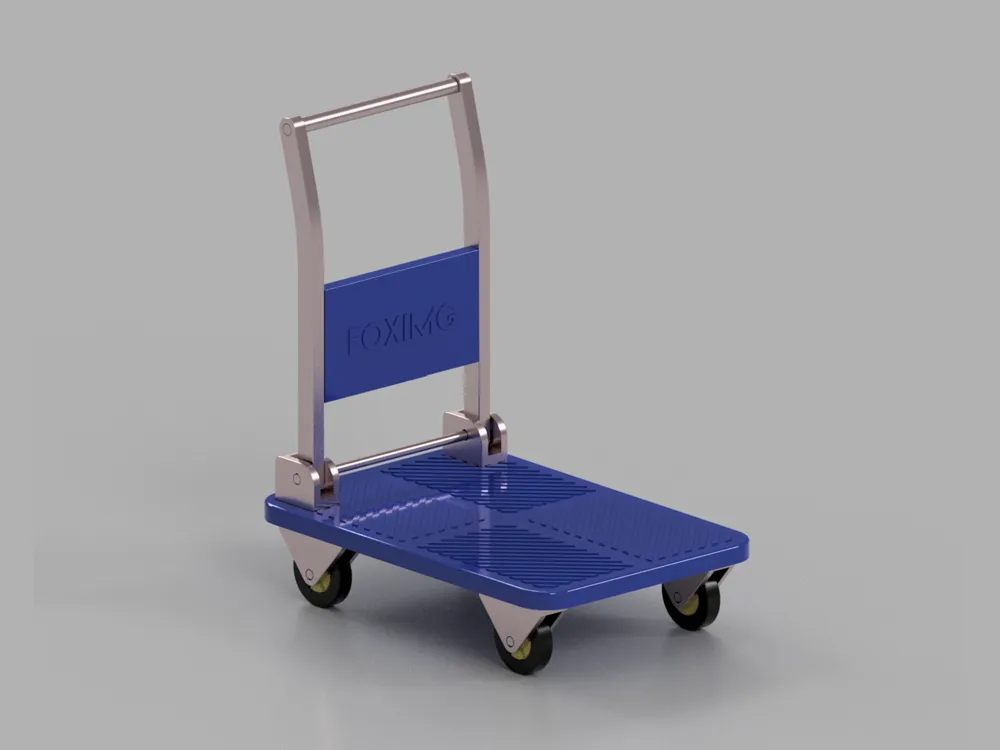
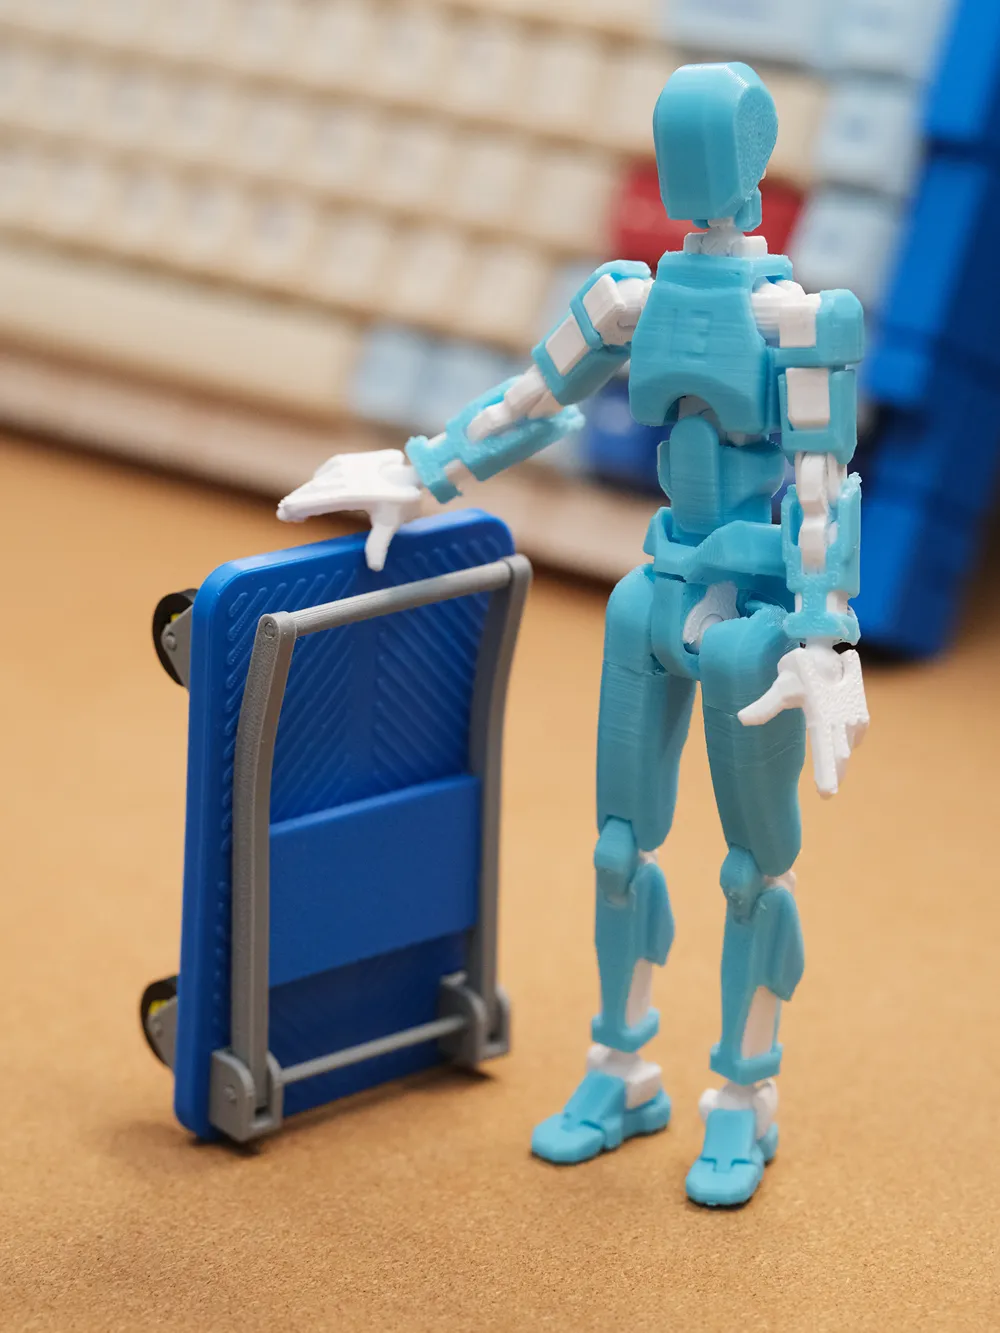
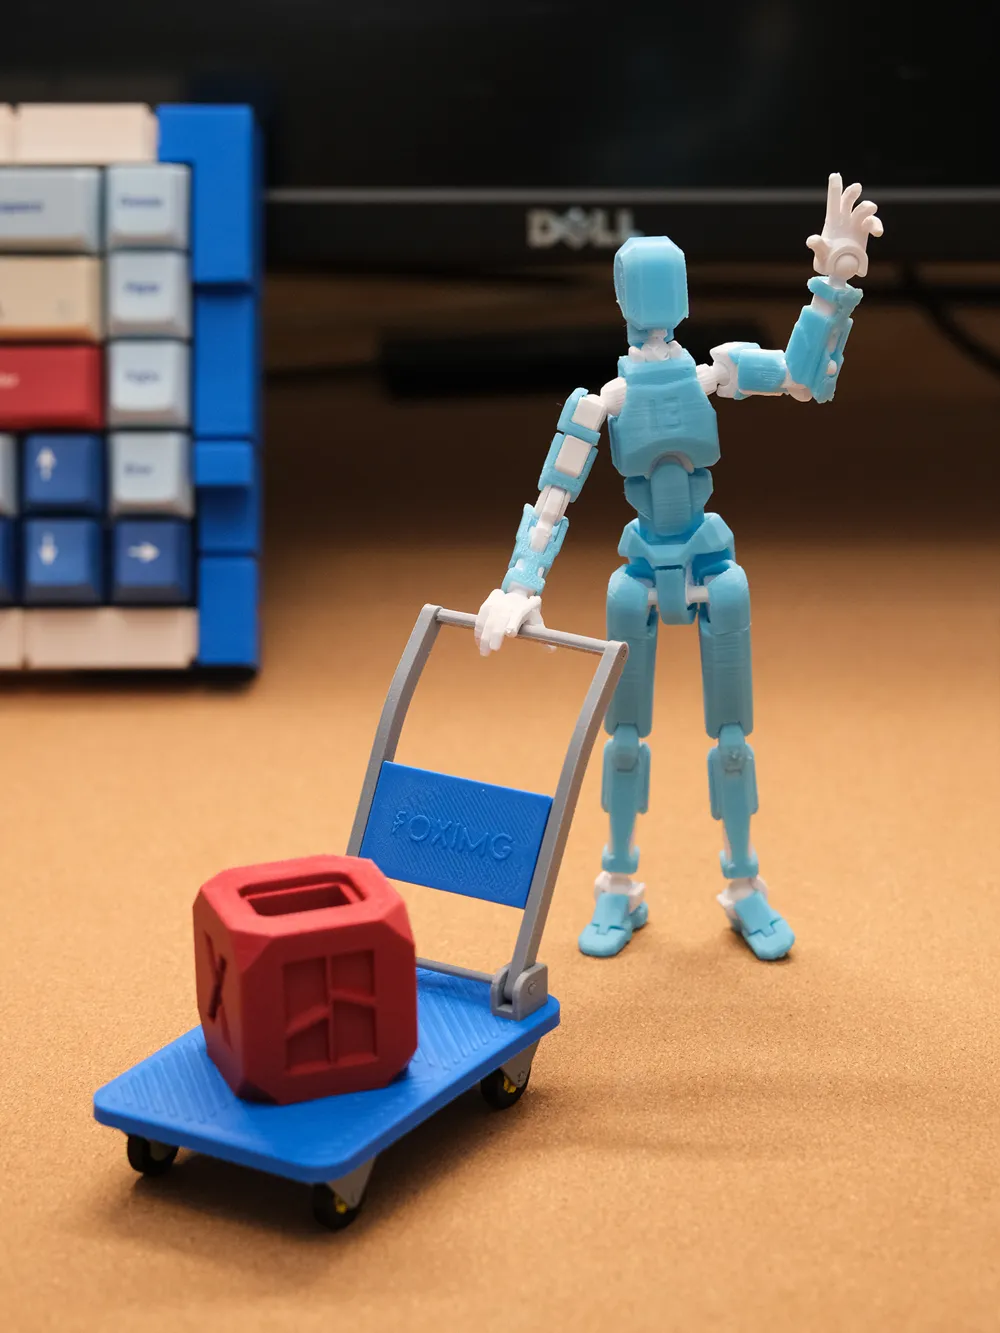
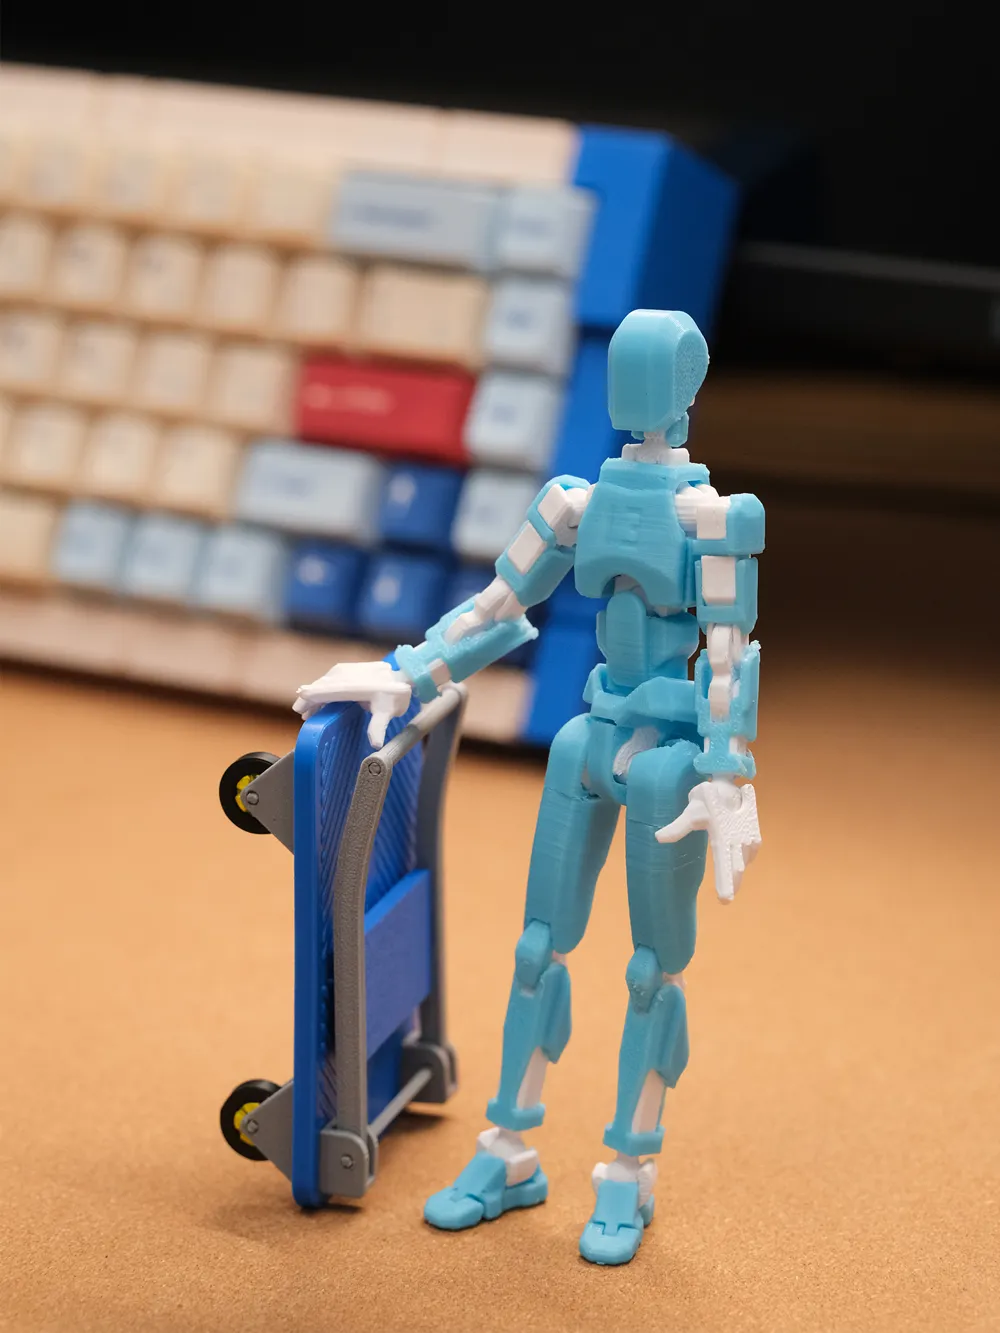
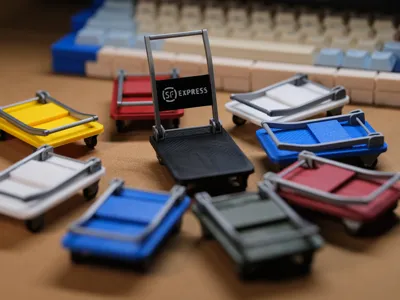
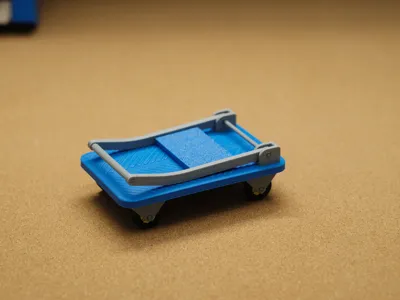
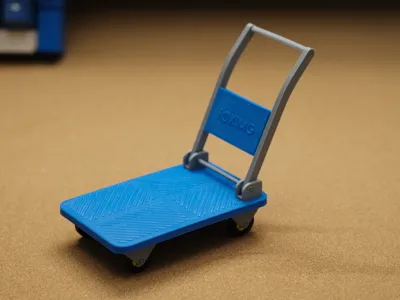
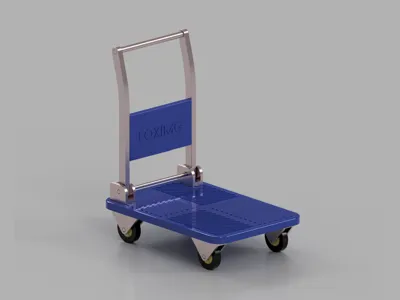
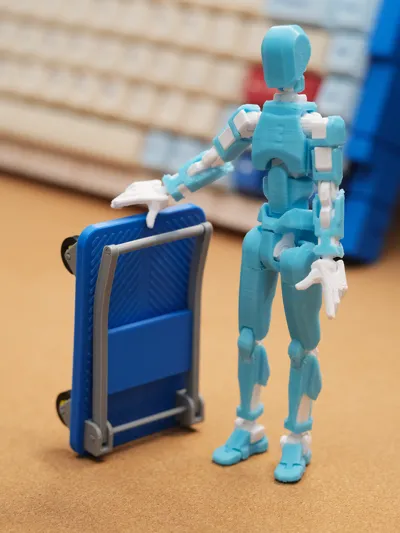
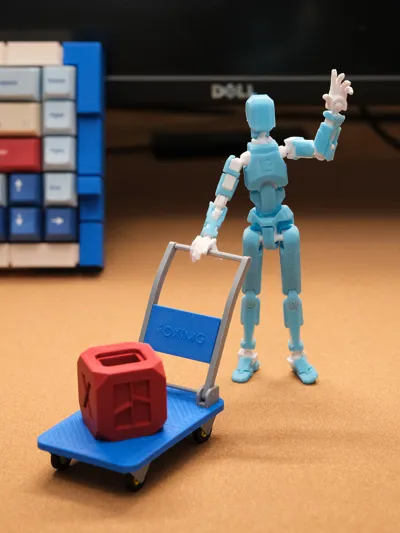
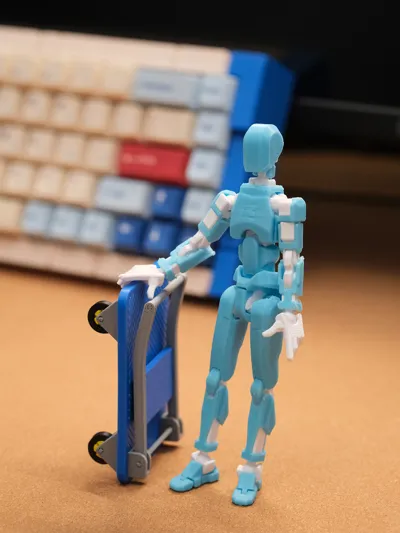
This is a foldable hand truck, similar to those used by delivery personnel, featuring multi-color, multi-part printing and requiring no AMS; assembly is straightforward, and it offers considerable play value
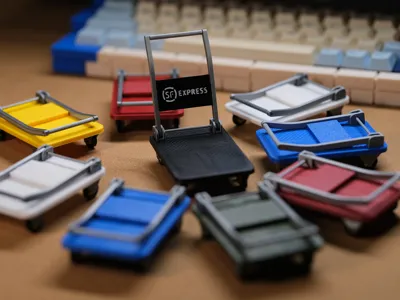
This model depicts a blue hand truck; however, by changing the filament colors on the individual parts, you can print it in your desired color
Boost Me (for free)
Your support and feedback are my greatest motivation
June 14 Update:
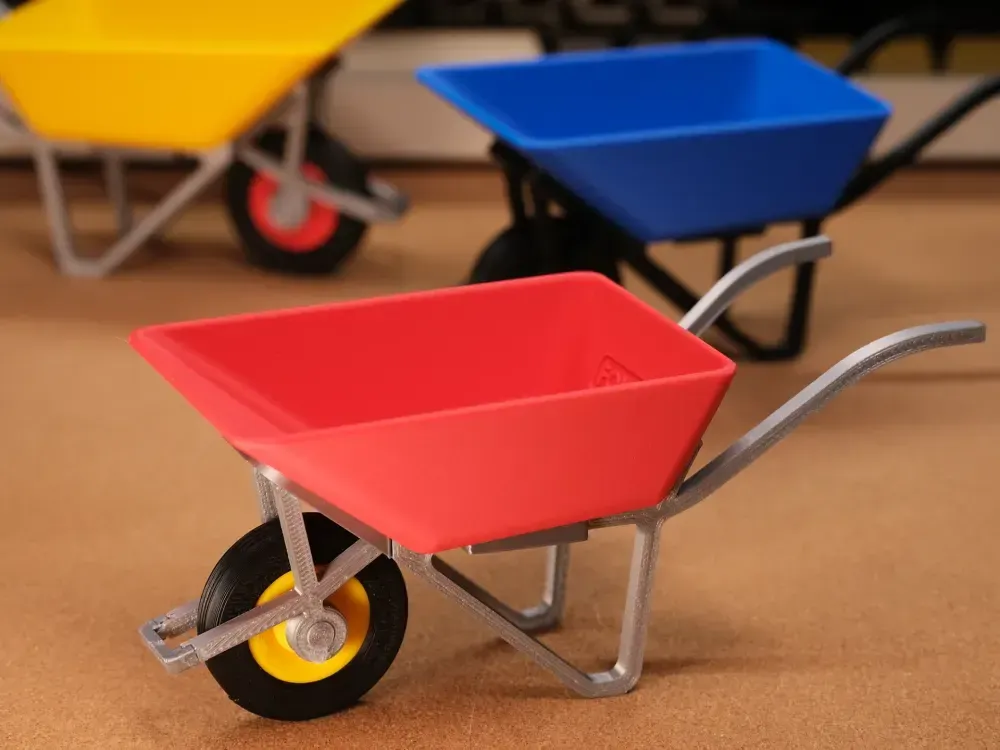
A new 1:12 scale unicycle hand truck has been added to this series, allowing for even more diverse scene creation when combined with the folding flatbed cart
May 24 Update:
Because the integrated version uploaded only supports the A1 and A1 mini models in the app, I have separated the customizable back panel into an individual file so that all models can now be printed
May 23 Update:
Some users commented that the AMS version lacked the main body of the folding cart, and the default configuration inexplicably only supported A1 and A1 mini models, despite my repeated attempts to upload it correctly
While supported on A1 and A1 mini, other models can also print normally; please feel free to download and print I am also reporting this printer model support issue to Bambu Lab for resolution
The main body of the folding cart is now integrated into the AMS multicolor version, enabling support for all models and facilitating printing for all users
May 22 Update:
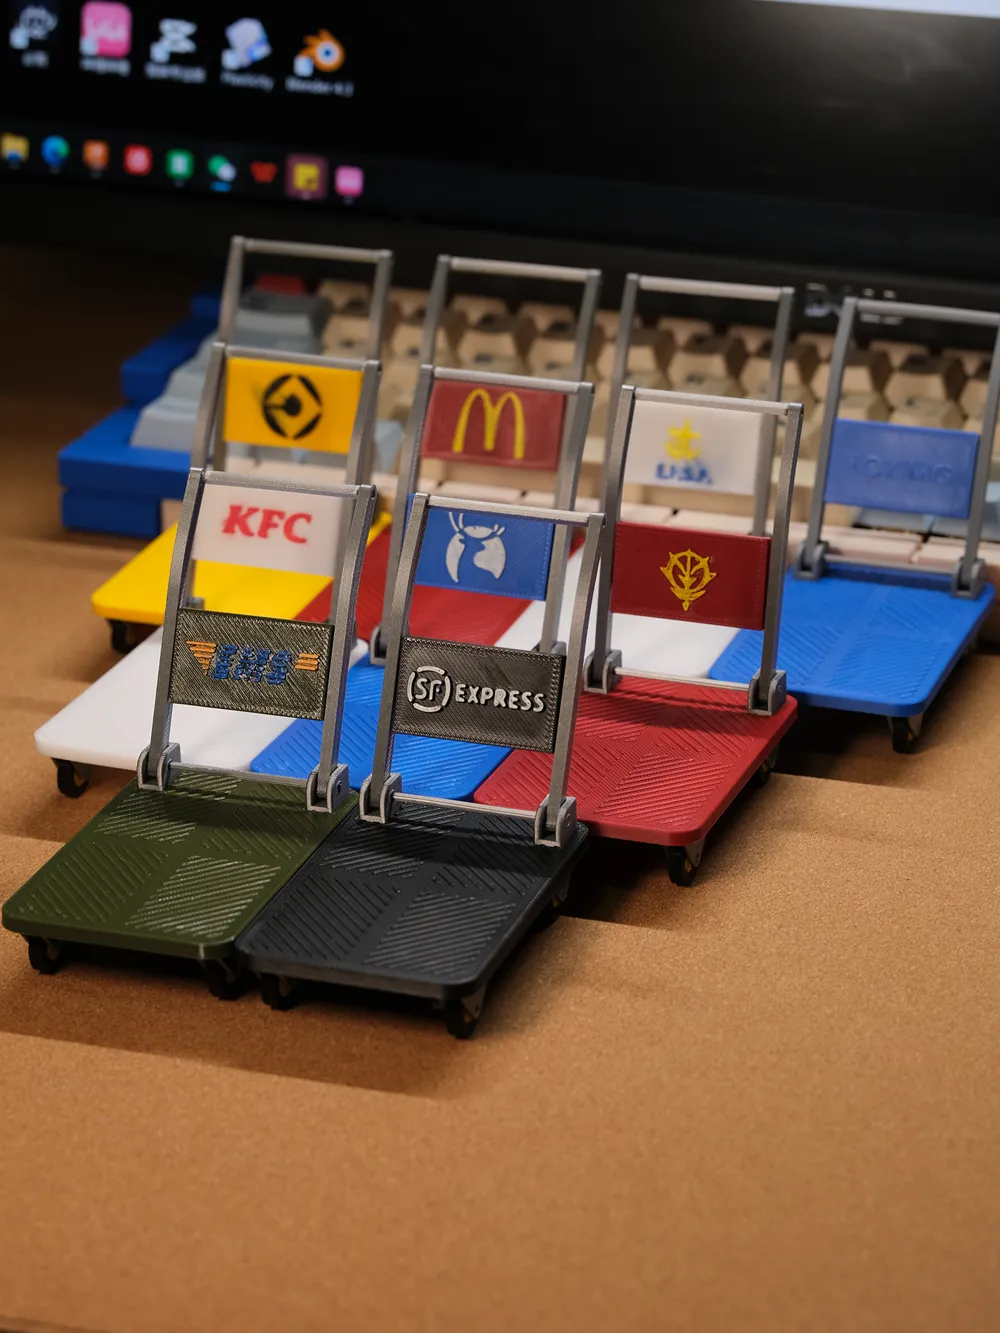
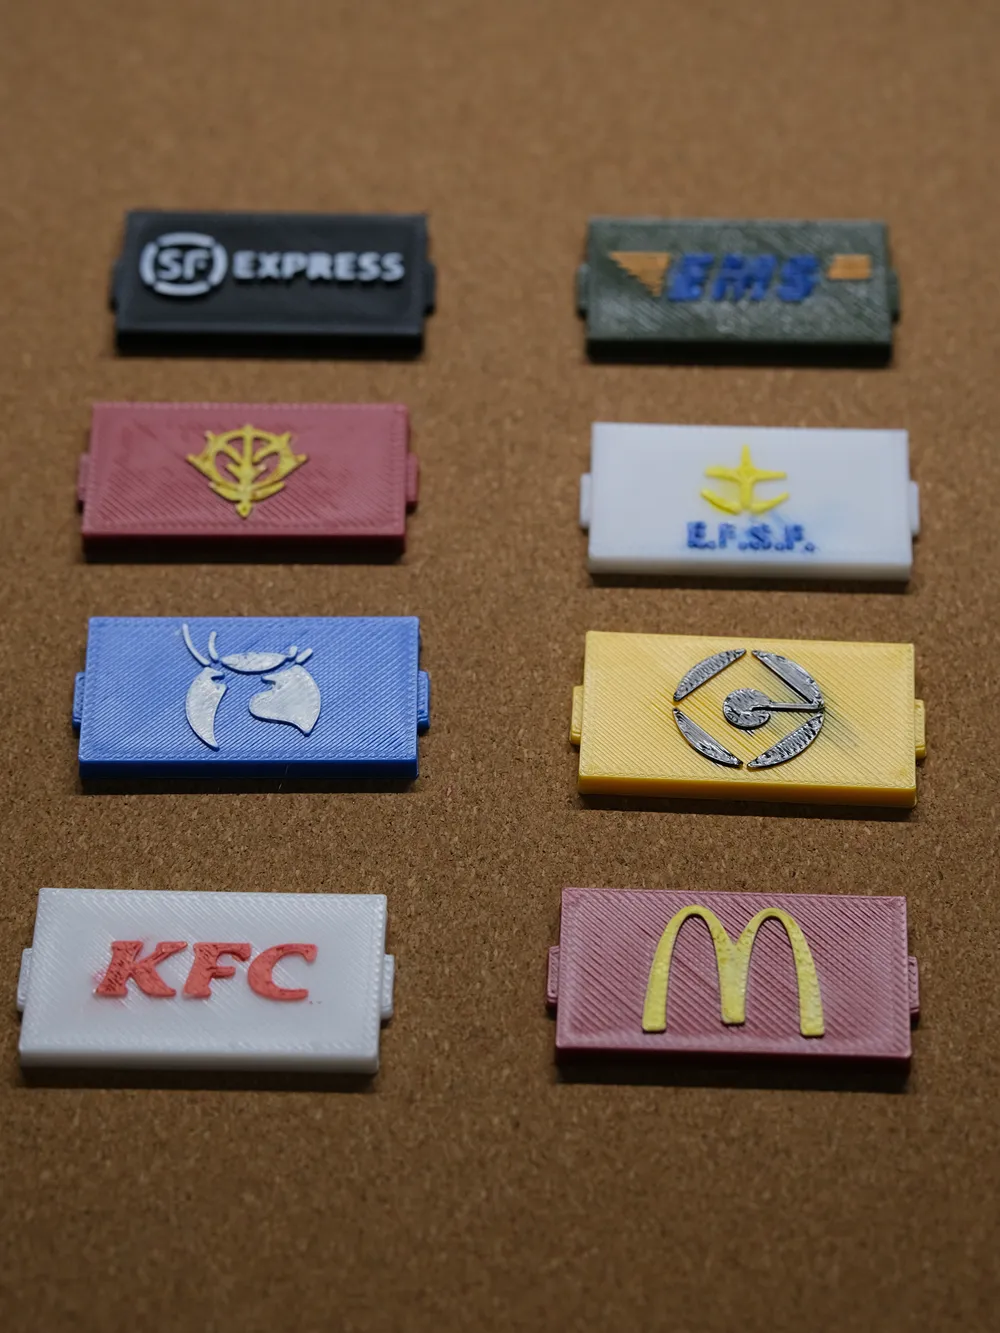
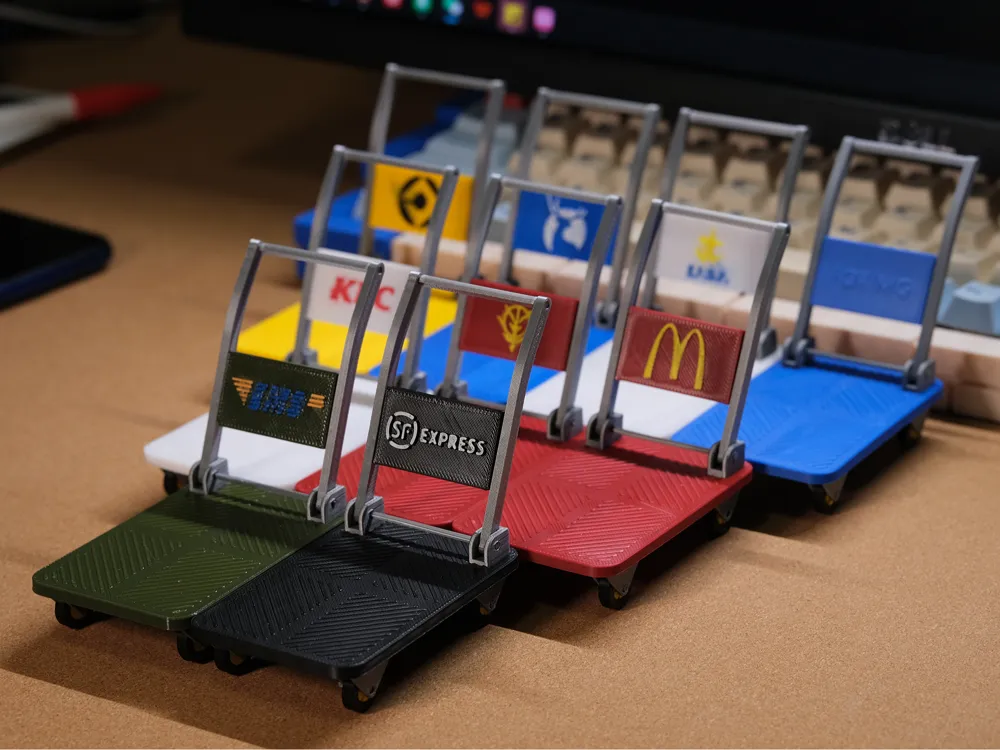
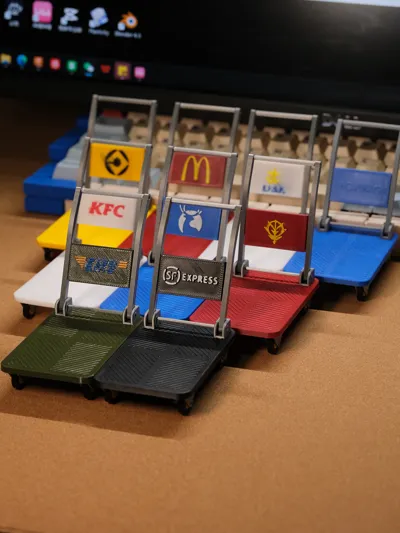
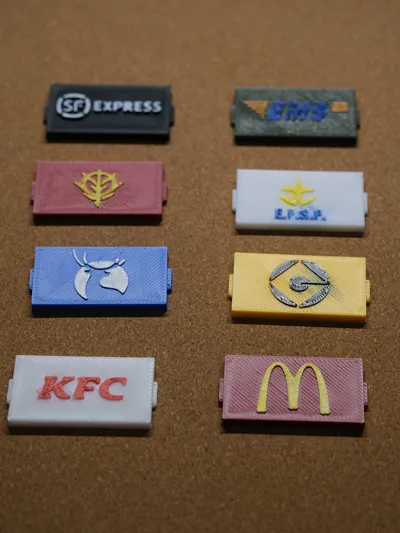
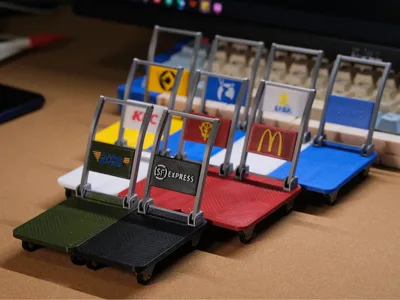
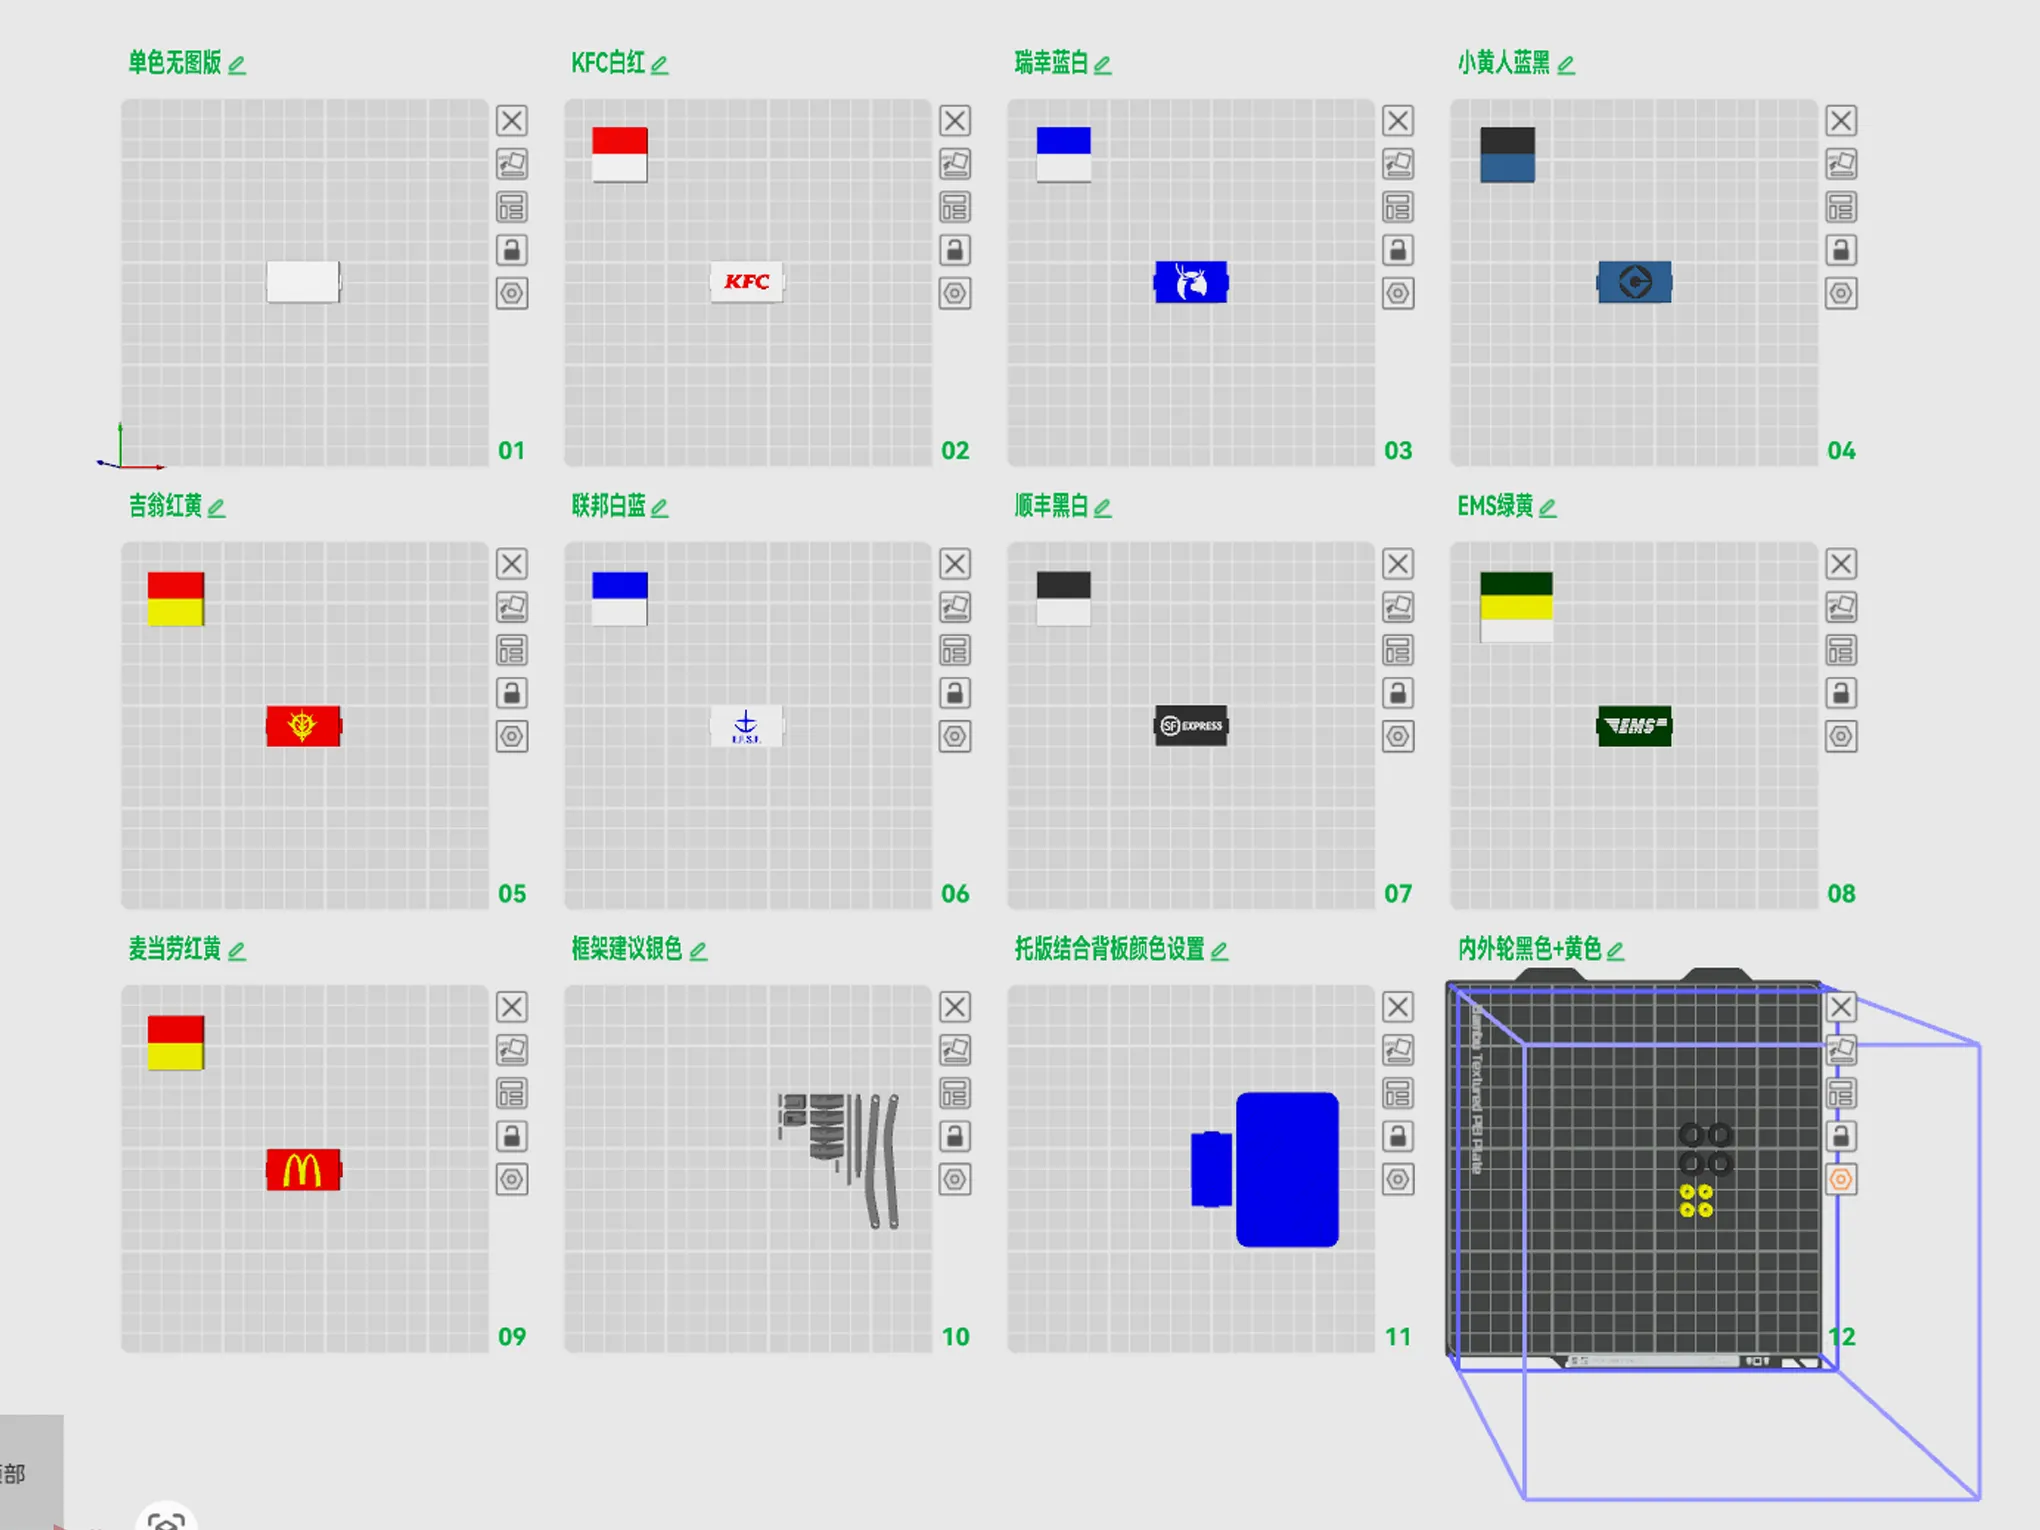
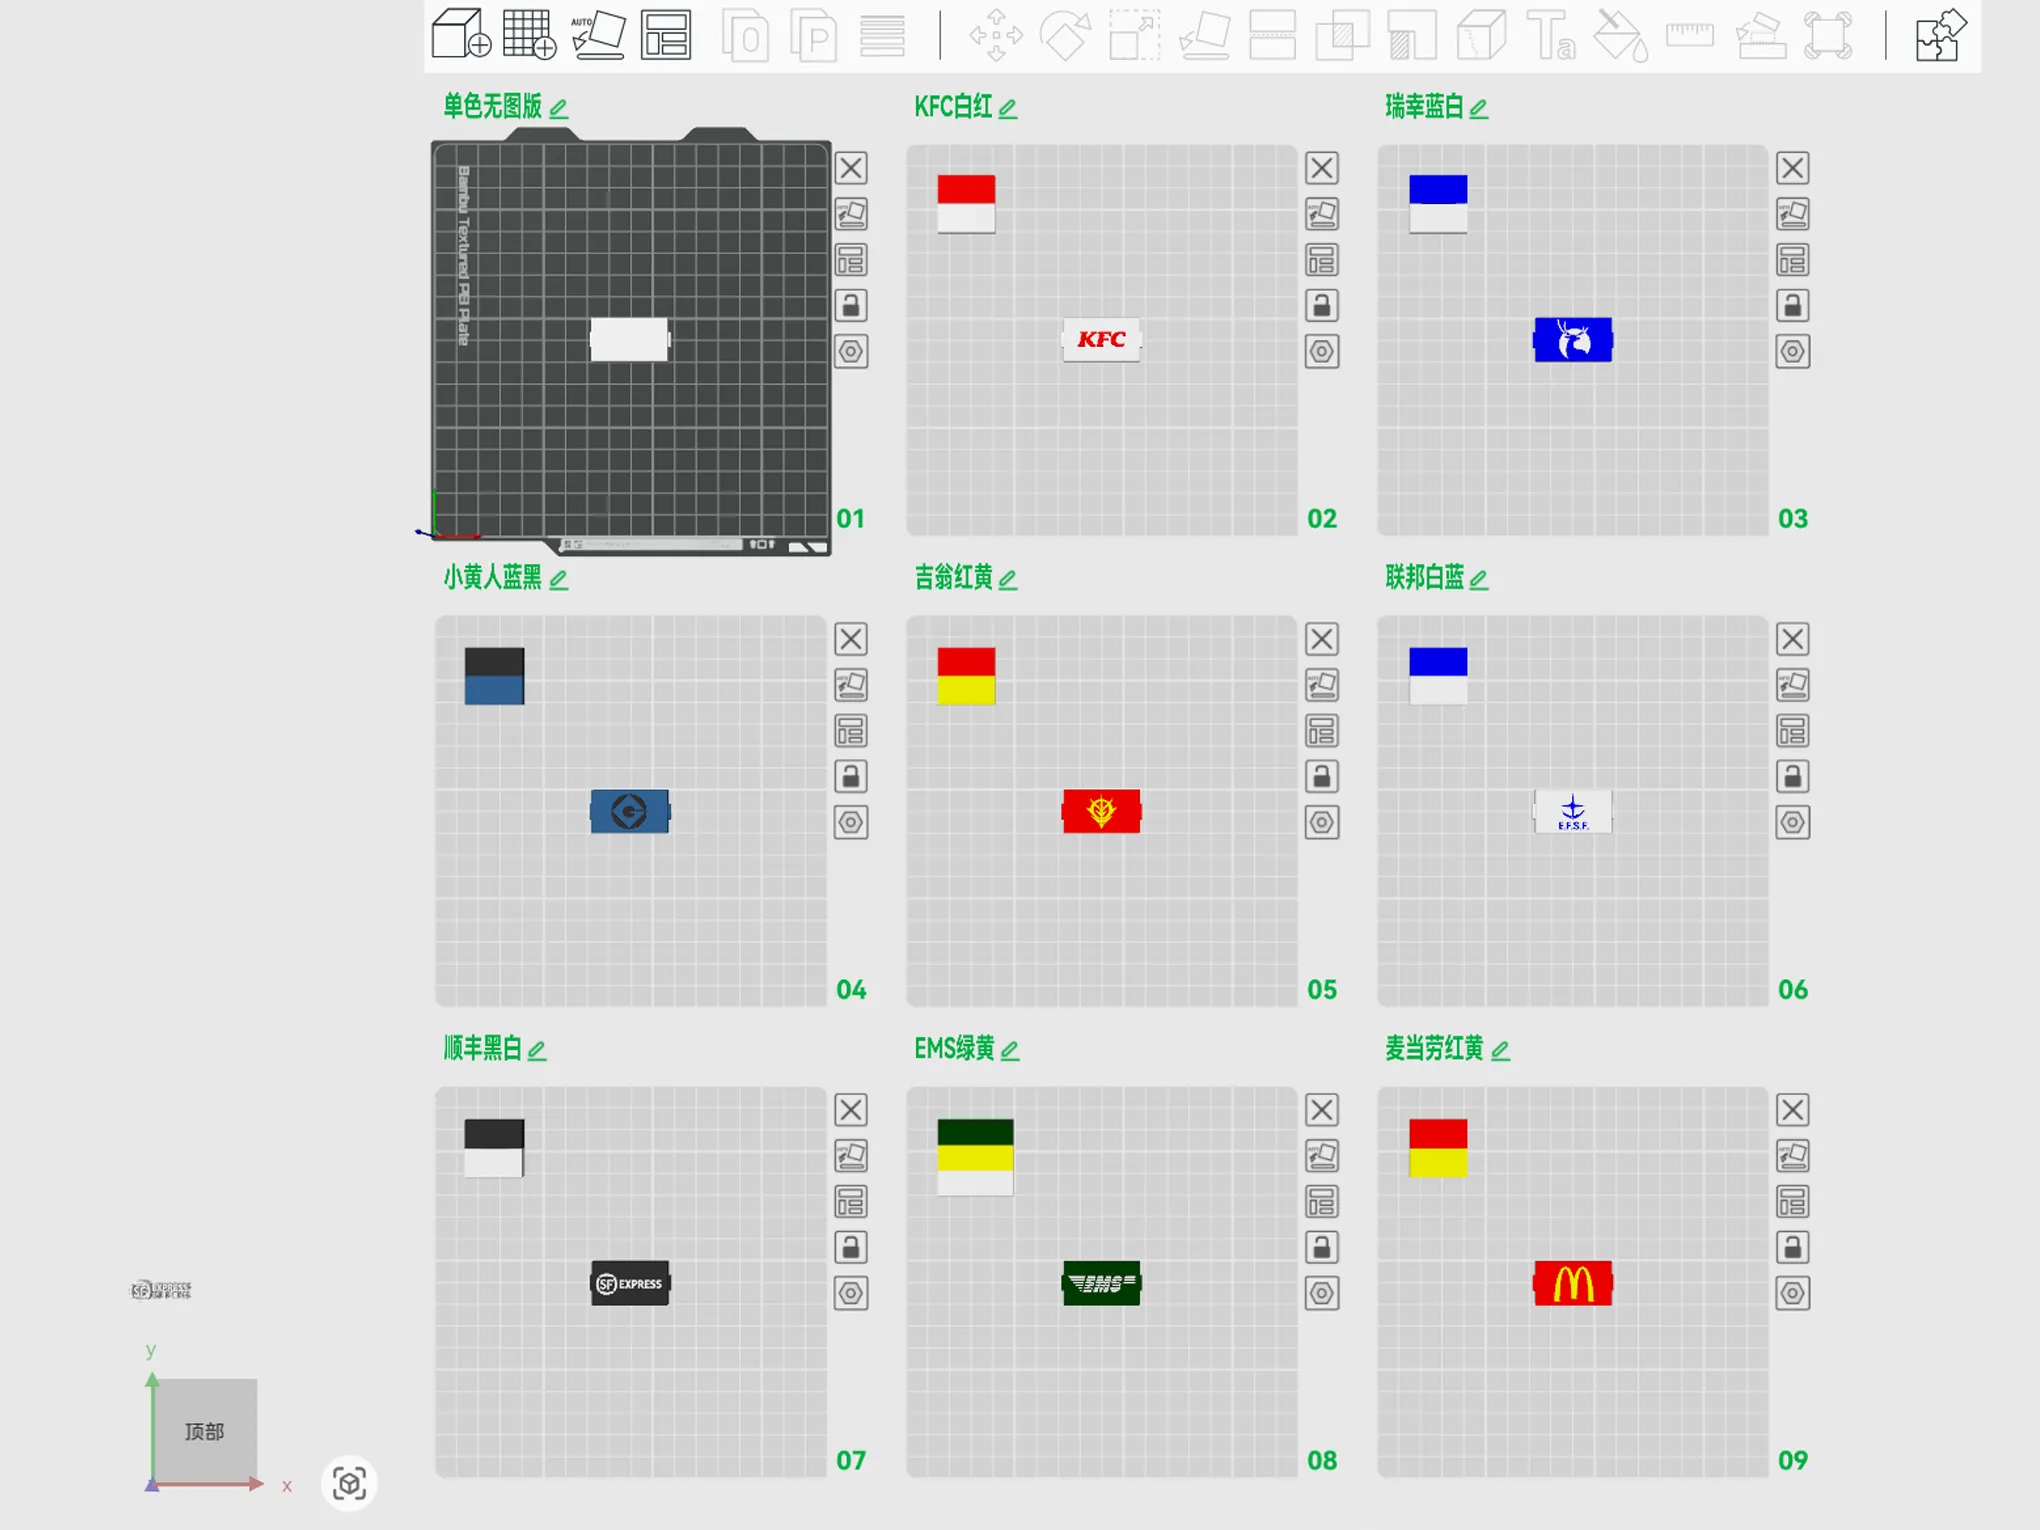
A customizable back panel and eight pre-colored back panels with AMS support have been added, namely:
McDonald's, KFC, SF Express, EMS, Earth Federation, Zeon, Minions, and Luckin Coffee. The printing results are shown in the image below
The customizable back panel allows for similar effects by adding text or your own logo elements and printing them in combination with the panel; the dimensions of the added elements should not exceed the following:
Thickness: 2.7mm
Width: 19.6mm
Length: 34.8mm
After adding elements, center them for alignment with the blank back panel, and proceed directly with printing
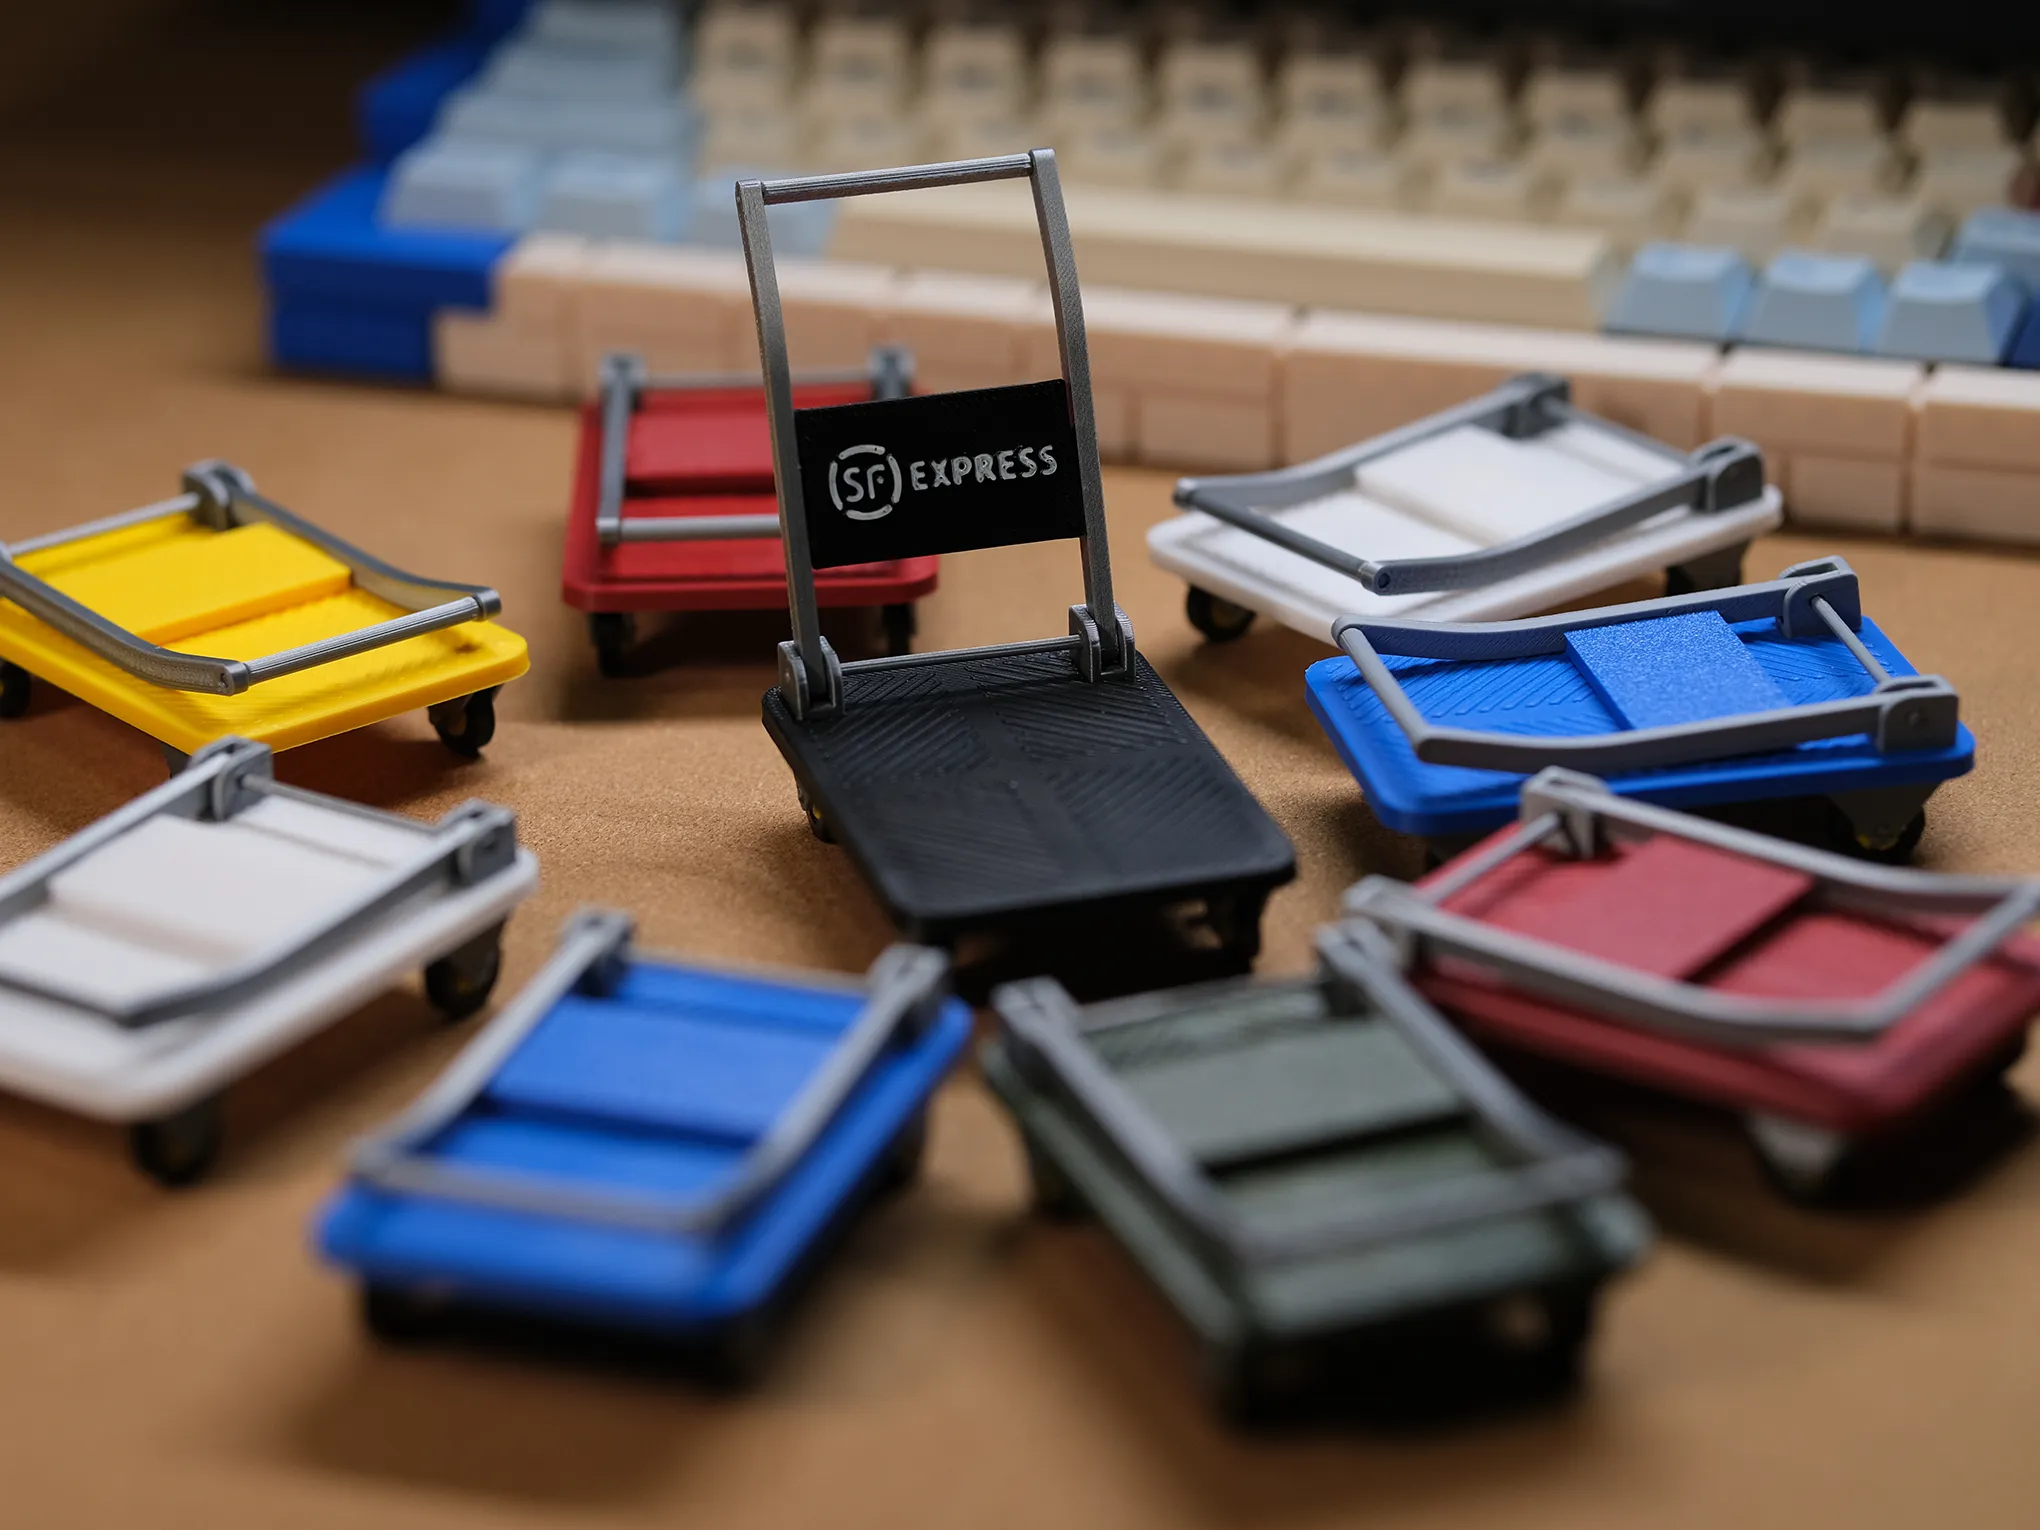
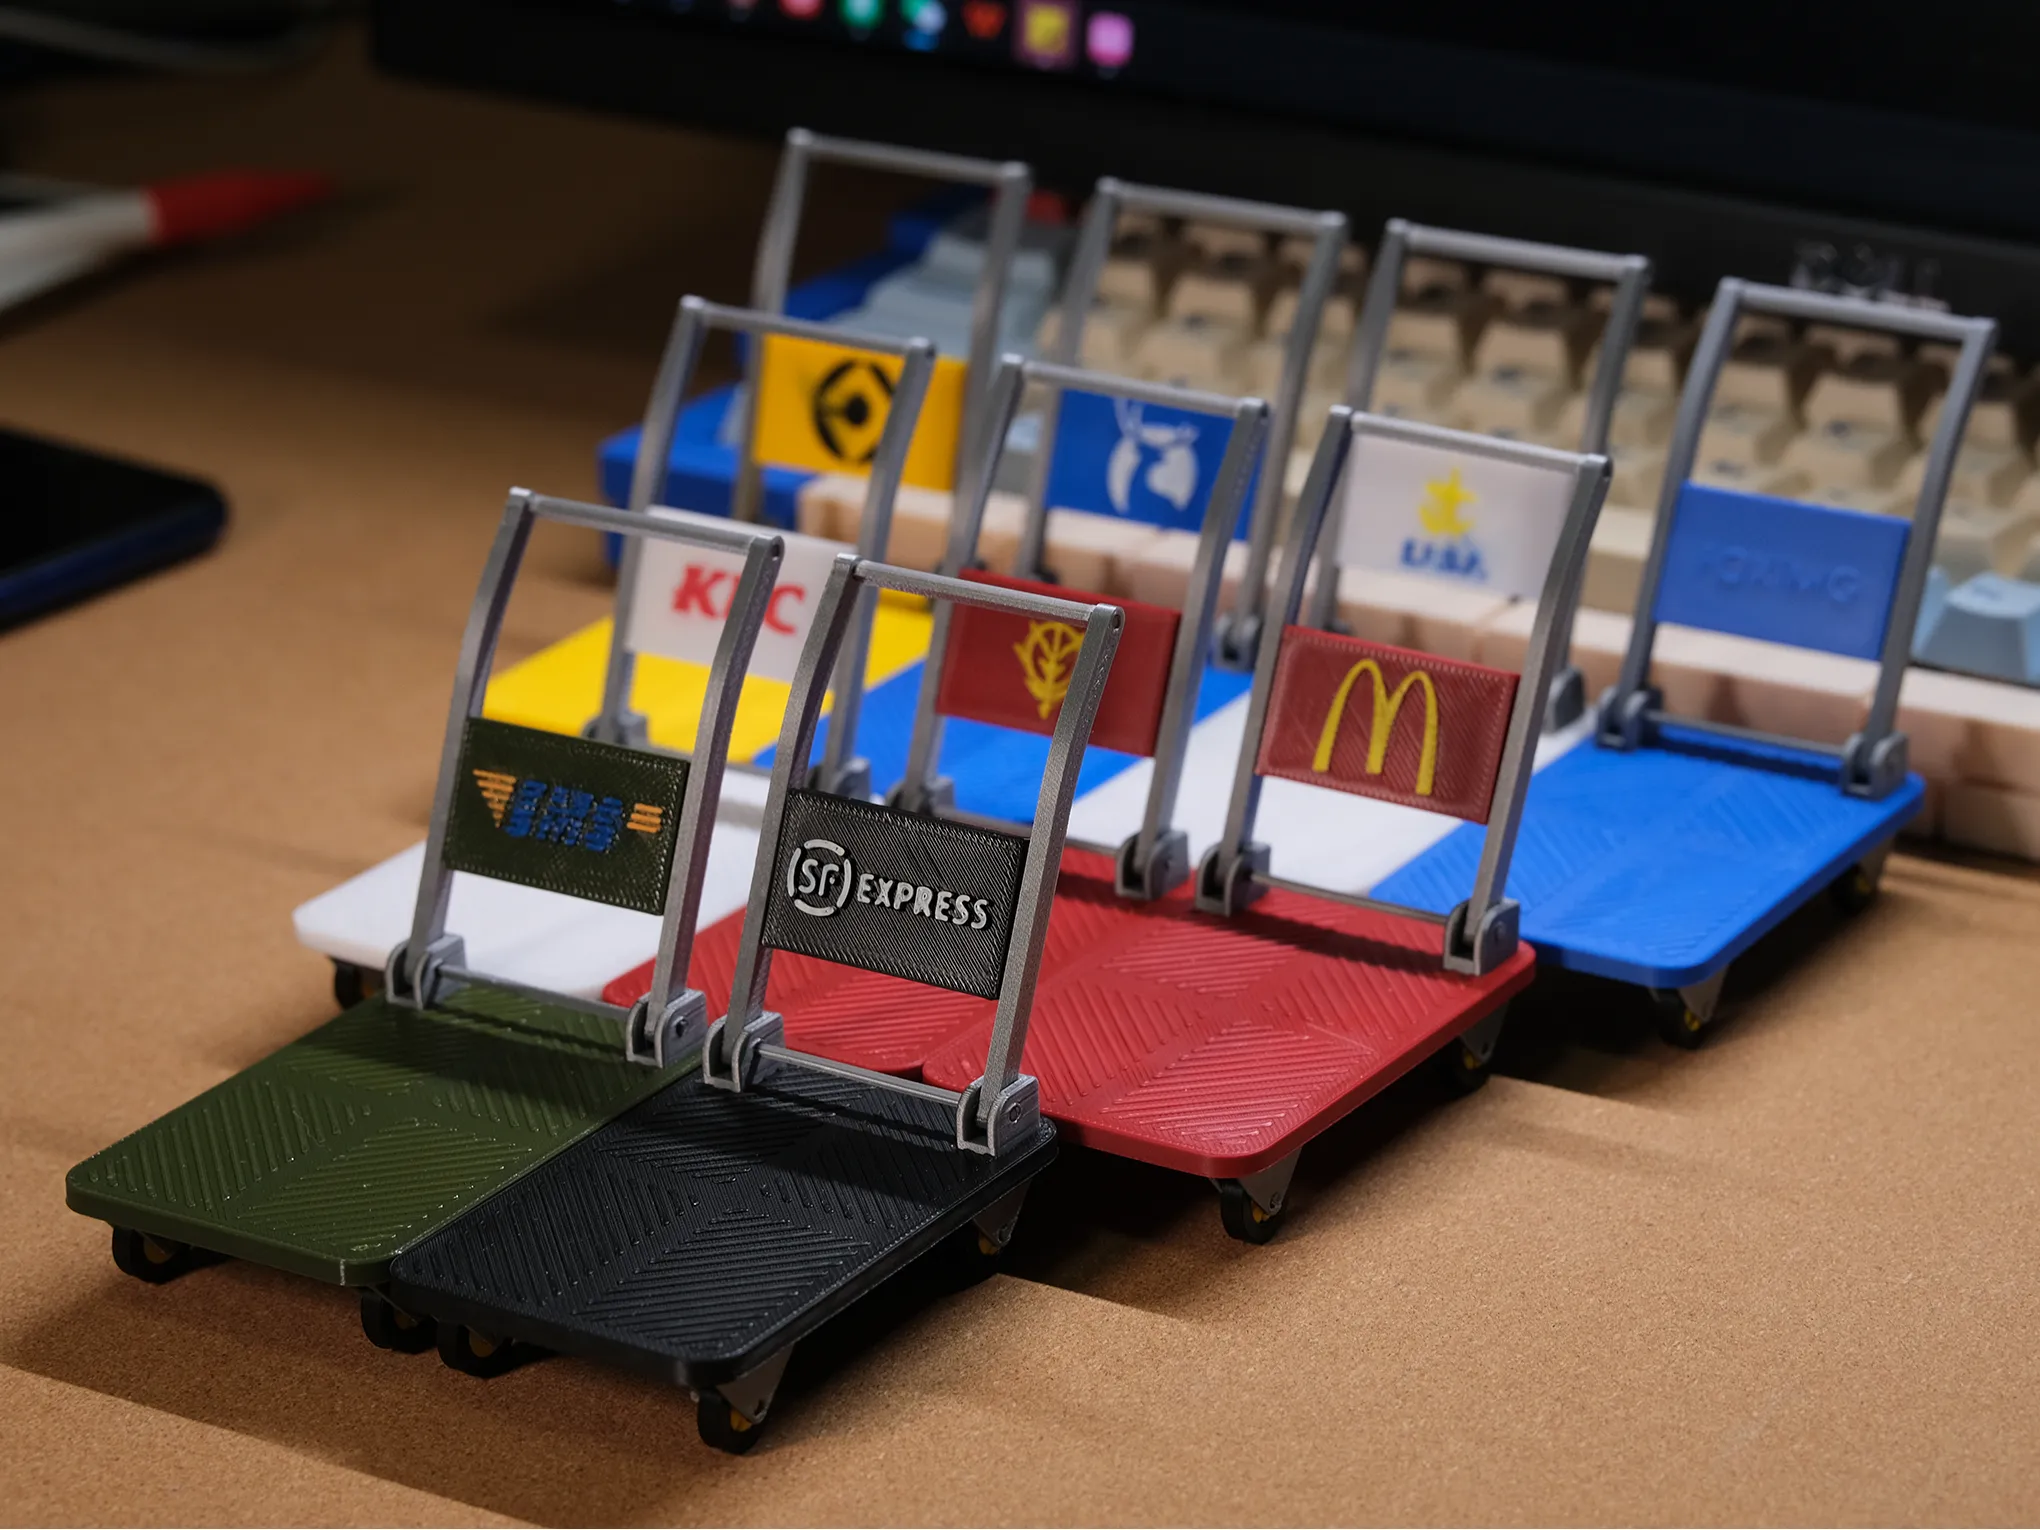
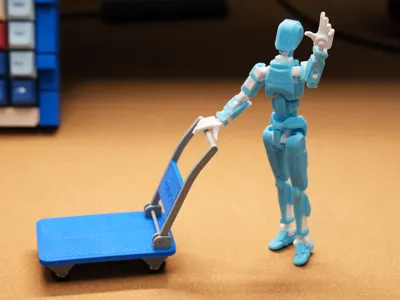
This can be paired with common 1:12 scale assembly models, toys, mecha girls, action figures, BJDs, and is also suitable for EG, RG, and HG Gundam models
Naturally, you can also adjust the scale according to your needs to accommodate 1:6, 1:10, and 1:9 scales without issue
The image shows a pairing with dumy13
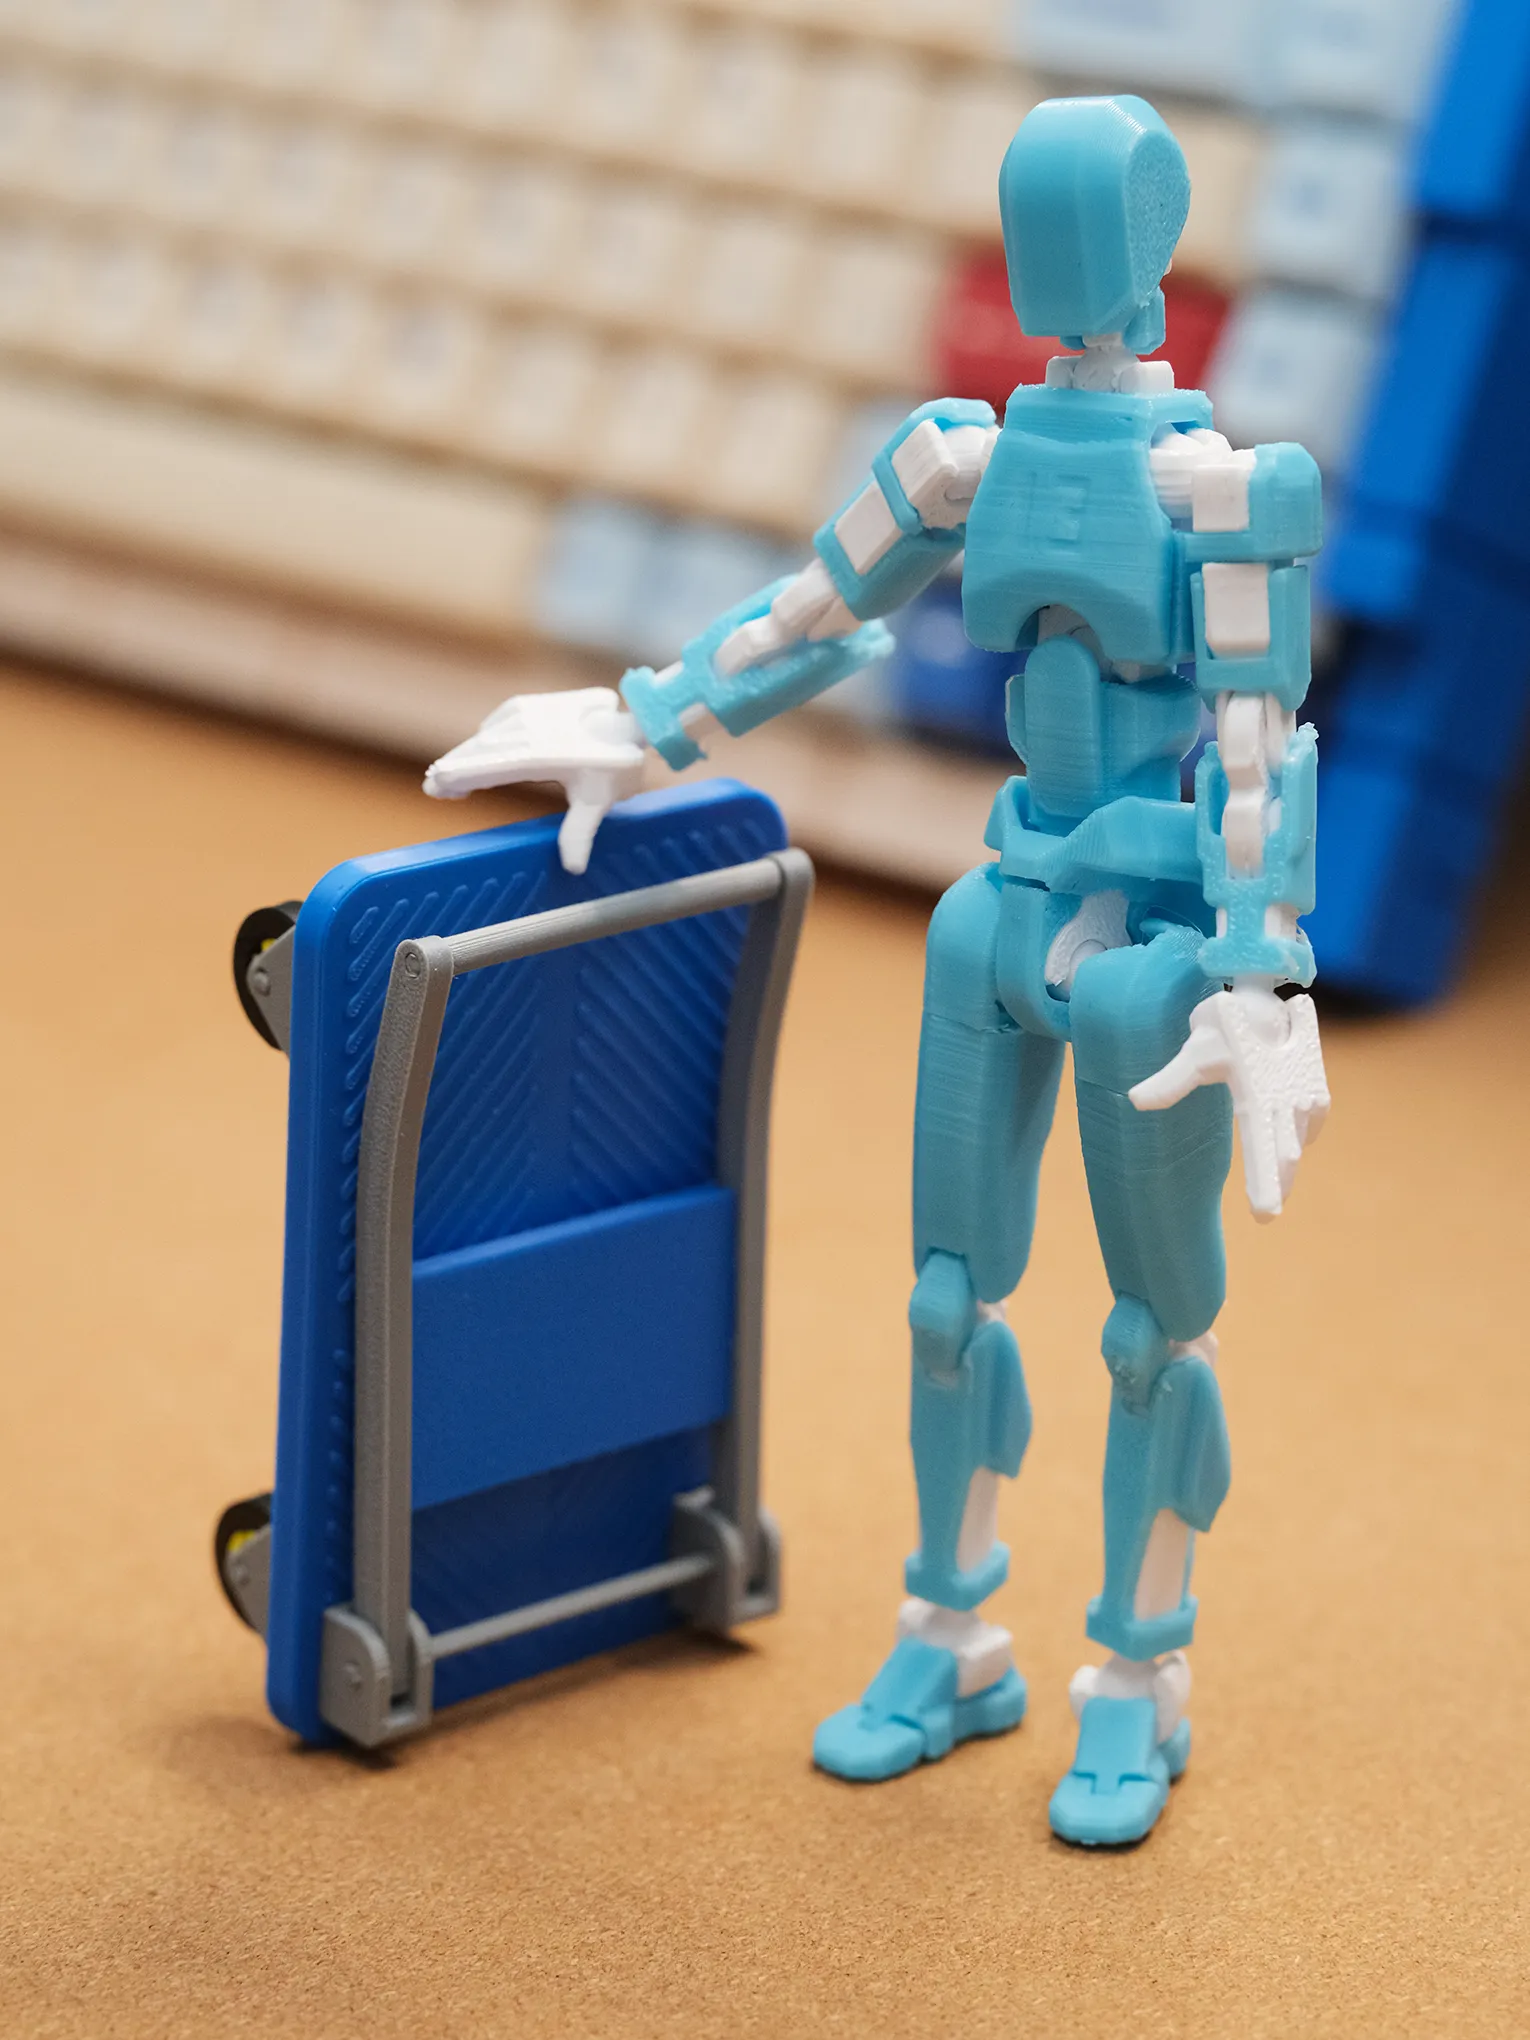
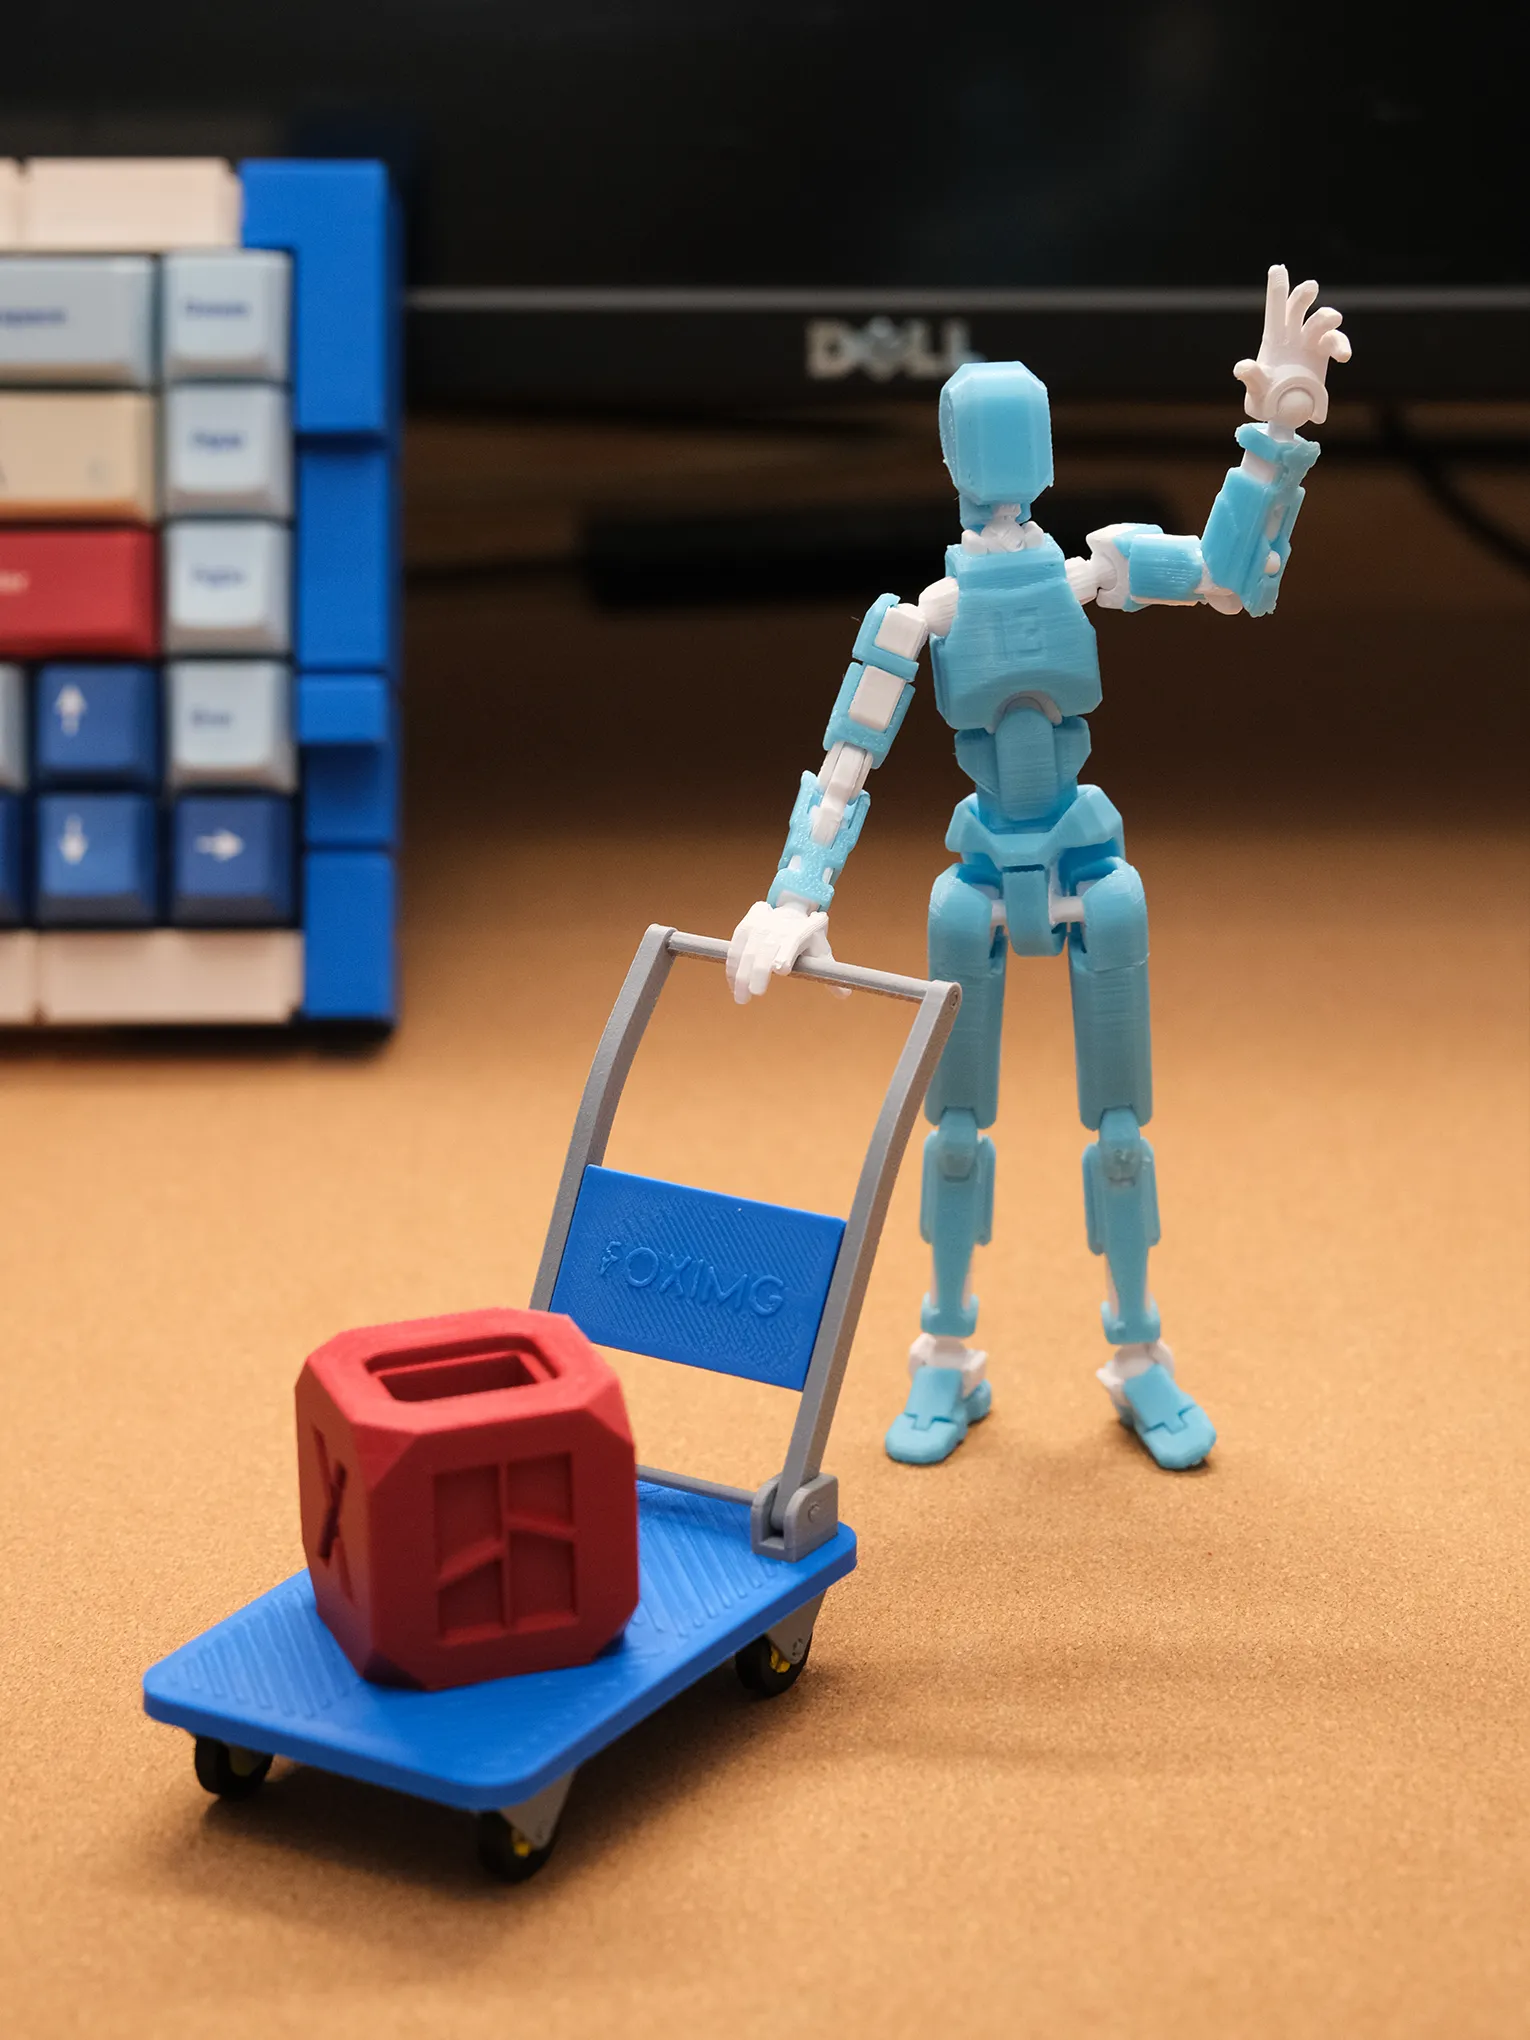
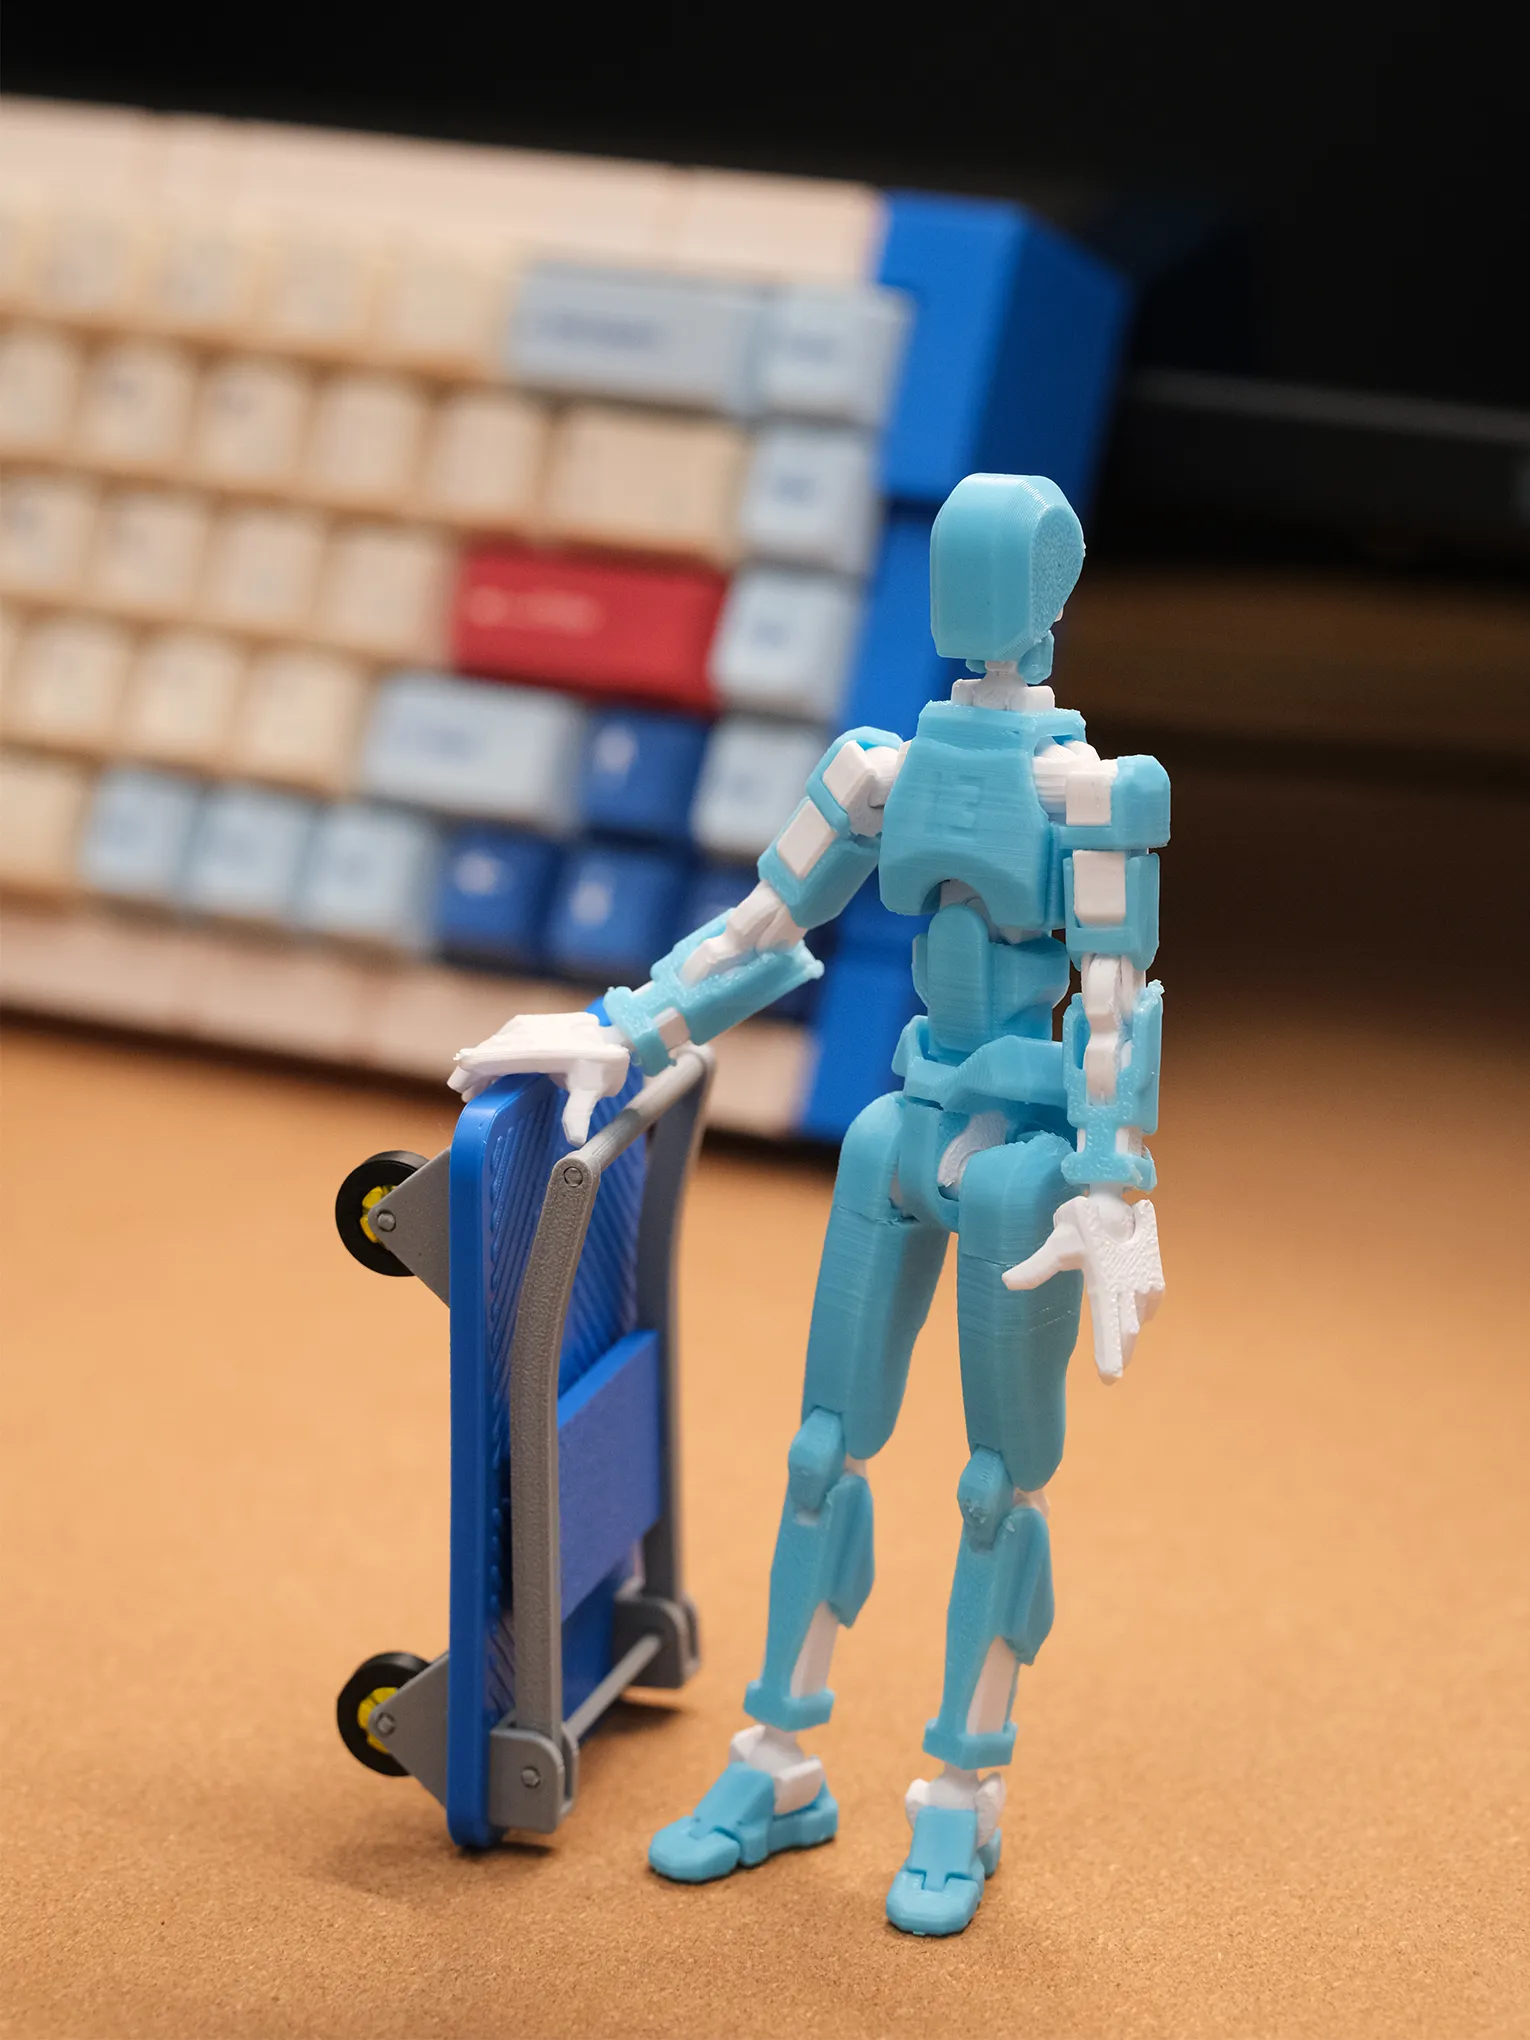
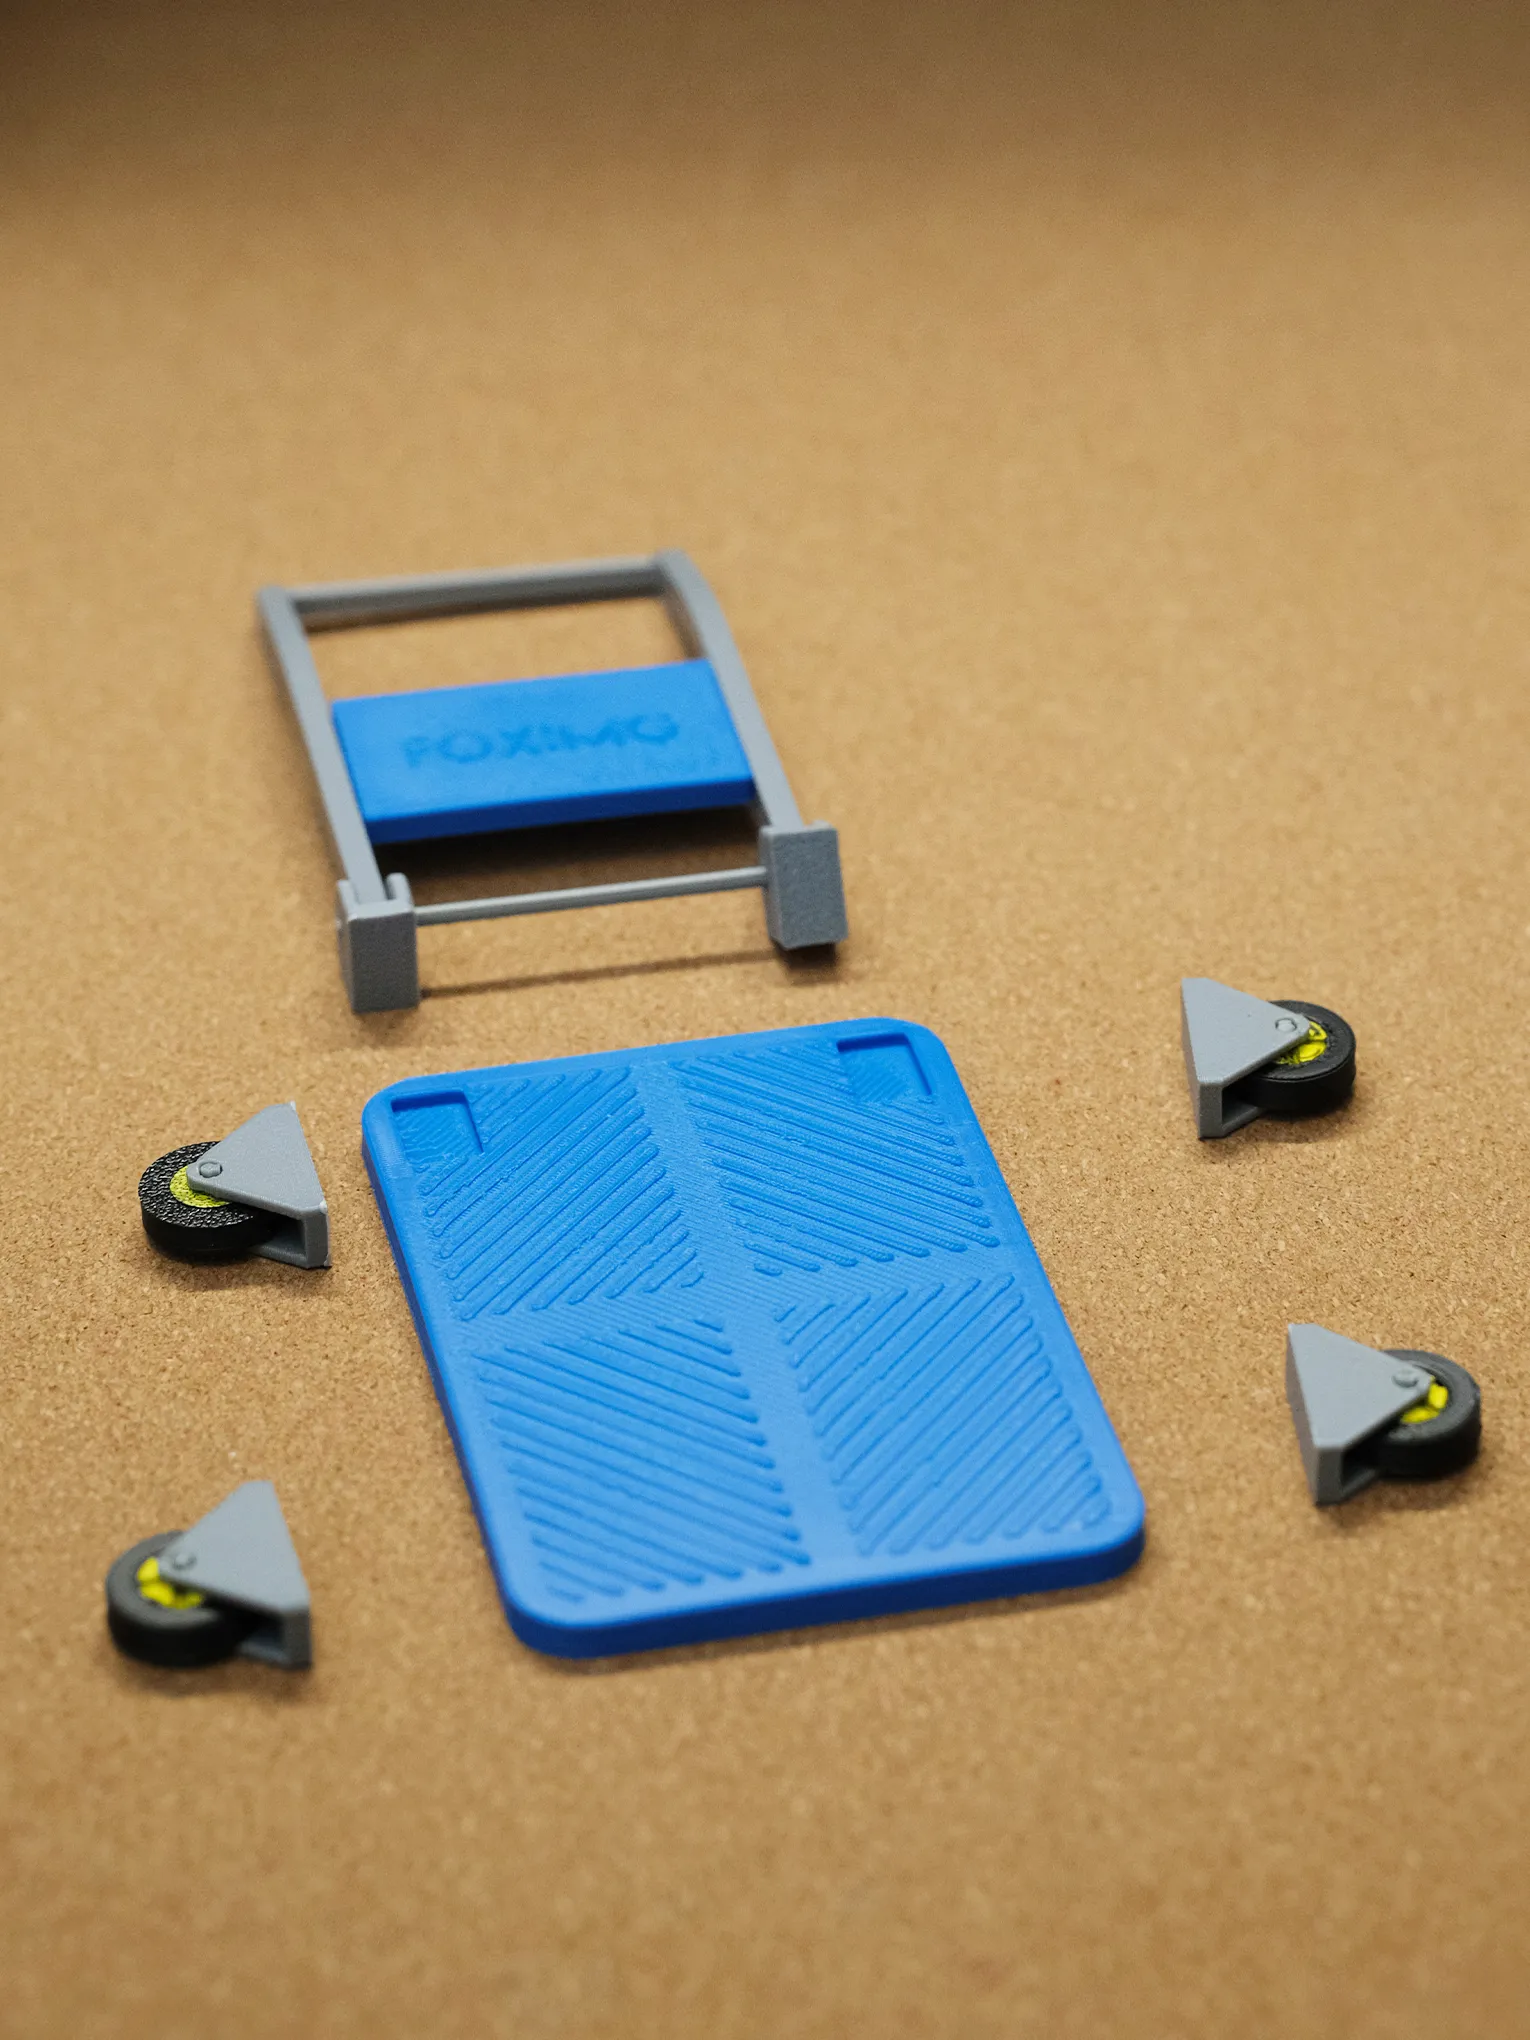
Below are exploded diagrams of the parts, which you can refer to for the corresponding positions of each part and the detailed assembly process
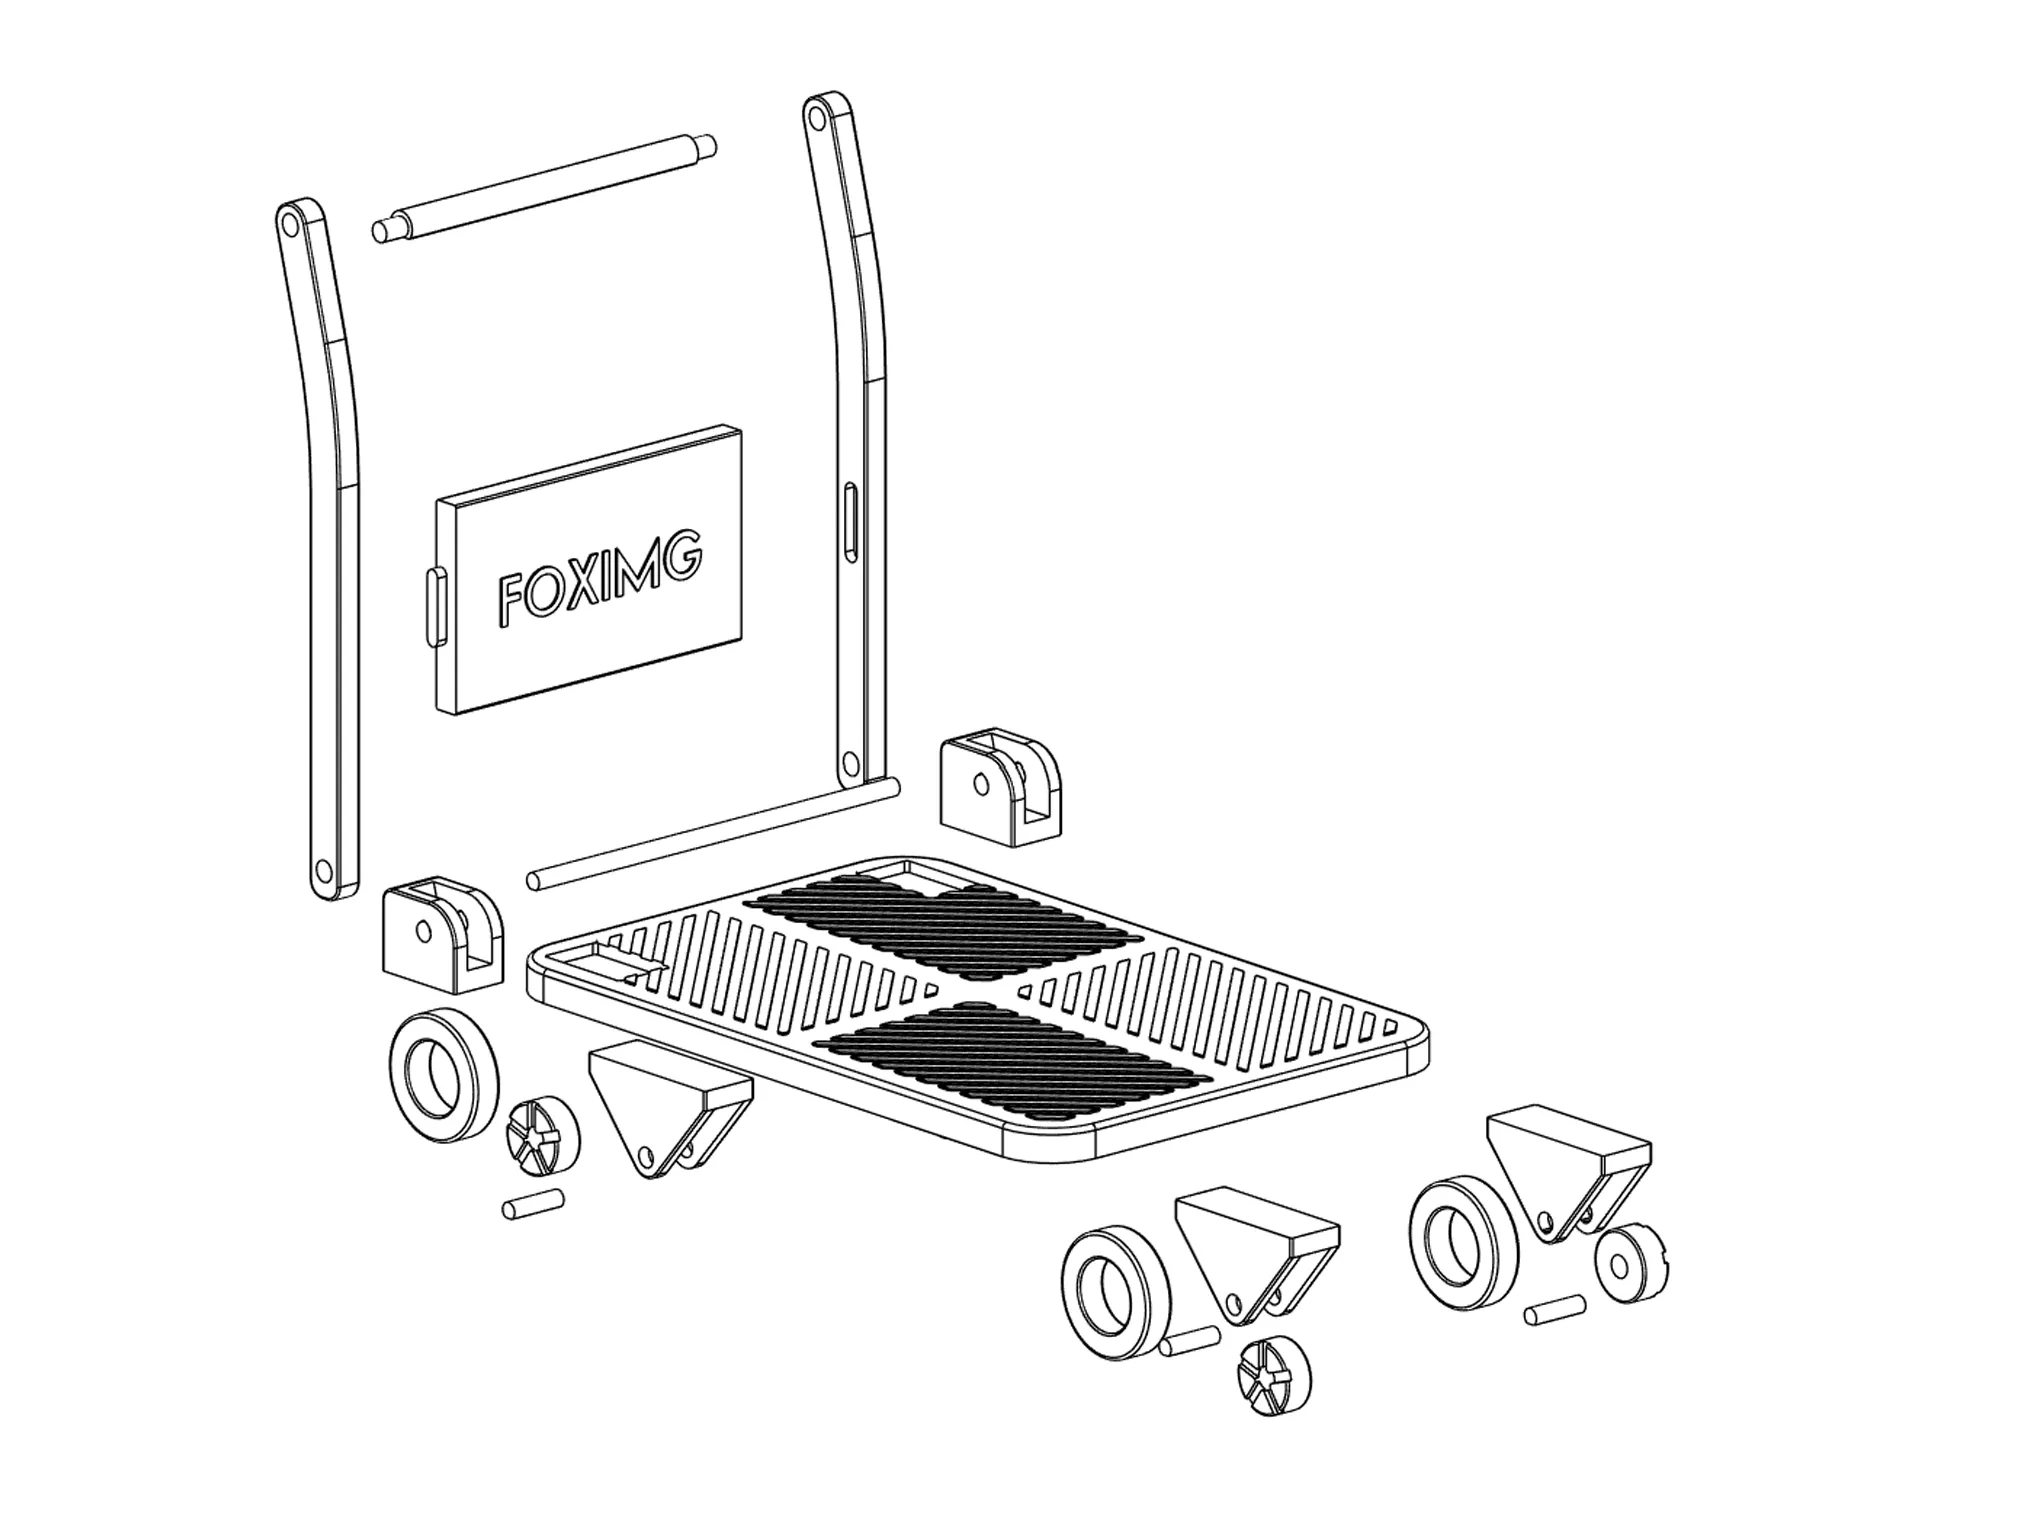
1. Part correspondence; after printing, you can arrange the parts according to these positions
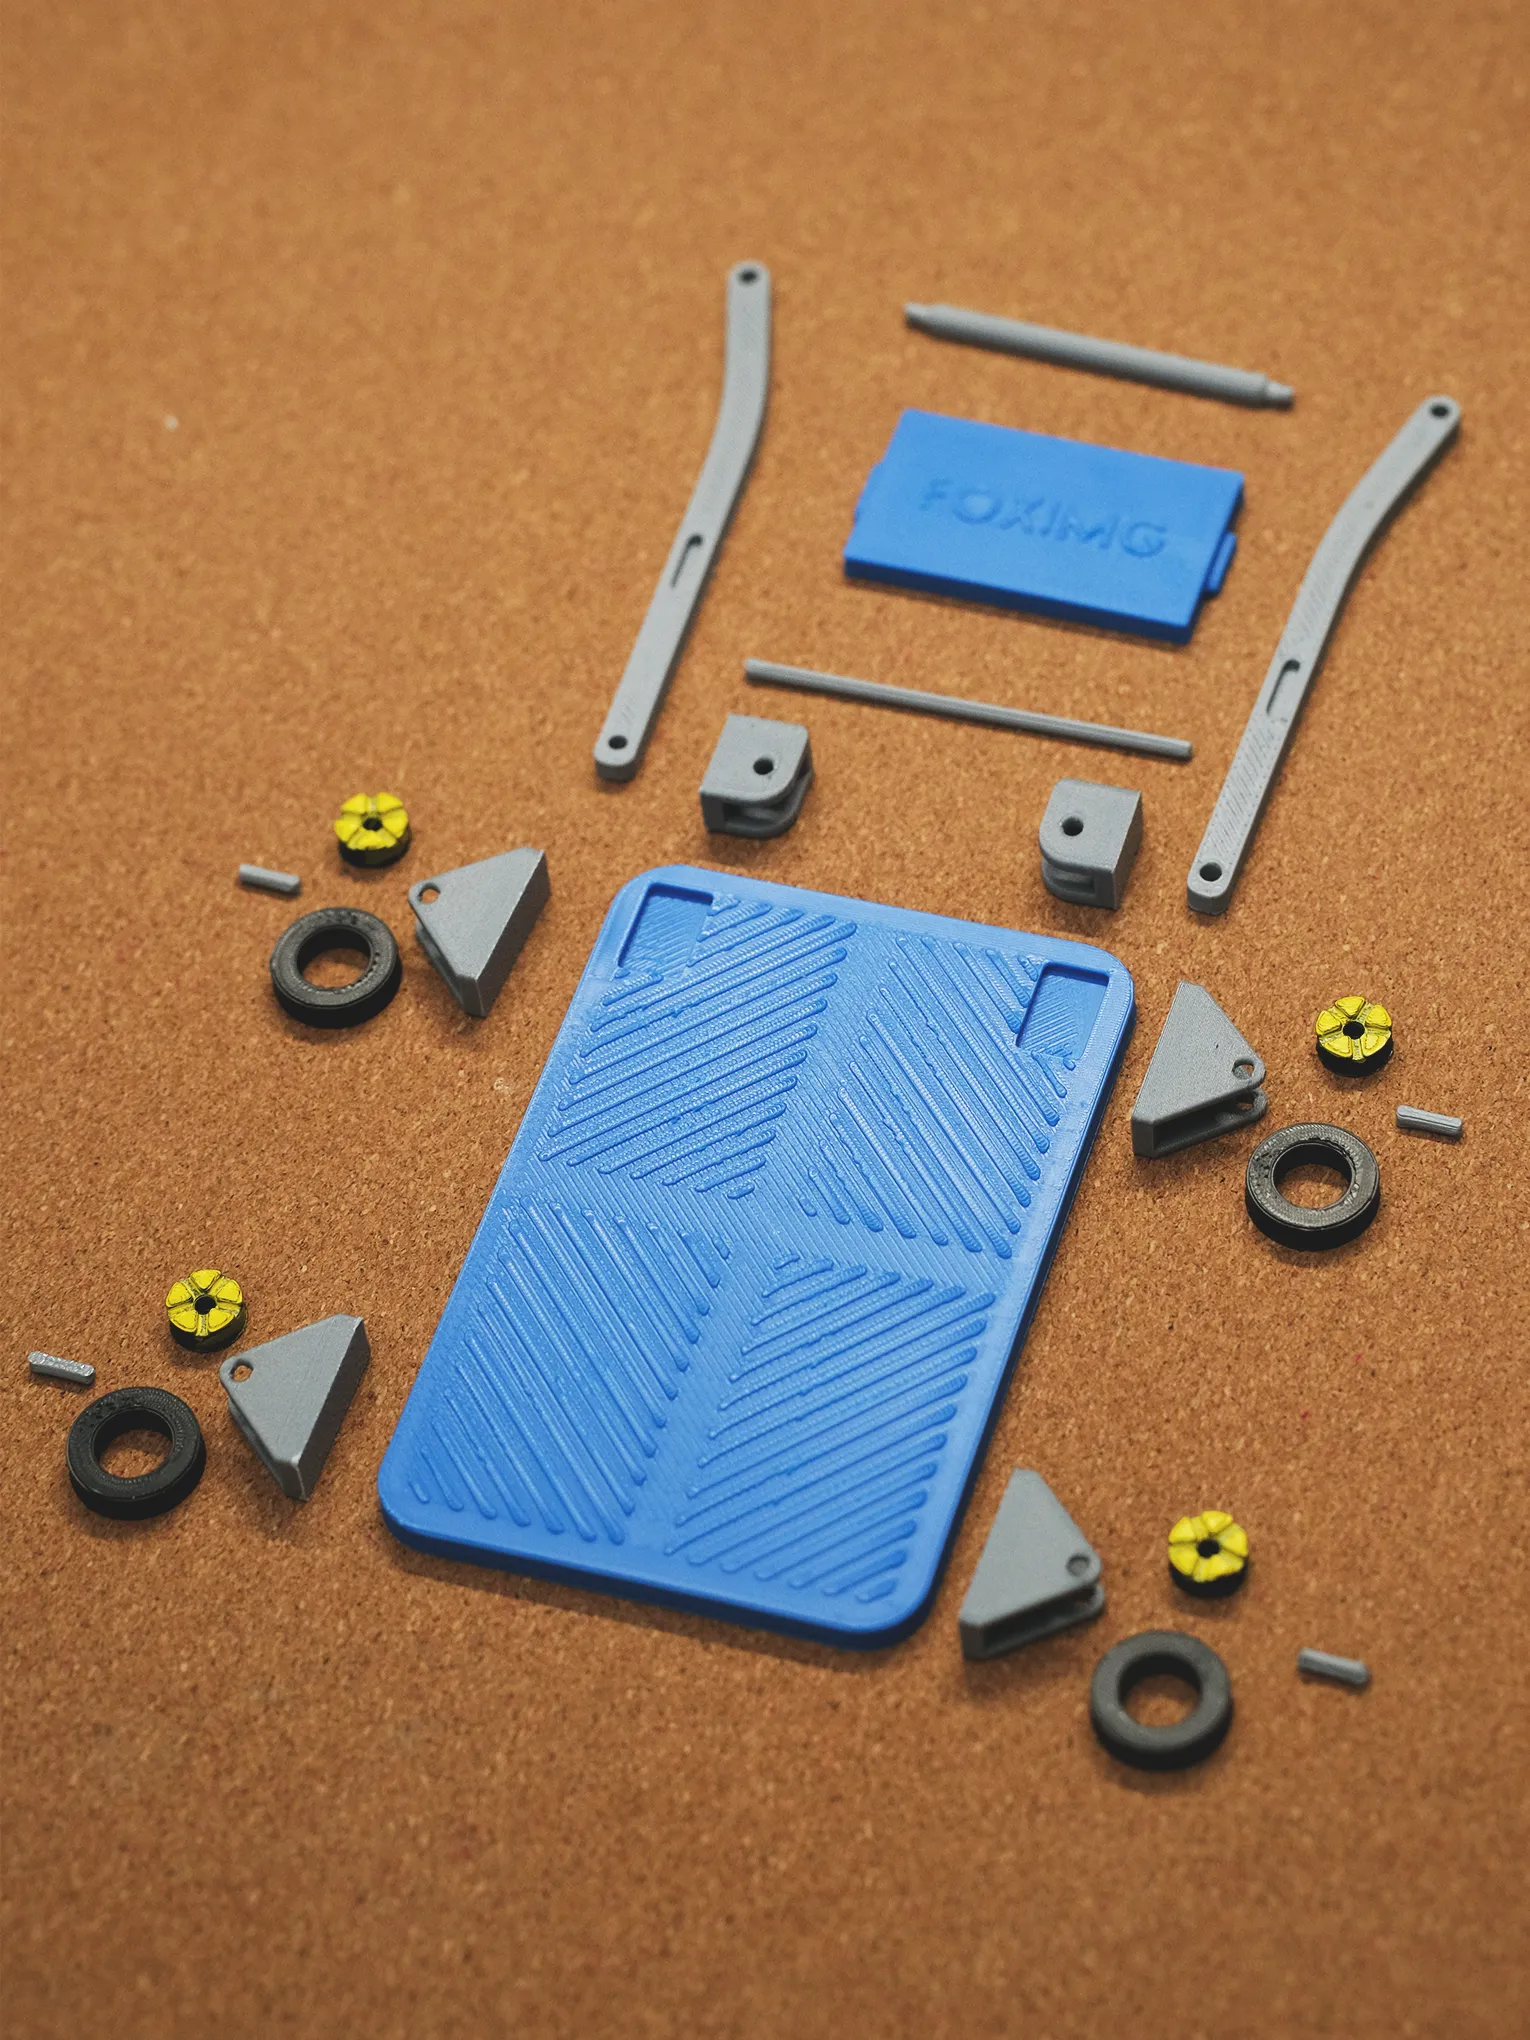
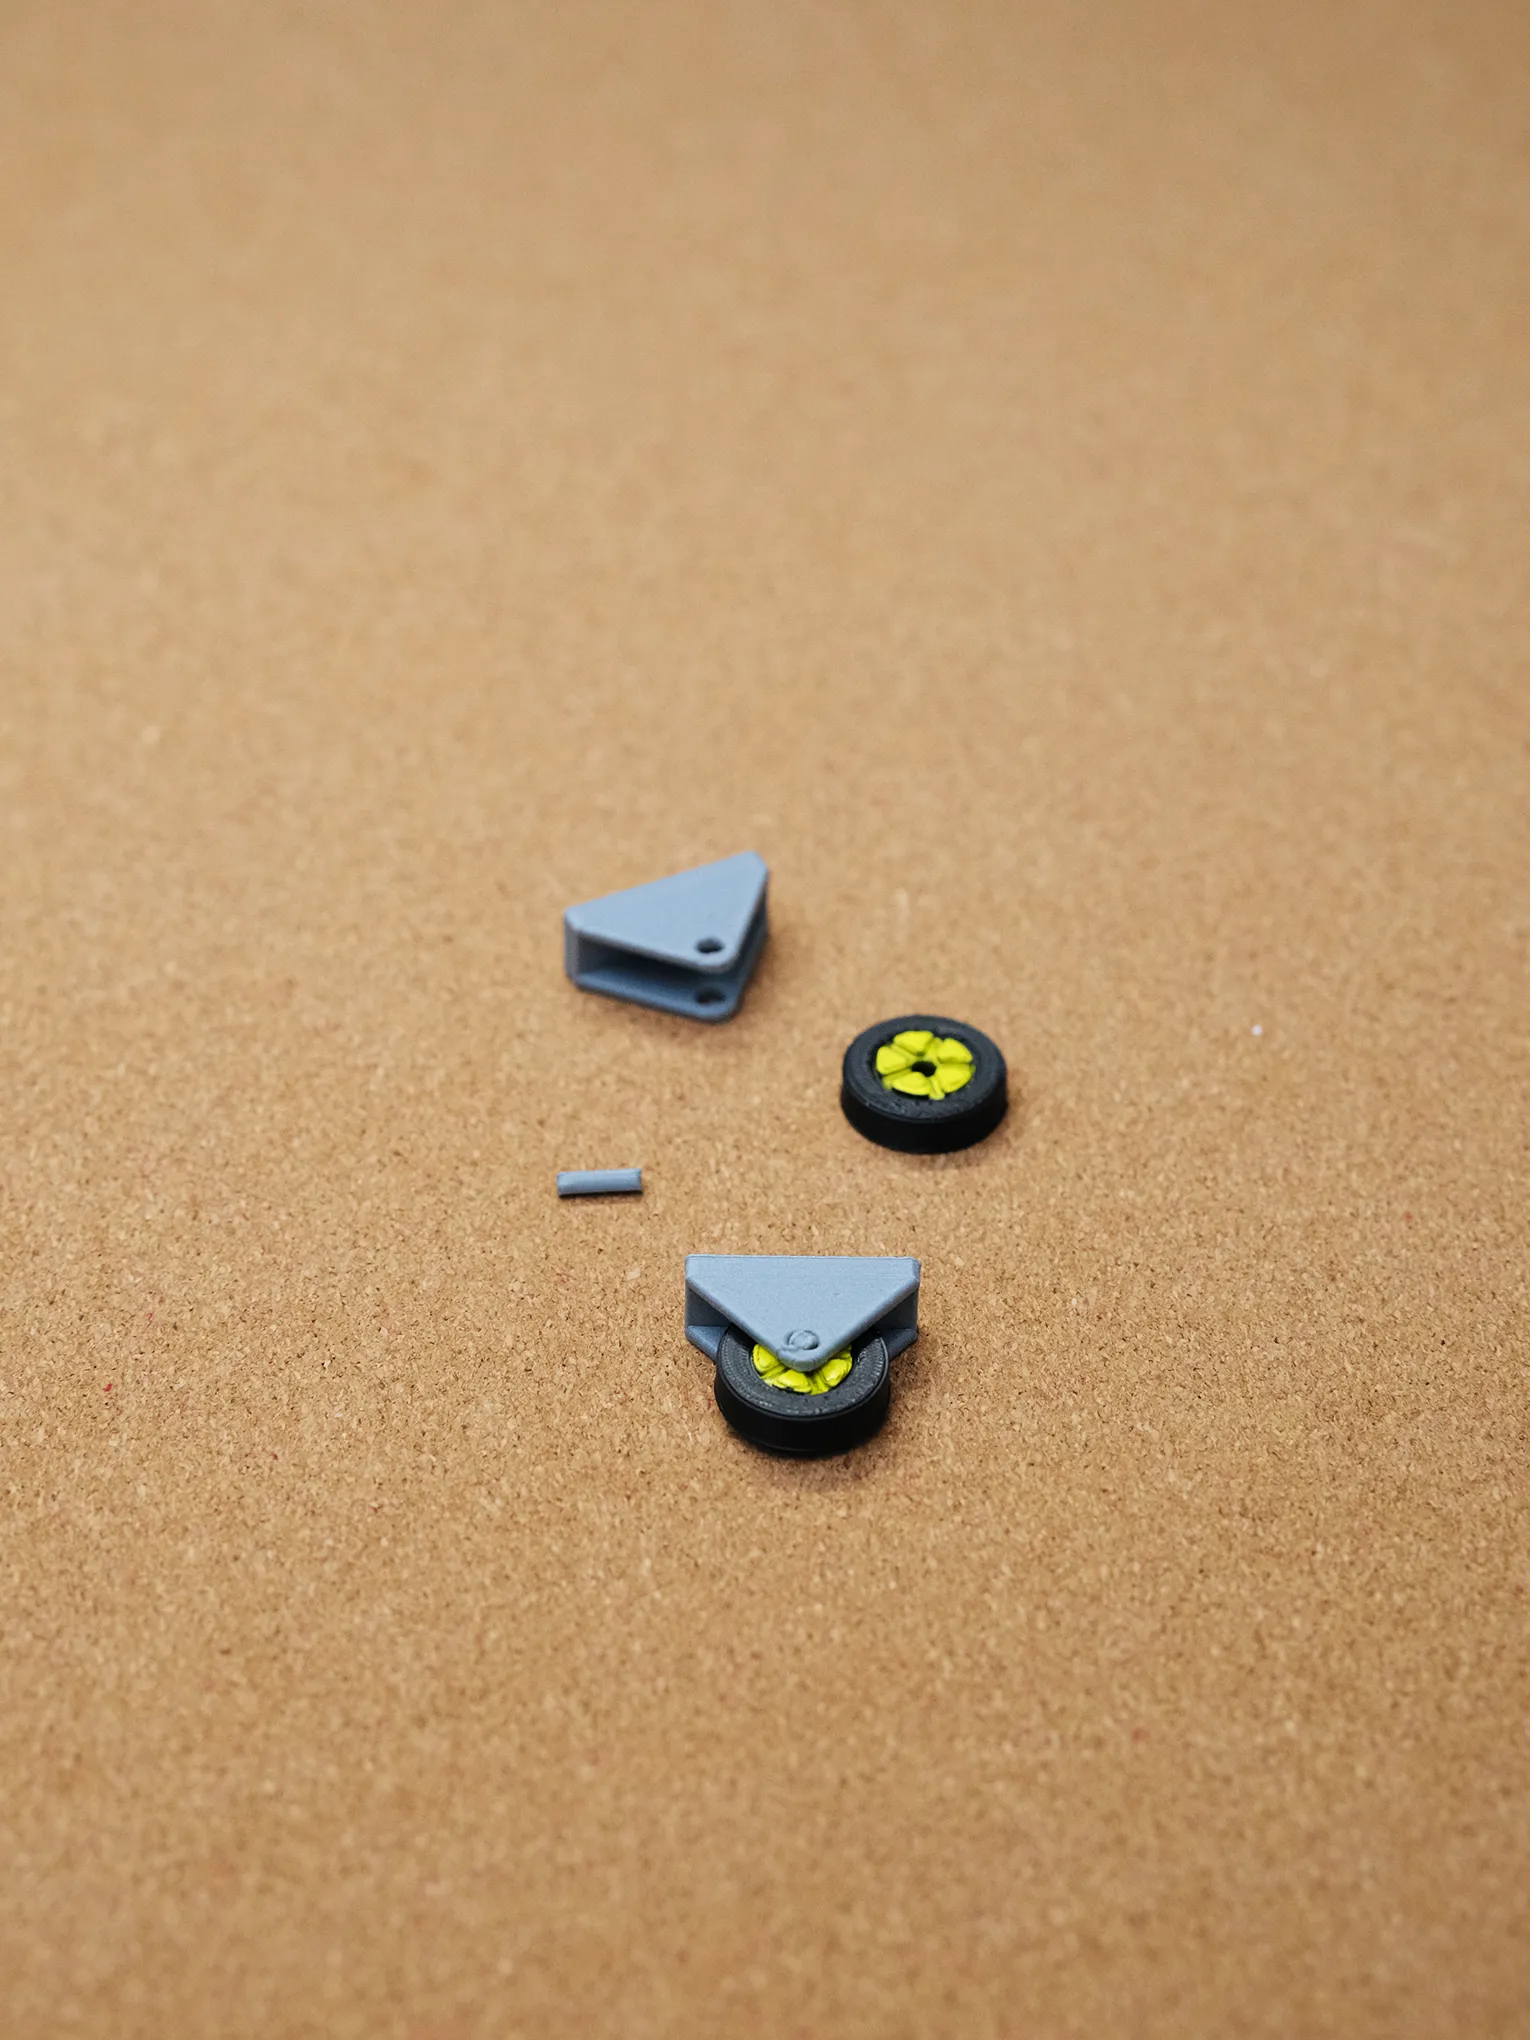
2. First assemble the four wheels; due to variations in filament shrinkage rates, the fit might vary; for tight fits, repeatedly insert and remove the parts; for loose fits, use a small amount of adhesive
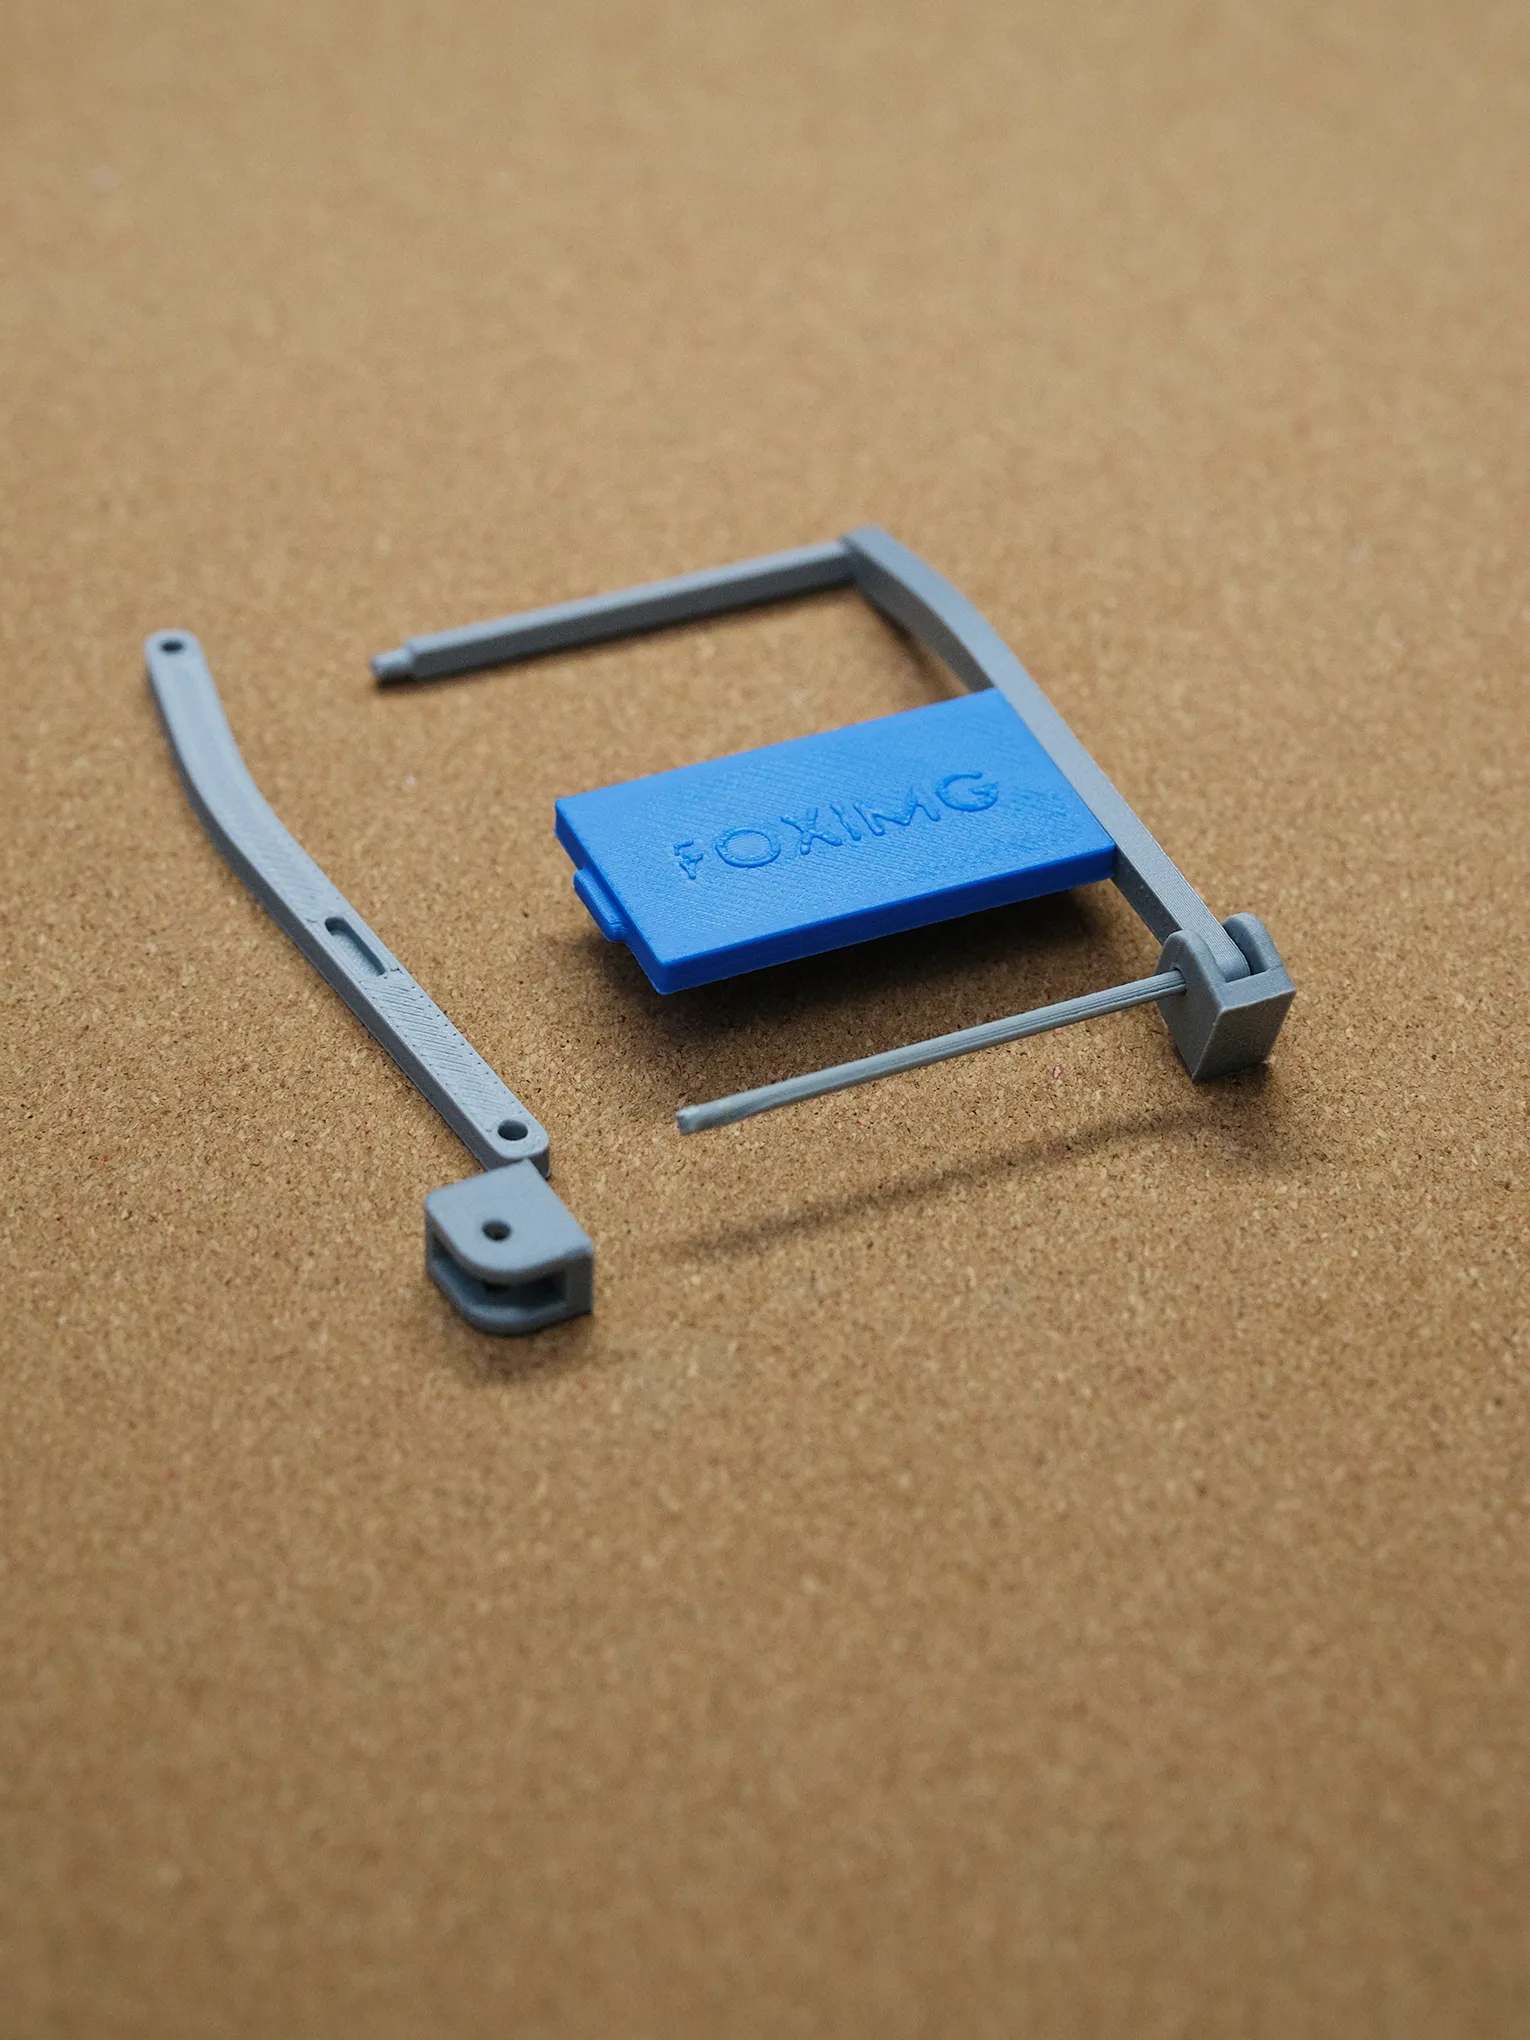
3. Assemble the tow bar related parts as shown in the diagram; if your parts are tight, please handle with care; before assembly, test fit the parts and holes; if fitting correctly, press them firmly together; no adhesive is needed
4. Assemble the tow bar section, wheel section, and the corresponding holes of the tray and you are finished; note that the convex and concave parts of the wheel face outwards; if the parts are loose, add a small amount of adhesive as needed; if tight, use small tweezers or a screwdriver to press them into place
License

You shall not share, sub-license, sell, rent, host, transfer, or distribute in any way the digital or 3D printed versions of this object, nor any other derivative work of this object in its digital or physical format (including - but not limited to - remixes of this object, and hosting on other digital platforms). The objects may not be used without permission in any way whatsoever in which you charge money, or collect fees.


Comment & Rating (1)