Desiccant Pouch (Gift Packaging Box)


Print Profile(5)


Description
Description
New cylindrical design available!
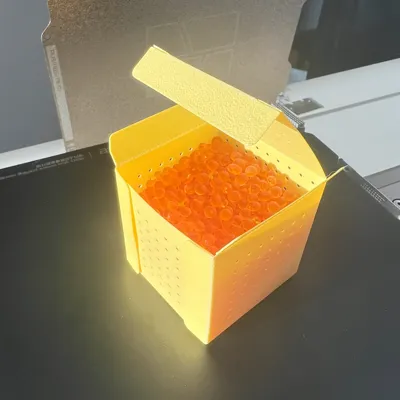
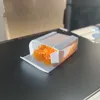
I originally created this simple 2-layer folding box for holding desiccant. It can also be used as a general-purpose organizer/gift/packaging box.
Chinese Description:
一个简单的可以折叠的小盒子,可以用来装干燥剂和其他小物品。
Updates
1/21/2024
Added a Speed + profile for dry boxes that nearly halved printing time without much quality compromise.
Features
- Low filament consumption 6~9 grams per box
- Minimal assembly required: folding + pushing the pins to secure the back panel
- Can be folded in both ways!
- the bed facing side can be folded to the exterior to display build plate texture (Configuration A)

- Or
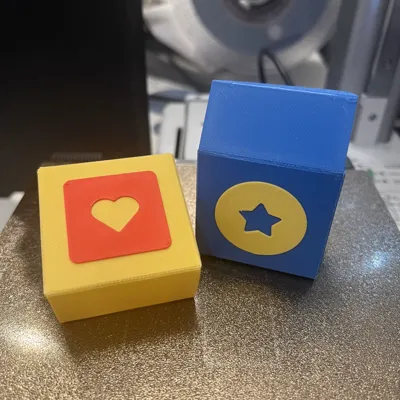
- the bed facing side can be folded to the interior for custom dual color or other 3d designs on the box surface (Configuration B)

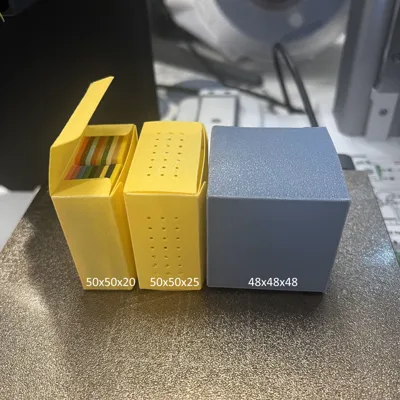
- Sizes:
- 50 x 50 x 20 mm
- 50 x 50 x 25 mm
- 48 x 48 x 48 mm (This is the maximum size fittable on a A1 Mini bed)
- Styles:
- Perforated (for desiccant)
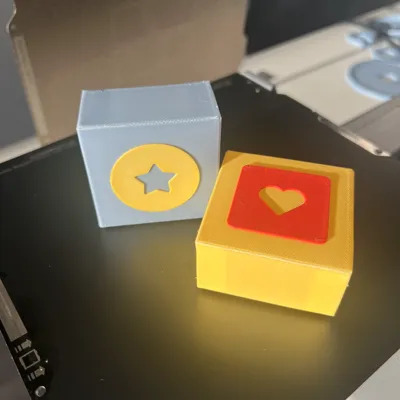
- Dual color decors: Heart/Star
- Blanks (for remix/mods)
Assembly
The assembly is very straightfoward. Just fold the print in one of the directions, and push the pins through the holes on the back panel. You should hear a click when the pins are snapped into place.

Taking configuration A as an example:
- (Green) fold panels as shown via arrows 1, 2 and 3.
- (Pink) keep the 2 panels A above panel B.
- (Red) snap the six pins
- Close the box by folding over 5 (it should look like any other packaing box by now).
Notes & Tips
- Always ensure infills are crossing the hinges (with great extent preferably) in the first layer; otherwise it will fall apart. This means when creating profiles for 48 x 48 x 48, since it was placed diagonally, the infill rotation needs to be rotated for another 45 degrees from default.


- The box can be folded both ways! When folded with the top layer outside, the pins will be visible, but it also allows you to add some fun designs on the box:

- Using 0.16 layer height may save you a little bit of filament for a less rigid box.
- I haven't played too much around ironing as it increases the print time drastically, and sometimes looks/feels worse than not using it.
- PLA Matte looks more opaque than PLA Basic. I haven't tried PETG yet but assume it would be more durable.
- I don't have build plates with fancy textures but can imagine those would look very neat on this print.
- Finally, let me know if you need more size options; or have any suggestions. Happy printing!
License
You shall not share, sub-license, sell, rent, host, transfer, or distribute in any way the digital or 3D printed versions of this object, nor any other derivative work of this object in its digital or physical format (including - but not limited to - remixes of this object, and hosting on other digital platforms). The objects may not be used without permission in any way whatsoever in which you charge money, or collect fees.
Comment & Rating (16)