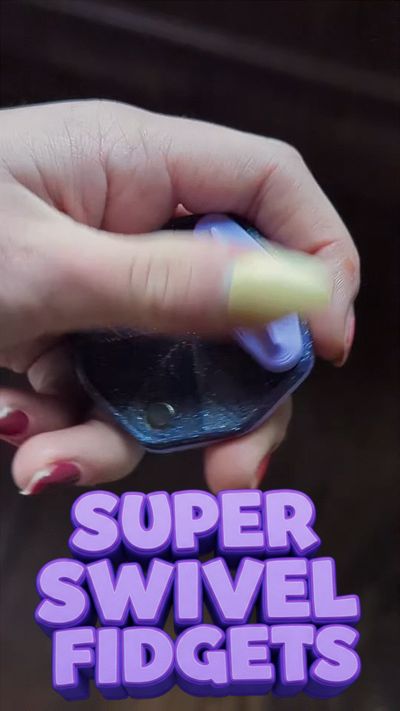
Super Swivel Fidgets | Magnetic Slider Fidgets


Print Profile(5)


Bill of Materials


Description
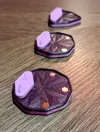
Super Swivel Fidgets — Slide, Snap, Satisfy!
After countless prototypes (and the noble sacrifice of hundreds of many 6x2mm magnets), the Super Swivel Fidgets have finally arrived — and they're totally worth the wait.
These compact, magnetic sliders deliver a crisp, addictive click with every satisfying snap — like a light switch for your thumb. Whether you're easing stress, staying focused, or just having fun, these fidgets are designed to feel great and perform even better.
(On a side note, if you need something to cut PTFE tubes that's precise, safe, and also seriously satisfying, you won't want to miss out on my Bowden Puck Pro!)
Why Super Swivel Fidgets are Next-Level
- Satisfying Clicks: A sharp, tactile snap powered by strong magnets — totally irresistible.
- Comfy Beveled Edges: Smooth curves for endless, comfortable fidgeting.
- Grippy Textured Sides: Stay locked in, even during high-speed swiping.
- Ergonomic Thumb Zone: Designed for comfort, optimized for feel.
- Magnet-Friendly Fit: Tailored perfectly for 6x2mm magnets — no guesswork, just good fit.
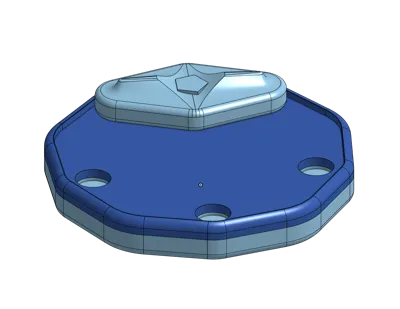
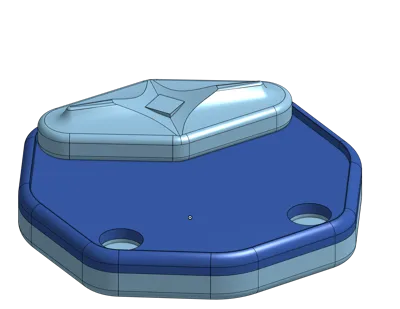
- Shape-Coded Sliders: Each has a unique center shape to match the correct base — intuitive and stylish.
- Two-Color Printing Option: Save filament and boost style with cool, contrasty designs.
Quick Start Instructions
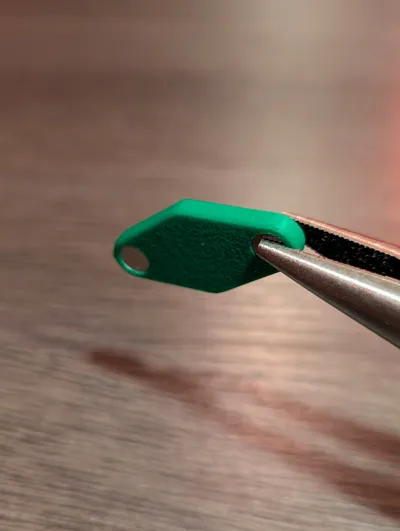
- Print the Fit Check Slider. This helps verify the tolerances with your magnets and printer.
- Insert a Magnet. It should be a tight friction fit — use pliers if needed.
- Too Loose or Tight? Adjust your slicer's X-Y Hole Compensation by ±0.025mm and reprint until it's snug.
- Confirm Polarity before inserting the second magnet.
- Print a Base. Match the slider’s shape to the base.
- Insert Base Magnets while keeping polarity consistent.
- Enjoy!
Pro Tips
- Build time listed is for all plates in total, but a single fidget only takes about 30 minutes.
- Magnets should sit flush or slightly recessed — never protruding.
- These models only support exposed magnets (for max magnetic pull).
- Magnets are, for the most part, permanent once inserted — double-check polarity!
- The familiar click is part of the charm — if you're after silence, this isn't the fidget for you.
- Standardized 6x2mm magnets (like those used in Gridfinity) work best.
Important: On Magnets and Holes
Although the model is designed for standard 6x2mm magnets, it's best to start by printing the Fit Check slider to test the fit with your magnets and printer.
You're aiming for a very tight friction fit — so tight that you'll likely need pliers to insert the magnets. If the fit is too loose or too tight, adjust the X-Y Hole Compensation in your slicer and reprint the Fit Check slider.
- Too tight? Increase by +0.025mm
- Too loose? Decrease by −0.025mm
Repeat until the fit is snug. Once dialed in, use that setting for the rest of the models. While glue is an option for loose fits, a tight press-fit gives the best results — and less mess.
More details: https://wiki.bambulab.com/en/software/bambu-studio/xy-hole-contour-compensation#xy-hole-compensation
Note: Don’t adjust X-Y Contour Compensation — only X-Y Hole Compensation is relevant here.
Changelog:
May 9, 2025: Update Tri plate with correct slider
May 12, 2025: Improve arrangement for X1C
License
You shall not share, sub-license, sell, rent, host, transfer, or distribute in any way the digital or 3D printed versions of this object, nor any other derivative work of this object in its digital or physical format (including - but not limited to - remixes of this object, and hosting on other digital platforms). The objects may not be used without permission in any way whatsoever in which you charge money, or collect fees.
Comment & Rating (130)