Trekking Poles (height adjustable + multi-tipped)


Print Profile(4)


Description
Nimburs Presents
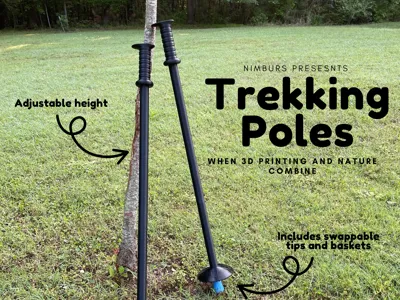
3D Printed Trekking Poles!
Trekking poles are a common utility among hikers, whether they are proffessionals or casuals at the hobby. You usually might pick them up at a sporting store or online, but what if you could make them in your own house, and have them able to be customized to your liking? This project pushes the boundaries of the outdoor utility of 3d printing by taking the plastic forged by your 3d printer and the call of nature to bring them together.
Boost Me (for free)
If you would like more projects like this and/or want to support me, you can leave a boost(or two)! Thanks :) If you didn't boost, you should reconsider :(
After weeks of planning, hours of designing and many failed prints, I present to you, 3D printable Trekking Poles! This project pushes the limits of 3d printing for hobbyists and hikers alike. The simple yet intuitive design allows for practical use in actual hiking. These trekking poles can be height-adjusted and have swappable tips and baskets for multiple uses that can be changed in seconds! The print should take approximately 2-3 days to complete, and will take one whole spool of PLA, as well as a bit of TPU. It is a bit hard to print, and you must be careful when removing supports, but if you are patient with it, it will turn out just fine. Be sure to apply plenty of glue to your print bed for the best adhesion. As a middle schooler, this was pretty hard to pull off with homework and everything, but it turned out great in the end! If you like this project, be sure to leave a like and a boost to show your support!
Utility
Using trekking poles is pretty simple. You use them as support and to pace yourself on hikes. As a hiking enthusiast myself, I use them whenever I go on hikes. These specific trekking poles have swappabble tips and baskets that serve different utilities. If you are unaware of thier uses or are a beginer in hiking, here are their functions:
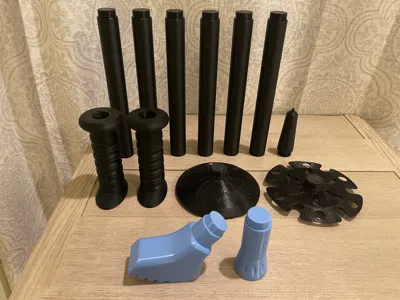
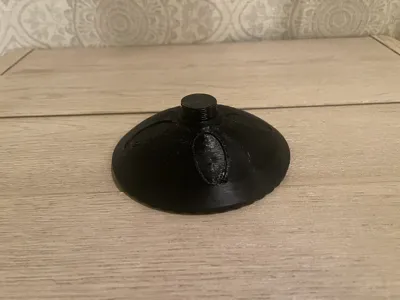
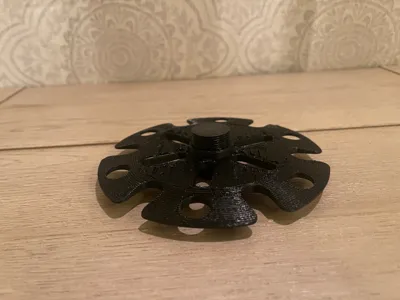
Baskets: The mud baskets, which look like half circles that are hollow, are for use in muddy or sandy areas. Snow baskets, which are flat and have holes in them, are used for snowy areas.
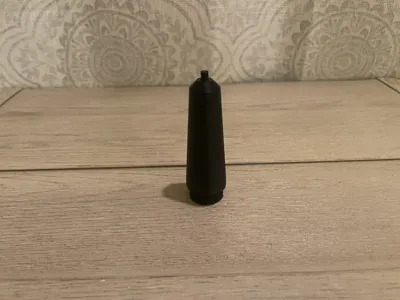
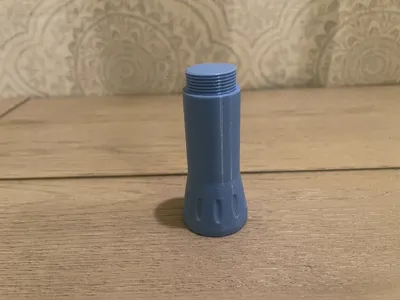
Tips: The Rubber tip, which looks like the tip of a walking stick is for use on mostly smooth areas, like a pavement. The Boot tip is for use on inclines and uneven surfaces, like a rocky/gravel terrain.
Printing
To print this, you will need one full spool of PLA, and a bit of TPU for AMS. I choose PLA for obvious reasons, for it is a reliably printable material and has exceptional durability. I choose TPU for AMS because it is stiff enough to hold its proper shape when in use but is still soft and impact resistant, and I didn't want the regular TPU to deform while in use. There is little room for error because the printing for a full set of poles will take you an entire spool of PLA, so be sure to make sure your printer is all up to date with maintenance. Also make sure to apply glue generously to the build plate in order to keep anything from falling off, which happened to me during my printing. The print profile is made in a way that you can easily print any parts for one or two of the poles on one of the plates (except for snow baskets, which are too big to fit 2 on a plate), in the Bambu Handy app or in Bambu Studio.
Assembly
To assemble the trekking poles, first you will need to measure yourself to adjust the poles to the right height. Have someone help you measure and make sure that you are measuring in the metric system. Stand up straight and put your arm out so that your elbow is at a 90-degree angle. You should look like this (this is also the position you will be holding your trekking poles in as well):
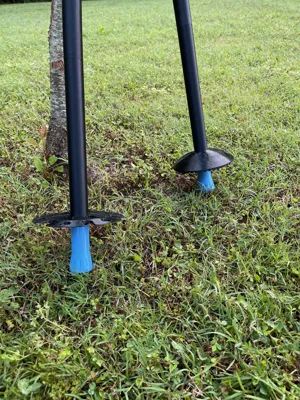
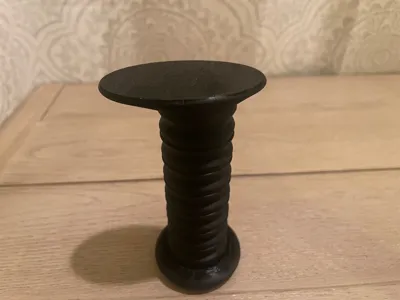
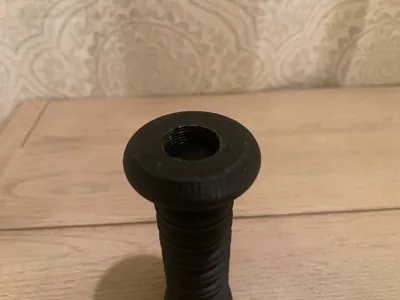
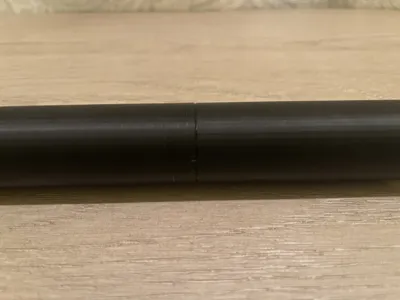
Fig. 1: holding the poles Fig. 2: connection of the pole shafts Fig. 3,4,5: Tips of the poles (left to right: Hard tip, boot tip, rubber tip)


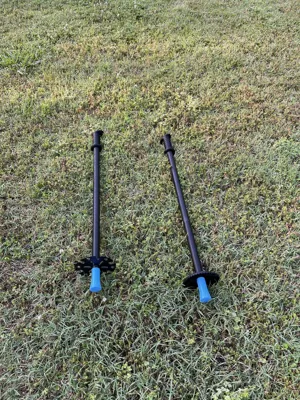
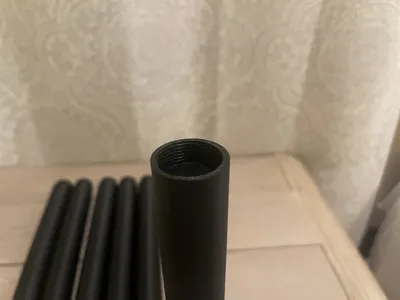
Measure from the ground up to the top of your hand. Let's say that you measured 107 centimeters. Convert any metrics you have into millimeters, so this will be 1070 mm. Subtract about 250 from this to accommodate the tips, baskets, and handles. After subtracting, I get 820 mm. Divide this into groups of 250 and 100, the respective sizes for the two shaft types. If we use three 250mm shafts and one 100mm shaft, we can get 850 mm, which is closest to our measurement of 820. We will print 3 250 mm poles and 1 100mm pole. To attach these together, we can screw them into each other to make one long shaft. Srew the handle at the top, which is the face of our combined pole that has an external thread (male connector). On the bottom, screw on the basket of your choice, followed by the tip of your choice. to swap you tips/baskets, just unscrew the old tip/basket and screw on the new tip/basket. And there you go, your adjustable trekking poles are ready for use! The full extent of how roughly they can be used hasn't been tested yet, but they should be able to work on your average hike. Your finished trekking poles should look like this (tips and baskets may vary):

 I hope you enjoy this model! :)
License
You shall not share, sub-license, sell, rent, host, transfer, or distribute in any way the digital or 3D printed versions of this object, nor any other derivative work of this object in its digital or physical format (including - but not limited to - remixes of this object, and hosting on other digital platforms). The objects may not be used without permission in any way whatsoever in which you charge money, or collect fees.
Comment & Rating (60)