Search models, users, collections, and posts

Benchy Wave Runner Moving Automaton by @MeedyDoofa
GIF
GIF

Print Profile(2)

All
P1S
H2S
X1 Carbon
X1
H2C
X1E
P1P
H2D Pro
A1
H2D
P2S
X2D
A2L
A1 mini

0.28mm layer, 1 walls, 10% infill
Designer
3 h
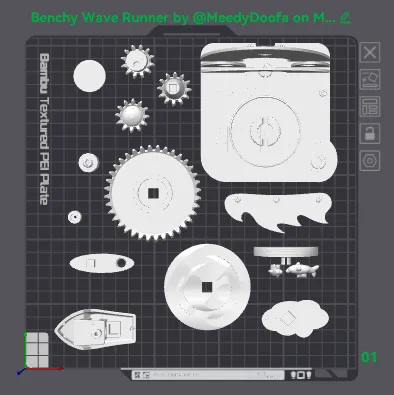
1 plate
5.0(2)

Painted version, split by colour
7.2 h
7 plates
5.0(1)

Open in Bambu Studio
Boost
47
75
3
4
24
12
Released 

Description


Quality 3D Prints


“Would you like to be notified when the next model becomes available? 

Just click Follow "


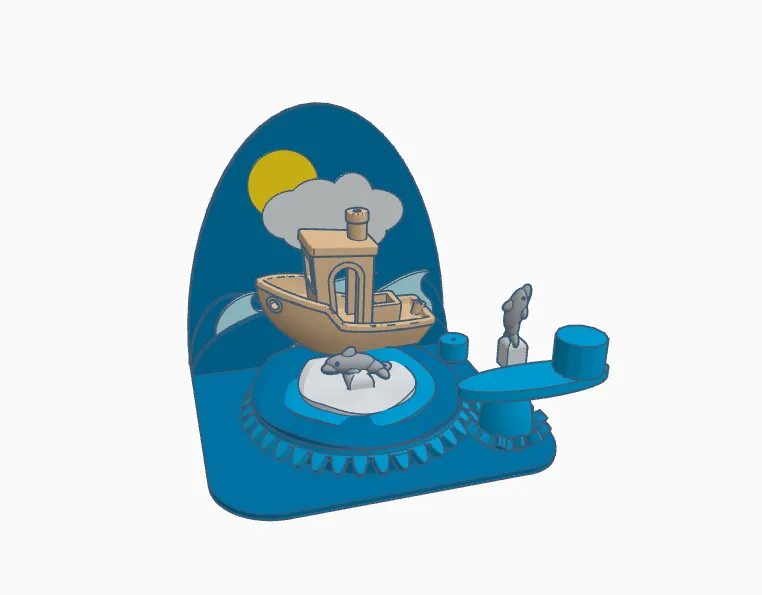
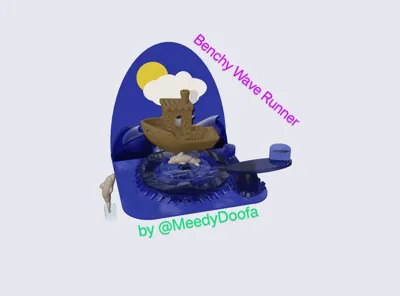
Benchy Wave Runner Moving Automaton

“Ahoy there!”  After 10 years, Benchy has finally escaped the build plate

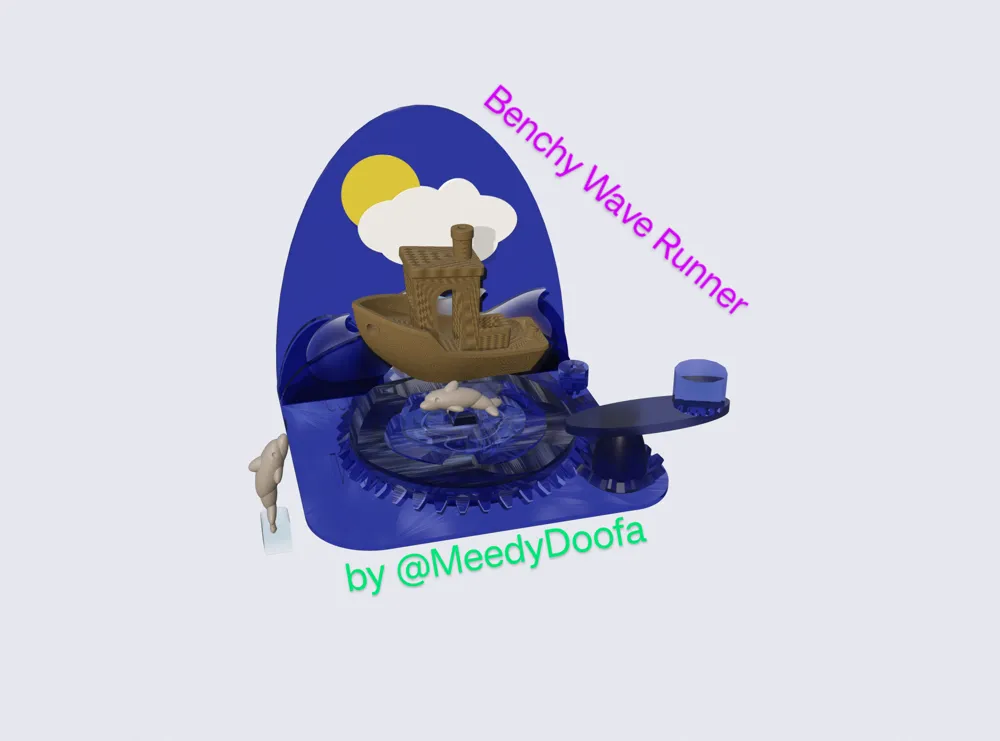
Simply click it all together, crank the handle and watch Benchy travel across the sea

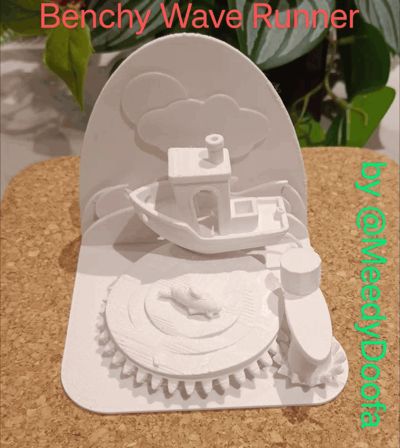
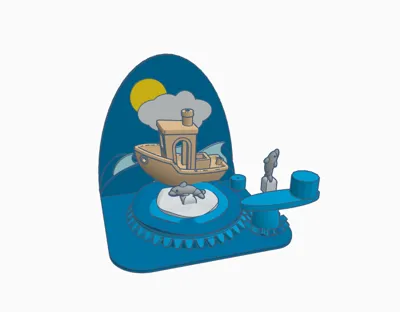

Its a beautiful day to go boating, with realistic rolling waves, a rocking boat and playful dolphins
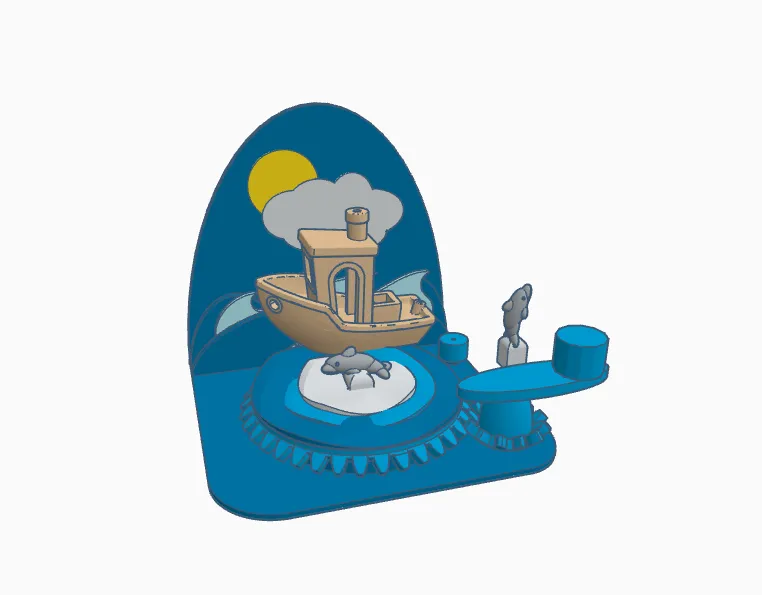
Benchy Wave Runner - Front View by @MeedyDoofa
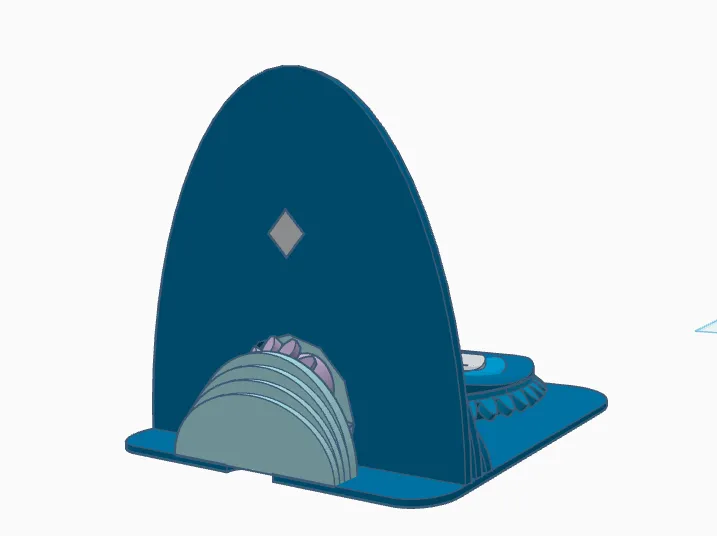
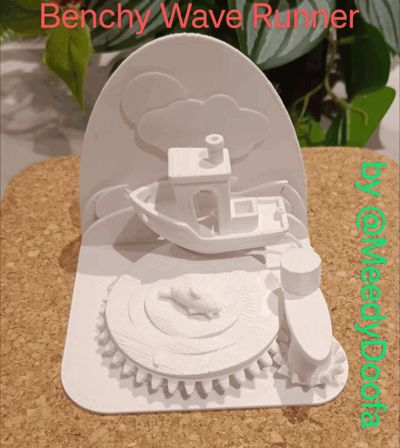
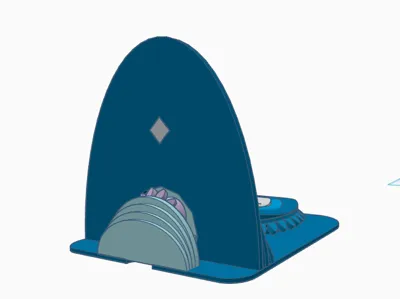
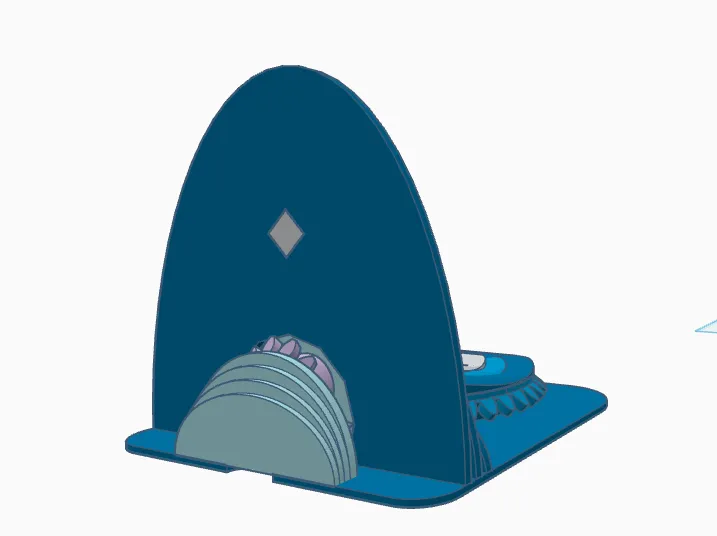
A rear view photo to the Benchy Wave Runner self assembly 3d automaton model
Benchy Wave Runner - Rear View by @MeedyDoofa

Printing Advice

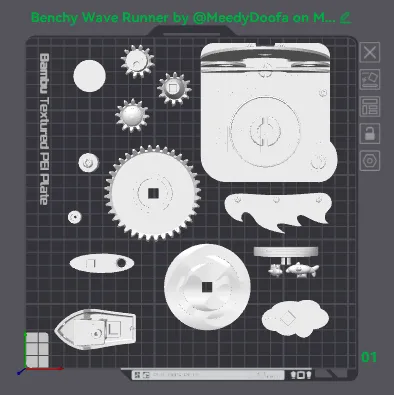
I used the Bambu 0.28mm Extra Draft profile and PETG HF.  Support (Tree, Slim) and Detect Thin Walls turned on and printed through a 0.4mm hardened steel nozzle

PLA will work very well for this model too

Tip: If the cogs are not rotating freely enough for your printout, try a smaller layer height

How to put it together

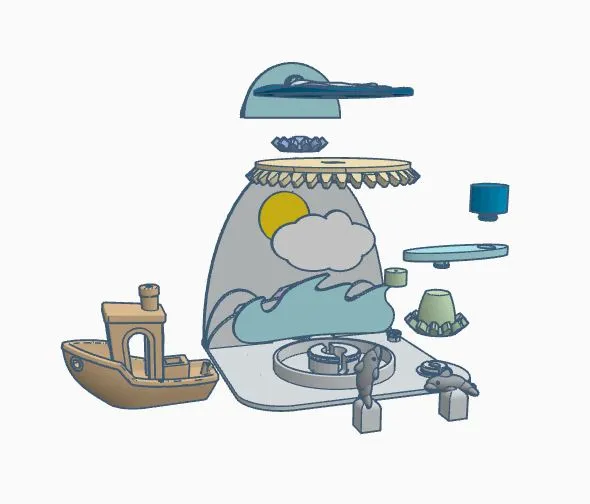
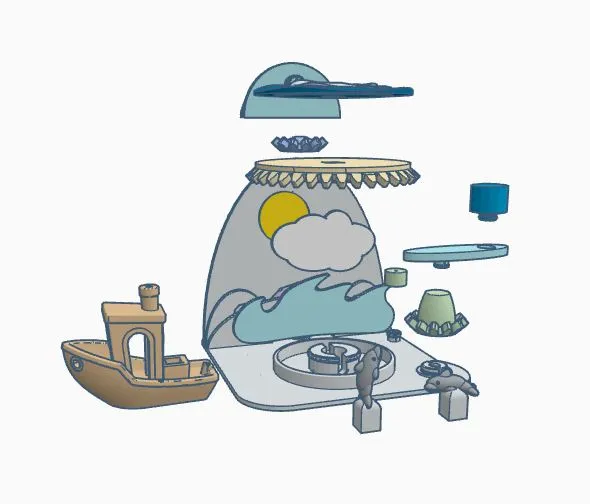
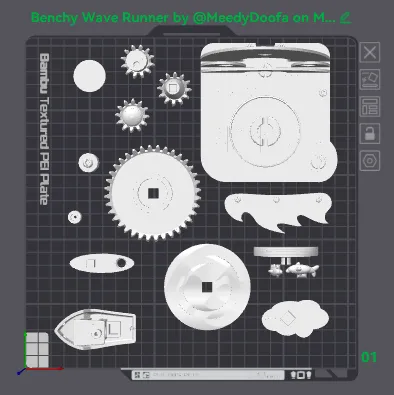
  1. Click in the Big Cog first

  2. Click the Knob onto the Handle, and then the Handle onto the Tall Cog. Then click that cog onto the Main plate - bottom right

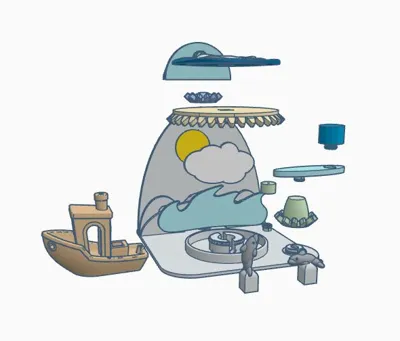
  3. Place the Textured plate on-top of the Big Cog, align the centre hole and secure it in place with one of the ‘Doofa’ dolphins - one swims, the other spins

  4. Click in the rear smaller Domed Cog, it goes underneath the rolling wave

  5. Drop in the Wave, the vertical panels on the base do have some flex to allow this to easily fall into place, the pins on the Wave should easily slip into the large holes on the left and right, facing towards the back of the model - these are the guide holes to keep the Wave steady when it moves

  6. Now Click the final Rear Cog into the centre pin on the back of the Wave

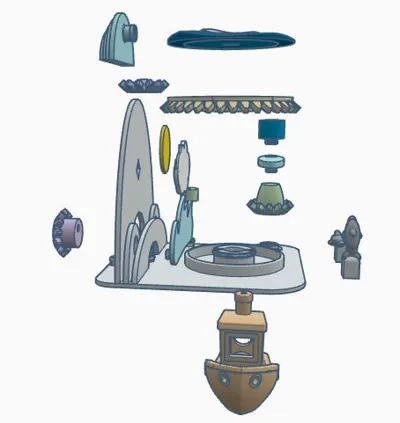
  7. Click the Rear Cog Holder to the back of the Rear Cog, that's the one you just connected to the Wave, then manoeuvre the Cog Holder onto the 2 base pins, make sure everything clicks into place securely

  8. Attach the Cloud to the front of the tall panel and slide in the Sun

  9. Take the remaining Filament Holder part and feed in a 3-4cm length of 1.75mm filament, push it in just enough for it to grip in. Conveniently, at the back your Benchy is a small hole which will accommodate a length of filament perfectly, you may need a small cocktail stick or small hex key to clear the way. The filament should feed in about 10-15mm into the Benchy and then stop - use glue if you wish, however friction should keep it in place - bend the filament to fit and it will keep Benchy in place and allow some Rock and Rolling on the waves too!

  10. Finally, place Benchy on the textured plate, clip the Filament Holder into the Main plate and rotate the handle


    Now watch Benchy rock and roll, as the waves rise and fall, whilst “Doofa” the dolphin splashes around the boat


Happy to answer any questions, just comment below.  Thanks for stopping by!
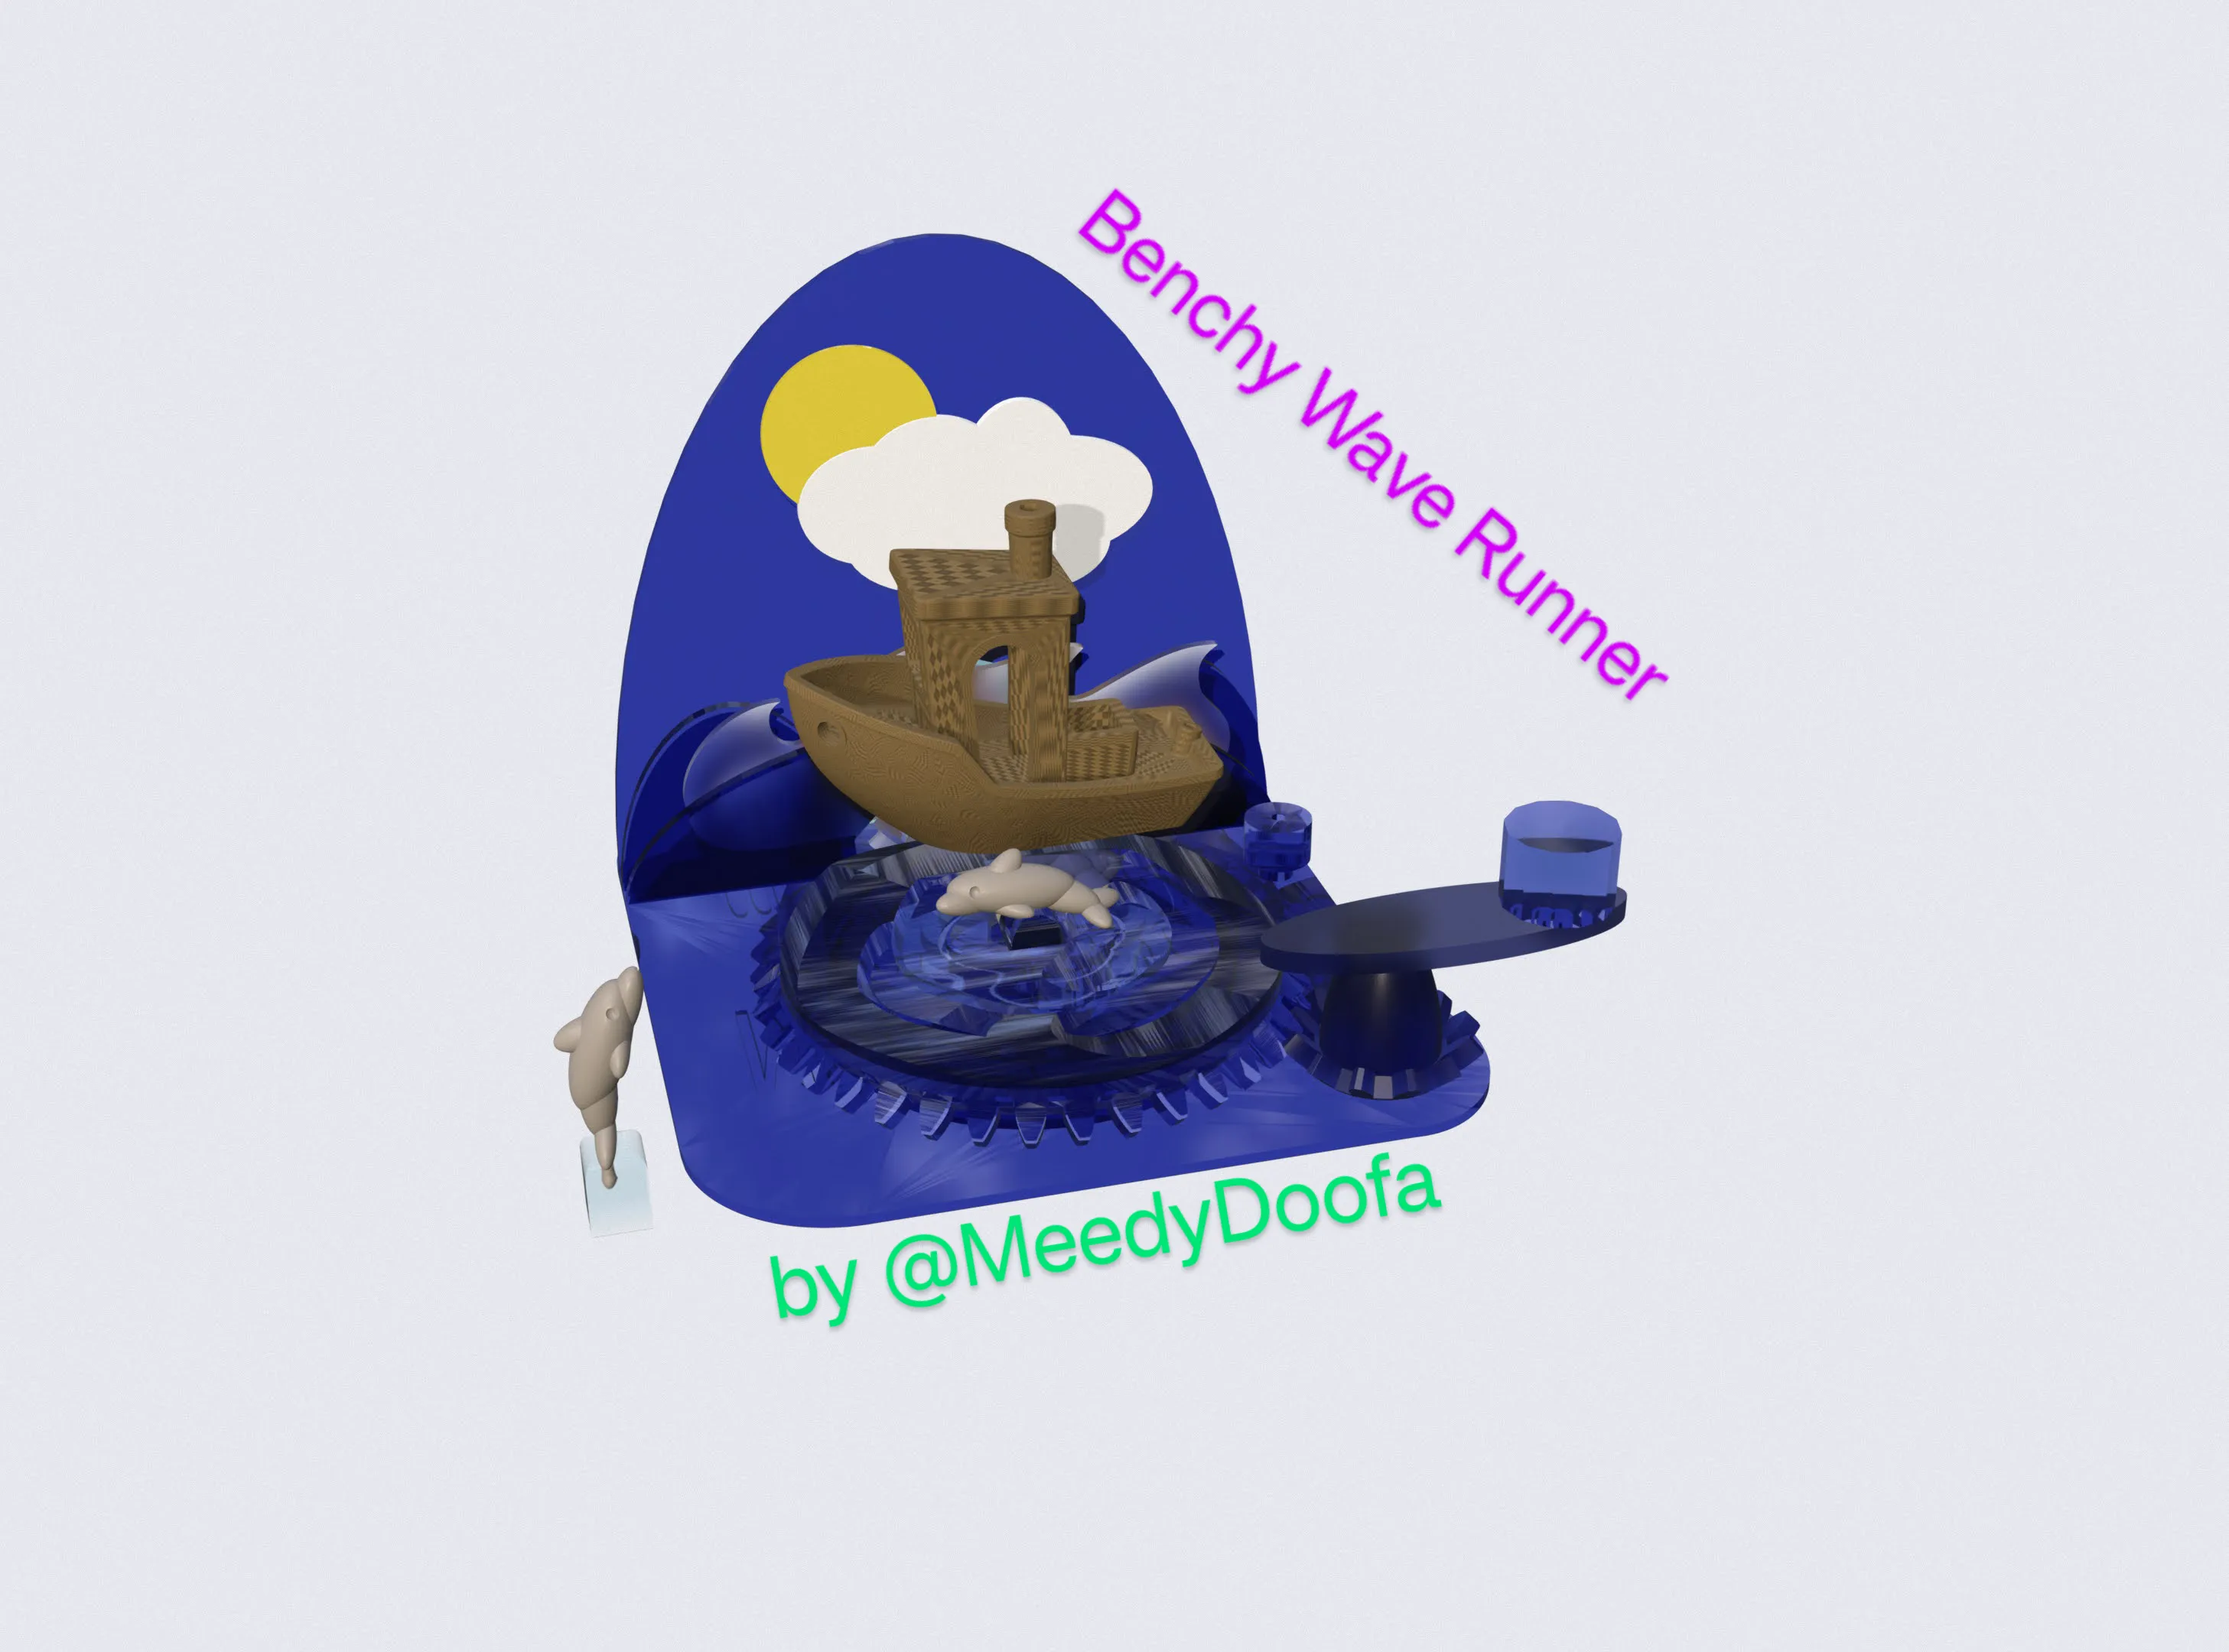


Front View with separation screenshot of Benchy Wave Runner 3D printable model
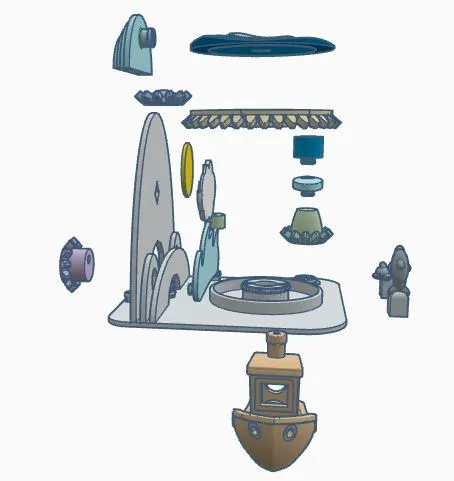
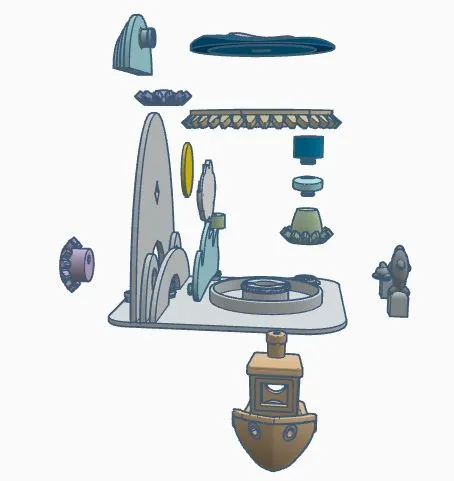
Rear View with separation screenshot of Benchy Wave Runner 3D printable model
Rear View with separation


My growing collection of 3D models can be viewed here  @MeedyDoofa 

https://makerworld.com/collections/6115283


Do you know what a Boost Token is?
 

If you download models from MakerWorld.com it is likely that you've got some boost tokens in your account

They are awarded for completing certain tasks, such as downloading a model


It's likely that you have quite a few, but may not be aware of them

Tokens typically have an expiry date and many ppl do let them expire and don't use them - its a shame, but they're easy to overlook ;)


When you see a ‘Boost Me’ section, like the one below and click it, you will be able to gift a creator a boost of points, you can boost several times too

After a period of time these build up and the grateful receiver can exchange them for a growing list of rewards, such as filament, maker kits and more
 

Its a great way to say thank you!


Boost Me (for free)

Please consider a Boost if you've got some spare, click THUMBS UP and SHARE if you'd like to show some Love! Boosting a model greatly helps creators, and encourages us to keep on creating Free prints for you Follow for all the latest updates


Comment & Rating (3)

(0/1000)

License

This user content is licensed under the MakerWorld Exclusive License.

You may create derivative works based on this object, provided that all such derivative works are published exclusively on the MakerWorld platform and include proper attribution to the original creator. You may not share, upload, host, distribute, or publish this object—or any derivative work of this object—on any other digital platform, marketplace, or distribution channel. Commercial use of this object and any derivative works is strictly prohibited. This includes, but is not limited to, selling, renting, sublicensing, or using the object in any context in which you receive monetary compensation or other financial benefits.