Search models, users, collections, and posts
Creality (Nebula) Camera mount Qidi X Max 3
IP Report


Print Profile(1)

0.2mm layer, 2 walls, 80% infill
Designer
1 h
1 plate
Open in Bambu Studio
Boost
8
15
0
2
48
3
Released
Description
NEBULA/CREALITY CAMERA MOUNT FOR QIDI TECH X‑MAX 3
Step‑by‑Step Instructions
- Remove the Tripod Mount
- Unscrew and remove the three‑leg tripod fitting from the top of the Qidi Tech X‑Max 3 cover, exposing the two black M4 screws that secure the counterweight plate.
- Extract the Counterweight Screws
- Using a Phillips screwdriver, back out the two black M4 screws and set them aside. These screws will be reused in the next step.
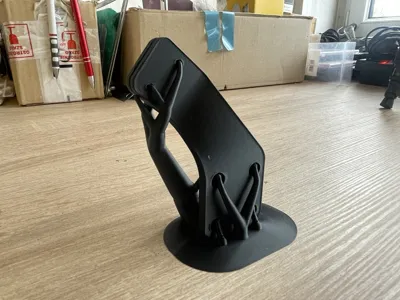
- Attach the 3D‑Printed Mount
- Align your ABS‑printed camera mount bracket over the exposed mounting holes.
- Use the two black M4 screws to fasten the printed bracket securely to the printer’s cover plate.
- Secure the Camera
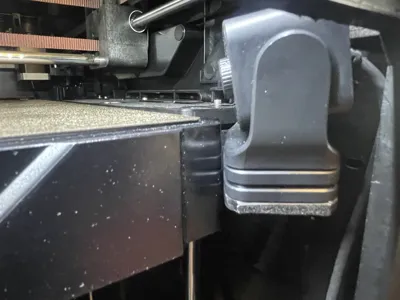
- Position your Nebula or Creality camera module into the new printed bracket so that it rests in the original camera recess.
- Insert two short M3 screws (recommended length: 6–8 mm) through the bracket’s camera‑clip tabs into the camera housing holes.
- Tighten gently to clamp the camera in place without over‑torquing.
- Material Recommendation
- ABS is preferred for the printed mount due to its heat resistance and dimensional stability in enclosed chamber environments (up to ~80 °C) compared to PLA or PETG.
License
This user content is licensed under a
Creative Commons Attribution-Noncommercial
Comment & Rating (0)