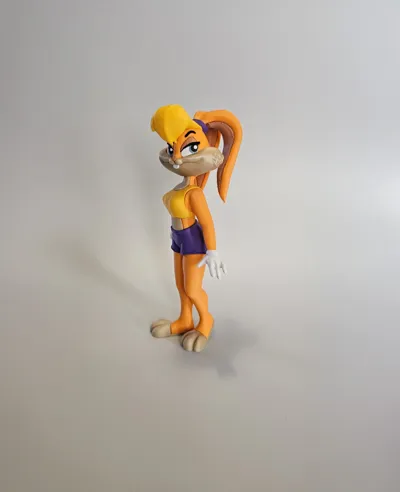
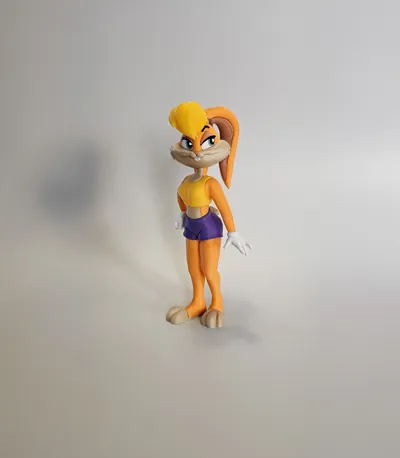
Lola Bunny fanart classic style (19,5 cm)


Print Profile(1)

Bill of Materials


Description
Boost Me (for free)
Would you like to see more of these fanart models?
We'll create the next one once reached the 120 boosts!
Your support is what helps us publish our work on Makerworld!

Anyone was asking for more classic Looney toons fanart figures?
As we promised time ago, after Bugs, here is our Lola Bunny in classic version!
This figure is of the same scale as the Bugs and Daffy that we uploaded on Christmas.
Whoever wants to get also the classic Bugs Bunny figure, it's part of our Welcome pack on Patreon!

Lola is divided in many pieces, mostly of just one color, for a total printing time of about 9 hours.
We decided to keep some of the small pieces, as the nose or the teeth together with the main part, as they were very tiny and difficult to manage while gluing. Other than those pieces and the eyes, all the parts are single colored.
Assemblying:
Beeing the figure divided in so many pieces you will need to glue all the parts.
We didn't glue the eyes as the clicked perfectly on the head.
First step: insert the head on the lighter lower part of the face. insert the first eye and its eye lid. push. They should click and stay perfectly together. Do the same with the other eye. Glue the eye brow.
Glue the yellow hair on the head. Let dry.
Ears: You will need to push the two pink parts inside the ears. I added glue to keep them tight together.
Insert the ears in the hair band. Glue the piece to the hair and let it dry.
Join the two pieces of the neck together fit the piece in the yellow shirt.
Join and glue the hands to the arms. Watch the images and copy the position.
Glue the arms to the shirt.
Join together the two pieces of the lower torso ( back and belly).
Glue this lower torso part to the shorts and to the shirt.
Insert the Legs in the lower part of the shorts. They are tight. It's made on purpose as the figure has a delicate balance and every piece must be glued and stay attached perfectly or the figure will lose the balance and fall on the back due to the heavy ears.
Glue the paws to the legs.
If you proceeded as explained and glued everything perfectly the figure will be as in the pictures and stand without problems.
We hopeyou like this cutie!
License
You shall not share, sub-license, sell, rent, host, transfer, or distribute in any way the digital or 3D printed versions of this object, nor any other derivative work of this object in its digital or physical format (including - but not limited to - remixes of this object, and hosting on other digital platforms). The objects may not be used without permission in any way whatsoever in which you charge money, or collect fees.
Comment & Rating (26)