
Mini Table Bowling Set


Print Profile(6)


Description
Membership
You want to make money with it? become a member.
Boost Me (for free)
You like it? give it a boost.
3D-Druckanleitung: Miniatur-Bowlingbahn-Set mit Print-in-Place-Aufbewahrungsbox
Einführung: Erleben Sie mit dem 3D-gedruckten Miniatur-Bowlingbahn-Set eine unterhaltsame Mischung aus Kreativität und Spielspaß. Diese detaillierte Anleitung führt Sie durch den gesamten Druckprozess und bietet nützliche Tipps für eine reibungslose Umsetzung.
Teil 1: Bestandteile des Sets
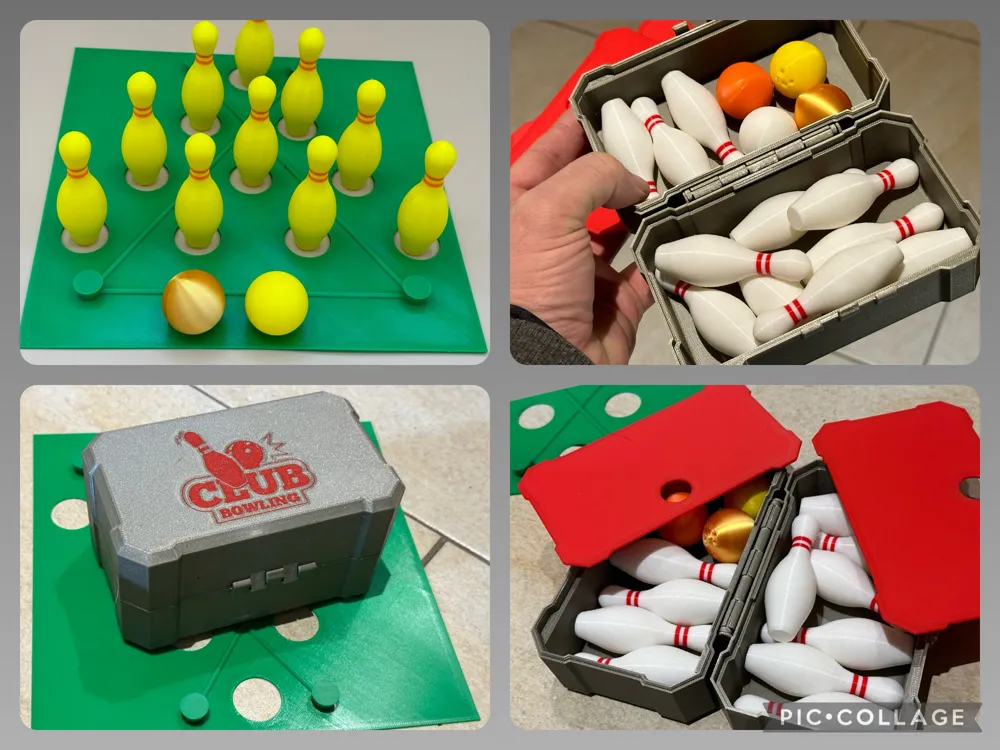
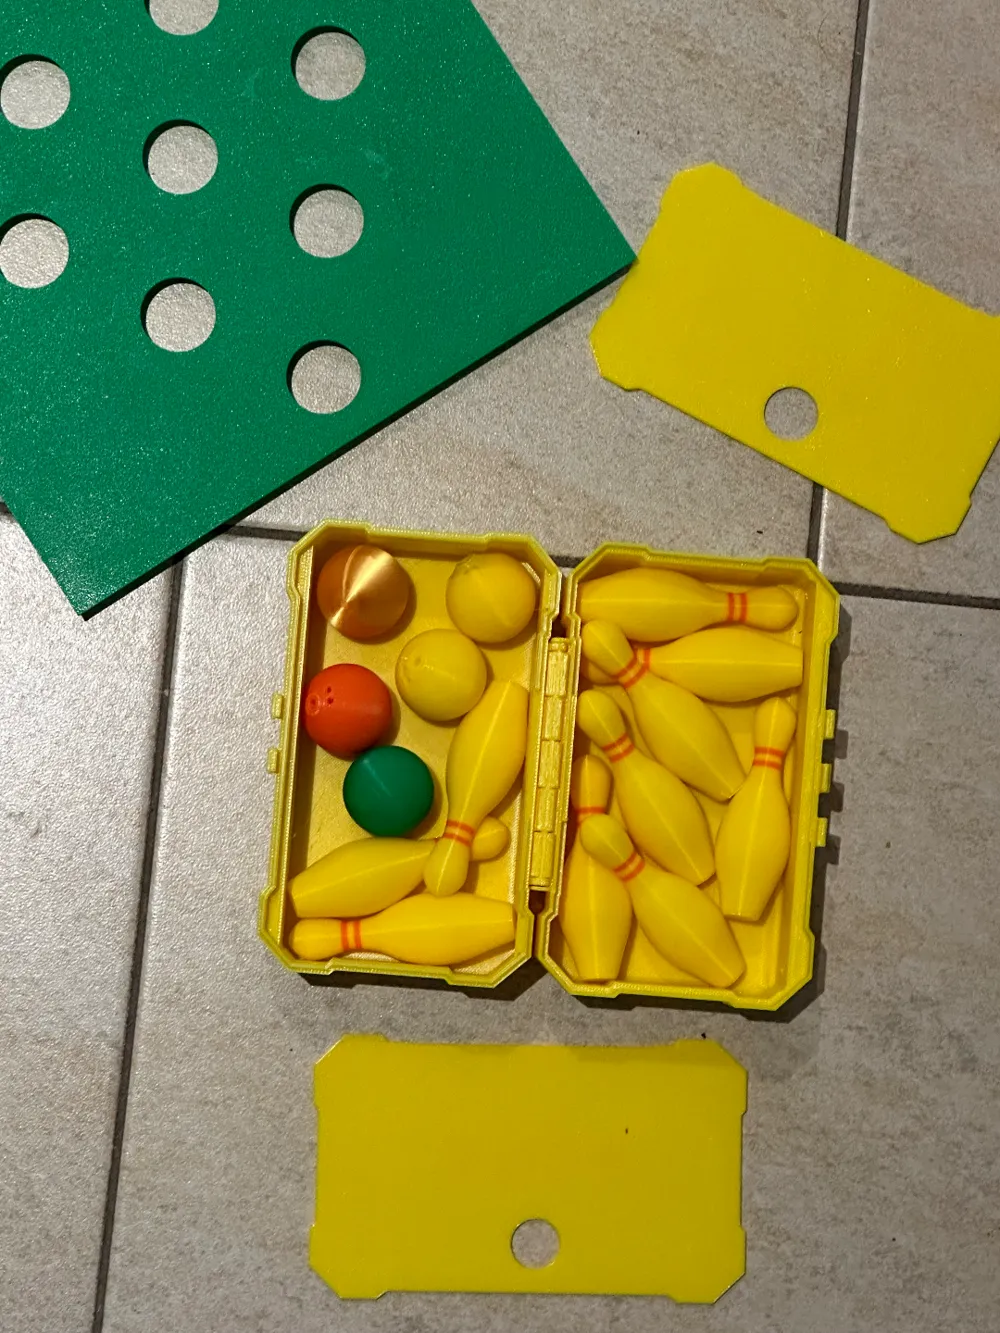
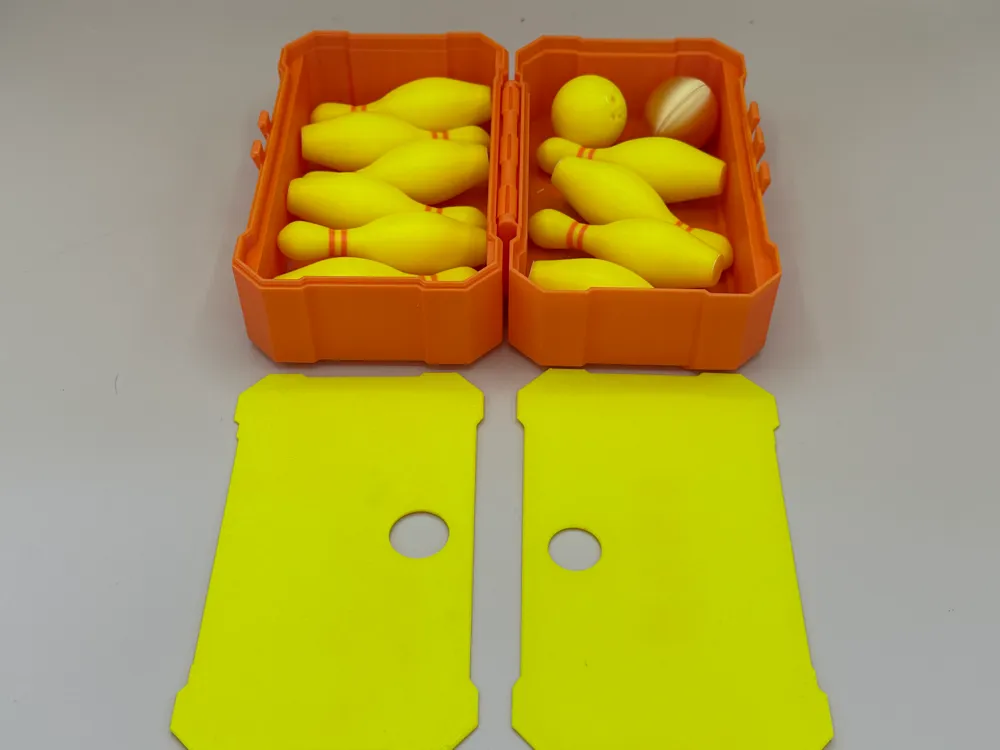
Stellen Sie sicher, dass Sie alle Teile des Sets ausdrucken:
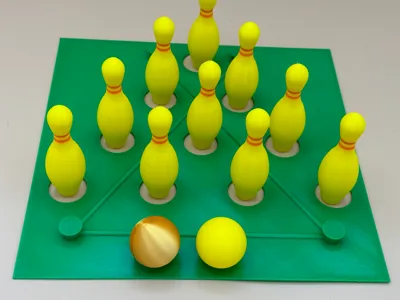
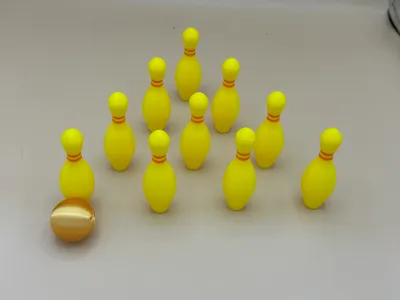
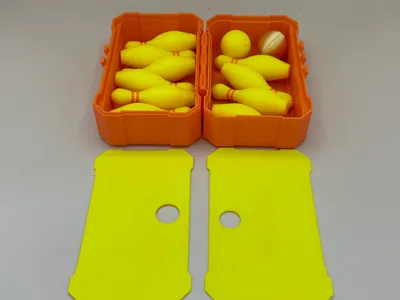
- Die realistisch gestaltete Bowlingkugel für präzise Würfe.
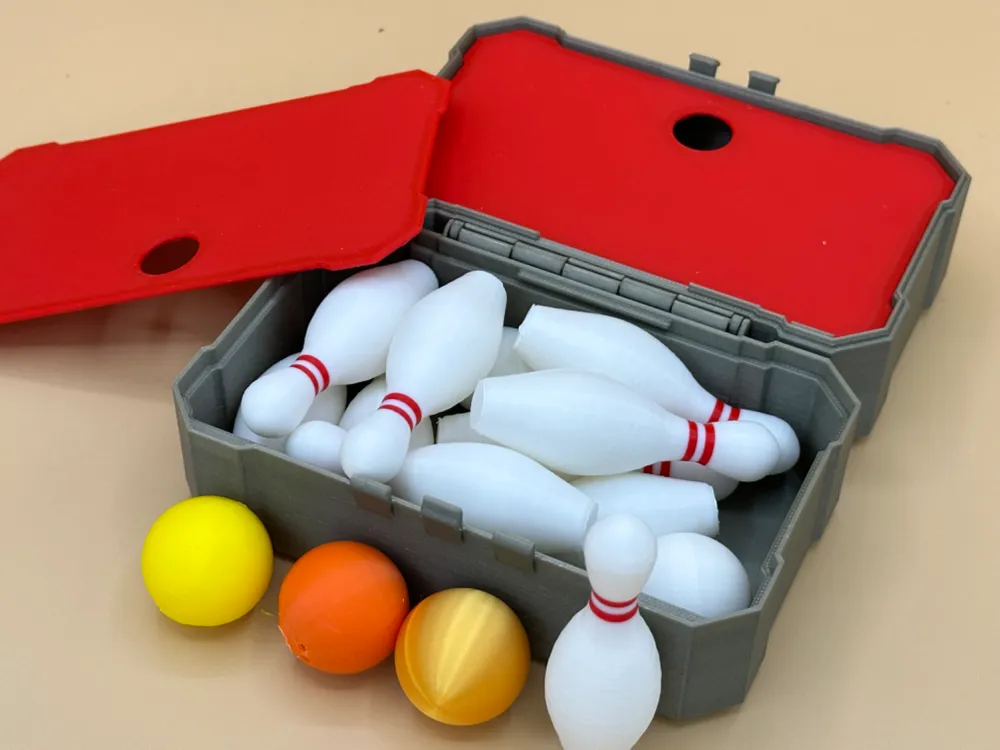
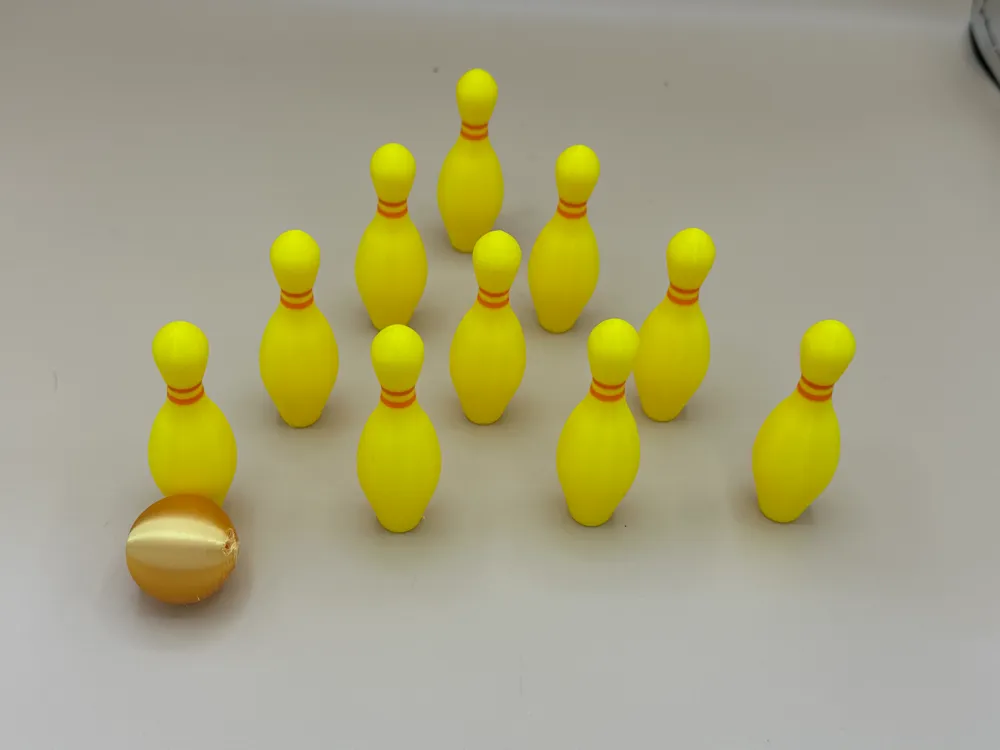
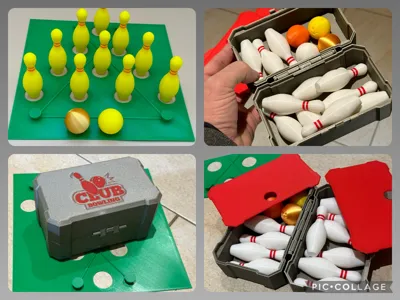
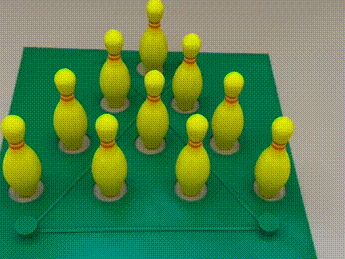
- Die 10 sorgfältig gestalteten Bowlingpins für ein authentisches Bowlinggefühl.

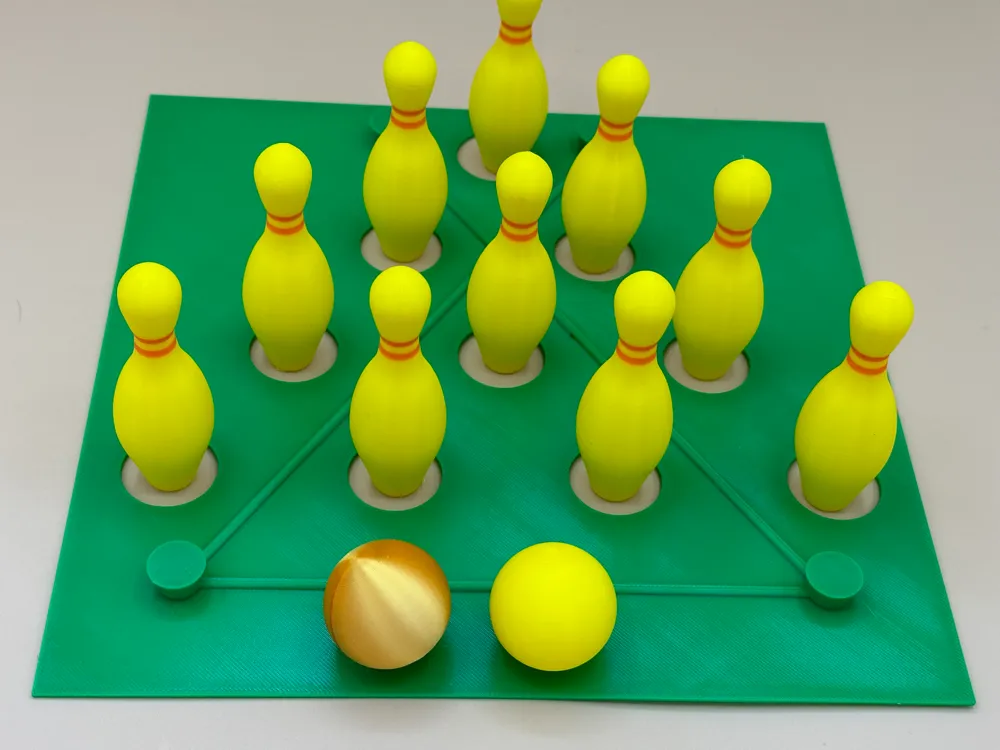
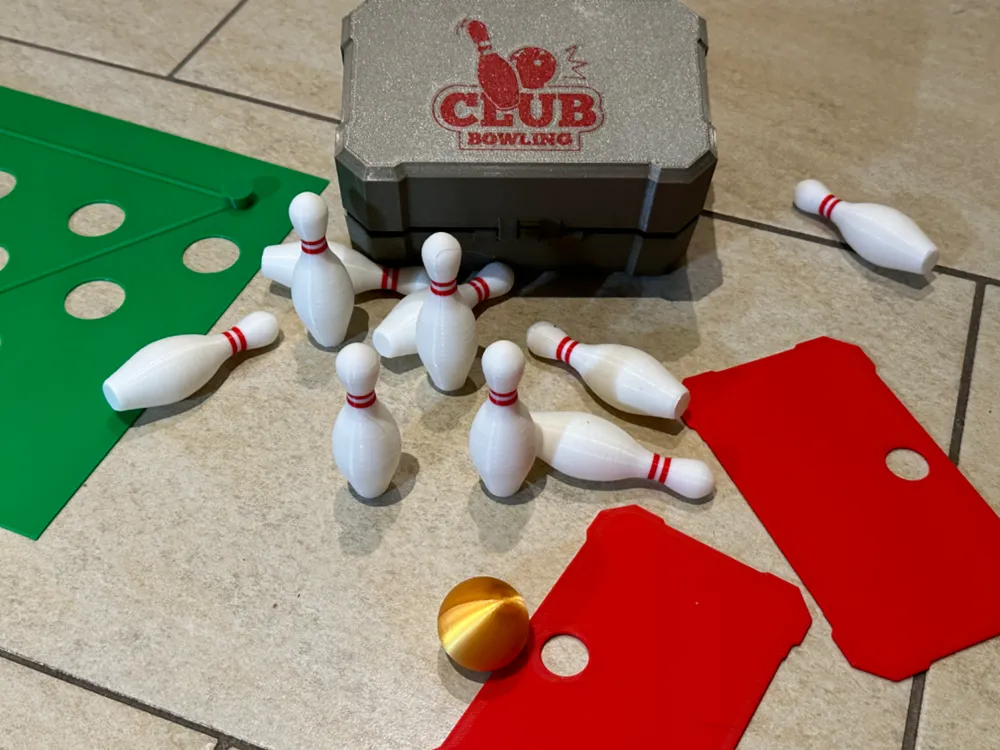
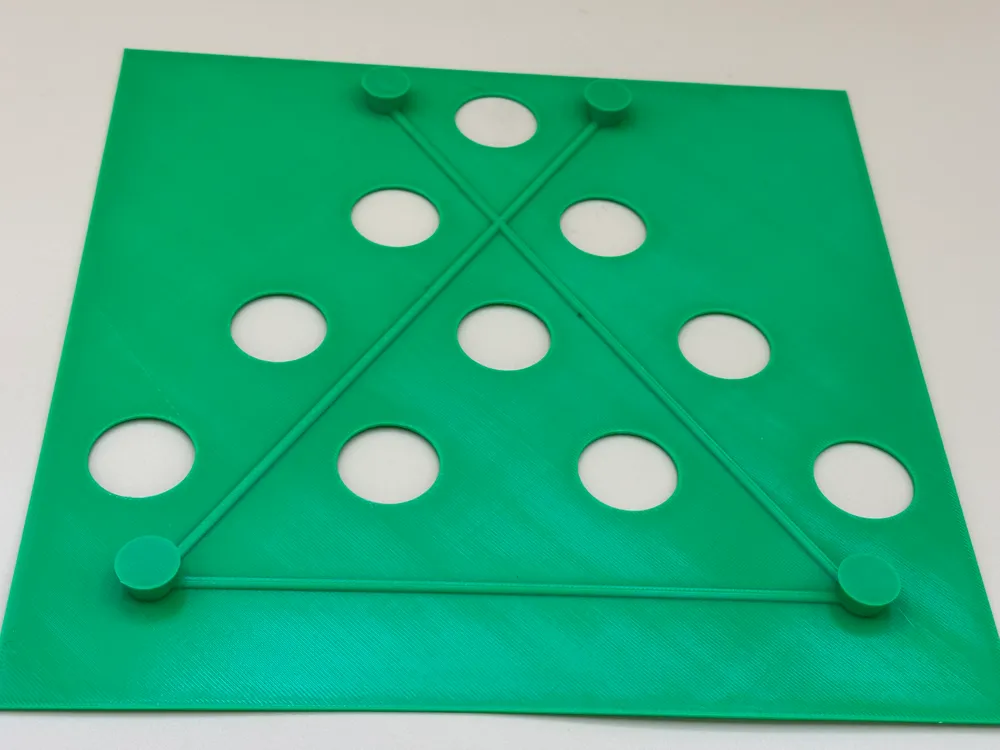
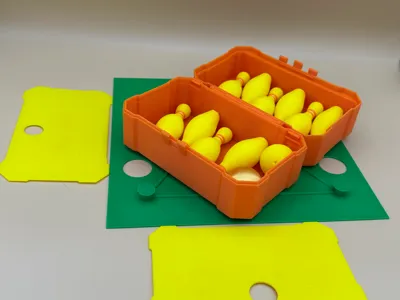
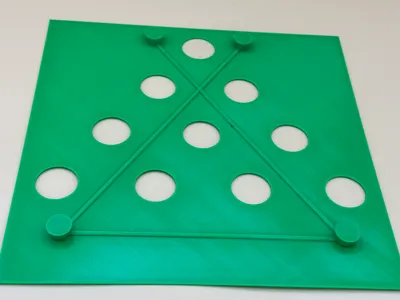
- Die speziell entworfene Aufstellhilfe, um den perfekten Abstand der Pins zu gewährleisten.
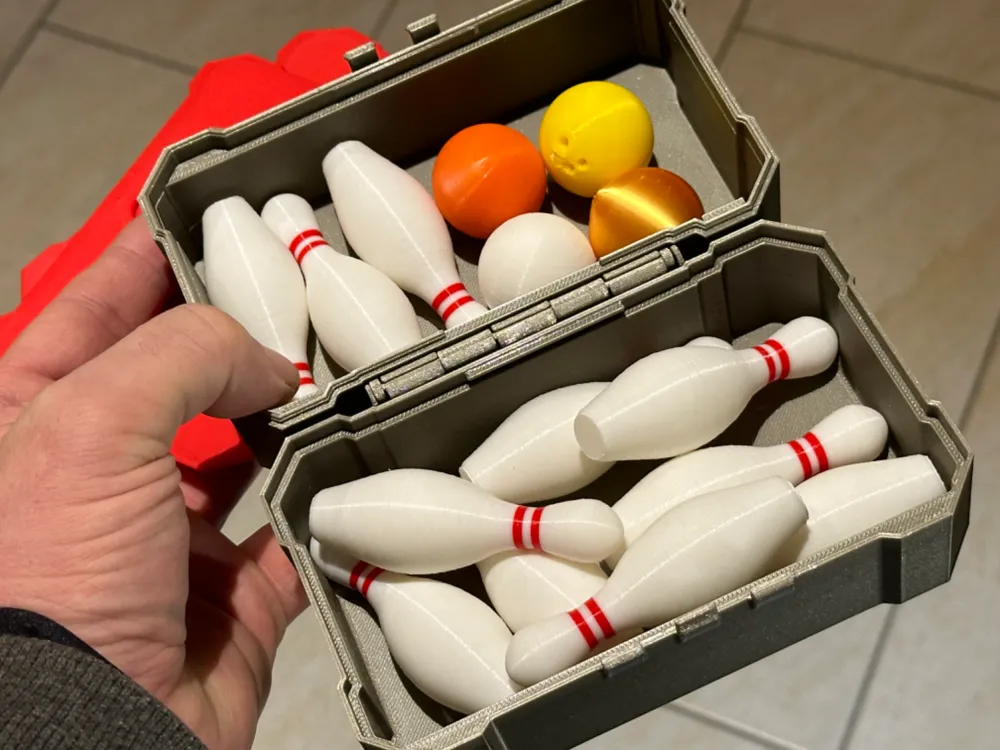
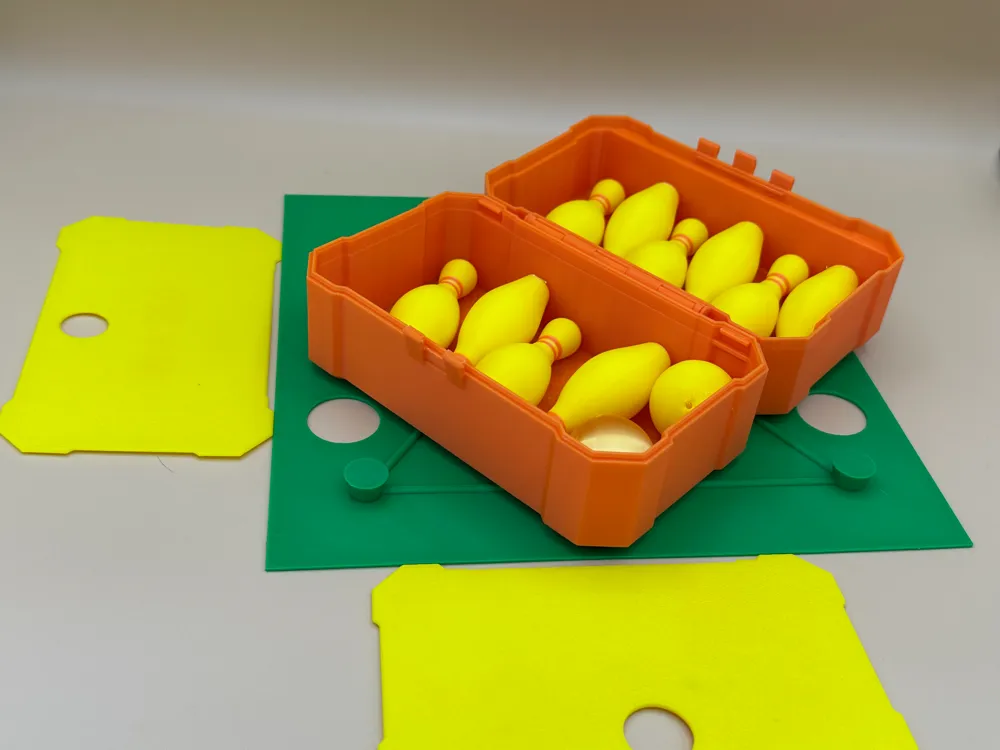
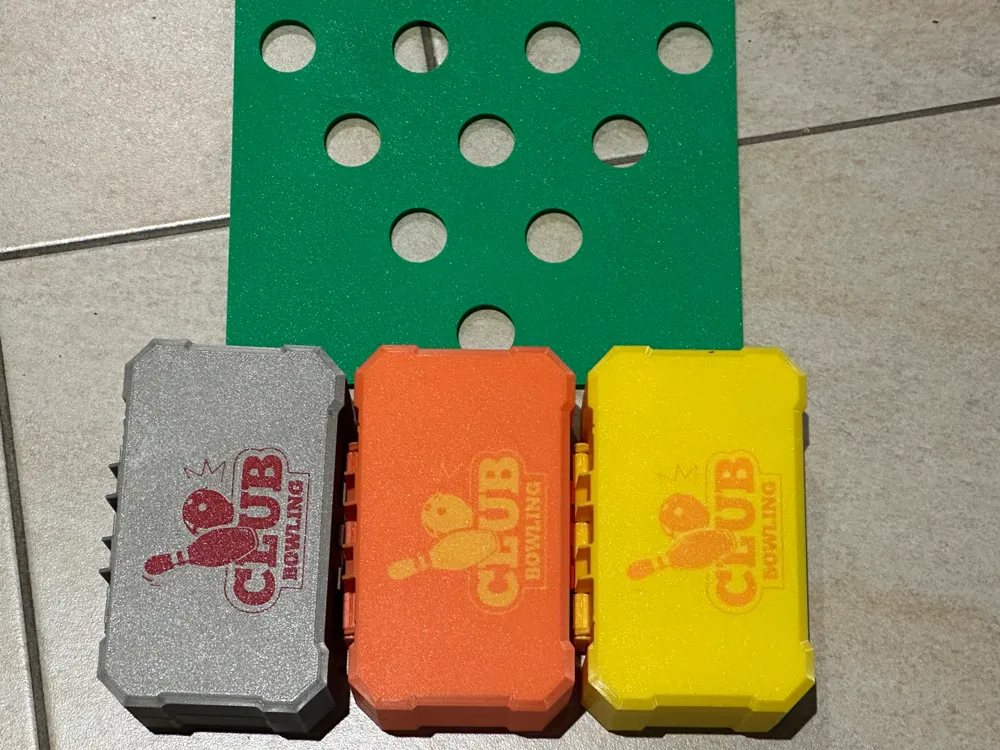
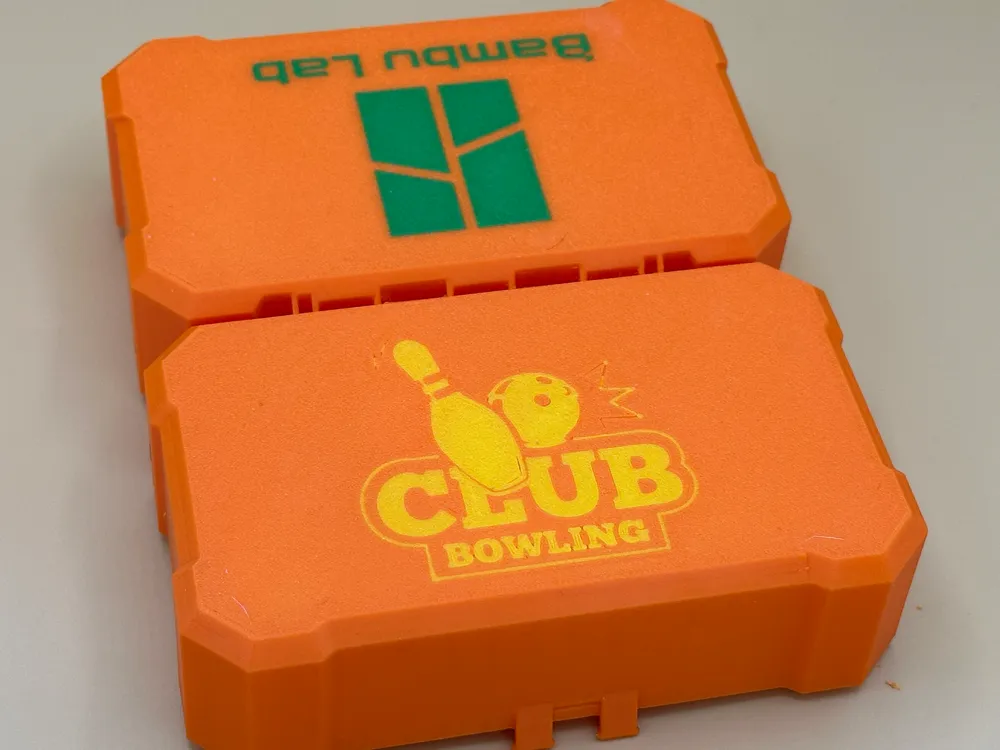
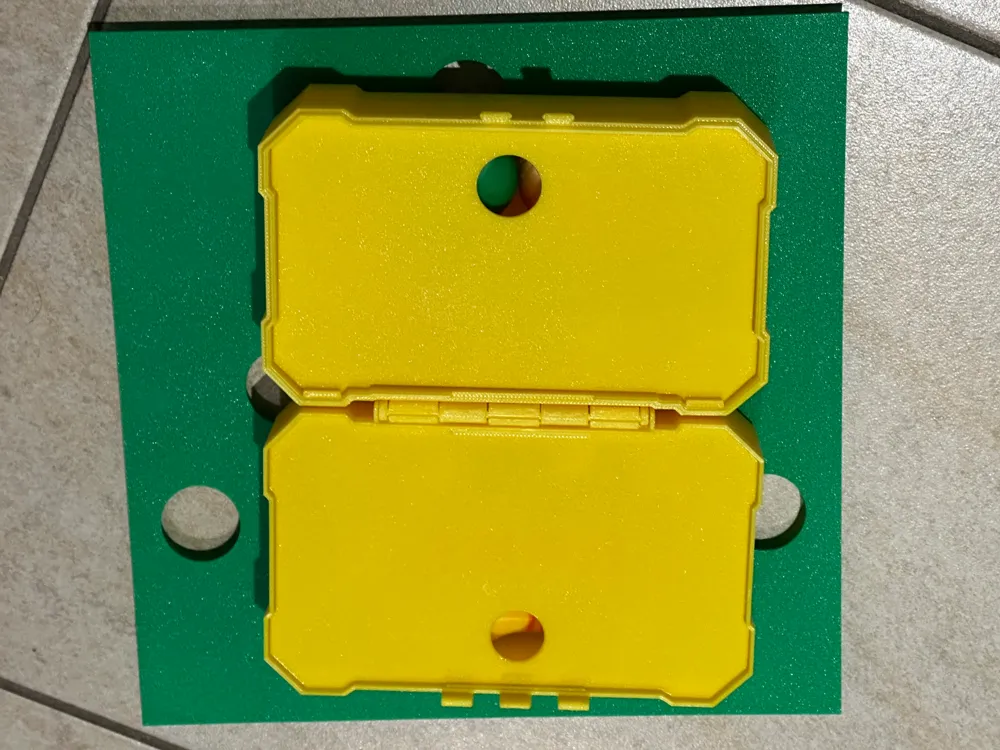
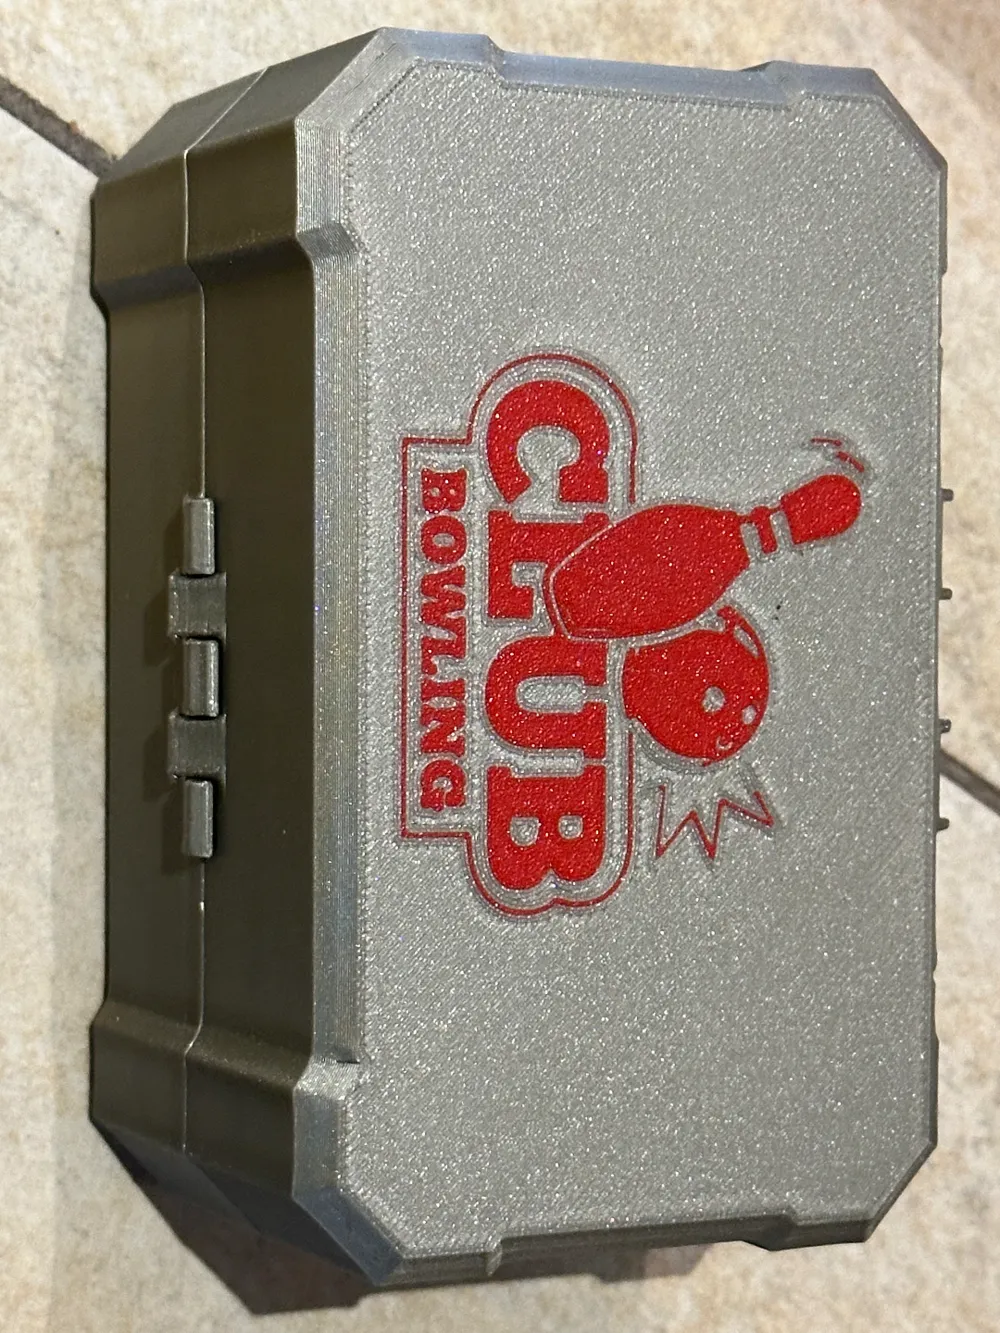
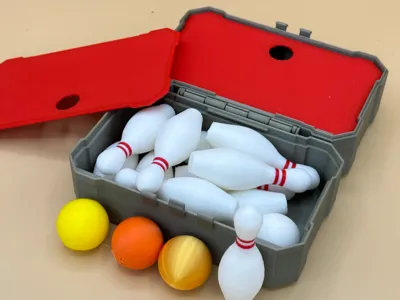
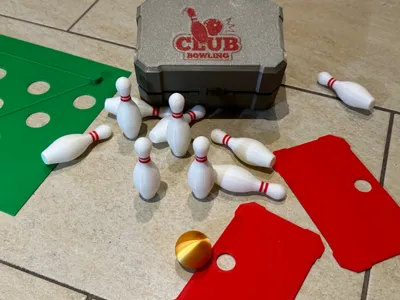
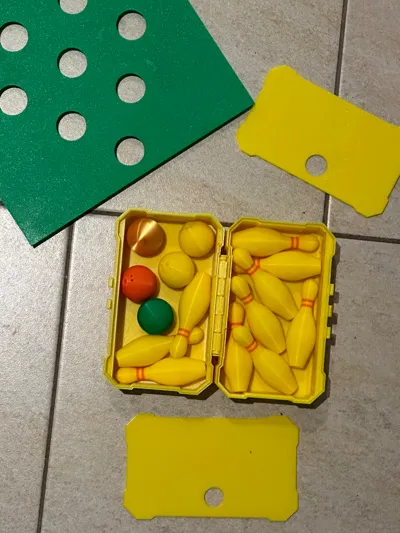
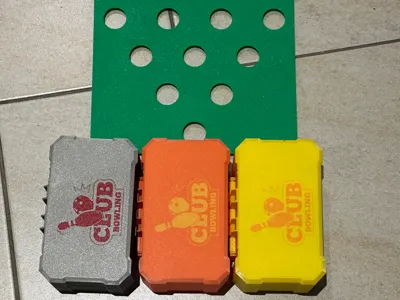
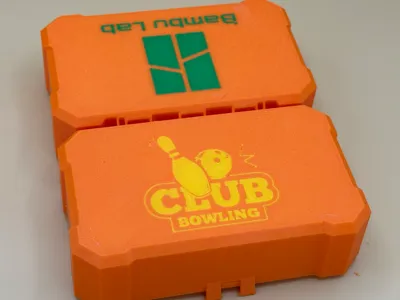
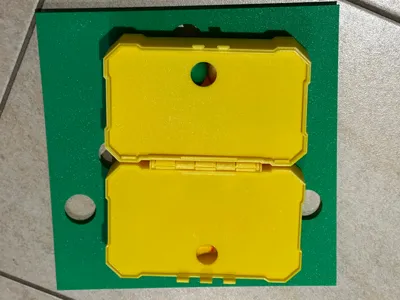
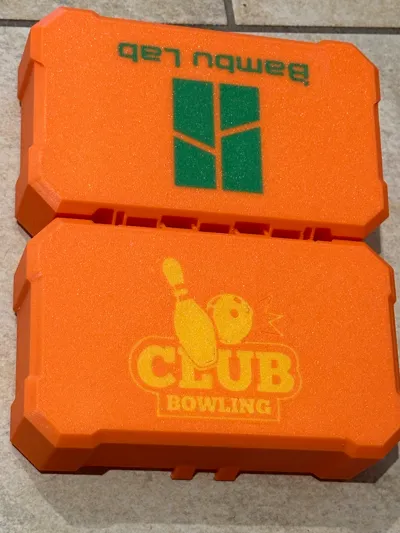
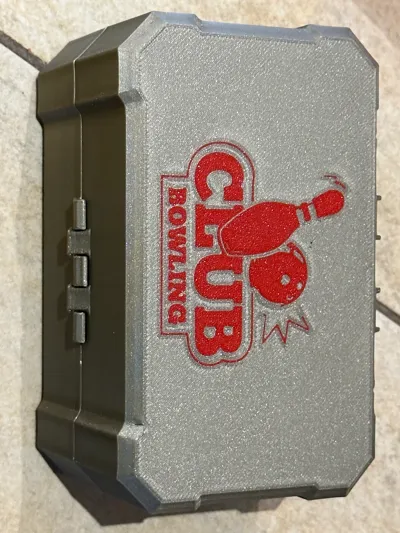
- Die Print-in-Place-Aufbewahrungsbox, die nicht nur für einen bequemen Transport, sondern auch für eine sichere Lagerung sorgt.
Teil 2: Druckeinstellungen und Filamentwahl
Verwenden Sie eine 0,4 mm Düse und wählen Sie Ihr bevorzugtes Filament. PLA bietet Flexibilität, während ABS eine robustere Option ist. Passen Sie die Druckeinstellungen an, um die beste Druckqualität zu erzielen.
Teil 3: Druckprozess für jedes Bauteil
Drucken Sie die Bowlingkugel, Pins, Aufstellhilfe und die Aufbewahrungsbox separat aus. Achten Sie darauf, die Druckparameter gemäß Ihren Präferenzen zu konfigurieren.
Teil 4: Nachbearbeitung und Montage
Entfernen Sie sorgfältig alle Stützstrukturen und überprüfen Sie die Bauteile auf Druckfehler. Montieren Sie die Bowlingbahn, indem Sie die Aufstellhilfe, Pins und Kugel entsprechend anordnen.
Teil 5: Individuelle Gestaltung und Lackierung
Experimentieren Sie mit verschiedenen Filamentfarben, um Ihre Bowlingkugel und Pins einzigartig zu gestalten. Feine Pinseldetails können für eine realistischere Optik hinzugefügt werden.
Teil 6: Spielerlebnis und Aufbewahrung
Genießen Sie spannende Bowlingmomente auf Ihrem Tisch. Die Aufbewahrungsbox eignet sich nicht nur für den Transport, sondern schützt die Bauteile auch vor Staub und Beschädigungen zwischen den Spielen.
Teil 7: Teilen Sie Ihre Erfahrungen
Teilen Sie Ihre Druckeinstellungen, Designvariationen und Spielerfahrungen mit der Community. Ermutigen Sie andere, ihre eigenen einzigartigen Bowlingbahnen zu erstellen.
Zusammenfassung: Das Miniatur-Bowlingbahn-Set bietet ein faszinierendes Zusammenspiel von 3D-Druckkunst und unterhaltsamem Spiel. Diese Anleitung ermöglicht es Ihnen, nicht nur ein beeindruckendes Set zu erstellen, sondern auch Ihre kreativen Ideen einzubringen und mit anderen zu teilen. Viel Spaß beim Drucken und Spielen!
English Translation:
3D Printing Guide: Miniature Bowling Alley Set with Print-in-Place Storage Box
Introduction: Experience a delightful blend of creativity and gameplay with the 3D-printed Miniature Bowling Alley Set. This comprehensive guide takes you through the entire printing process and provides useful tips for a smooth execution.
Part 1: Components of the Set
Ensure you print all components of the set:
- The realistically designed bowling ball for precise throws.
- The 10 carefully crafted bowling pins for an authentic bowling experience.
- The specially designed setup aid to ensure the perfect pin spacing.
- The print-in-place storage box, offering convenient transport and secure storage.
Part 2: Print Settings and Filament Choice
Use a 0.4 mm nozzle and choose your preferred filament. PLA offers flexibility, while ABS is a sturdier option. Adjust the print settings for optimal print quality.
Part 3: Printing Process for Each Component
Print the bowling ball, pins, setup aid, and storage box separately. Ensure to configure print parameters according to your preferences.
Part 4: Post-Processing and Assembly
Carefully remove all support structures and inspect the components for printing errors. Assemble the bowling alley by arranging the setup aid, pins, and ball accordingly.
Part 5: Customization and Painting
Experiment with different filament colors to make your bowling ball and pins unique. Fine brush details can be added for a more realistic appearance.
Part 6: Gaming Experience and Storage
Enjoy exciting bowling moments on your table. The storage box is not only suitable for transportation but also protects the components from dust and damage between games.
Part 7: Share Your Experiences
Share your print settings, design variations, and gaming experiences with the community. Encourage others to create their unique bowling alleys.
Summary: The Miniature Bowling Alley Set offers a captivating interplay of 3D printing artistry and entertaining gameplay. This guide allows you to not only create an impressive set but also contribute your creative ideas and share them with others. Have fun printing and playing!
License



Comment & Rating (138)