
Print Profile(4)




Description
Got gasoline in your veins? This project is made for you!

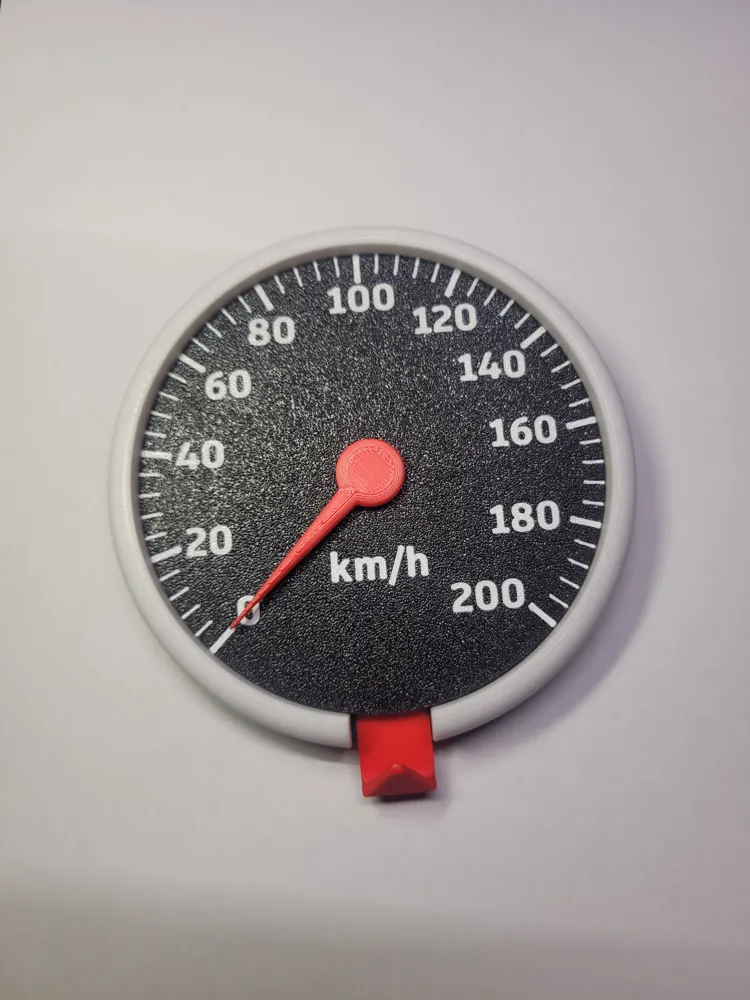
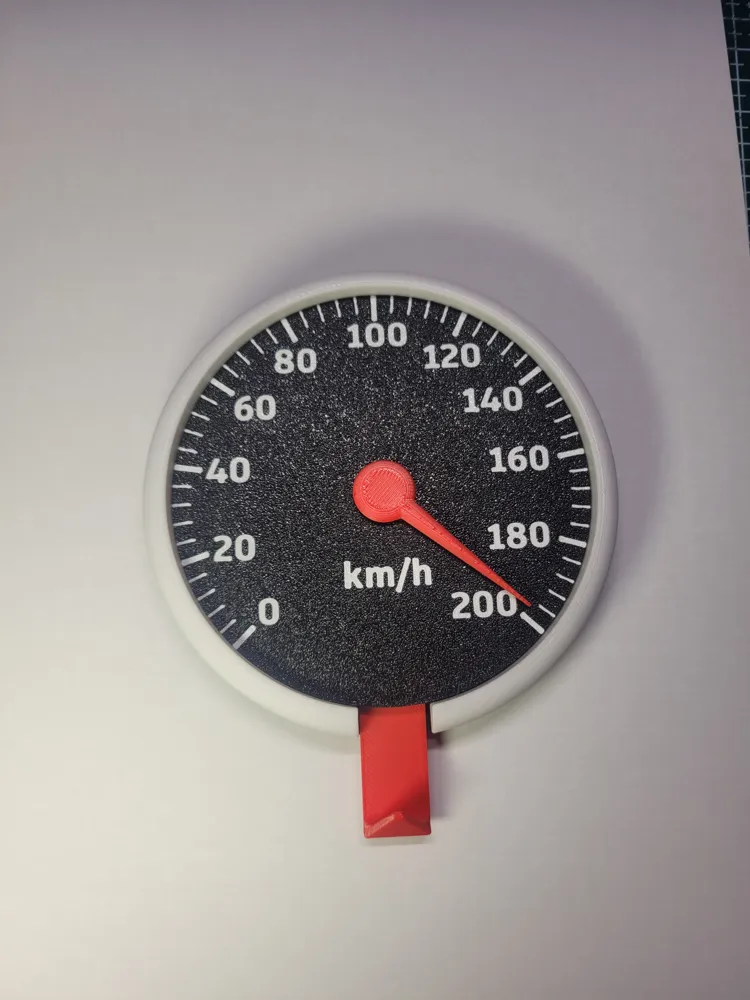
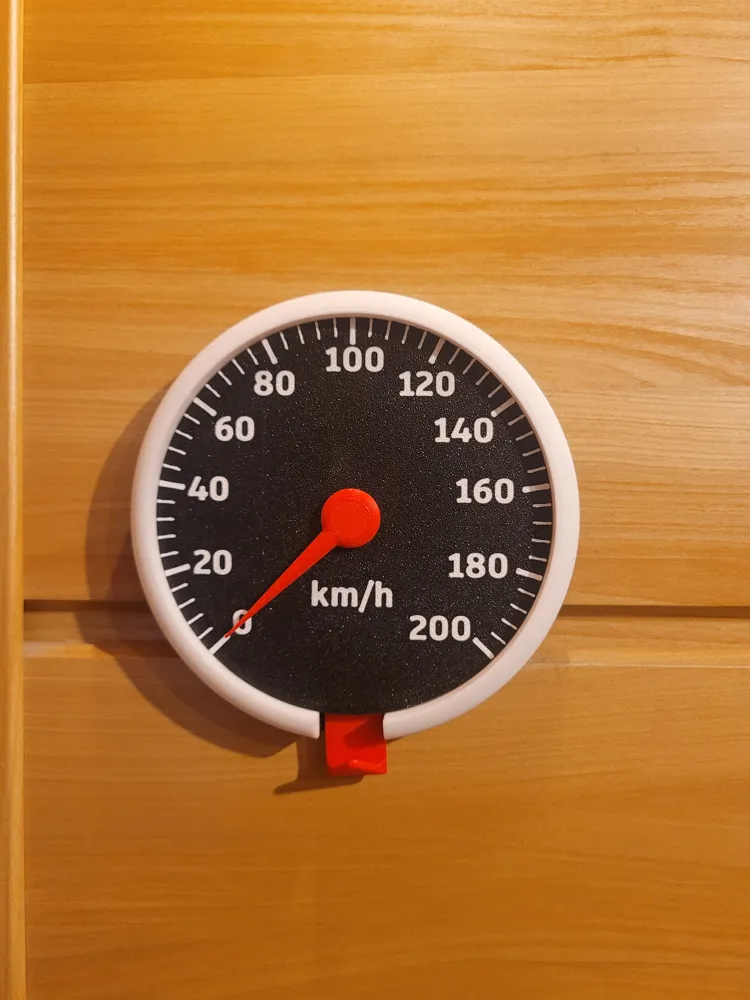
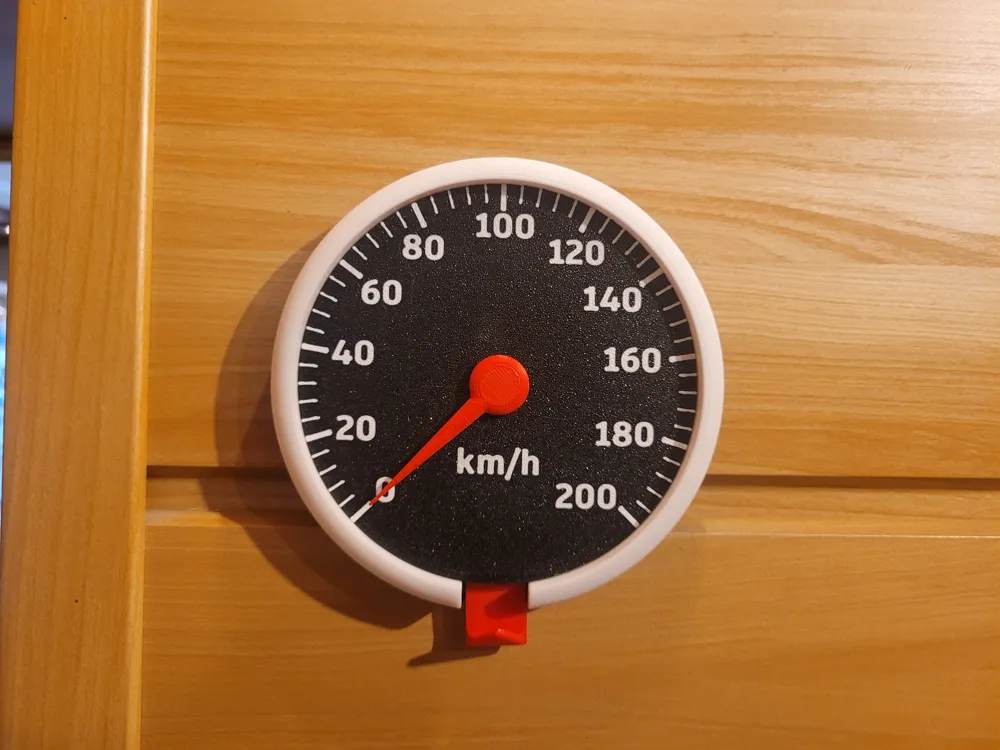
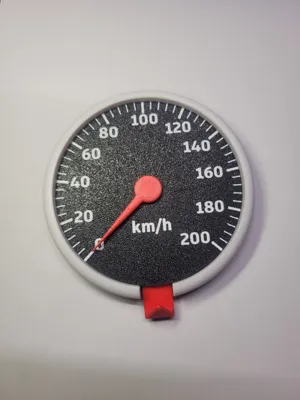
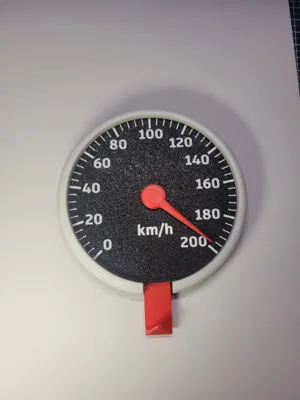
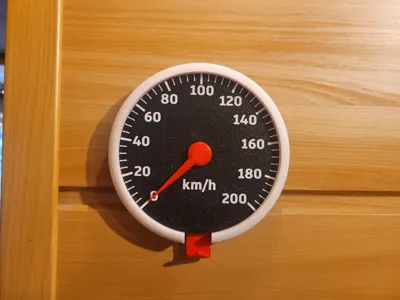
This key holder in the shape of a speedometer is a must-have gadget for every car or motorcycle enthusiast. Whether you're into four wheels or two, it brings a punch of passion and style to your space.
Boost Me (for free)
🔥 If you enjoy this project, leaving a Boost is a great way to show your support! It helps me stay motivated to create more awesome models and keep sharing them here for free. 🚀💙
How does it work?
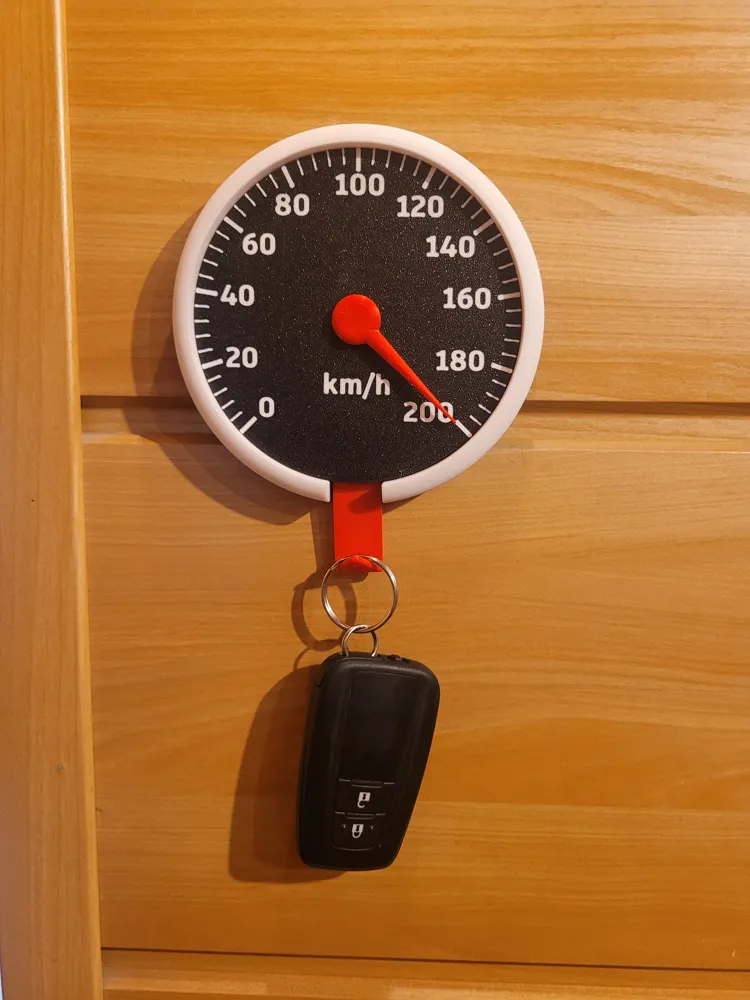
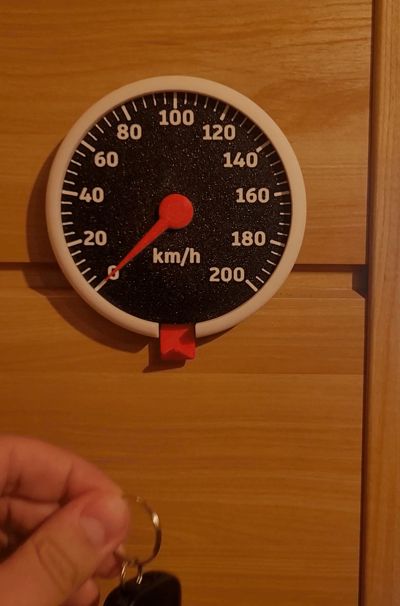
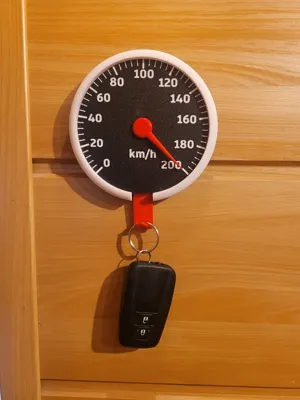
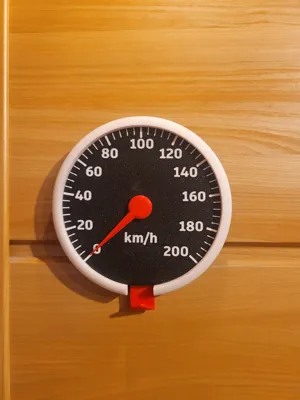
It’s not just a decoration – it’s an interactive key holder!
When there are no keys on it, it shows 0 km/h or MPH.
After hanging the keys, the speed jumps to 200!
A wow effect that grabs attention instantly. Two dial options available: km/h and MPH – pick the one that fits your ride.
Easy assembly, big effect
The build is super simple. All you need:
- The printed parts
- 6x M5 nuts – they act as counterweights, enabling the automatic return of the needle. (Without the nuts, it still works – you’ll just need to manually move up the hanger.)
Mounting it on the wall? Piece of cake!
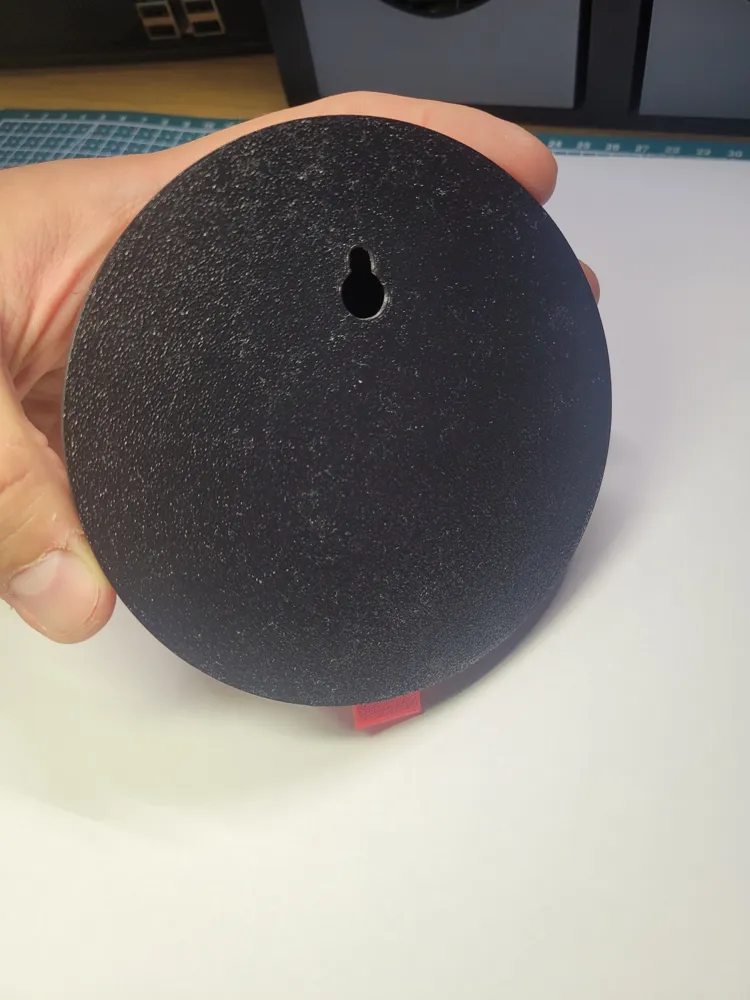
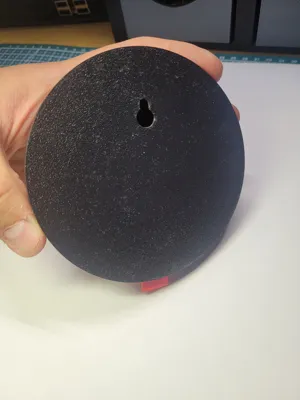
- Hang it using the hole in the back,
- Or stick it with foam double-sided tape – your choice!
And that’s not all – more is coming!
Planned upgrades include:
- New dial designs (stay tuned!),
- A tachometer version,
- Possibly dual key holders too.
➡️ Follow my profile so you don’t miss the next releases!
Start building your own motorsport-inspired home setup – this speedometer is just the beginning. 🏁
🛠️ Assembly Instructions – Speedometer Key Holder
Before you start, make sure you have all the printed parts and 6 M5 nuts. Ready? Let’s go!
Step-by-step guide:
Take the gear with hexagonal holes.
This is the main counterweight gear for the mechanism.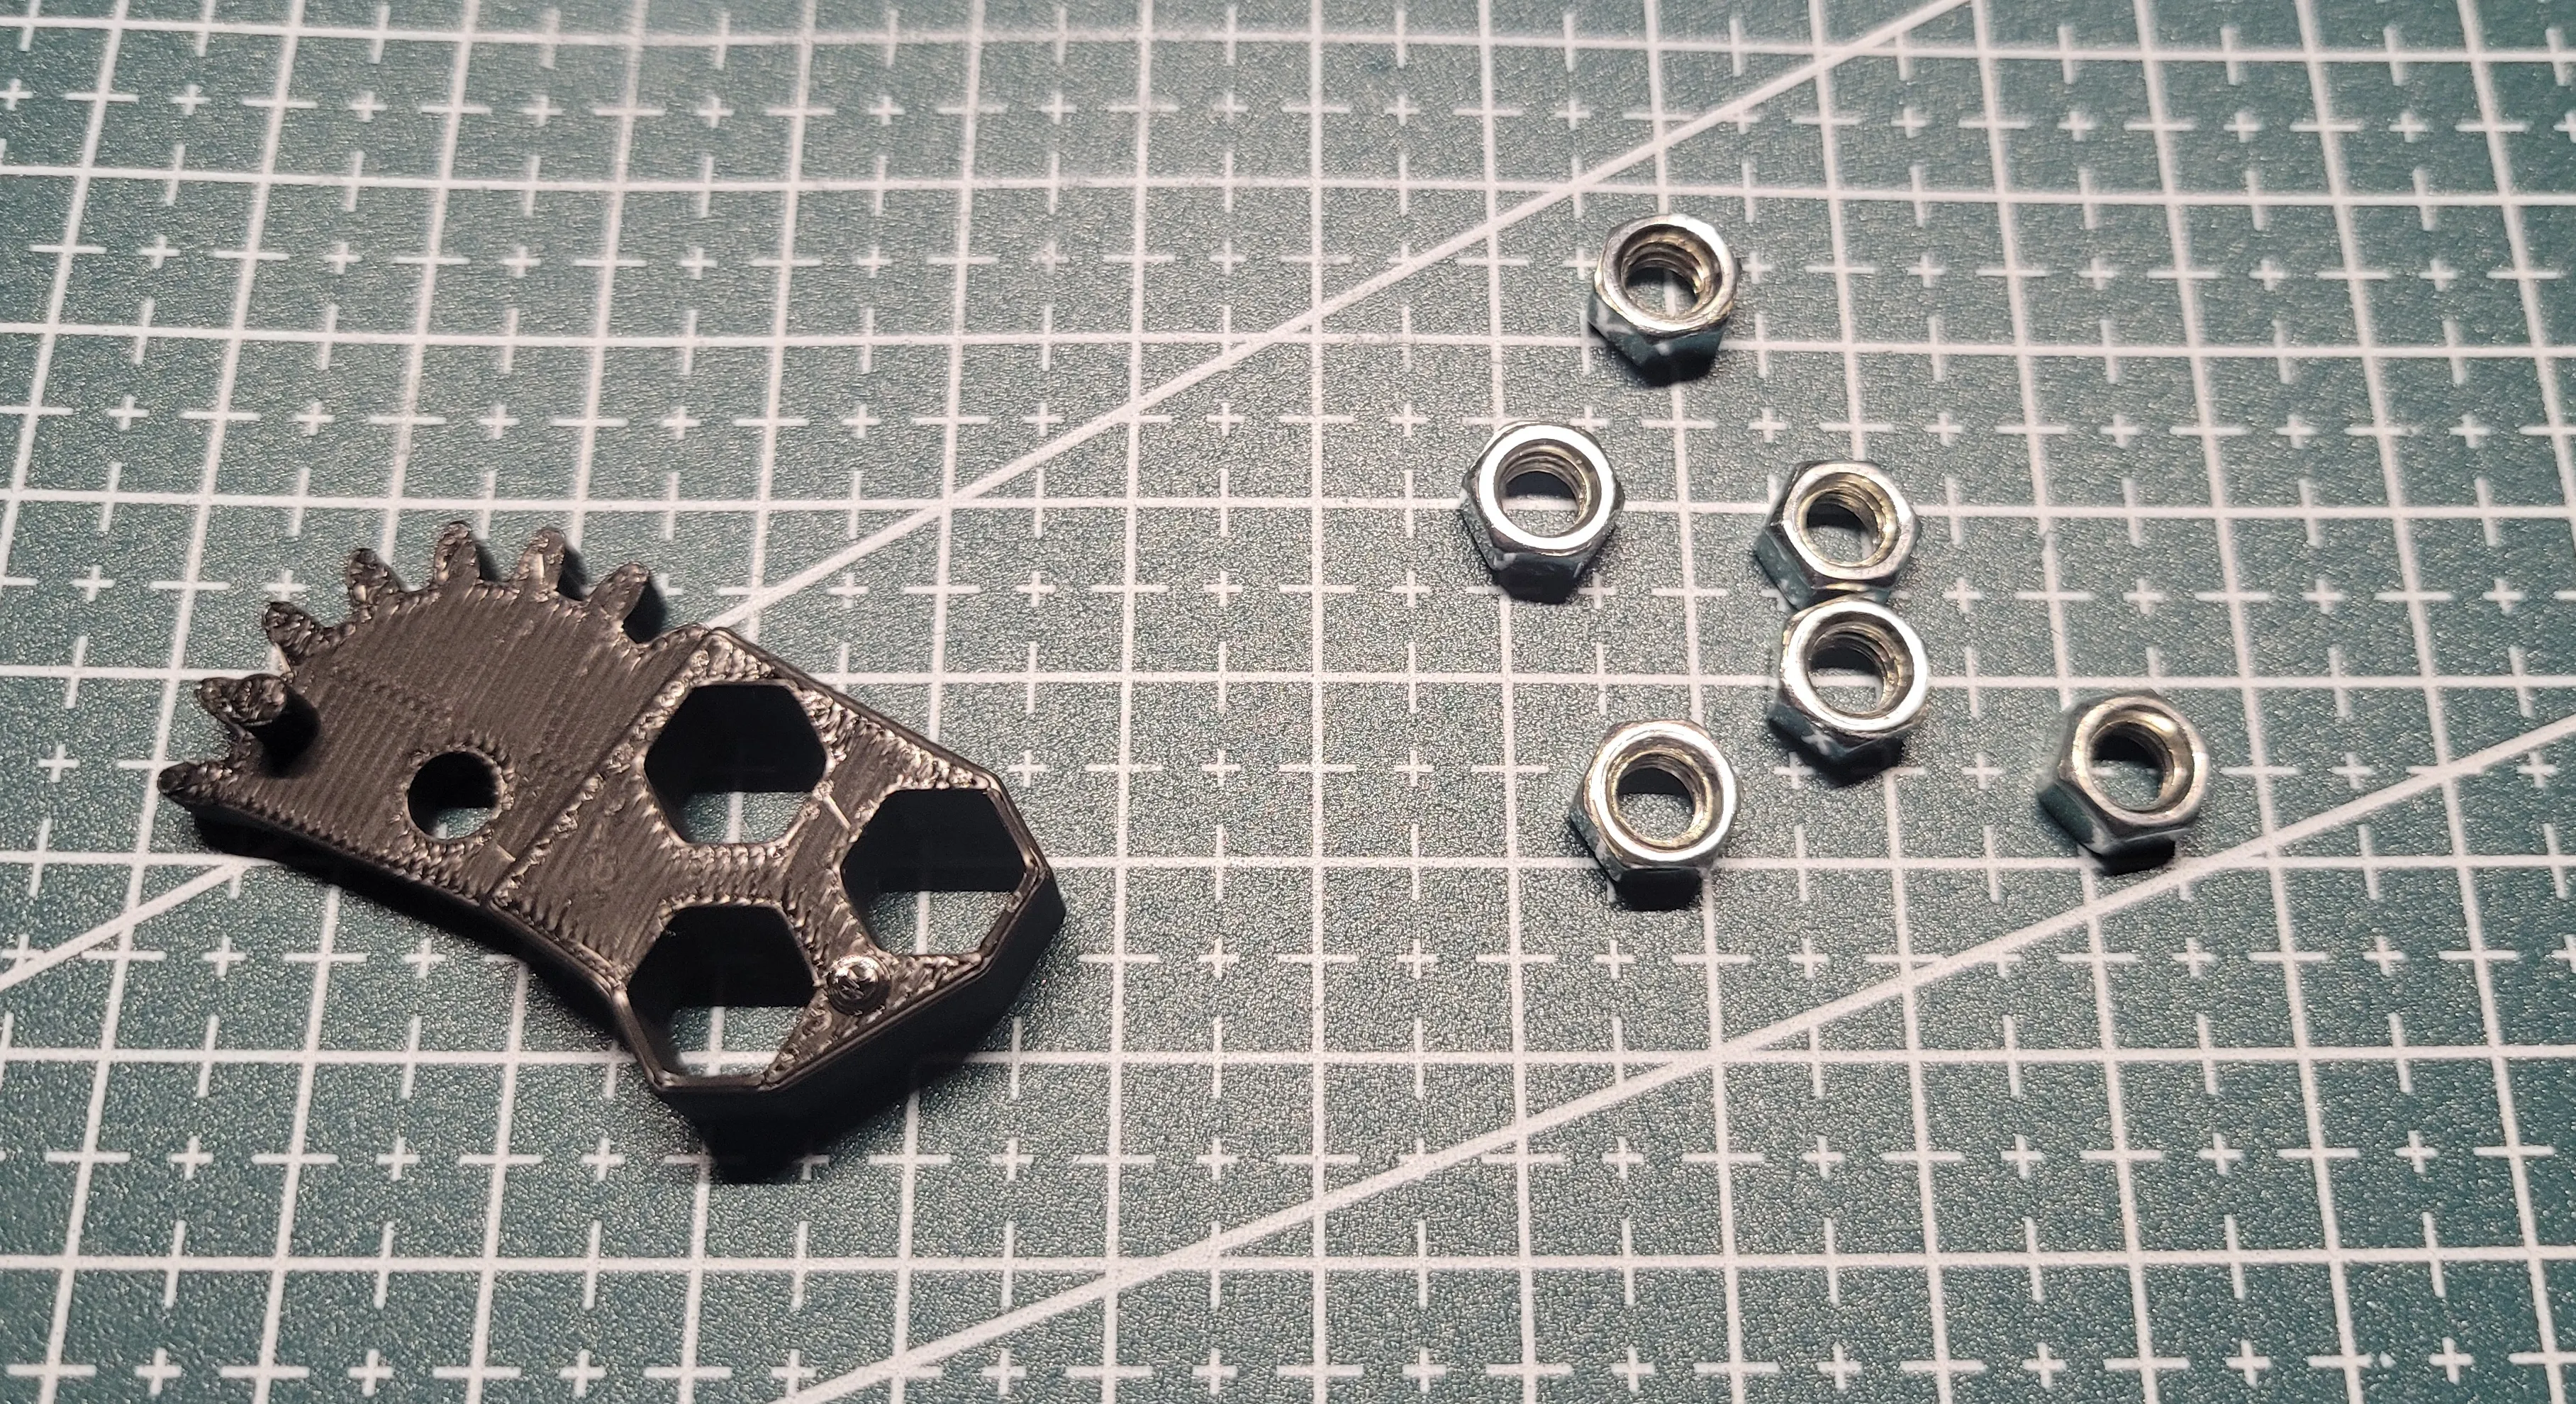
- Insert 6 M5 nuts into the gear – 3 on each side.
🔧 Note: Due to manufacturer tolerances:- If the nuts fit tightly – use a hammer to gently tap them in.
If they’re too loose – add a drop of glue to hold them in place.
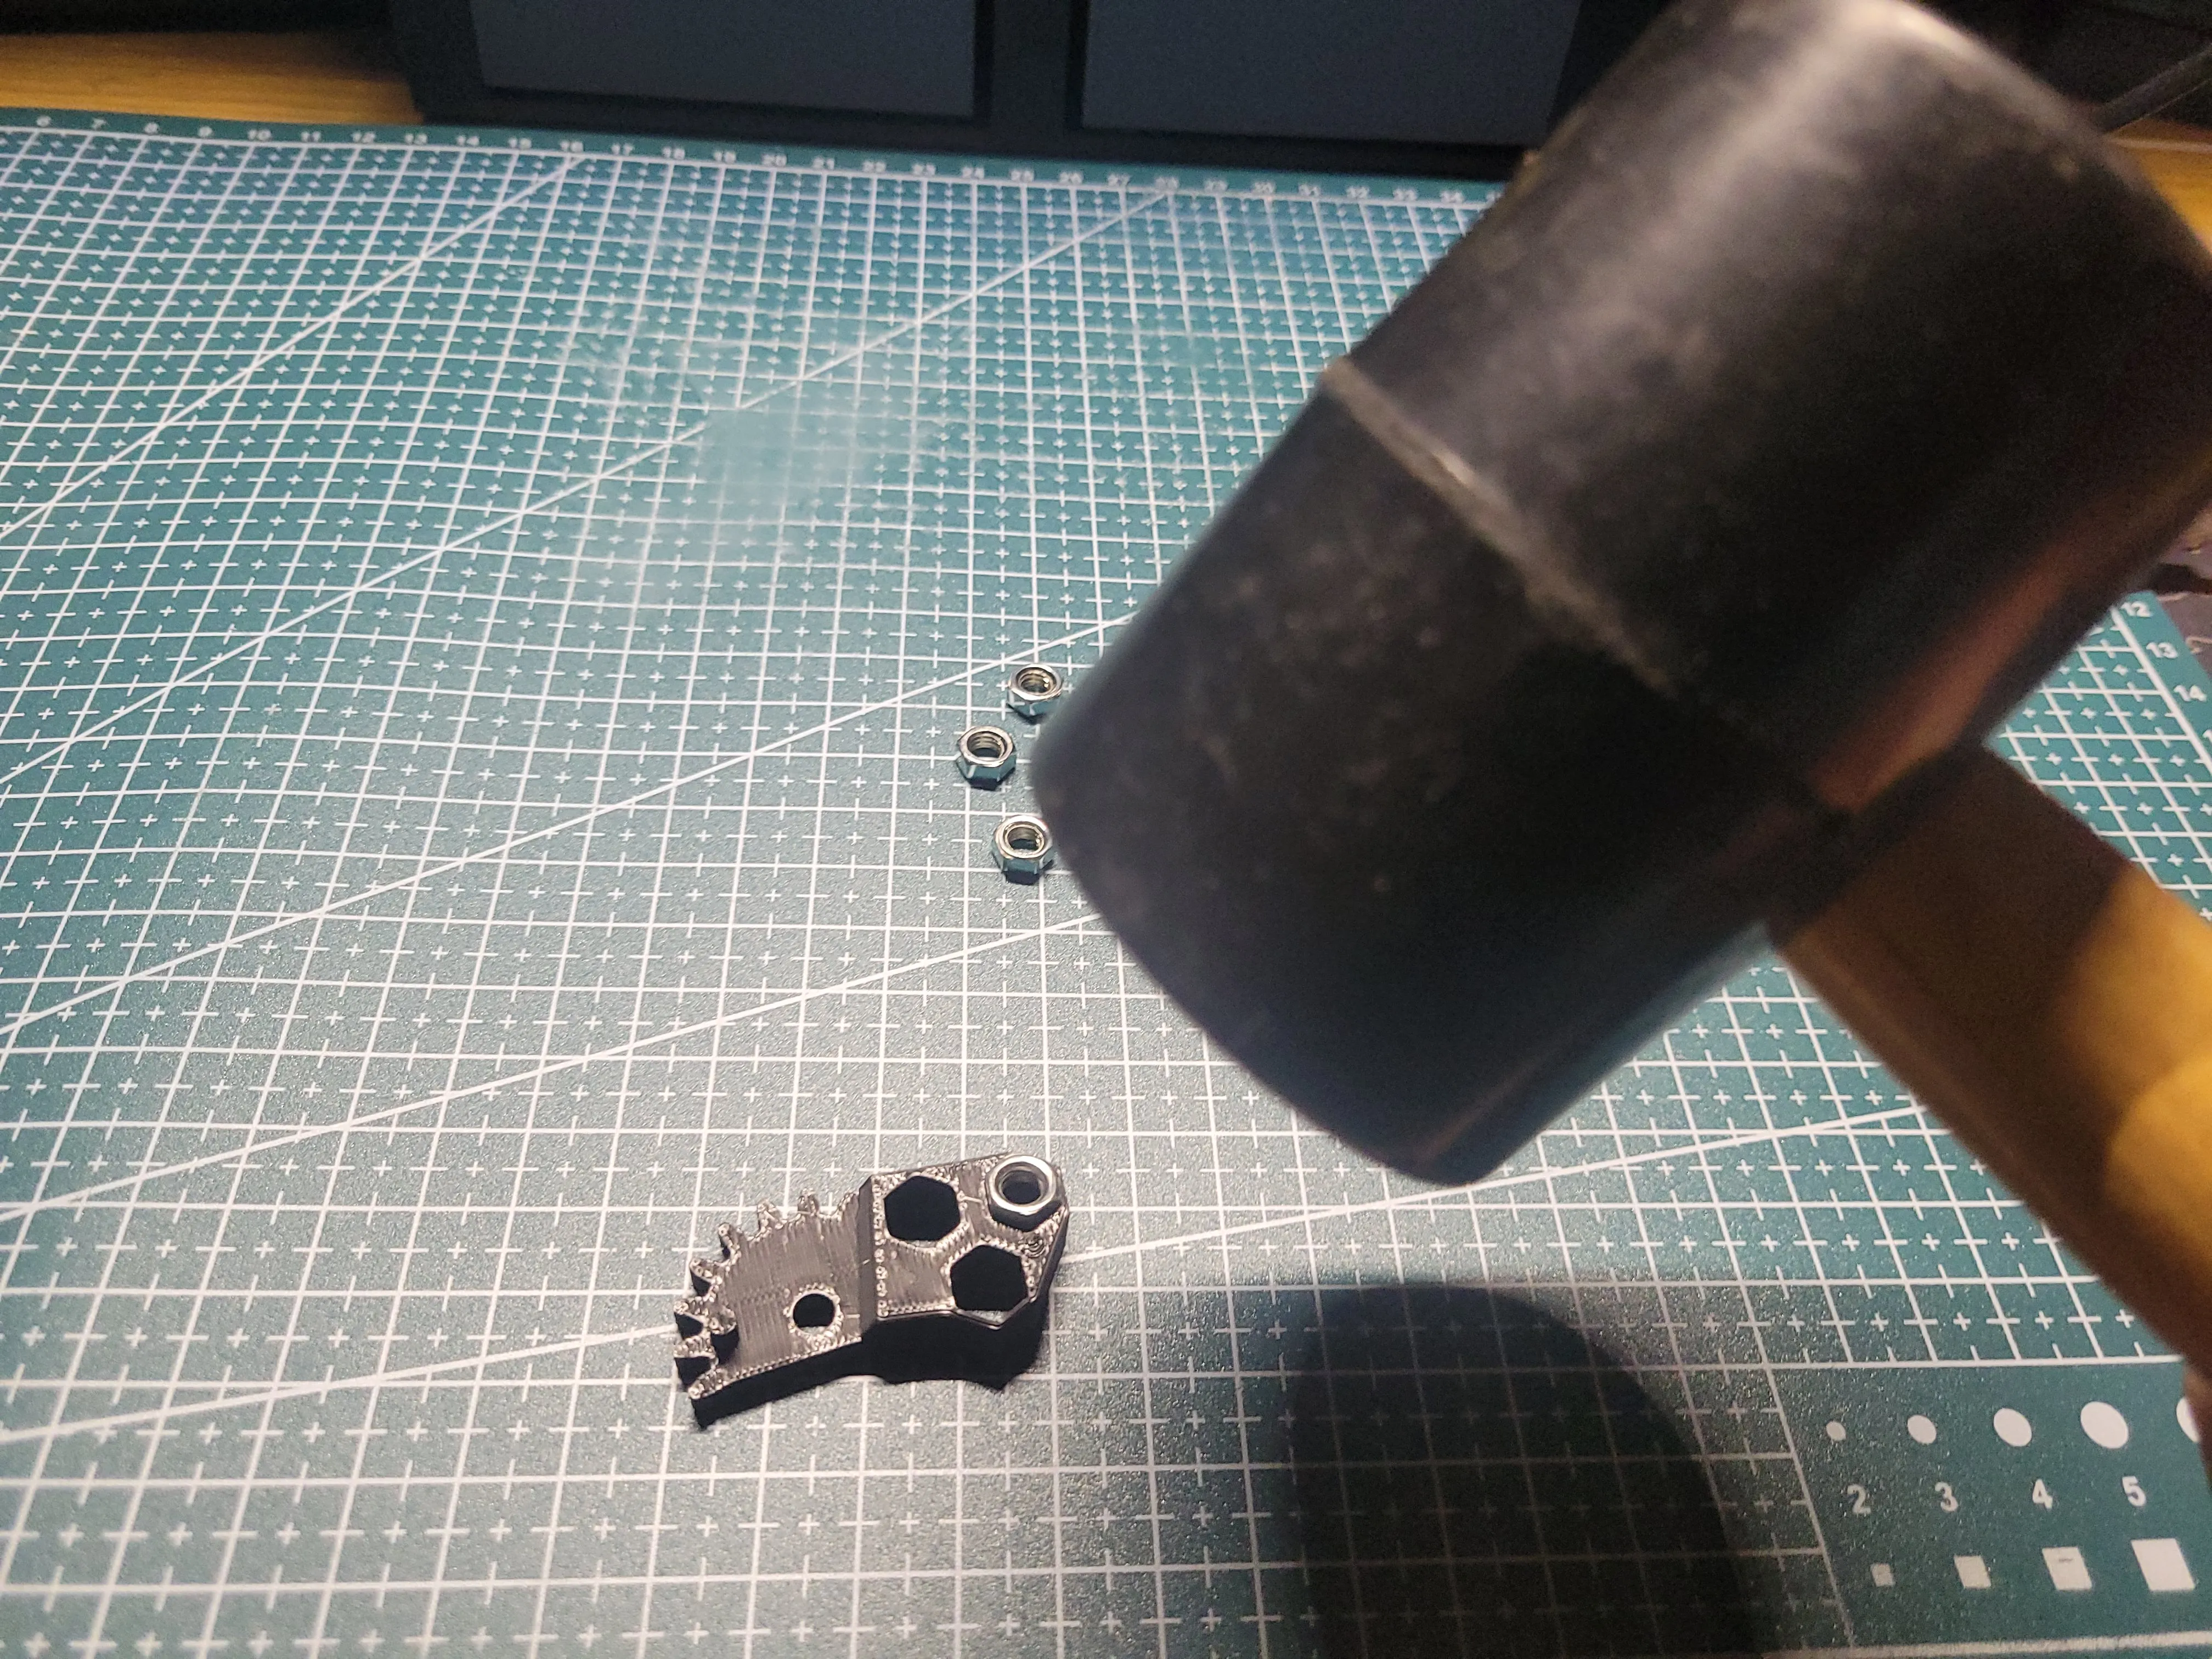
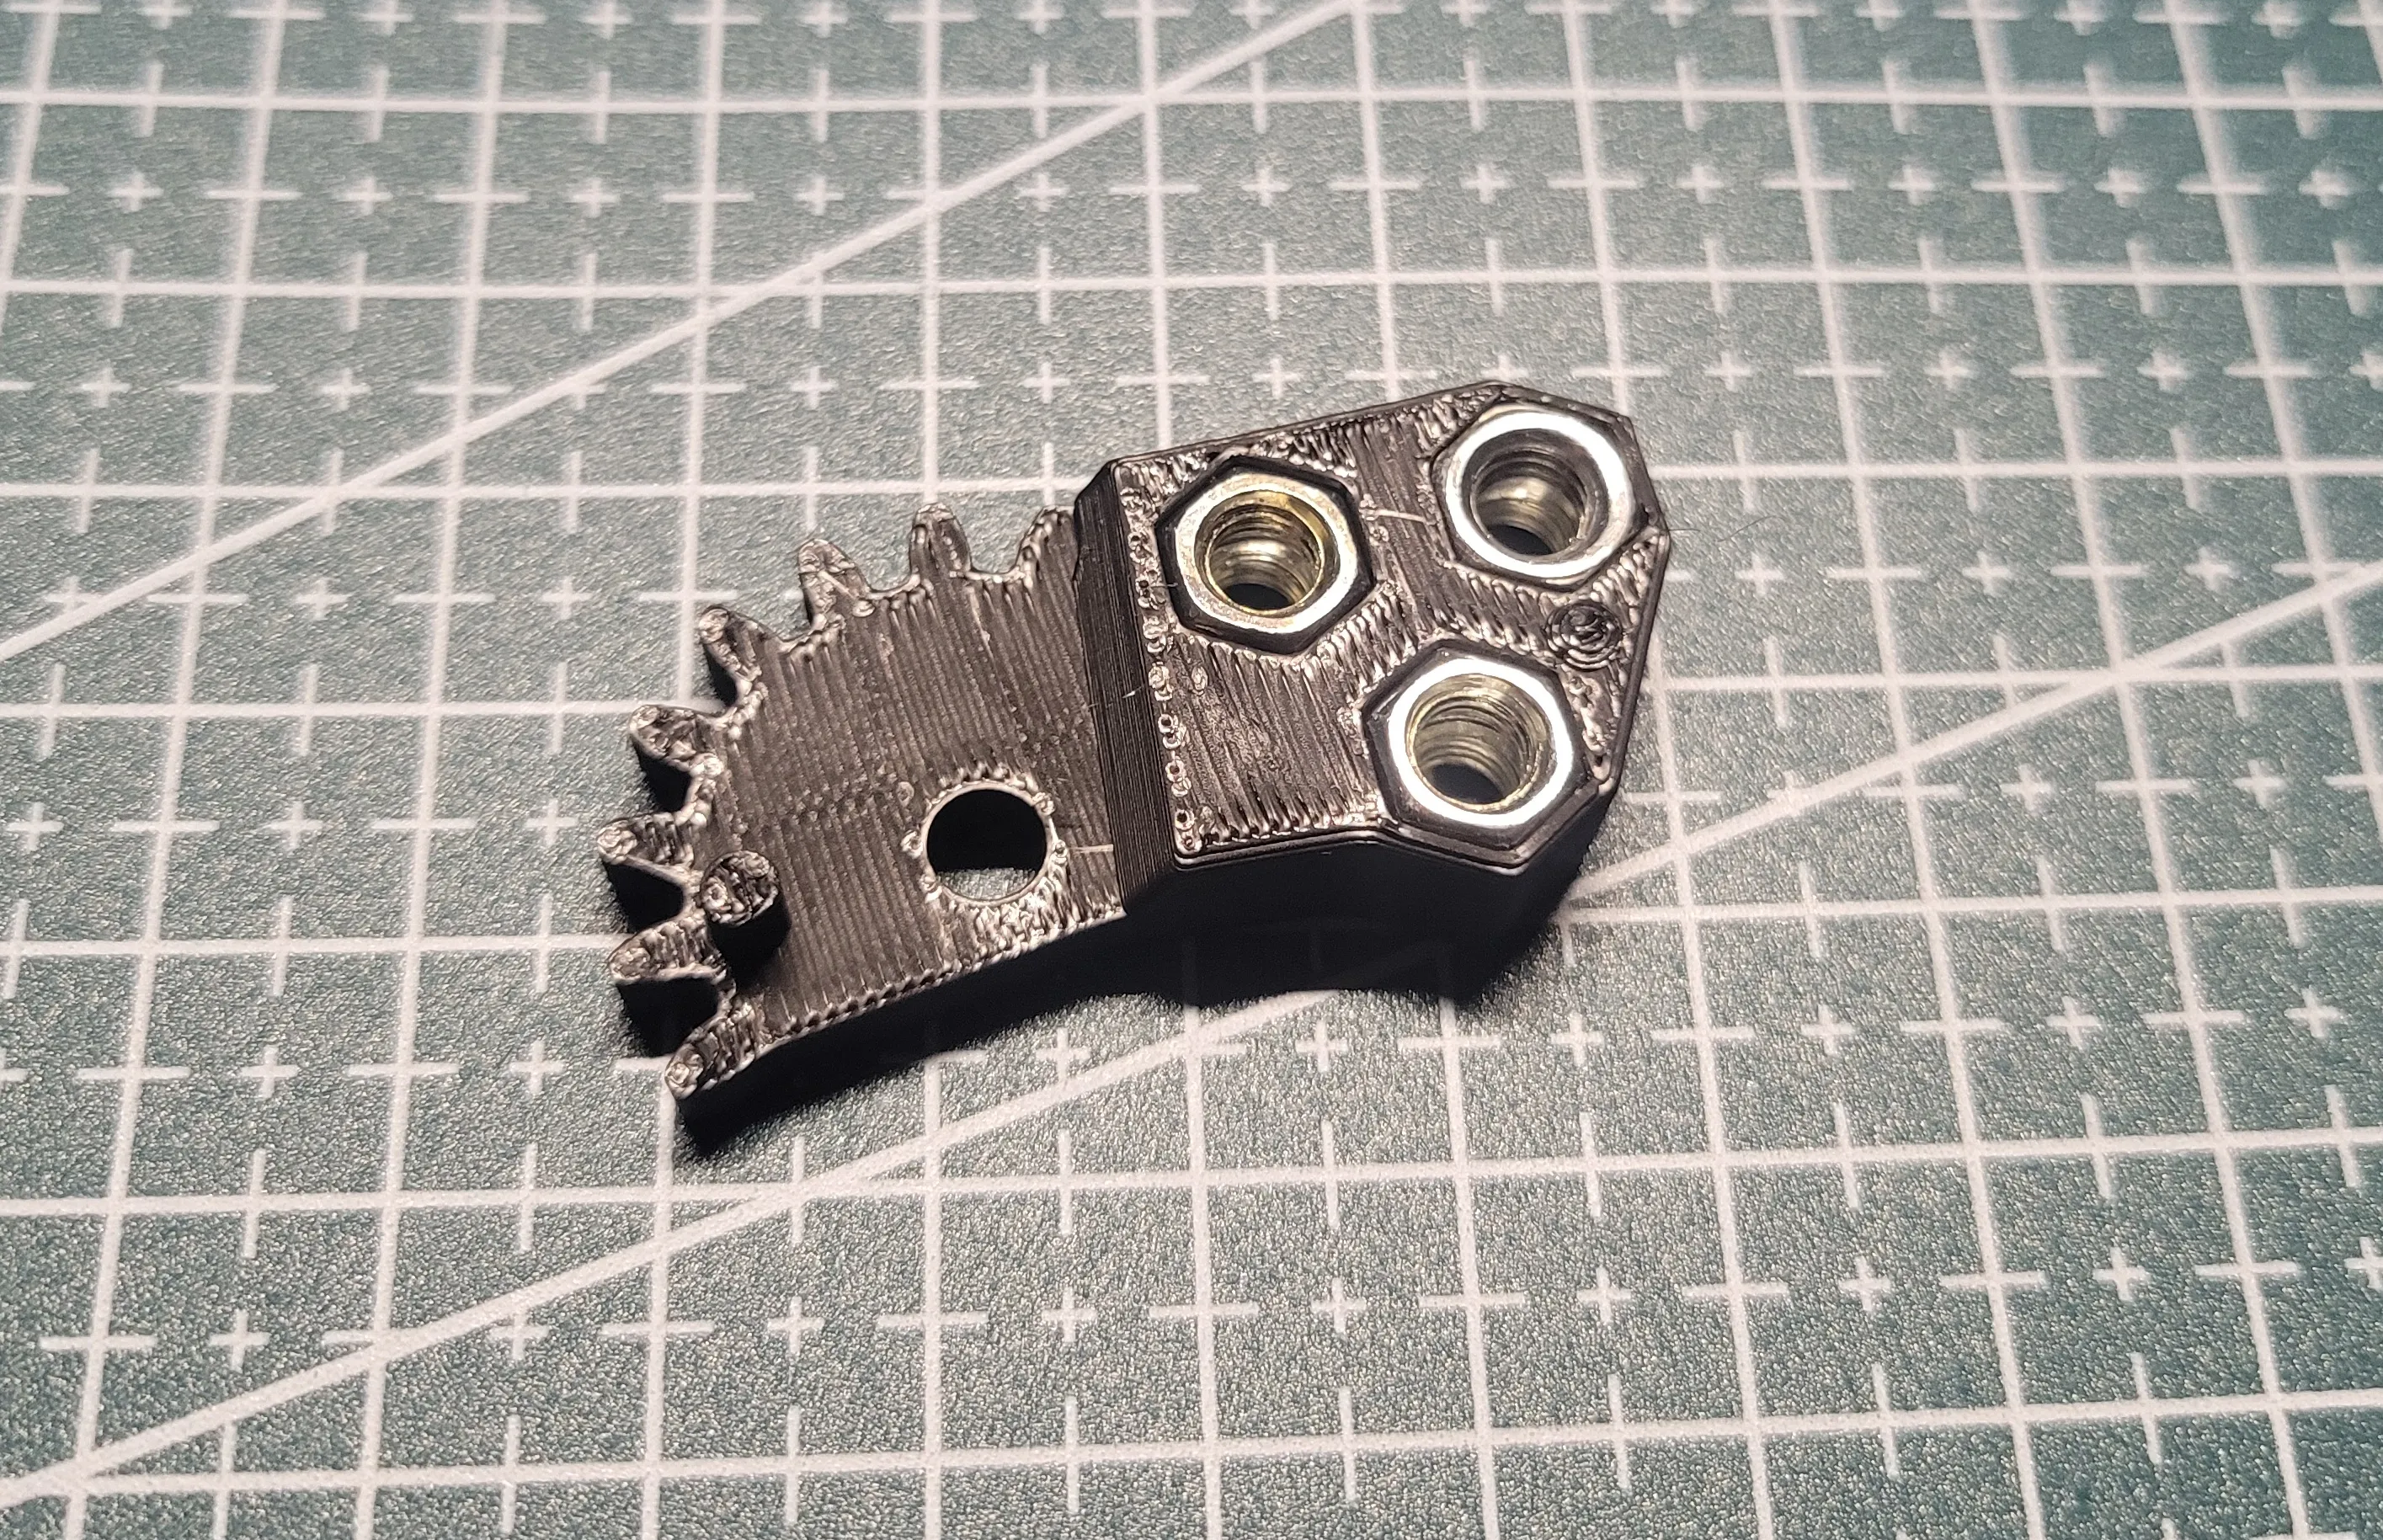
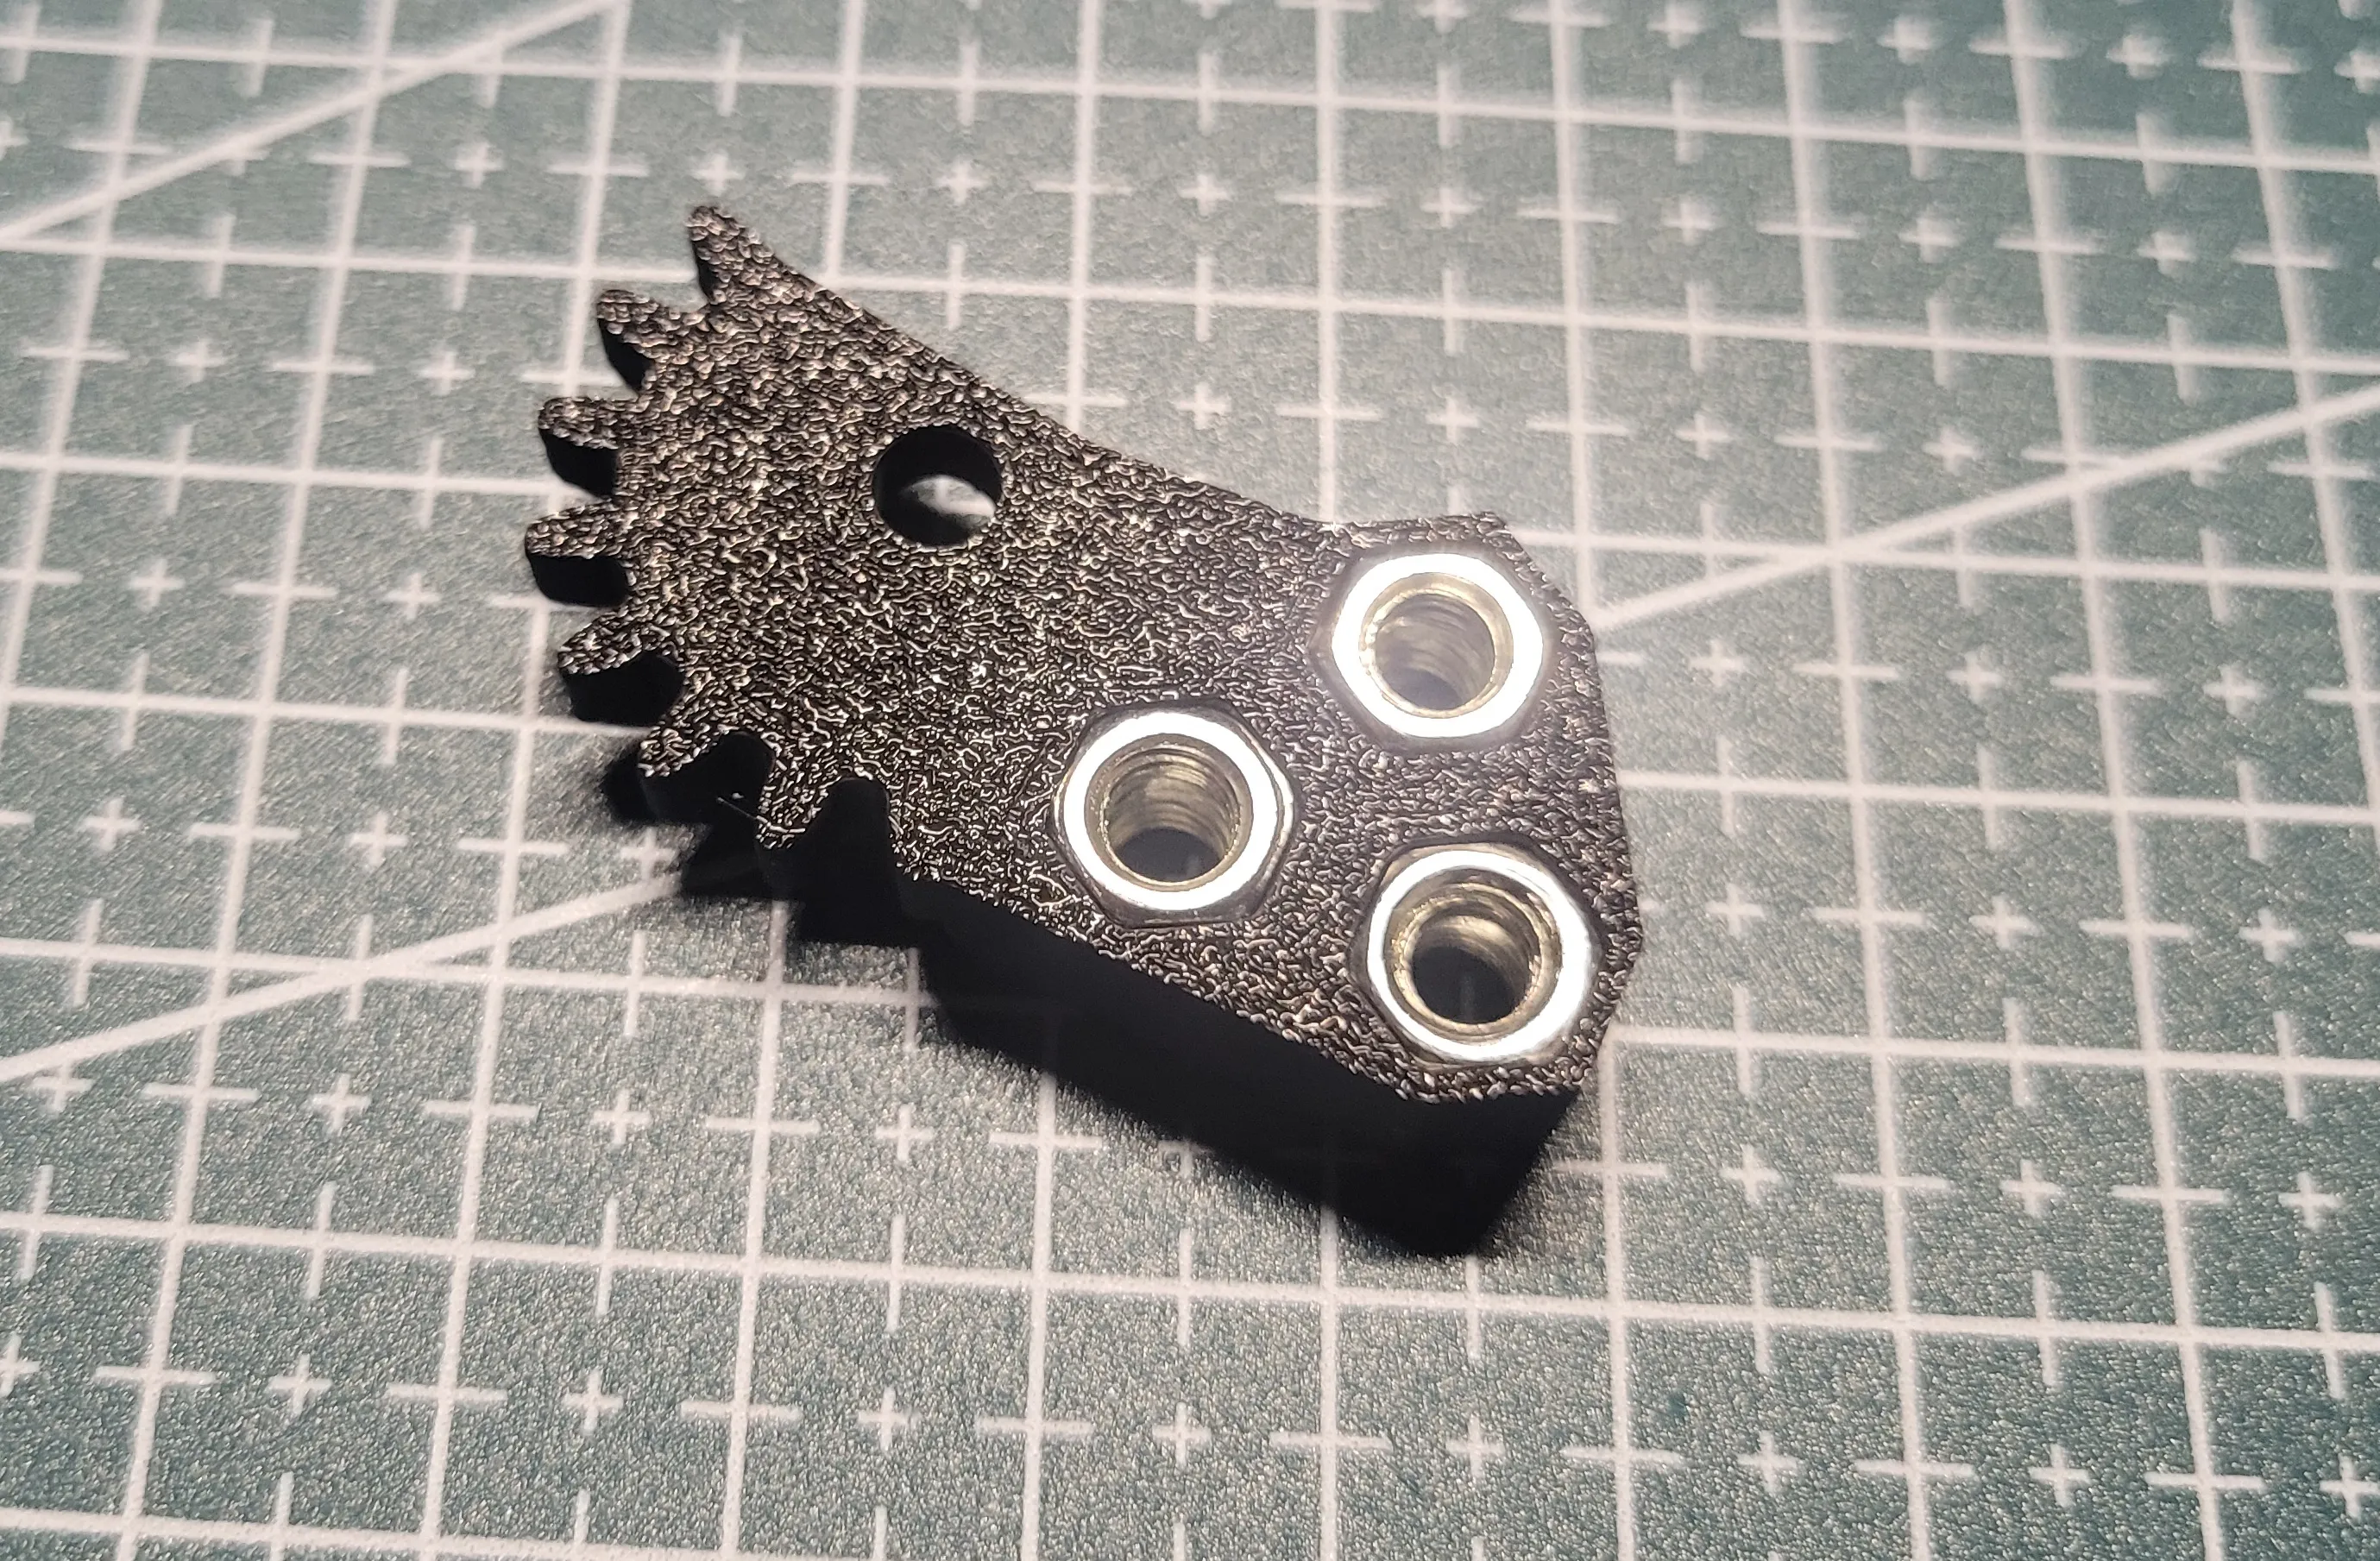
Take the main housing, as shown in the picture.
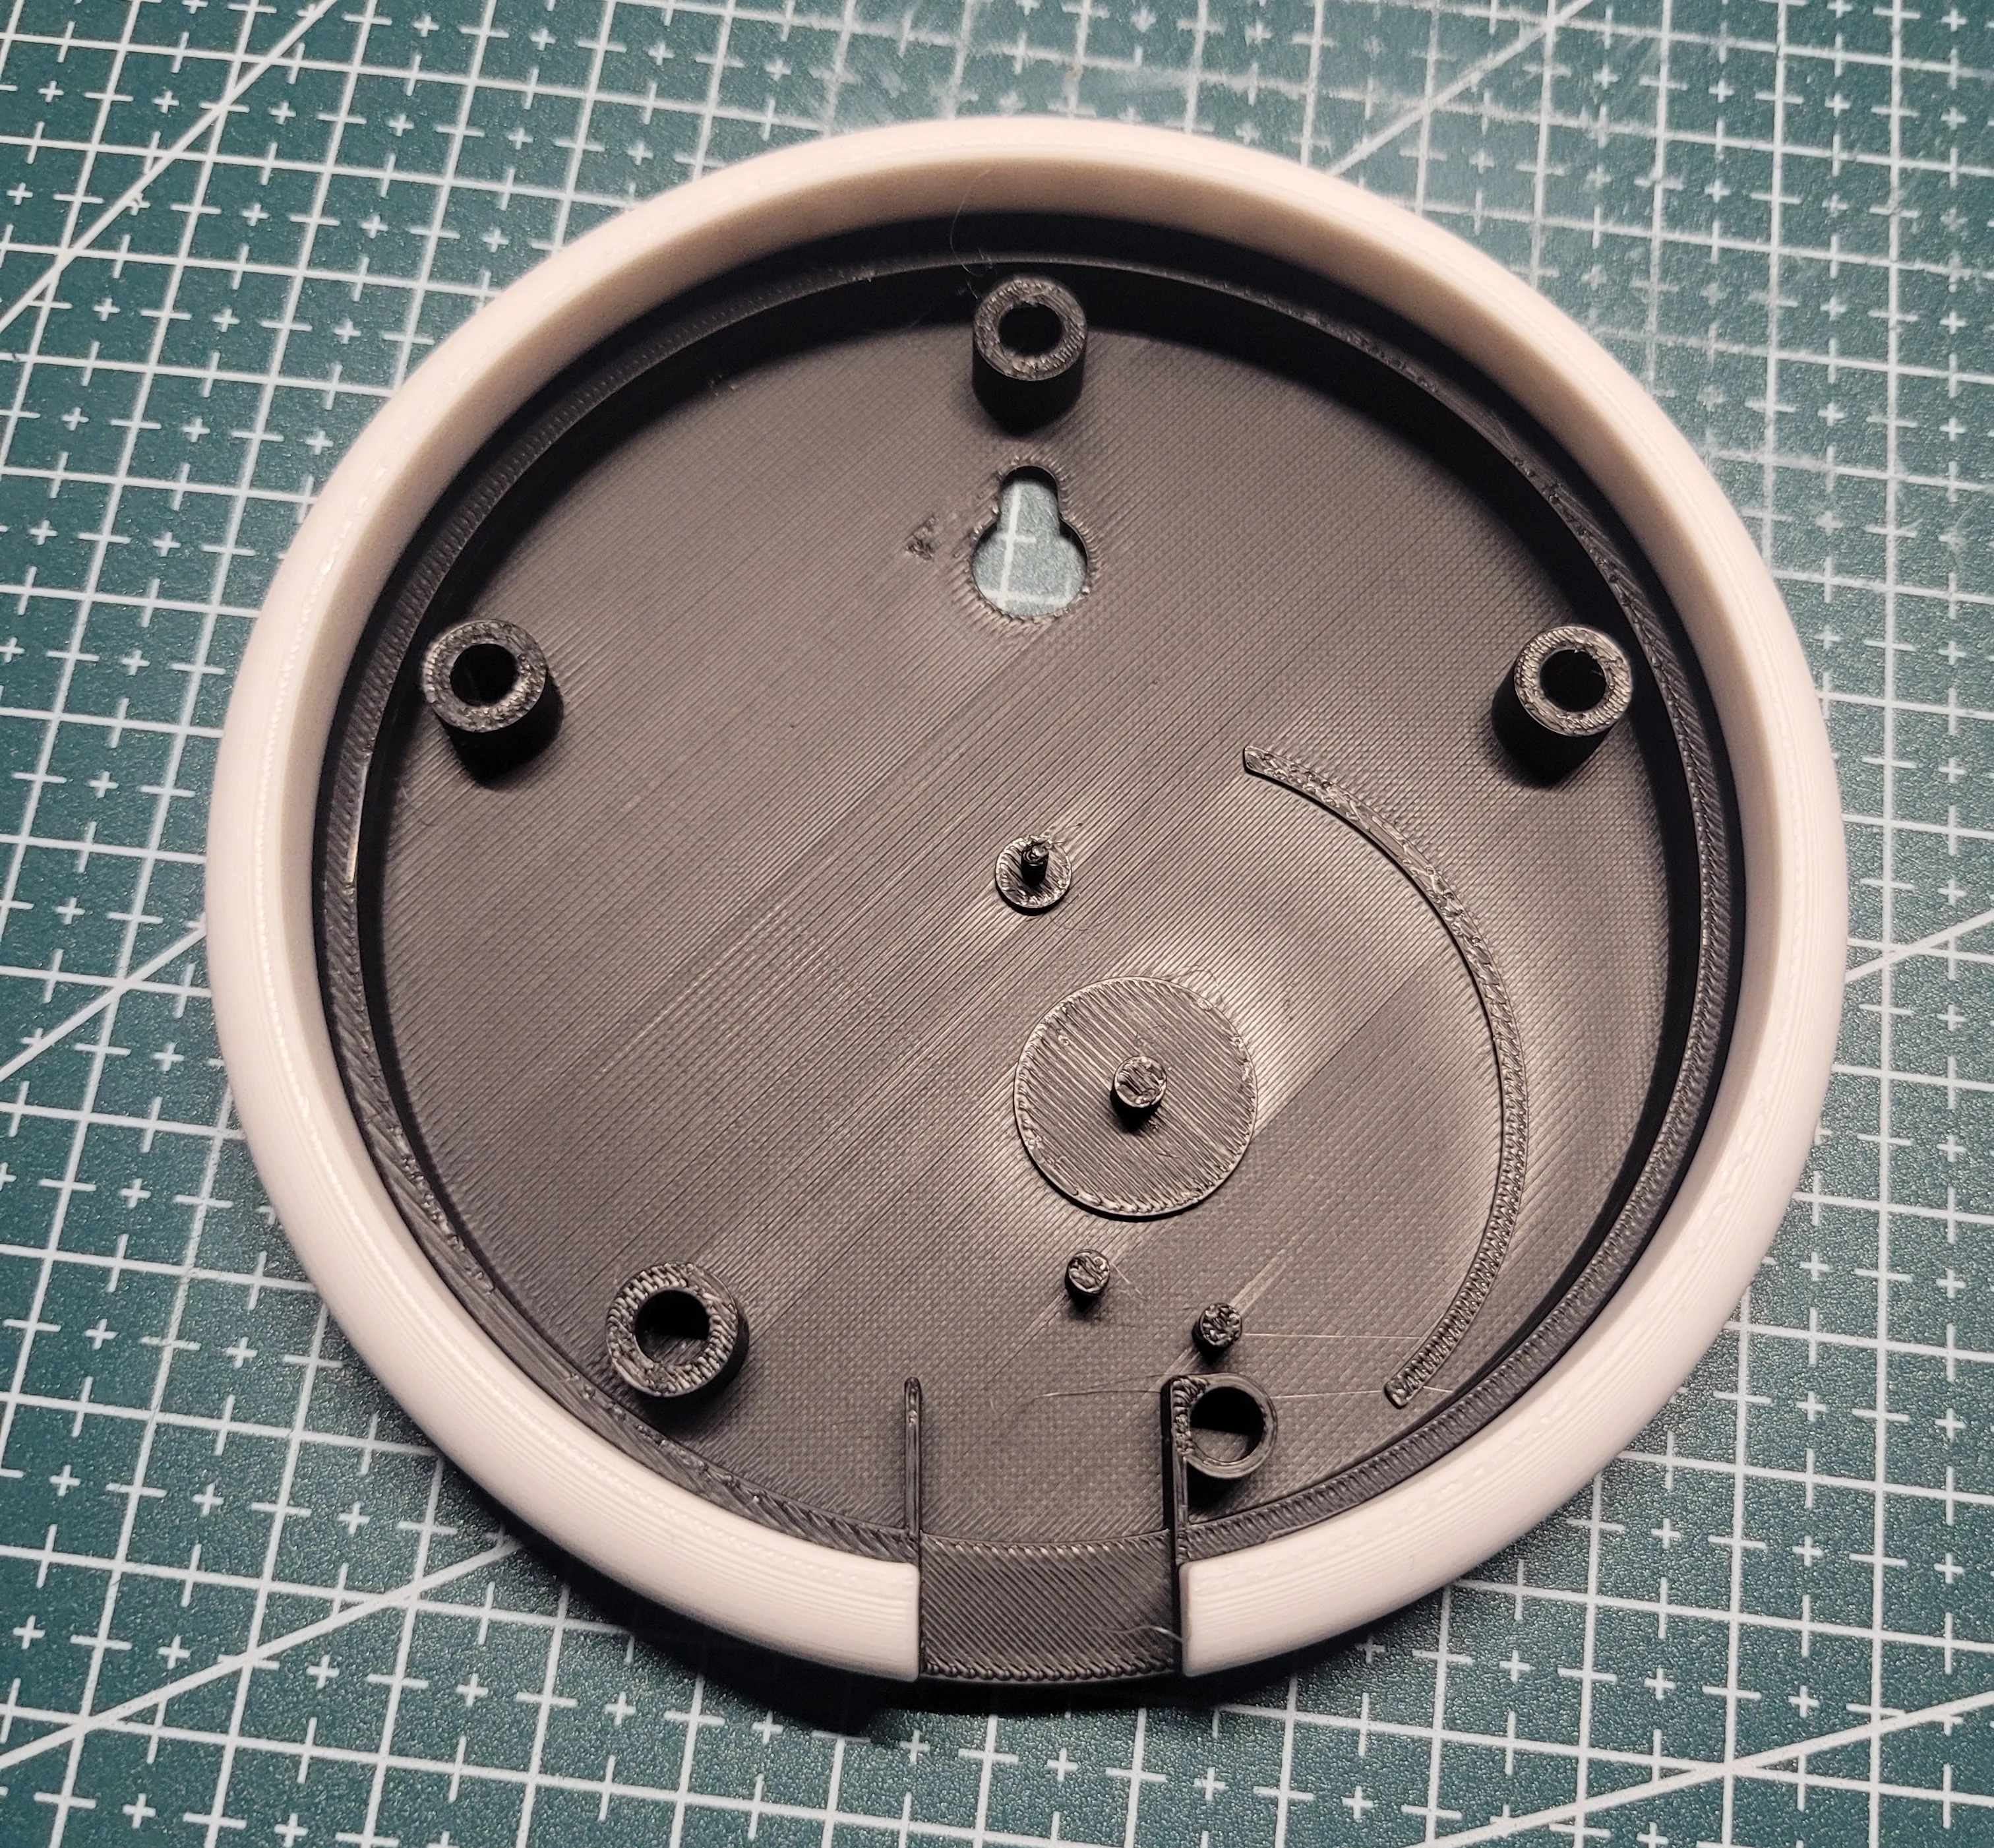
Place the small gear (for the needle) on the center axle of the housing.
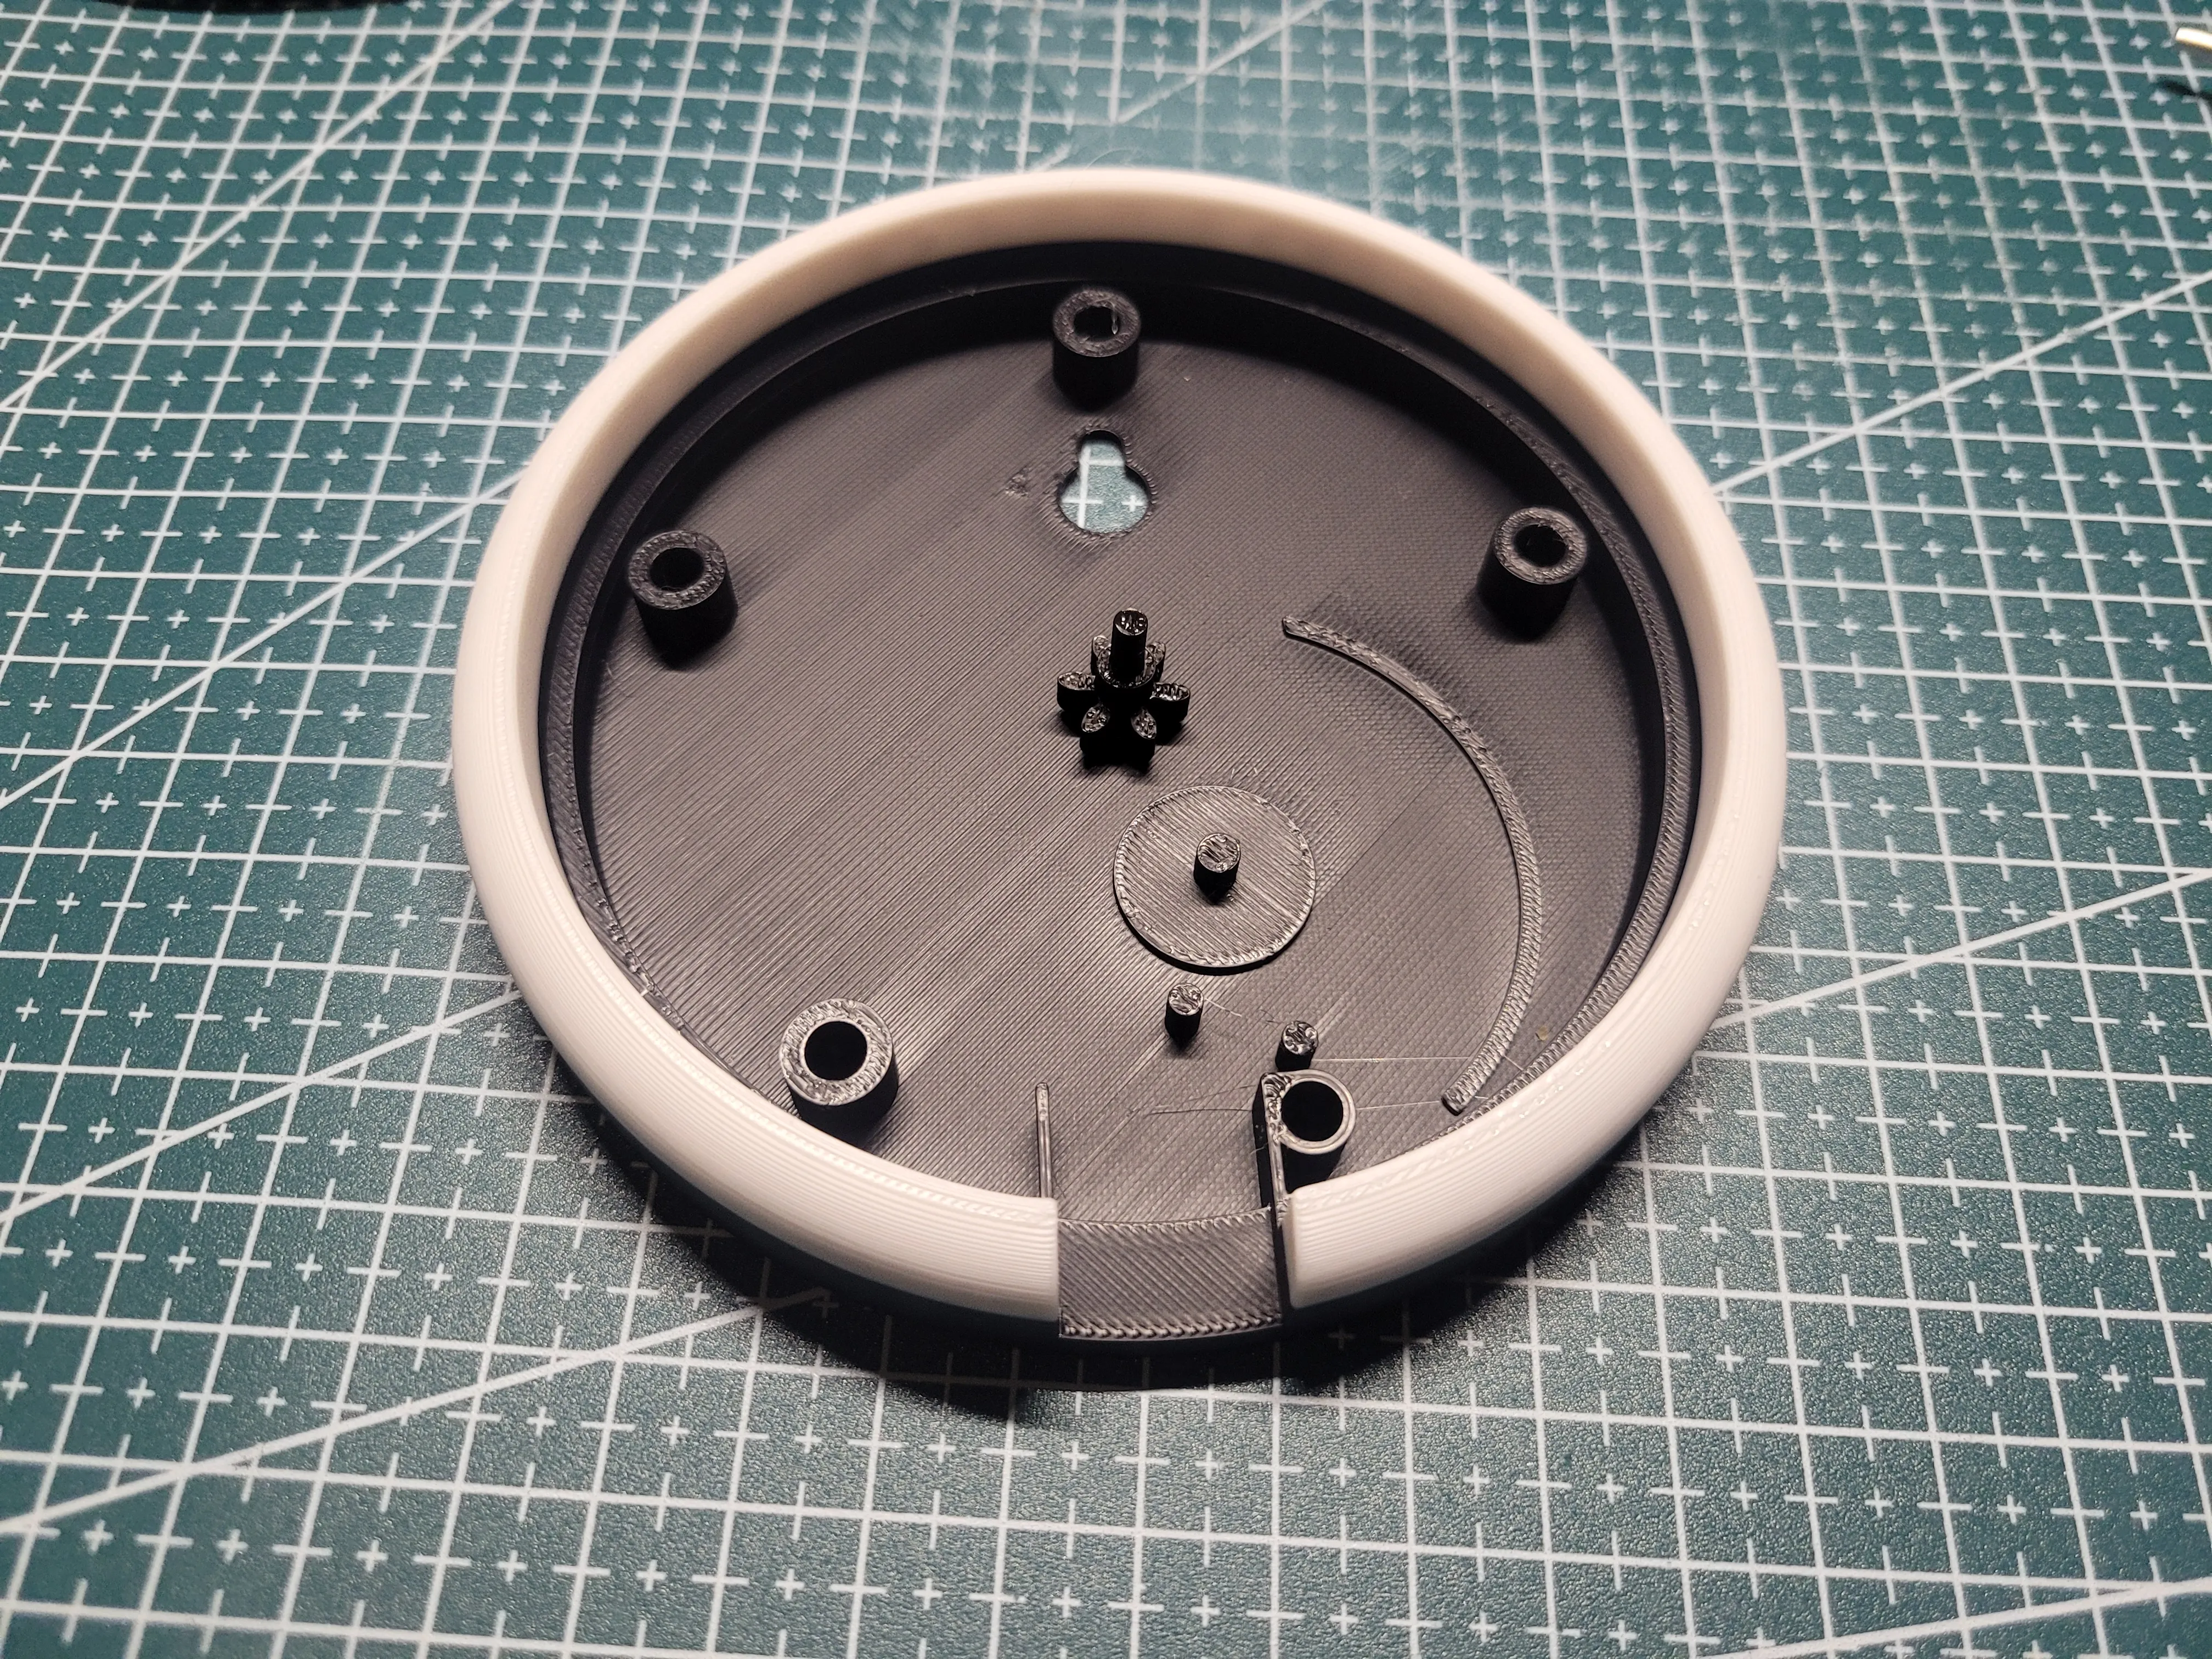
Place the larger gear with the inserted nuts on the side axle, as shown in the image.
The gears should mesh together correctly (teeth should interlock).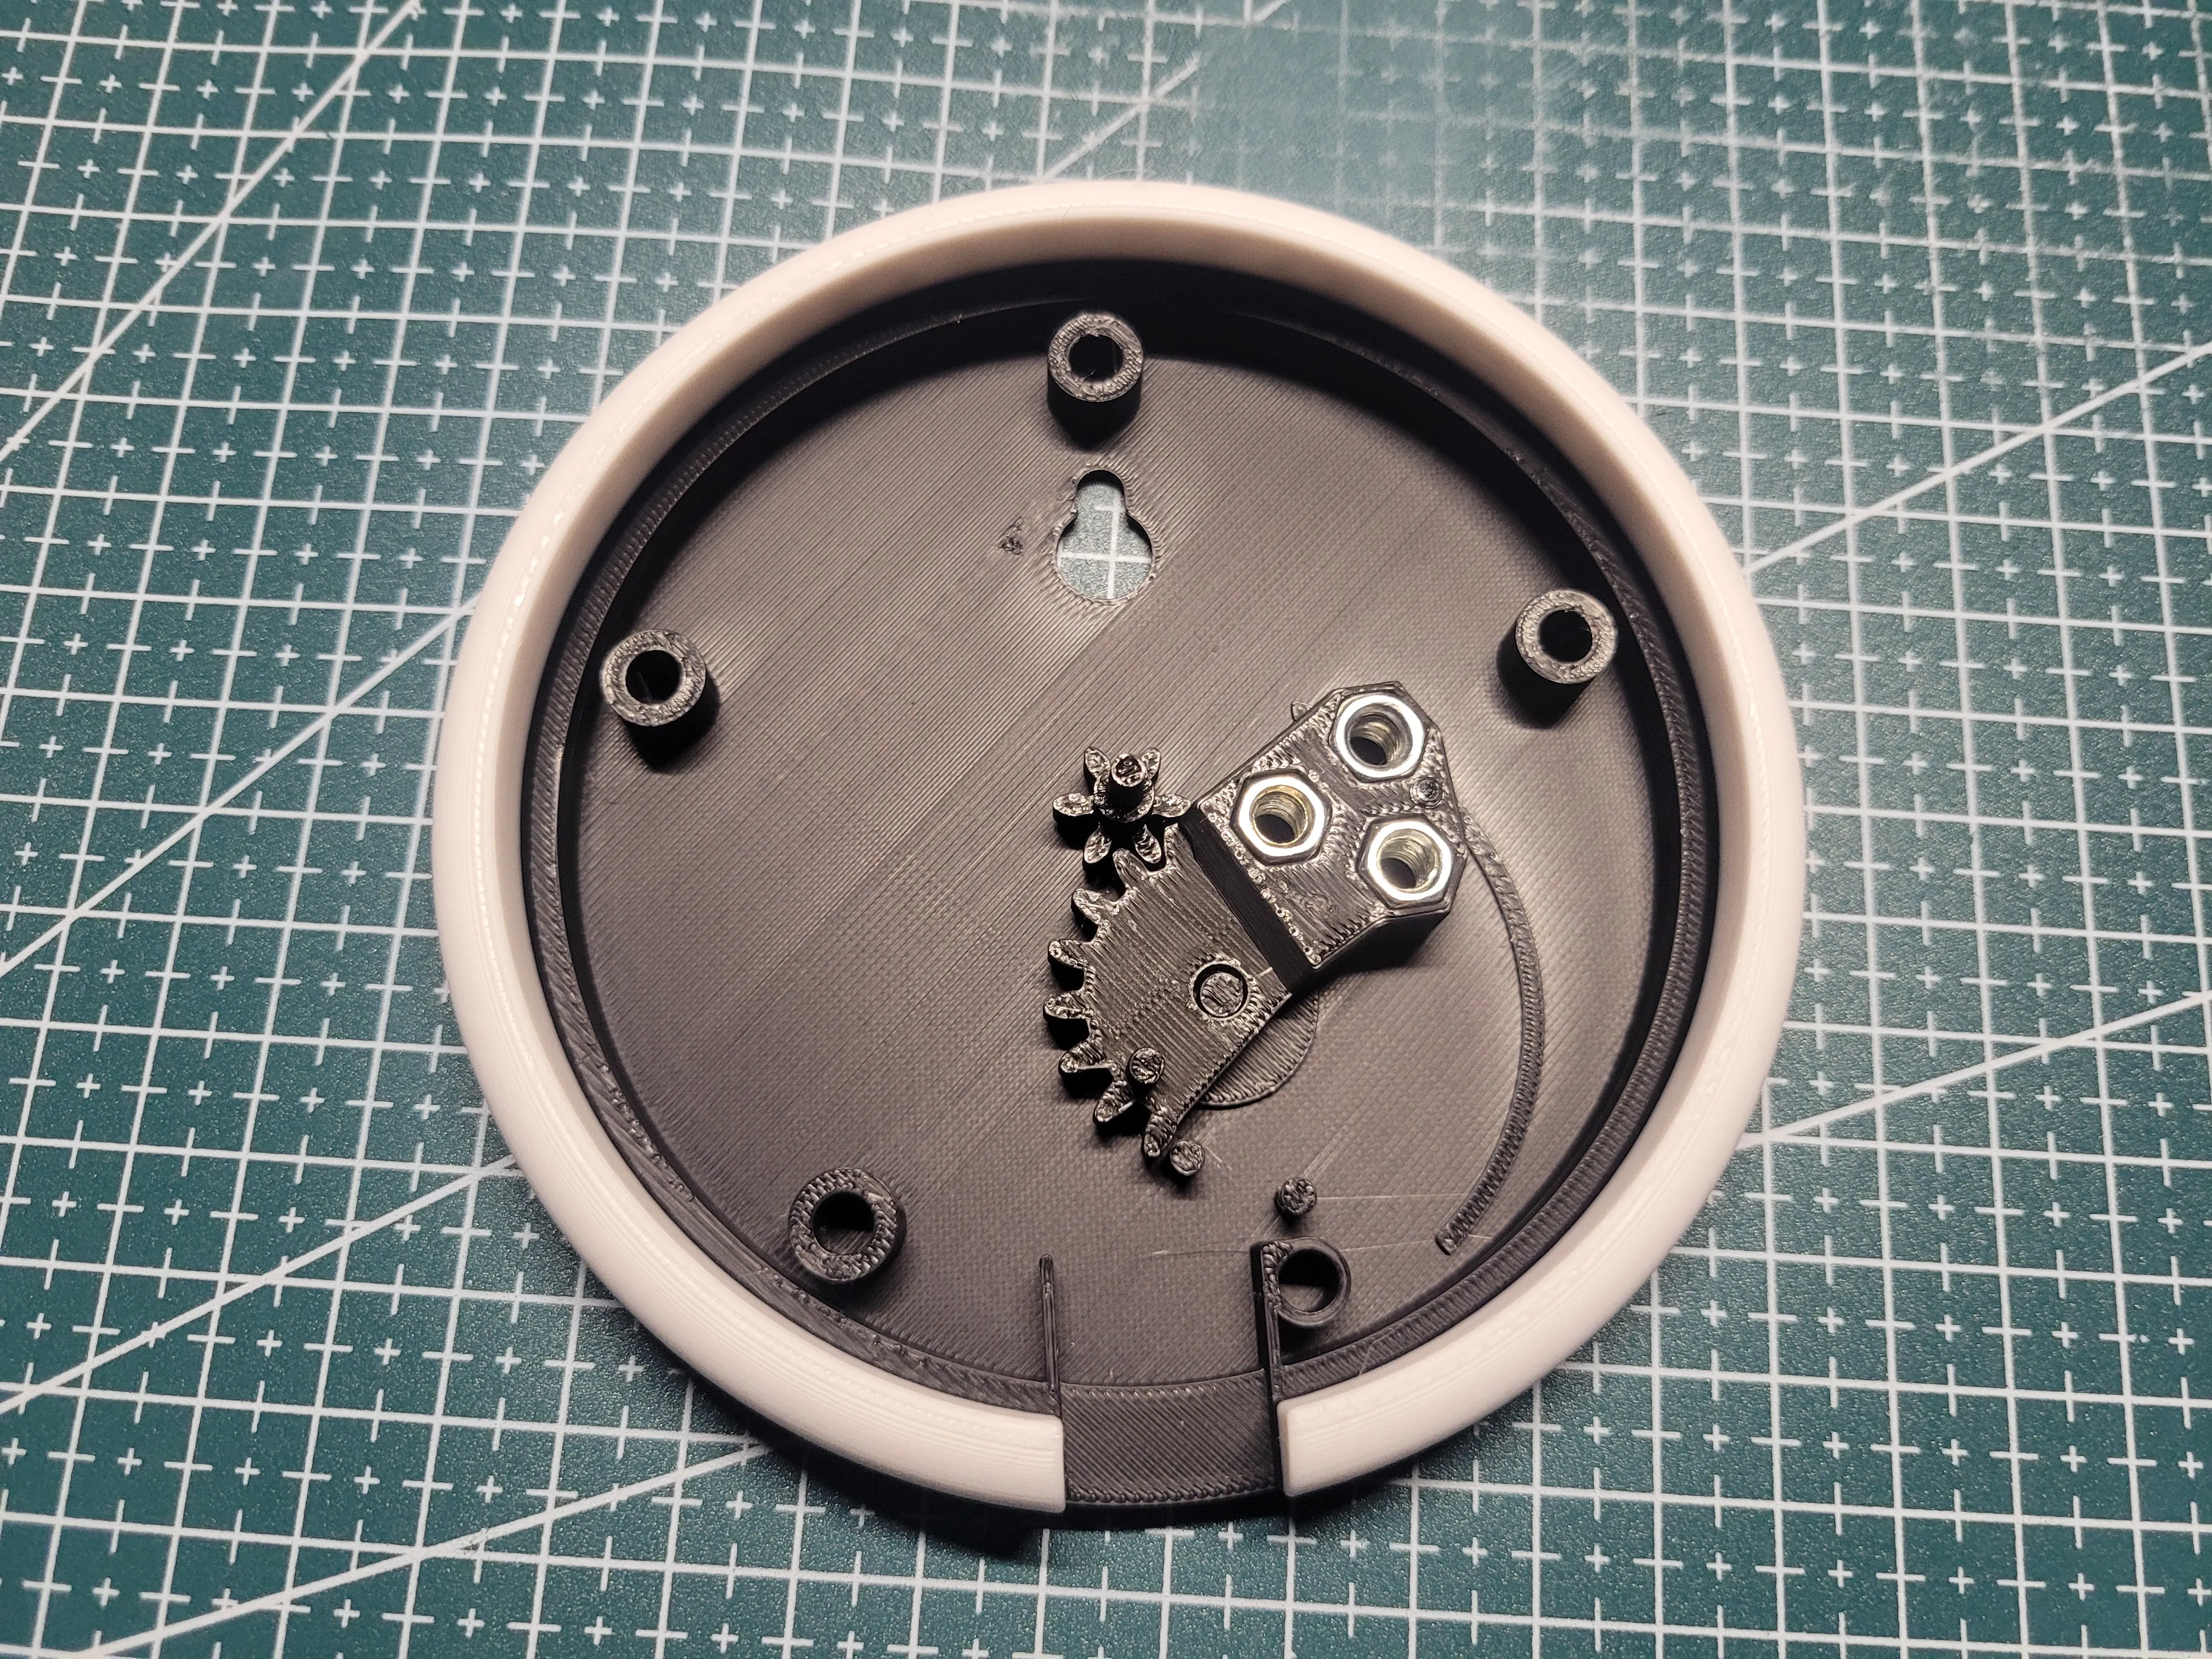
Take note of the mounting pin (stud) visible in the image.
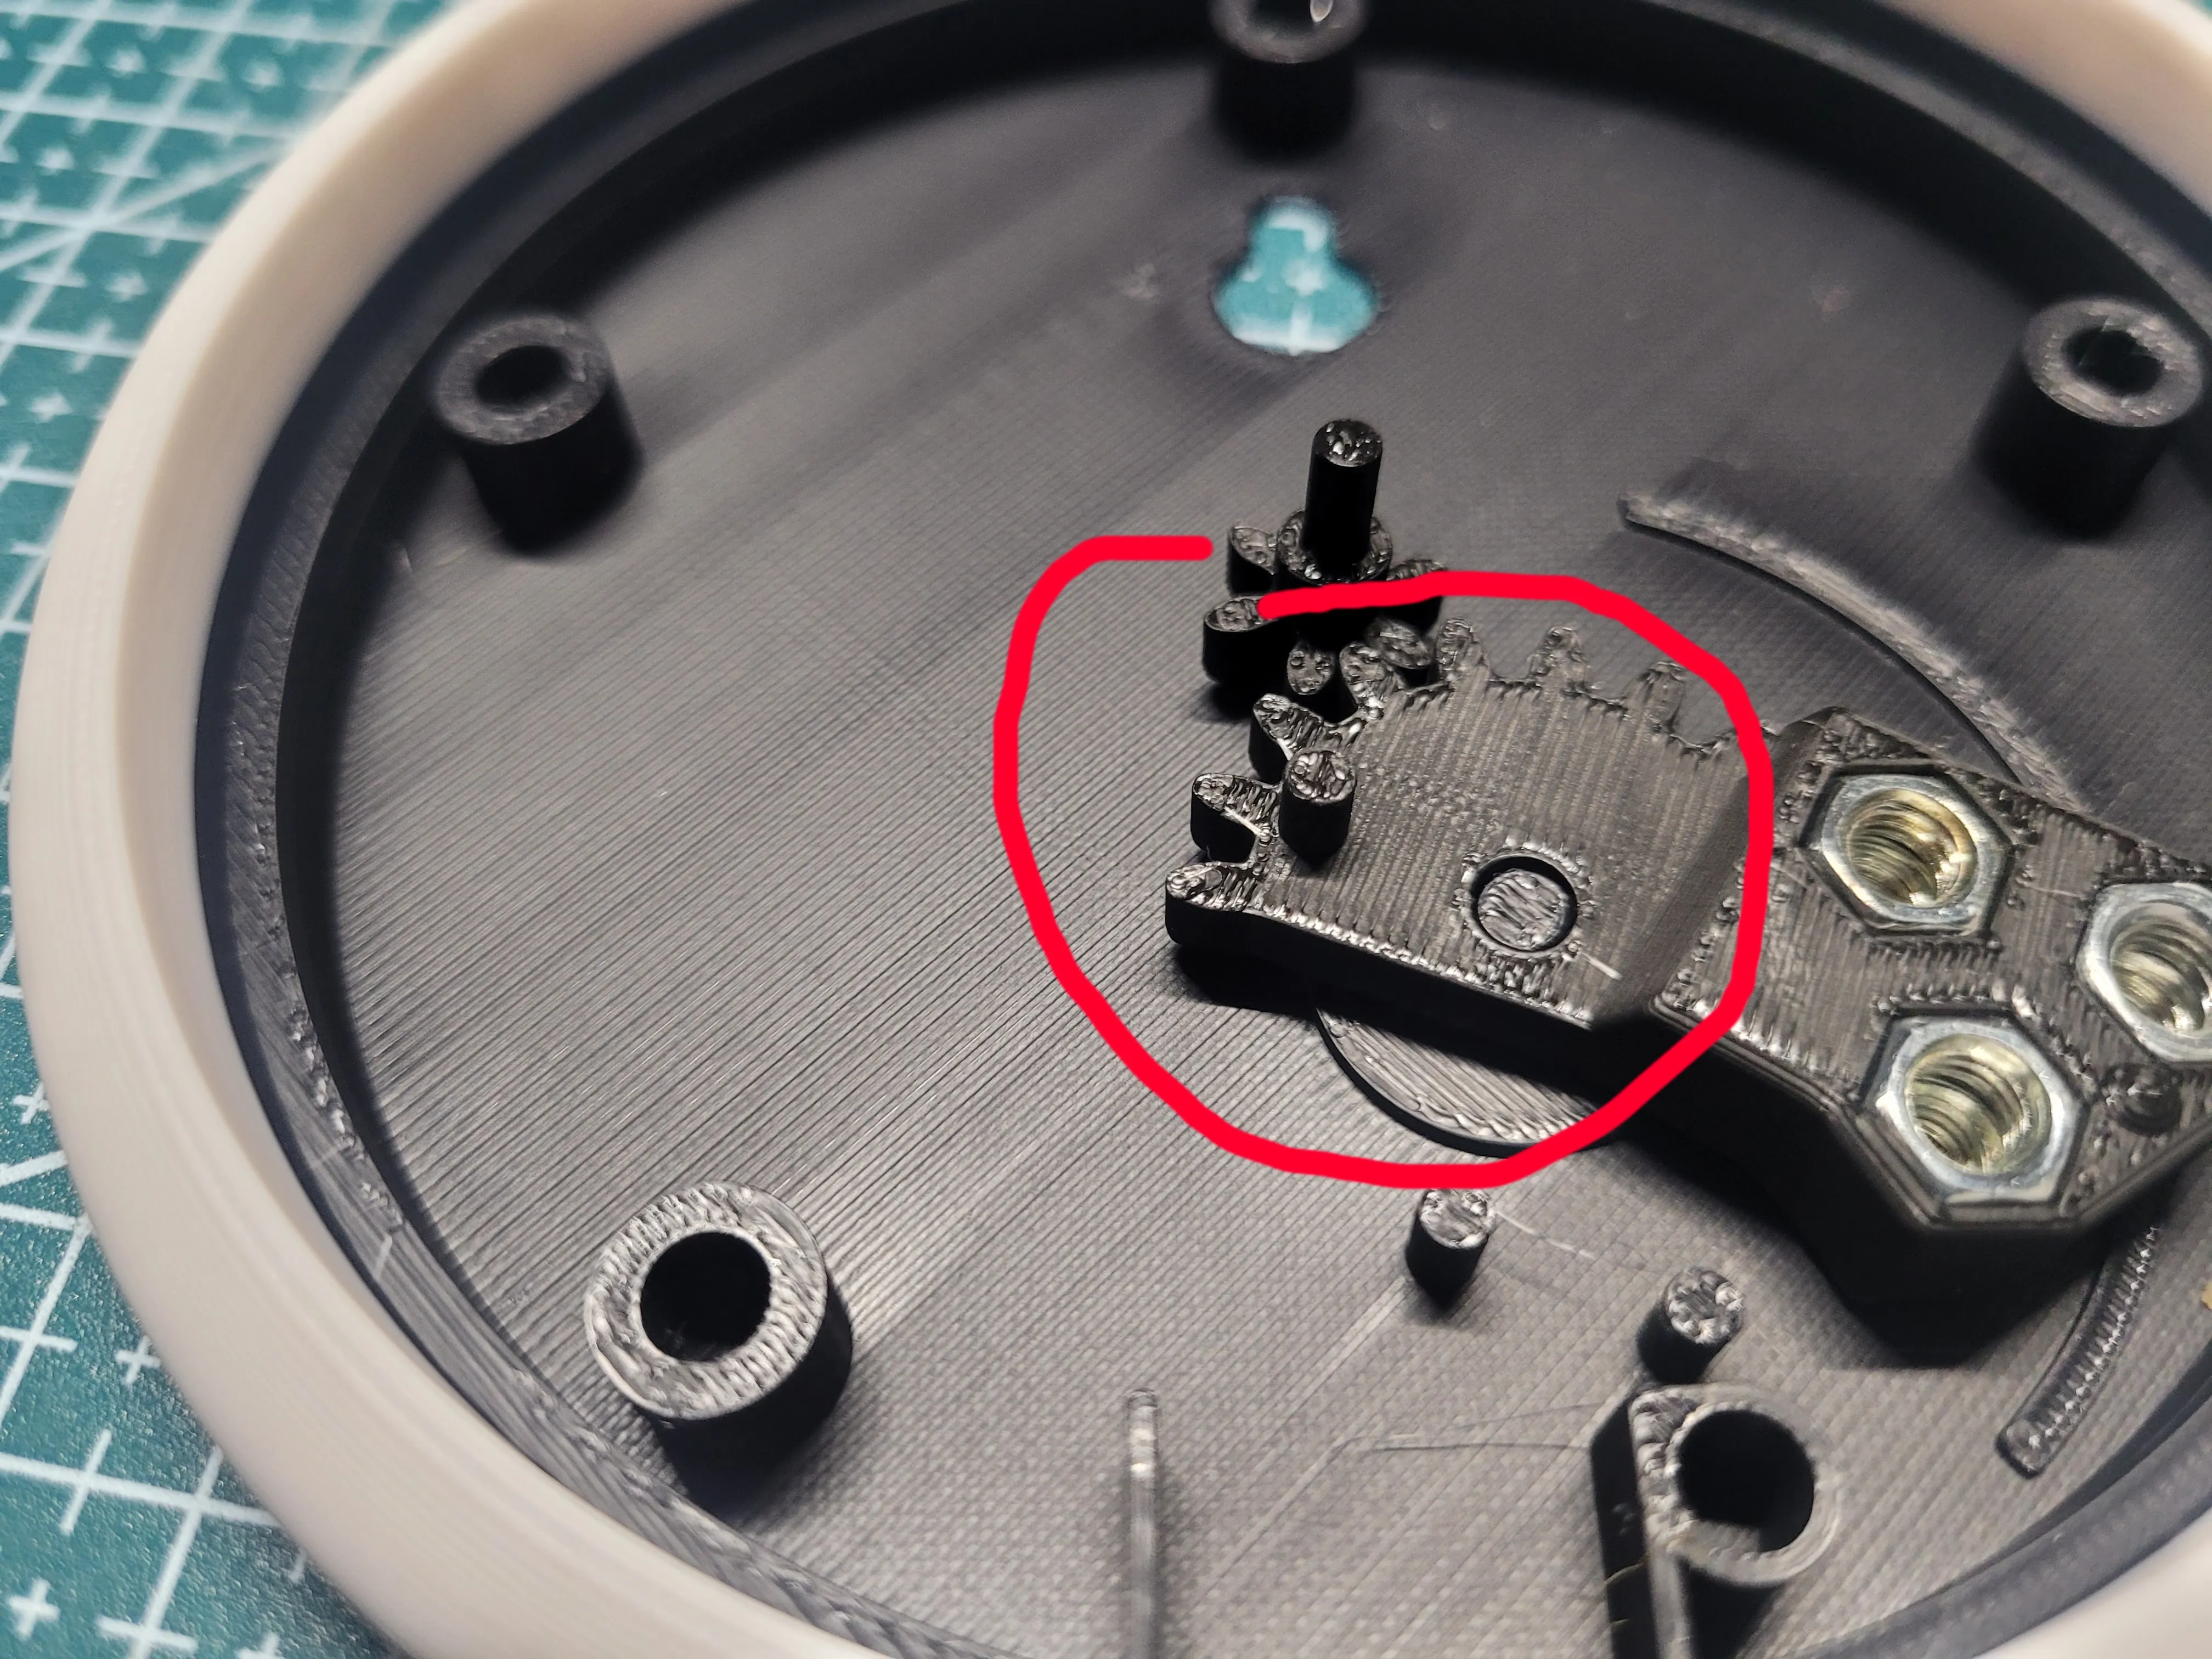
Place the key hanger onto this pin – this is the part that will move up and down with your keys.
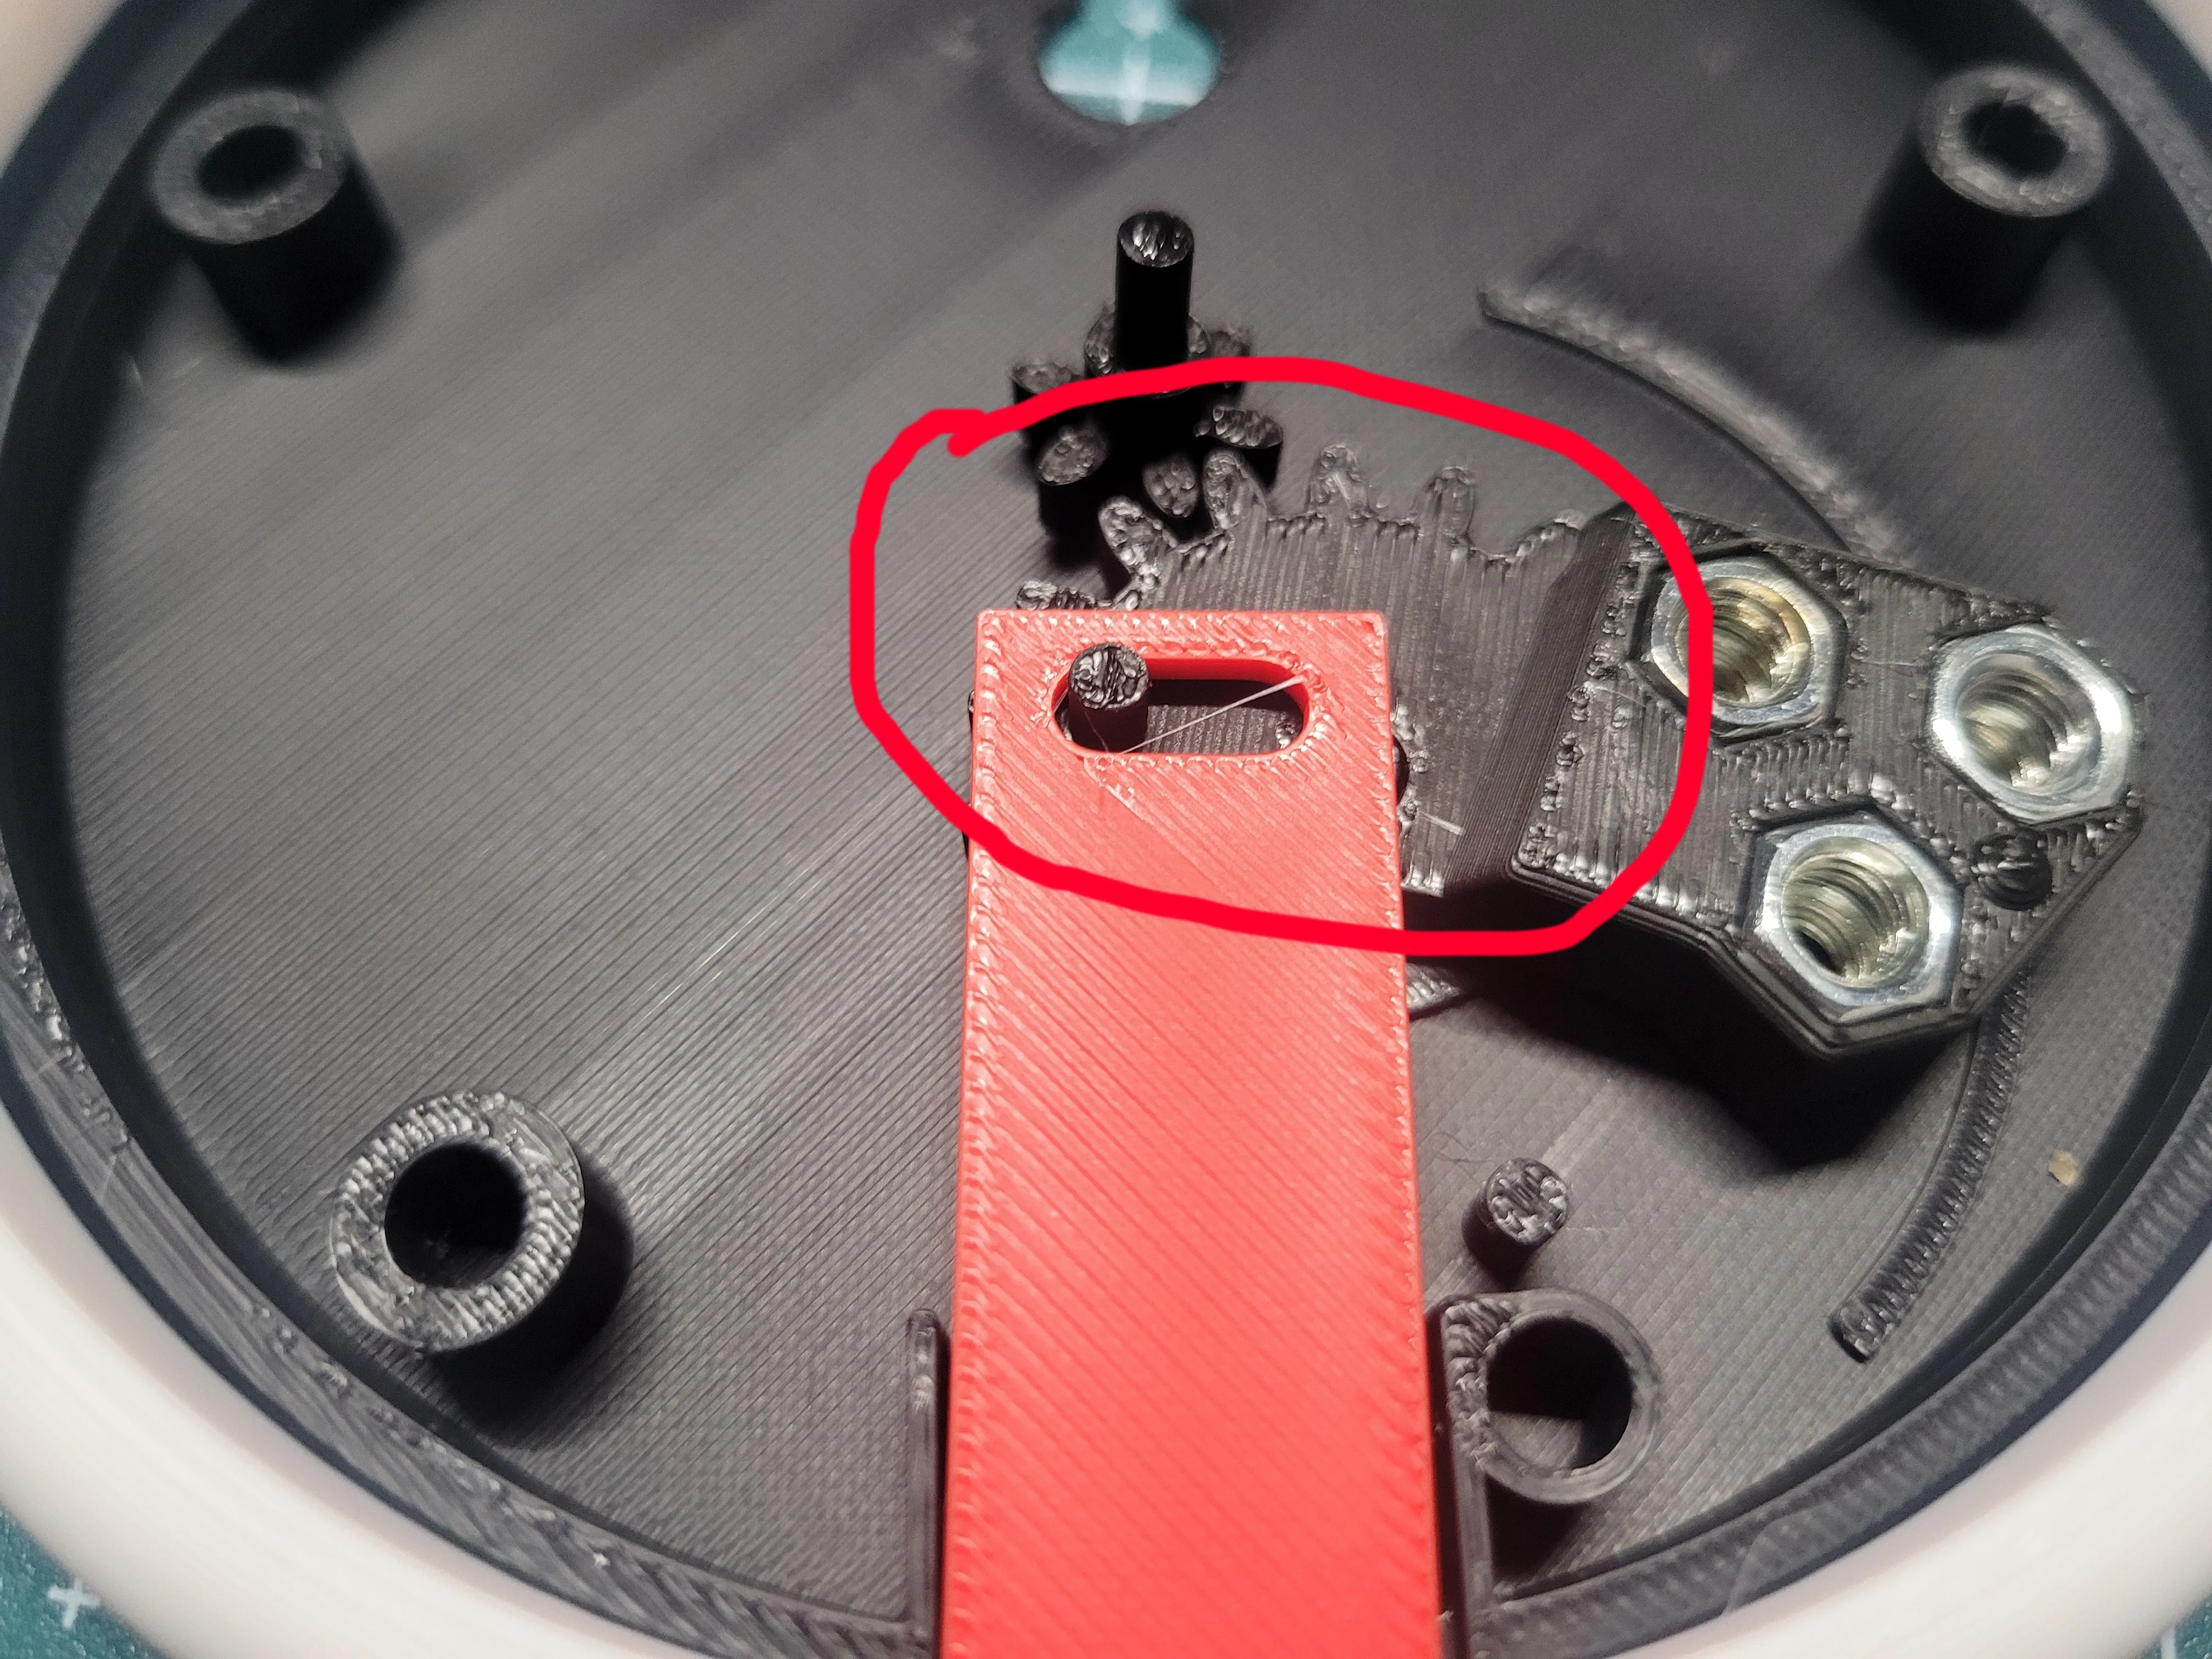
Now the whole mechanism should look like the photo.
Move the key hanger up and down to test the motion – the gears should rotate within the limit stops.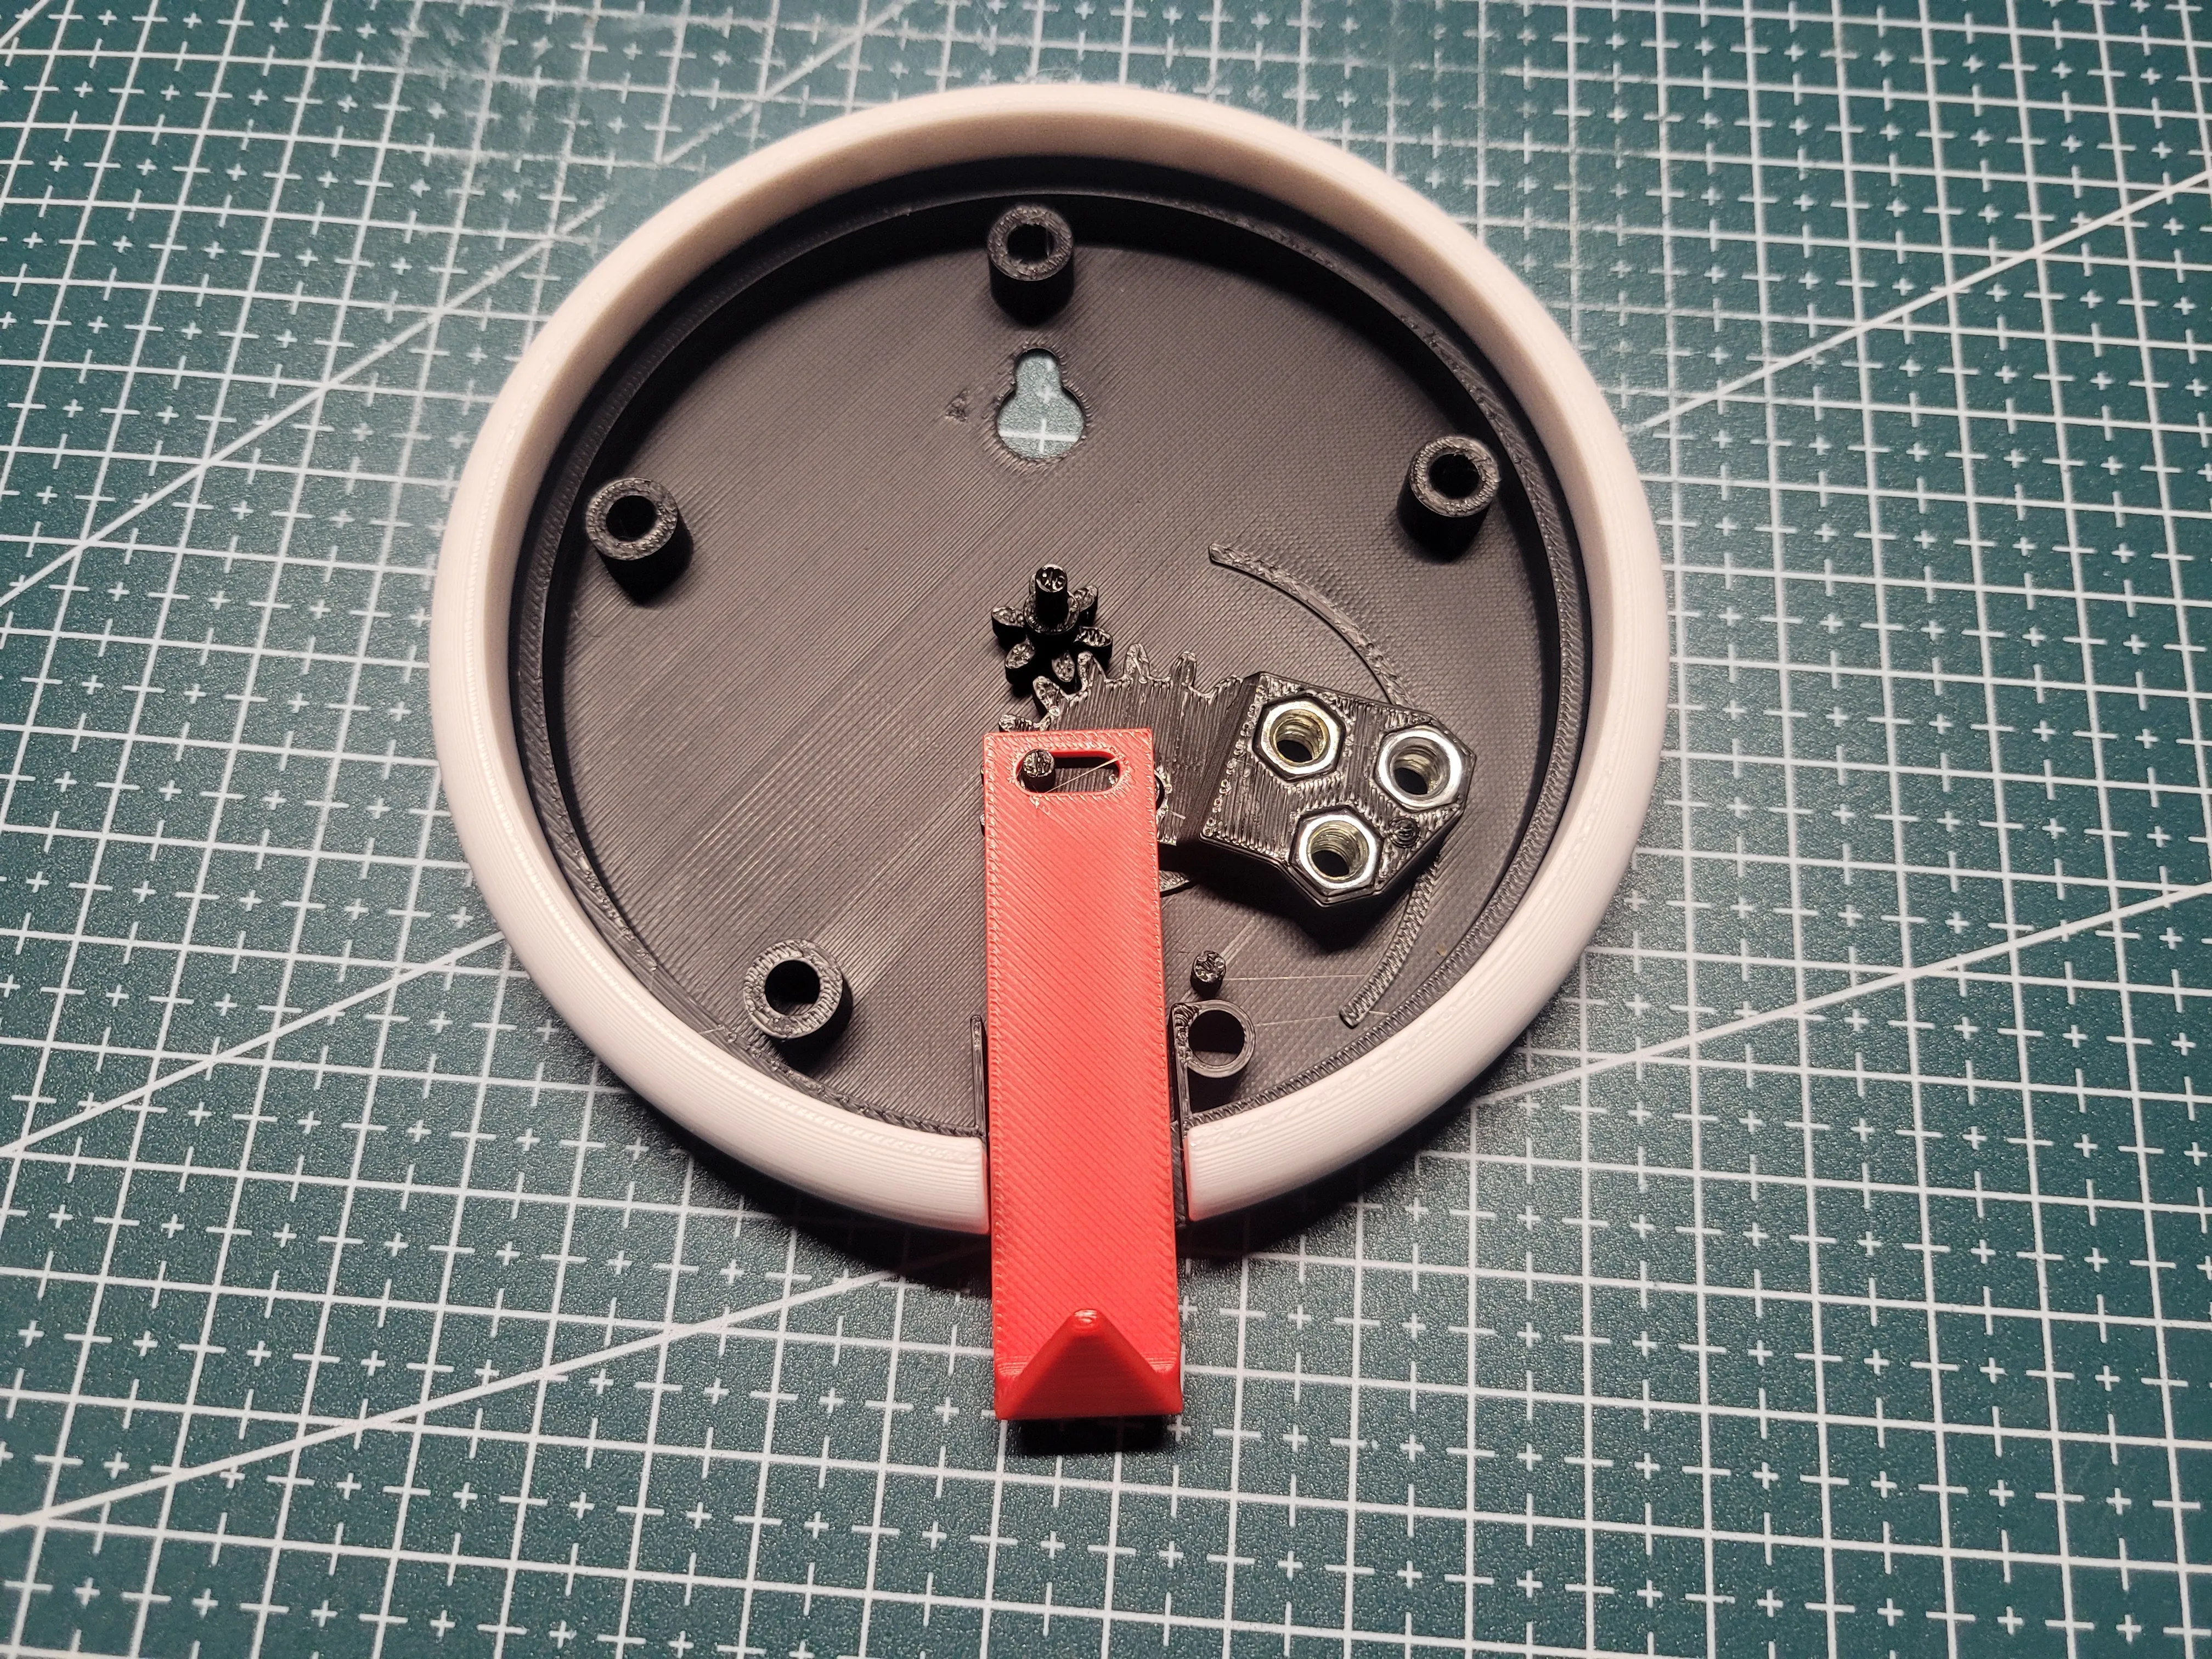
Prepare to attach the dial plate.
I recommend placing a small drop of glue in the pin holes – it’s not required, but suggested, as the mechanism’s motion may eventually push the dial outward.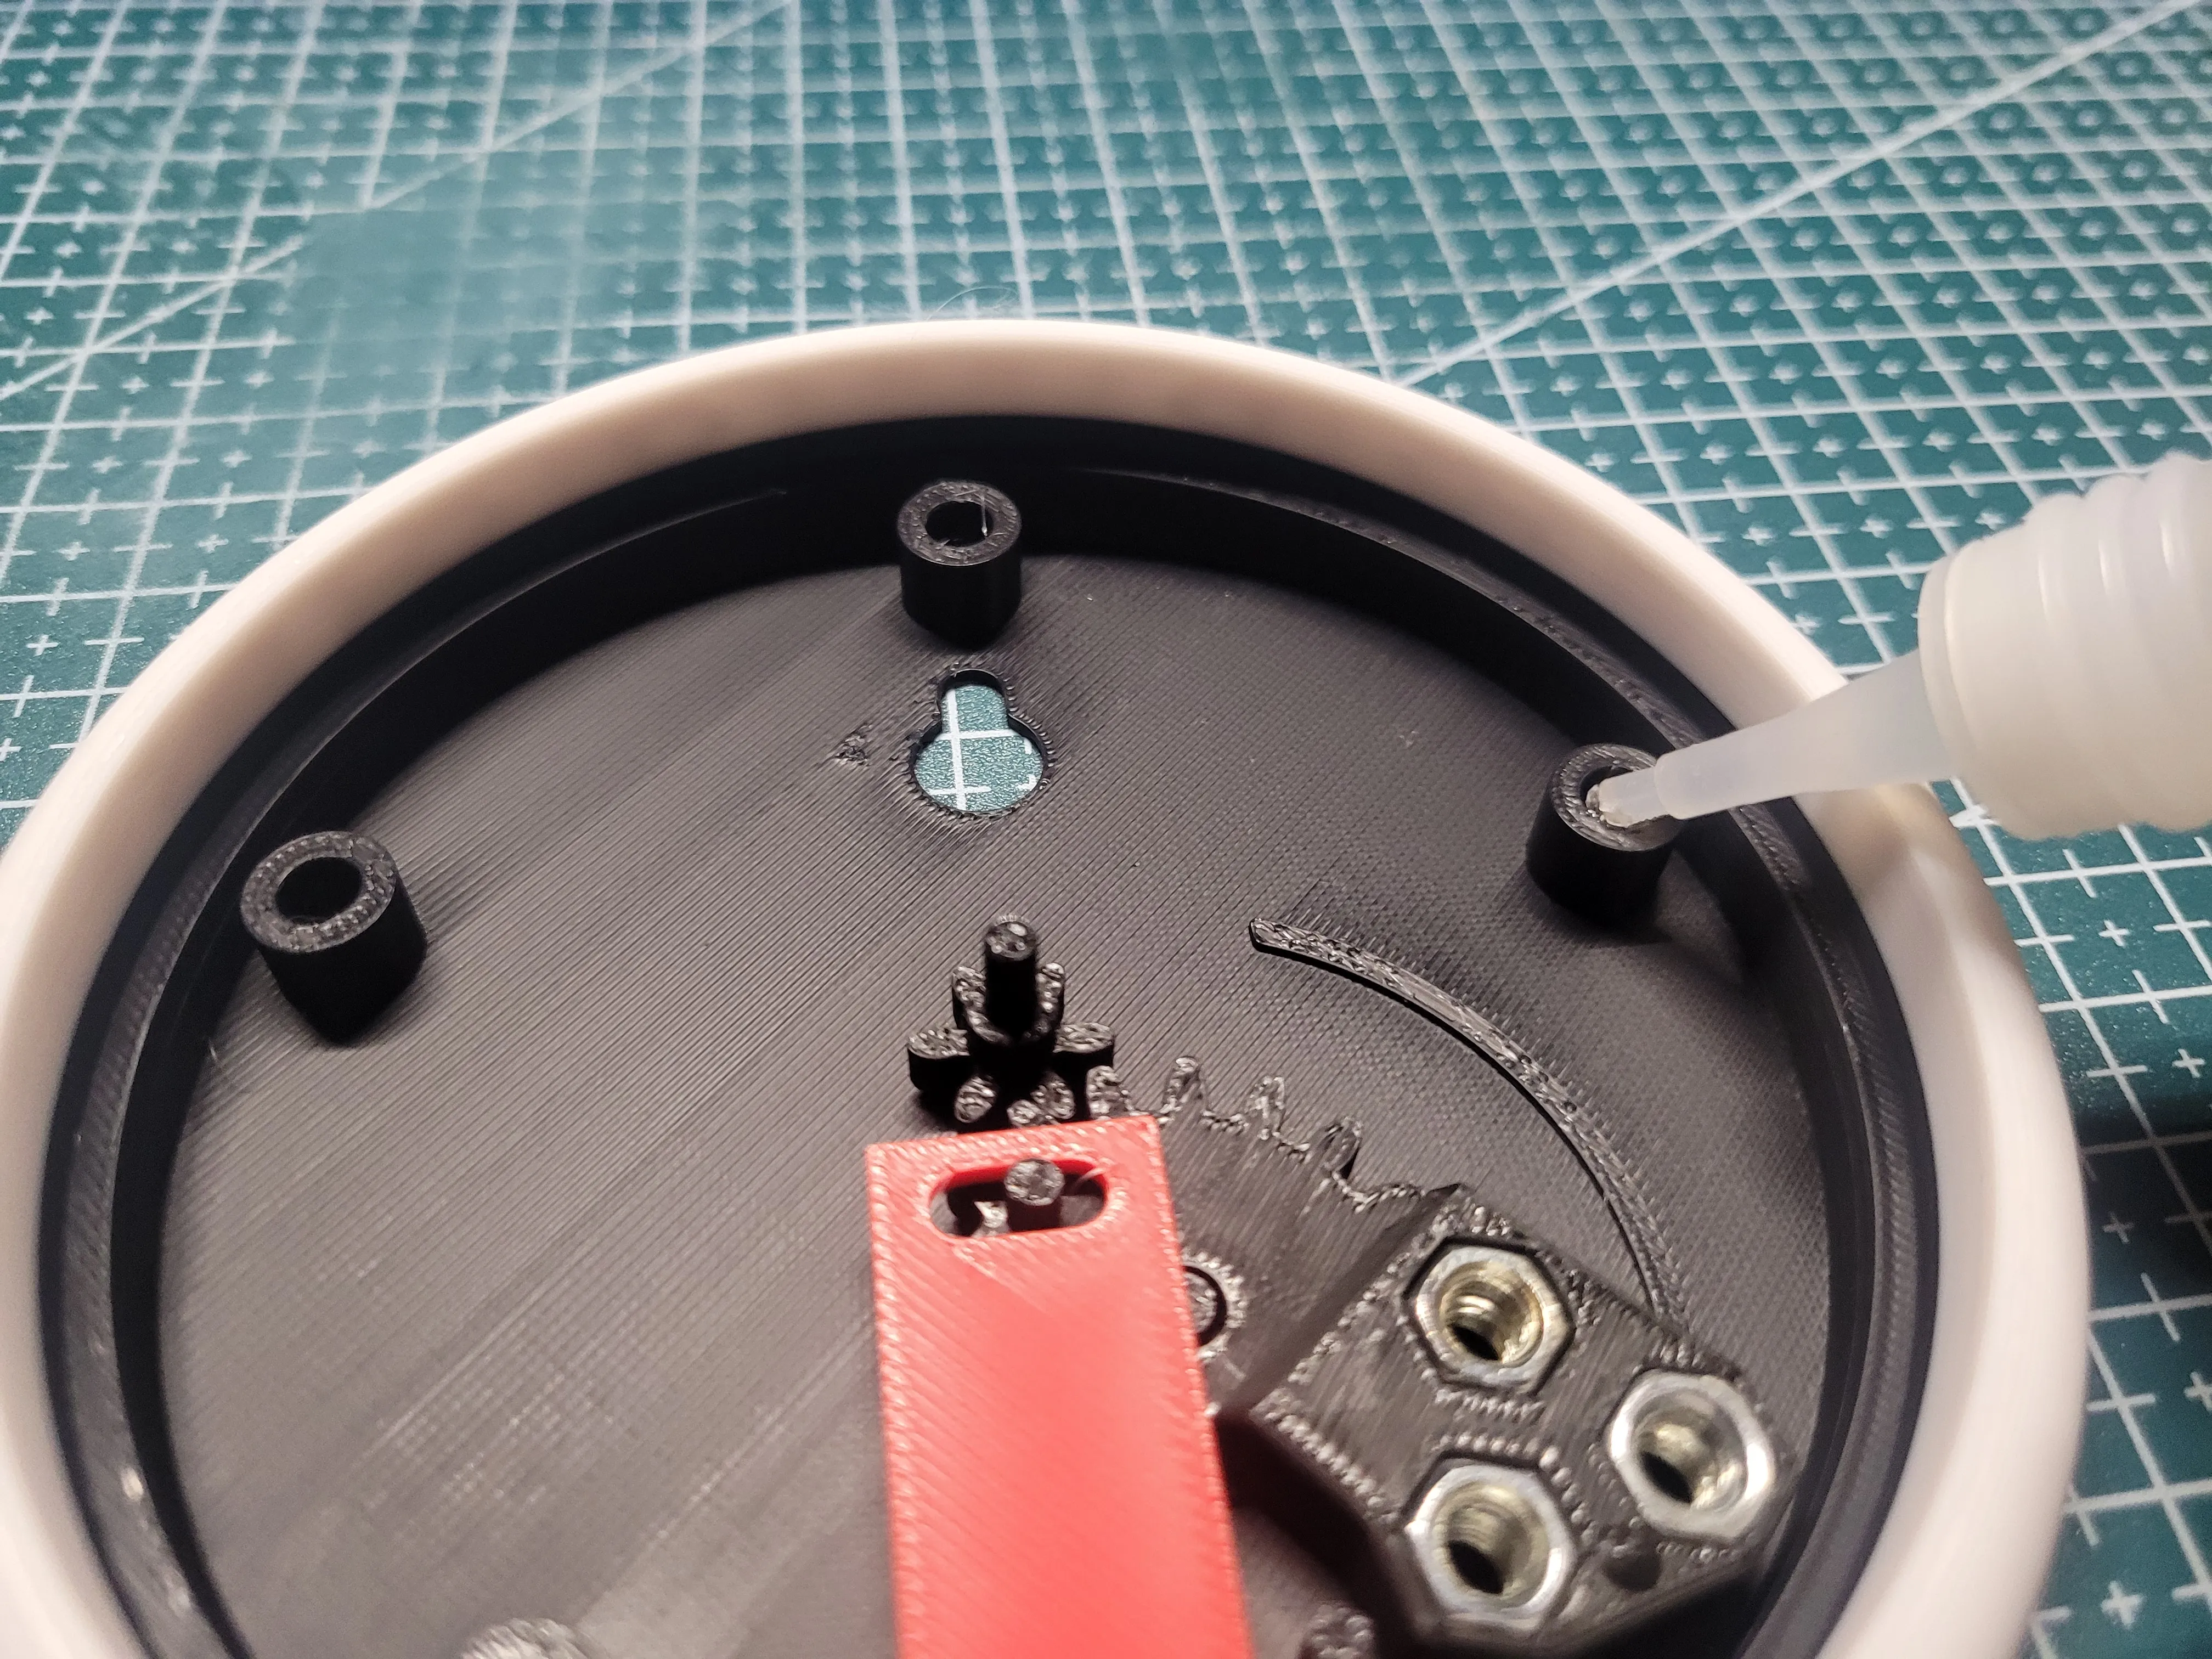
Pay attention to the small notch on the dial (marked in the photo).
This notch should align with the cutout on the housing for the key hanger – this indicates the bottom of the dial.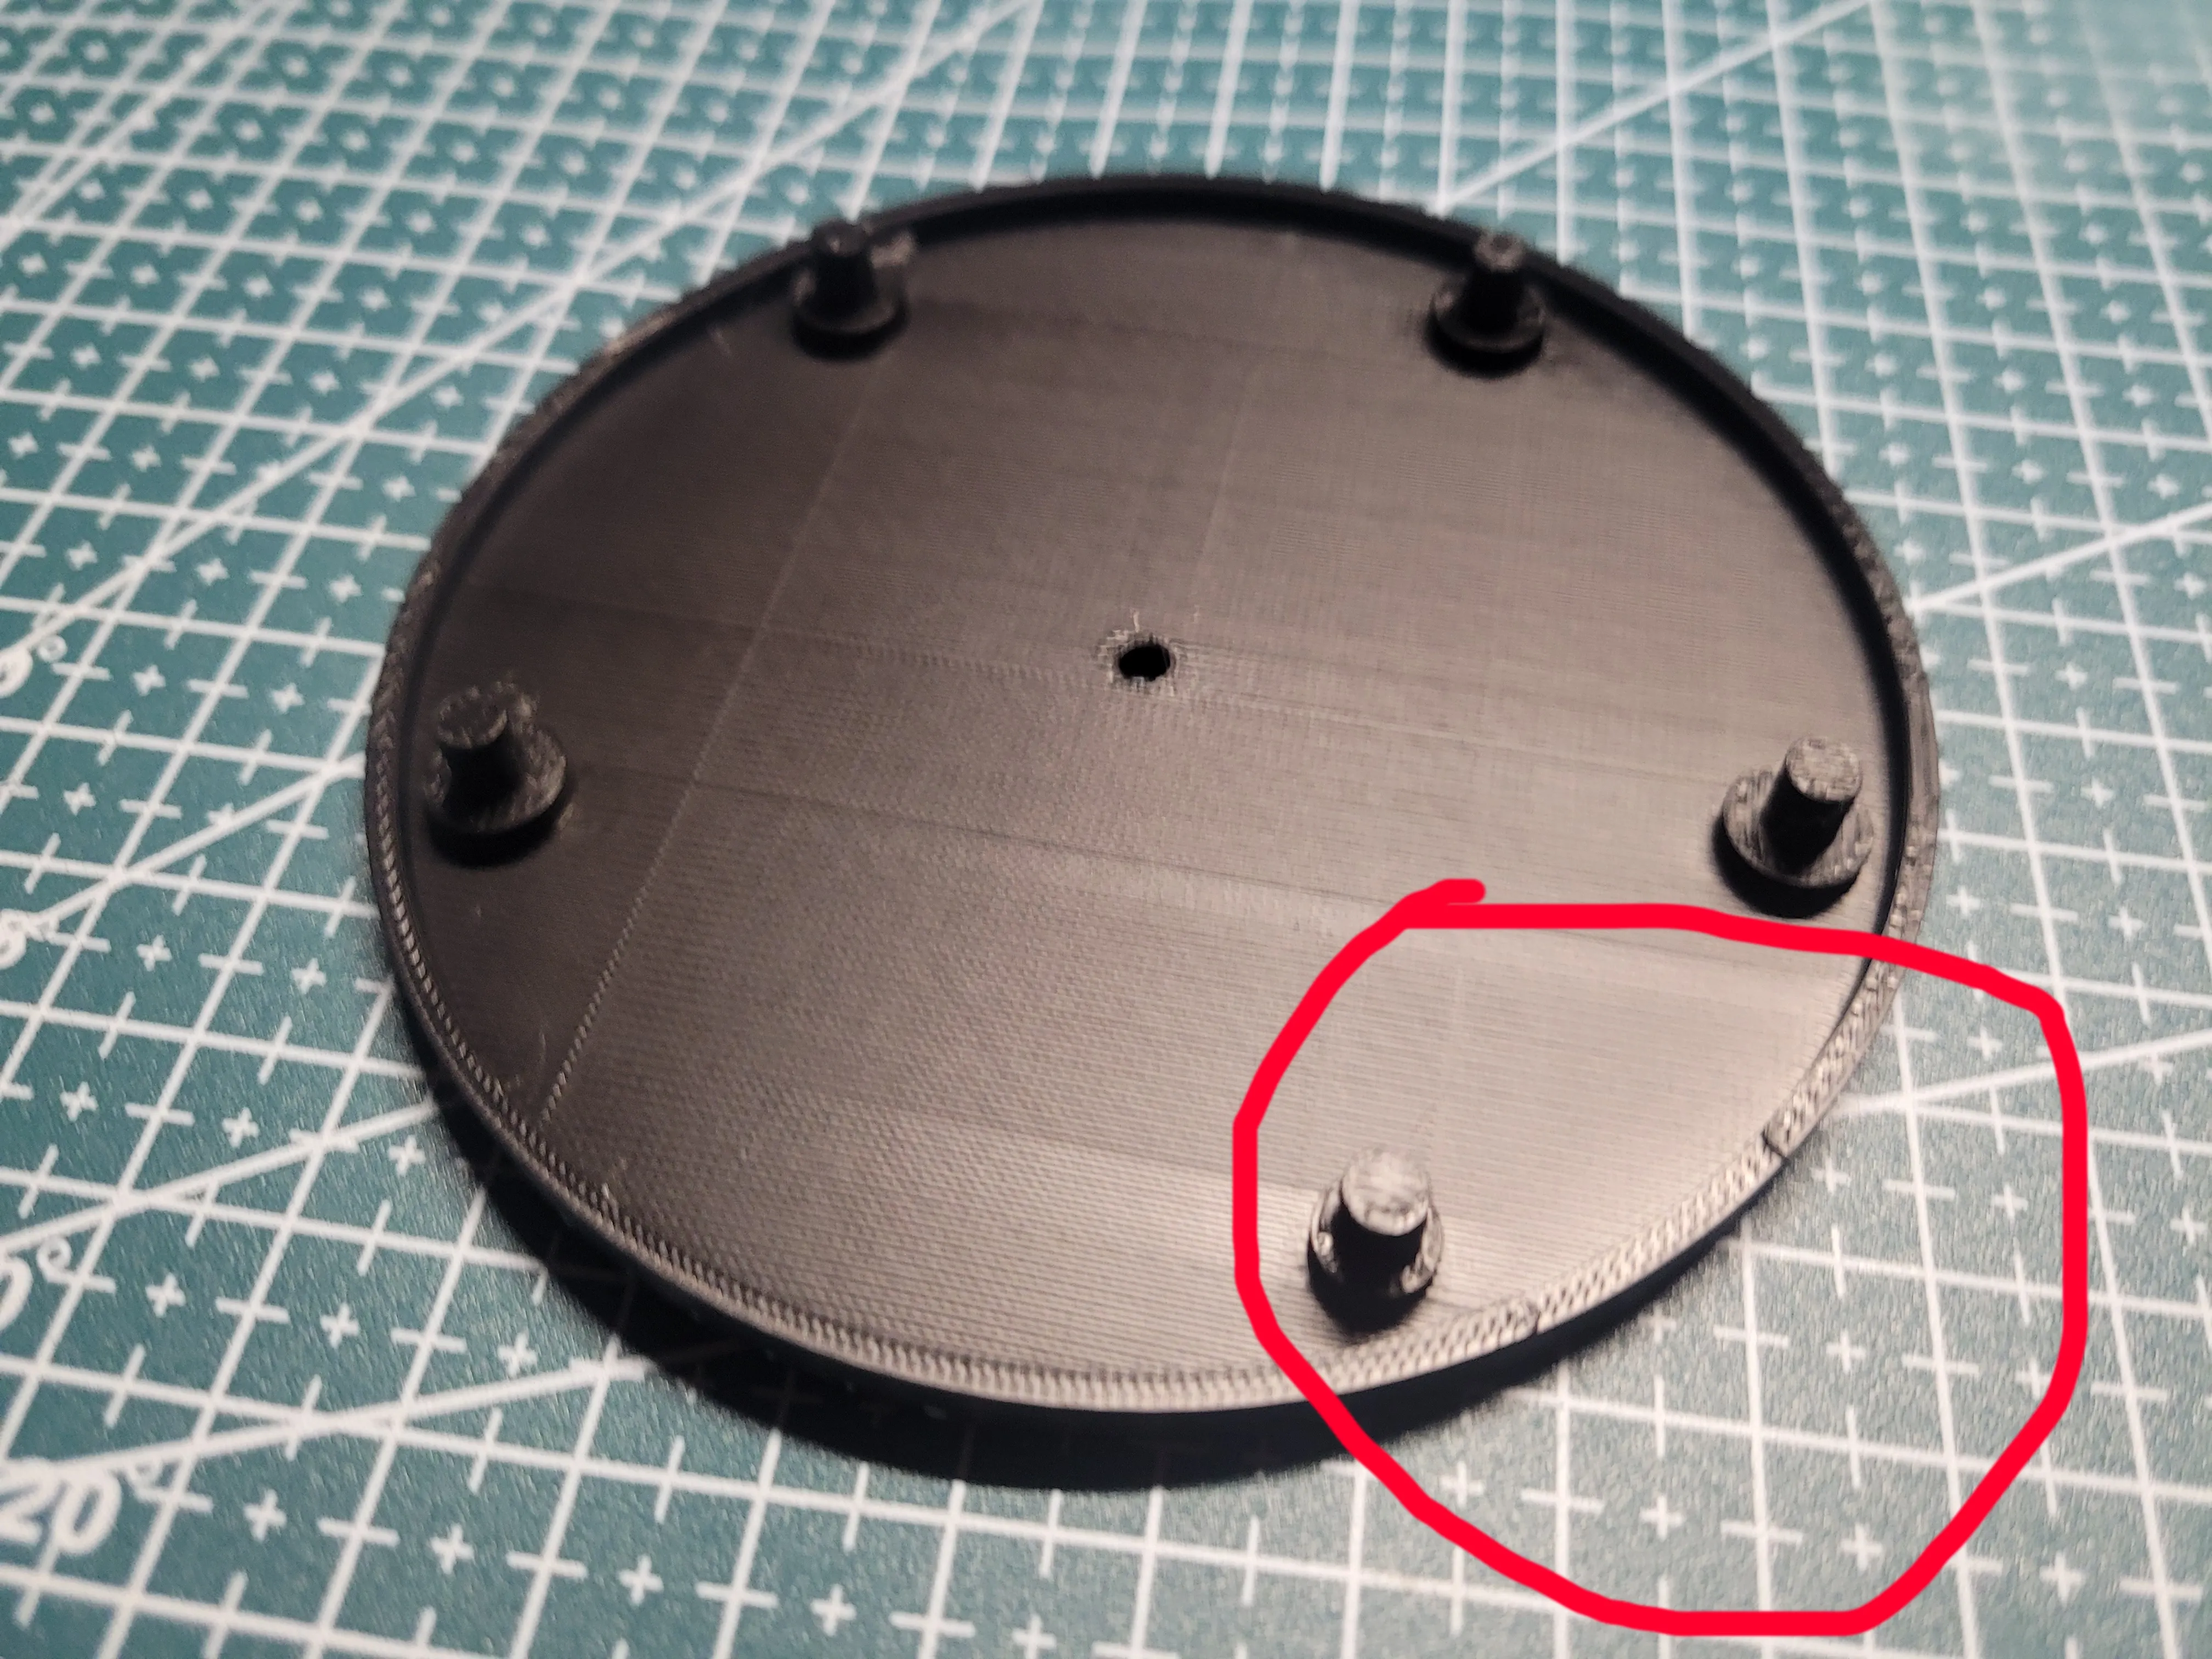
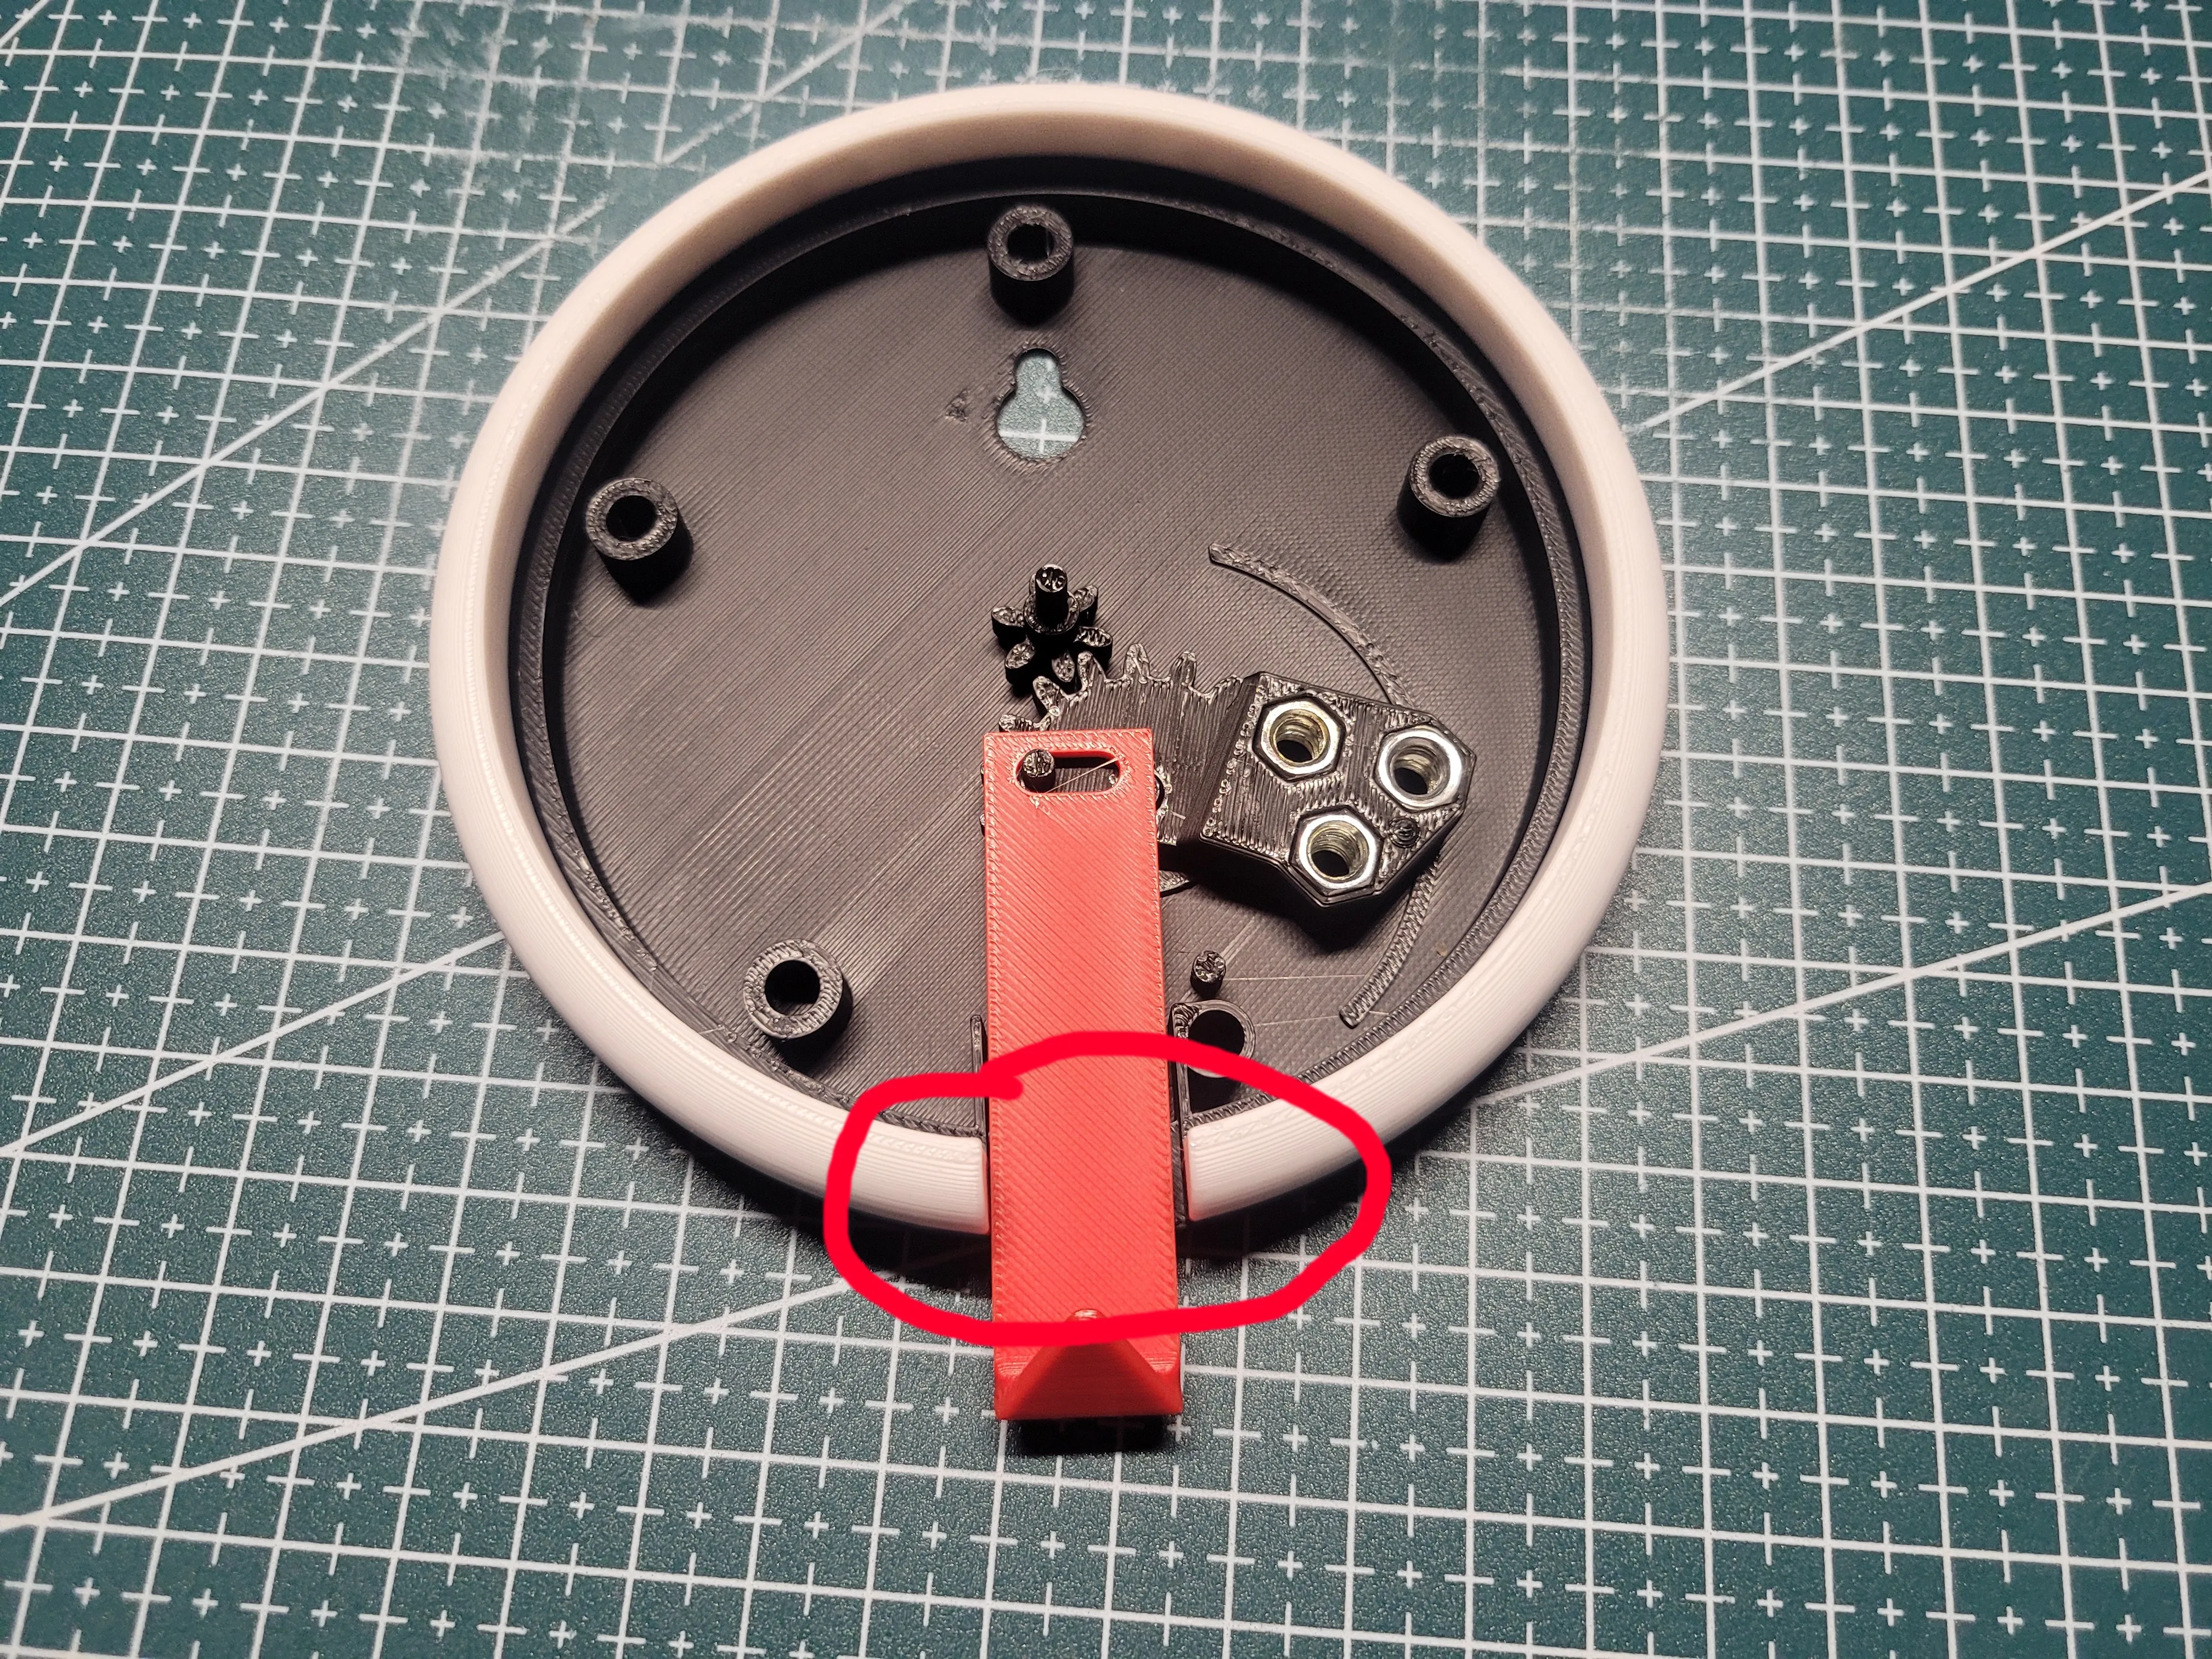
Slide the dial plate in, making sure the pins fit into their corresponding holes, and press it firmly into place.
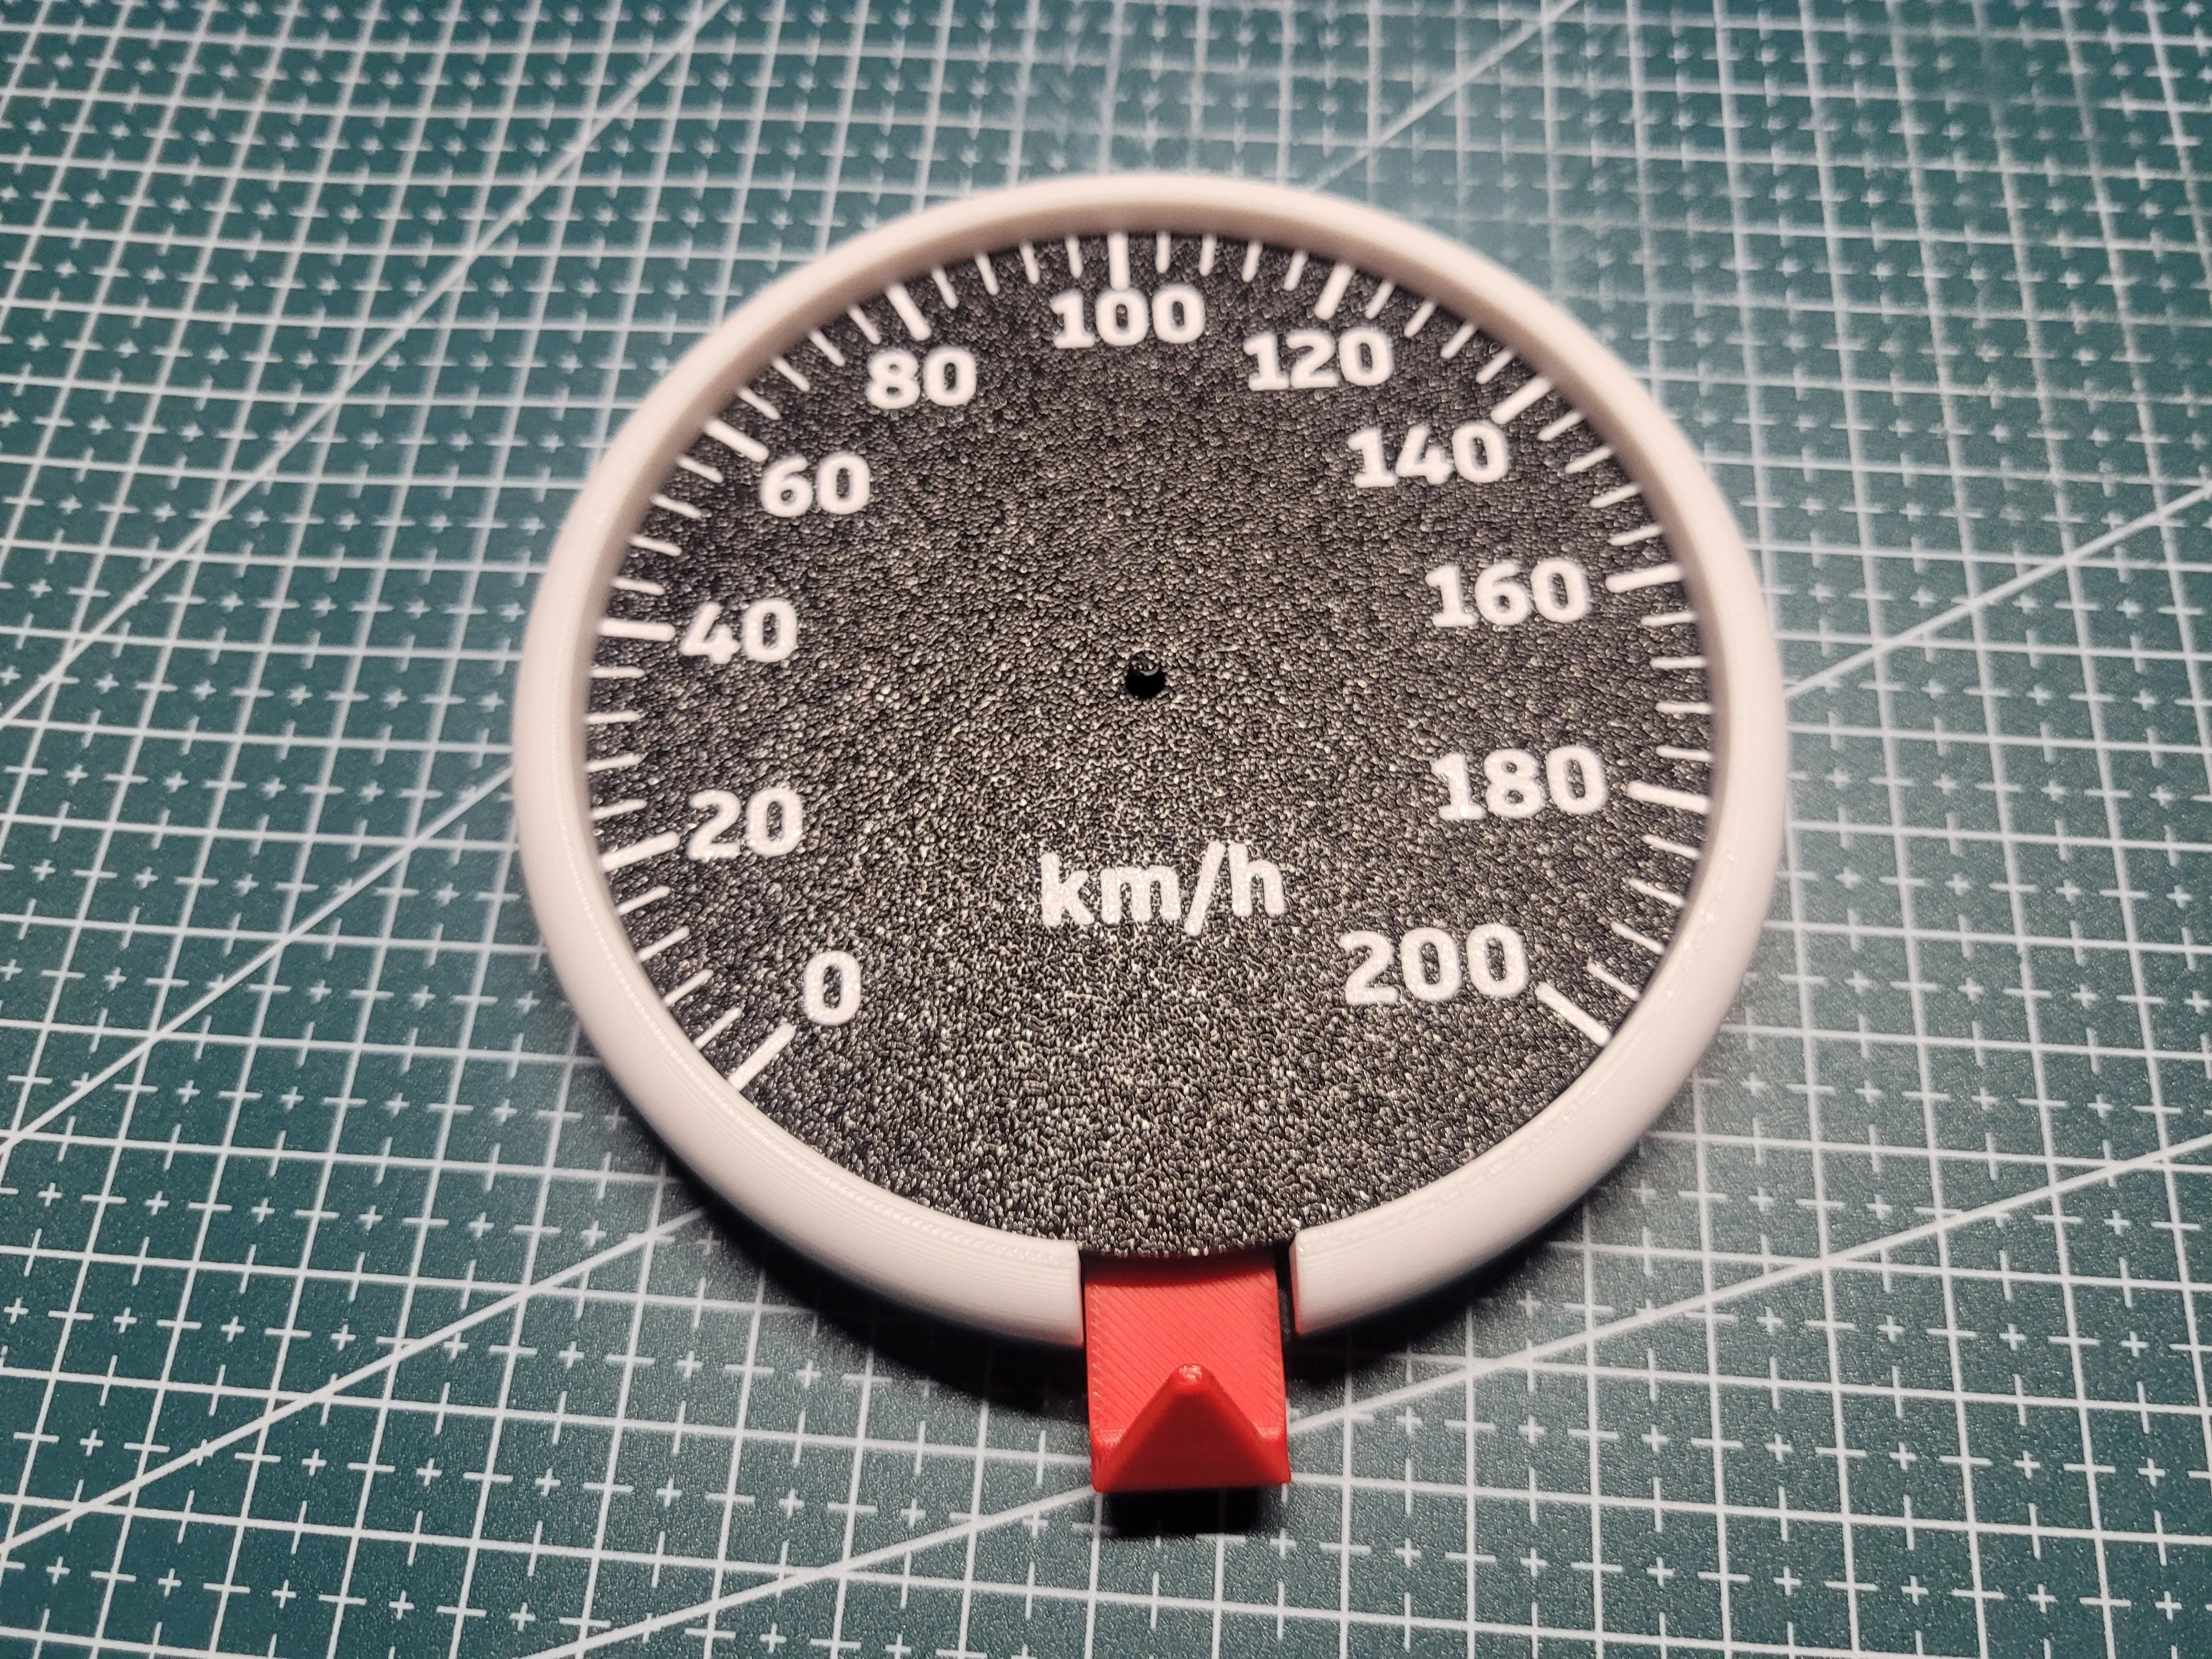
Attach the needle.
When the key hanger is fully pushed up, the needle should point to 0.
If it’s slightly off, hold the key hanger from below and gently rotate the needle to align it correctly.
The needle should fit snugly – if it loosens over time, you can secure it with a drop of glue on the shaft (if you are using a Non-AMS dial with 3D numbers, I highly recommend using glue to avoid the needle catching on the numbers).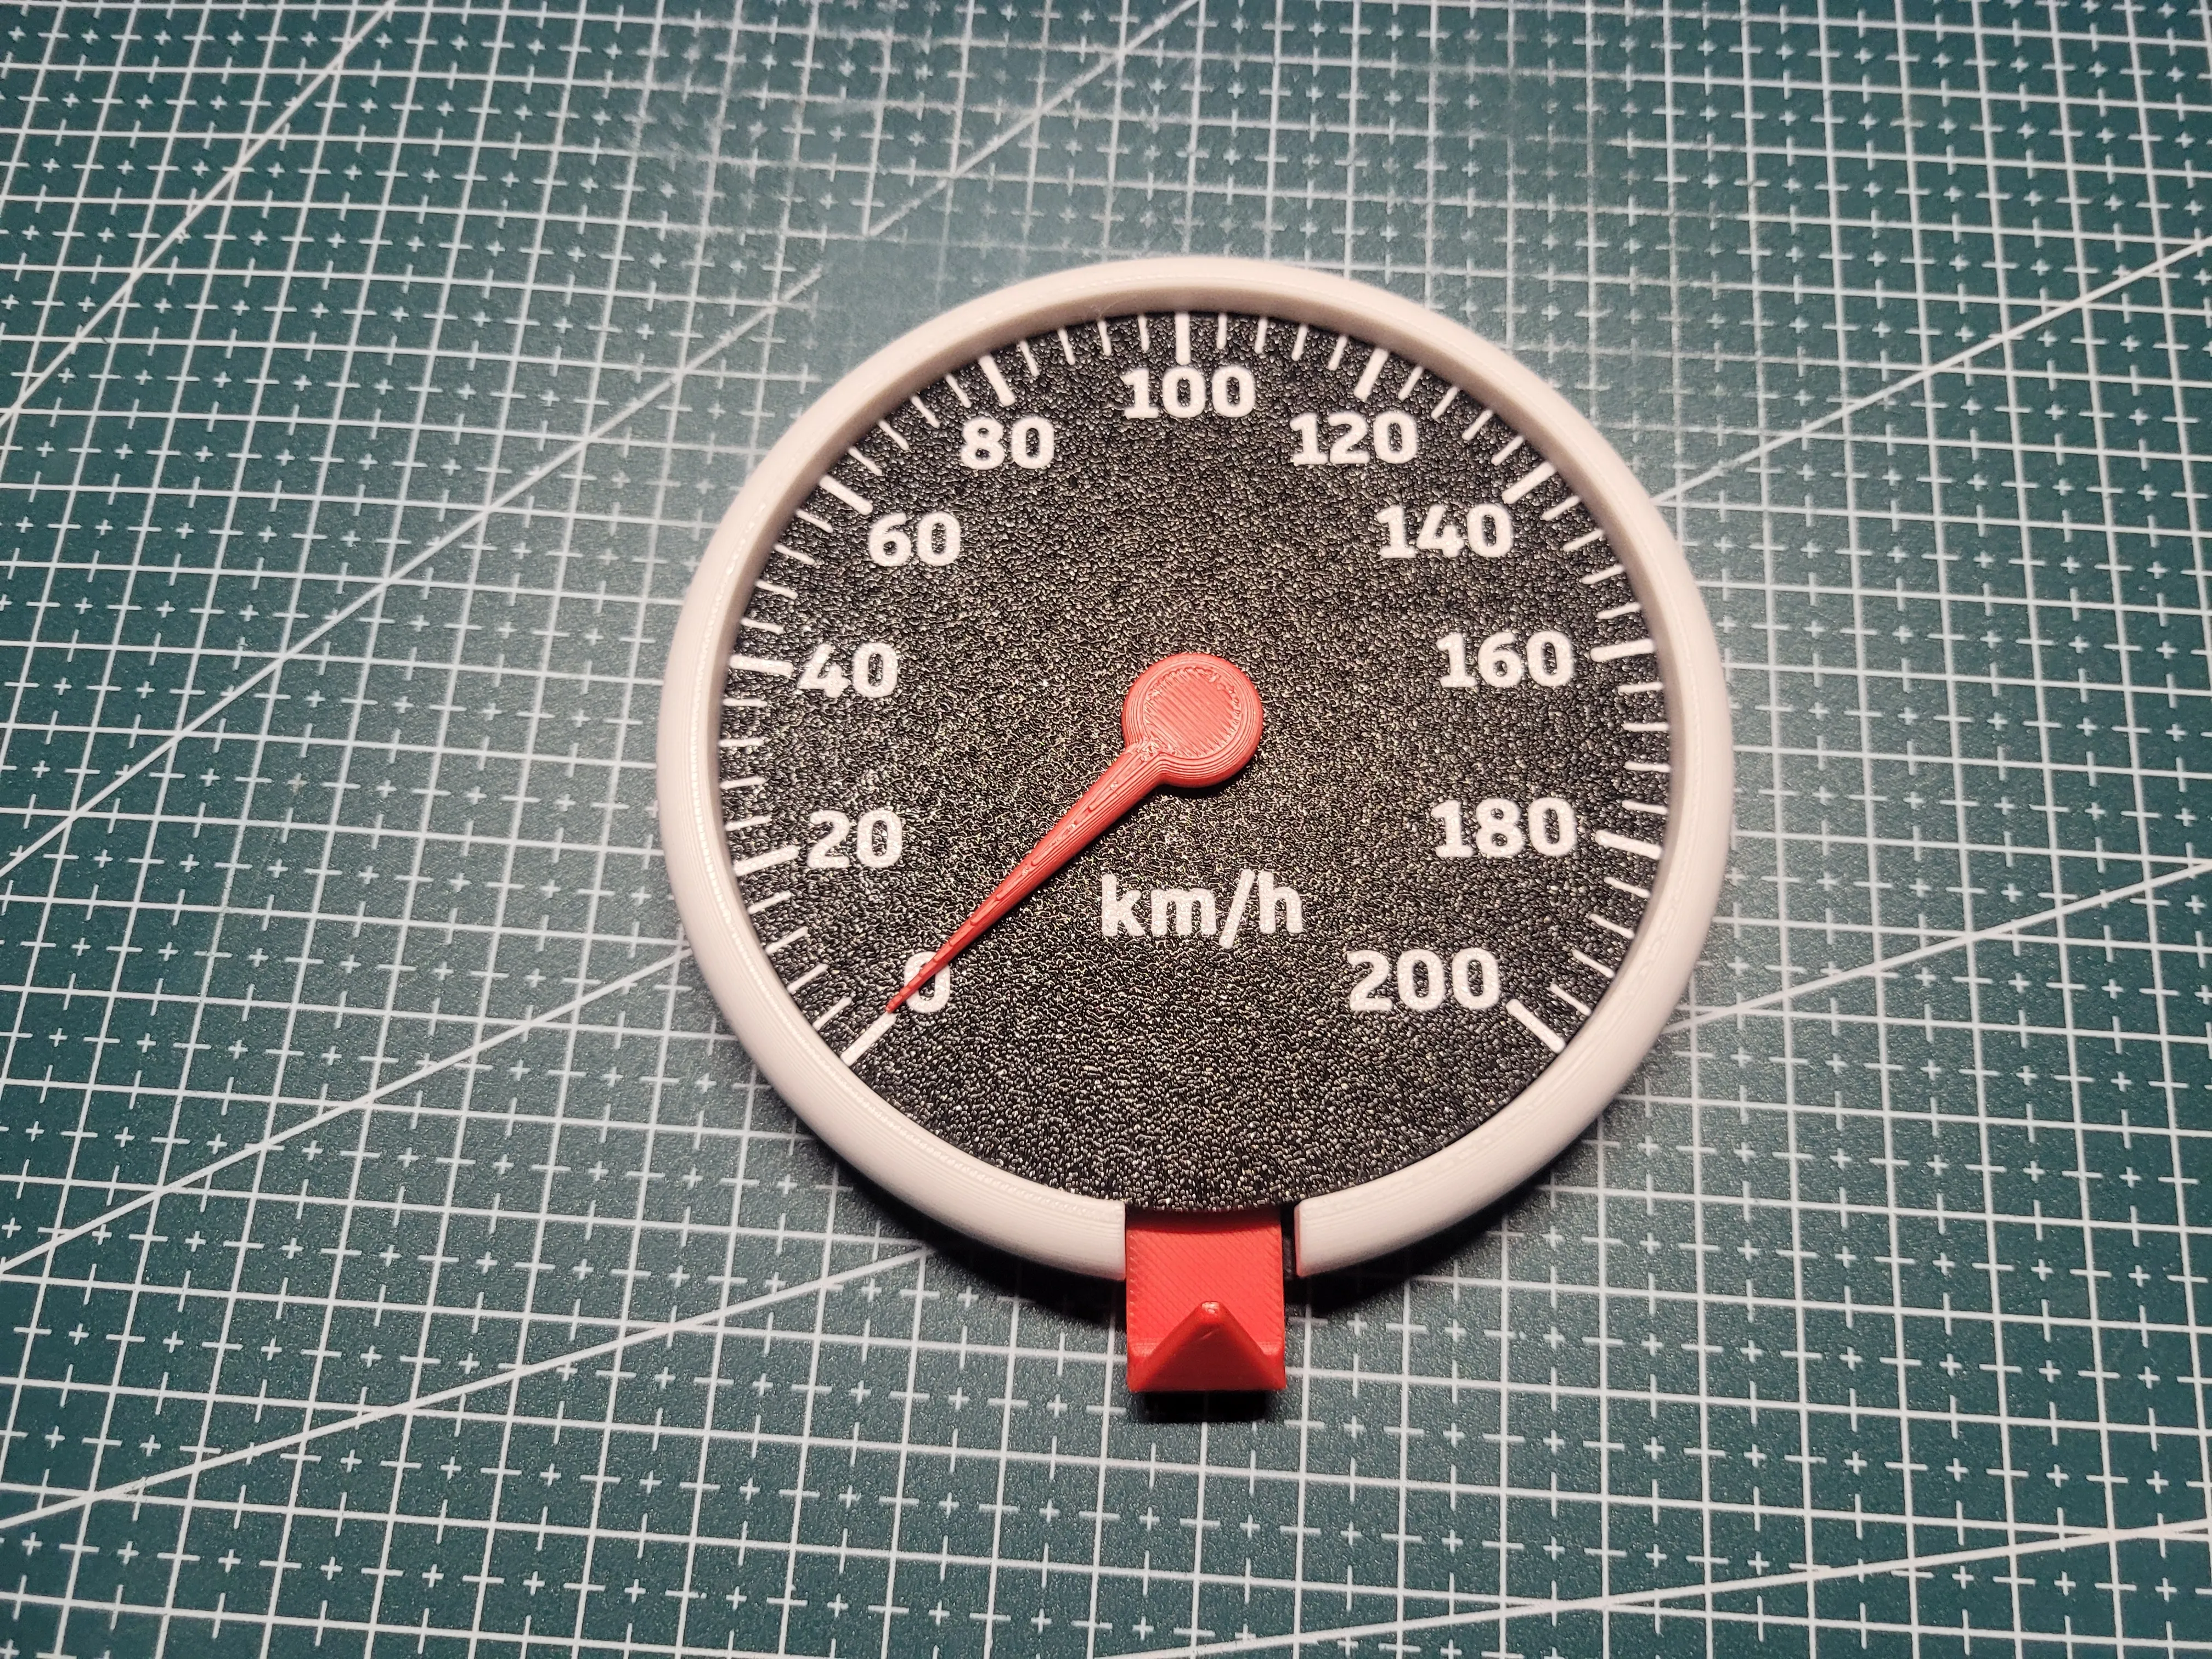
🎉 That’s it! Your speedometer key holder is fully assembled – enjoy the awesome automotive vibe on your wall.
License

You shall not share, sub-license, sell, rent, host, transfer, or distribute in any way the digital or 3D printed versions of this object, nor any other derivative work of this object in its digital or physical format (including - but not limited to - remixes of this object, and hosting on other digital platforms). The objects may not be used without permission in any way whatsoever in which you charge money, or collect fees.


Comment & Rating (108)