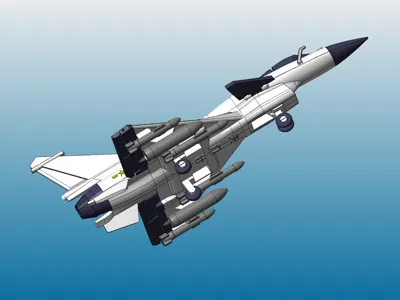
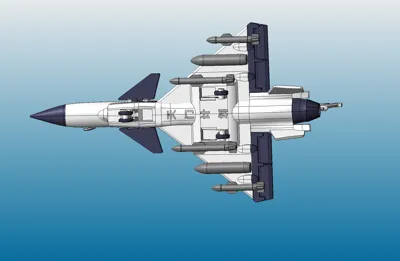
J-10C-Assembly Version


Print Profile(2)


Description
Catalog => <Warship-Ship>-<Fighter-Aircraft>-<Vehicle-Tank>-<Aerospace>-<Miniature>-<Mecha>-<Weapon>-<Uncategorized>
Membership
Version 2 is now available. Please download the latest version. Click here ---J-10C Assembly Version II
J-10C Assembly Version
PL-15 Missile - Dedicated to J-10C Assembly Version
(Radar, engine, air refueling probe, cockpit, canard, landing gear, missiles… and more require assembly, endless fun)
Tolerance 0.2, affected by material shrinkage and printing accuracy, sanding and gluing may be necessary, apply pressure firmly as needed
Remember to thoroughly clean the PEI build plate before printing to ensure sufficient adhesion and that the filament is dry
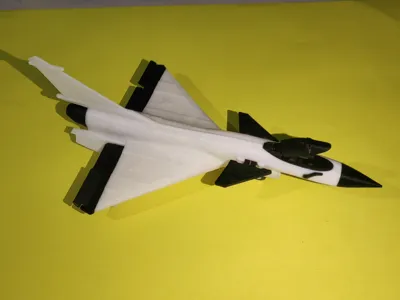
The main model is 152mm long, uses 25g of material, and takes 3 hours and 44 minutes to print
Tested printer, A1 mini - low-temperature stabilized build plate, Bamboo PLA (black, white), 0.12mm layer height, 2 walls, all acceleration 1000 or less
Raft is enabled by default. Those confident in their printer and filament can disable it; I disabled it
For more exquisite 3D printed models of aircraft, warships, etc., please visit my homepage - Tianmen Project
International: https://makerworld.com/zh/@tianmen
China: https://makerworld.com.cn/zh/@TianMen
Many thanks to all those who have followed, liked, downloaded, and boosted this project
Assembly Instructions
1. Parts List

2. Install tires and landing gear


3. Assemble the cockpit


4. Install the movable rear wings (sanding and gluing may be required here)


5. Install the engine

6. Attach the tail section to the fuselage; sanding and gluing may be necessary

7. Install the radar and front cover; sanding and gluing may be necessary


8. Install the cockpit; sanding and gluing may be necessary

9. Install the canards

10. Install the air refueling probe; sanding and gluing may be necessary


License
You shall not share, sub-license, sell, rent, host, transfer, or distribute in any way the digital or 3D printed versions of this object, nor any other derivative work of this object in its digital or physical format (including - but not limited to - remixes of this object, and hosting on other digital platforms). The objects may not be used without permission in any way whatsoever in which you charge money, or collect fees.
Comment & Rating (4)