
Zen Fountian
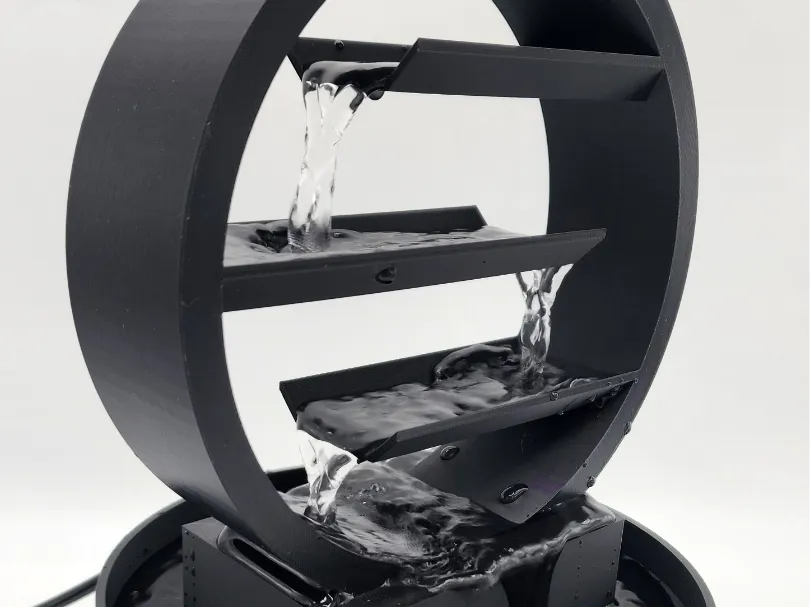

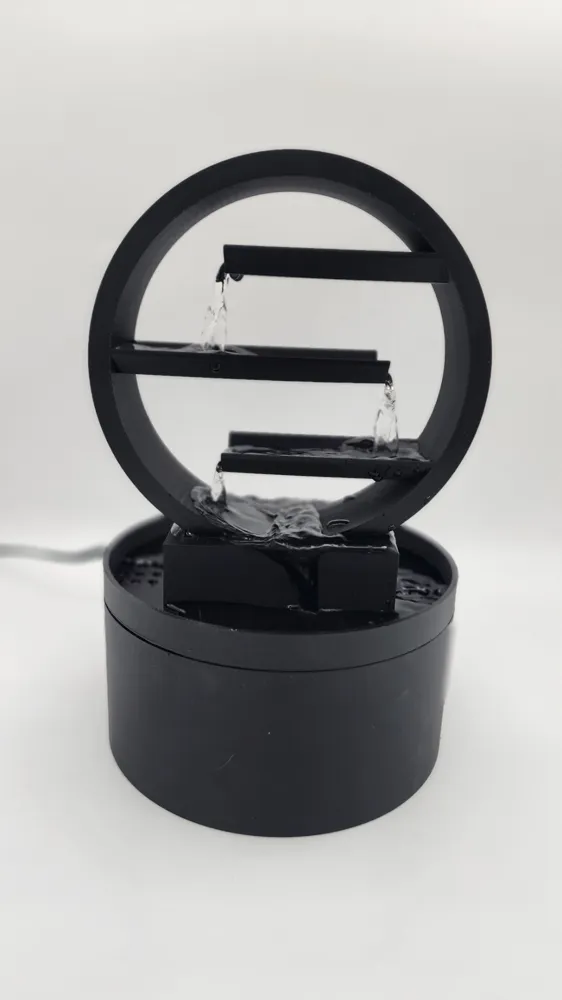
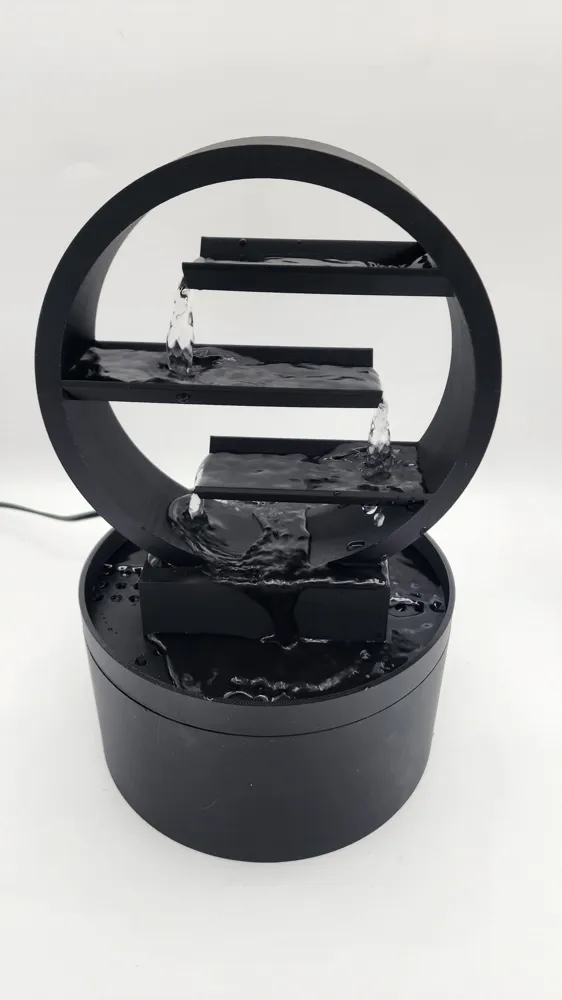
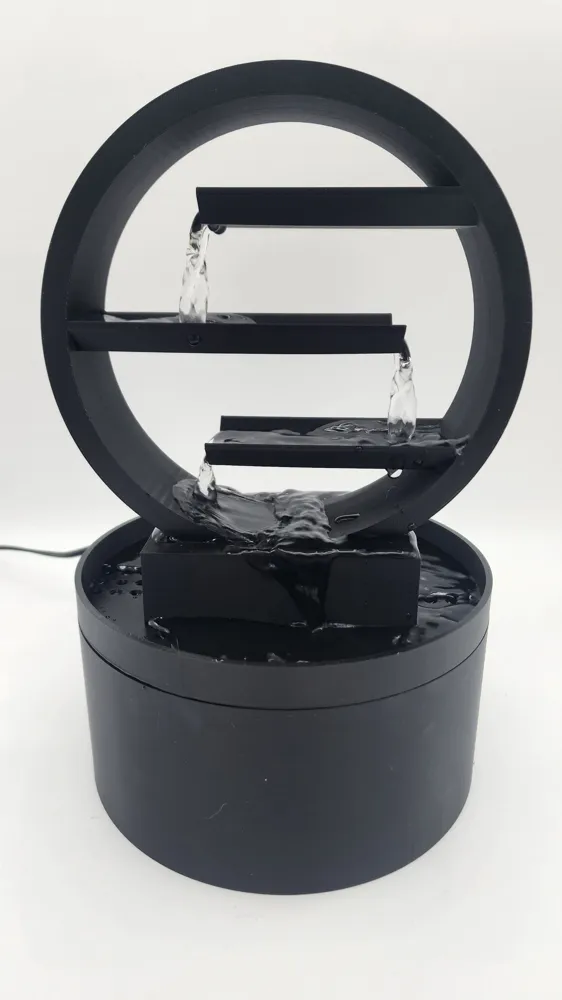
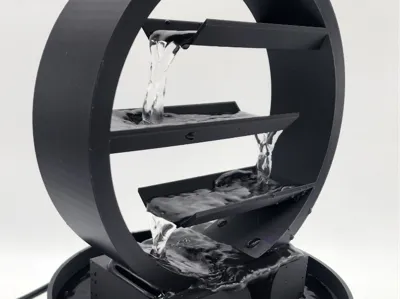
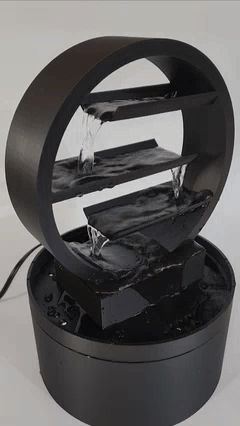
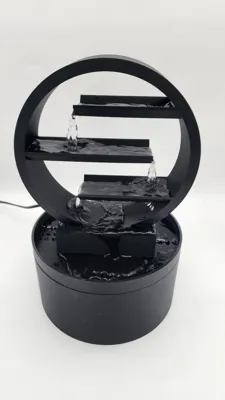
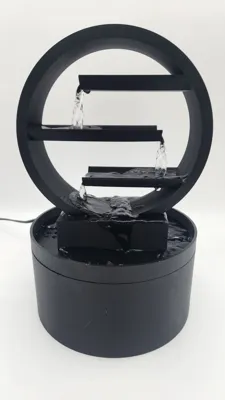
Print Profile(6)


Description
I wanted to make something that made sound to help with sleep and I found that my cats also love it…
DON'T FORGET TO REMOVE THE PRINTED SUPPORT ON THE LID! (A1mini version)
Instructions:
step 1. Remove all support material.
The print profile you use may have a tree support (X1) or a modeled support (A1mini) the assembly is the same for both.
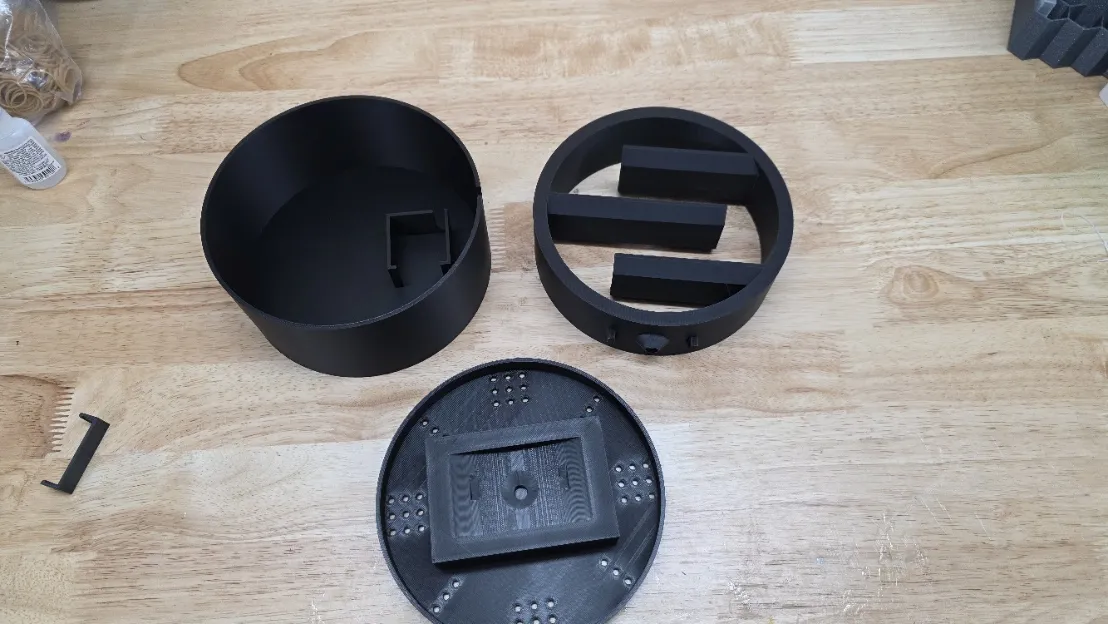
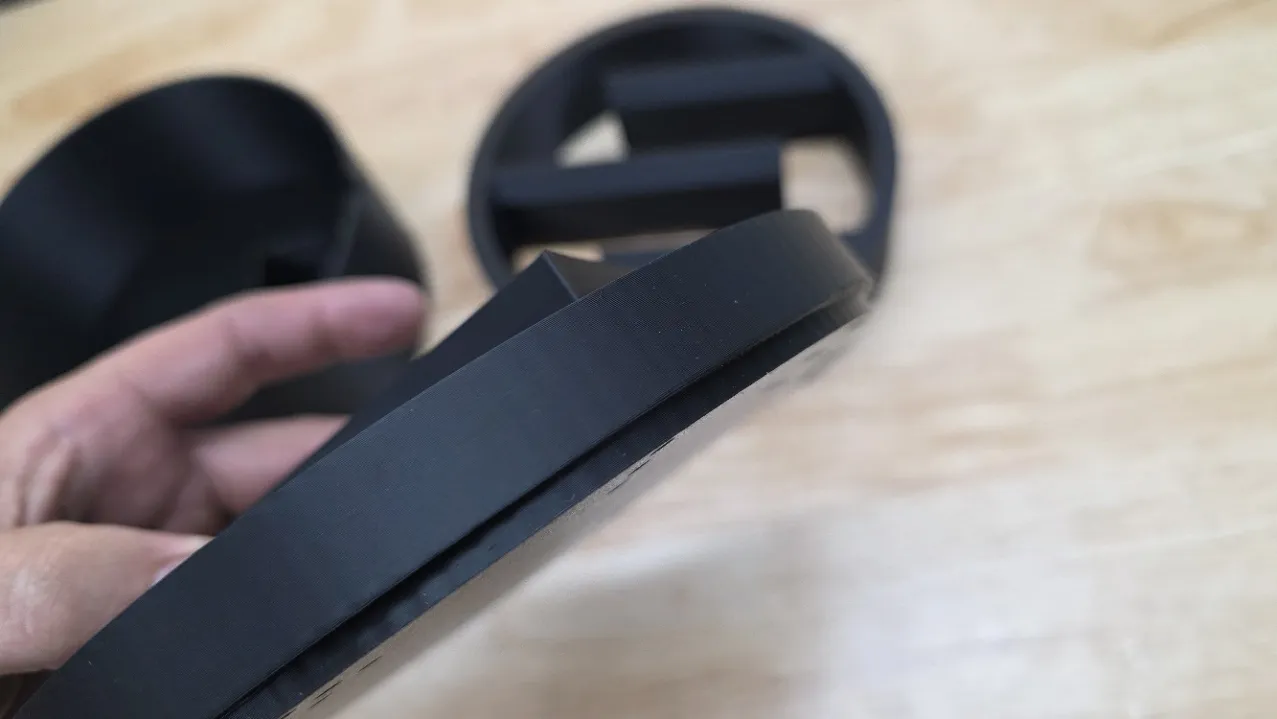
step 2.
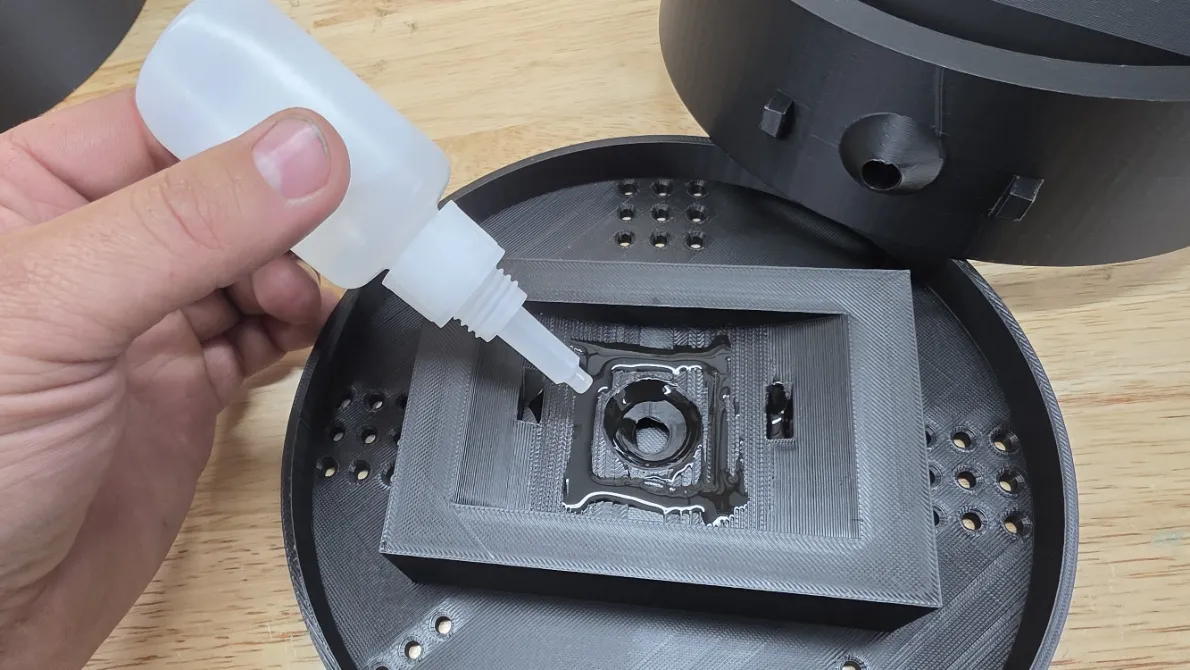
Super glue or epoxy the top of the ZEN waterfall to the manifold. (on this one i used superglue)
Try not to get any into the outlet hole.
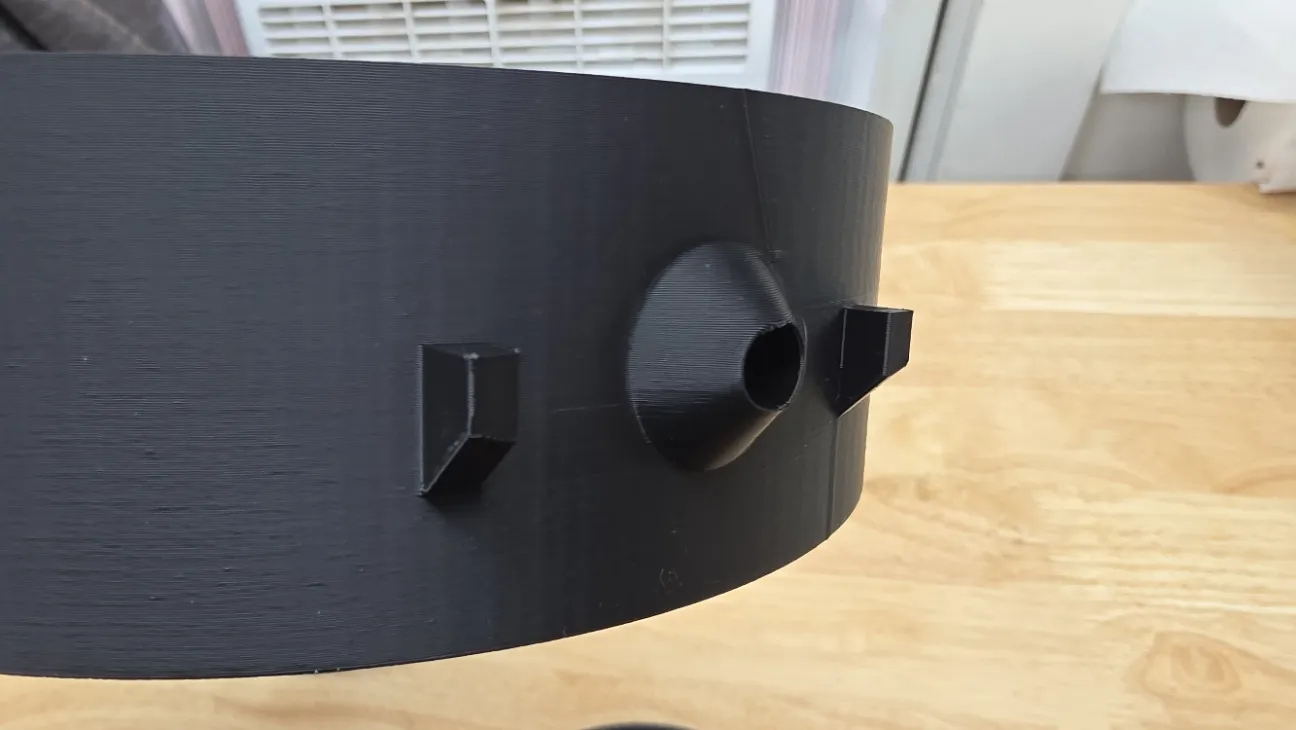
the tabs are directional so it can't be placed on backwards.
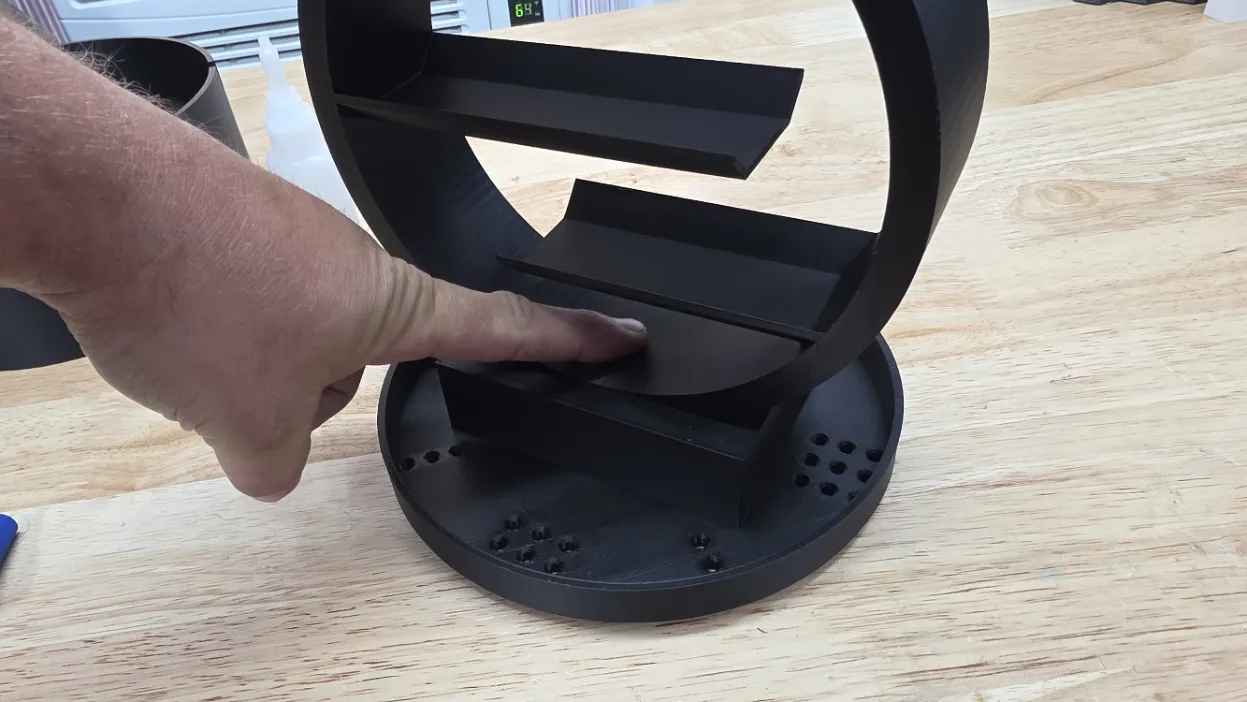
Be sure to make a complete seal and press down with one finger for about 1 minute.
step 3.
Sealing the base.
In order to make this waterproof I found there to be 3 good ways to do so.
The first way is to spray the inside of the bottom with FLEX seal. this works great but i don't know how cat safe it is.
Second way is to rub bees wax in the inside of the bottom thoroughly then use a heat gun quickly to melt the wax into the layers.
The last way is to use epoxy witch is the way i prefer so i can clean the bottom out by hand and the epoxy i use claims to be food safe.
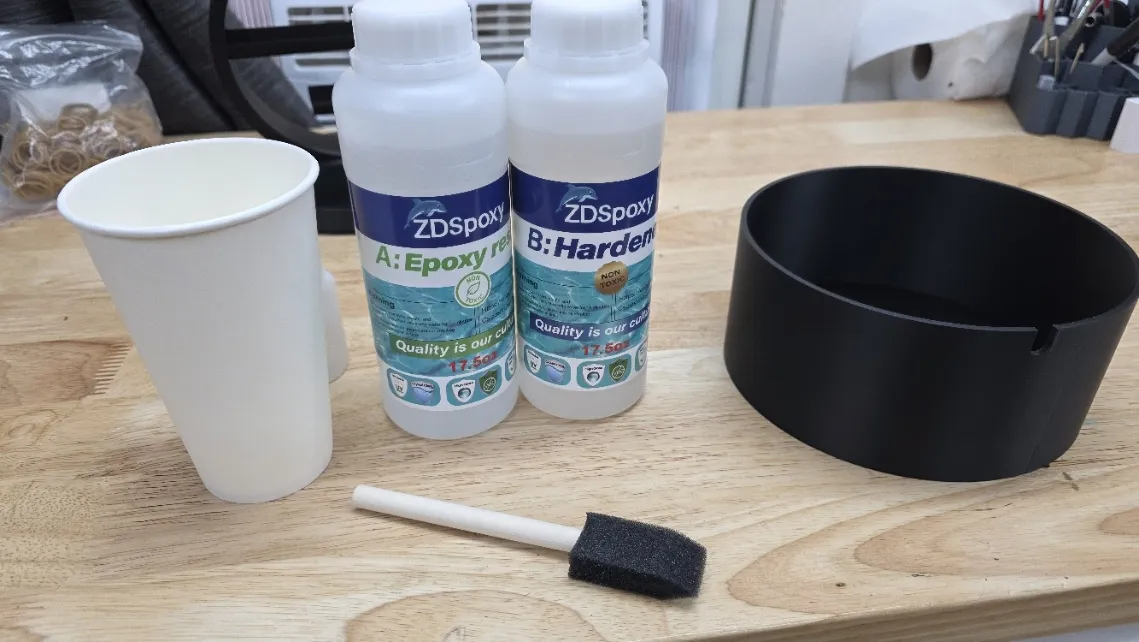
Mix the epoxy and the hardener and apply a generous coating on the inside of the bottom bowl making sure you fully coat the walls and bottom.
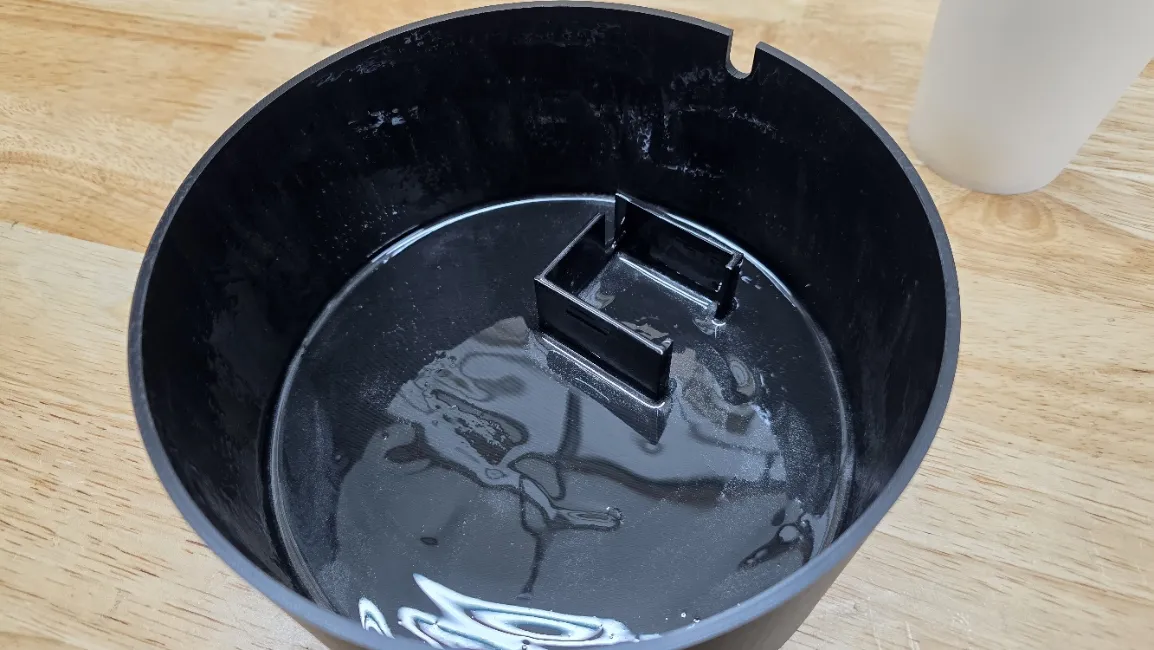
Step 4.
Cut the hose that came with your pump (8mmID-10mmOD) 51mm long and insert it into the bottom of the assembled cover.
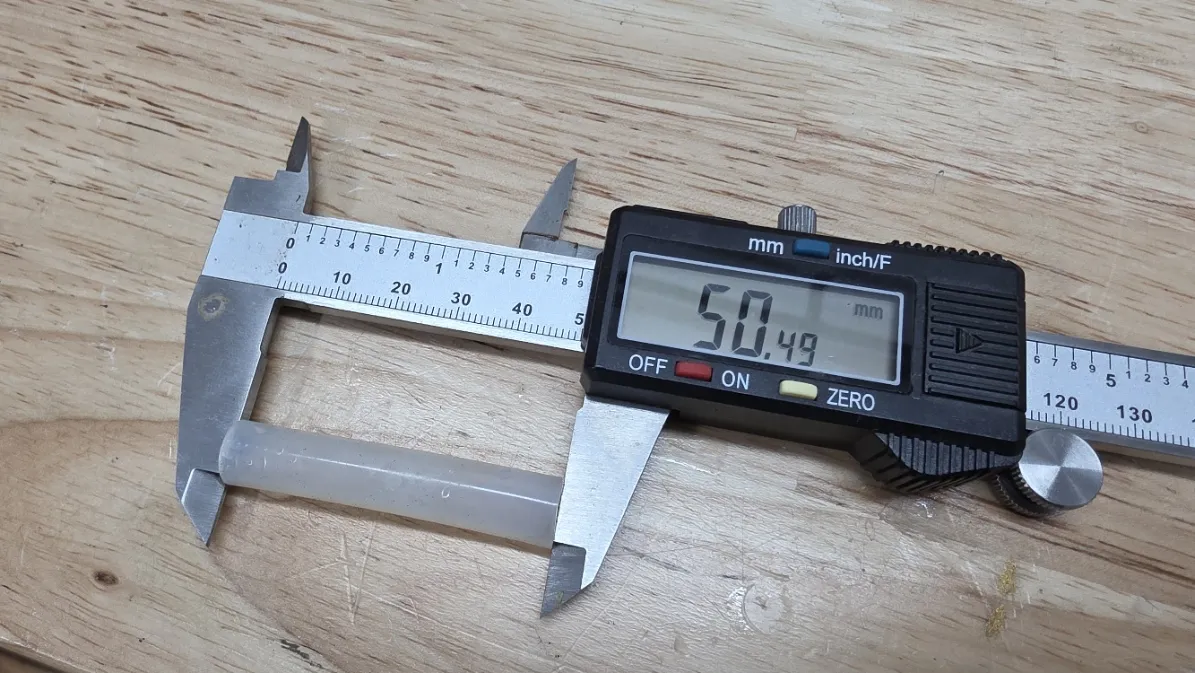
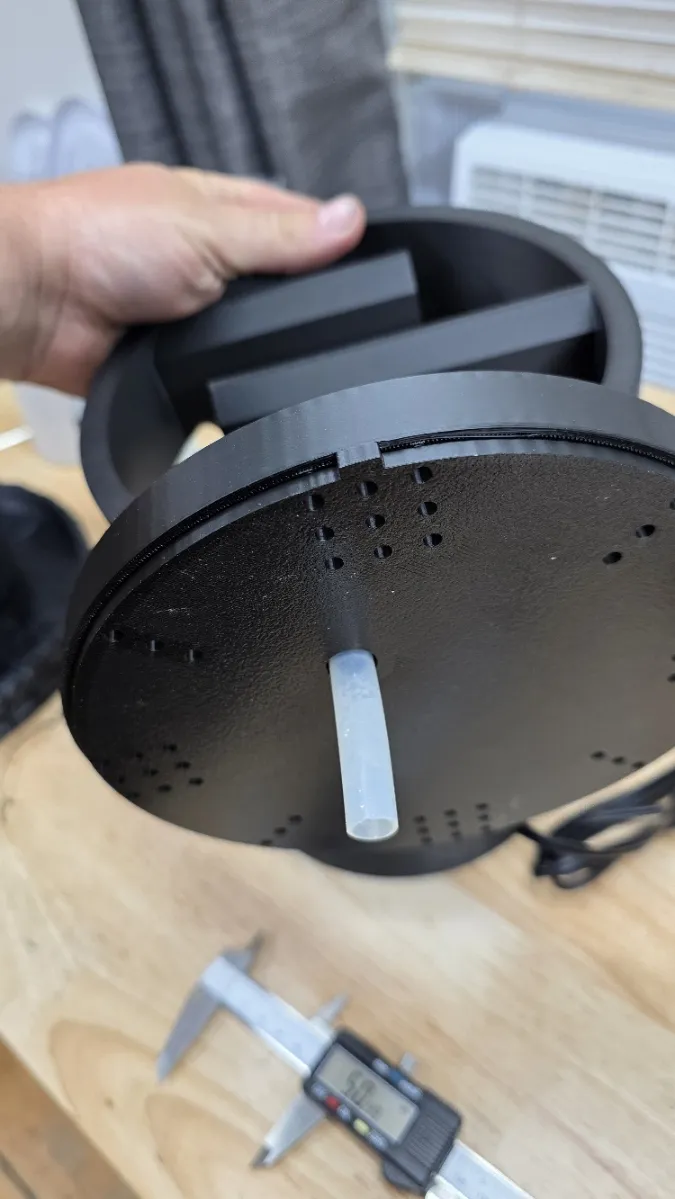
Step 5.
Once the bottom bowl is dry, place your pump into the housing and place the retaining clip on top
Drying may take a day or two.
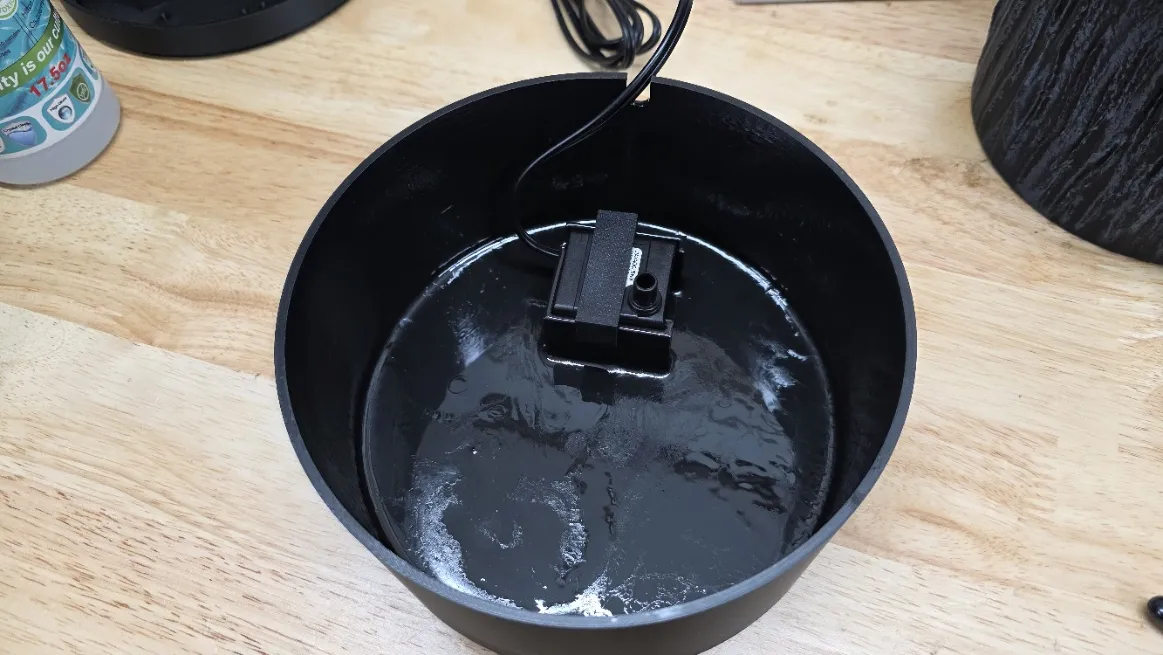
Step 6.
Fill the bottom container with water ¾ of the way to the top and place the top on with the locator tab placed in the back.
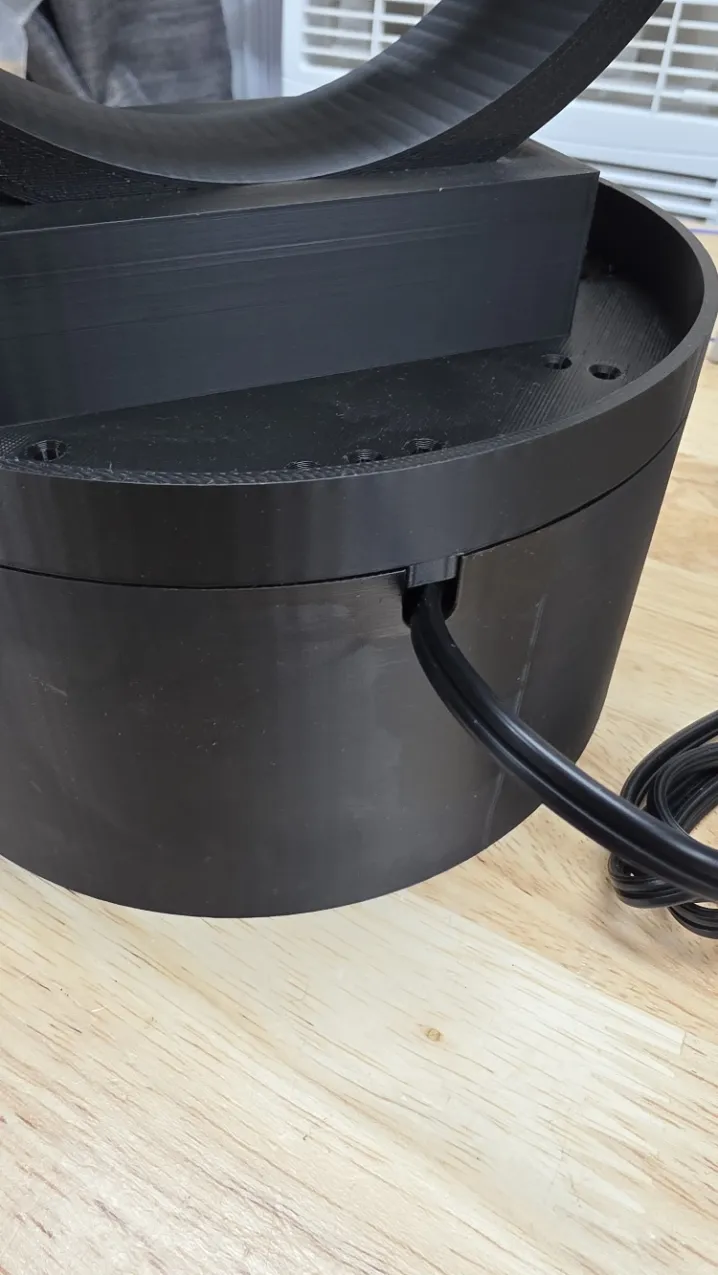
And that's it!
Enjoy!
This is the pump I use.
Boost Me (for free)
It also helps me sleep.
Membership
Want to sell this?
License

You shall not share, sub-license, sell, rent, host, transfer, or distribute in any way the digital or 3D printed versions of this object, nor any other derivative work of this object in its digital or physical format (including - but not limited to - remixes of this object, and hosting on other digital platforms). The objects may not be used without permission in any way whatsoever in which you charge money, or collect fees.


Comment & Rating (549)