
Fortnite Mythic Goldfish
Print Profile(4)


Description
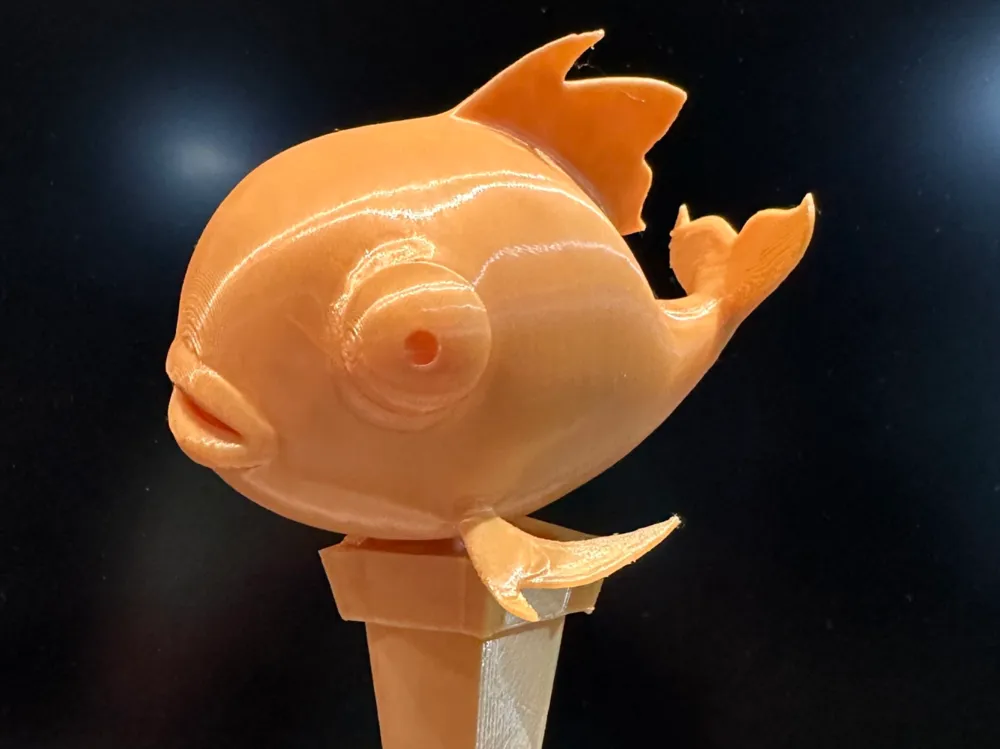
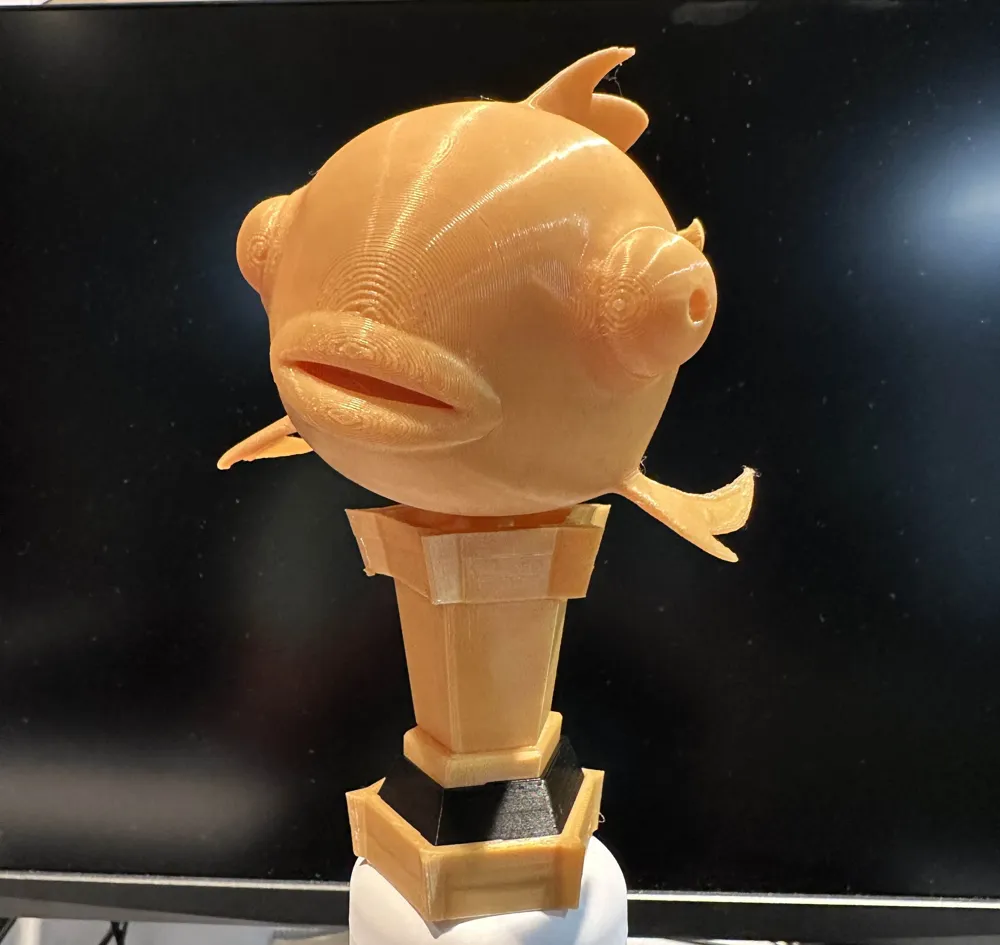
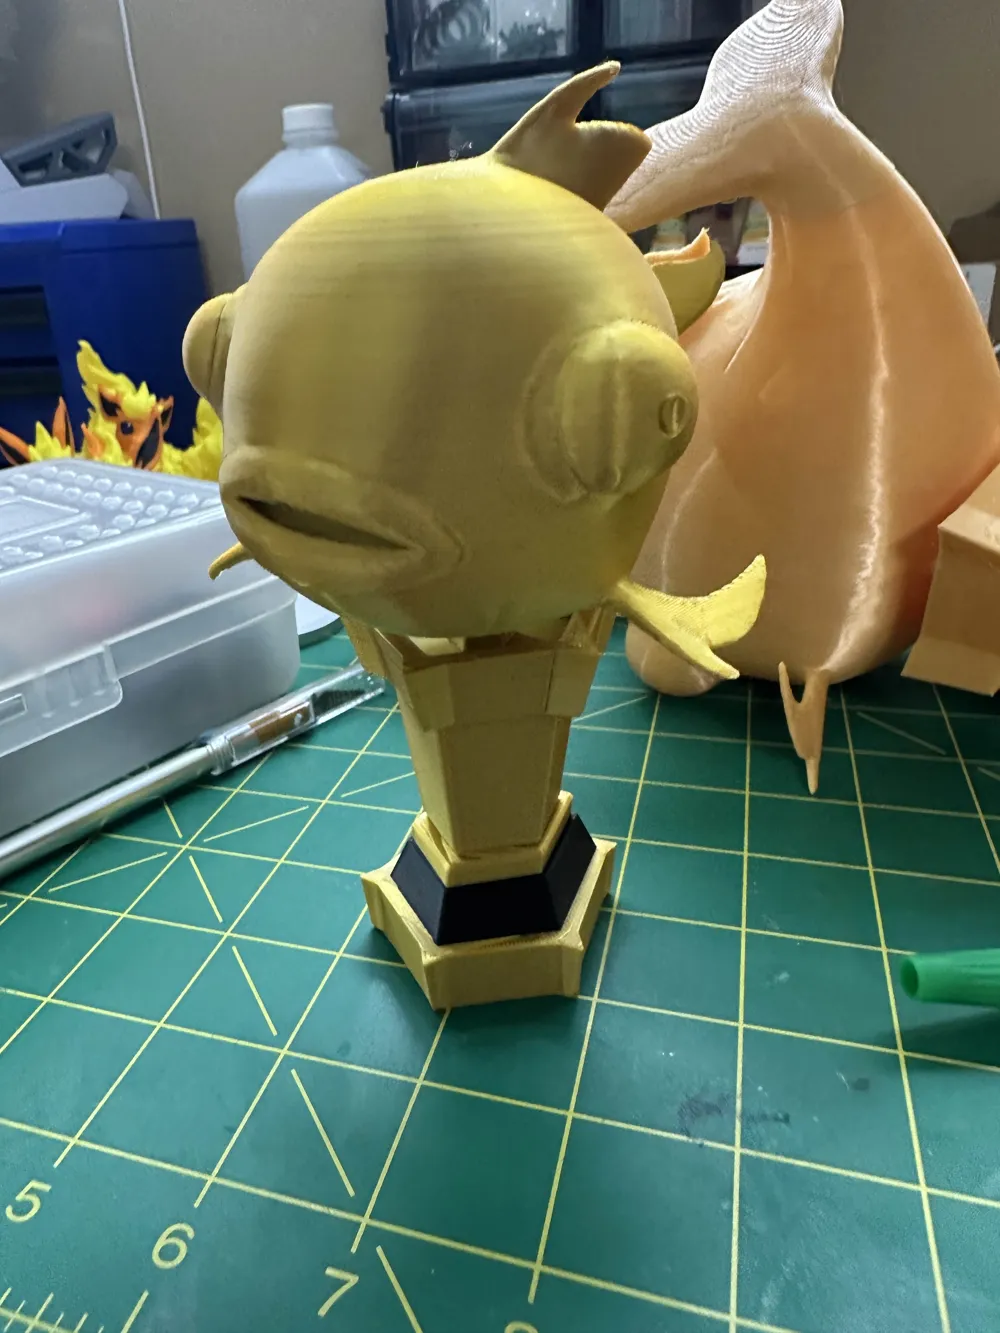
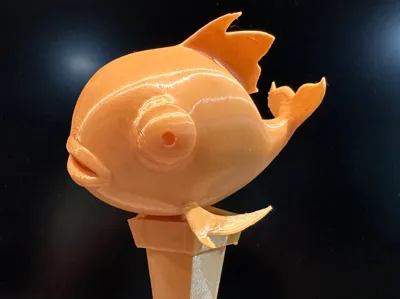
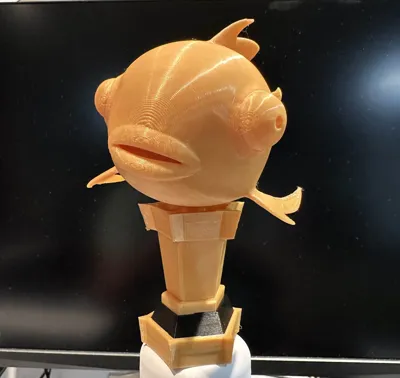
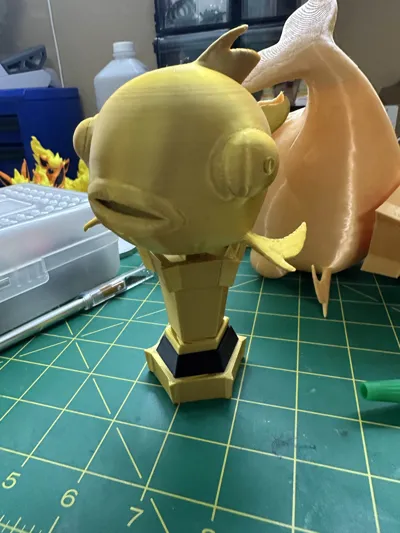
Mythic Goldfish
This is the iconic mythic goldfish from Fortnite.
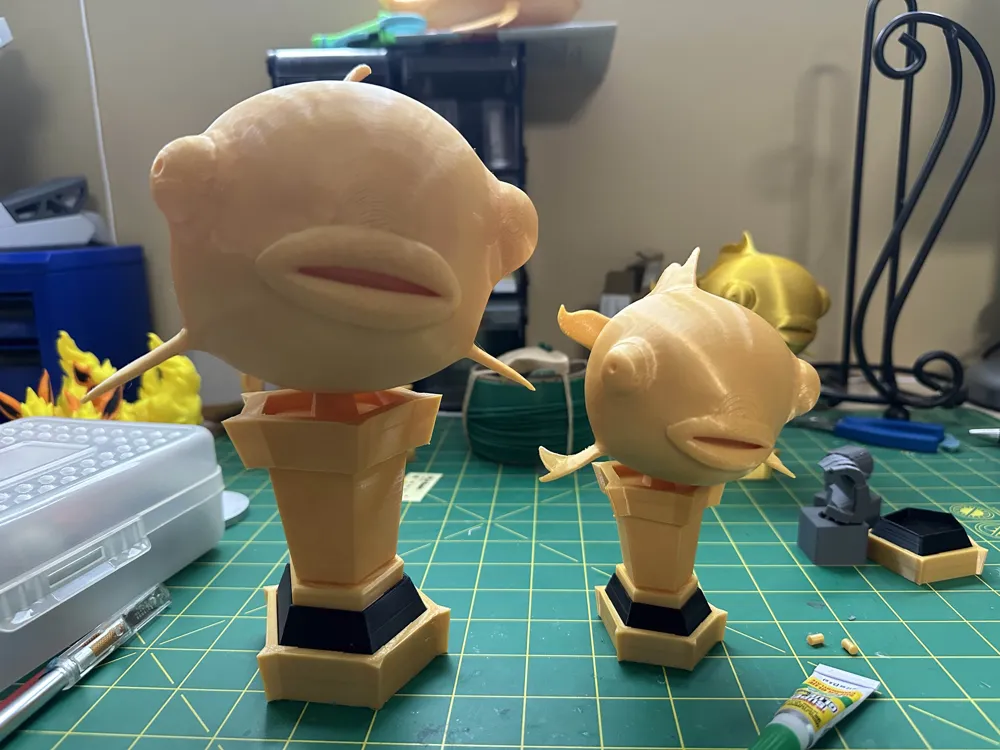
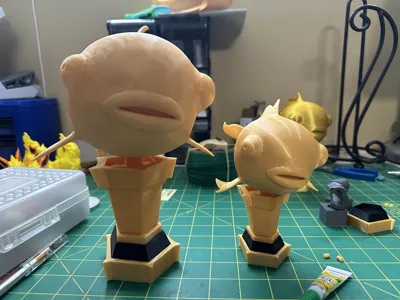
This bad boy can be printed in standard PLA for display, or in TPU (I used 95A hardness) so that you can toss it around. I recommend to NOT throw this at people, as even though TPU is softer than PLA, it is still not fun to get hit by (I tried it; not fun!). If you do decide to throw this at others, I am not responsible for any results that may occur. The TPU version has low infill, so it can be squished with just the force of one hand. The TPU version is pretty resilient, and has withstood all the throws I've given it. All the parts are held together with a generous amount of superglue (CA glue, etc), and both the large and small versions were able to be thrown without breakage.
I've included printing instructions, a support removal guide, and an assembly guide below. This is not a very intensive assembly but I want to make sure the resources are there in case they are needed.
Printing Instructions

There are 3 versions of this fish and an additional alternate version. The first 2 are the normal sized variants, in PLA and TPU, and the third is the large variant of the TPU fish. Both TPU versions can have the black middle of the base printed in either TPU or PLA. I didn't have black TPU, so I made it so that you could print the middle insert in PLA instead.
The alternate version is printed in a different orientation, and while it passed my print test I felt the layer lines did not look very good on this version. The benefit is that it has no extra assembly. Instructions on what plates to print for each version are below.
PLA, Normal Size:
Print plates 1 (AMS required, no base assembly) OR 2 and 3 (base assembly required), and then print plate 4.
TPU, Normal Size:
Print plates 1 and 2, and then either 3 if using TPU for the black part OR print plate 3 from the PLA version if using PLA.
TPU, Large Size:
Print plates 1,2, and 3, and then either 4 if using PLA OR 5 if using TPU.
Alternate PLA:
Only 1 plate.
Support Removal
The following information is only relevant to the goldfish part of the print. The other parts have easy to remove supports.
The PLA version has a typical support removal; take your time, and be especially careful around the side fins. I only had an issue when I literally ripped the model off of my build plate, so there shouldn't be much trouble. You should be able to just peel off the supports on the bottom of the detached fin if you start from 1 side.


The TPU version has additional support material placed on it due to the more flexible nature of TPU. The fins are encased in support structure to prevent them from wiggling loose while printing, causing them to disconnect from the print. Removal isn't hard but it is important to note how I did it. Start by disconnecting all the supports at the top of the fin first. Start from the inside and work your way around pulling gently. Once done, ensure that the fin is only connected somewhere near the bottom of the structure by wiggling it. It should be able to move freely around in the support structure. From here, you can just pull on the fin and it should come out intact with a satisfying snap. The rest of the supports remove like normal, so you should be good to go from here.
Assembly


All versions are assembled with superglue holding everything together. Start by gluing the goldfish tail to the body with the pins than print out with it. Both pins are identical in size and fit in either hole. Apply superglue to the contact surface and hold together till set. Then, if opting for the 3 part base, use a generous amount of glue between each section. They should only fit one way, and this should be very easy. After the goldfish and base have set, apply a lot of glue to the top of the pentagonal peg, and insert into the fish. Once the glue is dry, you're all set!
License



Comment & Rating (15)