Camper Accessory Pocket


Print Profile(4)


Bill of Materials
- corda elastica da 3mm x 1: 2 metri circa
Description
READ THE DESCRIPTION 👇
Boost Me (for free)
❤️ If you loved it, Boost it! 🚀
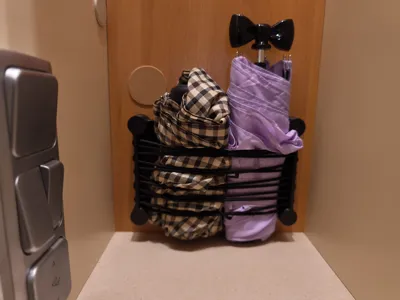
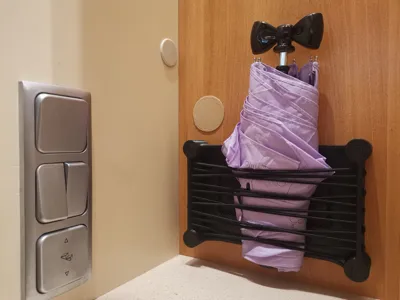
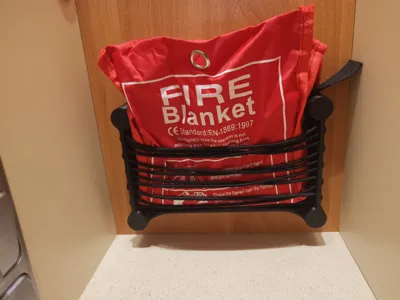
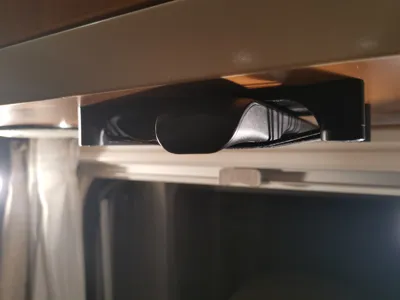
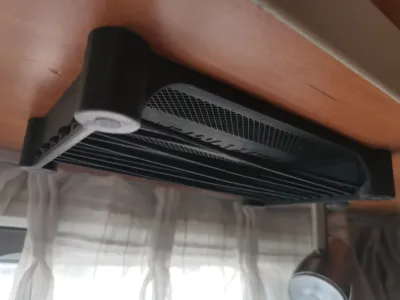
I have designed this aesthetically pleasing yet highly functional camper organizer to securely hold frequently used items, keeping them readily accessible outside of cupboards or cabinets. This organizer utilizes a 3mm elastic cord; its ends are concealed and secured within the front cylinders.
It can be mounted on a wall or under a shelf.
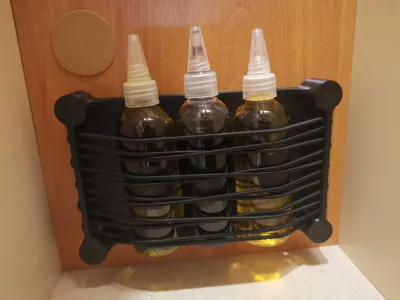
I have installed two in my camper van, but I plan to install more because they are incredibly convenient. I will also install one in the bathroom for showering, avoiding bulky shelves while keeping a sponge, shampoo, and shower gel within easy reach.
I have also created a version without a central joint, featuring two separate plates, allowing for installation at varying distances.
THIS CAN ALSO BE PRINTED BY AN A1 MINI
FIXING
Installation can be achieved using double-sided adhesive (I recommend reusable gel adhesive or a very strong 3M adhesive), or 3 or 3.5mm screws.
SIMPLE INSTALLATION
Consider the side with holes in the fixing cylinders as the front

- Secure the plate to the wall or underside of a shelf using screws, or if using adhesive, this can be done after inserting the cord.
- Cut approximately 2 meters of cord
Insert the ends of the elastic cord through the rear holes

- Continue routing the cord as desired/needed
Once the cord has been passed through the side holes, feed it into the holes in the front cylinders and use tweezers to help pull it through

Gently tension the elastic cord (without overstretching) and TIE A KNOT at the end

Insert the knot inside the cylinder and trim the excess cord (use the cord’s elasticity to help)

- Repeat steps 7 and 8 for the other end of the cord
- Insert the caps into the holes in the cylinders

▄▄▄▄▄▄▄▄▄▄▄▄▄▄▄▄▄▄▄▄▄▄▄▄▄▄▄▄▄▄▄▄▄▄▄▄▄▄▄▄▄▄▄▄▄▄▄
Useful tips for optimal printing:
ALWAYS DRY the filament and keep the bed CLEAN
check the EXTRUDER TIGHTENING
I STRIVE to create useful or fun objects If it was worth it for you, reward my time:
Boost Me (for free)
❤️Fuel my passion ✨
See my other works on my PROFILE: https://makerworld.com/en/@kaledo
▄▄▄▄▄▄▄▄▄▄▄▄▄▄▄▄▄▄▄▄▄▄▄▄▄▄▄▄▄▄▄▄▄▄▄▄▄▄▄▄▄▄▄▄▄▄▄
License
You may create derivative works based on this object, provided that all such derivative works are published exclusively on the MakerWorld platform and include proper attribution to the original creator. You may not share, upload, host, distribute, or publish this object—or any derivative work of this object—on any other digital platform, marketplace, or distribution channel. Commercial use of this object and any derivative works is strictly prohibited. This includes, but is not limited to, selling, renting, sublicensing, or using the object in any context in which you receive monetary compensation or other financial benefits.
Comment & Rating (0)