
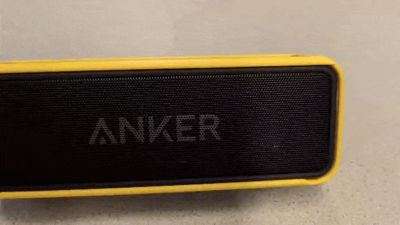
Anker Soundcore 2 Stereo Speaker System V2

Print Profile(1)

Bill of Materials

- Anker Soundcore 2 x 2:
Description
Boost Me (for free)
Just a beginner, trying to get better, your support helps!
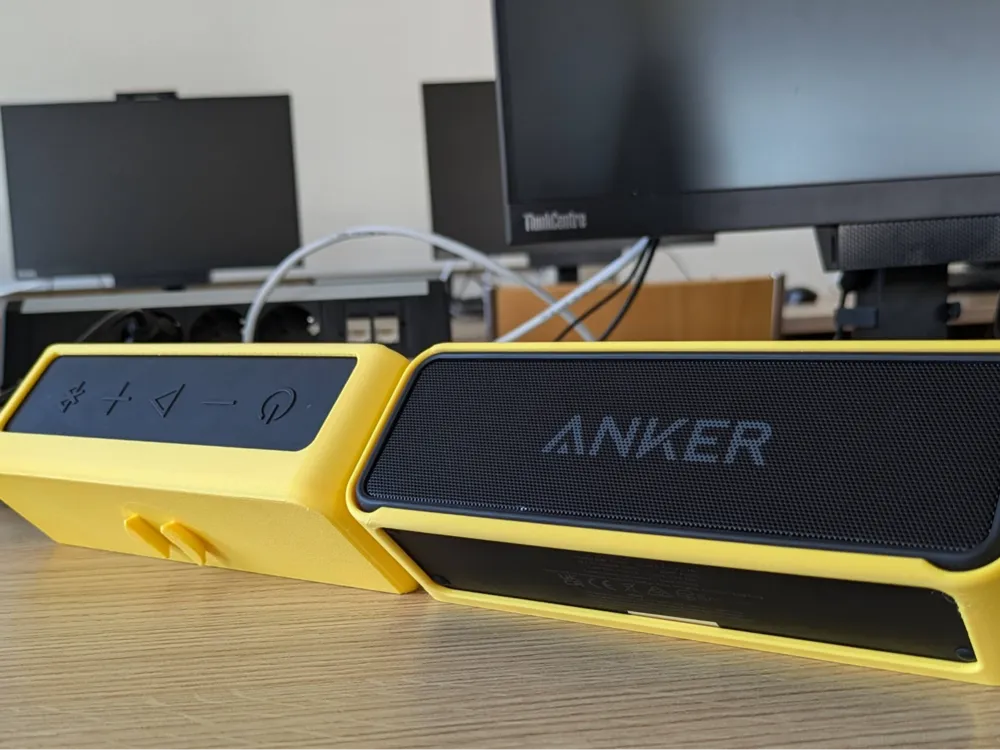

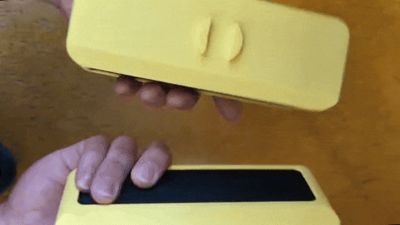
After spending several years trying to diy a good sounding bluetooth speaker, I came to a realization: It is impossible to compete with commercial options at a low price point. Then came my breakthrough: the one thing that even expensive bt speakers cannot do very well is stereo. What if I buy, not one, but two inexpensive, well-rated bt speakers, then create a system that integrates them into one unit that is portable, easily rechargeable, and useful, but that can be quickly changed into the stereo configuration to play music or movies, etc. I chose Anker Soundcore 2 for the base speaker because of it's tws stereo paring mode, and the Anker Soundcore 2 Stereo Speaker System was born. V1 was only for testing. V2 includes a full speaker case with kickstand bevel for a 45° listening angle ( a subtle, but very effective improvement to sound), and a twist lock system secured by magnets that are inserted before the speaker is slid into place. Tolerances are such that once the speaker is inserted, it is necessary to destroy the case to get the speaker out again. This should not be problematic, as the system is designed to live on the speakers, and if something goes wrong, you can always print a new one. Assembly is as simple as removing the supports and cleaning the print, the gluing the twist lock into place. The twist lock orientation is foolproofed with a bump. The 10mm x2mm neodymium magnets can then be inserted into each case. I used stacks of 4 in each hole, for a total of 32 magnets. Make sure magnet polarity is correct. If you insert them wrong, simply pull them out using a stack of extra magnets. Finally, carefully slide the speakers into place. Make sure the recesses for the rubber feet are at the bottem (and the kick stand bevel). Slowly and carefully ease the speaker into place. Now you can lock your two speakers to each other for compact, easy storage and transport, and make use of the optimum listning experience with them propped at 45° on either side of you. Keep in mind, this is only V2, and there is much more planned: integrated charging, (one cable charges both speakers simultaneously) a carrying handle/string, and vibration damping feet.
License

You may create derivative works based on this object, provided that all such derivative works are published exclusively on the MakerWorld platform and include proper attribution to the original creator. You may not share, upload, host, distribute, or publish this object—or any derivative work of this object—on any other digital platform, marketplace, or distribution channel. Commercial use of this object and any derivative works is strictly prohibited. This includes, but is not limited to, selling, renting, sublicensing, or using the object in any context in which you receive monetary compensation or other financial benefits.


Comment & Rating (11)