
Ceramic inlet protector and thread protector kit with mounting nut - Universal for M6 pneumatic fittings, solving filament friction and loading jams.
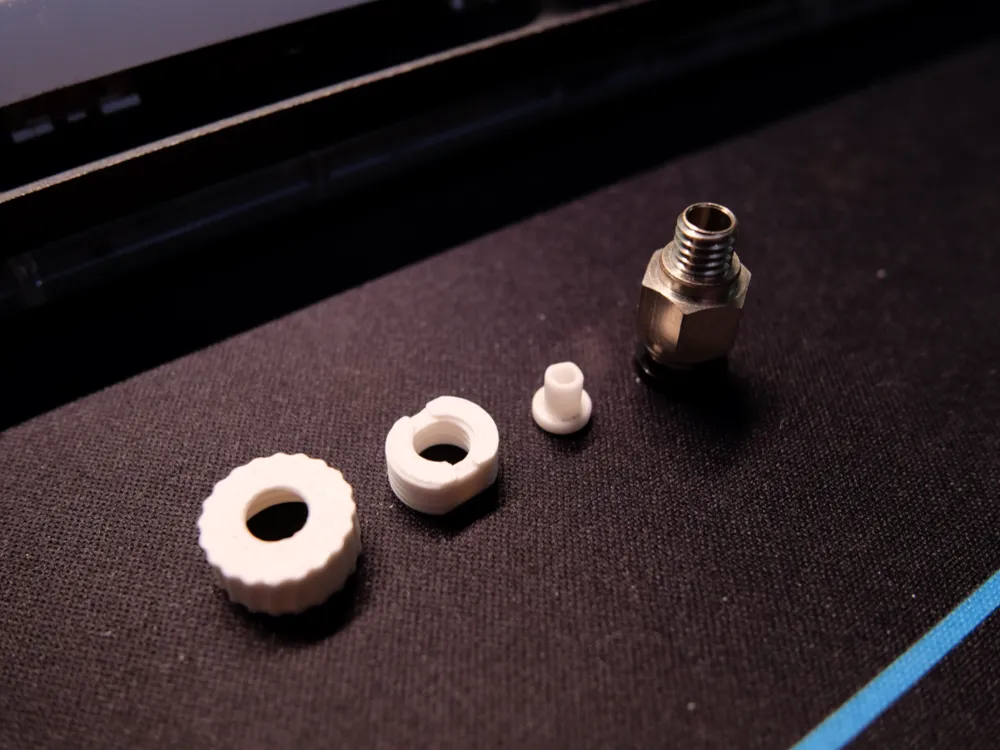
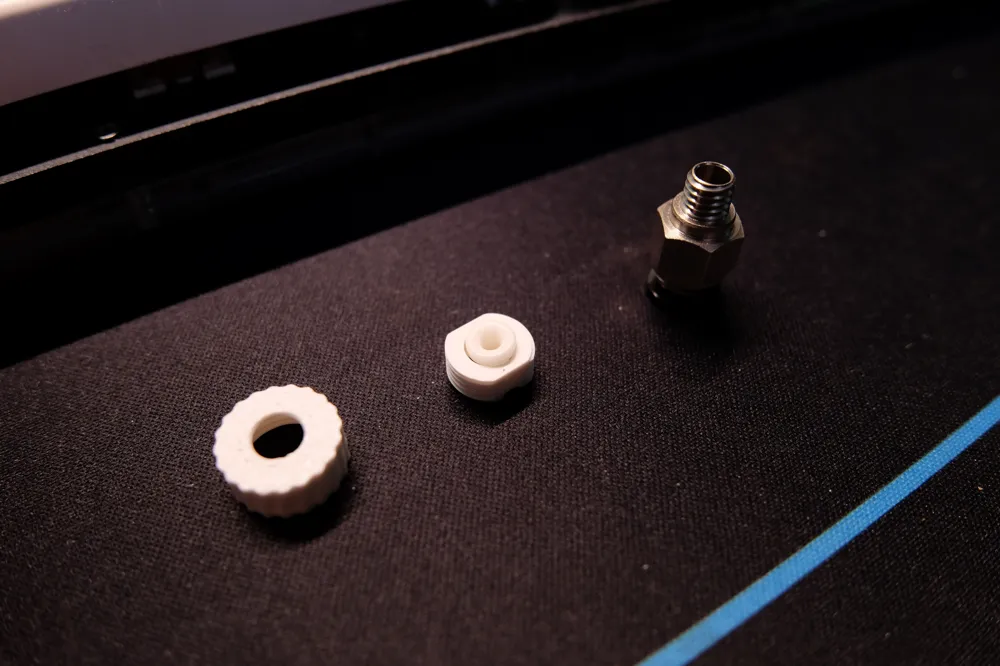
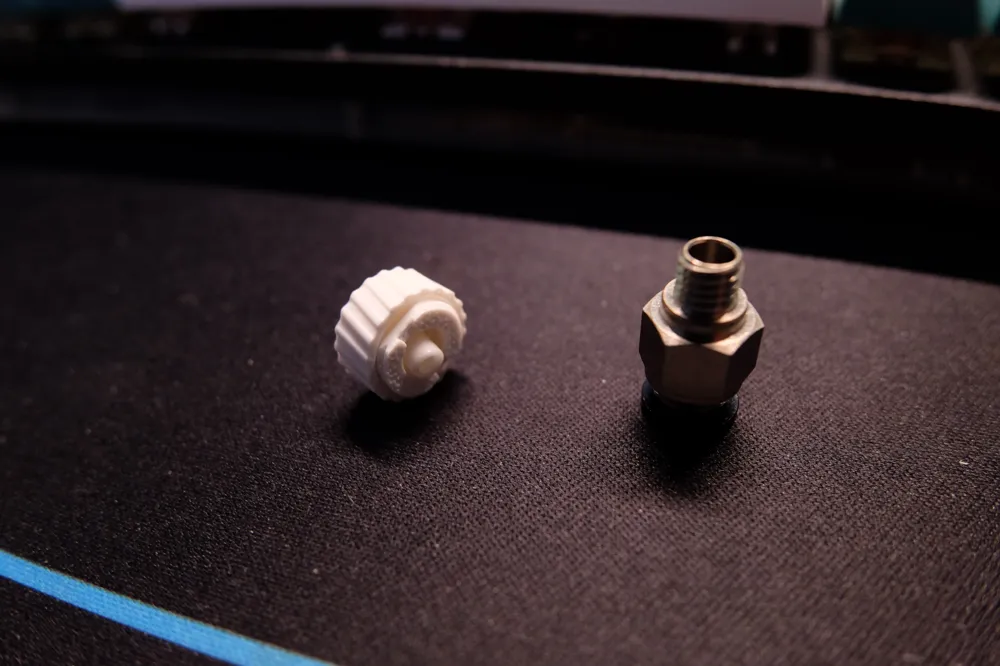
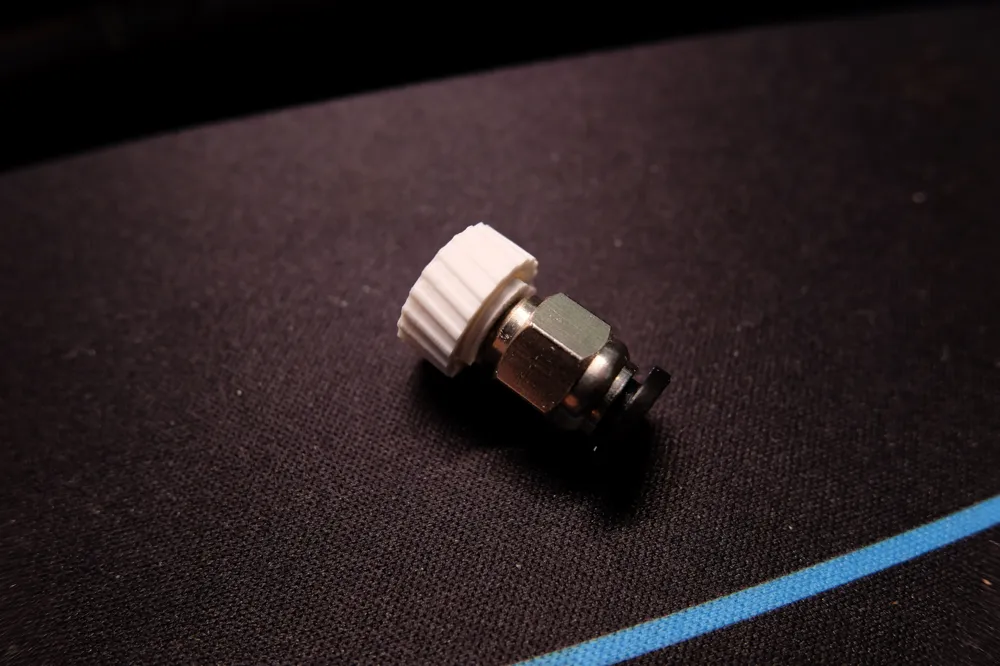
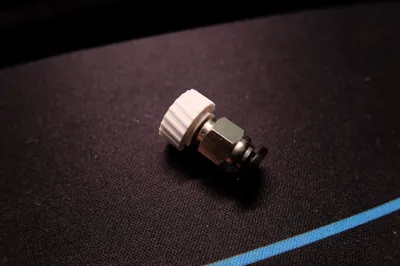
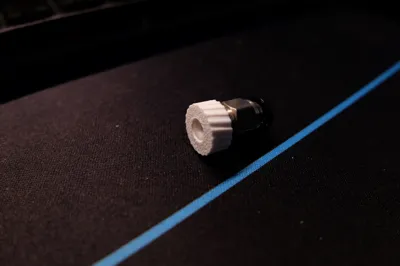
Print Profile(1)

Description
While browsing MakerWorld, I was recommended a tourbillon expert's ceramic sleeve design for AMS filament feeding, which led me to discover ceramic filament guide sleeves from the textile industry, so I ordered one to address my concerns.
I don't have an AMS, but when using a drying device directly connected to the printer, I found that as the filament spool position changes and the length of the PTFE tubing increases, there is significant resistance during filament extraction. My self-assembled M6 pneumatic fitting also shows obvious scraping against the filament, and the non-through pneumatic fitting often causes the filament to jam against the internal structure of the fitting during loading, requiring multiple attempts to successfully load filament.
The ceramic guide sleeve solves some of these problems (reducing some of the resistance).
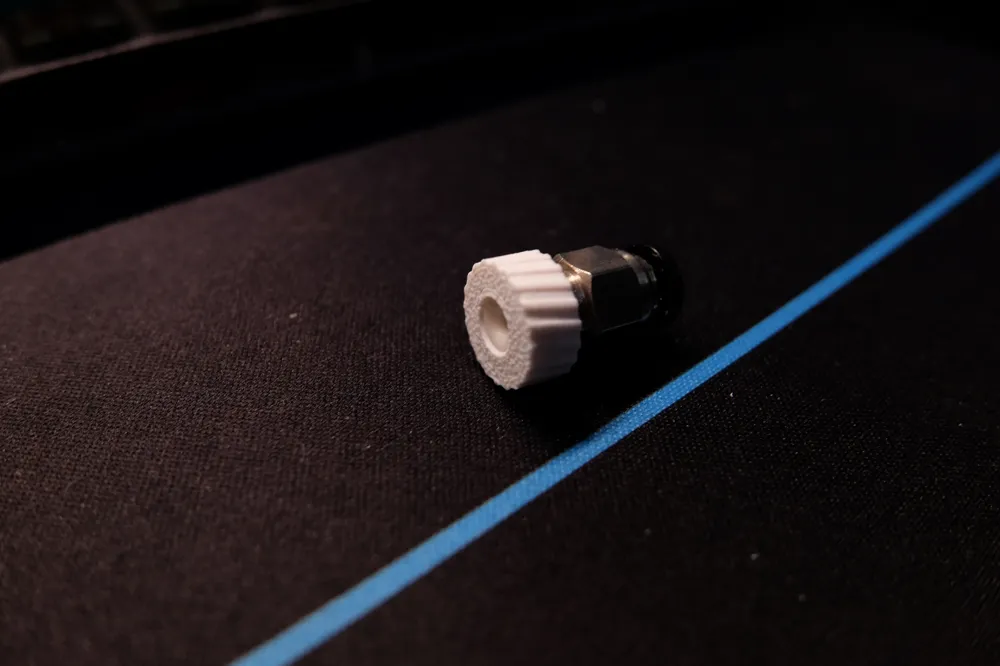
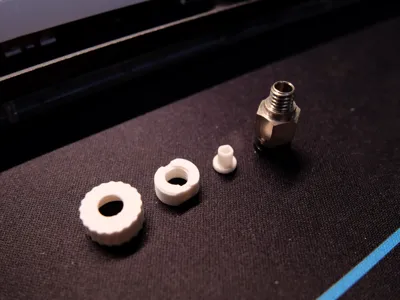
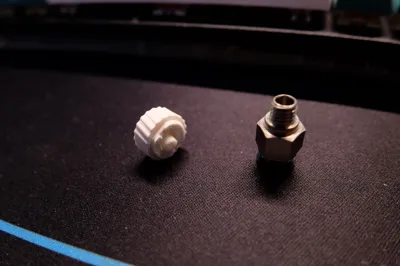
So after receiving the ceramic guide, I designed this mounting kit. The nut-in-nut structure secures the ceramic guide and replaces the nut to fix the M6 fitting to the dryer.
After several iterations, the final result is as follows:
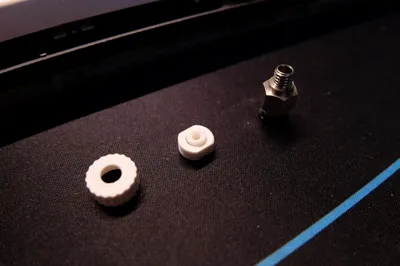
1. The inner double-threaded nut secures the M6 pneumatic fitting; two flat surfaces are designed to tighten the pneumatic fitting, and a notch is added to loosen the inner and outer nuts;
2. The gap formed by the assembly of the outer and inner nuts relatively secures the ceramic guide;
3. The central axis of the ceramic guide is fixed by the inner ring of the M6 pneumatic fitting.
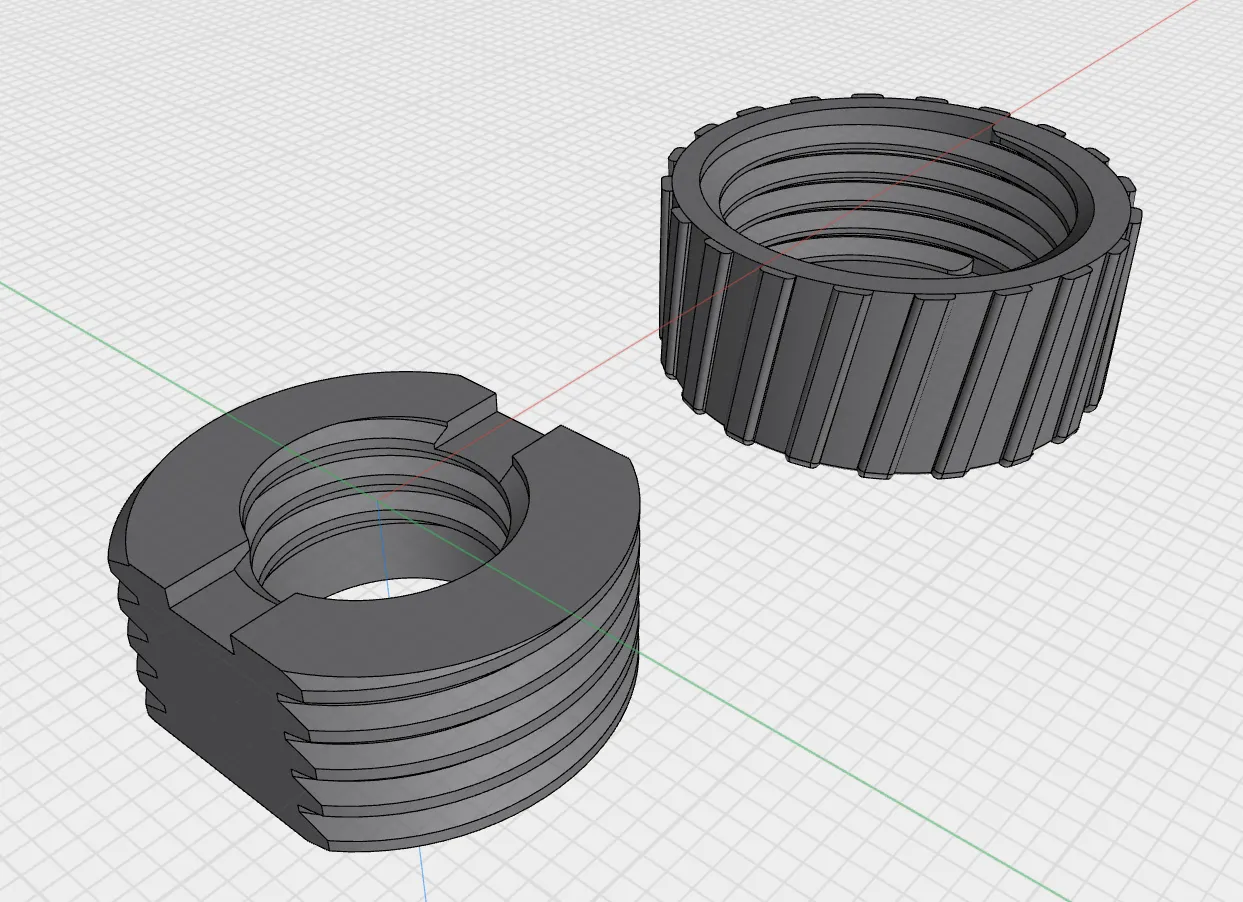
Depending on the installation location, different nut-in-nut installation sequences can be chosen. Below is the generally applicable installation method I think (what I use on the Creality dryer):
1. Place the ceramic guide into the inner threaded ring; note the correct installation position, this side has no notch;
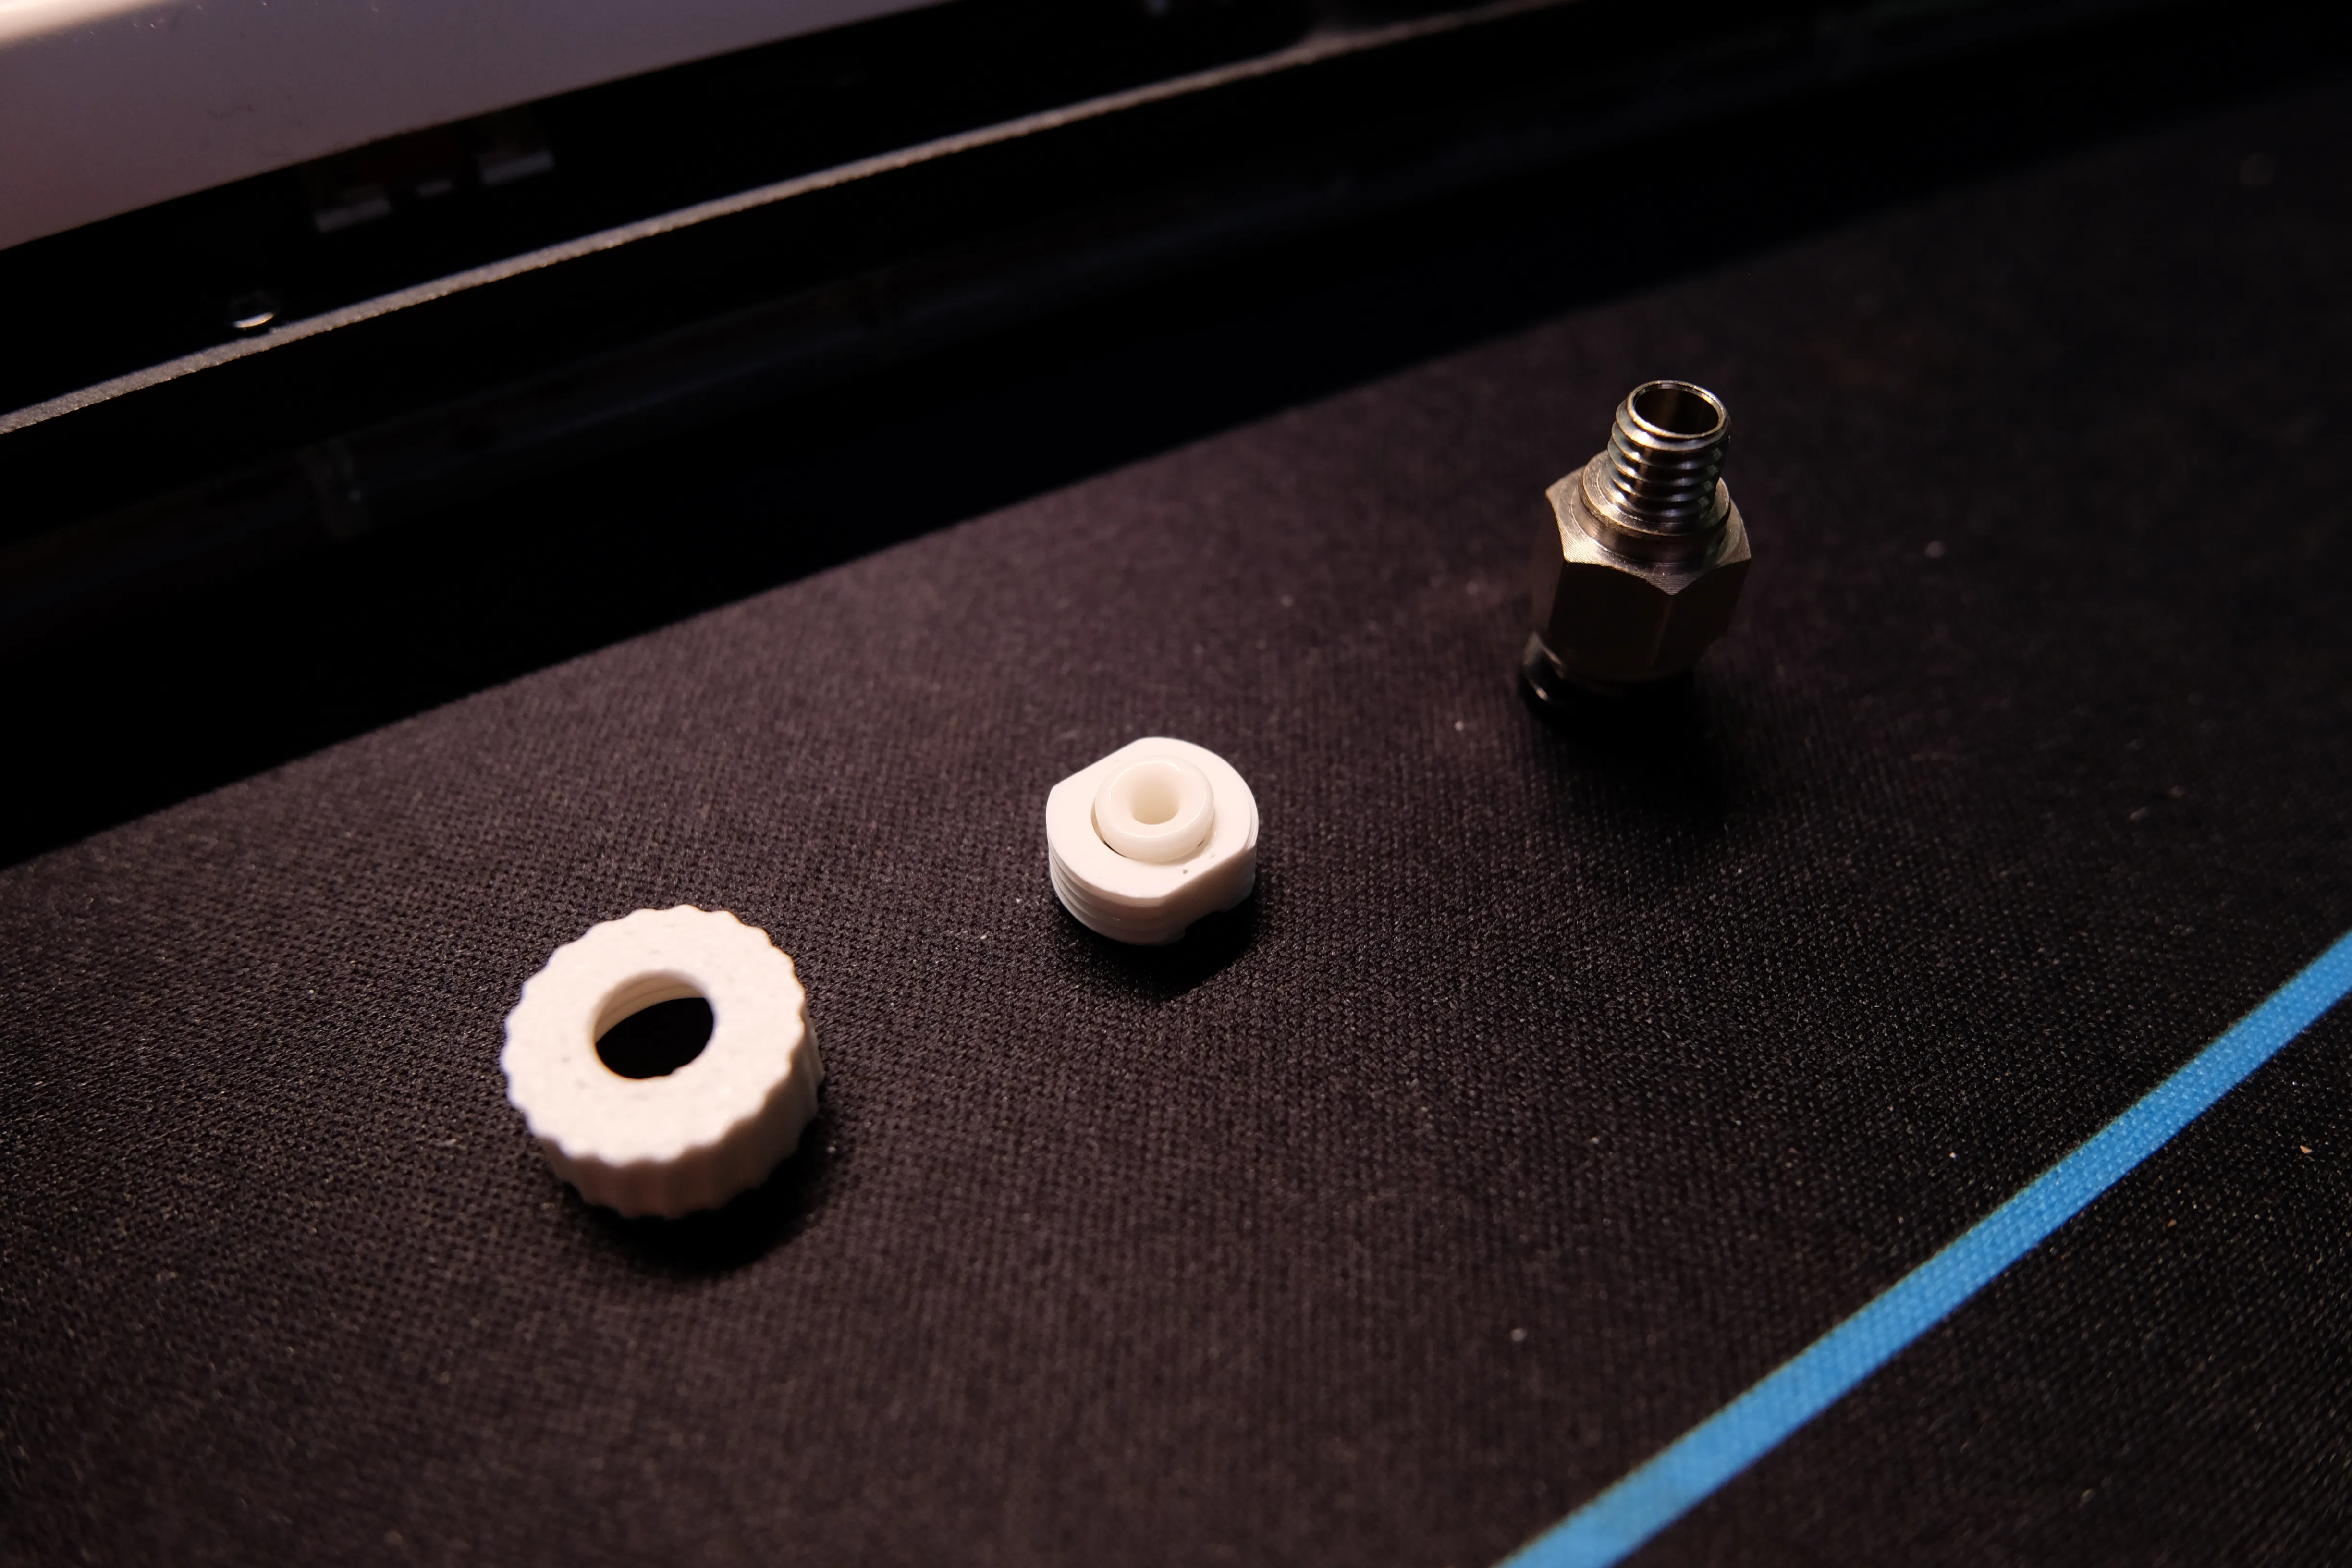
2. Screw the outer nut onto the inner nut, but don't fully tighten it; leave 1 mm of the inner thread exposed so the ceramic guide is movable;
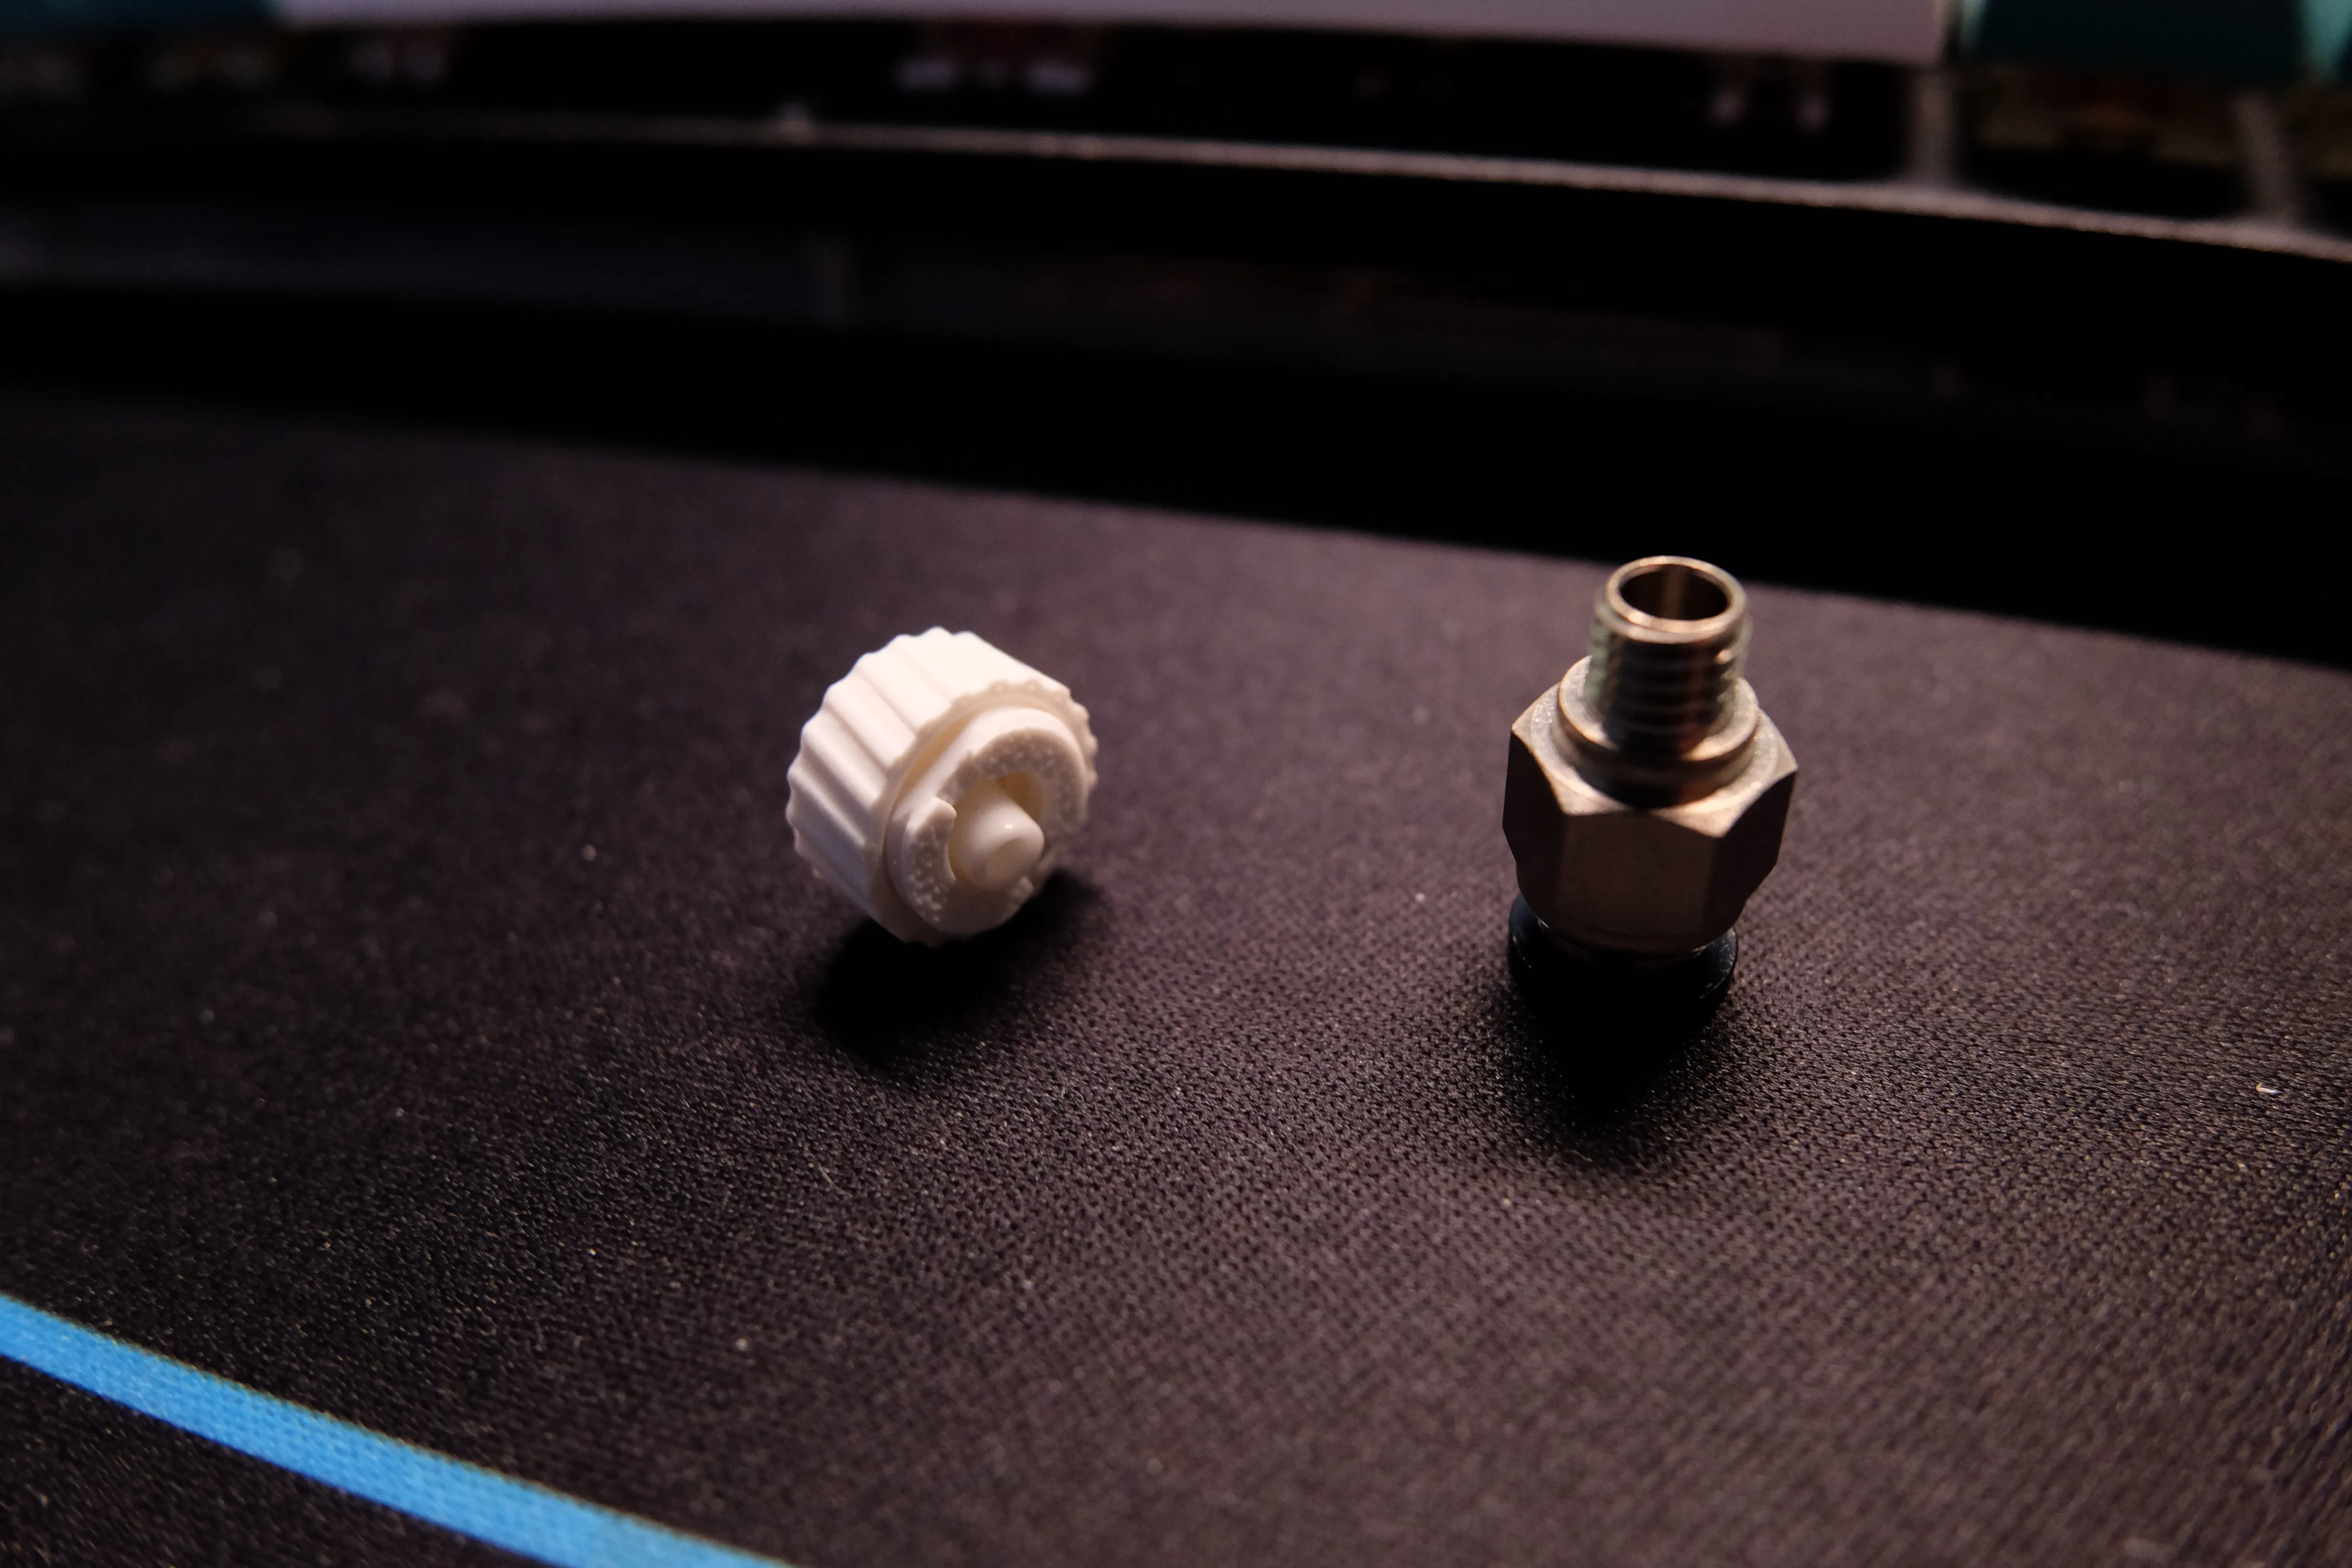
3. The thread resistance is sufficient for this semi-assembled nut kit to fix the M6 pneumatic fitting to the mounting hole. During assembly, ensure that the ceramic guide in the nut is correctly positioned in the M6 pneumatic fitting.
After fixing the M6 pneumatic fitting, continue to rotate the outer nut to secure the ceramic guide, completing the installation.
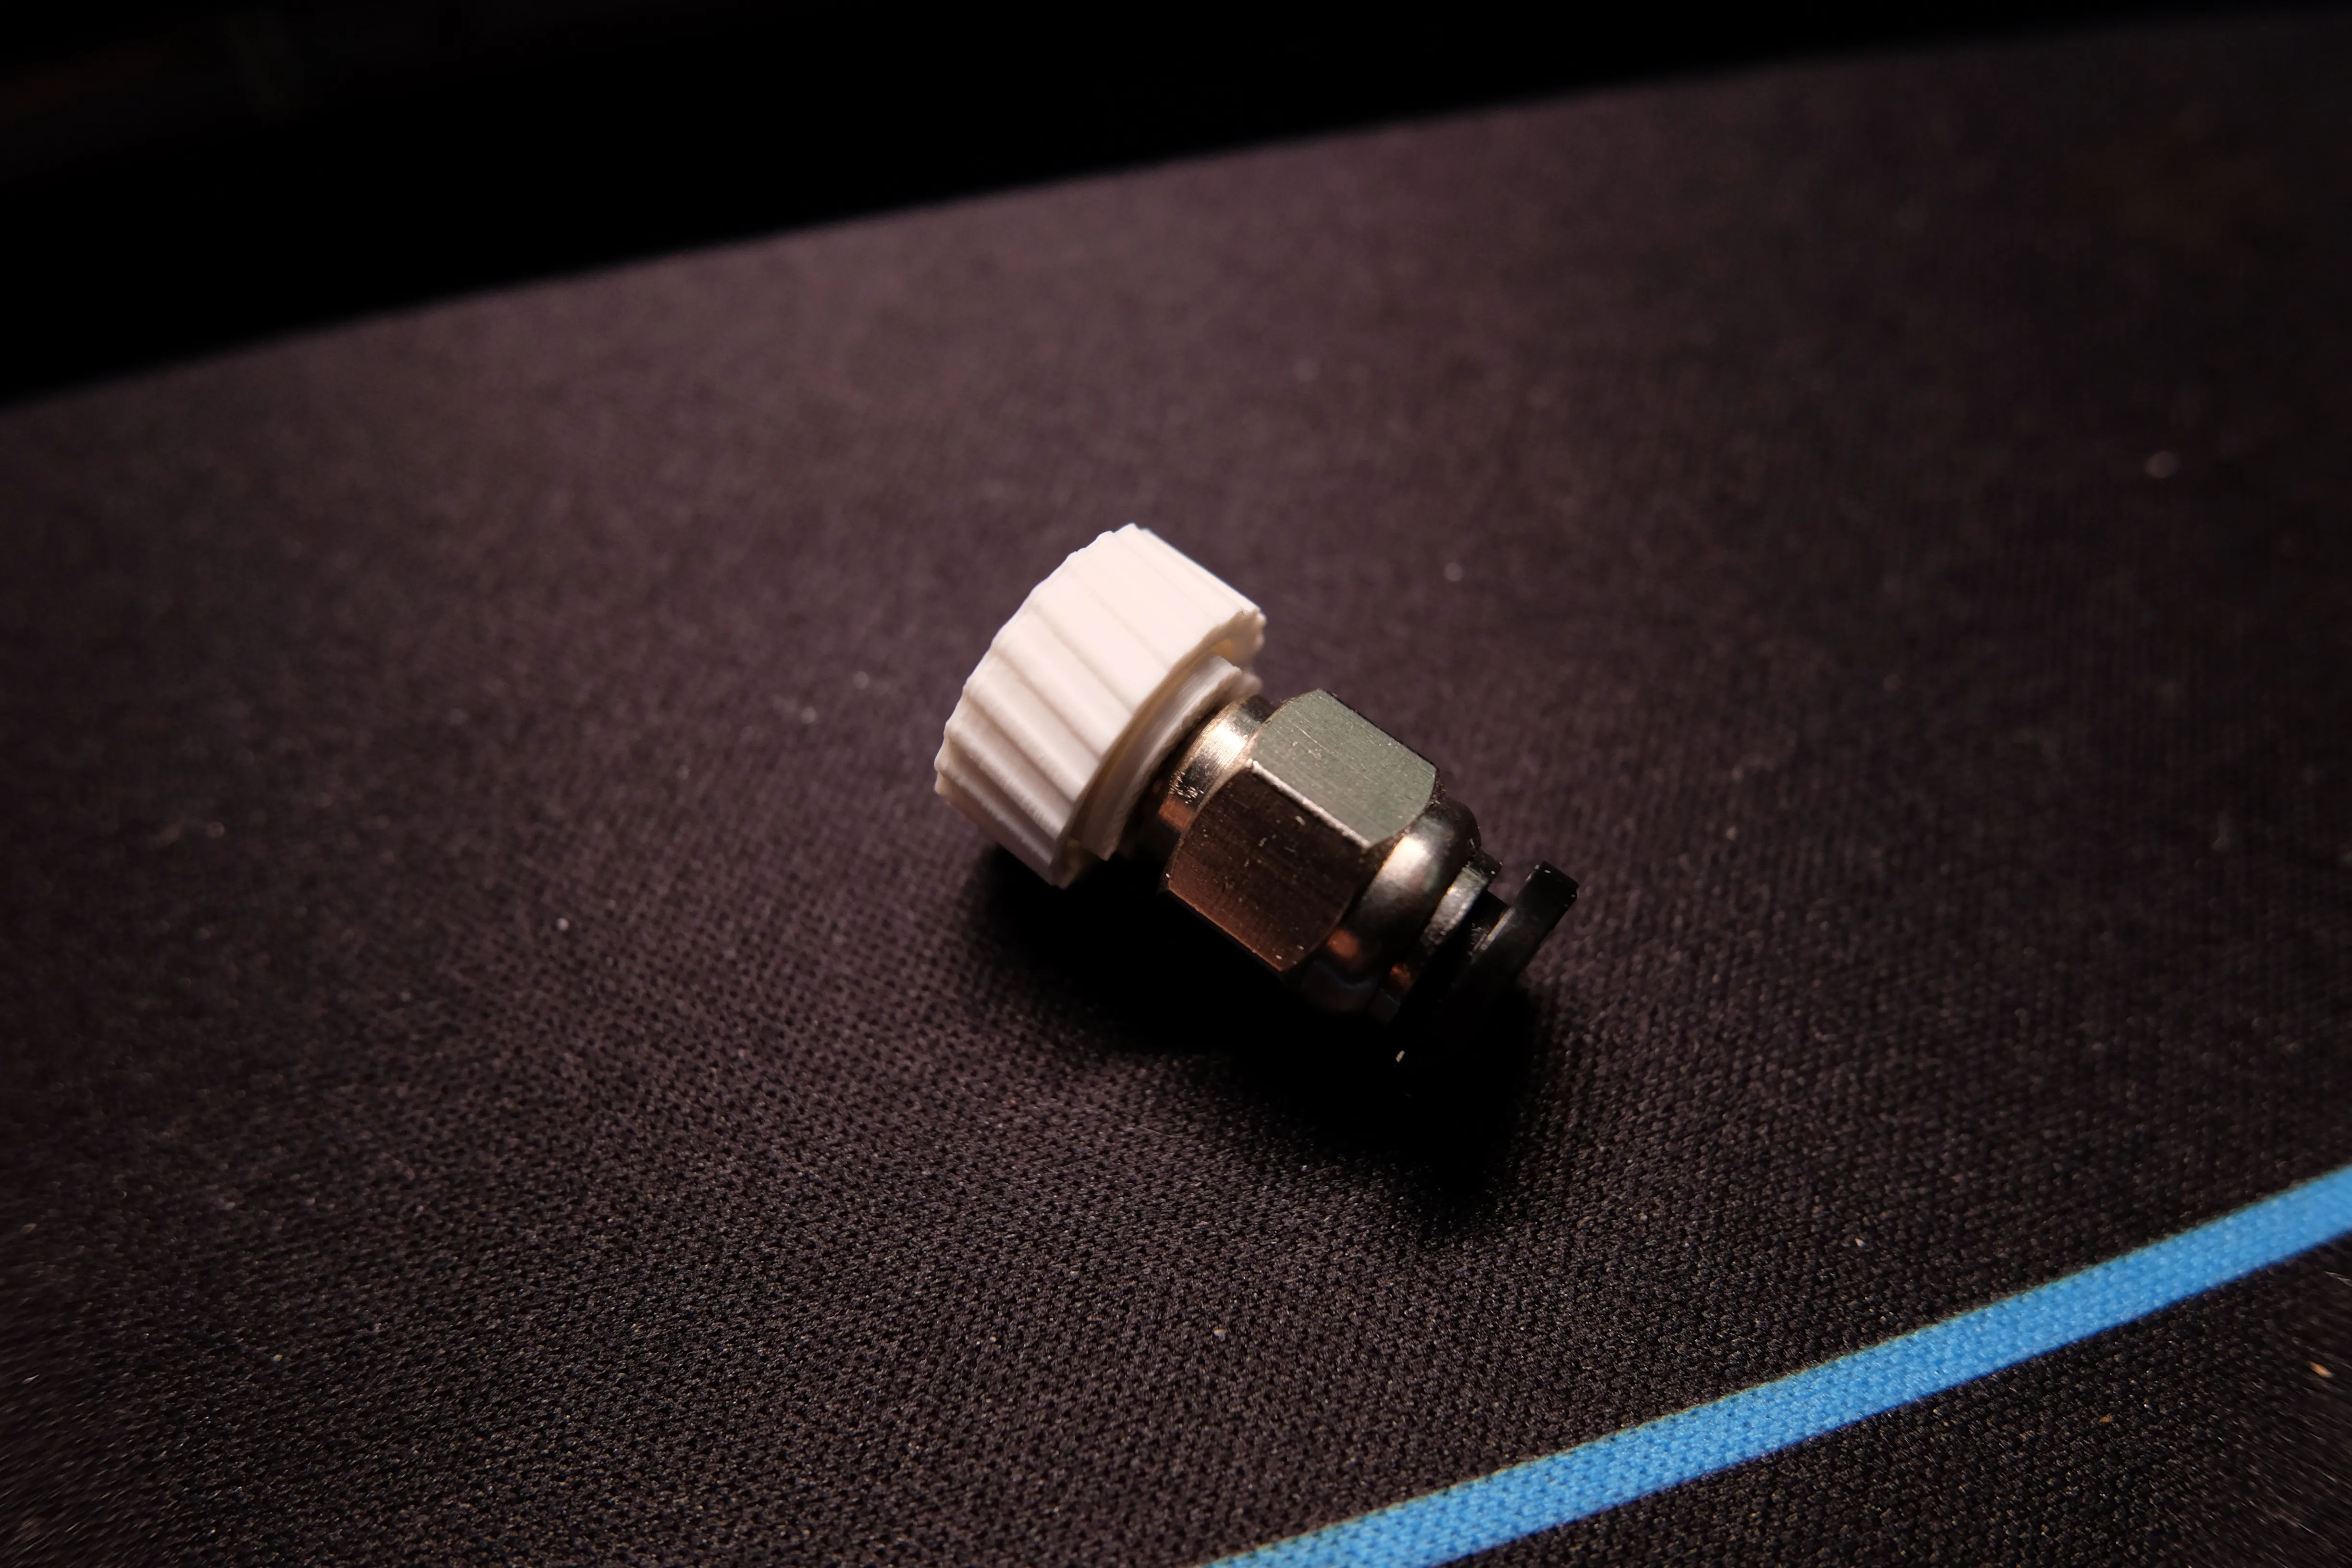
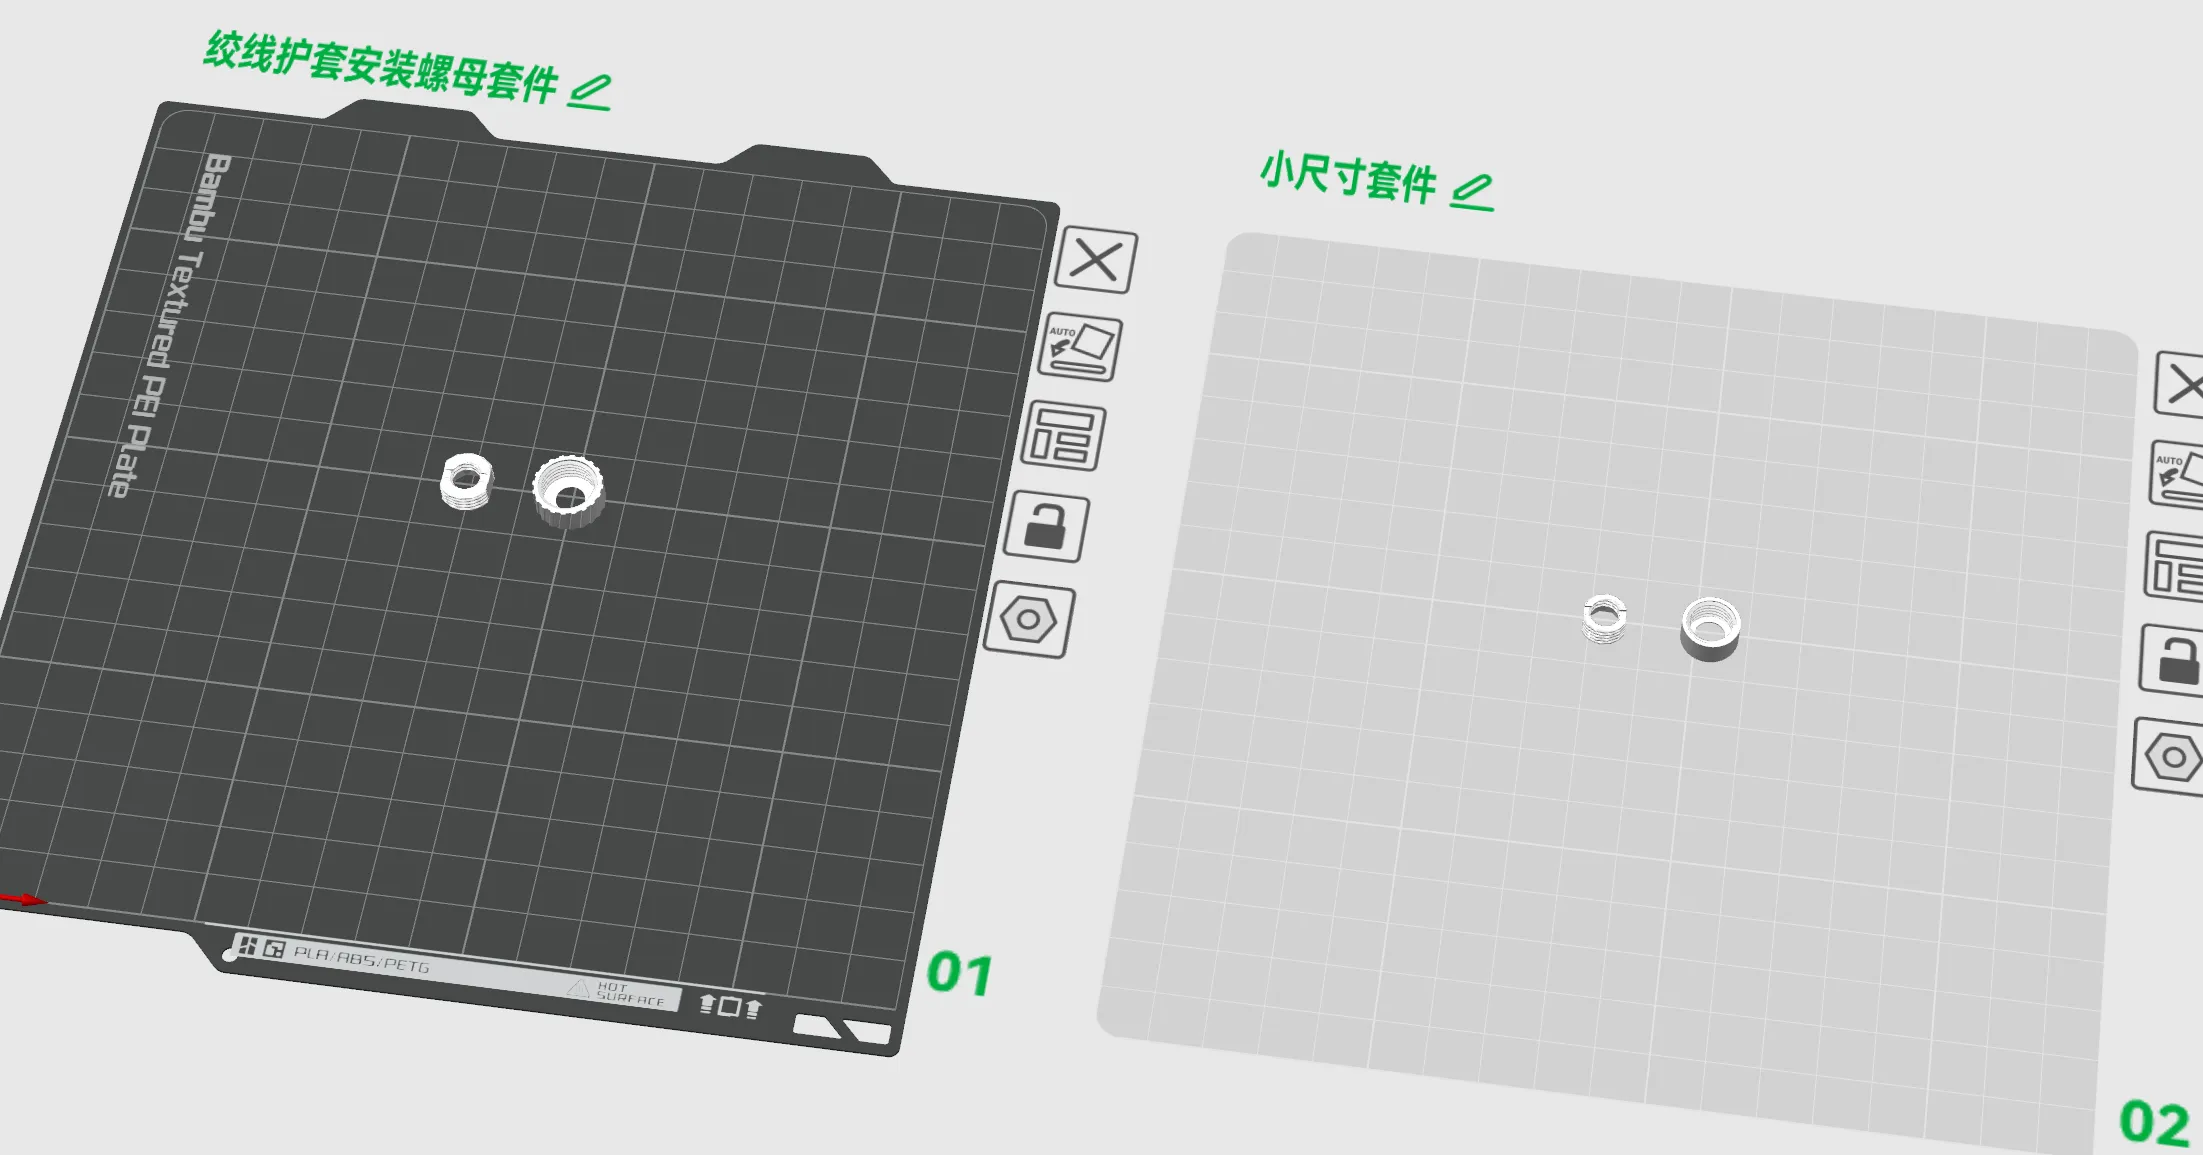
The outermost knurled diameter of this nut kit is 14 mm. If there is insufficient space at the installation location, you can use the smaller kit provided in the file.
The small kit has no knurling on the inner and outer threads and has a diameter of 11 mm, but the inner nut can fix the pneumatic fitting to a mounting hole with a diameter of up to 8 mm.
A layer height of 0.08 mm was used in the configuration file, which I believe helps ensure the shape of the threads.
License



Comment & Rating (0)