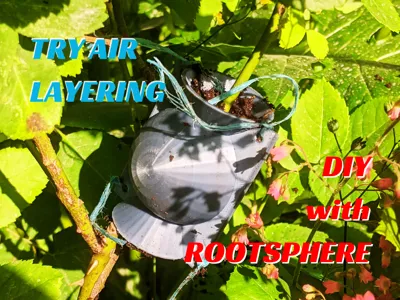
RootSphere – Air Layering Propagation Tool


Print Profile(1)

Description
Start to propagate your plants!
RootSphere is a 3D-printable tool designed to assist with air layering (also known as marcottage aérien or margotta aerea), a method of plant propagation that encourages root formation on a living branch.
Ideal for propagation of fruit trees, ornamental shrubs, and woody plants.
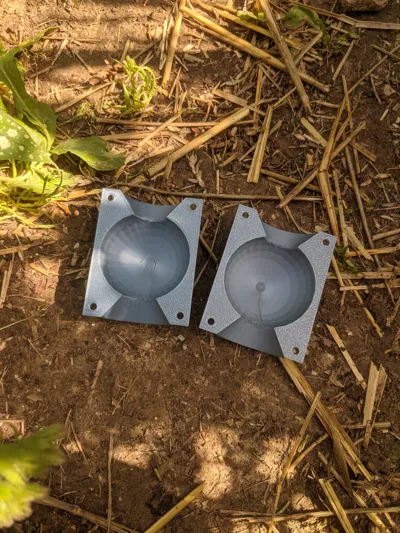
This OpenSCAD-based design features:
- A hollow sphere to hold moist substrate around the branch
- Mounting holes for optional attachment or tying
- Parameterized dimensions with built-in constraints
- Base x and y dimensions
- Sphere dimension
- Inner and outer branch/ventilation outlets (to adapt to the branch of your tree!)
How to print:
- Use SEAM POSITION: NEAREST (preferred)or RANDOM
- Use VARIABLE HEIGHT LAYER for better prints!
- ADAPTIVE <0.15
- SMOOTH <2 (click a few times!)
- NB: The print profile is without support, but if you think that your customised requires supports, use "SUPPORT CRITICAL REGIONS ONLY" option, and you'll see if it is really required or not!
EVERY FEEDBACK IS WELCOME!!
STL files are provided under MakerWorld's Standard Digital File License.
The OpenSCAD source is licensed separately under CC BY-NC-ND 4.0.
UPDATES
V1.01 - Label of the dimension of the inner sphere has been changed from “radius” to “diameter” to reflect the correct code
Boost Me (for free)
Let's propagate this model that you can customize!!! :)
RootSphere – Air Layering Instructions
What You’ll Need:
- 1 printed RootSphere (two halves)
- Moist substrate (e.g. peat, coco coir, or soil)
- A sharp knife or scalpel
- Ties (string, zip ties, or wire)
- Optional: clear plastic wrap
Steps:
Prepare the RootSphere – Ensure holes and edges are clean.

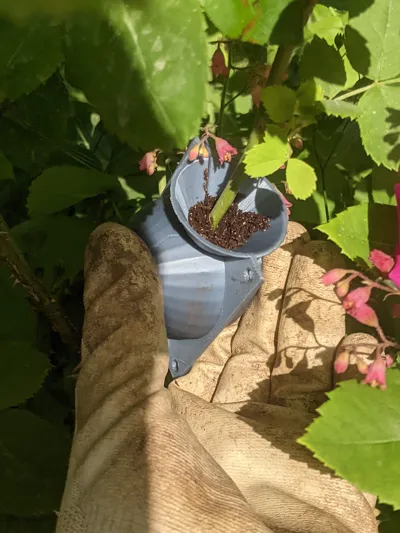
Fill Each Half with Substrate – Use moist soil, packed firmly.

Select a Healthy Branch – Woody and strong, not too young.

Wound the Branch – Remove 1.5–2 cm of bark in a clean strip.


Place First Half – Fit the branch into the curved chamber.

Close the Shell – Snap or align the second half over the branch.

Tie It Together – Use string or zip ties through the holes.

Wrap in Plastic (optional) – To retain heat and humidity.
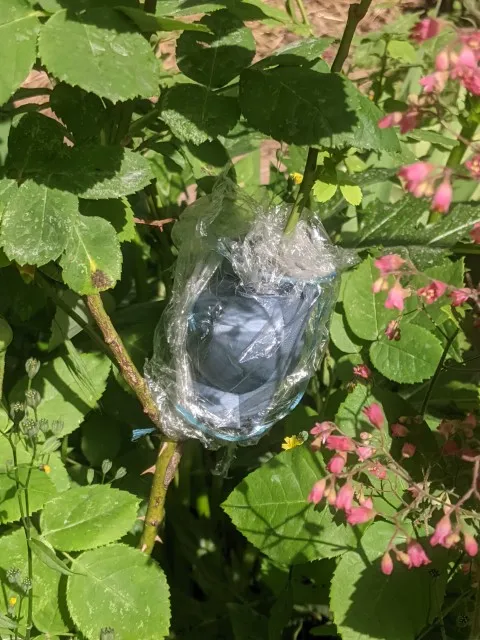
- Wait 3–6 Weeks – Roots will begin forming inside.
- Cut and Transplant – Once rooted, sever below the shell and replant.
Documentation (1)
License
You shall not share, sub-license, sell, rent, host, transfer, or distribute in any way the digital or 3D printed versions of this object, nor any other derivative work of this object in its digital or physical format (including - but not limited to - remixes of this object, and hosting on other digital platforms). The objects may not be used without permission in any way whatsoever in which you charge money, or collect fees.
Comment & Rating (8)