
Saturn V[U] - DIY 10" network rack
Print Profile(1)

Bill of Materials


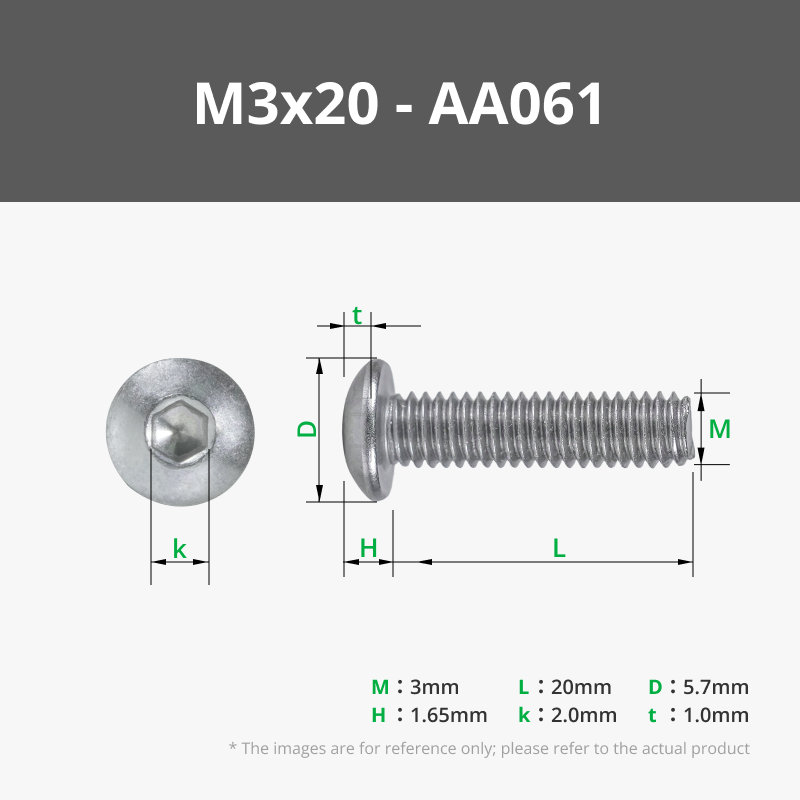





- 10U rack rails x 4:
Description
One small rack for a man … 🚀
A few months ago, I set myself up on the journey to design a simple 10-inch network rack that works with off-the-shelf rack rails, is easy to print, and requires minimal parts.
Doing that, I realized: if I design the parts from the ground up, why shouldn't the final product not only work but also look nice?
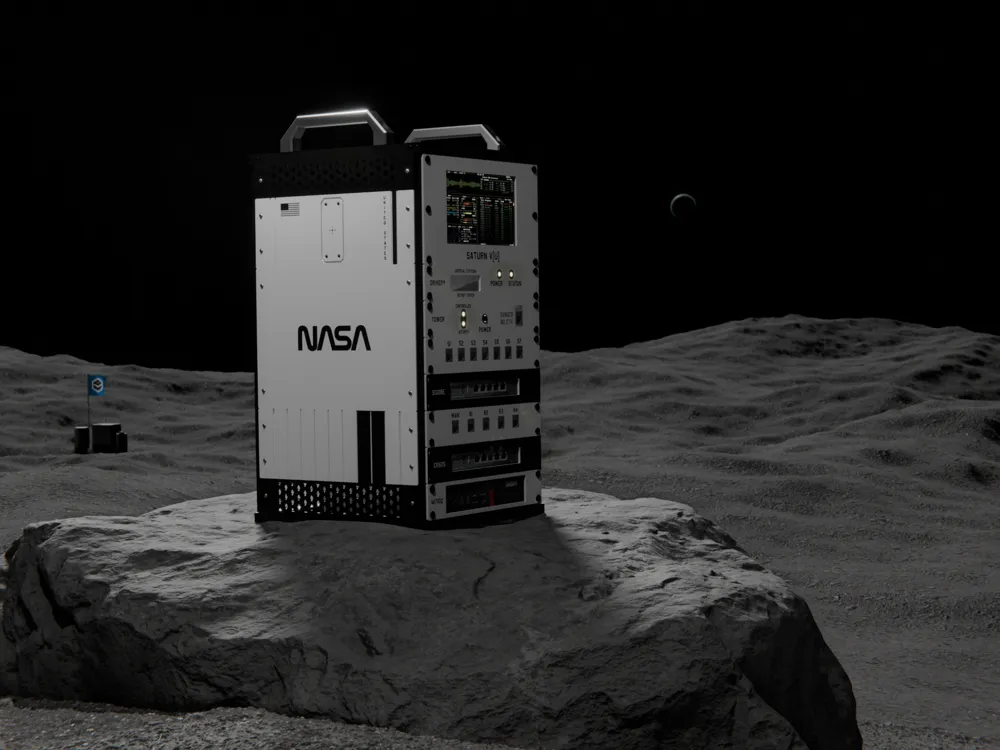
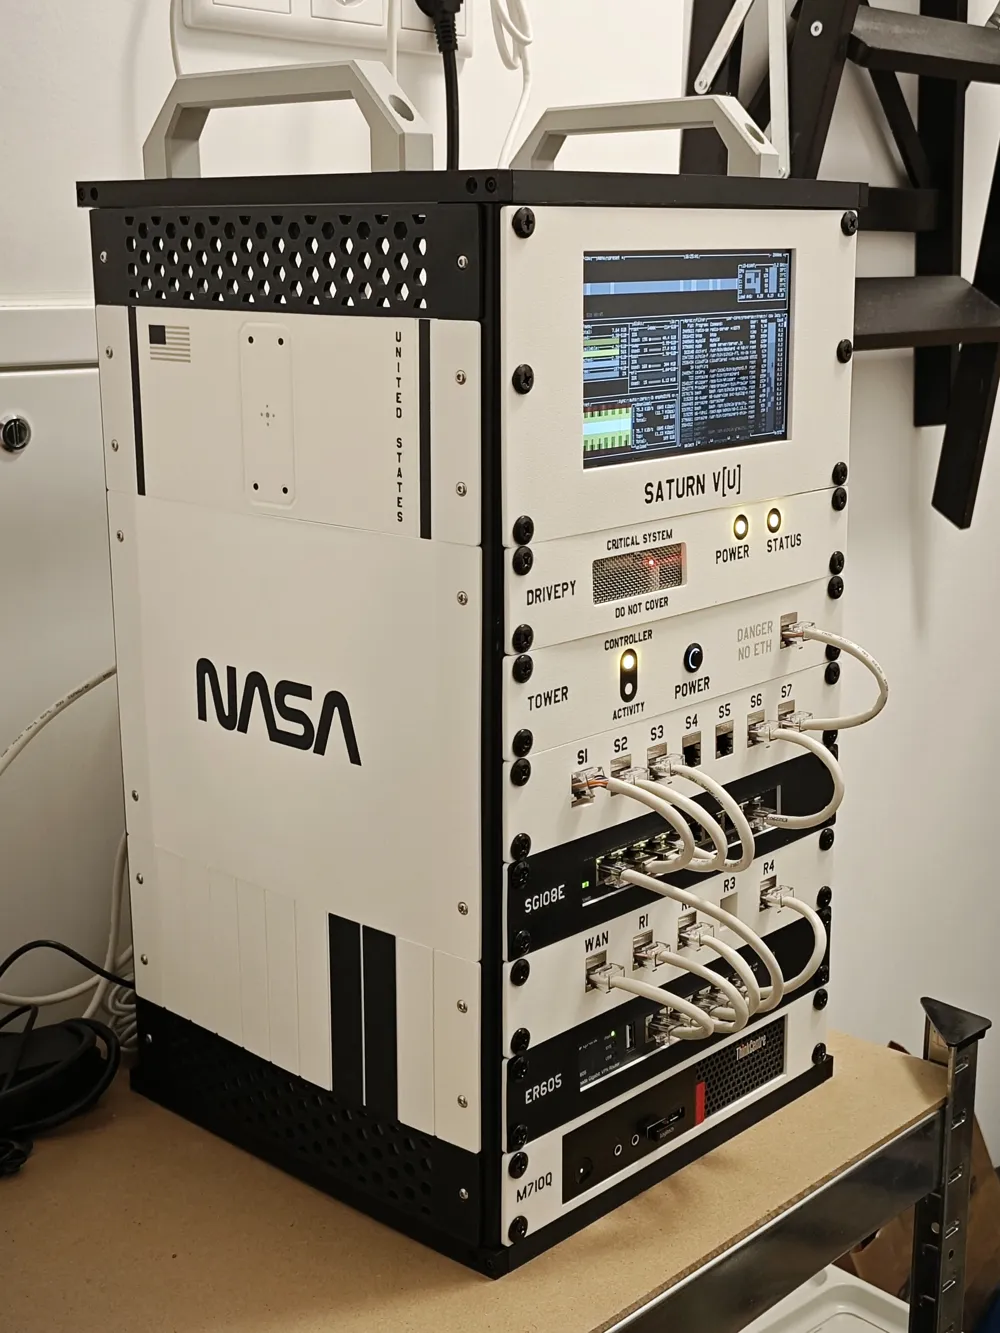
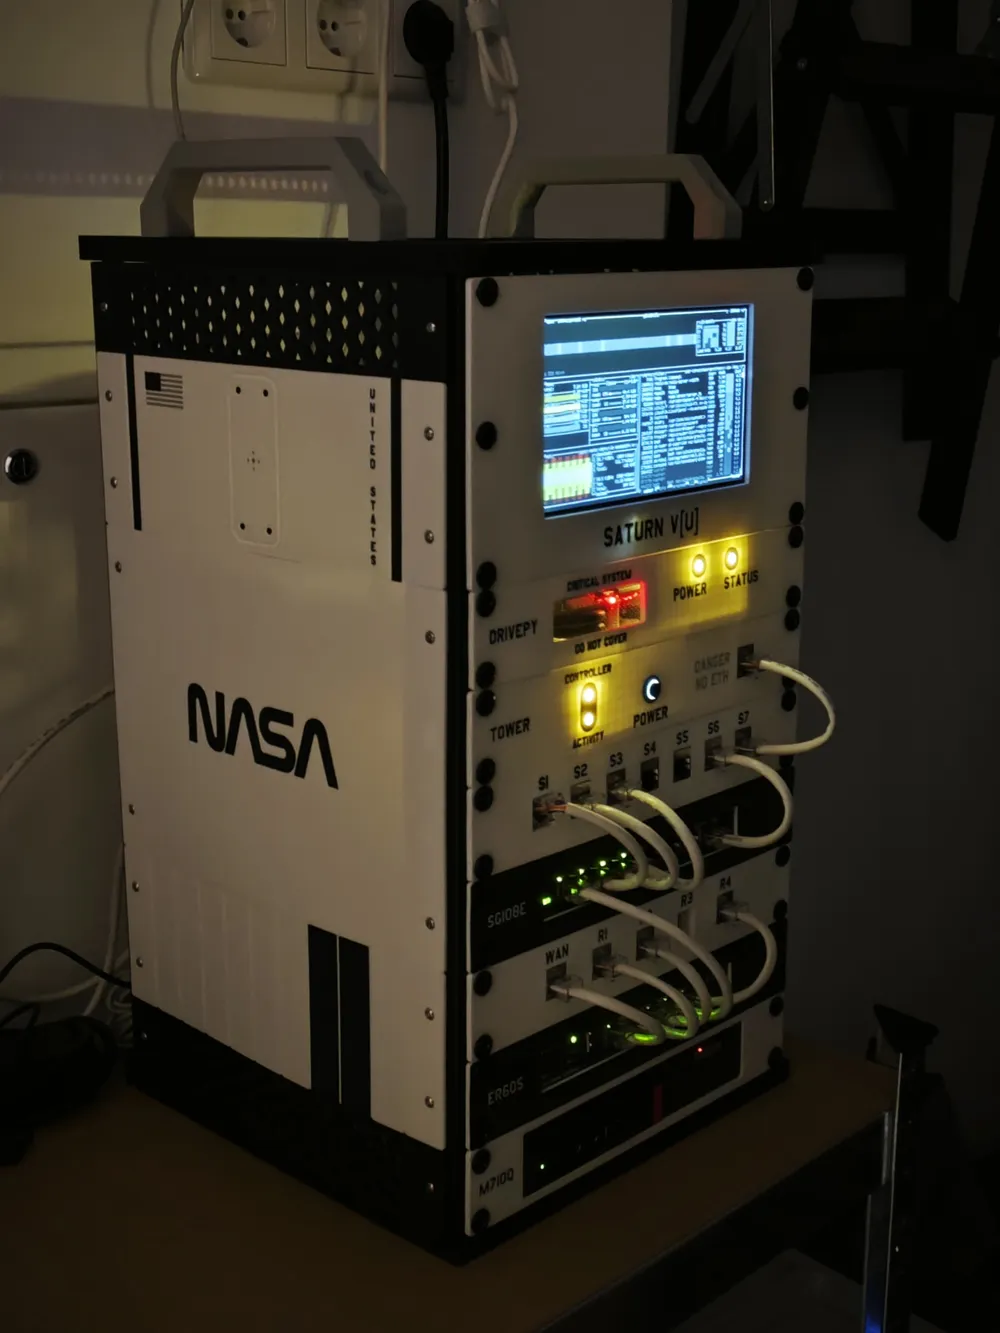
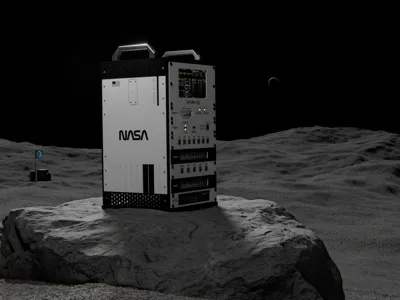
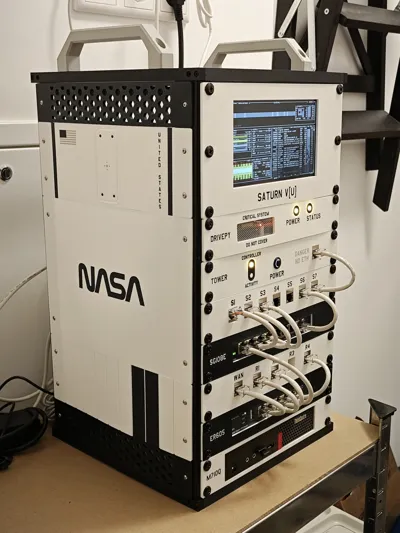
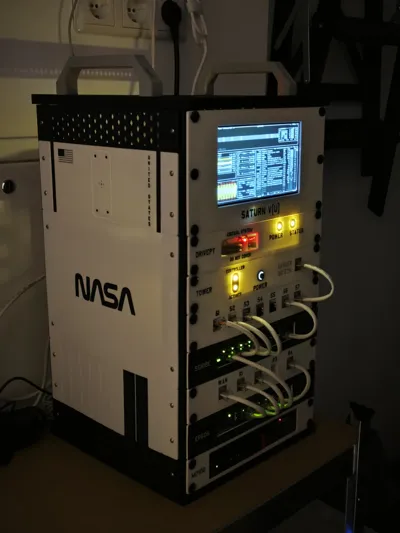
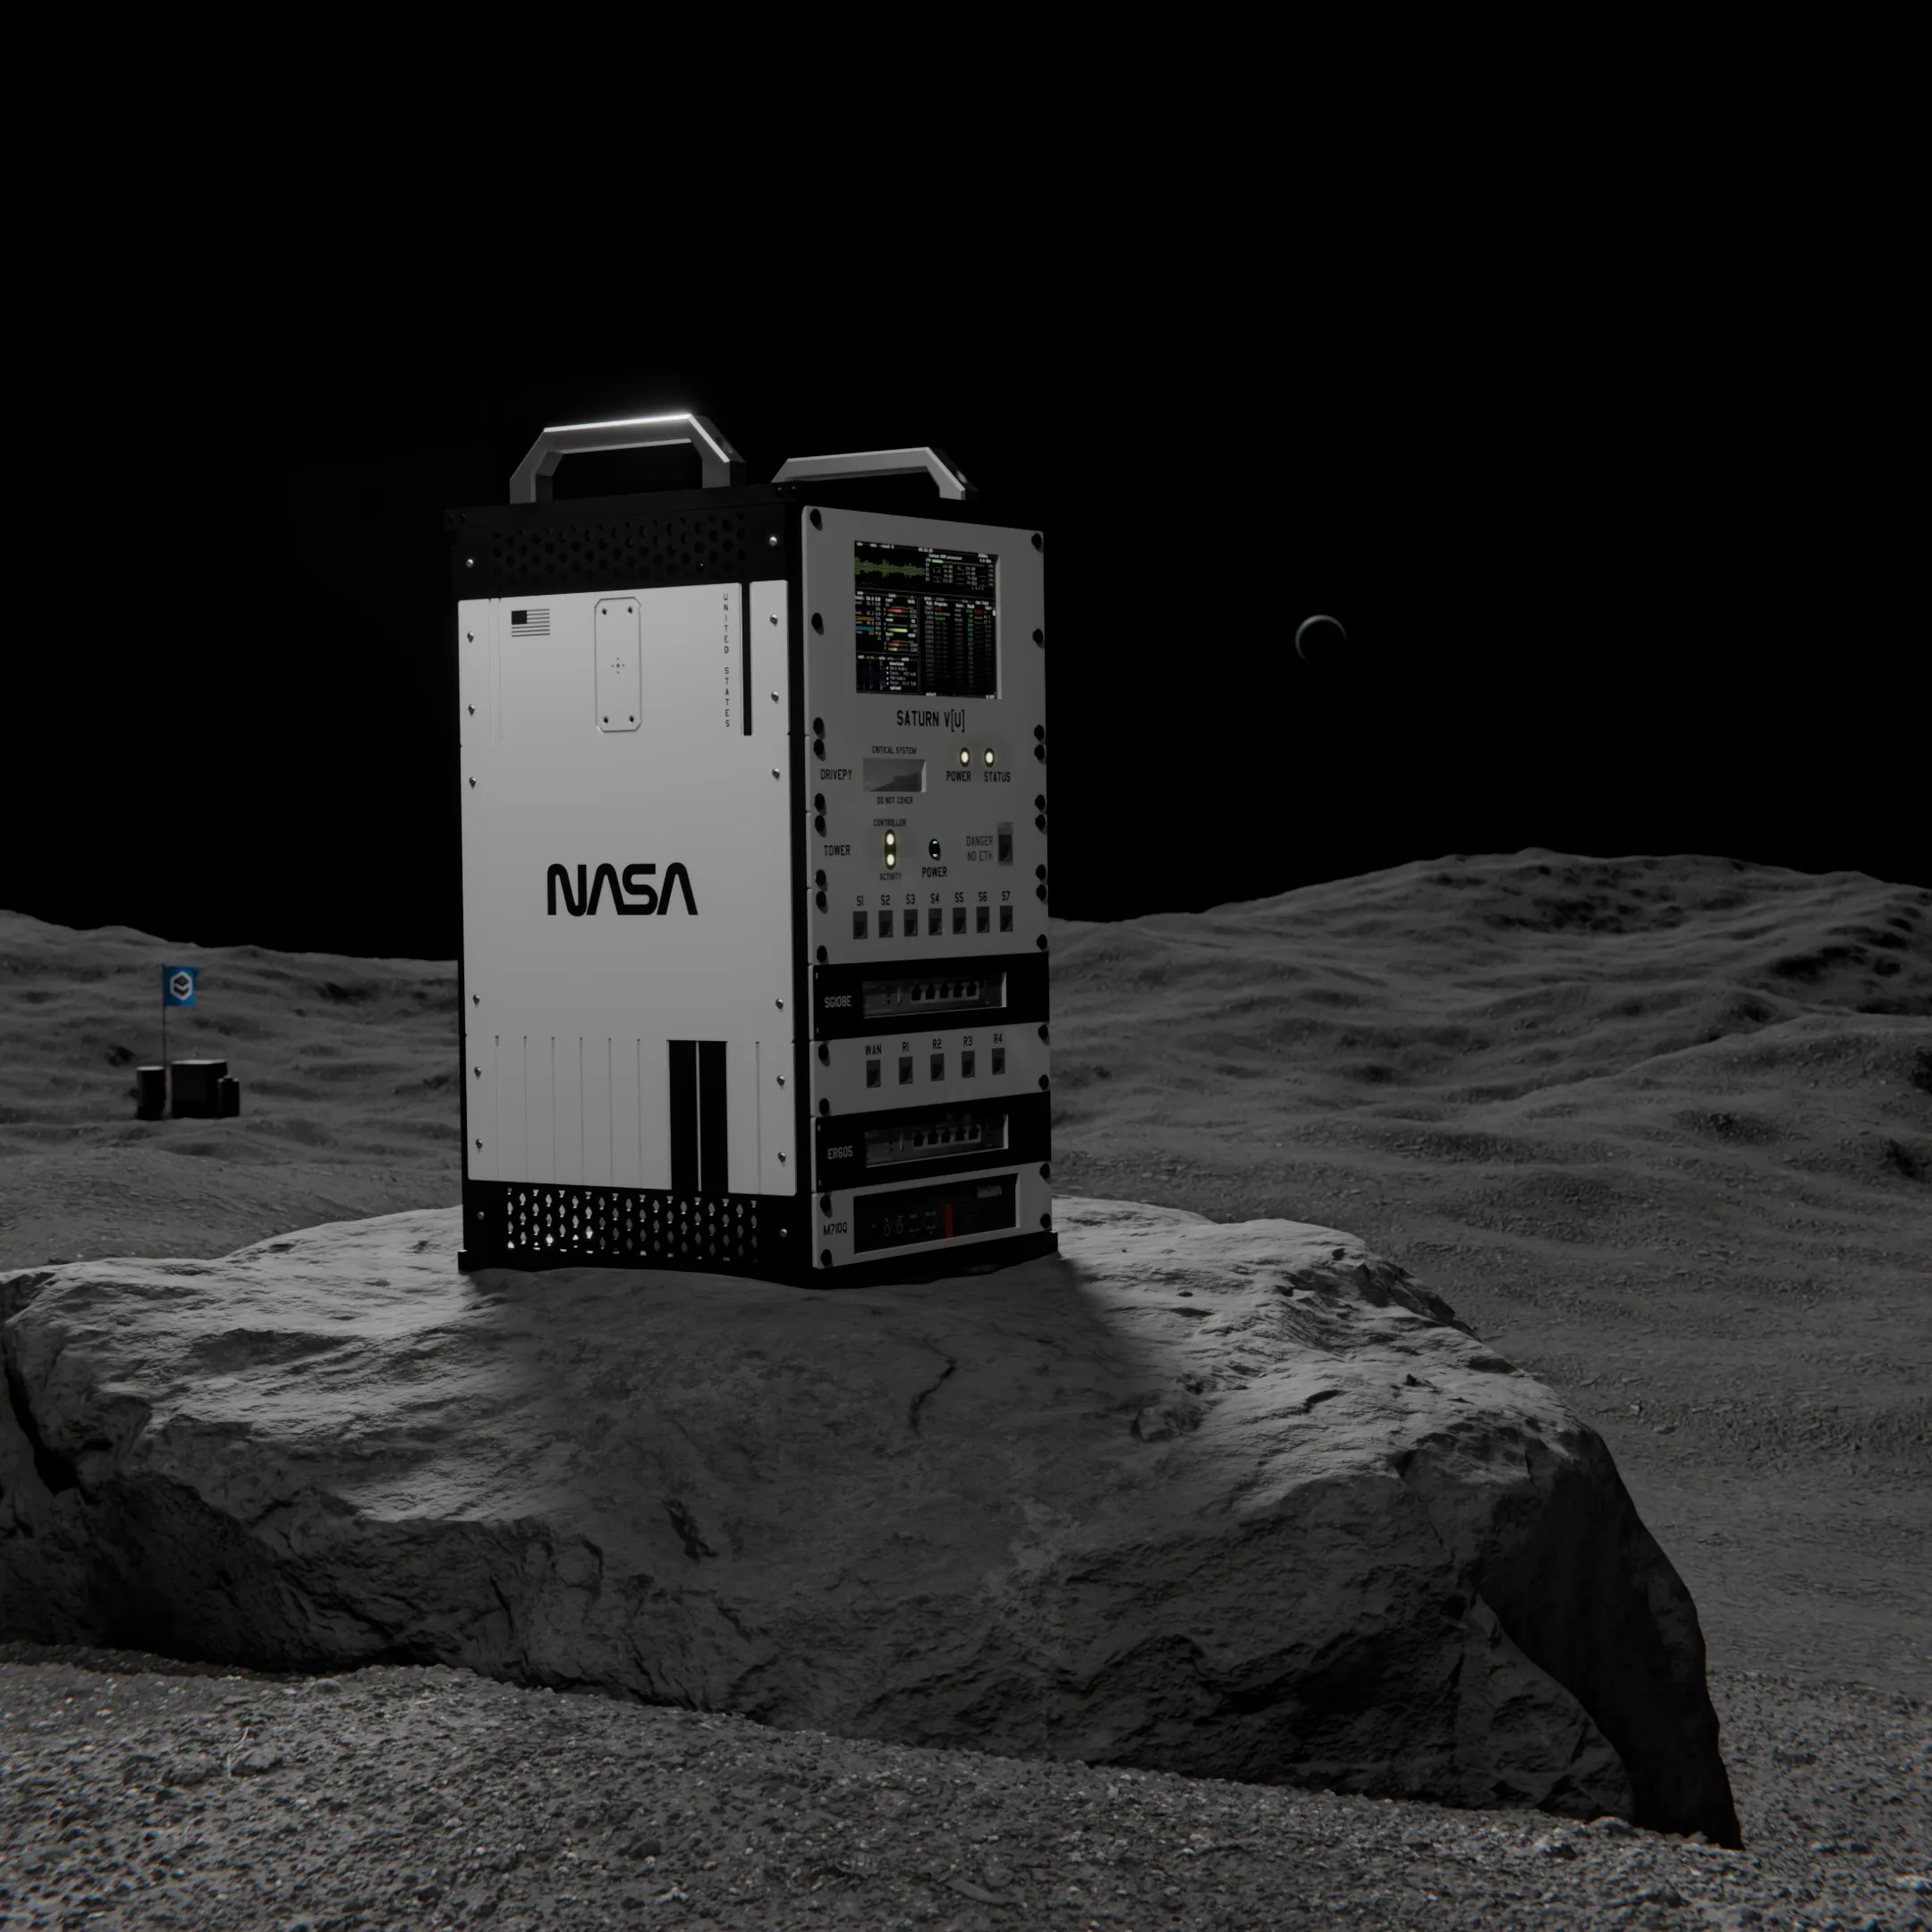
The result of this is the “Saturn V[U]”: a 10-inch, 10U(*) rack inspired by the iconic design of the name-giving Saturn V rocket.
If you want to know a bit more about this project, check out the post I created on Reddit and the feedback of the homelab community that motivated me to put in the work needed to publish it on MakerWorld.
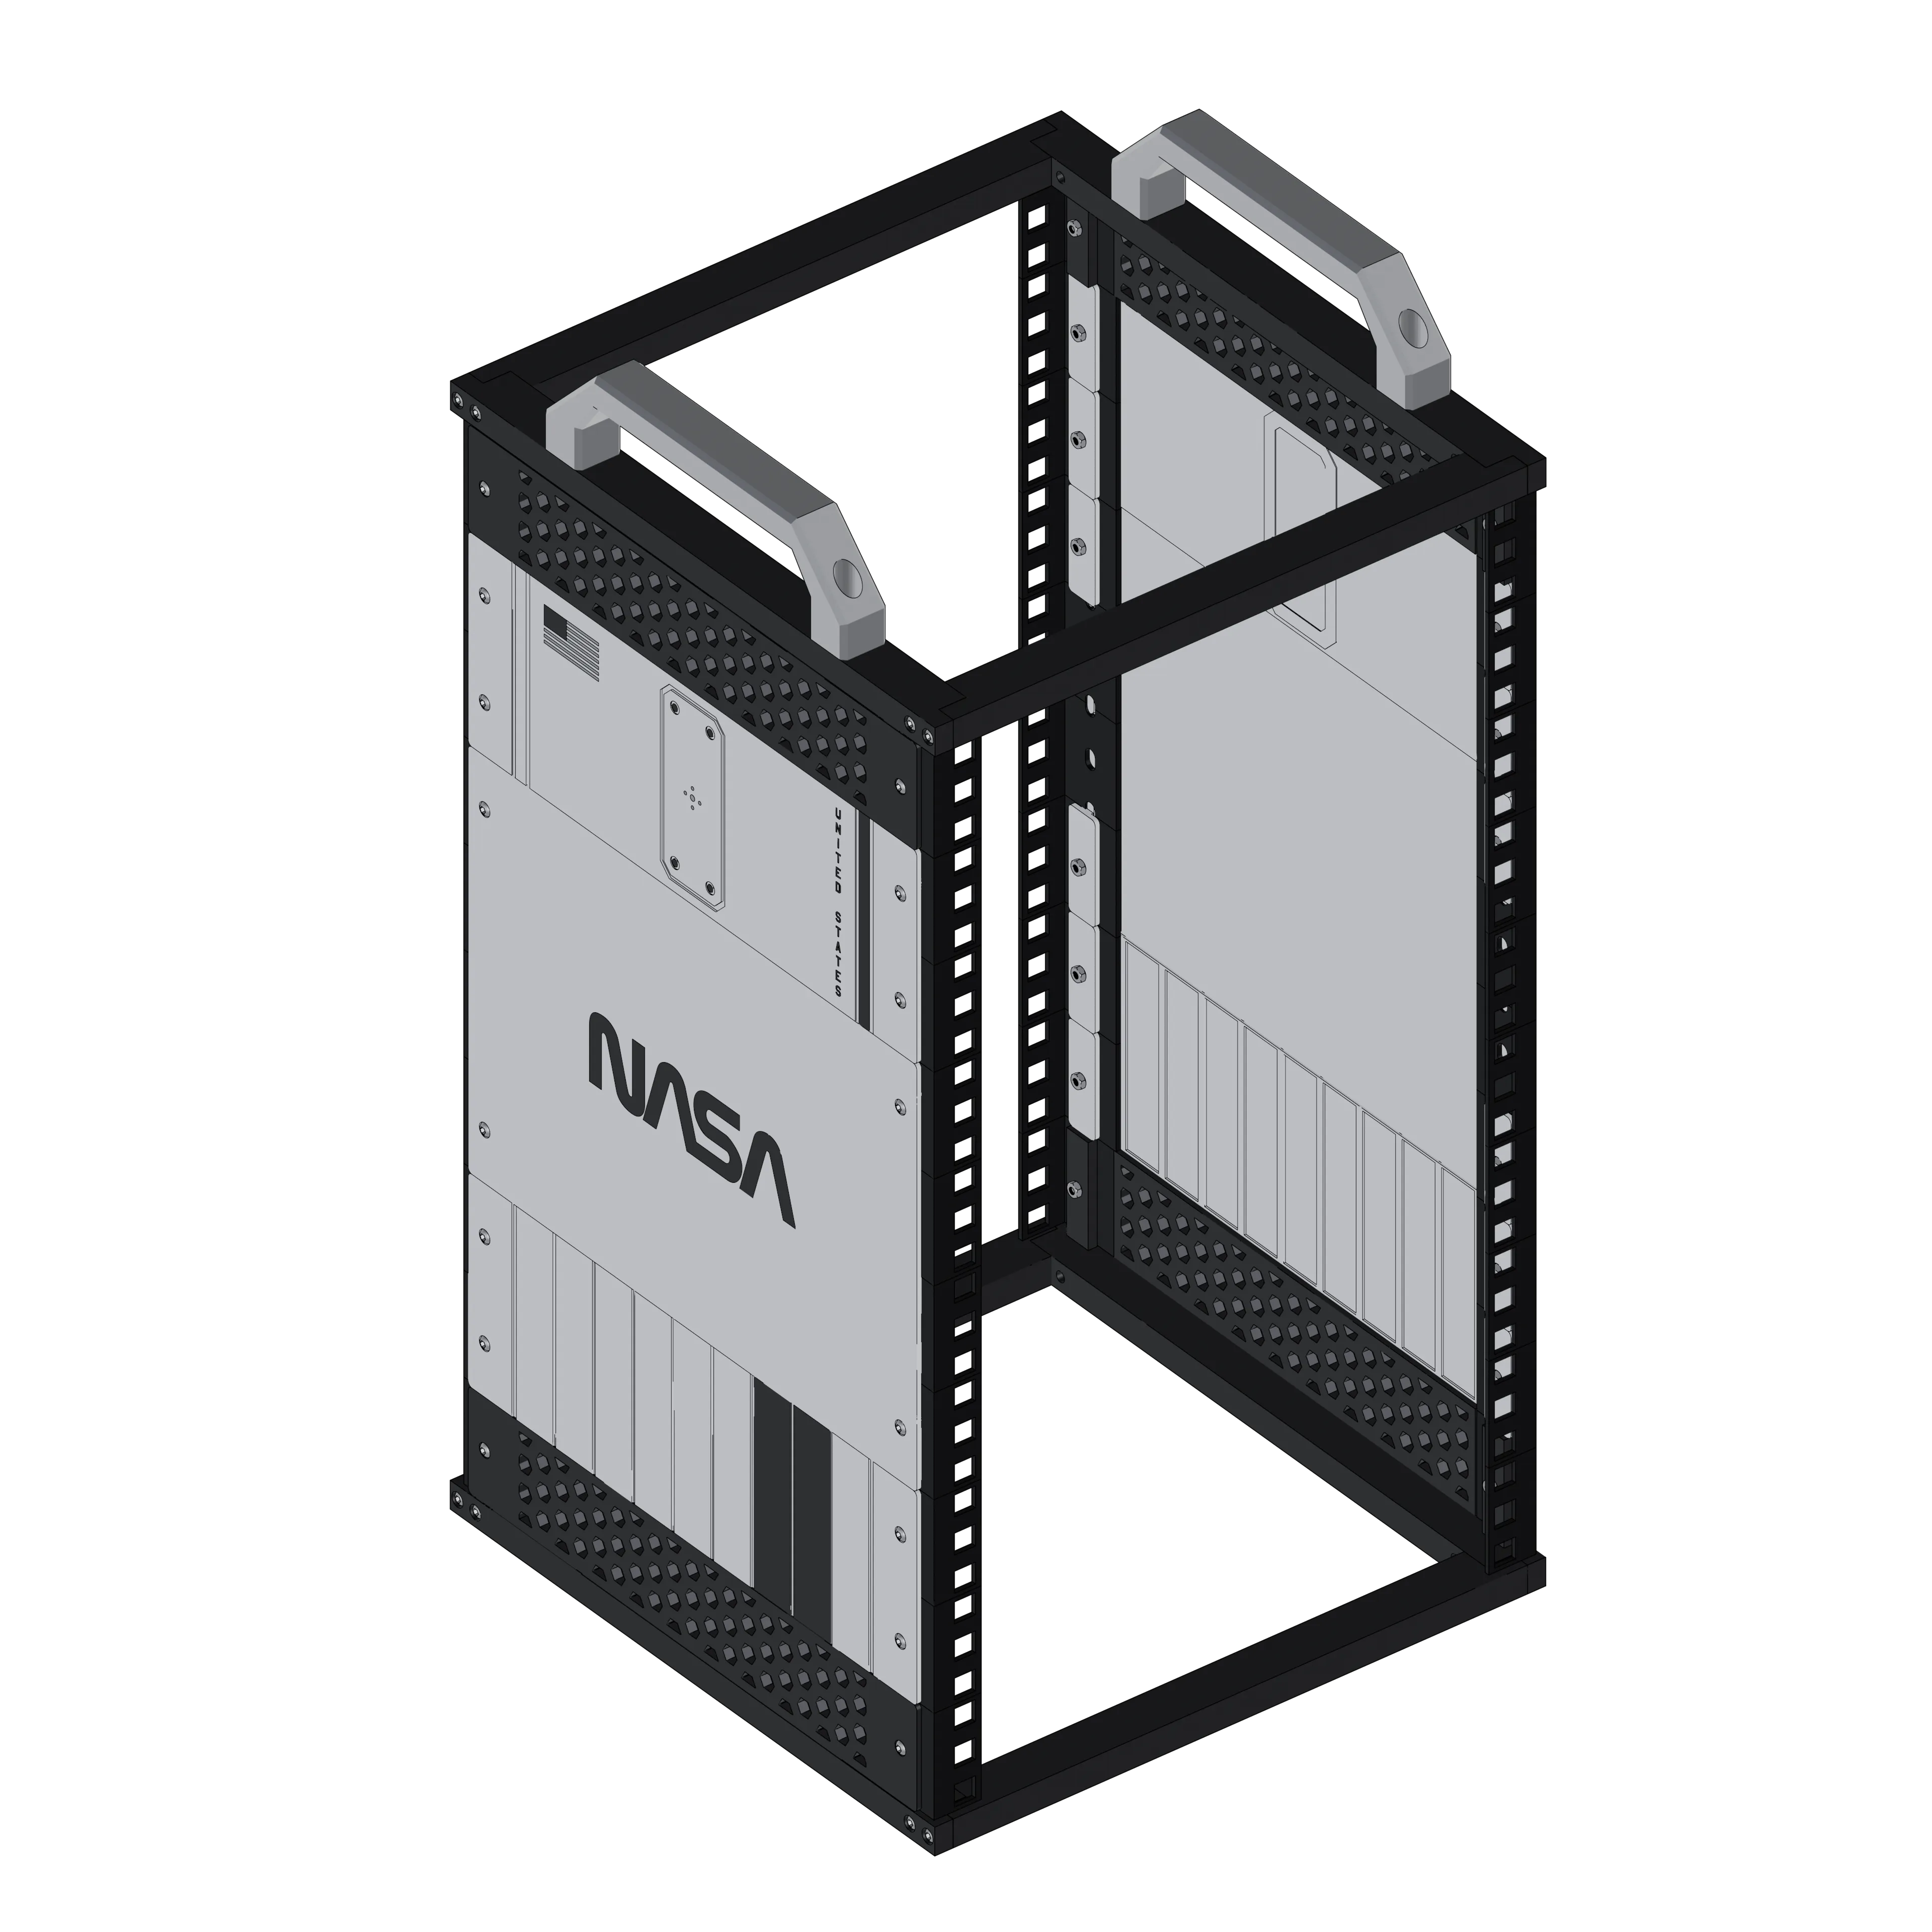
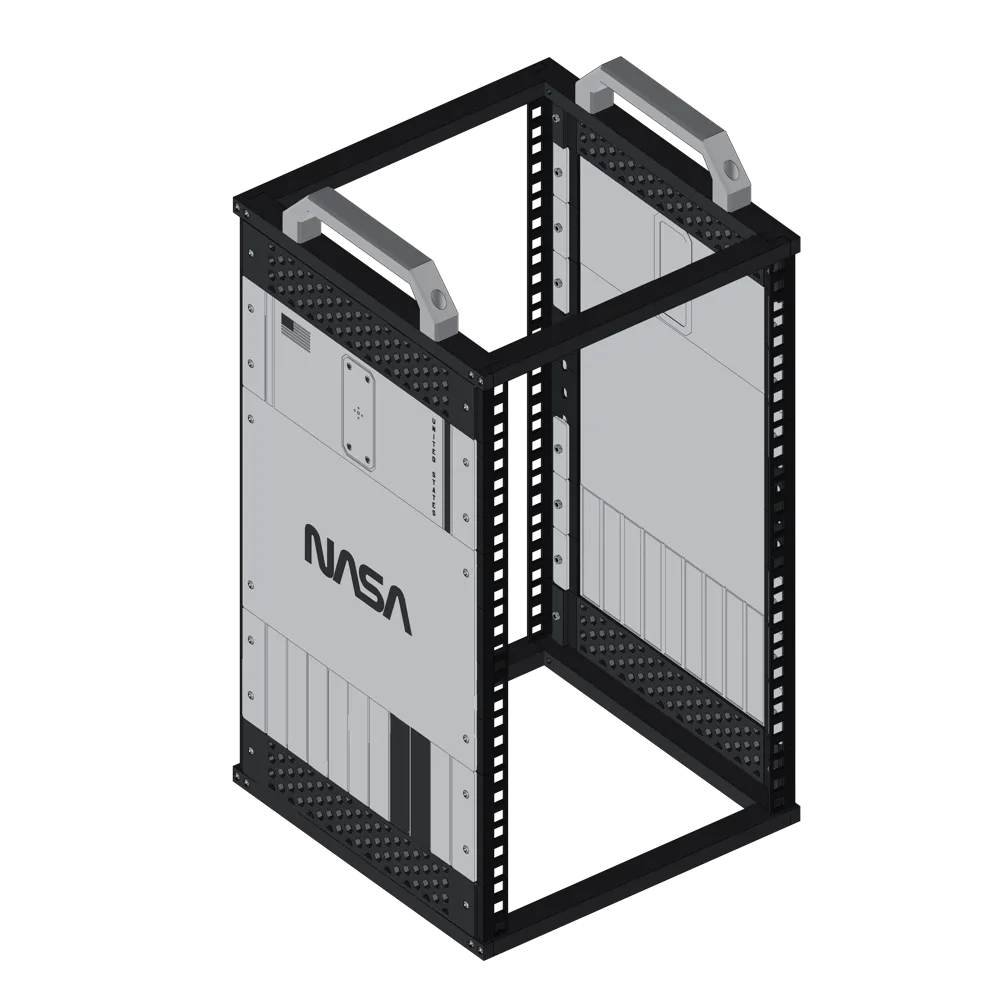
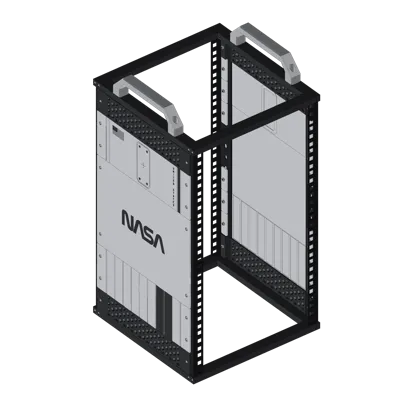
I included all parts required to print the base rack as shown.
Some of the modules seen in my printed version will follow soon.
A full assembly manual that will guide you step-by-step through the process of building the rack, as well as a complete parts list of additional non-3D-printed components, is included below.
But before lift-off, there are a few very important pieces of information to consider:
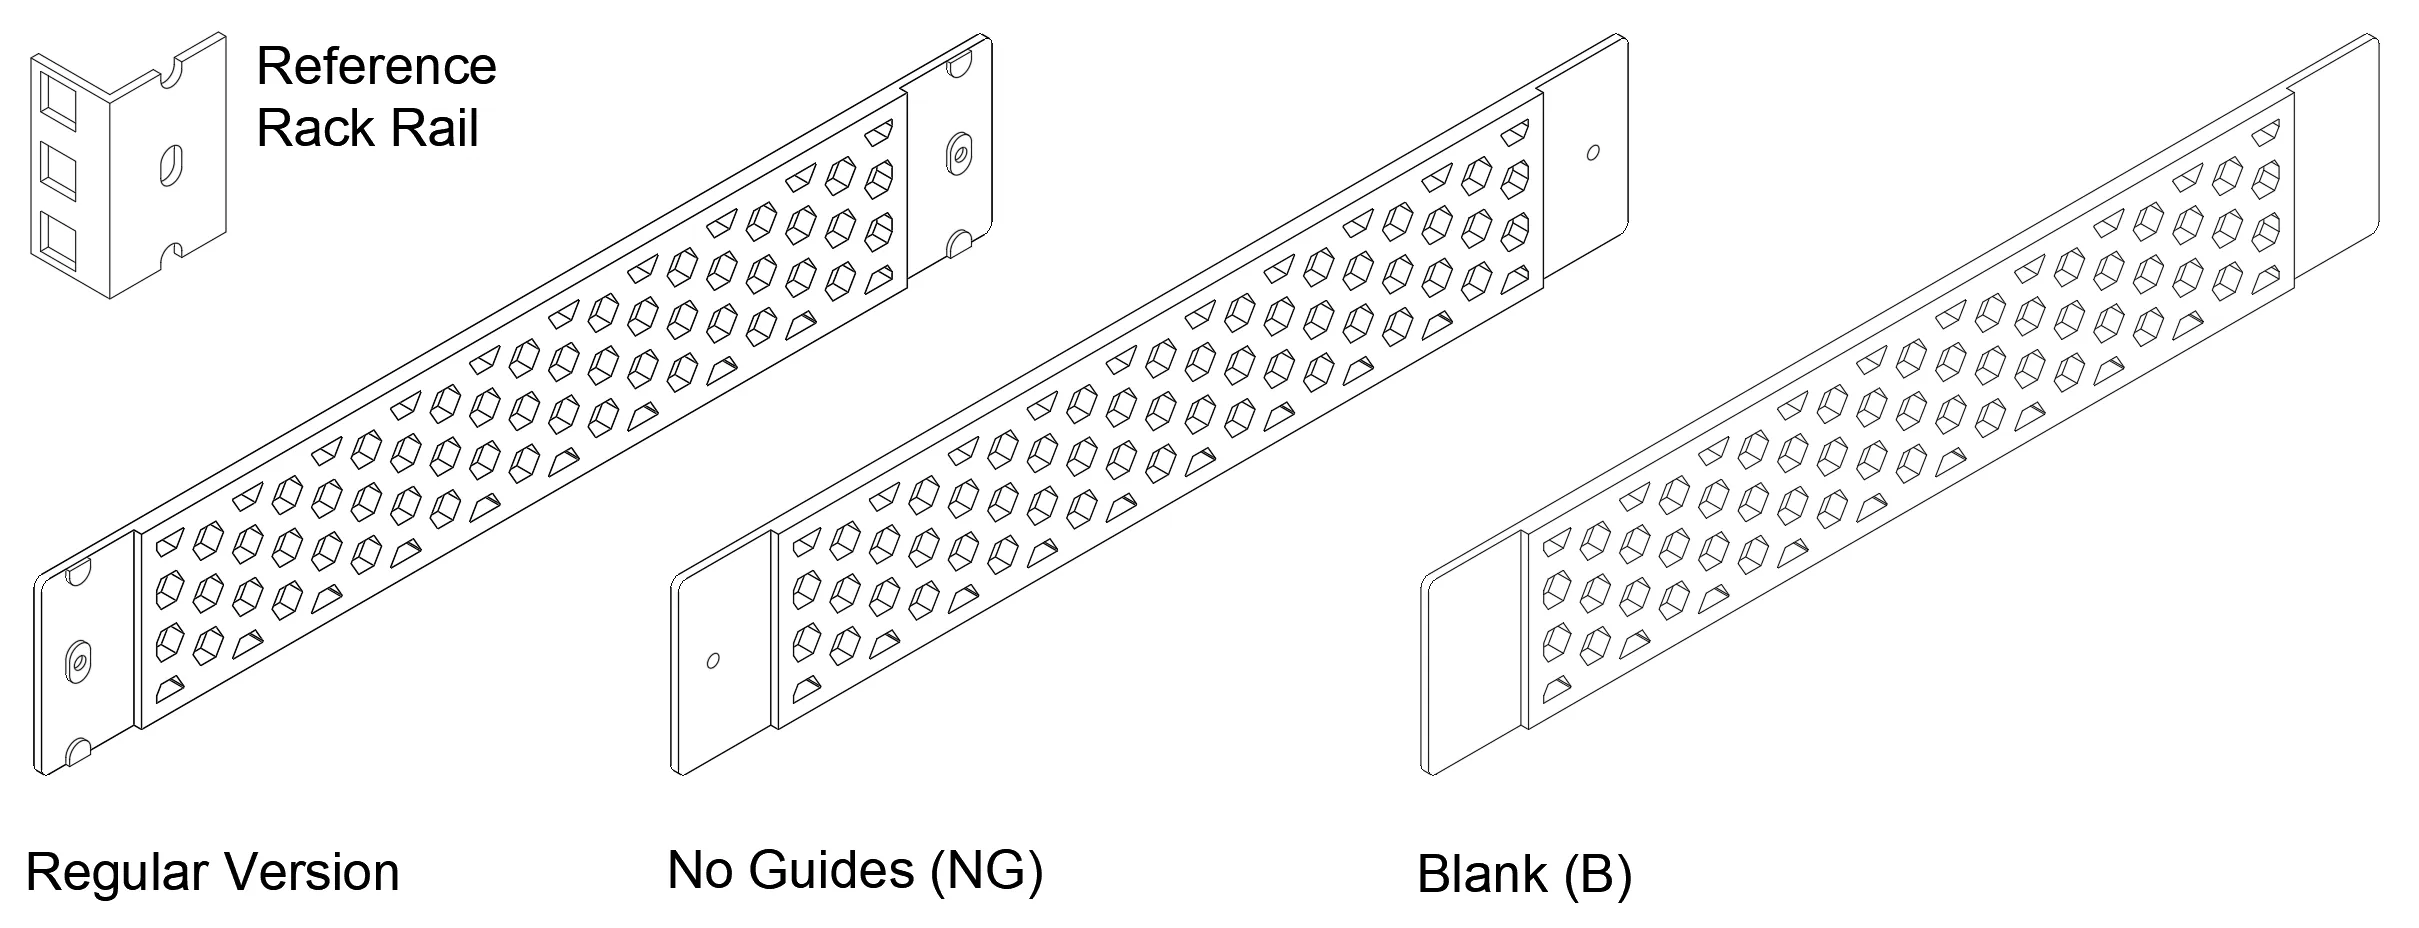
I used these 10U rack rails from “Adam Hall” for my initial design, and the parts are specifically designed for the mounting slots on the sides of those rails.
This is why I included three different versions of all parts that depend on the type of rails you use for your rack.
- If you're using the same rails, simply download the “Parts – With guides” or use the FullAssembly.3mf file.
- If your rails have holes in the middle of each U, you can use the “Parts – No guides” version.
- If your rails require a custom design, I’ve included a version without any guides or screw holes. You'll need to import the STEP files into the CAD software of your choice and create them yourself.
The parts in the “General” folder are independent of the rack type used.
Please note that I was only able to verify the “Parts – With guides” version. I also did not personally use the non-3D-printed parts listed in this project, but I included them to make gathering the needed components easier.
If you run into any problems, please let me know so I can fix them where possible.
All files are provided as STEP files. Text and small details are seperate bodies for easy color selection in Bambu Slicer. You can use the FullAssembly.3mf for reference. After importing the individual files make sure to use “Split to parts” and not “Split to objects” as the later can mess with supports and the final result of the print.
The instruction manual includes a small error in steps 5 and 7, where it shows 8 nuts that are not actually needed because the screw goes through a heat-set insert. This reduces the total number of nuts needed to 16, making a single pack of 20 (available on the Bambu store) sufficient.
You do not need to use 10U rails for your print. There are 1U, 2U, and 4U side panels that allow for different sized rails to be used.
Just make sure to use the two “Side Mounting” 1U parts, as they provide some structural rigidity.
The design relies on the mounted modules to provide some structural support. If you do not plan on mounting modules in the back of the rack, you can use “Support Mounting” if additional support is needed.
I used the Amarillo USAF Font by Tom C. Lai for the text on all the modules you see in the pictures of my printed version. This font is very close to the original font used on the Saturn V and fits right into the design of the rack. Feel free to check it out.
And now there is only one thing left to say: Happy printing everyone!✌️
License:
Standard digital file license.
If you need a commercial license get in contact here on Makerworld directly or through the email mentioned below.
Contact:
Do you have any questions regarding my models?
In need for a special design or specific dimensions?
Just wanting to say “Hi”? :)
Feel free to contact me: ttechs.designs@gmail.com
Documentation (1)
License

You shall not share, sub-license, sell, rent, host, transfer, or distribute in any way the digital or 3D printed versions of this object, nor any other derivative work of this object in its digital or physical format (including - but not limited to - remixes of this object, and hosting on other digital platforms). The objects may not be used without permission in any way whatsoever in which you charge money, or collect fees.


Comment & Rating (41)