Ultimate Battling Benchys - BeyBlade Set


Print Profile(1)

Description
Introducing the Ultimate BeyBlade Benchy Battling set!
In celebration of the 10th anniversary of Benchy, this remix features 10 Benchys encircling the body of the beyblade battle tops.
This is a full set that includes the Benchy beyblades, launchers, and LED lighted stadium.
The launcher for this set is from Meister Edel's Strong Flying Propeller, and can be found here: https://makerworld.com/en/models/62388-strong-flying-propeller-pull-copter-no-supports?from=search#profileId-107740
Full print time for the set is 16 hours if you print the stadium and 2 sets of launchers and Benchy beyblades.
Print time for a single Benchy beyblade and launcher is ~2.5 hours.
Complete Set measures 10"W x 10"D x 1.75"H (254mm W x 254mm D x 44mm H)

Required materials (~500g PLA total):
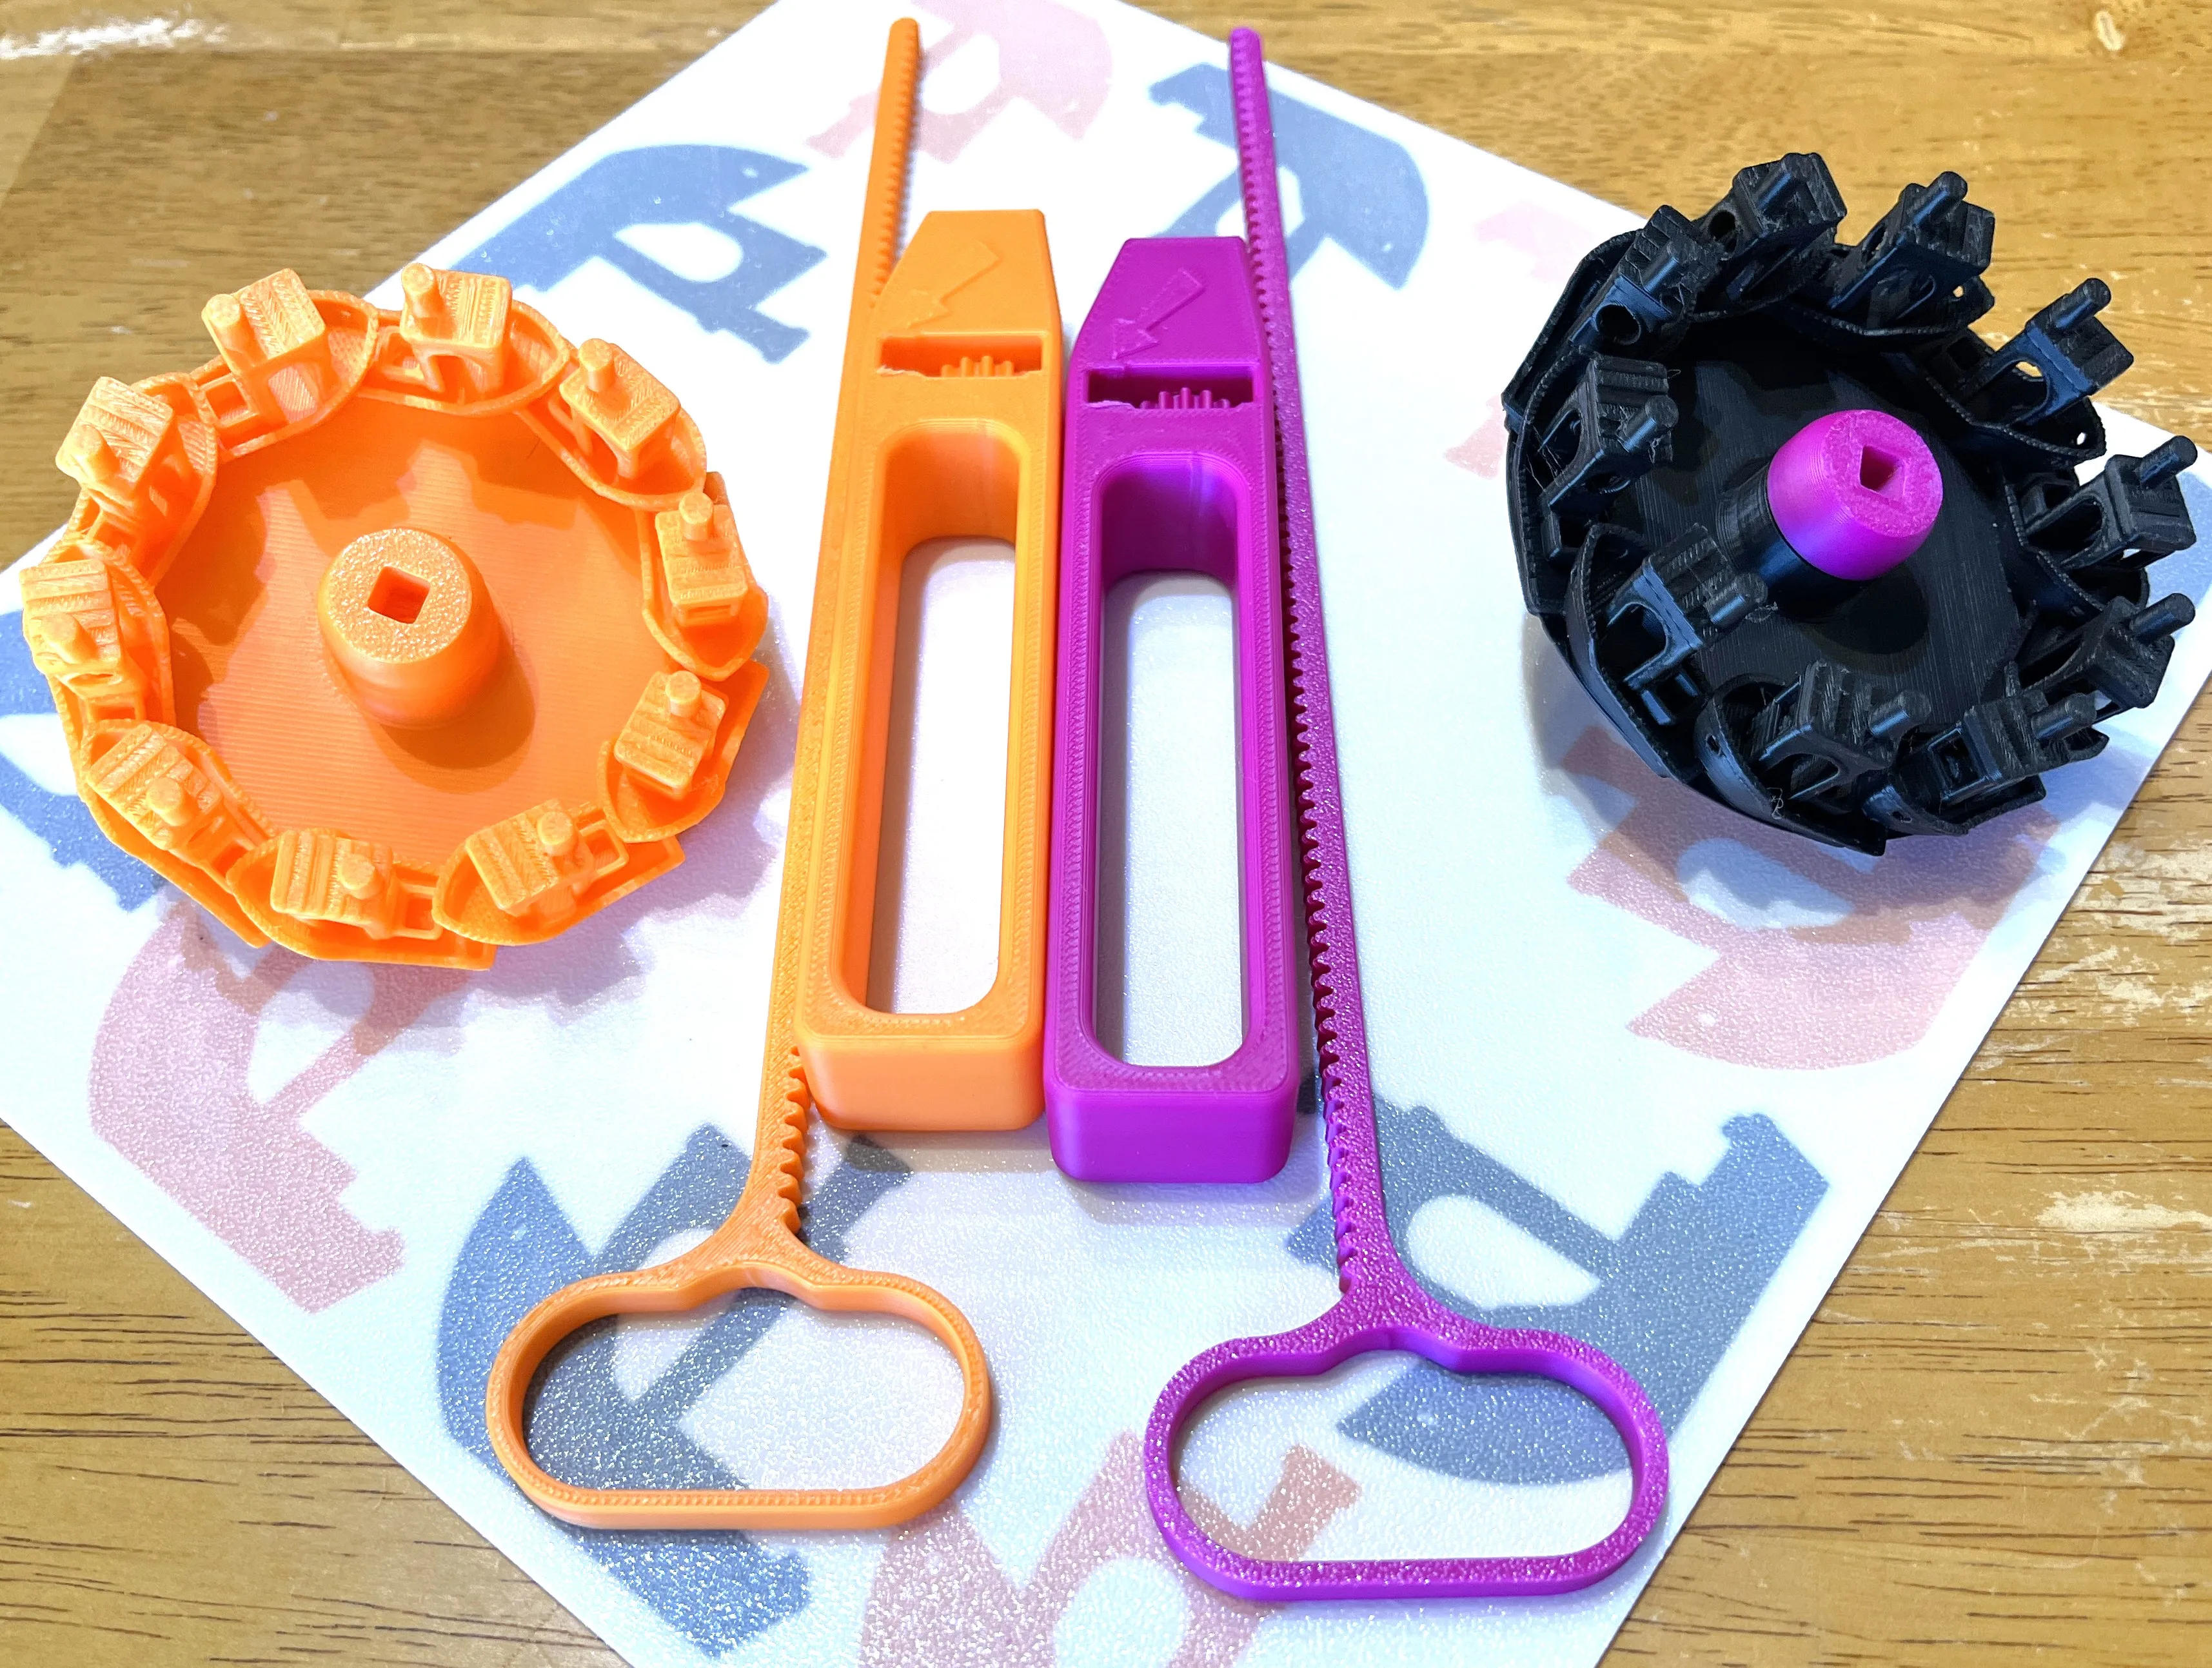
- 54g PLA for each launcher and Benchy Blade set (recommend using contrasting colors for each set)
- 65g Clear PLA or white PLA for the stadium top cap (can be other colors if you don't add the LED lights)
- 310g White PLA or other color of choice for stadium base
- Optional - track shoe spikes ¼" https://www.amazon.com/dp/B08X6SMJ47?ref=ppx_yo2ov_dt_b_fed_asin_title&th=1 (the print file includes optional beyblade bottom to install metal tip)
- Optional - LED light strips RGB (gives a fun light effect when battling!) https://www.amazon.com/dp/B0B2D7R8GG?ref_=ppx_hzsearch_conn_dt_b_fed_asin_title_5&th=1
Boost me for Free!
Boost Me (for free)
If you like my work send me a boost. Boosts are always appreciated but never required, thank you for your support!
Assembly Instructions:
Gather the launcher handle parts

Insert lower bushing


Take the ring gear and place it such that the lip is on the top and insert above the bushing in the handle


Insert upper bushing into the top of the launcher


Install drive axle through the tip bushing, ring gear and lower bushing with the two tabs on the bottom.


Now your launch handle is assembled insert the pull handle through the side where the arrows point to prep for launch


Benchy Beyblade assembly
Install the spike in the bottom cone (or use alternate bottom cone without hole for spike)


Test fit the cone onto the top launcher part and remove any burrs necessary to turn the cone ⅓ turn to lock onto the top

Take the Benchy BeyBlade ring and orientate with Benchy on the top and insert top launcher part through.


Install cone onto the bottom by aligning the parts and turning ⅓ turn to lock into place

you are now done assembling the Benchy Beyblade!


Assemble the stadium
Assemble the lights on the stadium by measuring and cutting the strip to length at one of the cut points, then removing the adhesive backing from the strip and align the lights as needed. Connect and turn on the lights per LED strip MFG instructions.


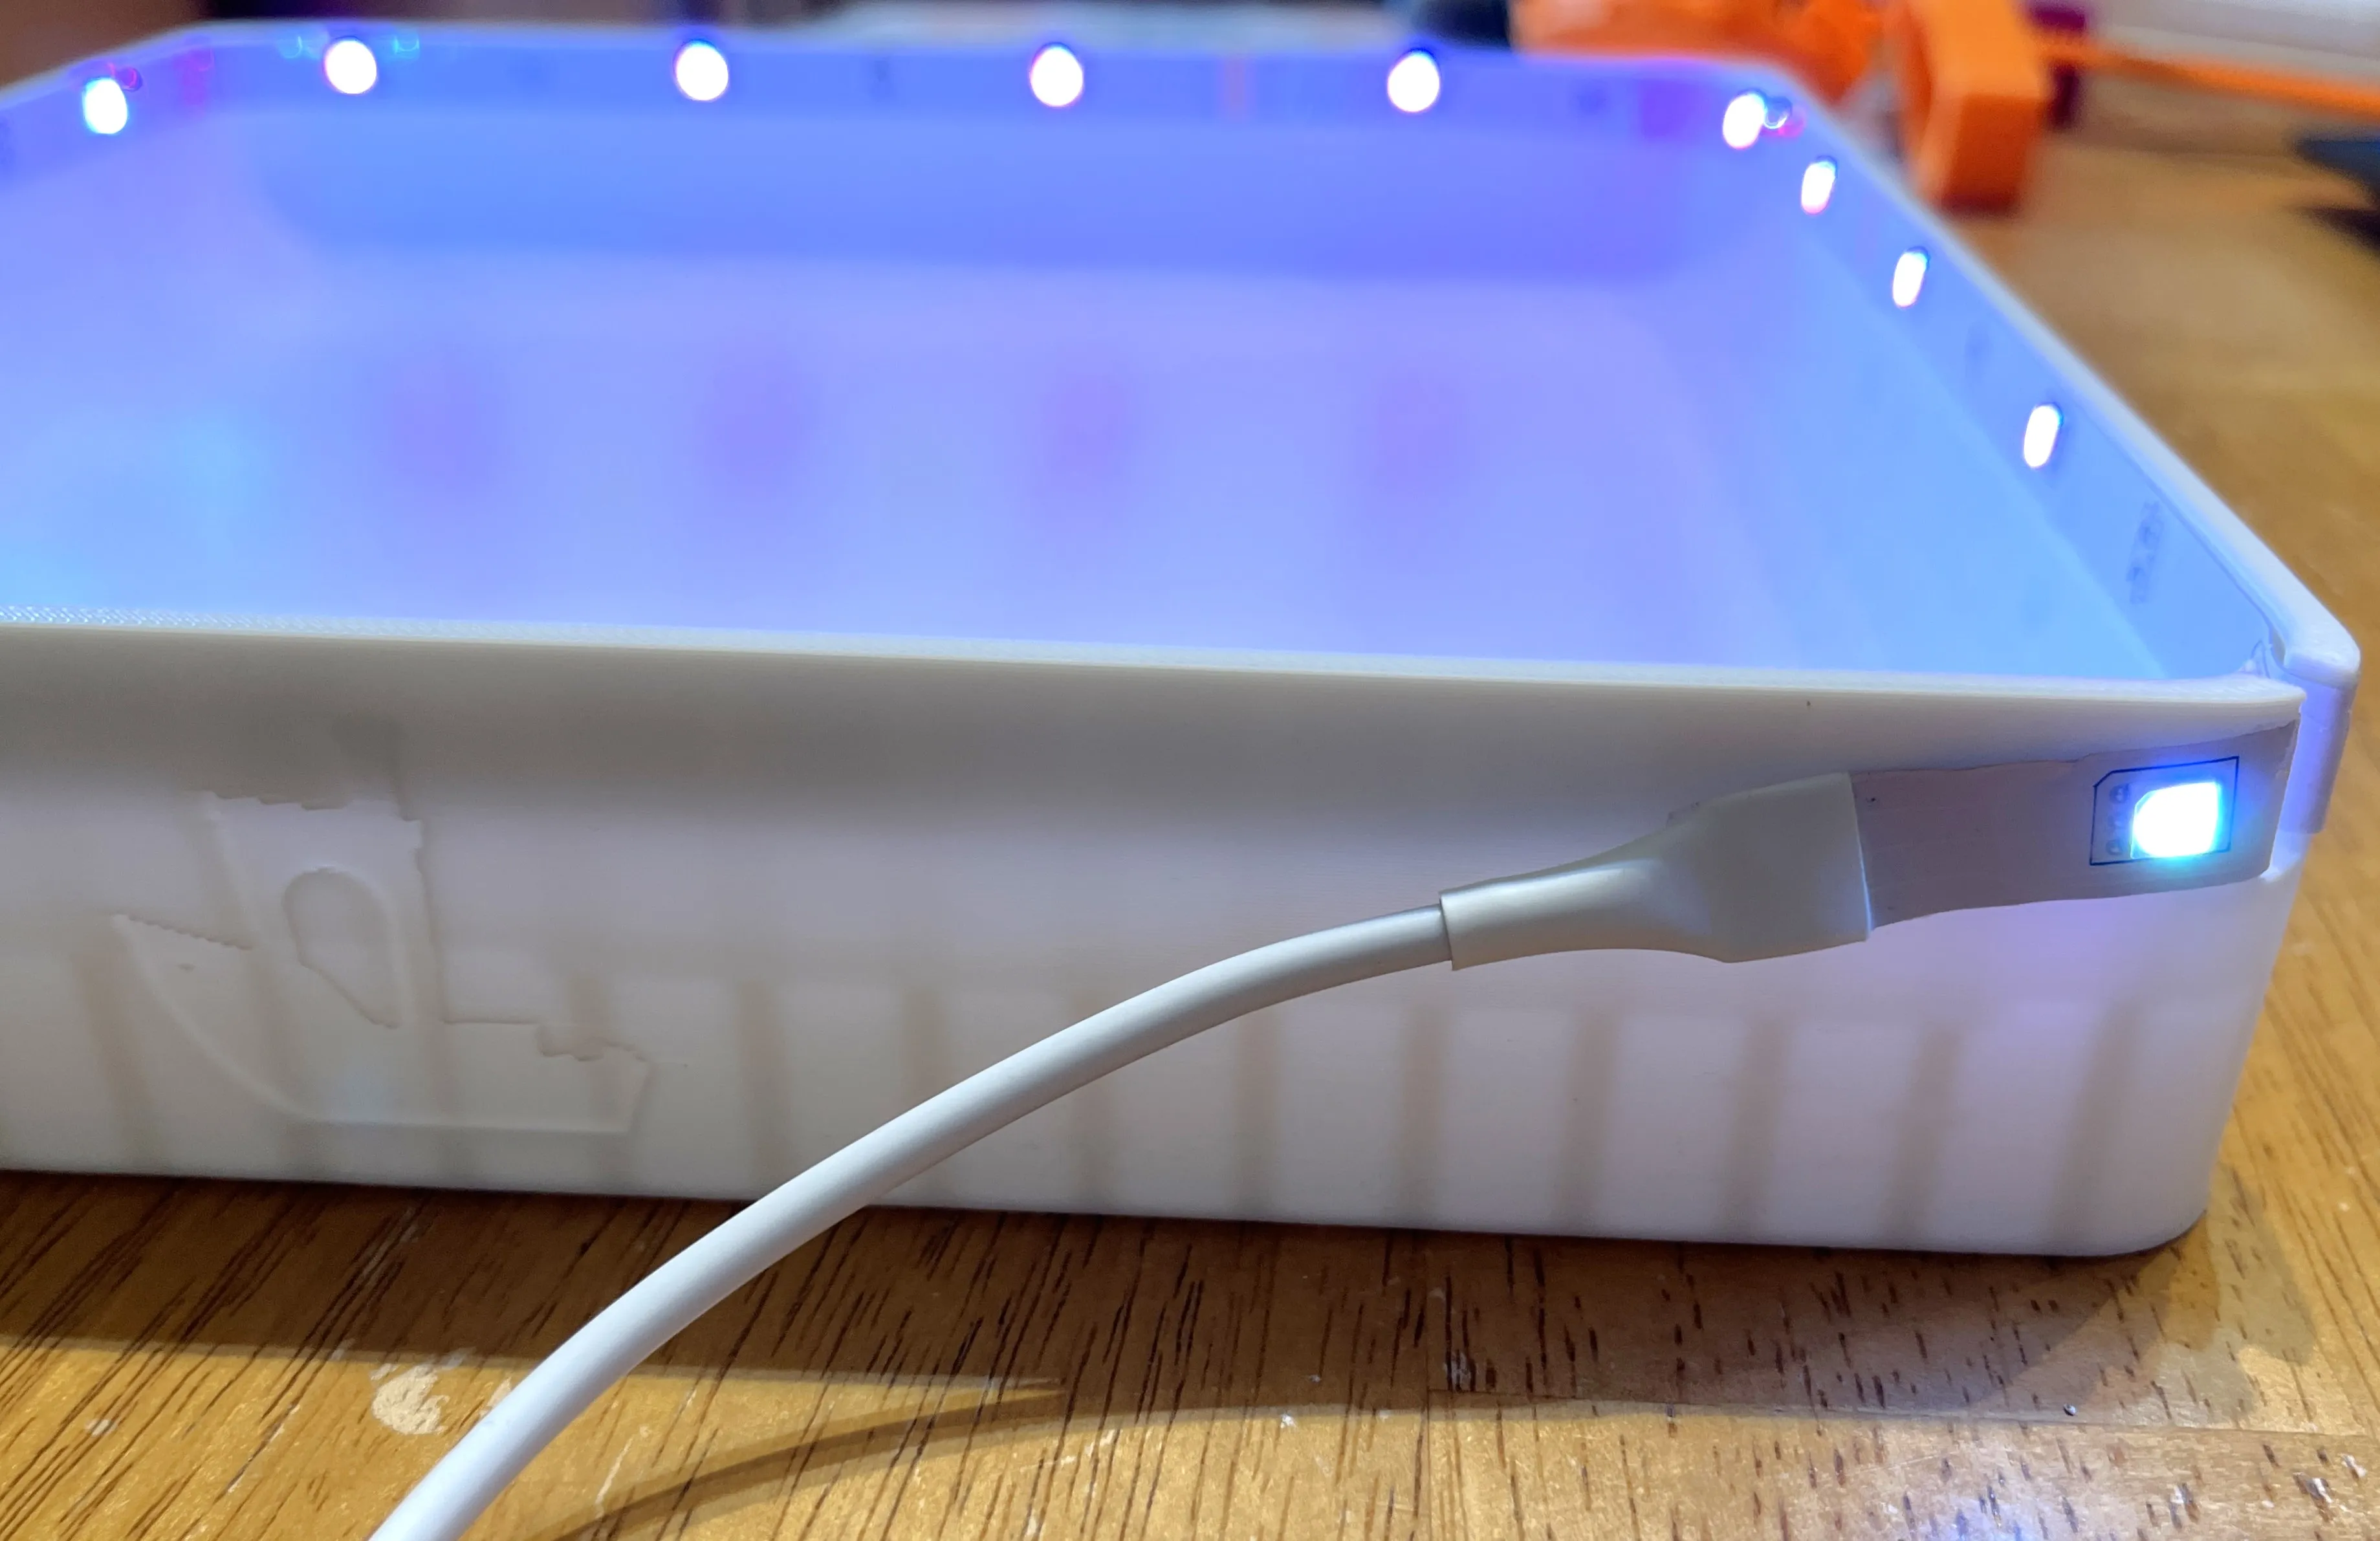
Install the stadium top cap by aligning it to the top of the stadium being careful not to pinch or cut the LED strip and pressing down onto the stadium base


Congratulations you have now finished your set and are ready to battle!


Happy Printing!
License
You shall not share, sub-license, sell, rent, host, transfer, or distribute in any way the digital or 3D printed versions of this object, nor any other derivative work of this object in its digital or physical format (including - but not limited to - remixes of this object, and hosting on other digital platforms). The objects may not be used without permission in any way whatsoever in which you charge money, or collect fees.
Comment & Rating (6)