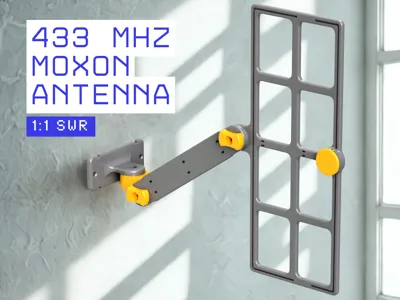
433 MHz Moxon Antenna – 1:1 SWR


Print Profile(3)

Description
Boost Me (for free)
✨ Boost me and help retire my veteran Ender 3 for a shiny Bambu Lab ✨
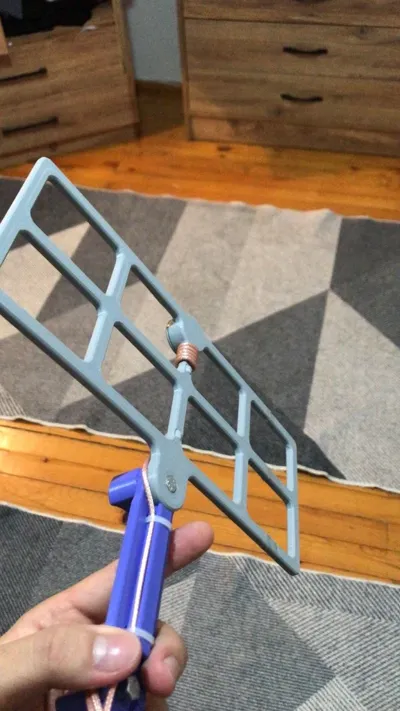
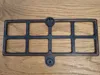
This 433MHz Moxon Antenna is the result of countless hours of testing, refining, and iteration. Achieving an exceptionally low SWR (<1.2), it is one of the most efficient and practical printed Moxon antennas available. Designed to be printable even on small 3D printers, the model comes in both one-piece and split two-piece versions.
🛠️ Post-Printing Instructions
🧷 Inserting the Antenna Elements
After printing the antenna body, insert stripped 1.5mm single-core NYA copper wires into the integrated channels:
- 1 x wire for the Reflector
- 2 x wires for the Dipole elements
- 2x M5 x 12mm hex-head bolts
- 2x M5 nuts
These bolts will be used to secure the antenna in place through the mounting points. The mounting slots are designed to fit M5 hex-head bolts. Plastic clamps (as needed)
Plastic clamps will be used to secure the coaxial cable when forming the Ugly Balun behind the dipole junction box. They help maintain the shape and positioning of the cable during wrapping.
Use tweezers or a fine tool to push them in place.
You may optionally:
- Apply a thin layer of glue inside the channels
- Use tape for temporary holding
- Carefully melt the frame plastic over the wire using a soldering iron for extra hold
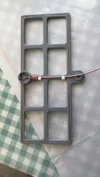
🔧 Soldering the Coaxial Cable
- Strip about 1cm of the outer jacket of a 50Ω coaxial cable (e.g., RG174/RG316)
- Twist the braid into a wire, and strip 3mm of the live conductor
- (Optional) Pre-tin both the braid and live wire with solder
- Solder:
- Live wire → Top Dipole
- Braid (Ground) → Bottom Dipole
- Do not connect anything to the Reflector
⚠️ Avoid short circuits by keeping insulation intact and braid strands separated.
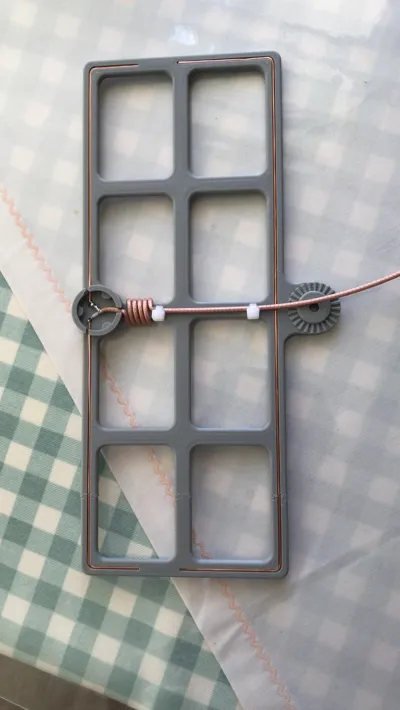
📡 Making the Ugly Balun
Wind the coaxial cable into 5 tight turns right behind the dipole connection area to form an "Ugly Balun".
Secure the loops using plastic clamps in the notched slots provided in the model.
⚠️ Do not pull on the cable while wrapping — you may disconnect your dipole solder joints.
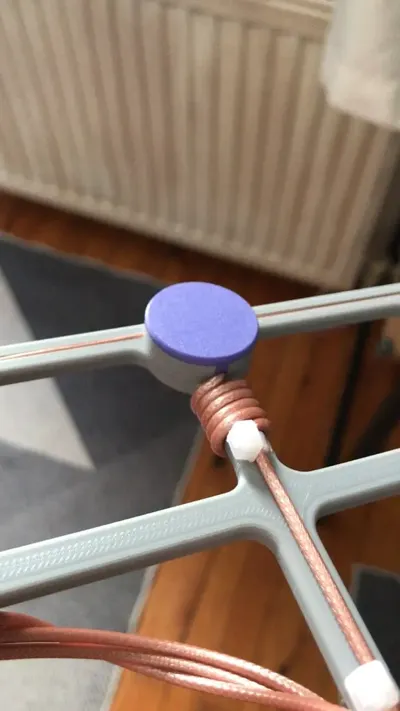
🧪 Sealing the Antenna
Coat all exposed copper and the inside of the dipole junction box with epoxy or strong adhesive.
Then, apply and secure the top printed cover over the junction box for additional protection.
🔌 RF Connector Assembly
Cut the coax cable to your desired length and solder on an appropriate RF connector (SMA, BNC, etc.).
If you’re using a pre-made cable with one connector already attached, solder the other end directly to the antenna and form your balun accordingly.
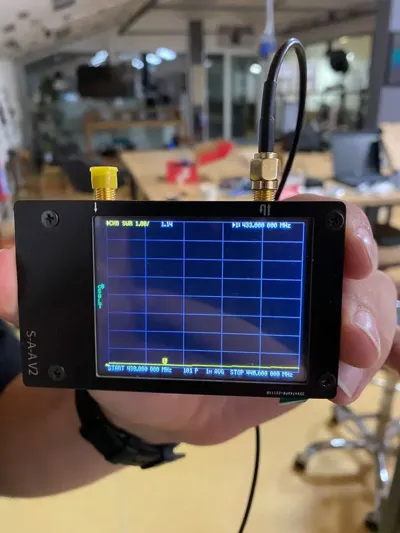
📏 Antenna Testing & Tuning with NanoVNA
✅ What to Expect
If built precisely, this antenna delivers a vSWR < 1.2 centered at 433MHz (70cm amateur band).
🔍 Setting Up the NanoVNA
- From main menu:
- Go to Display > Trace → Enable only Trace 0
- Go to Format > SWR
- Go to Channel > CH0 Reflect
Set Frequency Range (Method 1):
- Start = 430 MHz
- Stop = 440 MHz
(Covers full 70cm band)
Or (Method 2):
- Center = 433 MHz
- Span = 10 MHz (or desired value)
- Calibration:
- Go to Calibrate > Reset
- Follow steps:
- Open → Short → Load → Isoln → Thru
- Save to Slot 1
- Tracking SWR Minimum:
- Go to Marker > Search > Minimum > Enable Tracking
Now you’re ready to measure your antenna.
🖨️ 3D Printing Notes
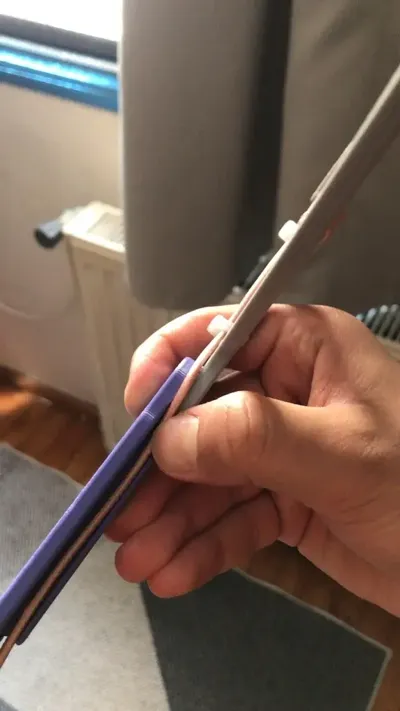
- Model includes both one-piece and two-piece versions
- The two-piece version fits small printers and is assembled using epoxy glue
- Mounting holes are provided for M5x15 bolts and M5 nuts
❤️ A Final Note
This antenna is not just another quick print — it's the product of serious trial, experimentation, and real-world RF testing. I spent a lot of time tweaking the dimensions, optimizing the feed point, and ensuring that even amateur users can build it with confidence.
Please consider showing your appreciation by liking, commenting, or sharing this project — your feedback keeps this kind of work alive and growing!
📩 If you have any questions or need help with printing or setup, feel free to contact me.
❤️ Your support means a lot — a like, comment, or sharing a photo of your print really helps me keep creating!
License
You shall not share, sub-license, sell, rent, host, transfer, or distribute in any way the digital or 3D printed versions of this object, nor any other derivative work of this object in its digital or physical format (including - but not limited to - remixes of this object, and hosting on other digital platforms). The objects may not be used without permission in any way whatsoever in which you charge money, or collect fees.
Comment & Rating (39)