Frein de remplacement pour Looping Squizz Z15


Print Profile(1)

Description
Replacement part for the Looping Squizz Z15 stroller braking system
Broken original part and failed DIY repair attempt
The reused parts described below are intentionally absent from these two photographs The breakage occurred at the base of the tip and all the plastic of the body cracked Repair with a screw, washers, and small pieces of wood was insufficient The part simply no longer allowed the rear right wheel to lock


Removal of the old system
Disassembly of the affected wheel

Disengage the brake using the grey pedal Lift the silver lever upwards to unlock the wheel axle

Pull the wheel to remove its axle Completely remove the wheel
Removal of the four screws from the brake system protection cover

Unscrew the four screws using a Phillips head screwdriver PH2

Remove the cover carefully holding it to prevent the spring underneath from popping out


Push the handle to engage the brake and release the mechanism If it does not come out, use pliers to remove the entire mechanism Check that nothing remains at the bottom
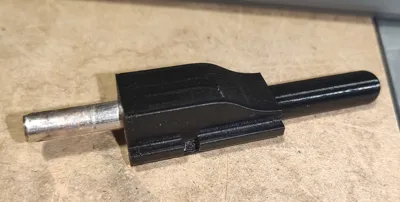
Preparation of the replacement part
After printing, remove all supports (sanding will certainly be necessary and the use of a scalpel-type blade will be necessary to remove small support residues) Insert an M3 x 35 mm round head screw (hexagonal drive) This screw strengthens the tip of the mechanism (cause of the brake failure on my stroller model)

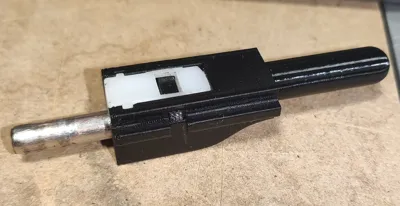
Insert the spring and the metal stud recovered from the original part

Insert the retaining part recovered from the original part

Push it firmly until it stops

Insert the 3D printed pin from either side of the part

This part must not protrude on the sides

Check that the stud is properly actuated and that the return spring functions correctly


Assembly of the part onto the stroller
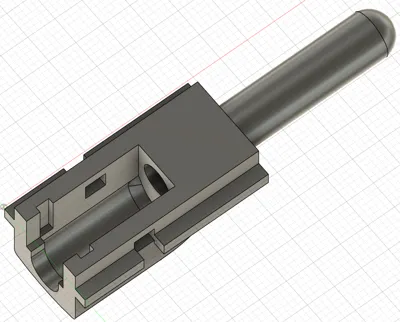
Ensure the guide at the bottom of the brake mechanism housing is correctly positioned Manipulate the grey brake pedal to reposition the guide


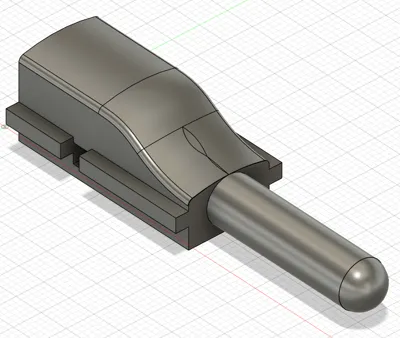
Insert the mechanism with the curved profile facing outwards

Press down gently to insert the part It should move easily

Disengage the brake system if the mechanism cannot descend sufficiently by pushing the grey pedal

Reposition the original spring around the metal stud

Reposition the cover and secure it with the four original screws

Manipulate the brake pedal to check that the mechanism extends and retracts without forcing

Leave the stud extended and manually manipulate it to move it in and out (the spring should be able to extend it on its own without friction)

License
You shall not share, sub-license, sell, rent, host, transfer, or distribute in any way the digital or 3D printed versions of this object, nor any other derivative work of this object in its digital or physical format (including - but not limited to - remixes of this object, and hosting on other digital platforms). The objects may not be used without permission in any way whatsoever in which you charge money, or collect fees.
Comment & Rating (0)