
Pocket Sized Berry Picker
Print Profile(2)


Description
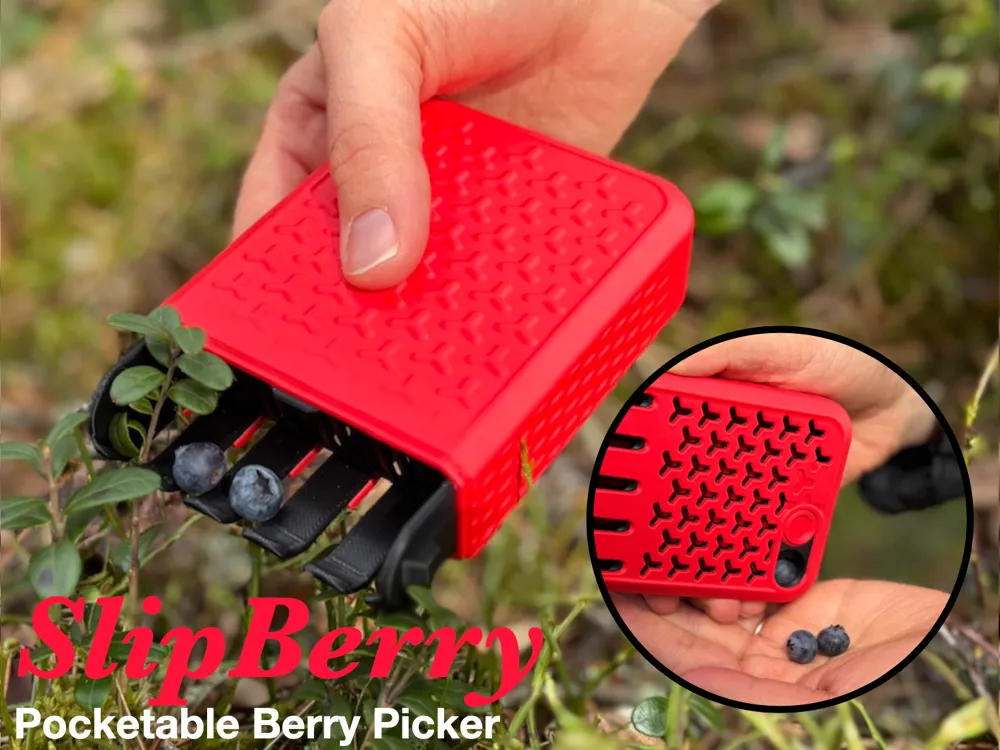
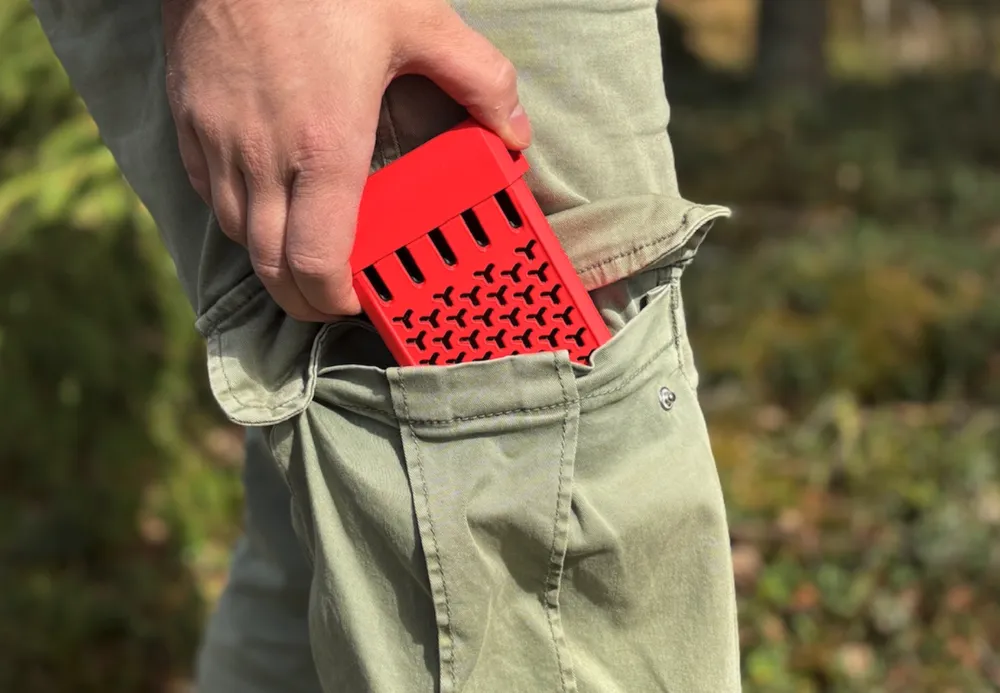
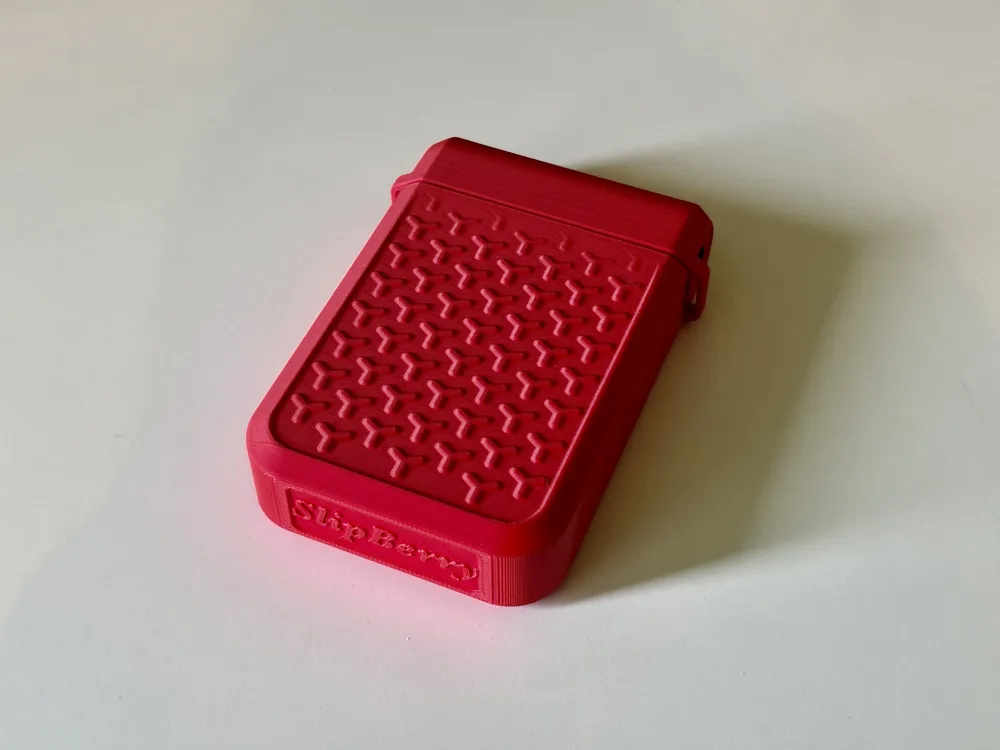
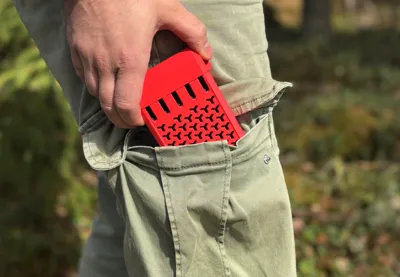
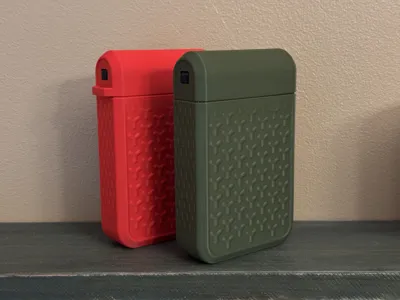
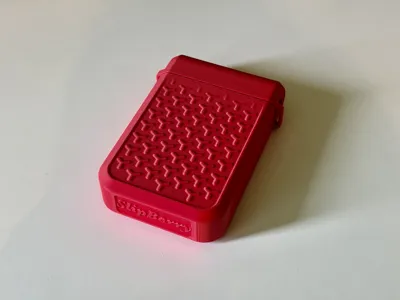
Introducing SlipBerry — the berry picker you can slip in your pocket!
Pick, snack, and share—without the mess!
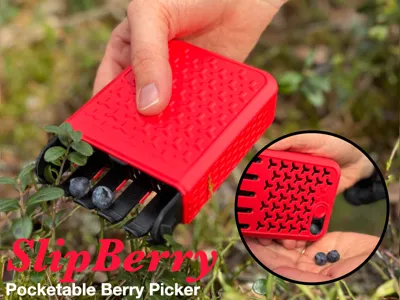
Berries make a perfect snack while you're hiking or exploring the woods. With the compact SlipBerry, you can pick them easily without staining your hands. It also works as a convenient container—so you can eat on the go or share your berries with others.
Features:
- Stylish and functional design.
- Easy to print and easy to assemble.
- Prongs that delicately separate berries from plants and guide them in the container.
- Automatic gate to keep the gathered berries from falling out when reaching for more.
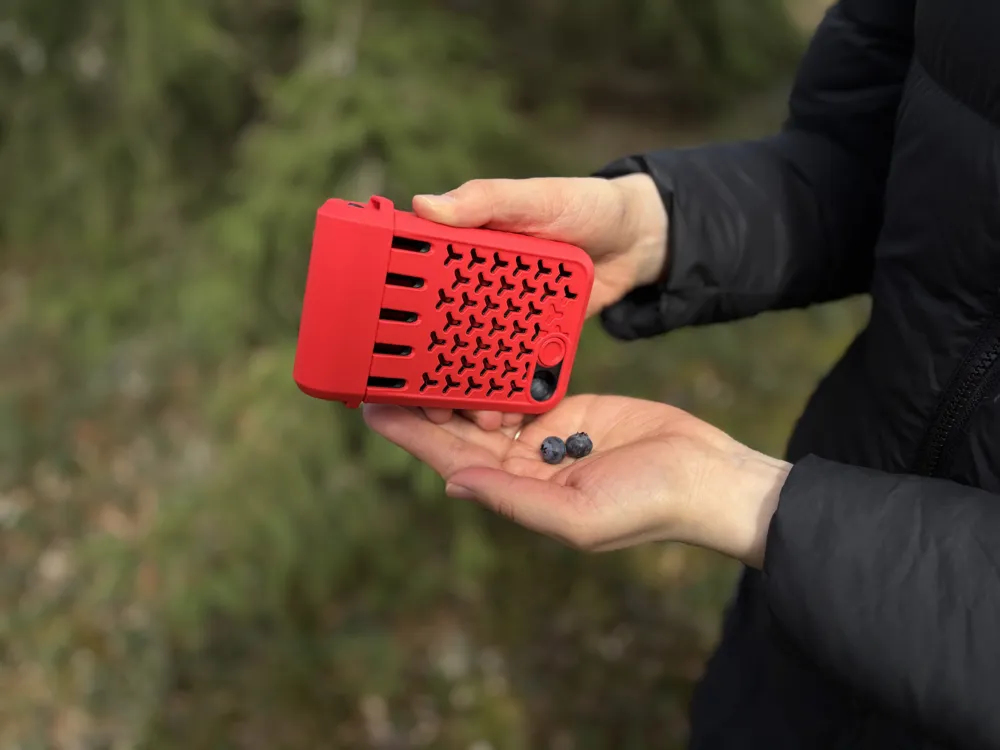
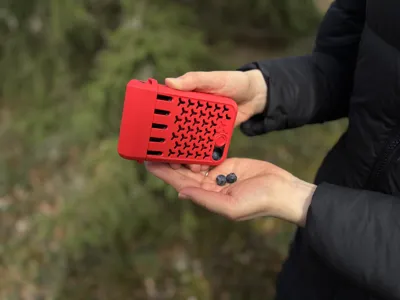
- Convenient snack hatch to pour the berries out from.
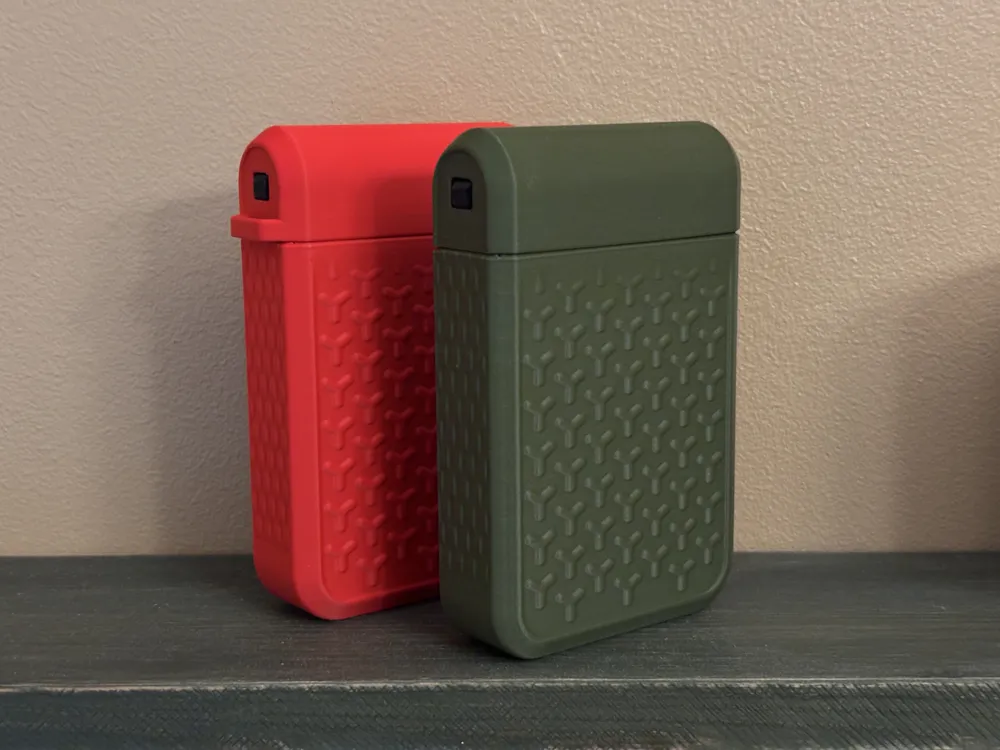
- Secure lid that the picker can also hang from if used with a lanyard or carabiner - just detach the SlipBerry from the lid when you want to start picking.
- Version with plain lid without attachment points also included on a separate profile.
- Meshed wall for debris to fall through and for checking the content level.
- Customizable name plate at the end - leave to product name in or personalize as you wish.
- Easy to disassemble for cleaning.
Notes on usage:
- Be respective to the plant - you don't want to damage the plant or the berries.
- Scoop up the berries with the picker pointing slightly upward such that the berries fall in.
- The gate keeps the berries from falling out if the picker is pointing down. The gate can also be held shut manually for extra security.
- The lid can be inserted in both orientations.
- The lid securing mechanism should be firm and support hanging the container from the lid if carrying with e.g. a carabiner attached. This way you can leave the cap hanging while picking and just re-attach the lid to the picker for transport when done.
- The lid is released by firmly pressing on the two buttons while pulling the lid away from the container.
- You can ease the attachment of the lid by lightly pressing in the walls with the buttons with one hand while guiding the lid in place with the other.
Boost Me (for free)
Like this print? Check out my other design as well and consider leaving a Boost. Each one is greatly appreciated! Thank you!
Print, assembly and disassembly:
Pick your design - The first profile includes mounting rings on the lid for multiple carrying options while the second one doesn't have these rings for a cleaner look.
Customize - The product name text is created in Bambu Studio. The idea is that you can personalize it with the name of the owner easily. Just double click on the text on the model to edit the font, size and content. Great for printing as a personalized gift!
Material - The design is tested to work with PLA Basic and PLA Matte from Bambu Lab, but it shouldn't be too picky about the material. Just observe that the lid securing clips don't wear out if using softer material such as PLA Matte. Also note that PLA does not like hight heats such as those reached in cars during sunny summer days.
Bed - The outer shell and lid print upright - the first layer has very low surface area. Prepare your bed well - clean thoroughly and use glue if you know that it helps with your material. I printed with Cool Plate SuperTac and didn't encounter any issues other than minor warping when the print was located on the edge of the bed. In the profile the parts are centered for A1 mini.
Separate the finished parts carefully from the bed to avoid bending of the delicate gate part or the picker prongs on the inner tray.
Assembly steps:
- Remove the modeled-in support from the outer shell. Push on the upper edge and it will pop right off (tested with PLA and PETG).
- Observe the inner structure of the outer shell; note where the gate will be located and observe the clip* ridge on the opposite wall. Place the gate in place as shown. (*Separate image of the clip also at the end for clarity)
- Guide the inner tray in such that it doesn't dislocate the gate. Don't push it all the way in yet! There's some resistance at first as the inner tray needs to push over the clip ridge.
Slide the inner tray until approximately ½ of the hatch opening is covered.
(more steps after the image)
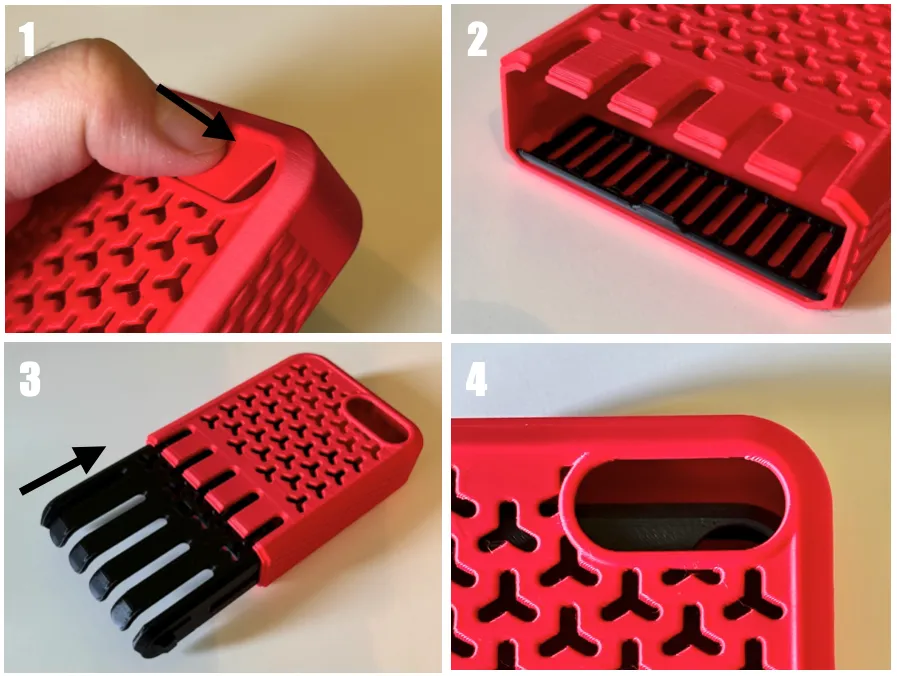
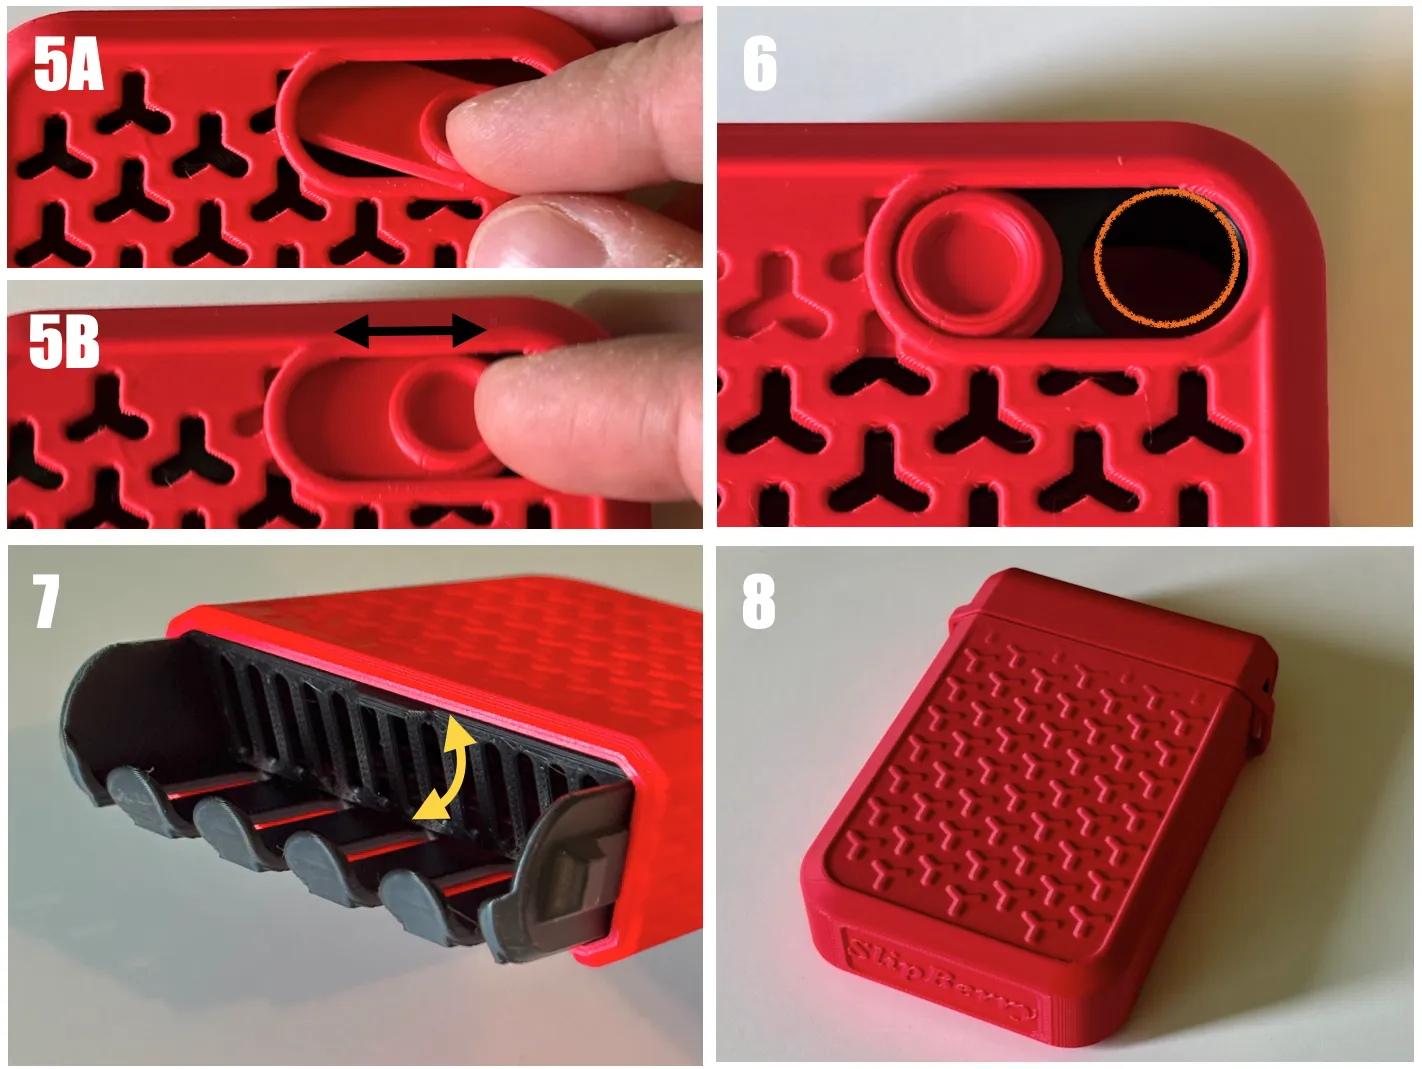
5. Slide in the hatch/door as shown (A), pushing it against the inner tray such that it levels against it. Guide the hatch in place sliding it back and forth (B).
6. Push the inner tray all the way in. There should be a click and the part is locked in place. The opening on the inner tray should align with the opening of the outer shell. Check that the hatch moves freely. Note that it has a slight snap when closed.
7. Check that the gate moves from closed position (shown) to open without resistance. The gate should open and close when the picker is pointed up and down.
8. Done! Install the lid and go enjoy some berries!
(Optional 1) You can make the lid easier to remove to your liking by sanding the square opening where the internal tray catches it.
(Optional 2) You can hang the picker from the loops in the lid by using keyrings, paracord, small carabiner etc.
Disassembly:
To disassemble for cleaning, hold the meshed side up such that the gate is open. In this orientation, push the middle prongs on the internal tray down while pulling them out. This releases the inner tray from a clip that keeps it in place. Clip pictured below:
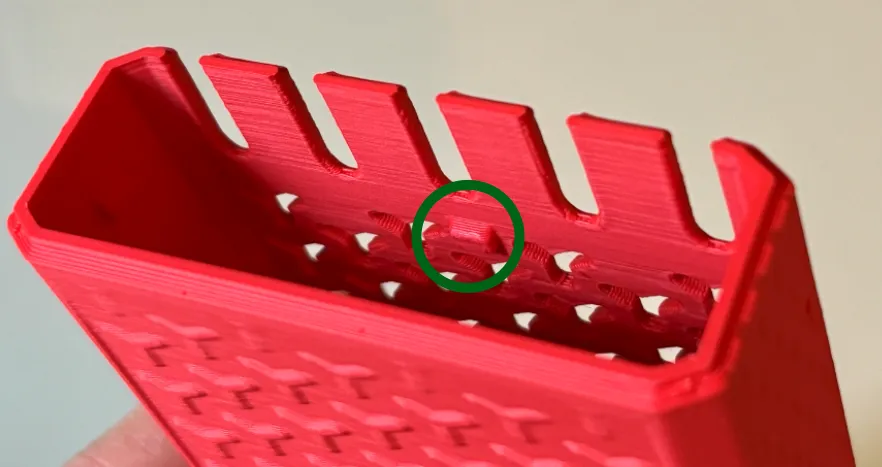
Edit 2025-05-03, UTC 20:00 : Updated the internal tray to have less play with the cap and made the buttons larger for easier removal. Print the internal tray ("INT") again if you are one of the first ones who already printed this and if you find the lid a bit loose or difficult to remove.
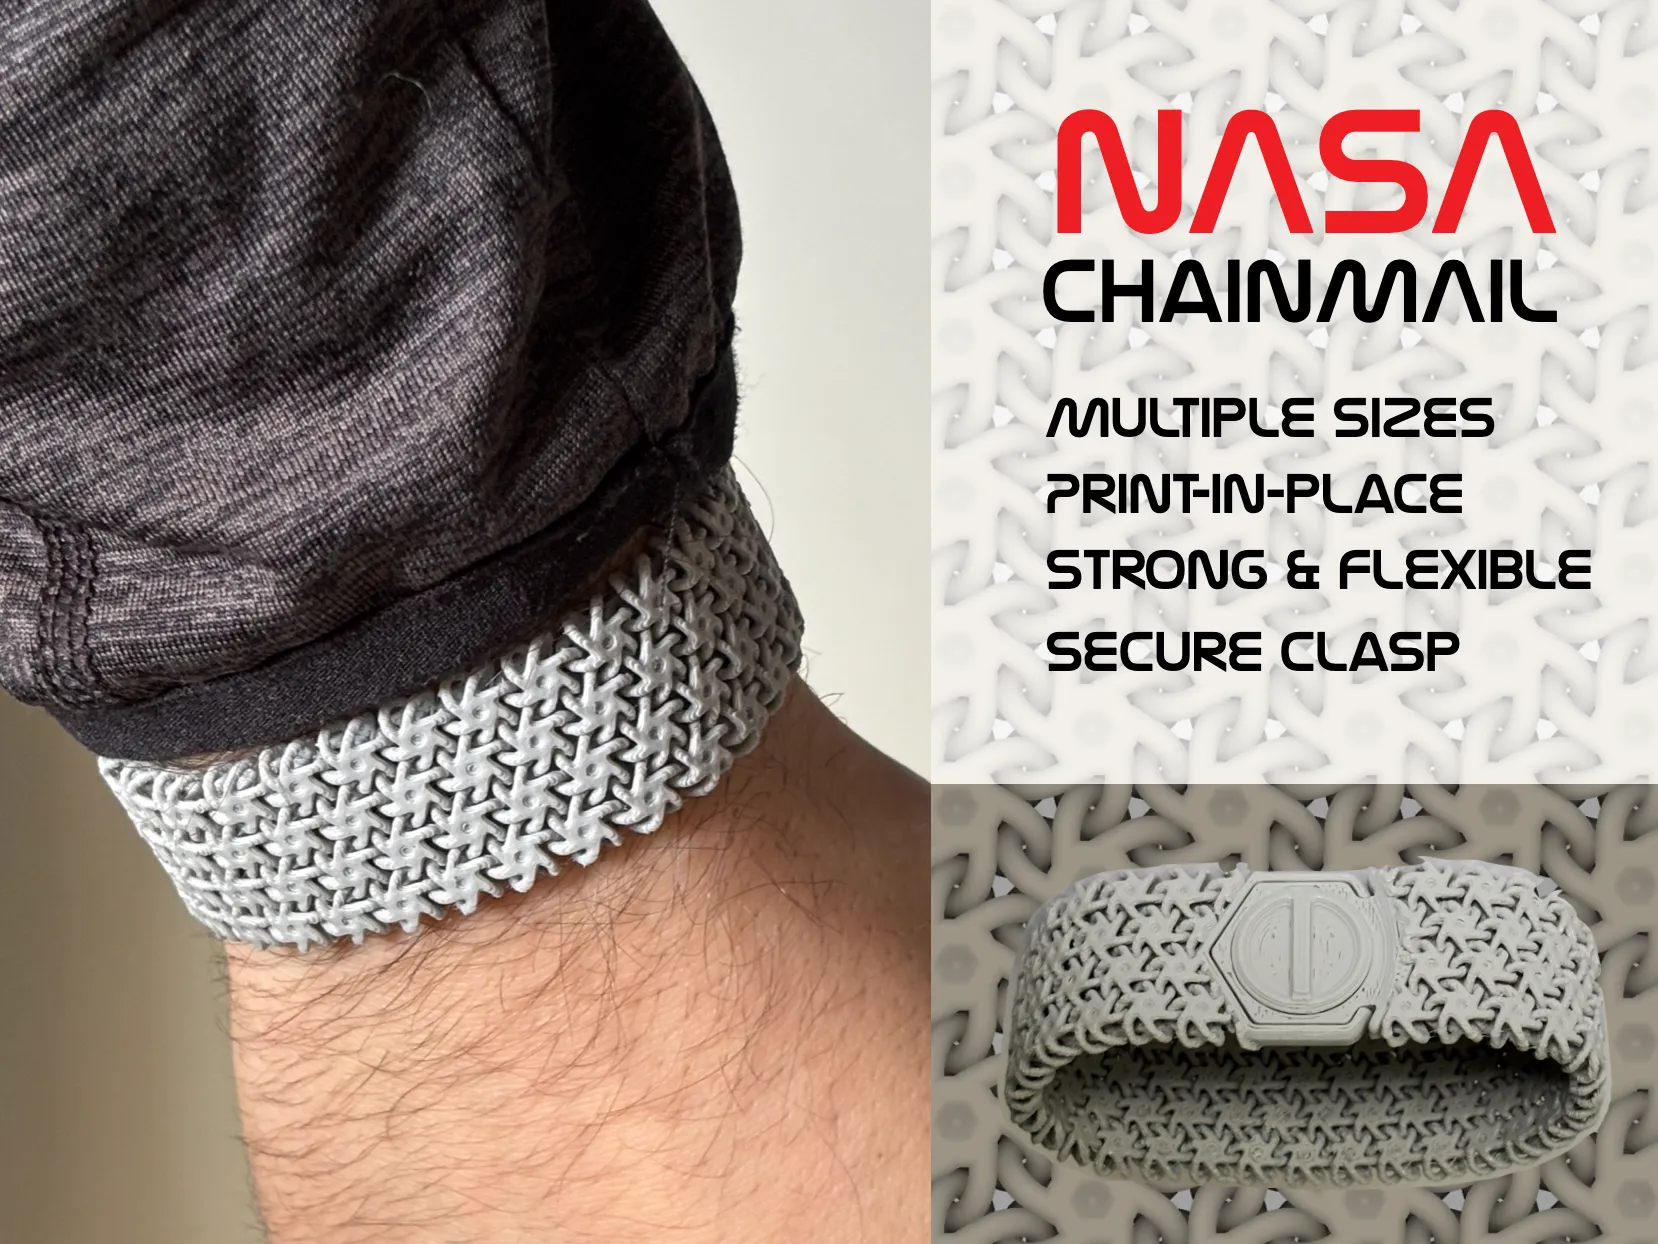
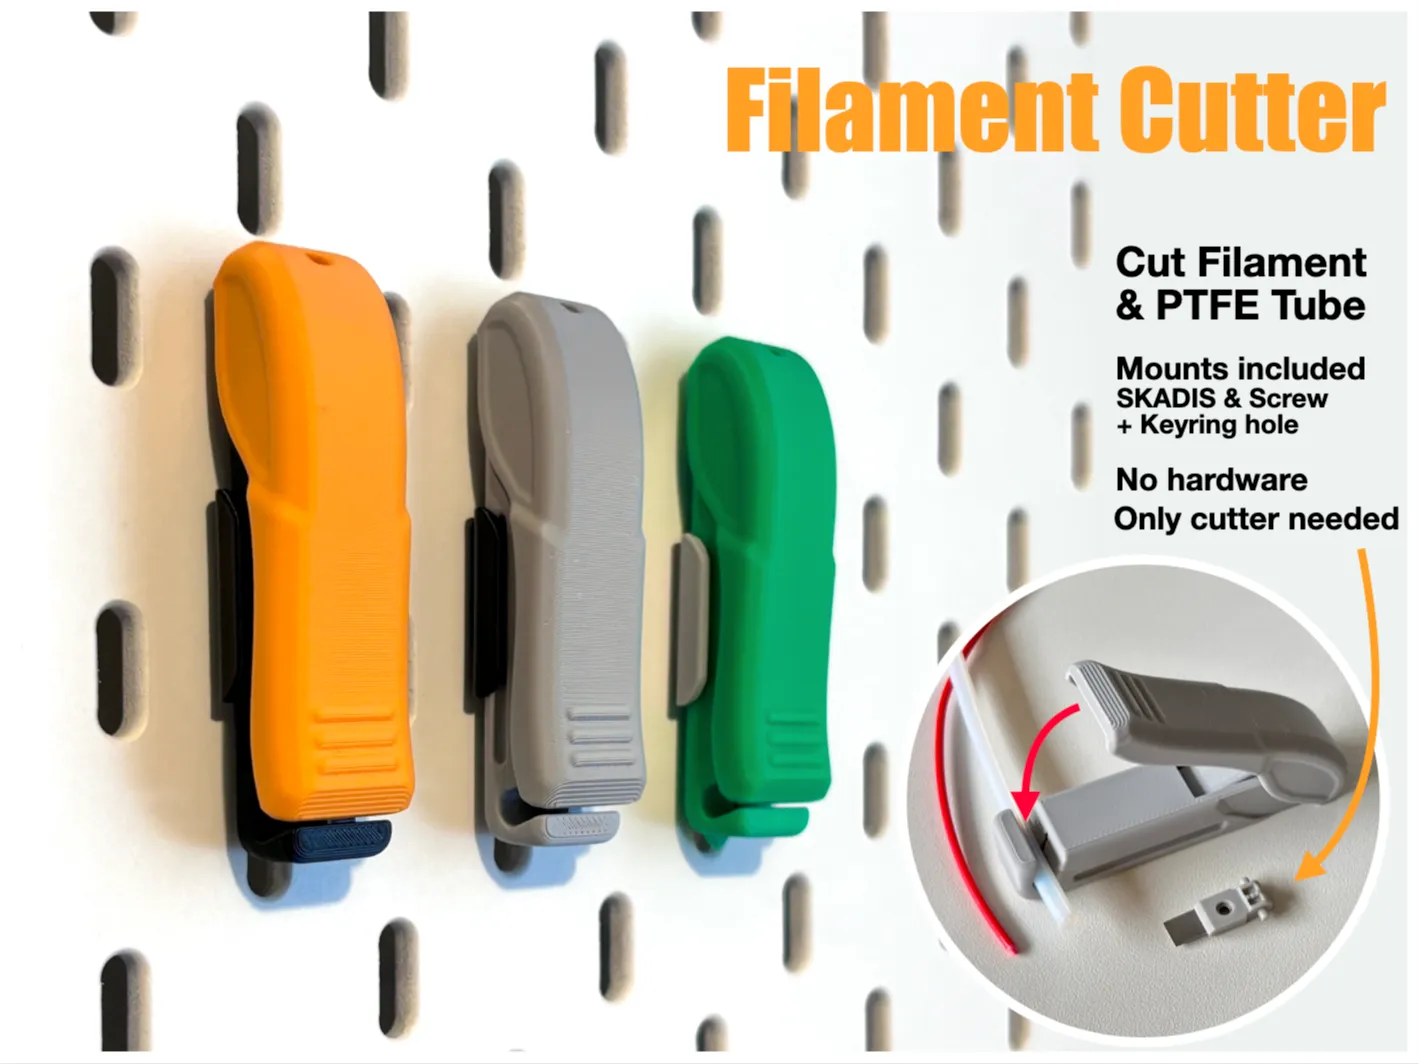
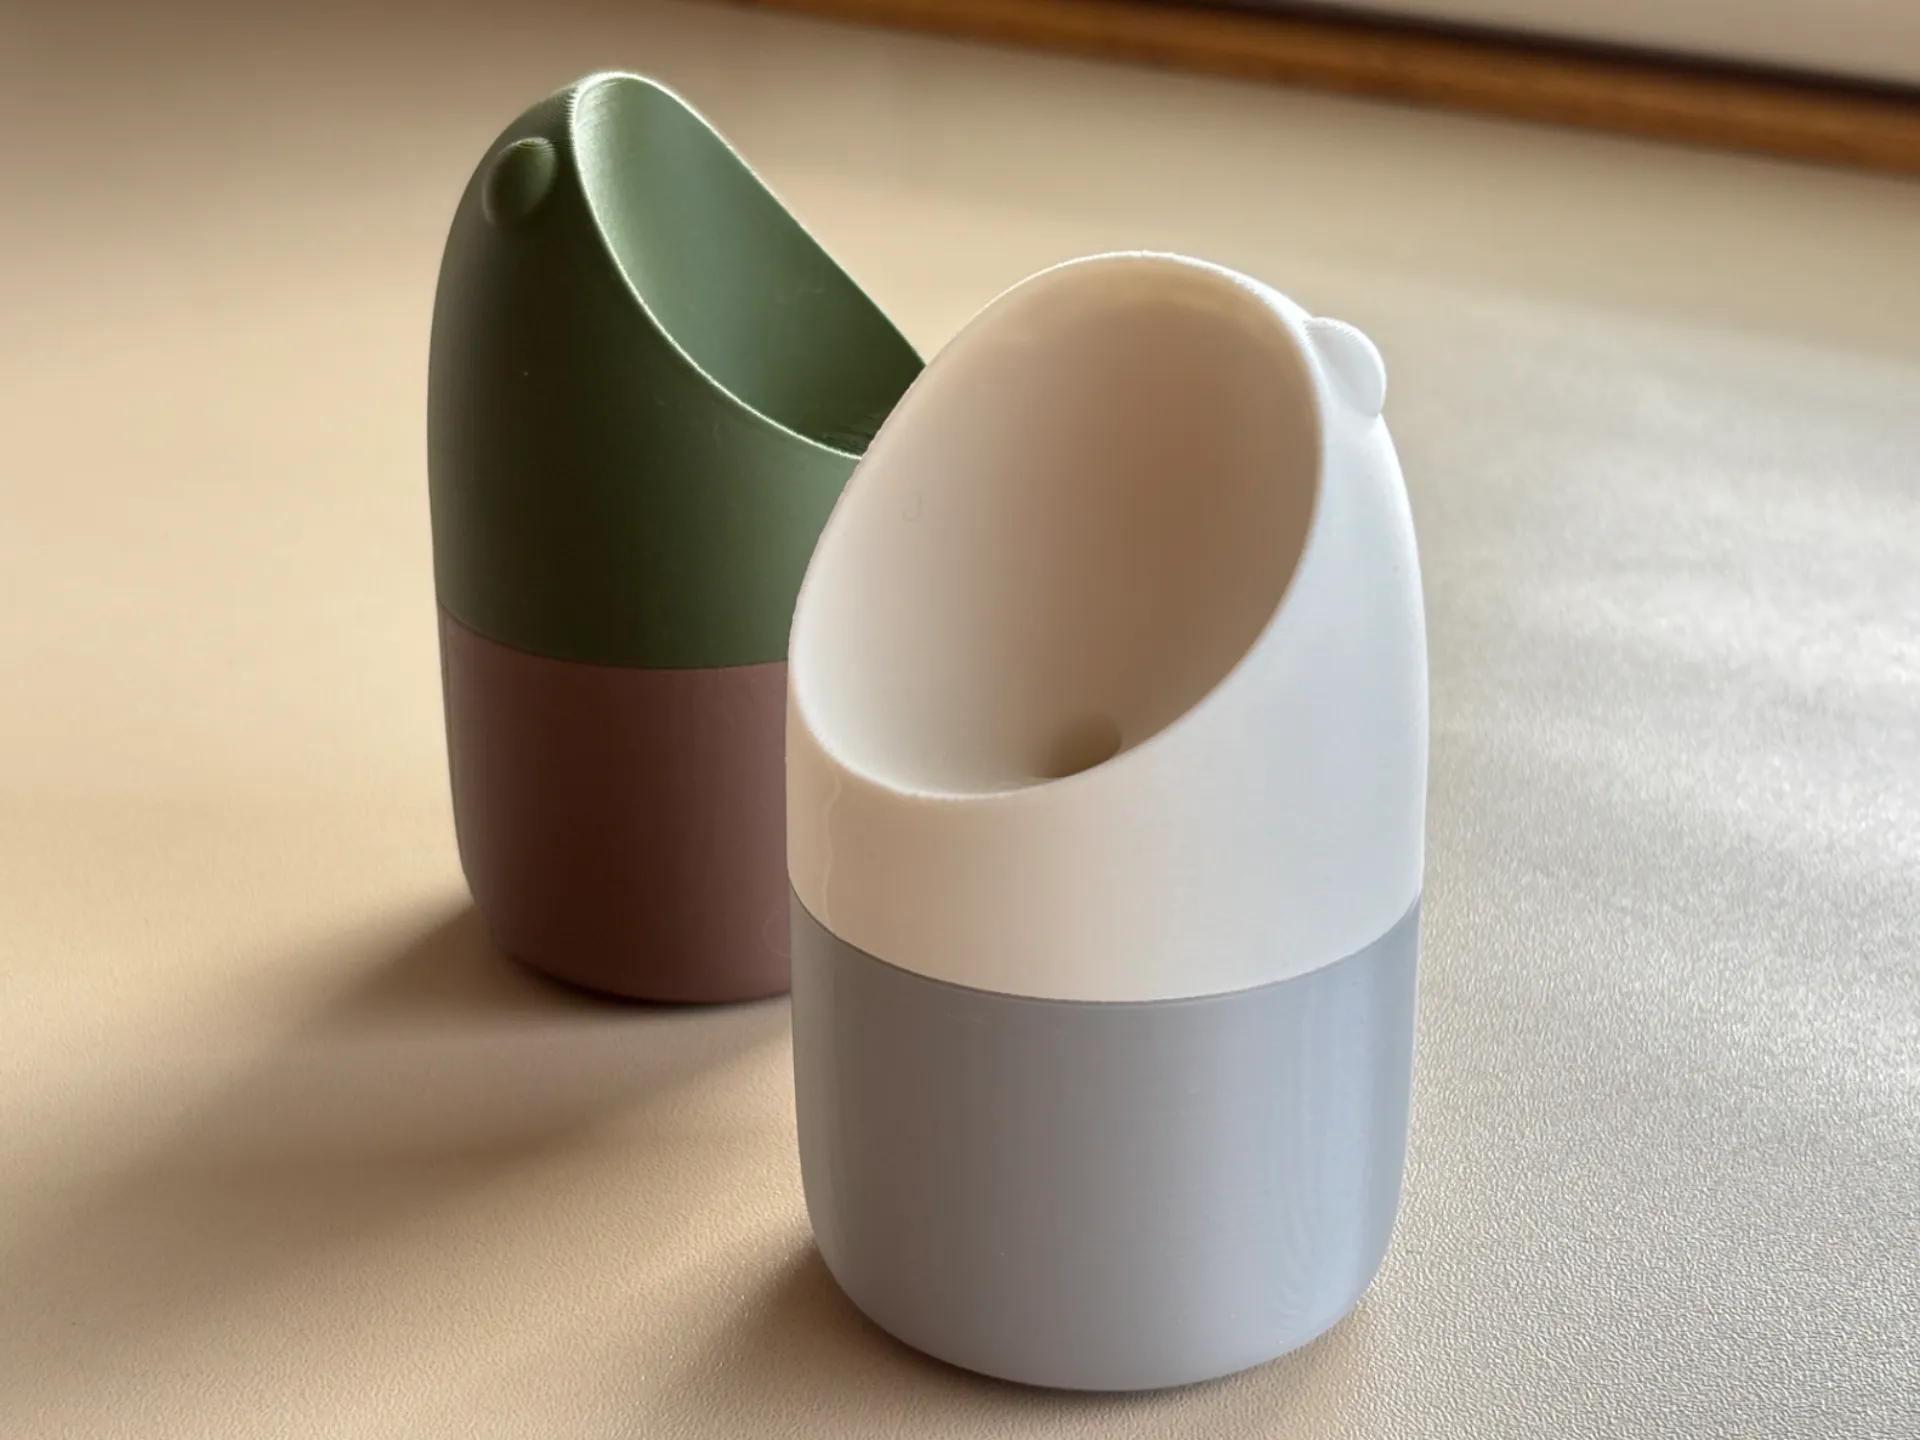
Some of my other works you might find interesting:
License

You shall not share, sub-license, sell, rent, host, transfer, or distribute in any way the digital or 3D printed versions of this object, nor any other derivative work of this object in its digital or physical format (including - but not limited to - remixes of this object, and hosting on other digital platforms). The objects may not be used without permission in any way whatsoever in which you charge money, or collect fees.


Comment & Rating (63)