
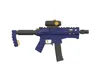
Fortnite Scoped Burst SMG Model Push-Fit No Glue
Print Profile(4)


Description
Membership
Models are for personal use only unless you join my $5 No-Limit Subscription. Sell physical prints of my models for as long you're subscribed!
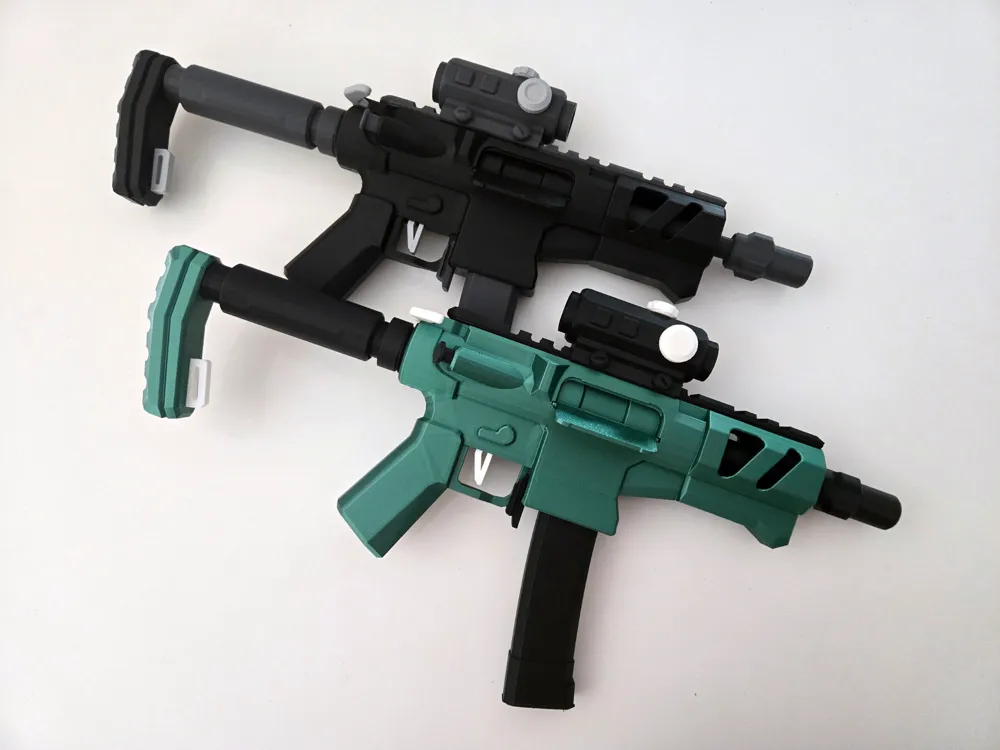
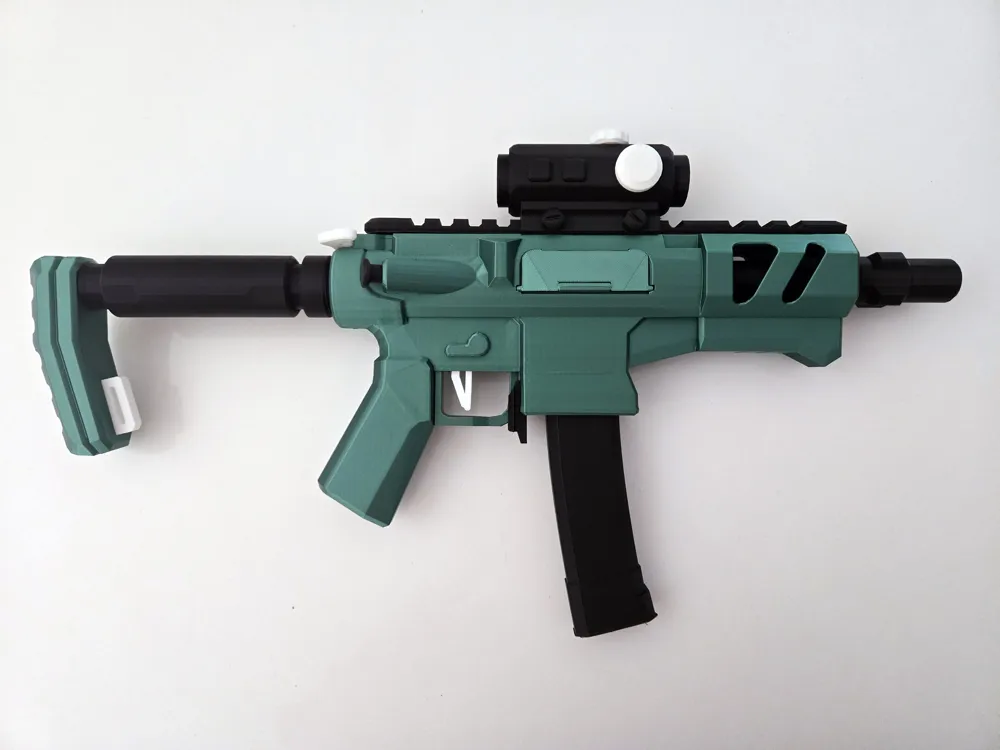
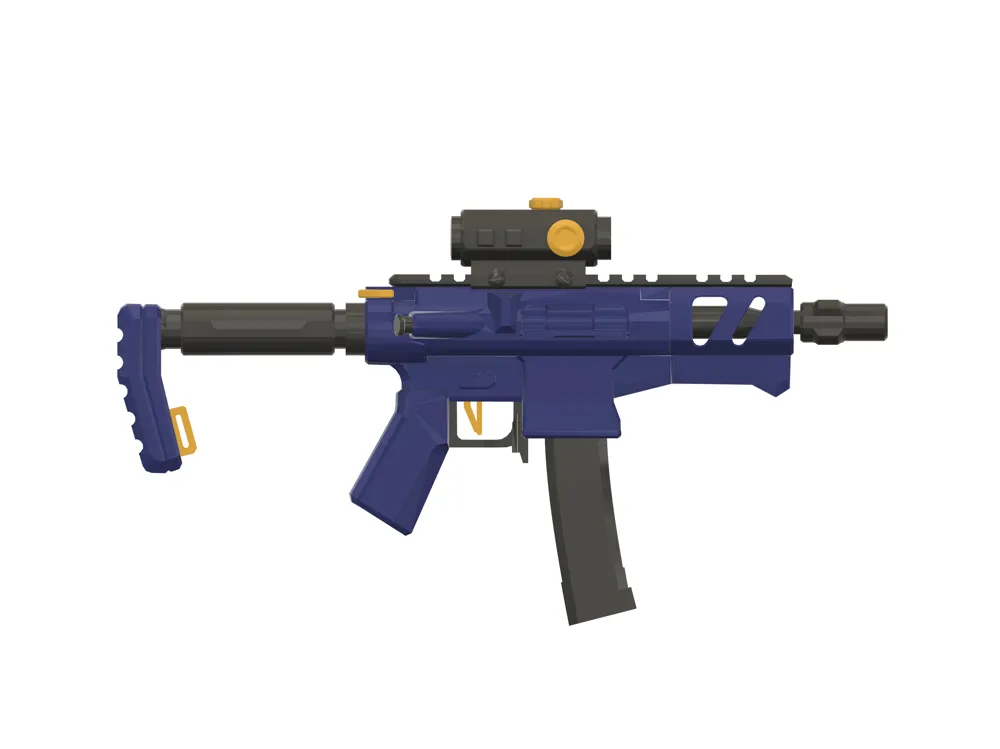
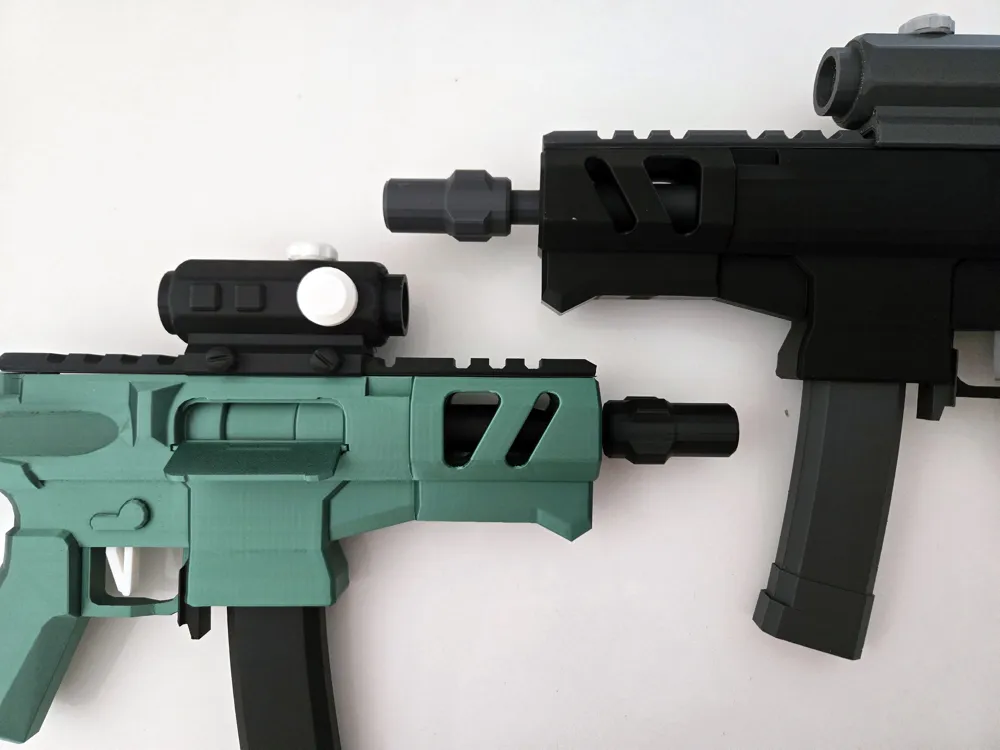
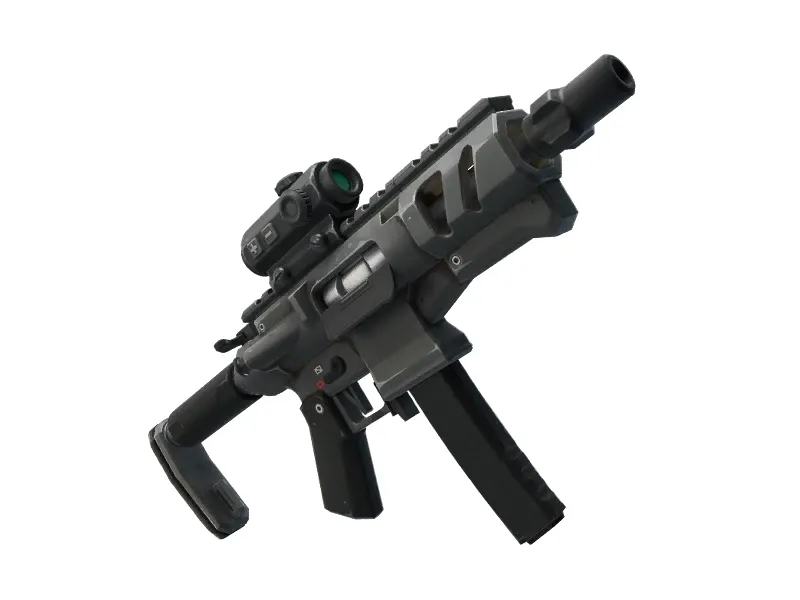
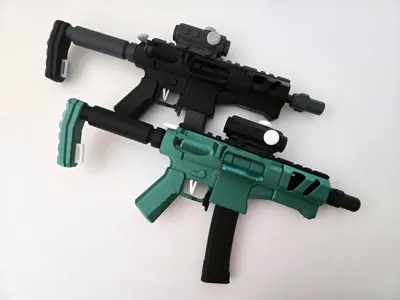
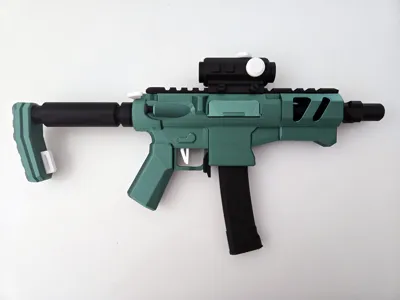
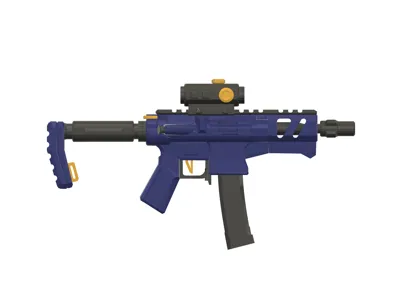
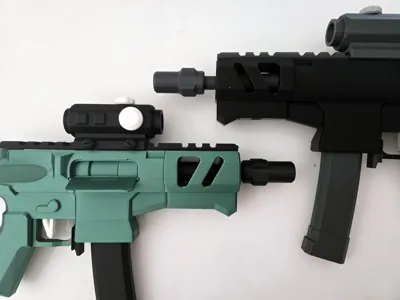
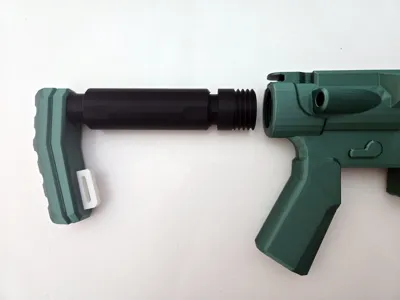
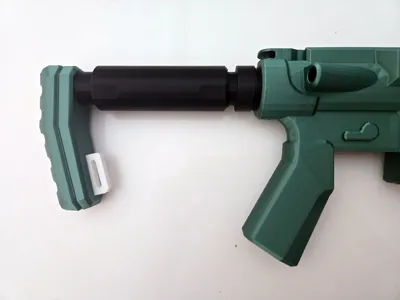
I am proud to release my newest Fortnite model: The Scoped Burst SMG! By popular demand - it's my first Fortnite gun that can be assembled with zero glue!
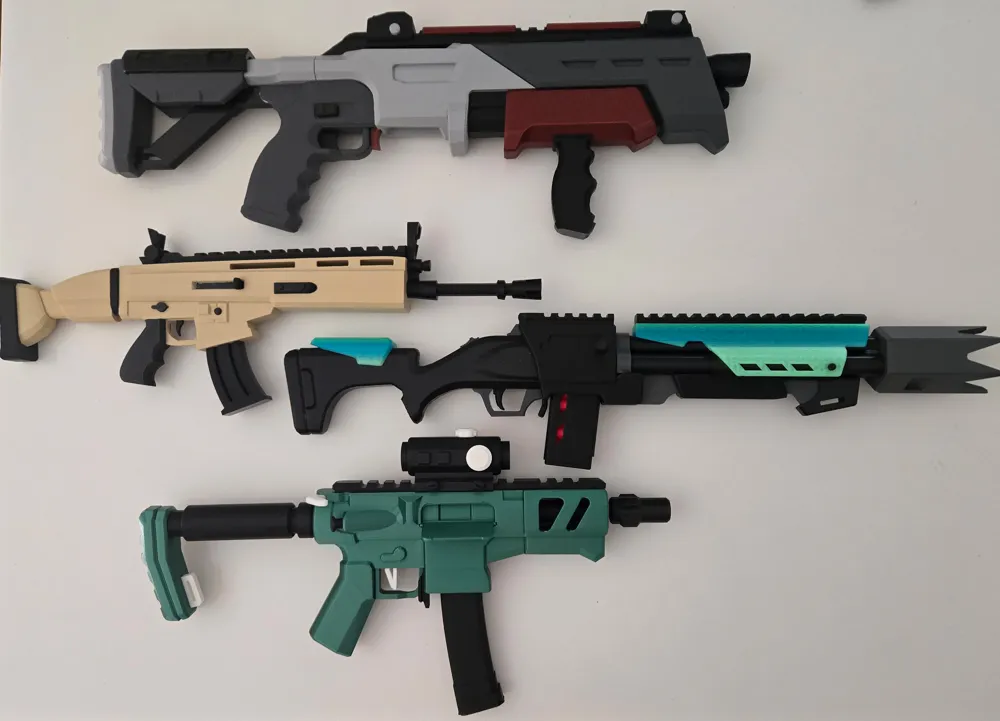
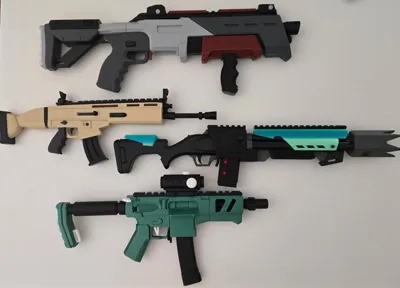
Check out all of my Fortnite Guns!
- 2026: Fortnite Twin Mag SMG Electric Water Gun
- 2026: Fortnite Wrecker Revolver
- 2025: Fortnite P90 Compact SMG
- 2025: Fortnite Mammoth Pistol
- 2025: Fortnite Holo Twister Rifle
- 2025: Fortnite Scoped Burst SMG
- 2025: Fortnite Havoc Shotgun
- 2024: Fortnite Gatekeeper Shotgun
- 2024: Fortnite Scar
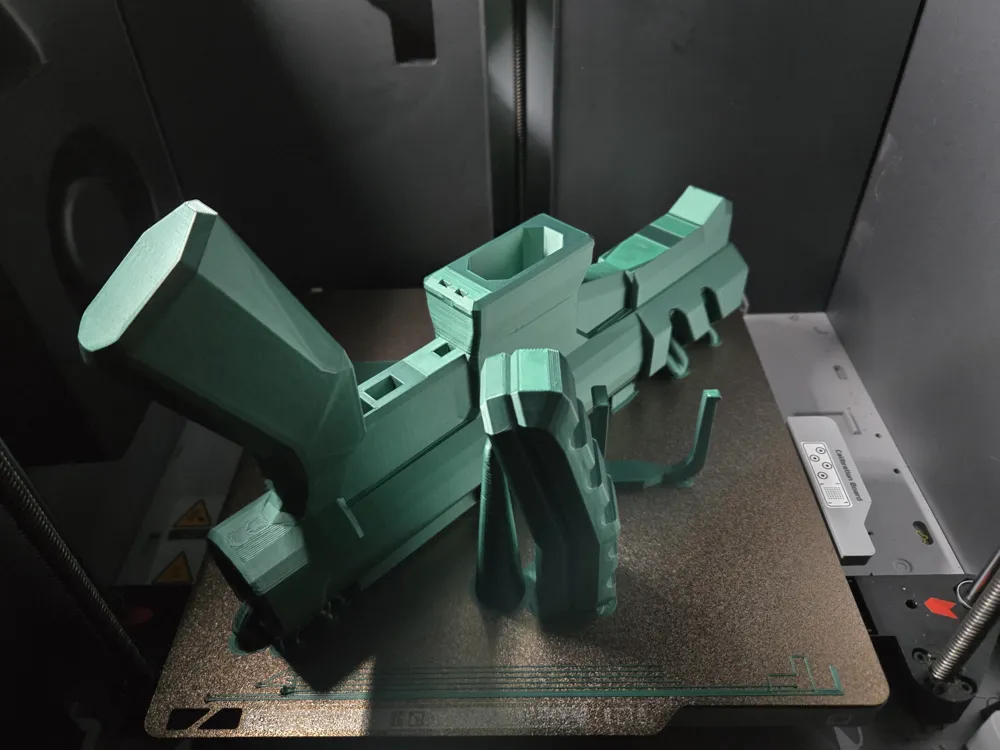
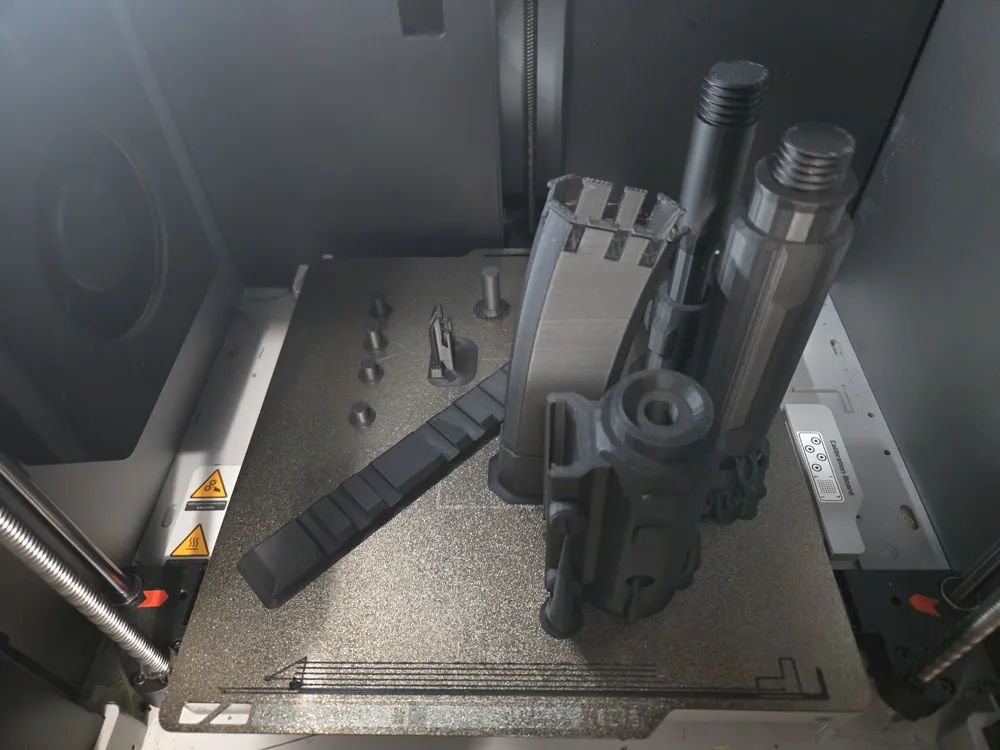
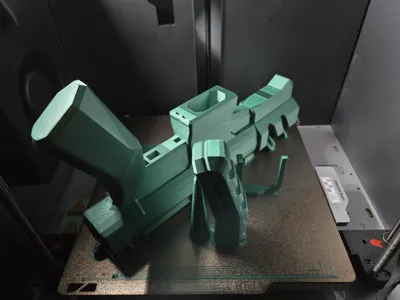
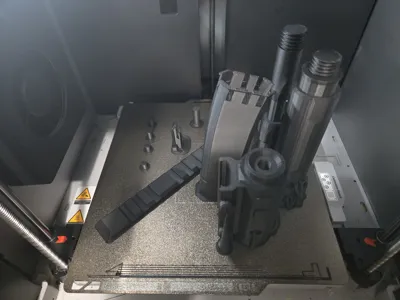
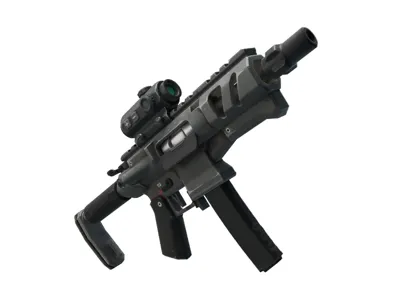
This model is an exact copy of the in-game model. You can print stress free using my custom print profiles made separately for each plate.
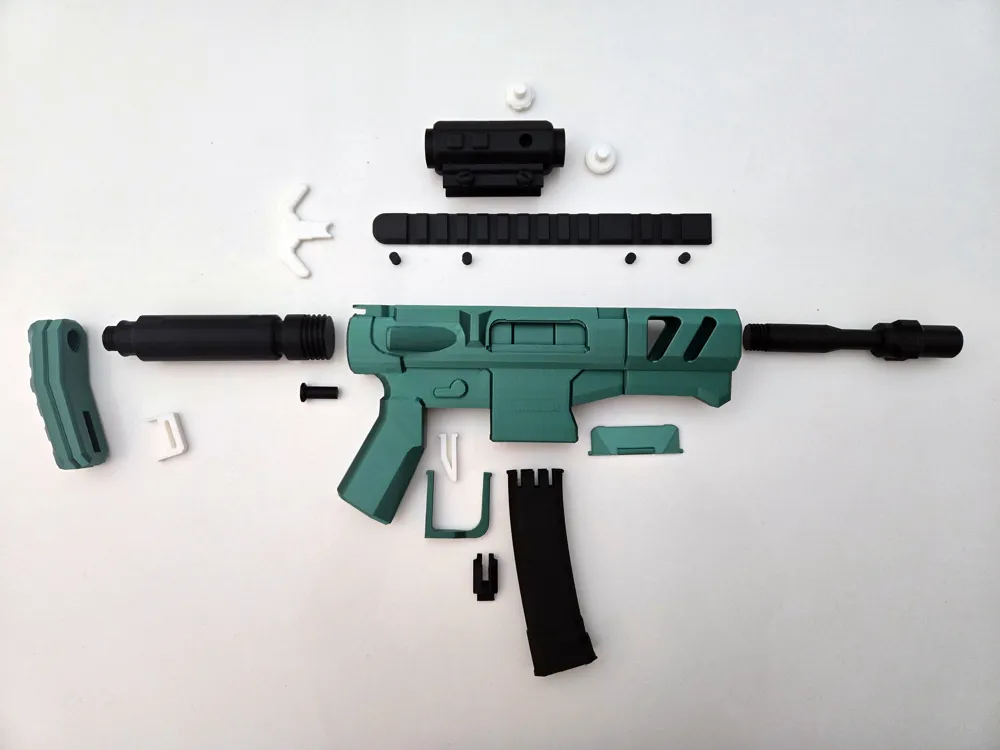
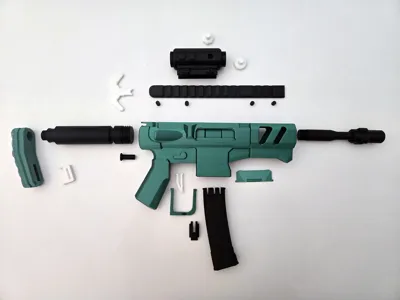
- Plate 1 - Main Body + Stock
- Plate 2 - Snap-Fit Pieces + Scope
- Plate 3 - Small Colored Pieces
Update in 2026: Fixed Main Body made the first layer actually just one full layer no weird/split that was happening anymore. Also uploaded test mag with thinner tabs some were breaking off during assembly. Thank you for visiting!
READ INSTRUCTIONS - I'll make my next model a little easier to assemble after learning a lot from this one, but take your time assembling and read these instructions!
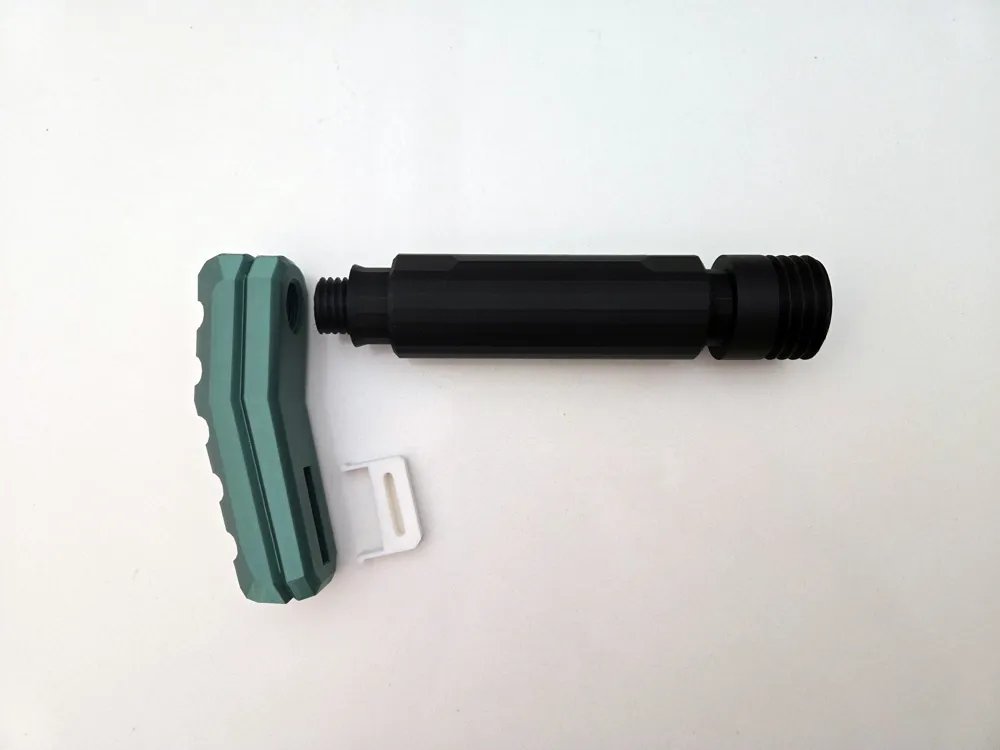
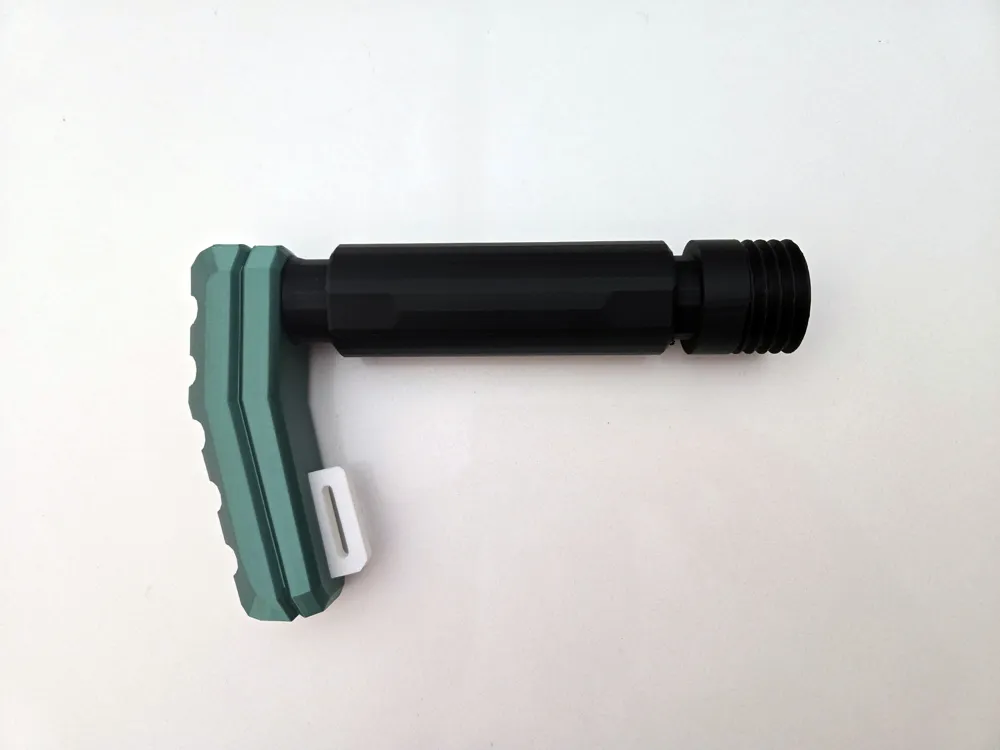
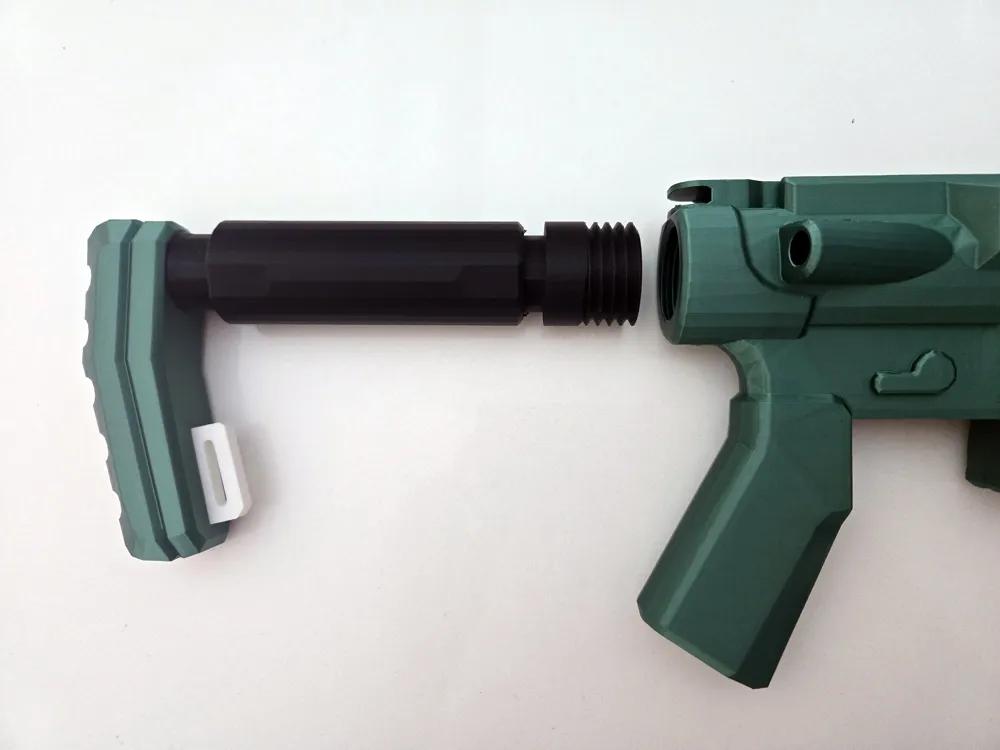
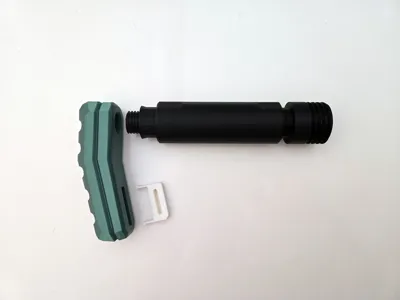
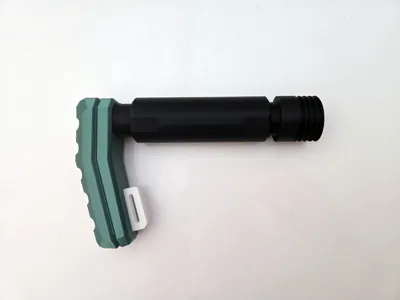
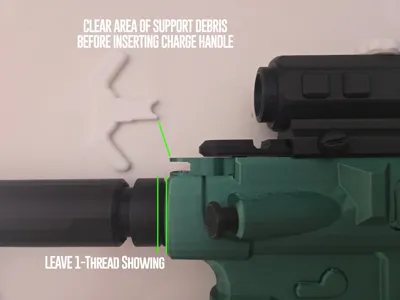
THREADS: When threading pieces together, you MUST follow this procedure:
- Slowly insert the threaded part until it just catches. The first thread will be the trickiest.
- Slowly insert the part until it is 10% in.
- Back out the piece.
- Slowly insert the threaded part until it is 15% in.
- Back out the piece.
- Slowly insert the threaded part until it is 20% in.
- Back out the piece.
- Slowly insert the threaded part until it is 25% in.
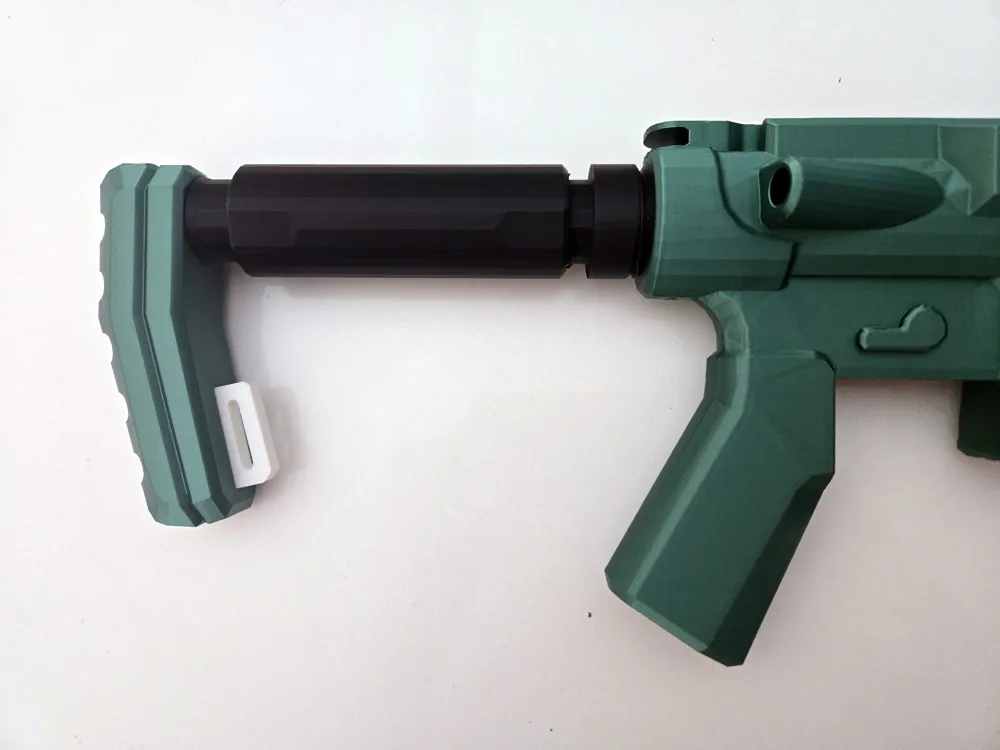
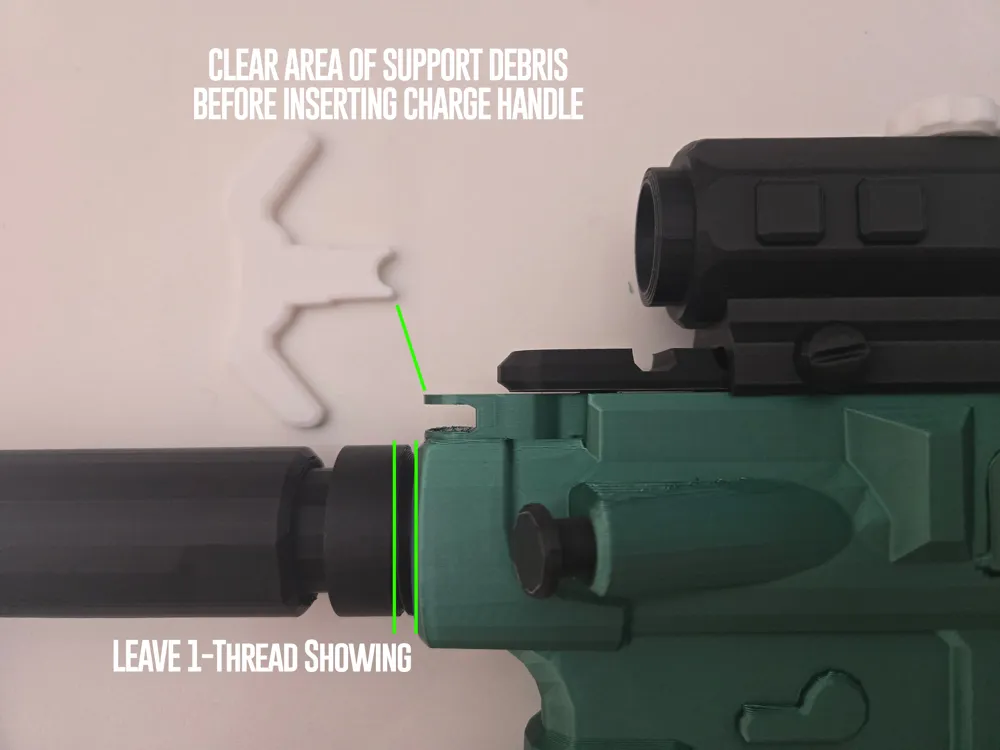
- Repeat this process every 5%. Go very slow threading it in and out until it is fully aligned. 1 thread will be sticking out when it is fully inserted due to me not realizing you need to thread a little bit past the actual point. Future models will be full insert/hidden threads Do not go further/force anything. The pieces will easily snap.
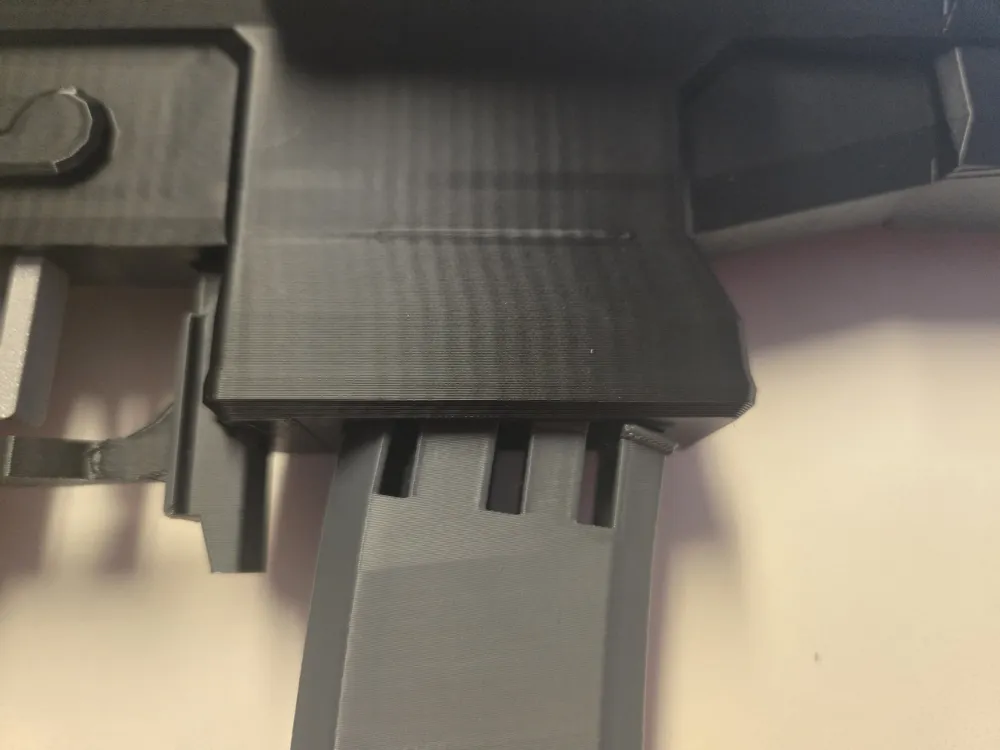
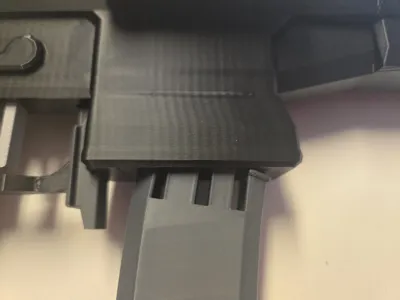
MAG: This was tricky but required for a tight one click fit. The mag has several tabs that click into the body. A few tabs can break off during install and it will still lock fine - don't be worried but try not to break more than 3-4 during insert or it won't lock. Go very slow starting with the 2 tabs closest to the back of the gun. Then put in the next 2 tabs, then the next 2, then the front tabs. Refer to the picture with the mag halfway in for reference. Back tabs in first, then guide the rest of the tabs in one by one with your fingers. The front 2 tabs will be the last 2 tabs to go in. Once all tabs are just in past the entry to the magwell, you can slide the whole mag in. It will be locked permanently. If any tabs break or halfway break, fully remove the mag and break them off fully before trying. If you rush this part, you will break off too many tabs and it won't lock.
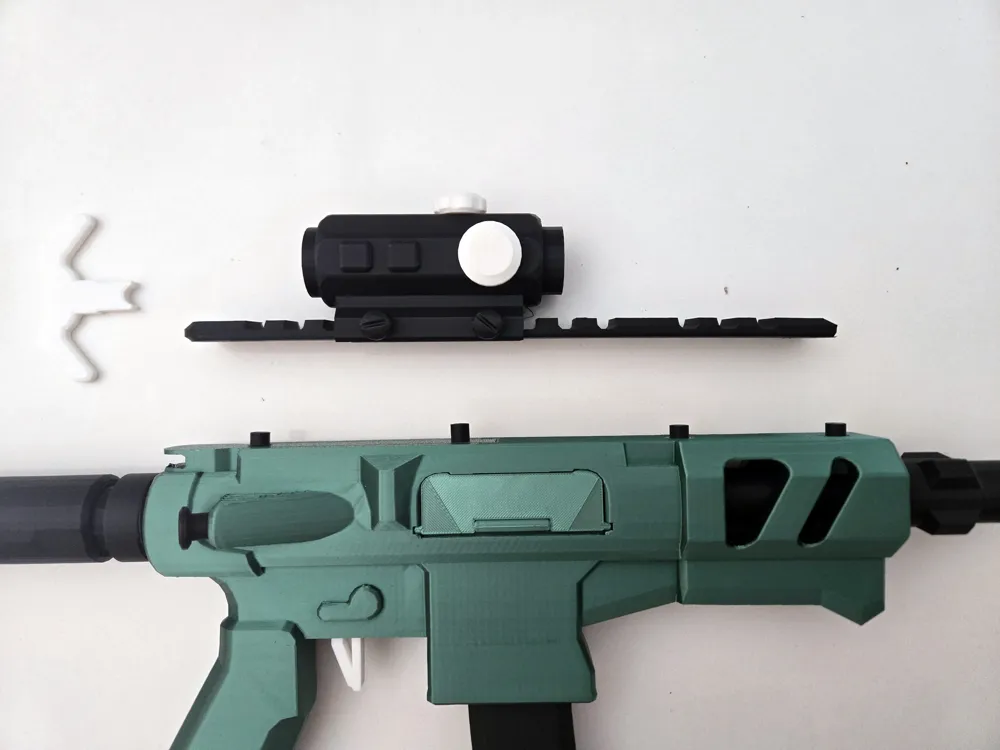
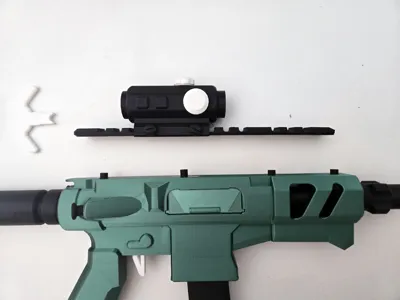
TOP RAIL: The two taller pins are in the back. The two shorter pins are in the front.
SCOPE: If you want it tighter on the rail, put a piece of blue painters tape on the flat side where it touches the rail. Only one or two pieces of tape on the inside of the mount makes a lot tighter.
TRIGGER: Put the actual trigger in before the outer trigger guard.
MOVEMENT: After the gun is fully assembled, there are two ‘interactive' parts. The trigger moves ever so slightly (lucky accident) creating a slight spring action. The chamber cover flap also opens and closes gently!
Do not overtighten anything or you will snap the pieces across the thread plane. You may get the threaded piece jammed/broken inside and have to reprint a piece.
I think it's pretty good for my very first push fit model and I am already considering ways to make my next model and connection points even better. There are definitely some trade-offs when going snap fit. All connection points/threads/snap fits must be printed slower than a typical tolerance glue connection. Print orientation also matters. Many try to print threads at 45degrees for more strength. My future models will continue to get better and better! Follow me to be notified when my next Fortnite gun arrives!
All models are 10-15% cubic infill for lower print time. If you're a patient person, print at 25% for a more solid and heavier feeling product.
Please take all of these factors into consideration before deciding to print. My previous 3 Fortnite guns are all glue assembly. This is my first attempt at push-fit anything! I uploaded a video and picture of my successful prints. If it's anything like my other Fortnite models, I have no doubts there will be thousands of successful prints eventually!
Please post pictures if you decide to print! I am looking forward to seeing what color combinations people come up with. If you want a permanent setup a little drop of super glue on each connection would go far!
Boost Me (for free)
If you have any left, I would greatly appreciate you boosting my model. They go a long way!
License

You shall not share, sub-license, sell, rent, host, transfer, or distribute in any way the digital or 3D printed versions of this object, nor any other derivative work of this object in its digital or physical format (including - but not limited to - remixes of this object, and hosting on other digital platforms). The objects may not be used without permission in any way whatsoever in which you charge money, or collect fees.


Comment & Rating (128)