
2-in-1 MagSafe Power Bank Charge & GO Station [Beta]
Print Profile(1)

Bill of Materials
- MagsafePowerbank5000mah x 1: https://www.amazon.de/dp/B0DPZMJ1KD?th=1&linkCode=ll1&tag=neycon-21&linkId=92ff9314ea46eb73f5c0b4b9bec5cb75&language=de_DE&ref_=as_li_ss_tl
Description
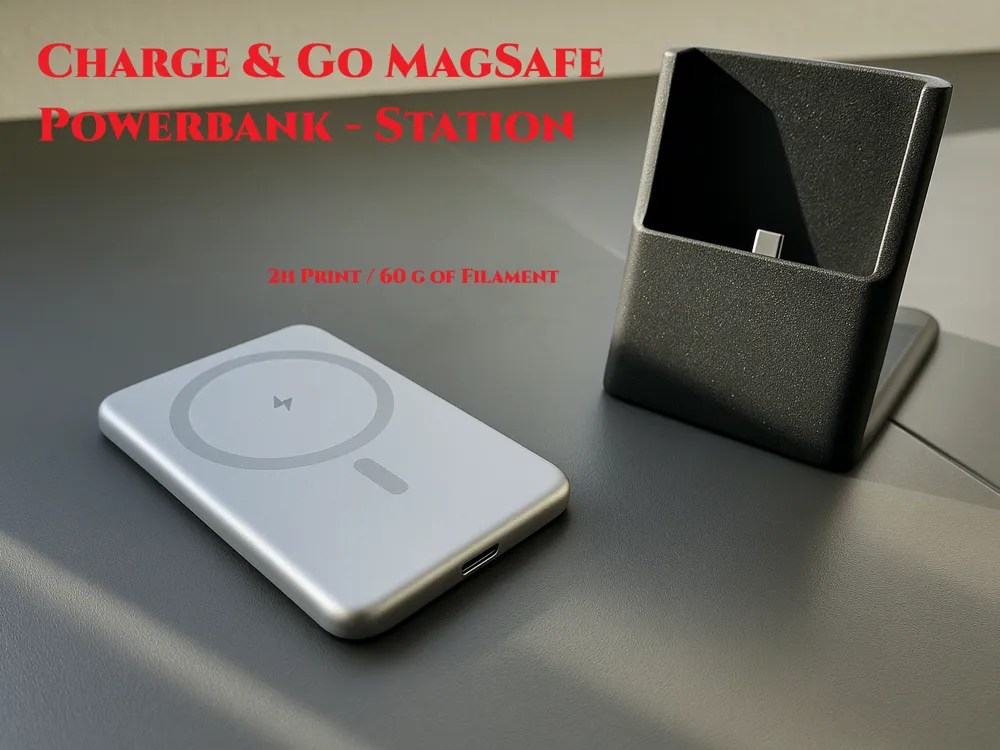
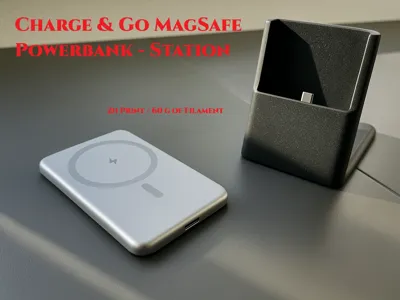
MagSafe Power Bank Charging Station
The MagSafe Power Bank Charging Station unites elegant design with maximum functionality.
It was specifically developed for the convenient and secure charging of your MagSafe-compatible smartphone.

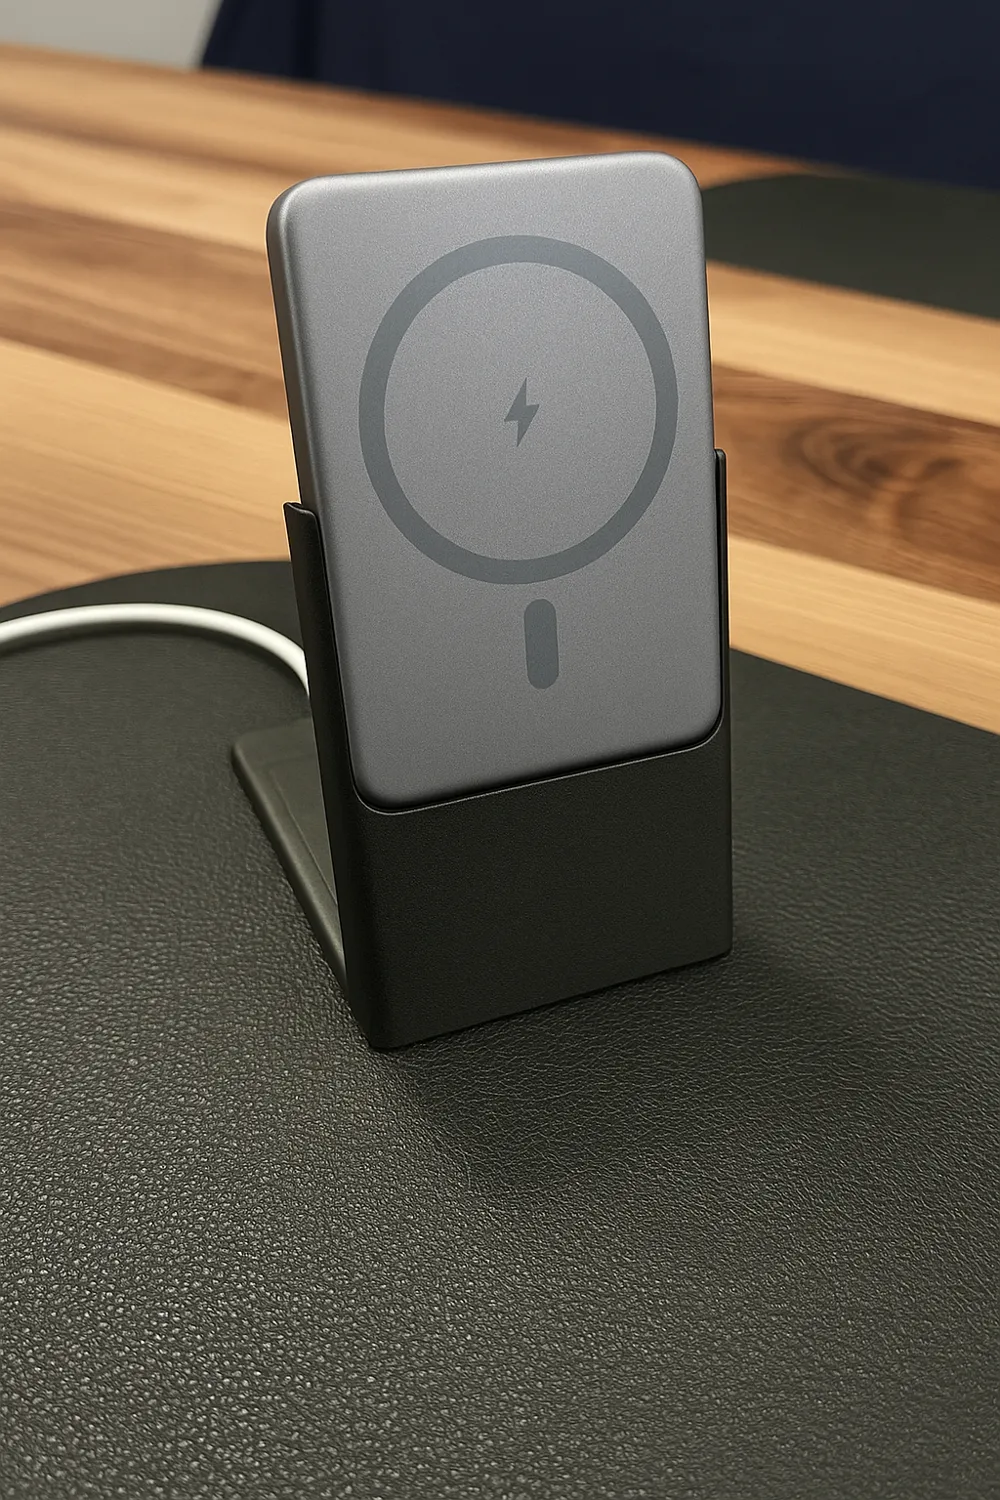
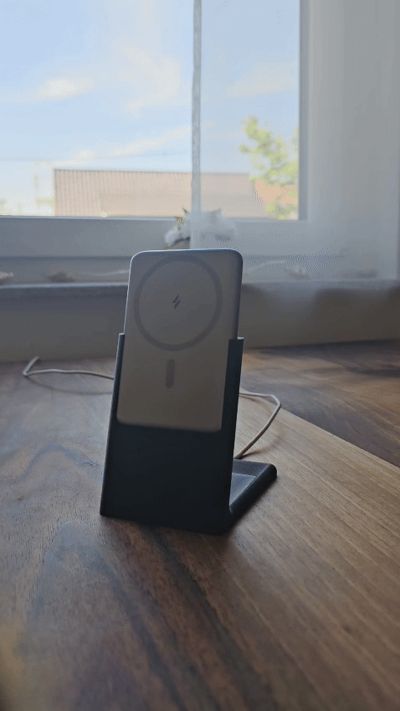
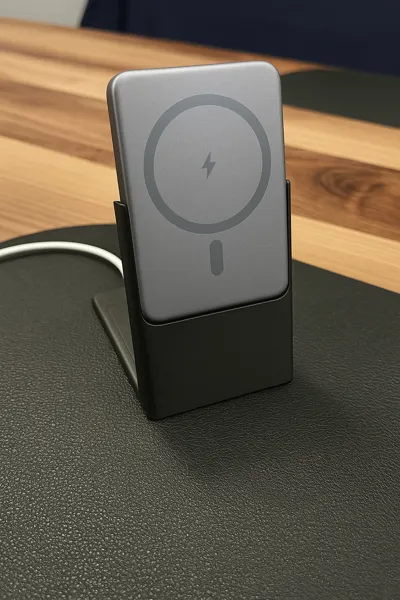
Your phone magnetically attaches to the connected power bank and sits steadily in the station.
The unique feature: Should you be in a hurry, you can easily remove your smartphone together with the power bank from the station—the magnetic connection remains, allowing for seamless continued charging on the go.
Boost Me (for free)
Do you love this idea? Give it a boost, and I'll keep developing it! :-)
Highlights:
- Charging cradle and MagSafe power bank in one (Referral link: https://amzn.to/4jPzzcu)
- Quick docking and secure hold via MagSafe technology
- Smartphone and power bank easily removable at any time without interrupting the charging process
- Ideal for a desk, nightstand, or workspace
- Compact, modern design—perfect for any environment
- Only about 2 hours of printing time with approximately 60g filament consumption
Whether in daily life, at the office, or while traveling—this charging station ensures your smartphone is always ready for action!
DIY Instructions
(Required: linked power bank / USB-C cable / hot glue gun)
- Order the appropriate power bank using my referral link ;-)
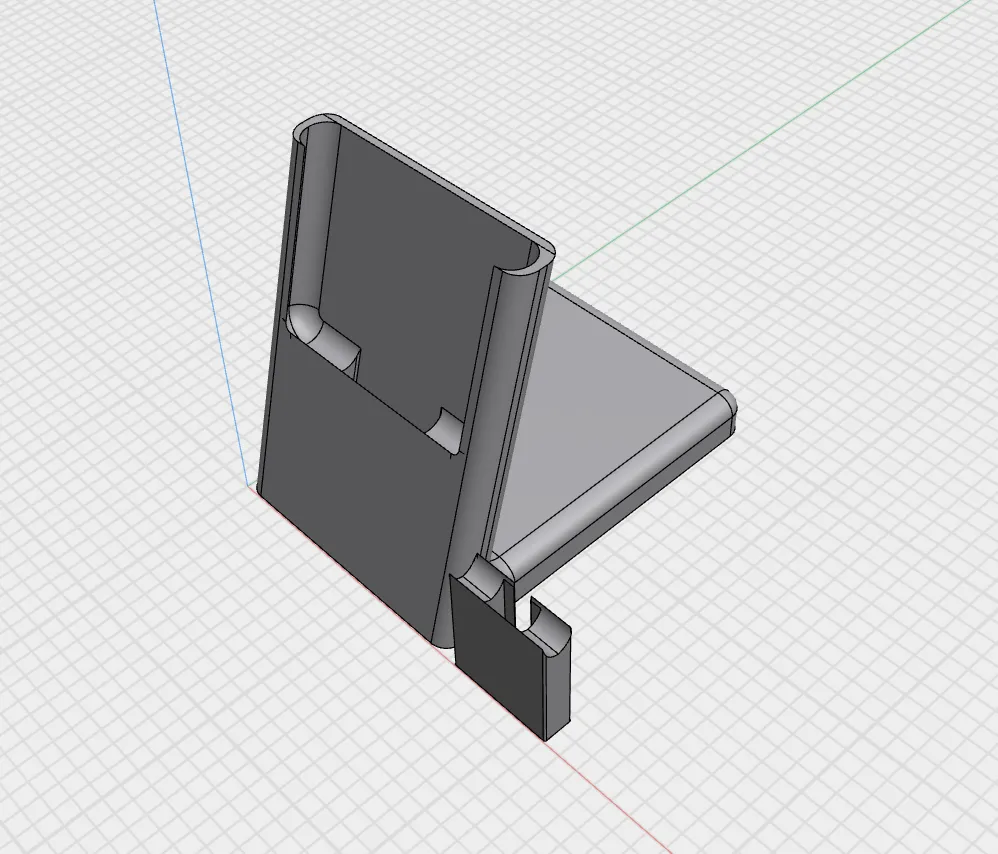
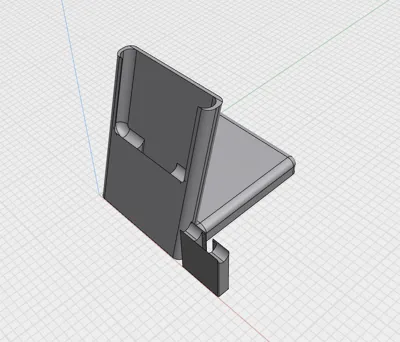
- Once printing is complete, insert the USB-C cable into the universal insertion adapter and check if your cable is compatible with the cutouts.
- If it fits, you can proceed to the next step and prepare your hot glue gun.
If not, please find a suitable USB-C cable. - Apply a small amount of hot glue into the insertion adapter, insert the power bank along with the cable, and thread and press them into the station from above.
- Let the hot glue cool.
- Then secure the cable from below in the designated cable channel and allow it to cool as well.
Miscellaneous / Known Bugs:
- The USB-C cable should ideally be glued slightly higher rather than lower to guarantee consistent power bank charging.
- The STL files are available, allowing you to adjust the insertion adapter to your specific USB-C connector size.
However, the original design should accommodate many different cables. It was universally designed, necessitating the use of glue as a compromise.
Roadmap:
- Openings for supplementary materials (e.g., craft concrete) to increase the charging station's weight for one-handed power bank removal
- Adapting the design for MagSafe-compatible power banks from other manufacturers.
- Various insertion adapters to eliminate the need for gluing cables
License

You shall not share, sub-license, sell, rent, host, transfer, or distribute in any way the digital or 3D printed versions of this object, nor any other derivative work of this object in its digital or physical format (including - but not limited to - remixes of this object, and hosting on other digital platforms). The objects may not be used without permission in any way whatsoever in which you charge money, or collect fees.


Comment & Rating (4)