
Totem of Undying - Minecraft Item Frame
Print Profile(1)

Description
Boost Me (for free)
Boosts are appreciated so I can continue to make more models!
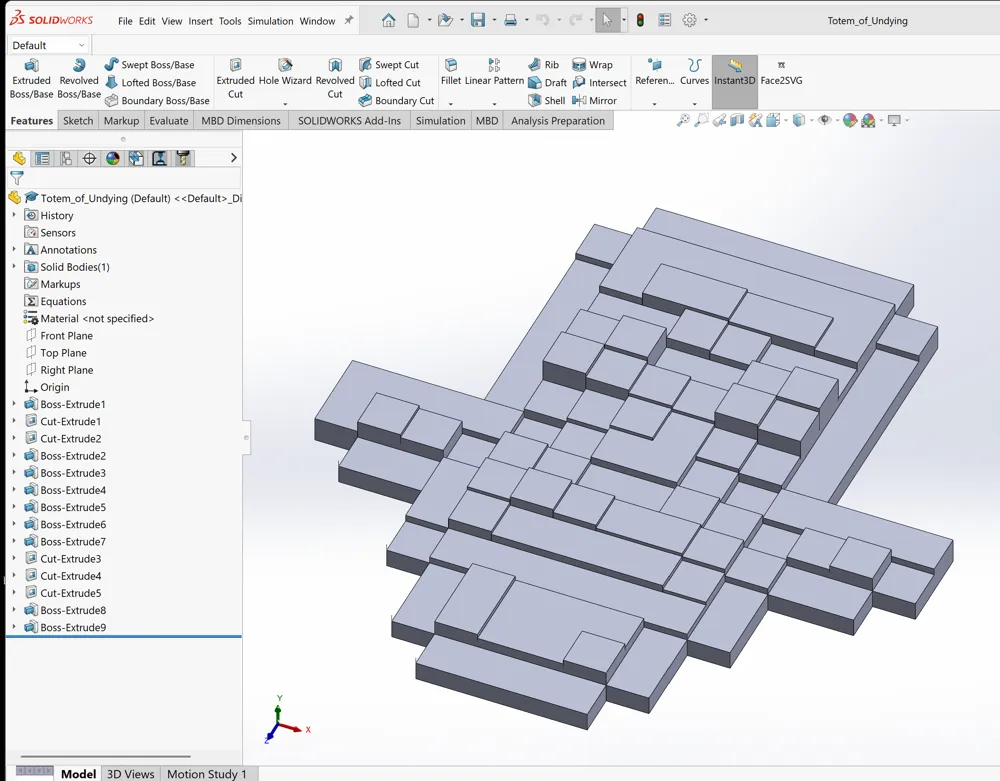
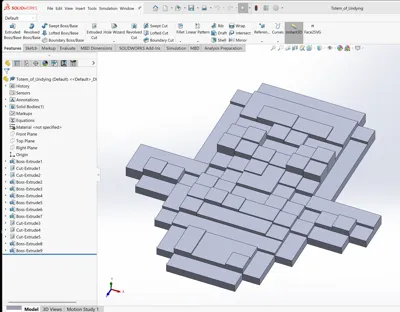
Update (5-11-2025): In order to show my credibility on this model, I have included a screenshot of the model within the CAD program I designed it with, which was SolidWorks 2024.
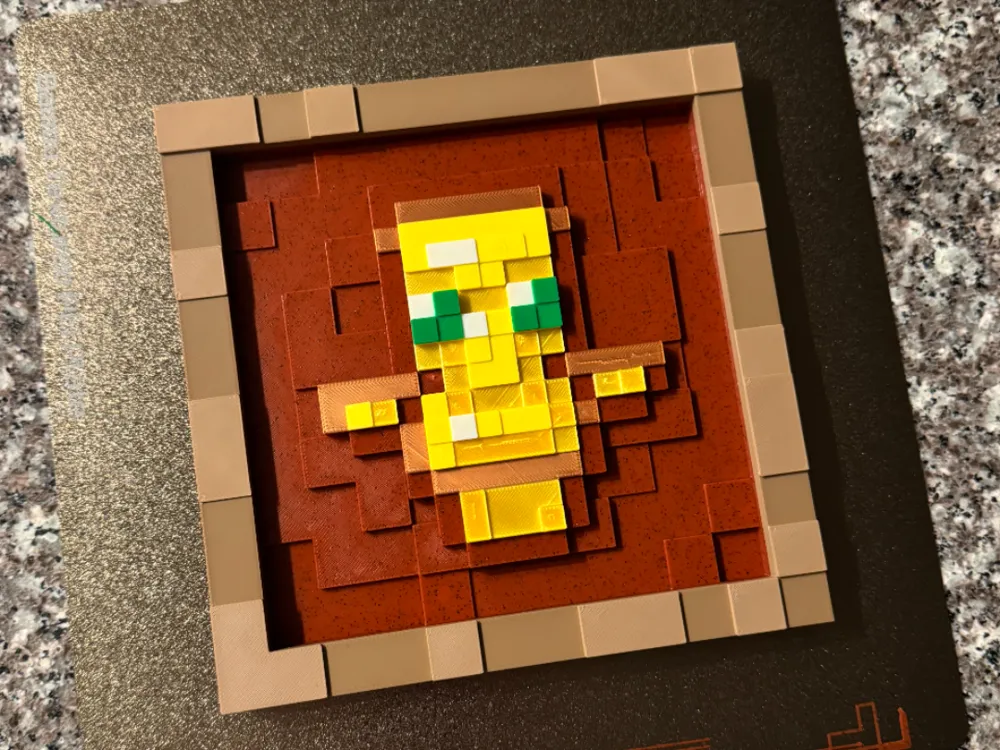
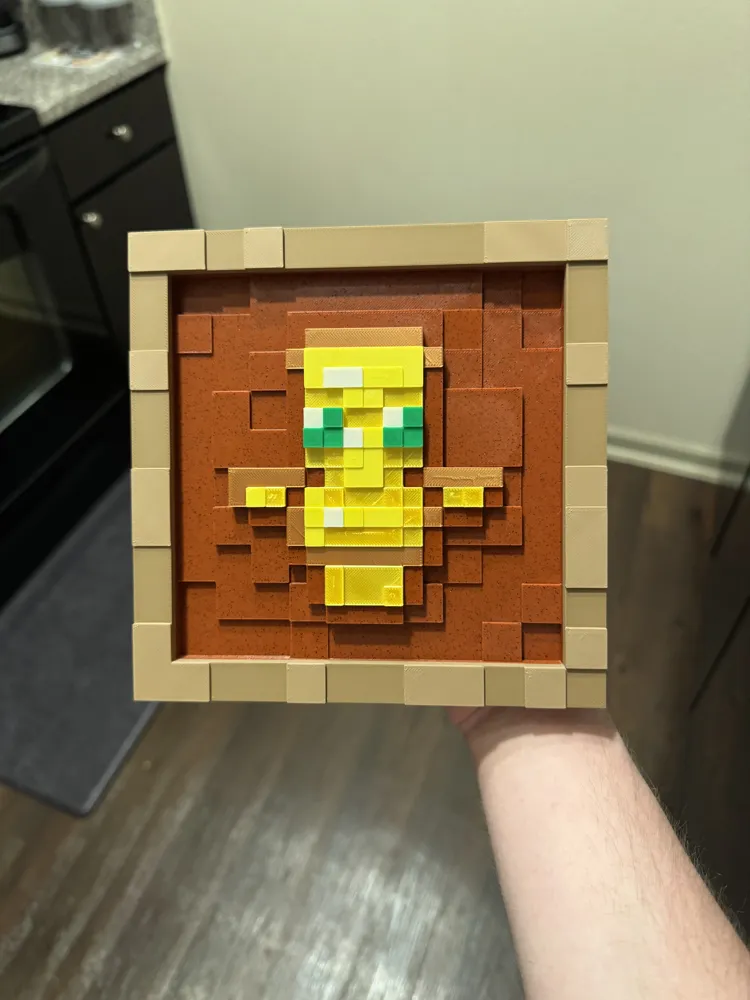
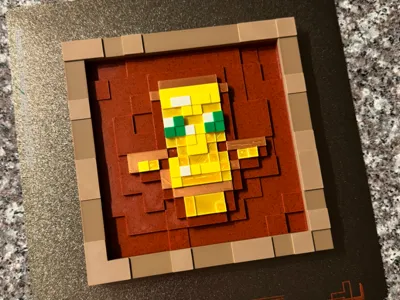
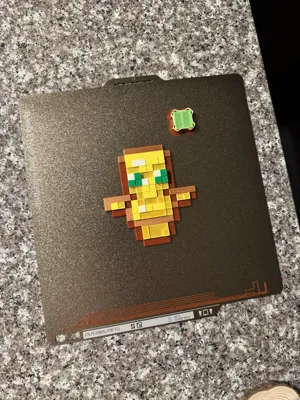
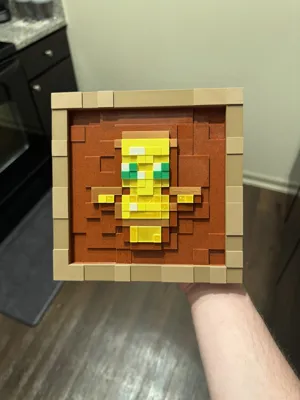
The (highly requested) Totem of Undying for the item frame I designed. This item uses two of the neodymium magnets (check the bottom of the description for the link). I have also included two additional magnet holes that stick out of the model, in case you want to add two extra magnets after the item is finished printing. The profile will have the pause necessary to insert the magnets at the right time. The magnets should fit snug, so no super glue is required to hold them in place. Just be sure to insert the magnets in the right direction so they attach in the item frame correctly!
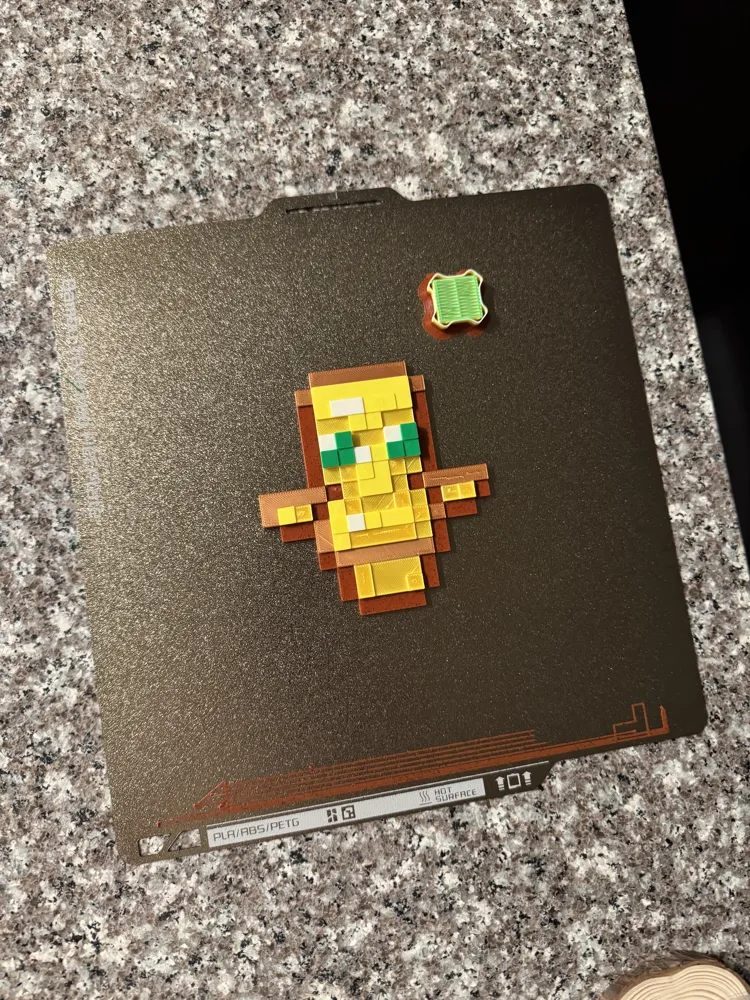
This model is support free and does not require the AMS. If you are not using the AMS, just be sure to add color switch pauses at the same layers as in the print profile.
This model has two pauses within the profile. For the first pause, this is where you will insert the two magnets (in the left and right positions). The top and bottom magnet holes are only there if you need them after the model is finished printing and want more contact strength with the frame (I will include these two extra holes for the rest of the items I will design).
The second pause is for people who have one AMS (like me) and need to add the green and white filament, in order to print the eyes. You will insert the white filament into slot one, and the green filament into slot two. You should also map the white filament to use AMS slot A1, and the green filament to AMS slot A2. I have attached an image of what the AMS slots should look when you go to send the file to your printer.
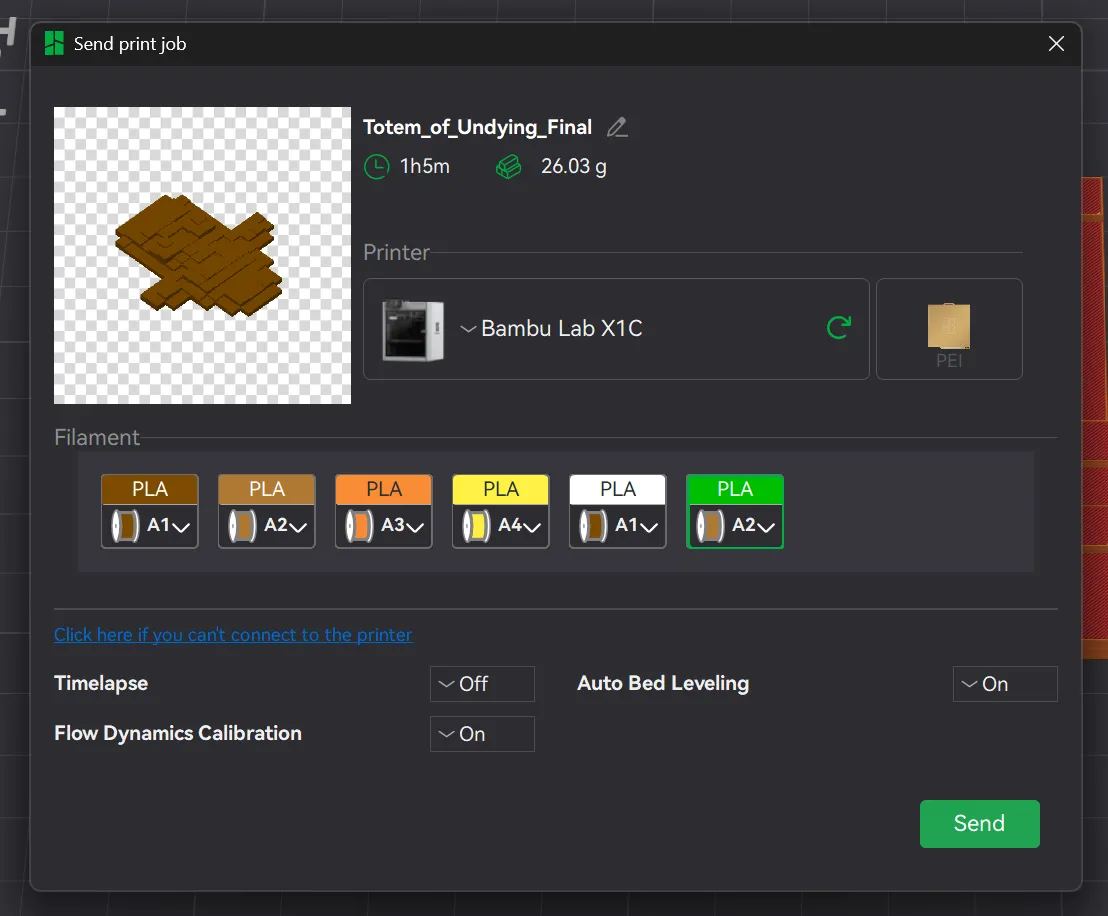
The six different filaments I used in sequence are:
AMOLEN Marble Brick Red PLA
TTYT3D Shine Copper PLA
El3goo Silk Golden PLA
Ender/Creality Yellow PLA
El3goo White Rapid PLA+
Bambu Green PLA Basic
The link for the magnets is included in the item frame model on my page:
License

You shall not share, sub-license, sell, rent, host, transfer, or distribute in any way the digital or 3D printed versions of this object, nor any other derivative work of this object in its digital or physical format (including - but not limited to - remixes of this object, and hosting on other digital platforms). The objects may not be used without permission in any way whatsoever in which you charge money, or collect fees.


Comment & Rating (18)