


Print Profile(1)

Bill of Materials

Description
Boost Me (for free)
A Boost helps me improve and share more models like this!
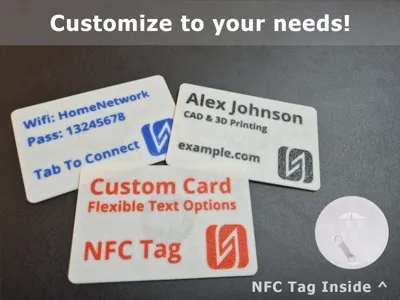
Create your own credit card-sized NFC card with fully customizable text.
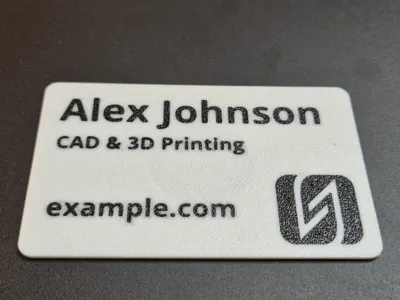
Add up to three lines of text, adjust font, size, and alignment.
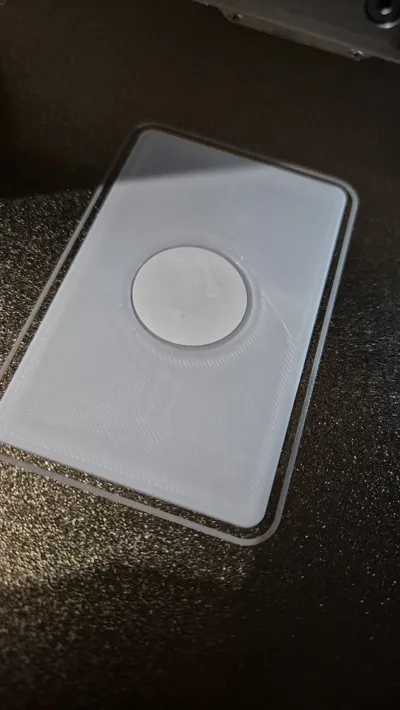
The card has a cutout perfectly sized for a standard NFC deck (such as those from Bamboo Lab or any other 25mm sized NFC tag sticker you can find).
Slicer setup:
When you download the model after customizing it, I do not have the ability to modify all slicer settings, so I recommend you to change these couple of things after downloading an opening the customized .3mf:
- Under Strength, Set the ‘paint penetration layers = 1’

- Under speed, lower initial layer speeds, 'Initial layer = 15' and ‘Initial layer infill = 55’. (cleaner text on the bottom layer)

- IMPORTANT make sure to add a pause at layer 6 in the preview tab after slicing (It will pause before printing the visible preview layer)

Feel free to give me feedback on these settings!
Printing process:
- Prints text.
- Switch color.
- Prints card until pauses when the hole is printed.
- You place the NFC tag inside and resume printing.
The printer finishes the card, embedding the NFC tag inside!
Printing multi color text without AMS
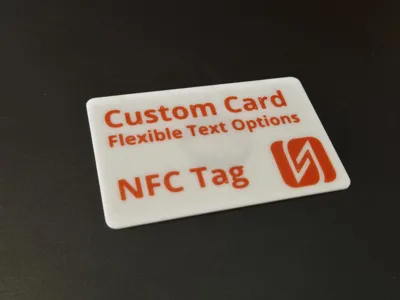
Yes, it is possible to print the text in a different color WITHOUT ams, The demo prints shown in the pictures are printed on a printer without ams for example.
How to setup:
- Next to the filaments, click on the the 3 dots → edit

- A window will pop up, go to Advanced and at the bottom under ‘Filament end G-code’ add ‘M400 U1’
→ This will initiate a ‘pause’ when changing filament (so you can manually swap filaments)

Change both filaments to the same 'Ext' (external spool), else it will not allow you to send the print job to your printer since there is no AMS attached.

- Enjoy your multi colored print!
Appreciate you taking a look! If you try this model and have suggestions or run into issues, feel free to leave a comment!
License
You shall not share, sub-license, sell, rent, host, transfer, or distribute in any way the digital or 3D printed versions of this object, nor any other derivative work of this object in its digital or physical format (including - but not limited to - remixes of this object, and hosting on other digital platforms). The objects may not be used without permission in any way whatsoever in which you charge money, or collect fees.
Comment & Rating (3)