
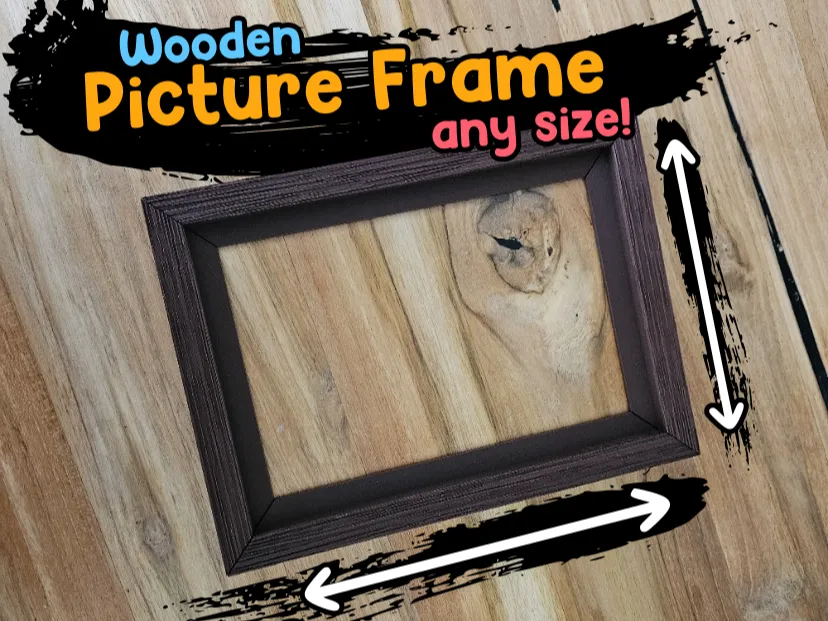
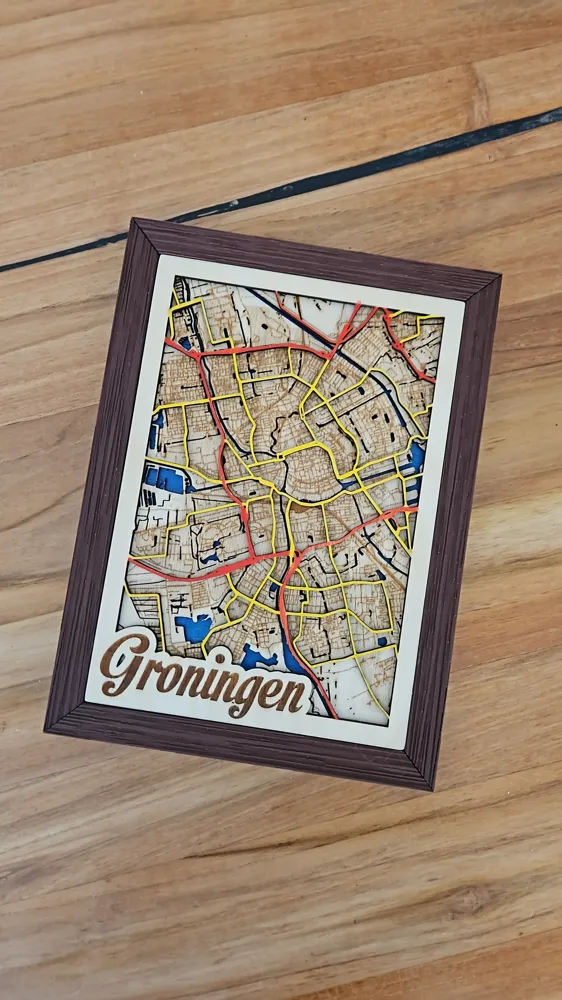
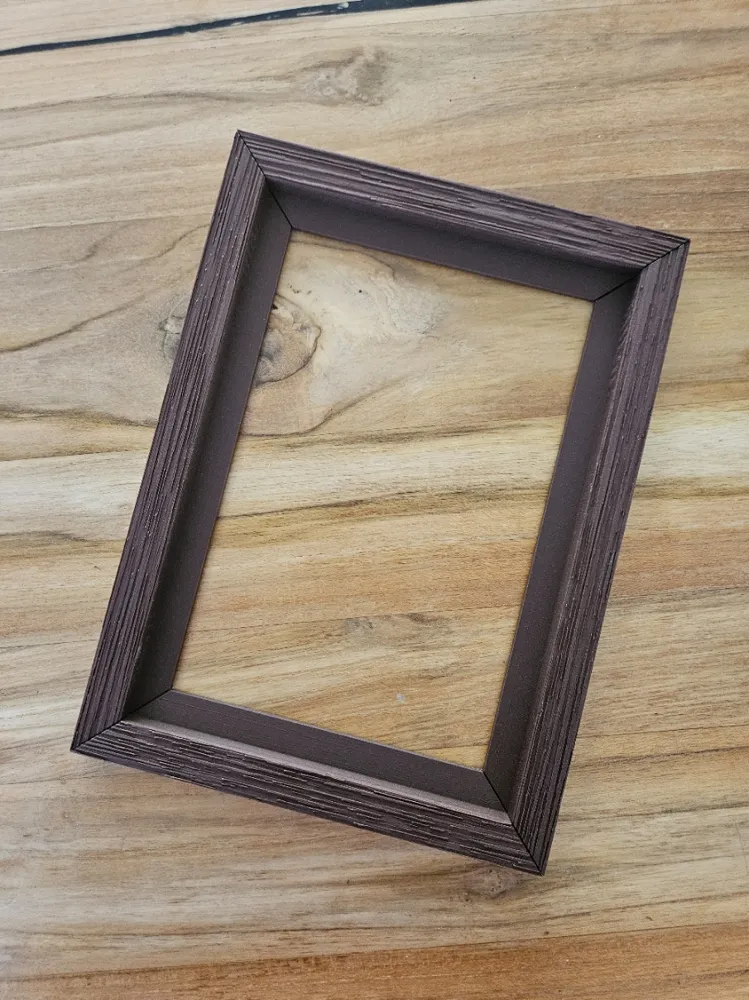
Customizable Wooden Picture Frame
Print Profile(9)


Bill of Materials


Description
Boost Me (for free)
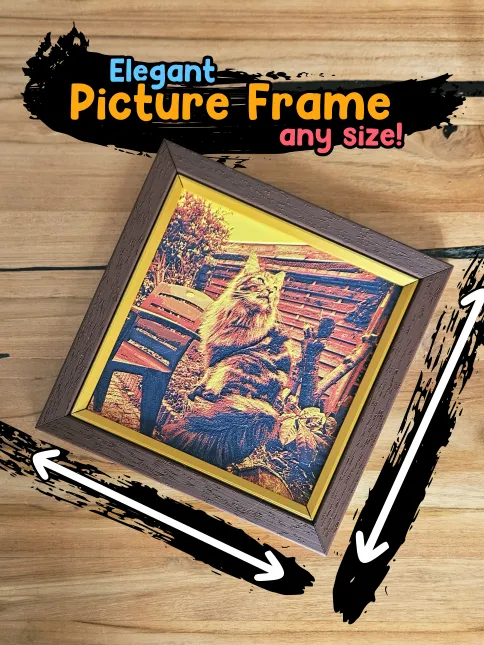
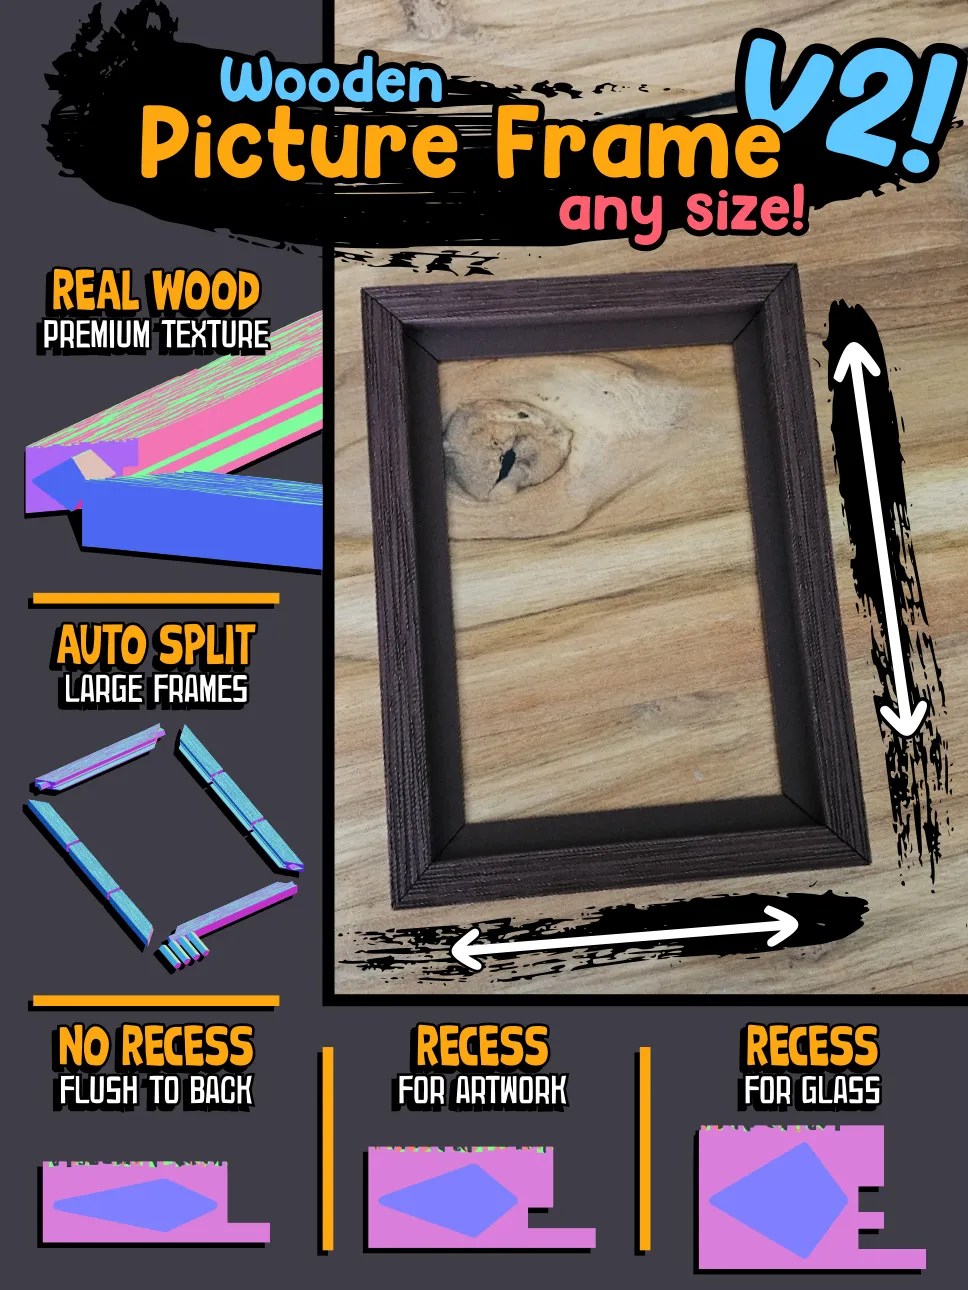
Check out my other frames:
 |  |
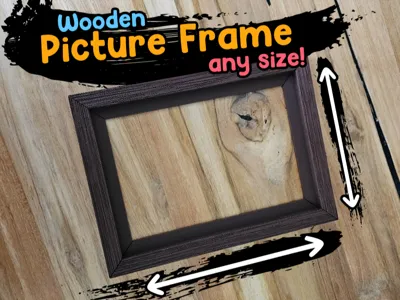
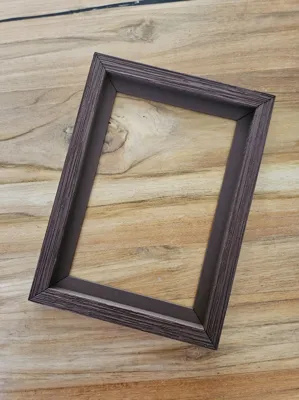
This OpenSCAD script generates a customizable picture frame with adjustable dimensions and a variety of options.
Key Features:
- Adjustable Size: Easily modify the total height and width of the frame to fit your artwork.
- Frame Details: Control the width and depth of the frame itself, as well as the width and depth of an optional inner lip.
- Wood Texture (Optional): Add a unique wood grain texture to the frame's surface with adjustable density, size, and depth.
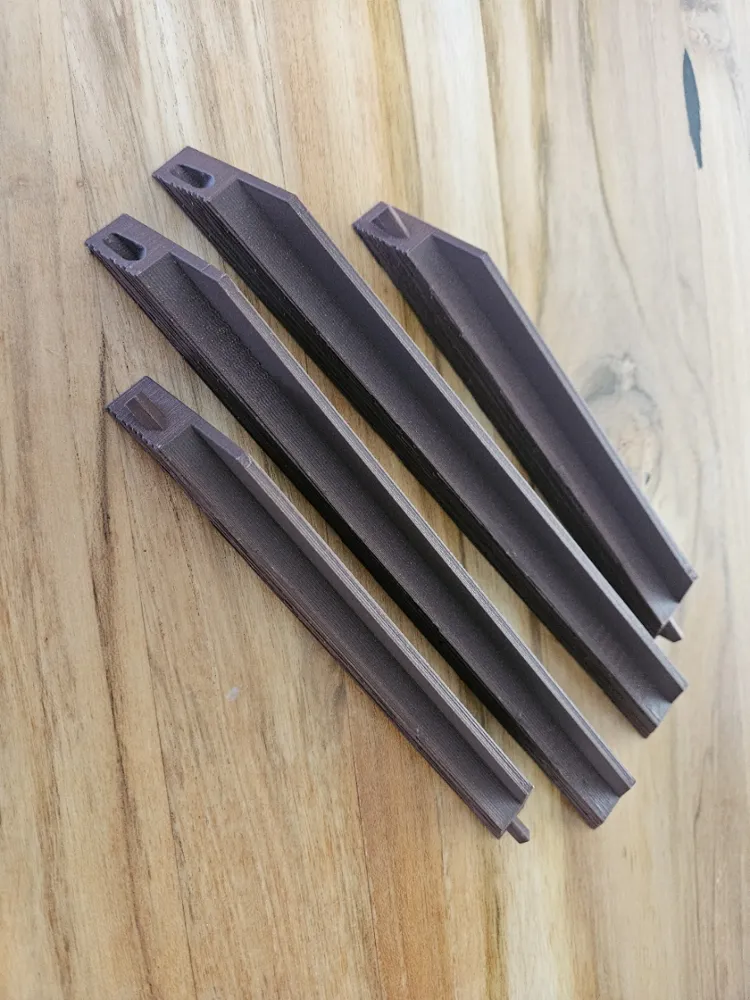
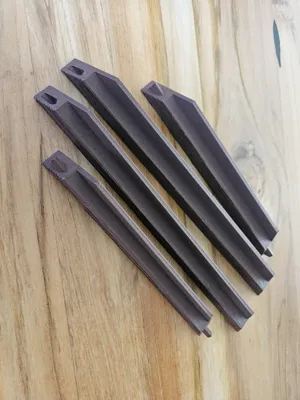
- Dovetail Joints (Optional): Enable interlocking dovetail joints for a strong and classic aesthetic. You can even adjust the margin between the male and female dovetails.
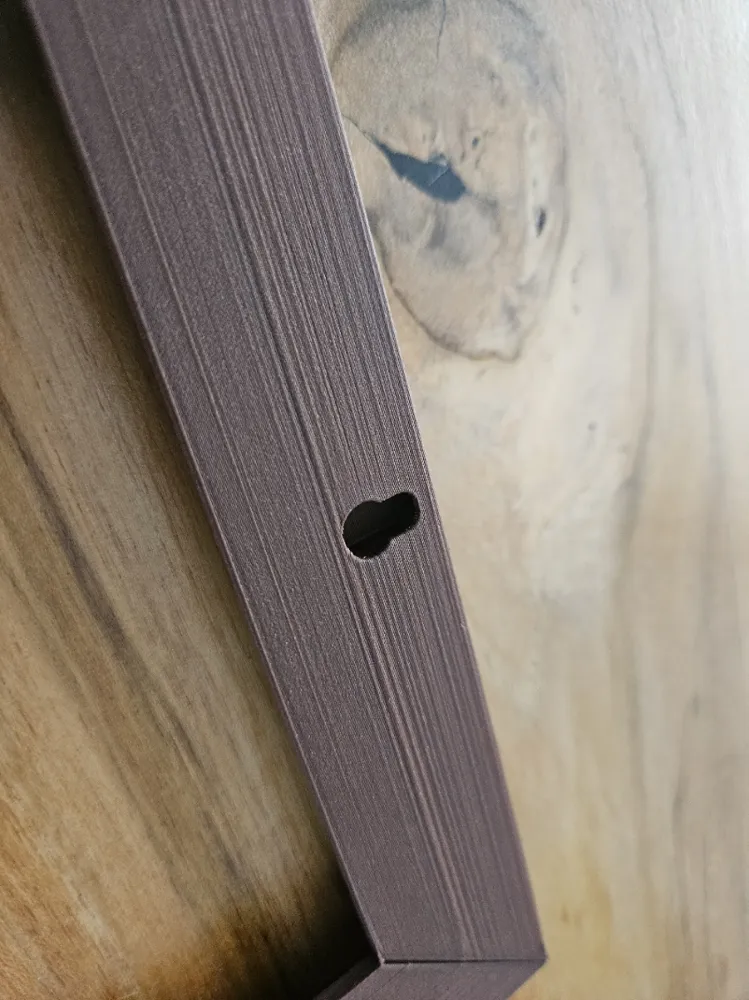
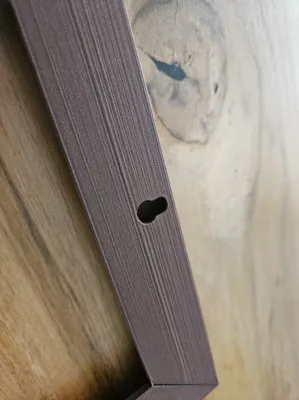
- Screw Holes (Optional): Choose to include 0, 1, 2, or 4 screw holes for easy mounting. The script also allows customization of screw head and shaft dimensions, as well as the offset from the frame wall.
- Printing Orientation: An option to orient the frame parts for optimal 3D printing.
- Exploded View (Optional): Visualize the individual frame pieces separated for clarity.
Customization Options:
The script includes a dedicated "[Options]" section at the beginning, allowing you to easily toggle features like wood texture and dovetails. The "[Dimensions]", "[Texture Settings]", "[Dovetail Settings]", "[Screwhole Settings]", and "[Print Settings]" sections provide comprehensive control over all aspects of the frame's design.
How to Use:
Simply open this OpenSCAD script and adjust the parameters in the designated sections to create a frame that perfectly matches your needs and preferences. Experiment with the different options to achieve various looks and functionalities!
Assembly:
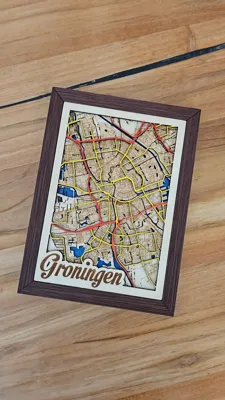
Add a drop of super glue in the dovetail holes and push firmly together. Add stickytape or glue to the lip and place your artwork in the frame.
License

You shall not share, sub-license, sell, rent, host, transfer, or distribute in any way the digital or 3D printed versions of this object, nor any other derivative work of this object in its digital or physical format (including - but not limited to - remixes of this object, and hosting on other digital platforms). The objects may not be used without permission in any way whatsoever in which you charge money, or collect fees.


Comment & Rating (216)