sunHat – Modular Lightweight Japanese Design


Print Profile(2)


Description
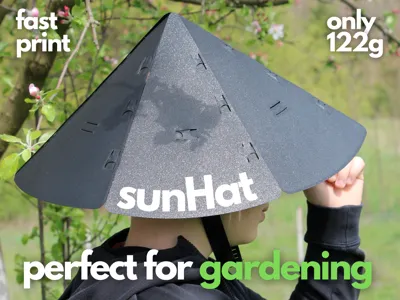
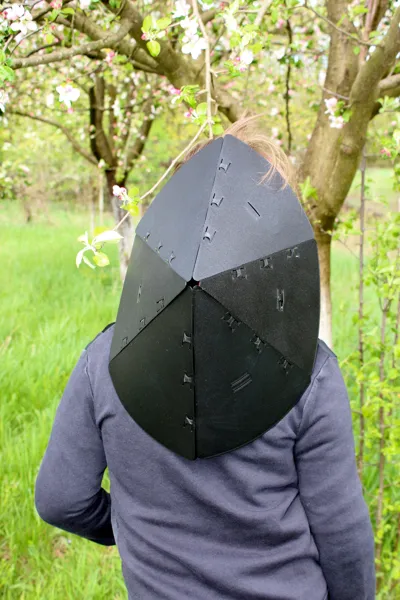
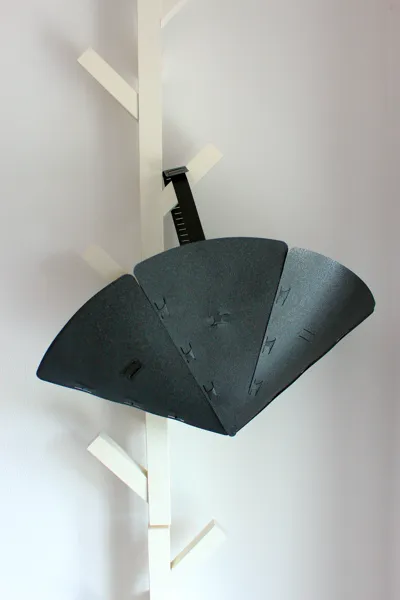
Modular Lightweight Sunhat – Inspired by Japanese Design and IKEA’s JOXTORP
A fusion of traditional aesthetics and modern engineering, this 3D-printed sunhat draws inspiration from the iconic Japanese sugegasa and the geometric elegance of IKEA’s JOXTORP pendant lamp.
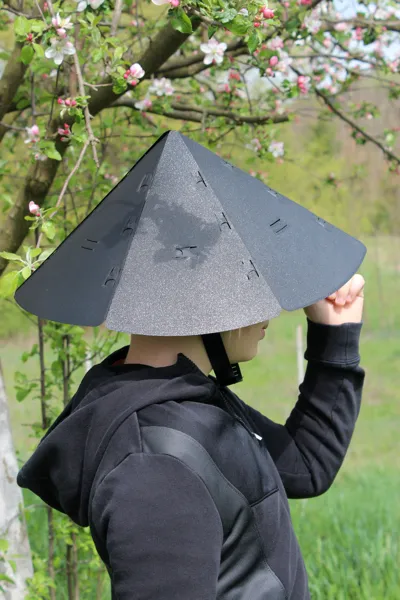
Designed specifically with outdoor work in mind, it is perfect for gardening, offering extended sun protection, ventilation, and lightweight comfort.
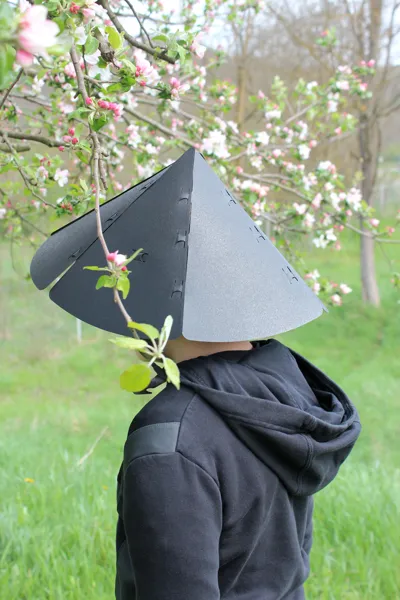
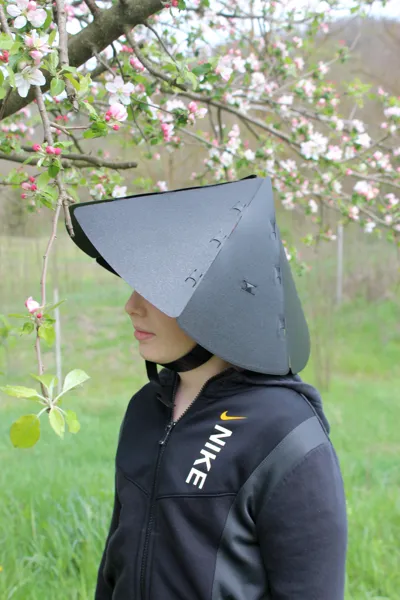
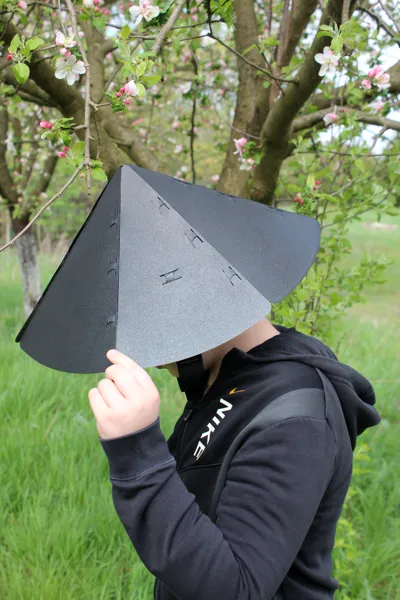
The hat comprises six interlocking modular panels that seamlessly snap together, forming a conical silhouette that is both functional and stylish.
Key Features:
- Ideal for Prolonged Sun Exposure:
Perfect for activities like gardening, where extended hours under the sun demand reliable, lightweight, and breathable protection. - Ventilated Structure:
A small gap between the top of the panels provides natural ventilation, helping to keep your head cool during hot days. - Ultra-Lightweight Construction:
Designed to use only 122 grams of filament, offering exceptional comfort without compromising strength. - Modular Design:
The six-panel system allows for quick assembly and disassembly, making it highly portable and easy to store. - Adjustable Fit:
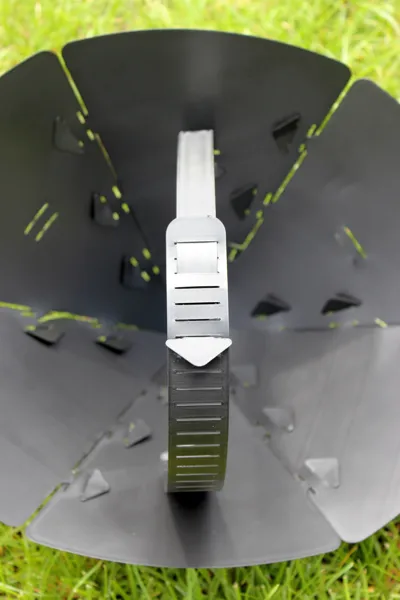
Features an integrated, customizable strap for a secure and comfortable fit across different head sizes. - Wind-Resistant Performance:
The conical shape and lightweight design, combined with the strap, make the hat highly stable even in windy conditions. - Geometric Aesthetics:
The faceted structure ensures both visual appeal and structural integrity.
Printing Instructions:
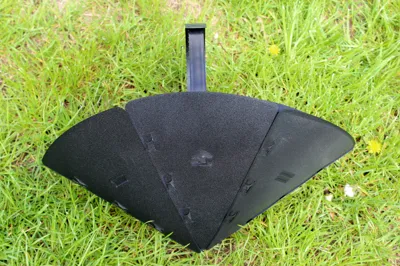
- Plate 1: Modular section – print six times.
- Plate 2: Adjustable strap – print once.
Material Recommendations:
PETG – durable, flexible, and UV-resistant
ASA – excellent UV and weather resistance, ideal for strong sun exposure
Others
Assembly Instructions:
1 . Prepare the Modular Section:
Place the modular section with the plate side facing you. This will be the foundation of your hat.

2 . Insert the Arrows in the First Gap:
Find the gap closest to the arrows. Carefully align the arrows side with the gap, finding the right angle to fit them in place. Be calculated in your movements to avoid any sudden stress on the material. The first 3 closest gaps don't require bending.

3 . Insert the Arrows in the Second Gap: This step can be a bit tricky. First, position the arrow corner into the gap. Then, with a smooth, curved motion, gently bend and slide the rest of the arrow into place. Don't worry, it won't break!

4 . Repeat for All Six Sections:
Continue the process of inserting the arrows into the respective gaps until all six modular sections are fully connected. Take your time to ensure the connections are firm and secure.

5 . Assemble and Attach the Adjustable Strap:
Finally, assemble the adjustable strap and place it on the opposing section sides. Adjust for comfort to ensure a secure and customizable fit.

Additional Comfort Tip:
If the provided strap is not sufficiently comfortable for prolonged wear, you can easily replace it with a fabric ribbon for a softer and more adjustable fit. There’s also an optional chin protection piece you can print, which you’ll find included in the print profiles.

Membership
Your subscription helps support the projects and ensures ongoing improvements and additions.
Boost Me (for free)
Or follow me to keep up with what's new!
License
You shall not share, sub-license, sell, rent, host, transfer, or distribute in any way the digital or 3D printed versions of this object, nor any other derivative work of this object in its digital or physical format (including - but not limited to - remixes of this object, and hosting on other digital platforms). The objects may not be used without permission in any way whatsoever in which you charge money, or collect fees.
Comment & Rating (80)