
Perfect-Fit Espresso Tamper - Ergonomic & Modular
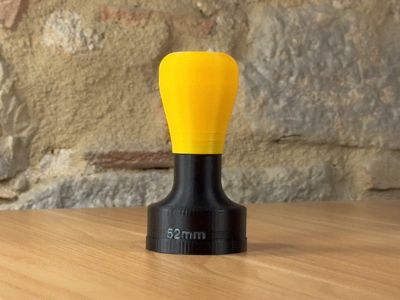
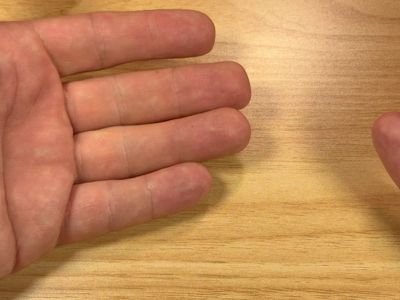
Print Profile(1)

Description
UPDATE: Added more tamp sizes. If I don't have the right size for your portafilter, ask below in the comments.
- 39.5mm compatible with the Flair Classic / Signature / Neo
- 40mm just for fun
- 44mm compatible with the Wacaco Pixapresso
- 45.5mm compatible with the Flair Pro (1, 2 or 3)
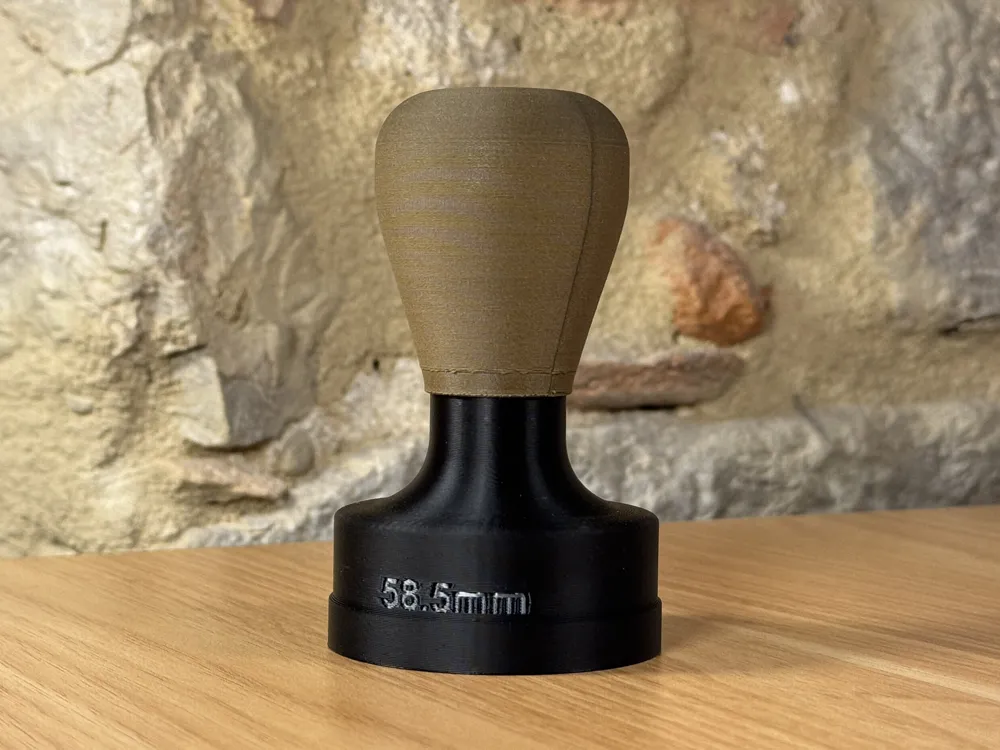
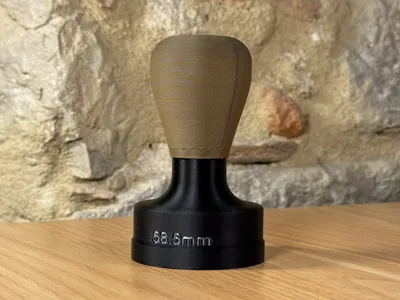
- (not new) 58.5mm compatible with the Flair 58
Whatever your Flair, we've got you covered.

Everybody's hands are different, so why does every tamper have just one handle size?
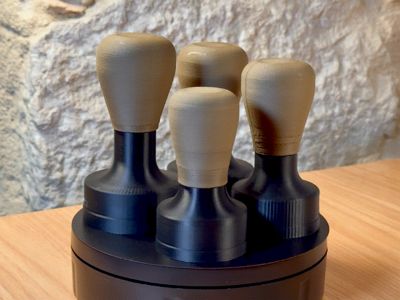
Unlock a whole new level of control and comfort in your espresso-making ritual. This modular 3D printable tamper system is designed to match your hand, your portafilter, and your brewing style.
3D Printing and Coffee
This video covers all the 3D-printing related projects I've been doing related to Coffee - including this one - and how they all work together.
Introducing a Truely Ergonomic Tamp System
Most tampers assume a one-size-fits-all solution—for both the basket and the hand that’s using it. But we know better: everyone's hand is different. This system lets you choose your perfect tamp size and fine-tune the handle to fit your grip for consistent, comfortable, high-quality espresso shots. Plus, with easy height adjustment built right in, you can dial in your ergonomics exactly the way you like them—and tweak it at any time.
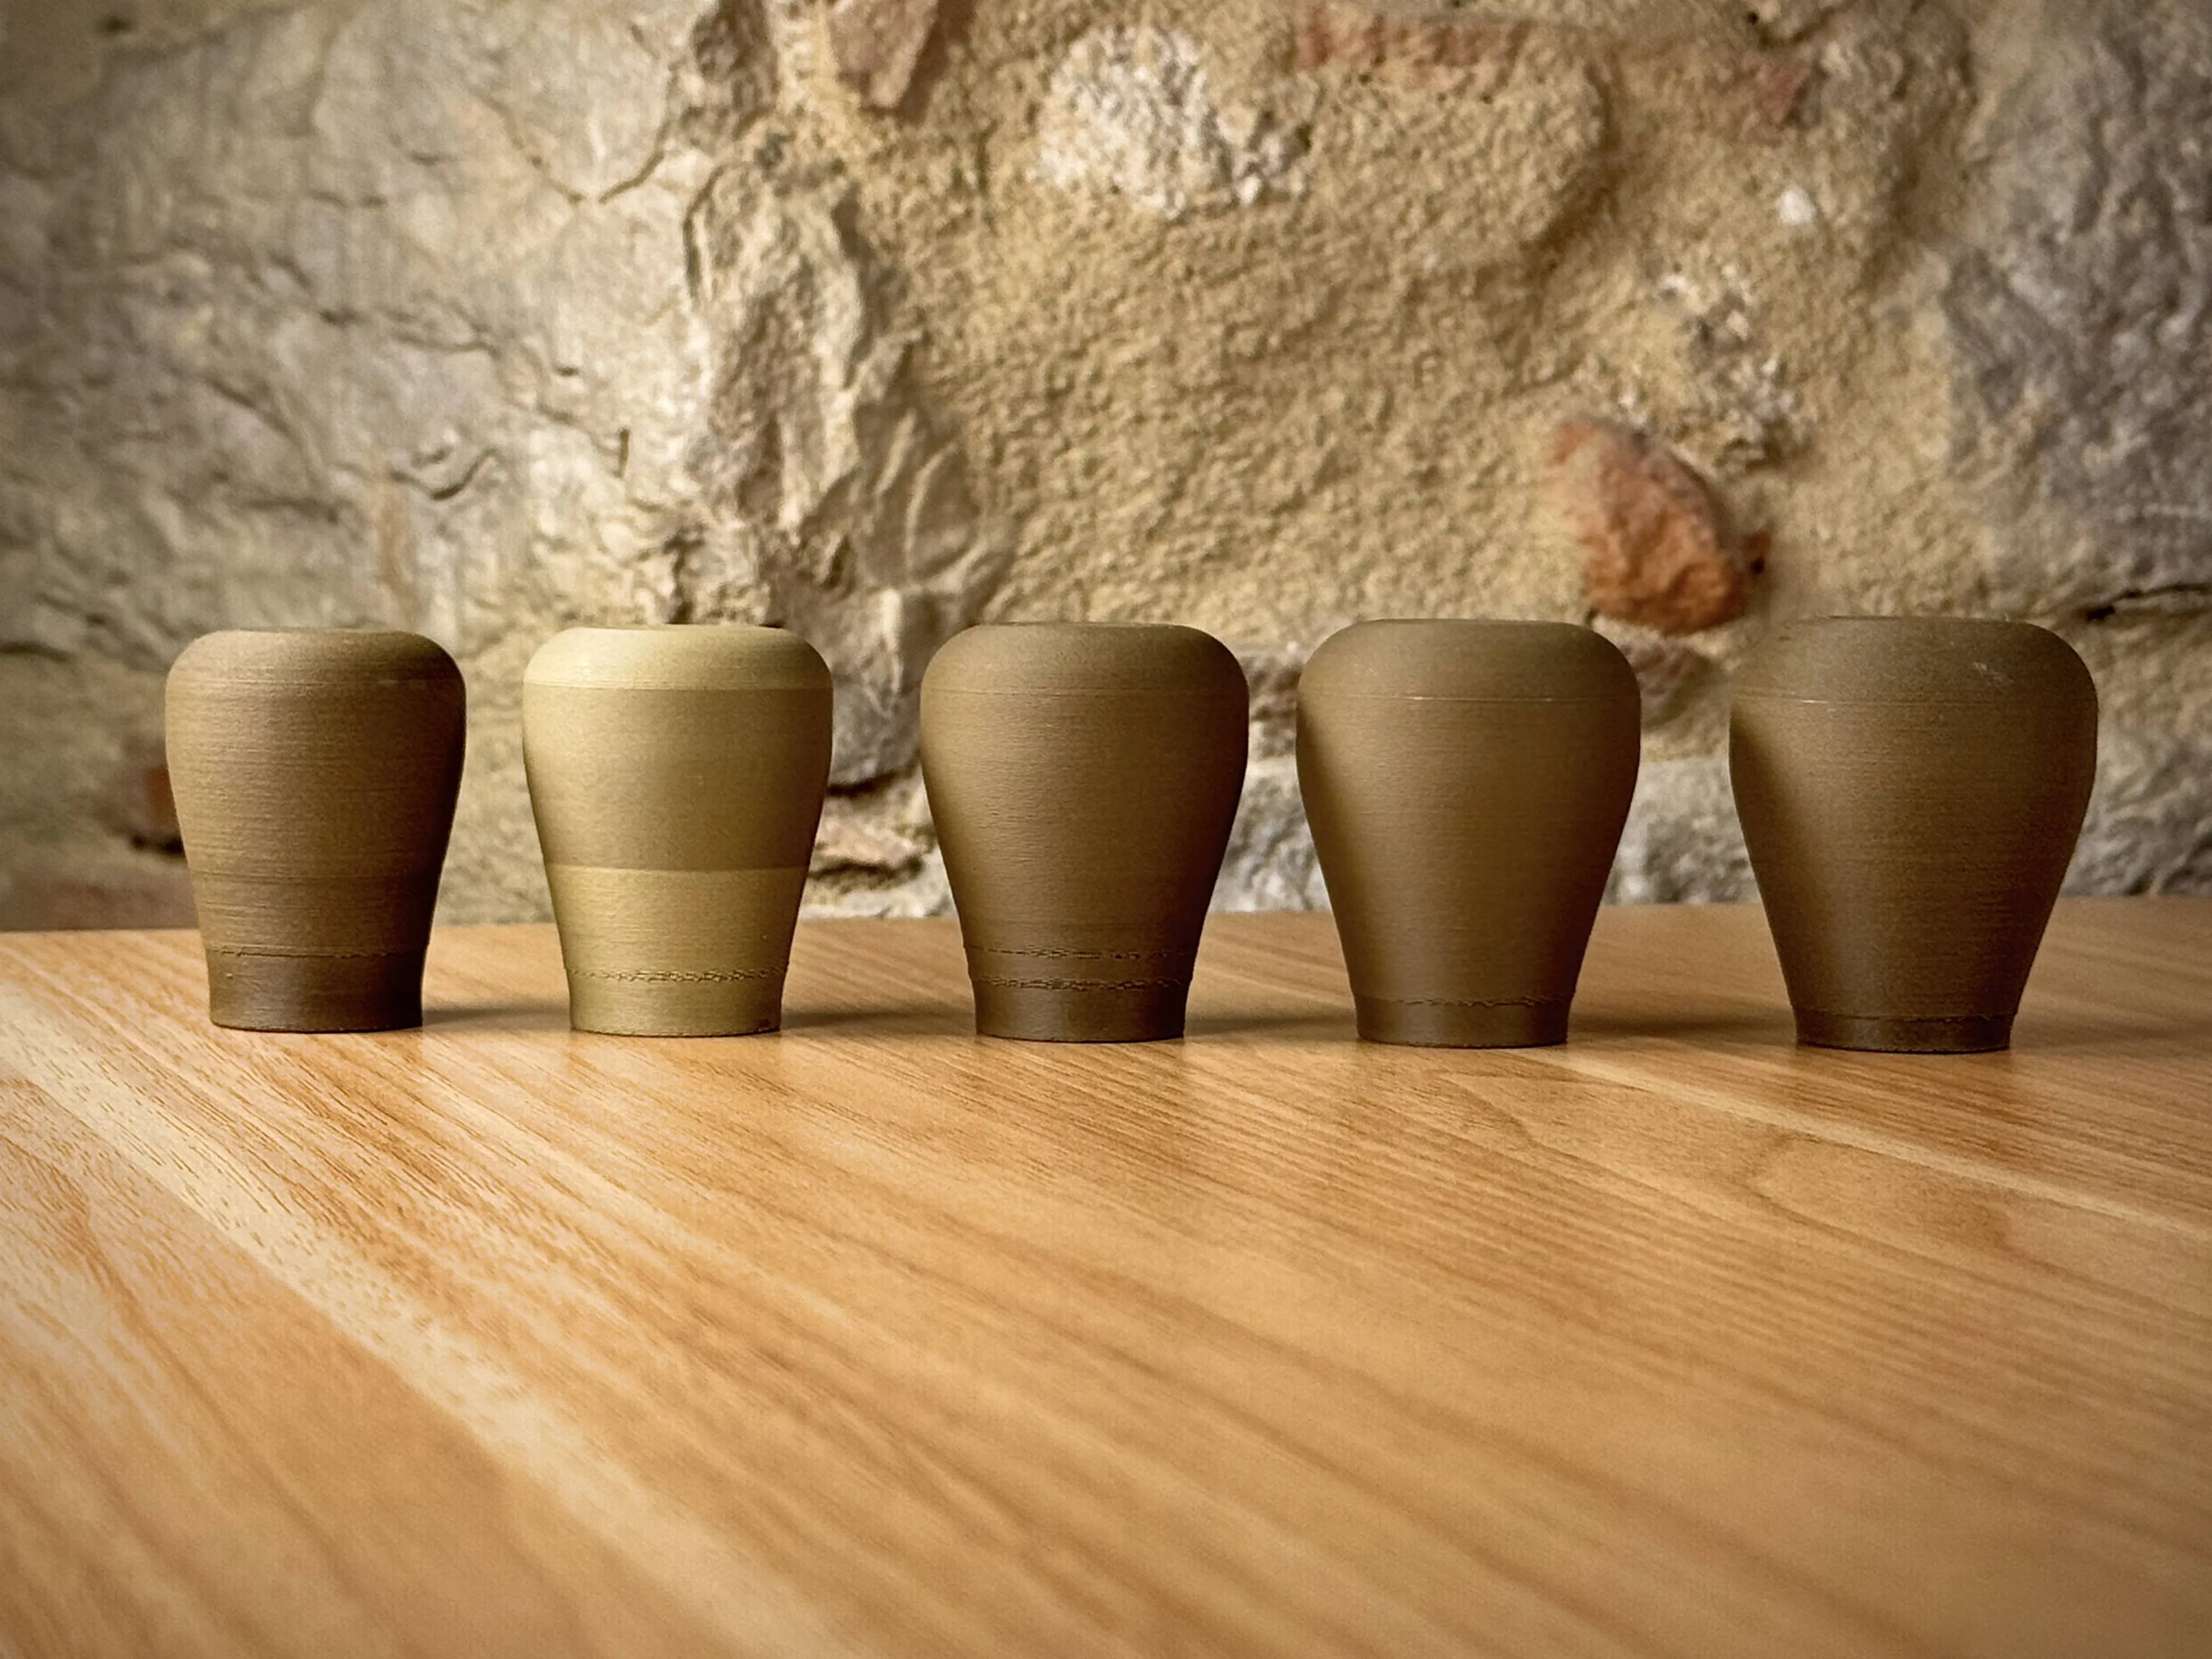
Designed for Precise Control
In every tamping technique video I've watched, the demonstrator's hand has to contort in strange ways to grip the tamper. The person then either pushes with their palm on top of the tamp or with their hand wrapped around the side of the tamp. In the first case, they are pushing down at the top of an unstable pendulum creating the biggest chance for off-angle tamping. In the latter, their main force starts out off axis. The force is either applied via the thumb and the side of the pointer finger or through the tightness of the grip on the handle. In either case it can be very difficult to precisely control and get a level tamp:
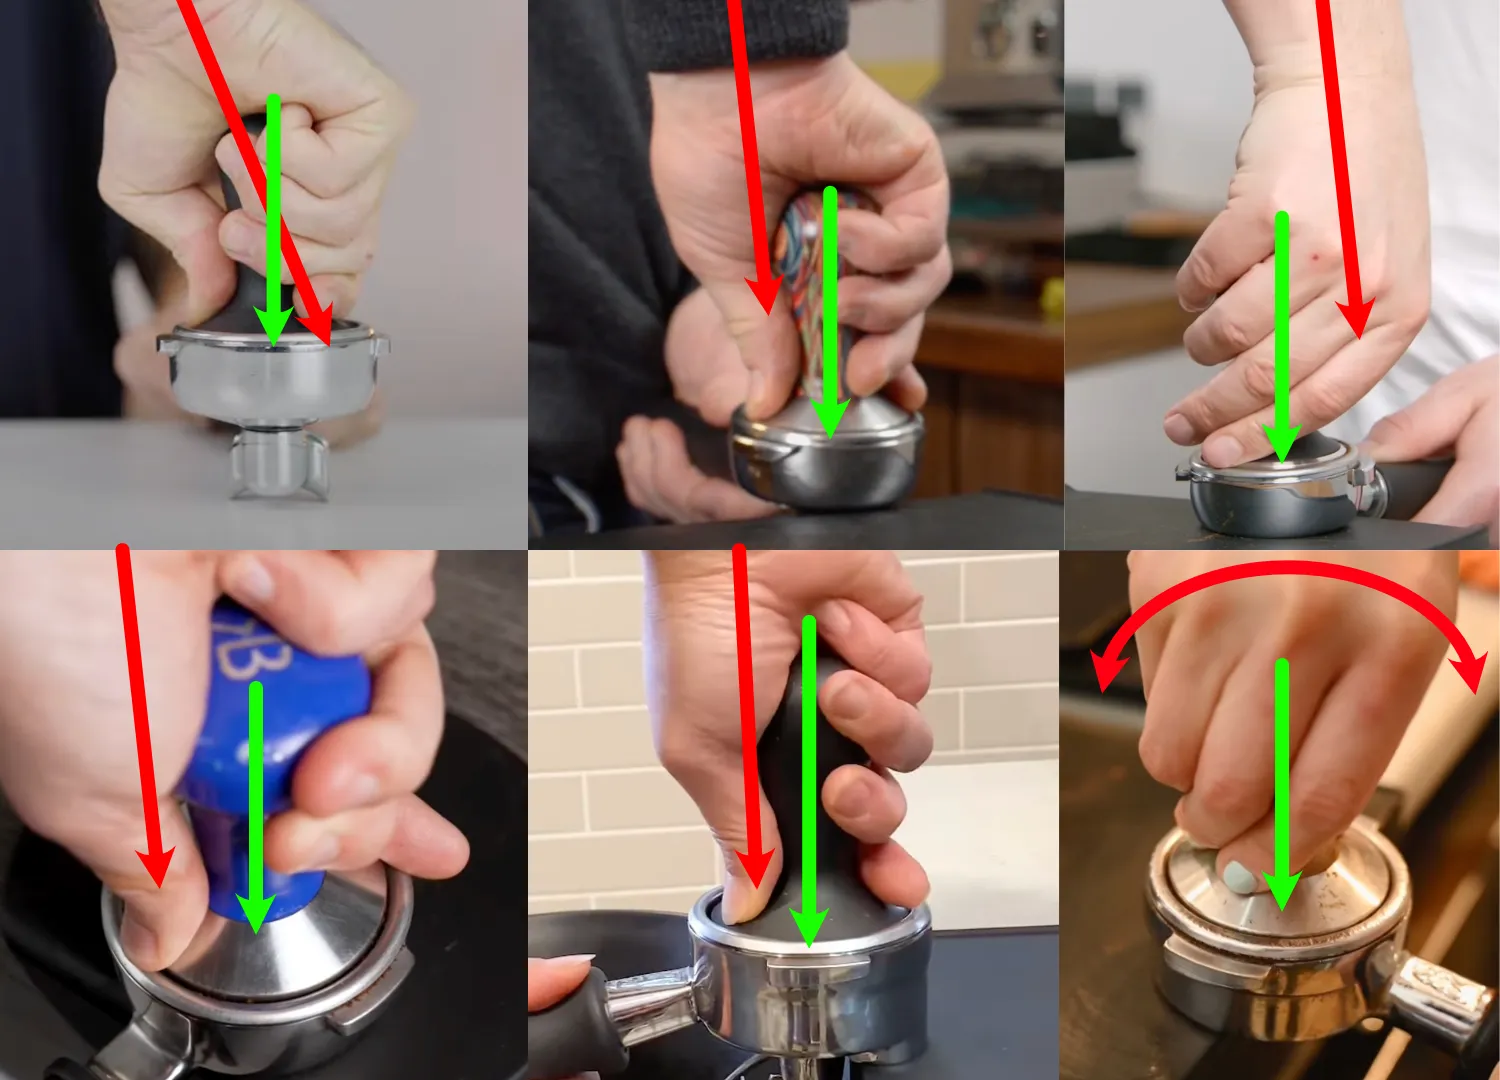
Above are all professionals demonstrating the standard tamping technique, but you can see that in each case they are contorting their hands and creating off-axis, hard-to-control leverage angles.
These contortions are necessary when the handle doesn't fit your hand…
Ergonomic For Precision
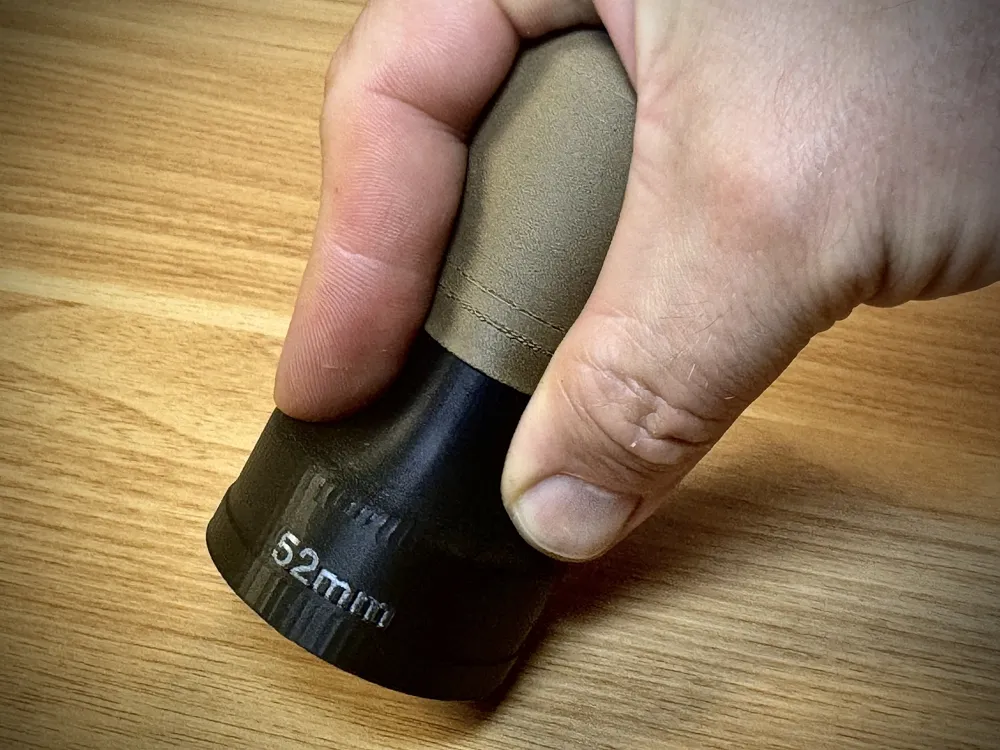

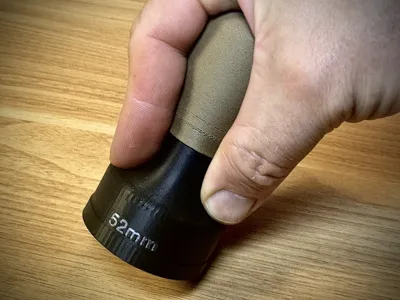

When the handle perfectly fits your hand, you can wrap your fingers over it, press with the tips of your fingers where you have the most precise motor control, and you can apply pressure closest to the puck which minimizes the unstable pendulum problem.
I spent many iterations getting the shape of the handle right. In order to push with your finger-tips, your fingers need support to help them keep their shape optimal for pushing down. When the fit is right, you can focus all your force at the tips of your fingers rather than wasting energy and attention keeping your fingers from wobbling. The thumb and all three fingers (excepting the pinky) have full contact with the base and provide precise control over an even press. This puts your hand in a position where you can exert way more force than a good tamp needs. Having extra force left in reserve makes control nearly effortless.
Now, I'm not a professional, just a home barista enthusiast. So what do I know? I discovered this technique after I designed this modular system and discovered what was possible when the tamp fit my hand. It works great for me.
Give it a try and let me know how it works for you!
What’s Included
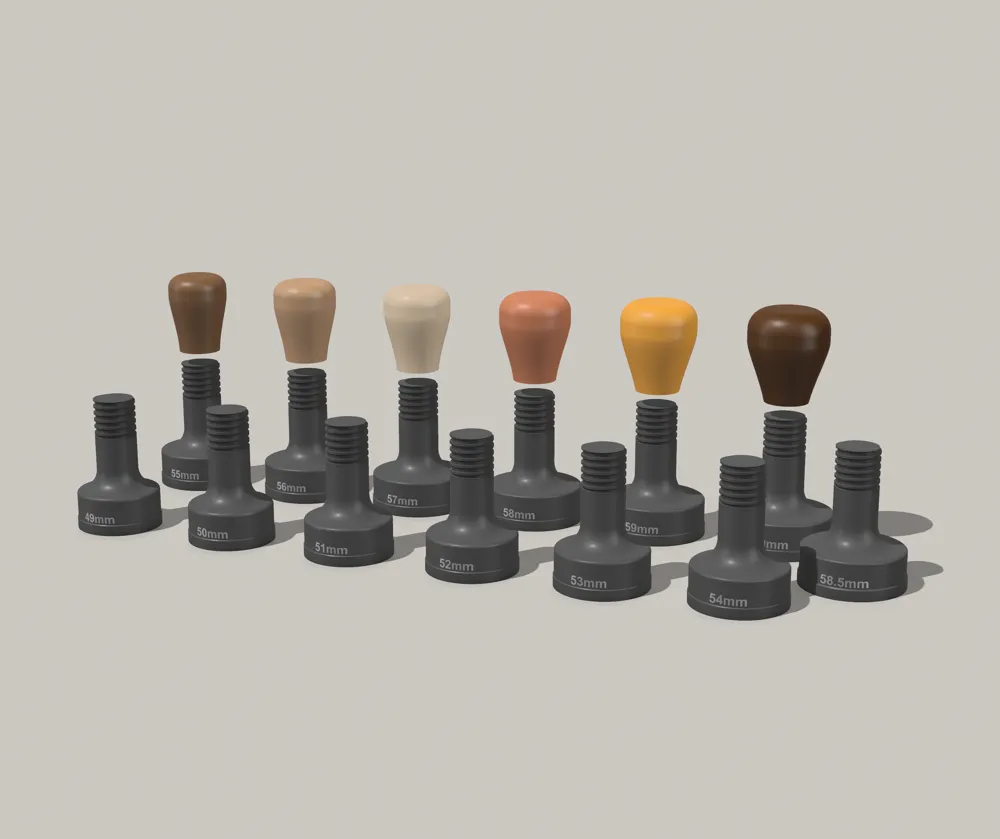
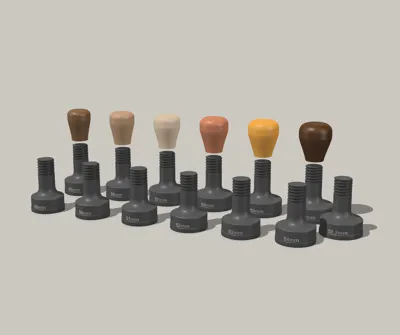
Two Modular Parts:
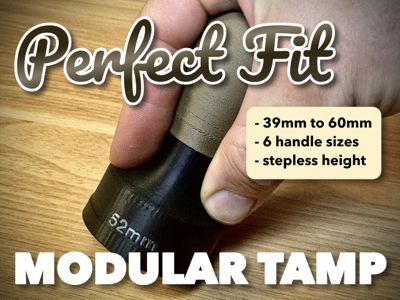
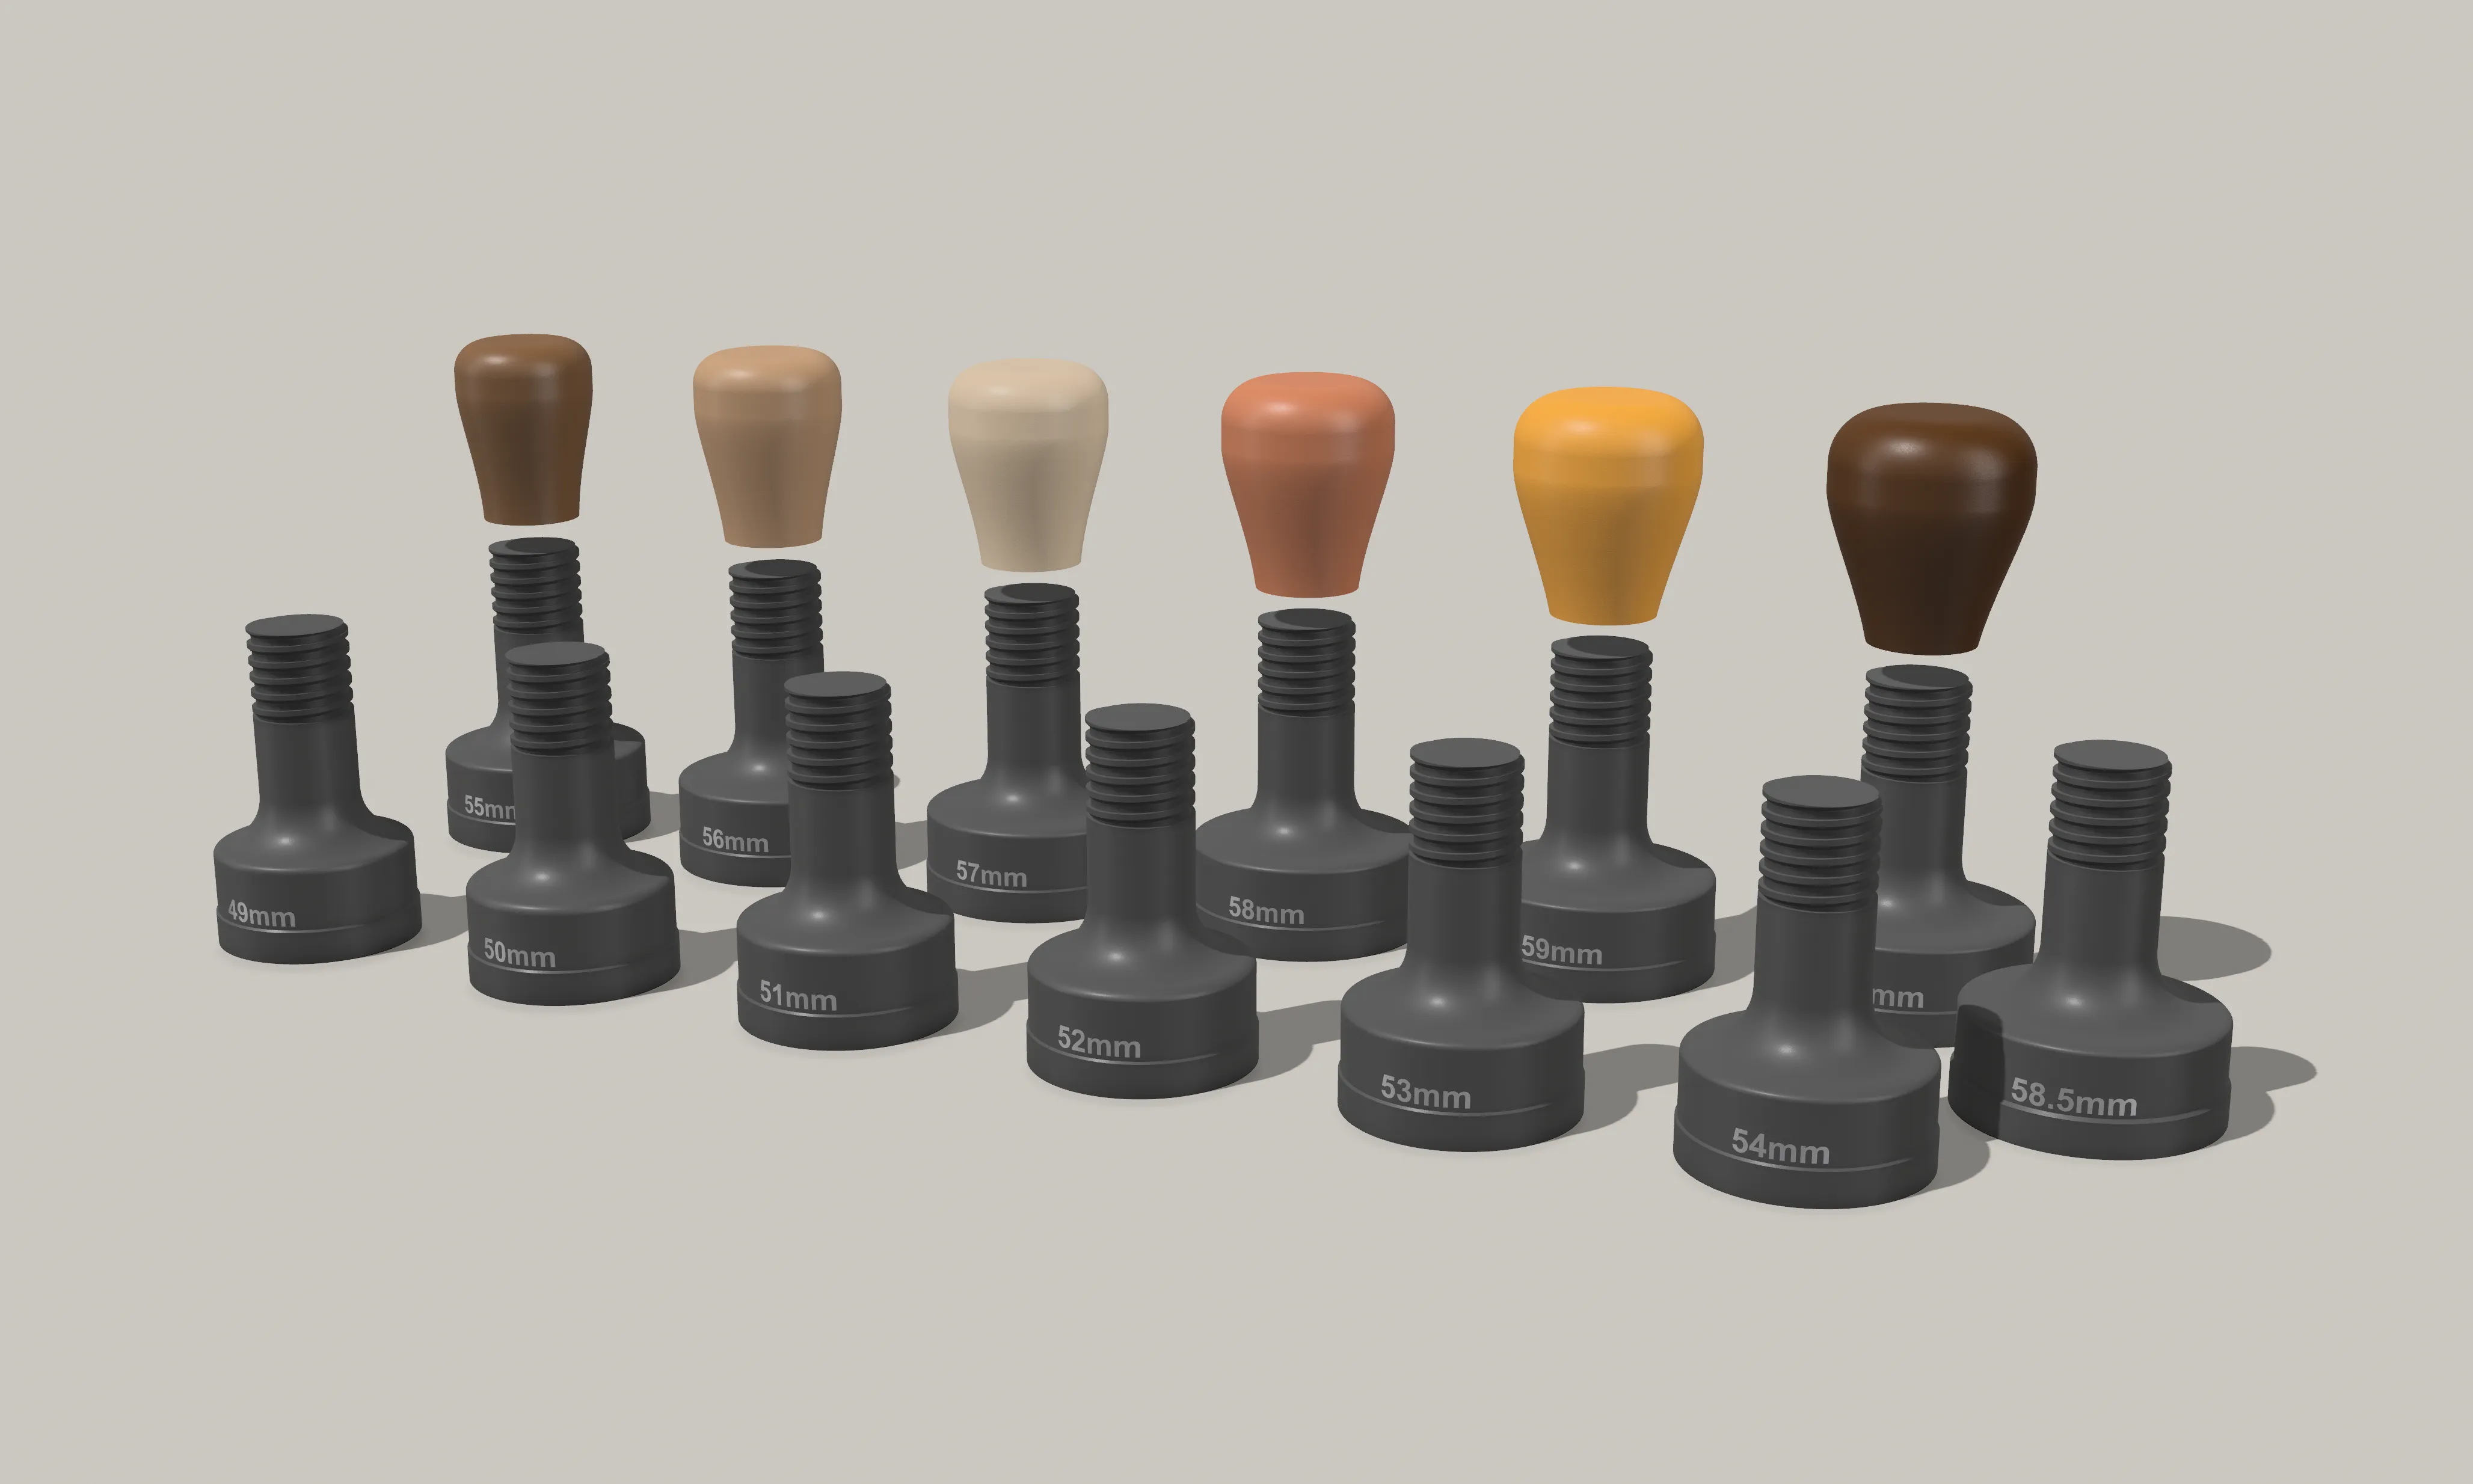
- 16 Tamp Sizes:
- 39.5mm and for compatibility with the Flair Classic / Signature / Neo
- 40mm just for fun
- 45.5mm for compatibility with the Flair Pro (1, 2 or 3)
- 58.5mm is compatible with the Flair 58 and VST, IMS and other professional baskets and tamps.
- 49mm to 60mm: 49mm, 50mm, 51mm, 52mm, 53mm, 54mm, 55mm, 56mm, 57mm, 58mm, 58.5mm, 59mm and 60mm
- WANT A DIFFERENT SIZE? Ask in a comment below!
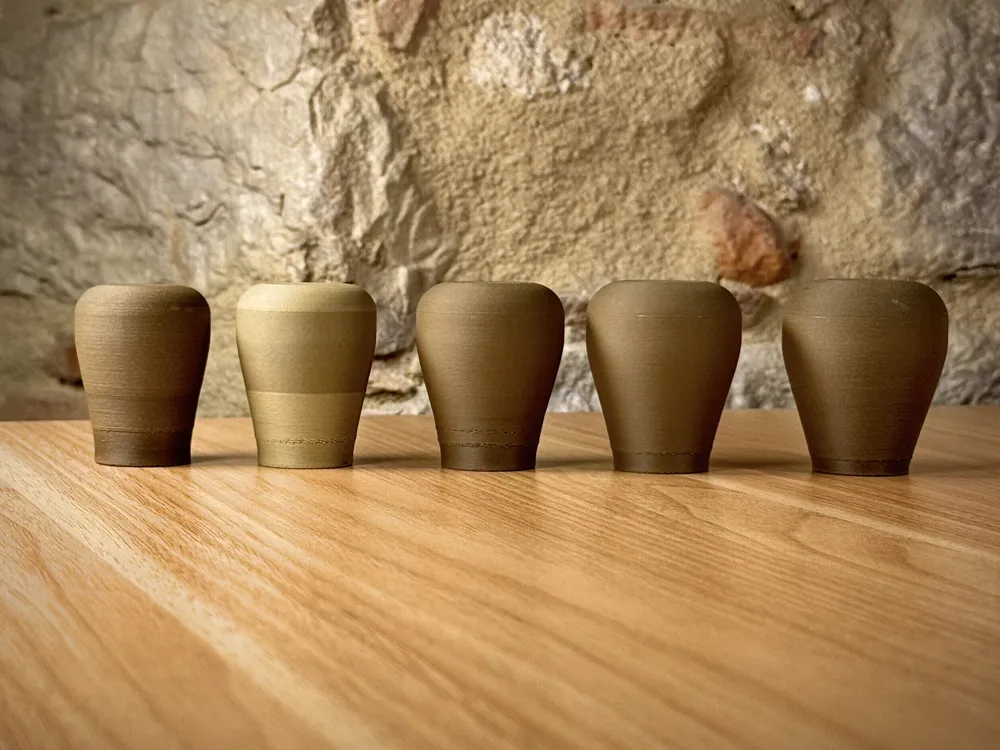
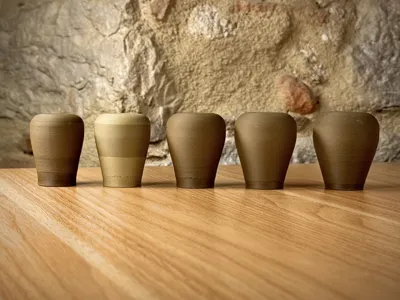
- Six Handle Sizes: Curved, fingertip-optimized designs:
- Extra Small (36mm diameter)
- Small (38mm)
- Medium (40mm)
- Large (42mm)
- Extra Large (44mm)
- Extra Extra Large (46mm)
- Each part contains half of a 3D printable adjustable screw system which allows you to fine-tune the handle height for a perfect fit and perfect control over your tamp.
Filament Materials
I designed this model with PLA in mind for the tamp and PLA-Wood for the handle. Getting the friction just right for a 3D-printed screw is always difficult but especially so in this case. The screw needed to hold its place and work under force over the full range of adjustments. The real challenge is the friction between the two parts changes depending on what materials you use. PLA-Wood is more expansive and creates more friction than PLA. I haven't tested PETG with this model, but my limited experience with PETG so far suggests it's less expansive and therefor should have less friction than PLA.
I recommend using:

- PLA for the Tamp and PLA-Wood for the Handle: Wood PLA has the nicest texture for my hand and looks great. However, Wood PLA creates a tight fit. It can be very snug the first time you screw the two parts together. Just work on screwing and unscrewing them together until they loosen up enough such that you can get the position just right. The nice thing is once you do, it'll stay put very well.
- Or, Just Use PLA for Both: The screw will be a little looser, but shouldn't wobble or twist under normal use
Print Profile Settings Note: I set the infill and wall thicknesses higher than I do on my other models. They are definitely overkill structurally, but they are designed to create a satisfying sense of heft without wasting too much filament.
A 3D Printed Tamper?
Most tampers are heavy, solid chunks of metal—and yes, that mass feels nice. But careful design can bring that satisfying feeling into a 3D printed part too:
- Configured for Heft: Tamper heads print around 30 grams, handles around 20 grams—giving the complete assembly a solid ~50g feel in the hand. Still light compared to metal, but feels amply solid.
- Overbuilt for Strength: High infill, thick walls, and durable geometry make this tamper strong and satisfying to use.
- Expandable Weight: The tamp heads are intentionally taller than standard to accommodate deeper funnels and give you space to pause the print and embed extra weight (like BBs or small metal inserts) if you want even more heft.
- Control First: Even with the lighter weight compared to full metal tampers, the design focuses on fingertip-driven downward pressure for a highly controlled, precise tamp.
Multicolor Printing Options
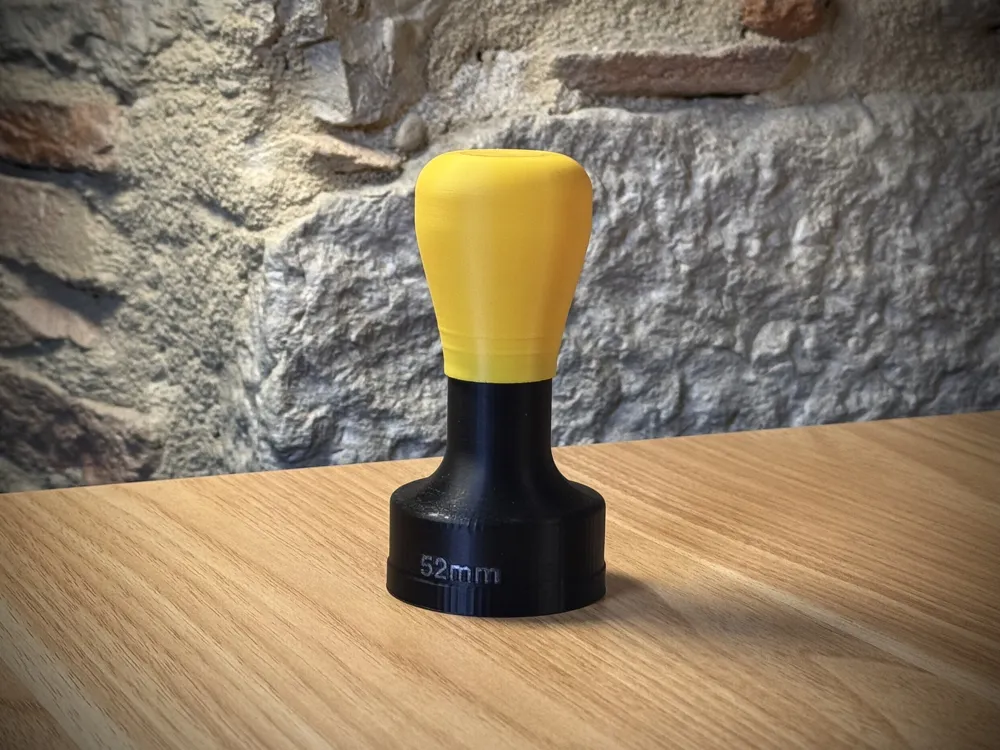

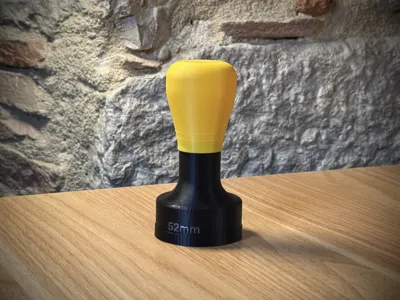
Every tamp has its size embossed neatly on the side—for quick identification and a clean, professional look.
You have two ways to print:
- Multicolor Mode: Print the tamp itself in one color and the size text (like “58mm”) in a second color. The printer will swap filaments during about 10–12 layers, alternating for a sharp, clean dual-color effect.
- Single Color Mode: Skip the second color, and the number will simply disappear into the surface—giving you a faster, more efficient single-material print with a smooth finish.
Either way, the choice is yours: prioritize visual clarity, or speed and simplicity!
The Origin Story
This project started when I needed a better tamper for my Wacaco PicoPresso. The portable machine is fantastic, but the included tamper left something to be desired for home use. I first designed a perfect fit, deep funnel for the PicoPresso to make dosing easier, but that deeper funnel created a new challenge: I needed a taller tamper to comfortably push down into the portafilter without scraping my knuckles.
My first prints weren't quite the right fit. I thought about how many throw-aways I'd need to make to just discover the perfect dimensions, and then I realized I could make it modular instead! Thus, this modular tamper system was born—designed to be fully customized to fit any machine and any hand.
Best Uses / Tips
- Match your tamp size to your basket for maximum extraction. Not a perfect fit? Try 1mm larger or 1mm smaller than the manufacturer's official size.
- Pick a handle that matches your hand shape for true fingertip control.
- Adjust the height to find your natural tamping posture with just a twist of the handle—no more awkward angles. If the handle is tight, work it open and close several times until it loosens up.
- Material Tip:
- For a lightweight, natural feel, try wood PLA filament on the handle.
- Standard PLA (and probably also PETG) is great for the tamper head itself.
- Custom Colors:
- As with any 3D maker file, you can customize the colors!
- With this modular system, you can choose the color of the handle, tamp and tamp-size label that perfectly match your espresso station.
- Advanced Option:
- Pause your print mid-tamp and add BBs, coins, or small weights to give your tamper a more standard weight
Compatibility Chart
This is a work in progress. Please let me know what machines you use your Modular Tamp with, and what size tamp works best!
- Wacaco Picopresso: 51mm
- Flair Neo Flex: 39.5mm
What’s Next
This is just the beginning! Let me know if you are interested in:
- Want new handle shapes?
- Want flatter tamp bases?
- Want specialty tamp base textures (rippled, convex, etc.)
- Want other half-mm tamp sizes?
- Want other accessories like distribution tools and funnels?
Just let me know. Your interest guides what I build!
Download, print, and start pulling the most comfortable, most you shots of your life! ☕🛠️
Boost Me (for free)
Want more "perfect fit" coffee gear? Give me a boost! Your boost keeps me motivated. Thank you!
License

You may create derivative works based on this object, provided that all such derivative works are published exclusively on the MakerWorld platform and include proper attribution to the original creator. You may not share, upload, host, distribute, or publish this object—or any derivative work of this object—on any other digital platform, marketplace, or distribution channel. Commercial use of this object and any derivative works is strictly prohibited. This includes, but is not limited to, selling, renting, sublicensing, or using the object in any context in which you receive monetary compensation or other financial benefits.


Comment & Rating (47)