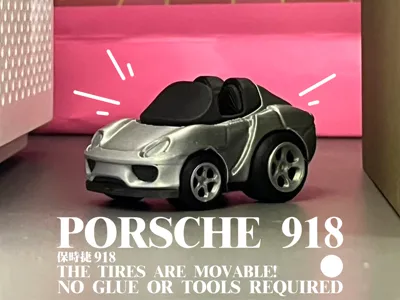
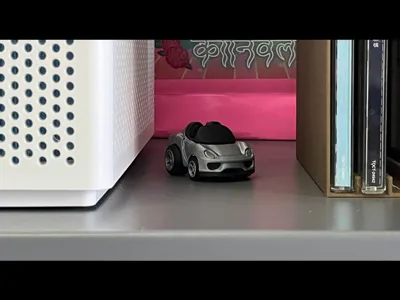
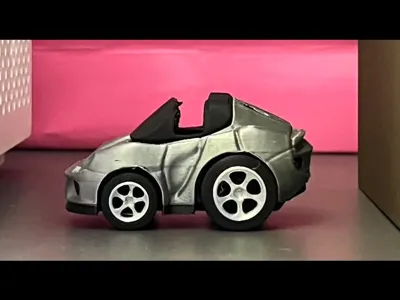
Porsche 918 Multicolor Articulated Assembly Toy Car (No glue required, multiple colors supported)


Print Profile(3)


Description
100 Car Project for Fans (16/100)(If you have a favorite car model, please leave a comment (preferably with a picture), and I will select it for design. I hope you receive your favorite toy car)
Hello everyone, long time no see. I was busy moving recently and have only just settled in. I will resume updates shortly and appreciate your continued support.
Boost Me (for free)
If you have any extra support to spare, please cast a vote for me. This is extremely important for my future creations. Thank you for your support!
Membership
I have introduced a membership subscription service. Tier one members can sell all my current and future works. Tier two, annual members receive personalized services. Contact me if needed❤
 Thank you to these three friends for subscribing to my tier one membership❤ I will continue to create and strive to reward everyone with more works.
I have received the feedback from the comments section. Those who require multi-color printing or dislike the assembled pieces can print the second configuration, which I have separated.
For this design, I attempted a multicolor model for the first time. Those who prefer multicolor can take the time to print a multicolor model❤
The latest creation, a multicolor, articulated, and assembled Porsche 918 toy car, is inspired by @樊樊美食家 and @旧城烟火 and several other friends.


This design employs a novel approach: upon completion, it can be directly displayed, or you can use model clippers to detach parts for assembly.
① This design is articulated; please follow the instructions for installation.
(This toy contains numerous small parts! Please ensure children do not assemble it unsupervised to avoid accidental ingestion. Exercise caution during assembly to prevent injury)

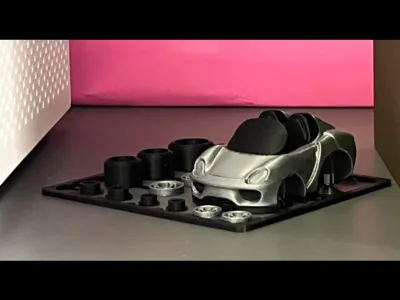
②Assembly Instructions:
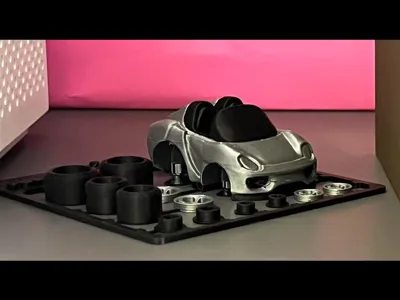
1. Overall Assembly Diagram: Each tire comprises three components. Installation must follow the indicated order.

2. Step-by-Step Diagram:
First, remove the body support; pliers may be used; take care not to damage the clips.
① After removal, the first step is to attach the wheel to the clip.
② Push the clip fastener towards the tire (avoid excessive force; don't force it too tightly, or the wheel won't move).
③ After confirming the tire’s mobility, install the hubcap.

License
You shall not share, sub-license, sell, rent, host, transfer, or distribute in any way the digital or 3D printed versions of this object, nor any other derivative work of this object in its digital or physical format (including - but not limited to - remixes of this object, and hosting on other digital platforms). The objects may not be used without permission in any way whatsoever in which you charge money, or collect fees.
Comment & Rating (18)