
Daisy Buck 105 Tactical Handguard Kit – Tac105


Print Profile(1)

Description
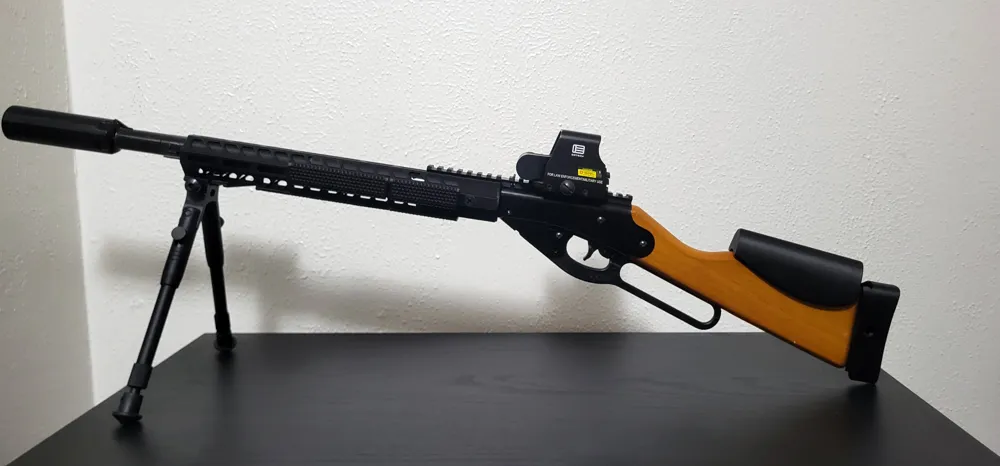
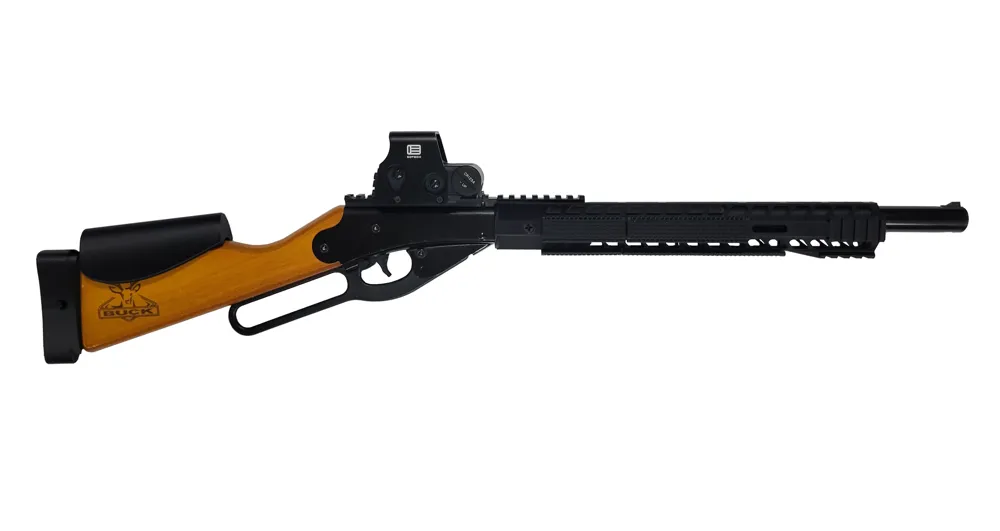
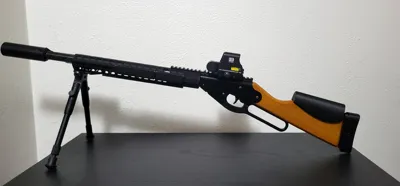
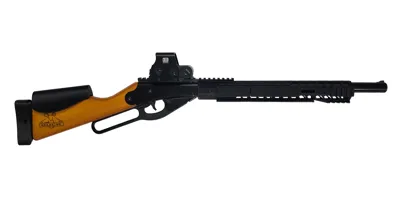
The Tac105 is an M-LOK style handguard kit I designed for the Daisy Buck 105.
Features:
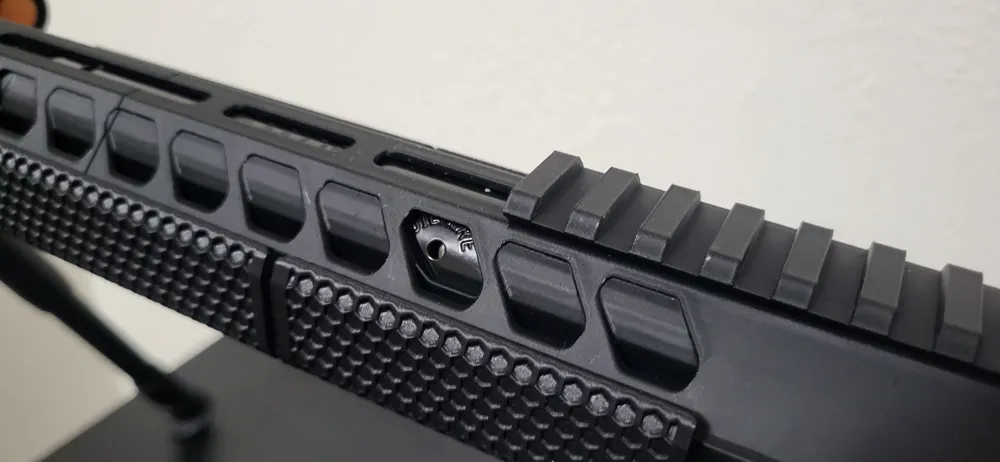
- M-LOK style slots along the sides and bottom for mounting accessories.
- Integrated Picatinny rail sections for optics, lights, or other attachments.
- A full 12.5 inches of length, giving you a much larger grip area and more room to customize.
- Installs with no permanent modifications to your rifle.
The kit includes multiple variants to choose from, including options with no Picatinny rails.
The "M-LOK style" slots are slightly smaller than traditional M-LOK and might not work with all accessories. All of my other handguard designs use full size M-LOK slots and are compatible with most accessories.
I printed my own prototypes in PLA+ and they have held up very well.
Glue is not required, but can be used to permanently attach the two handguard halves together.
Tac105 Conversion Kit Installation Instructions
⚠️ Safety First ⚠️
Before starting any modification:
- Make sure the airgun is unloaded
- Engage the safety
Tools Needed:
- Flathead screwdriver
- Small hammer or rubber mallet
Phillips screwdriver
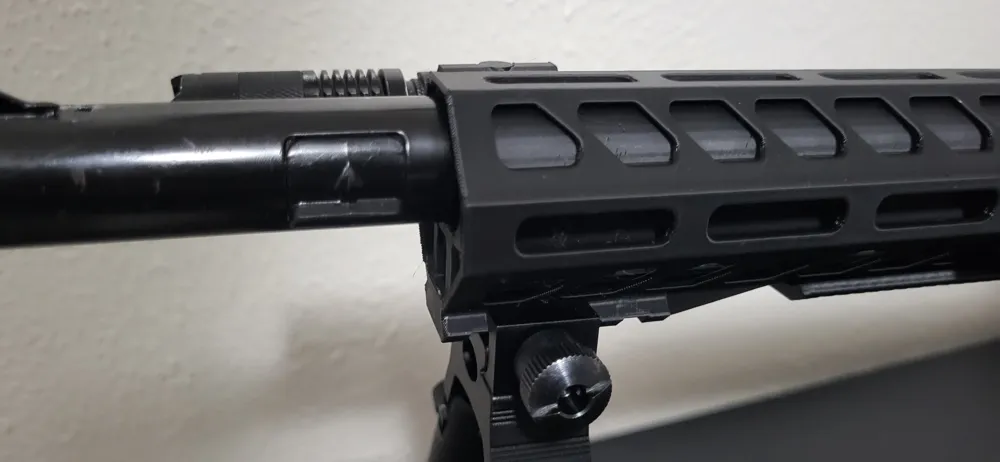
Step 1: Remove the Front Sight
Before installing the handguard, the front sight must be removed.
- The proper method is demonstrated in this video: Watch here
- For a quicker method:
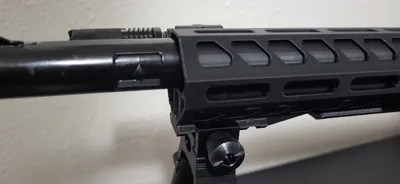
- Insert a flathead screwdriver at the rear of the front sight as shown in the photo below.
- Gently tap the handle of the screwdriver with a hammer or rubber mallet to push the sight forward and off the barrel.
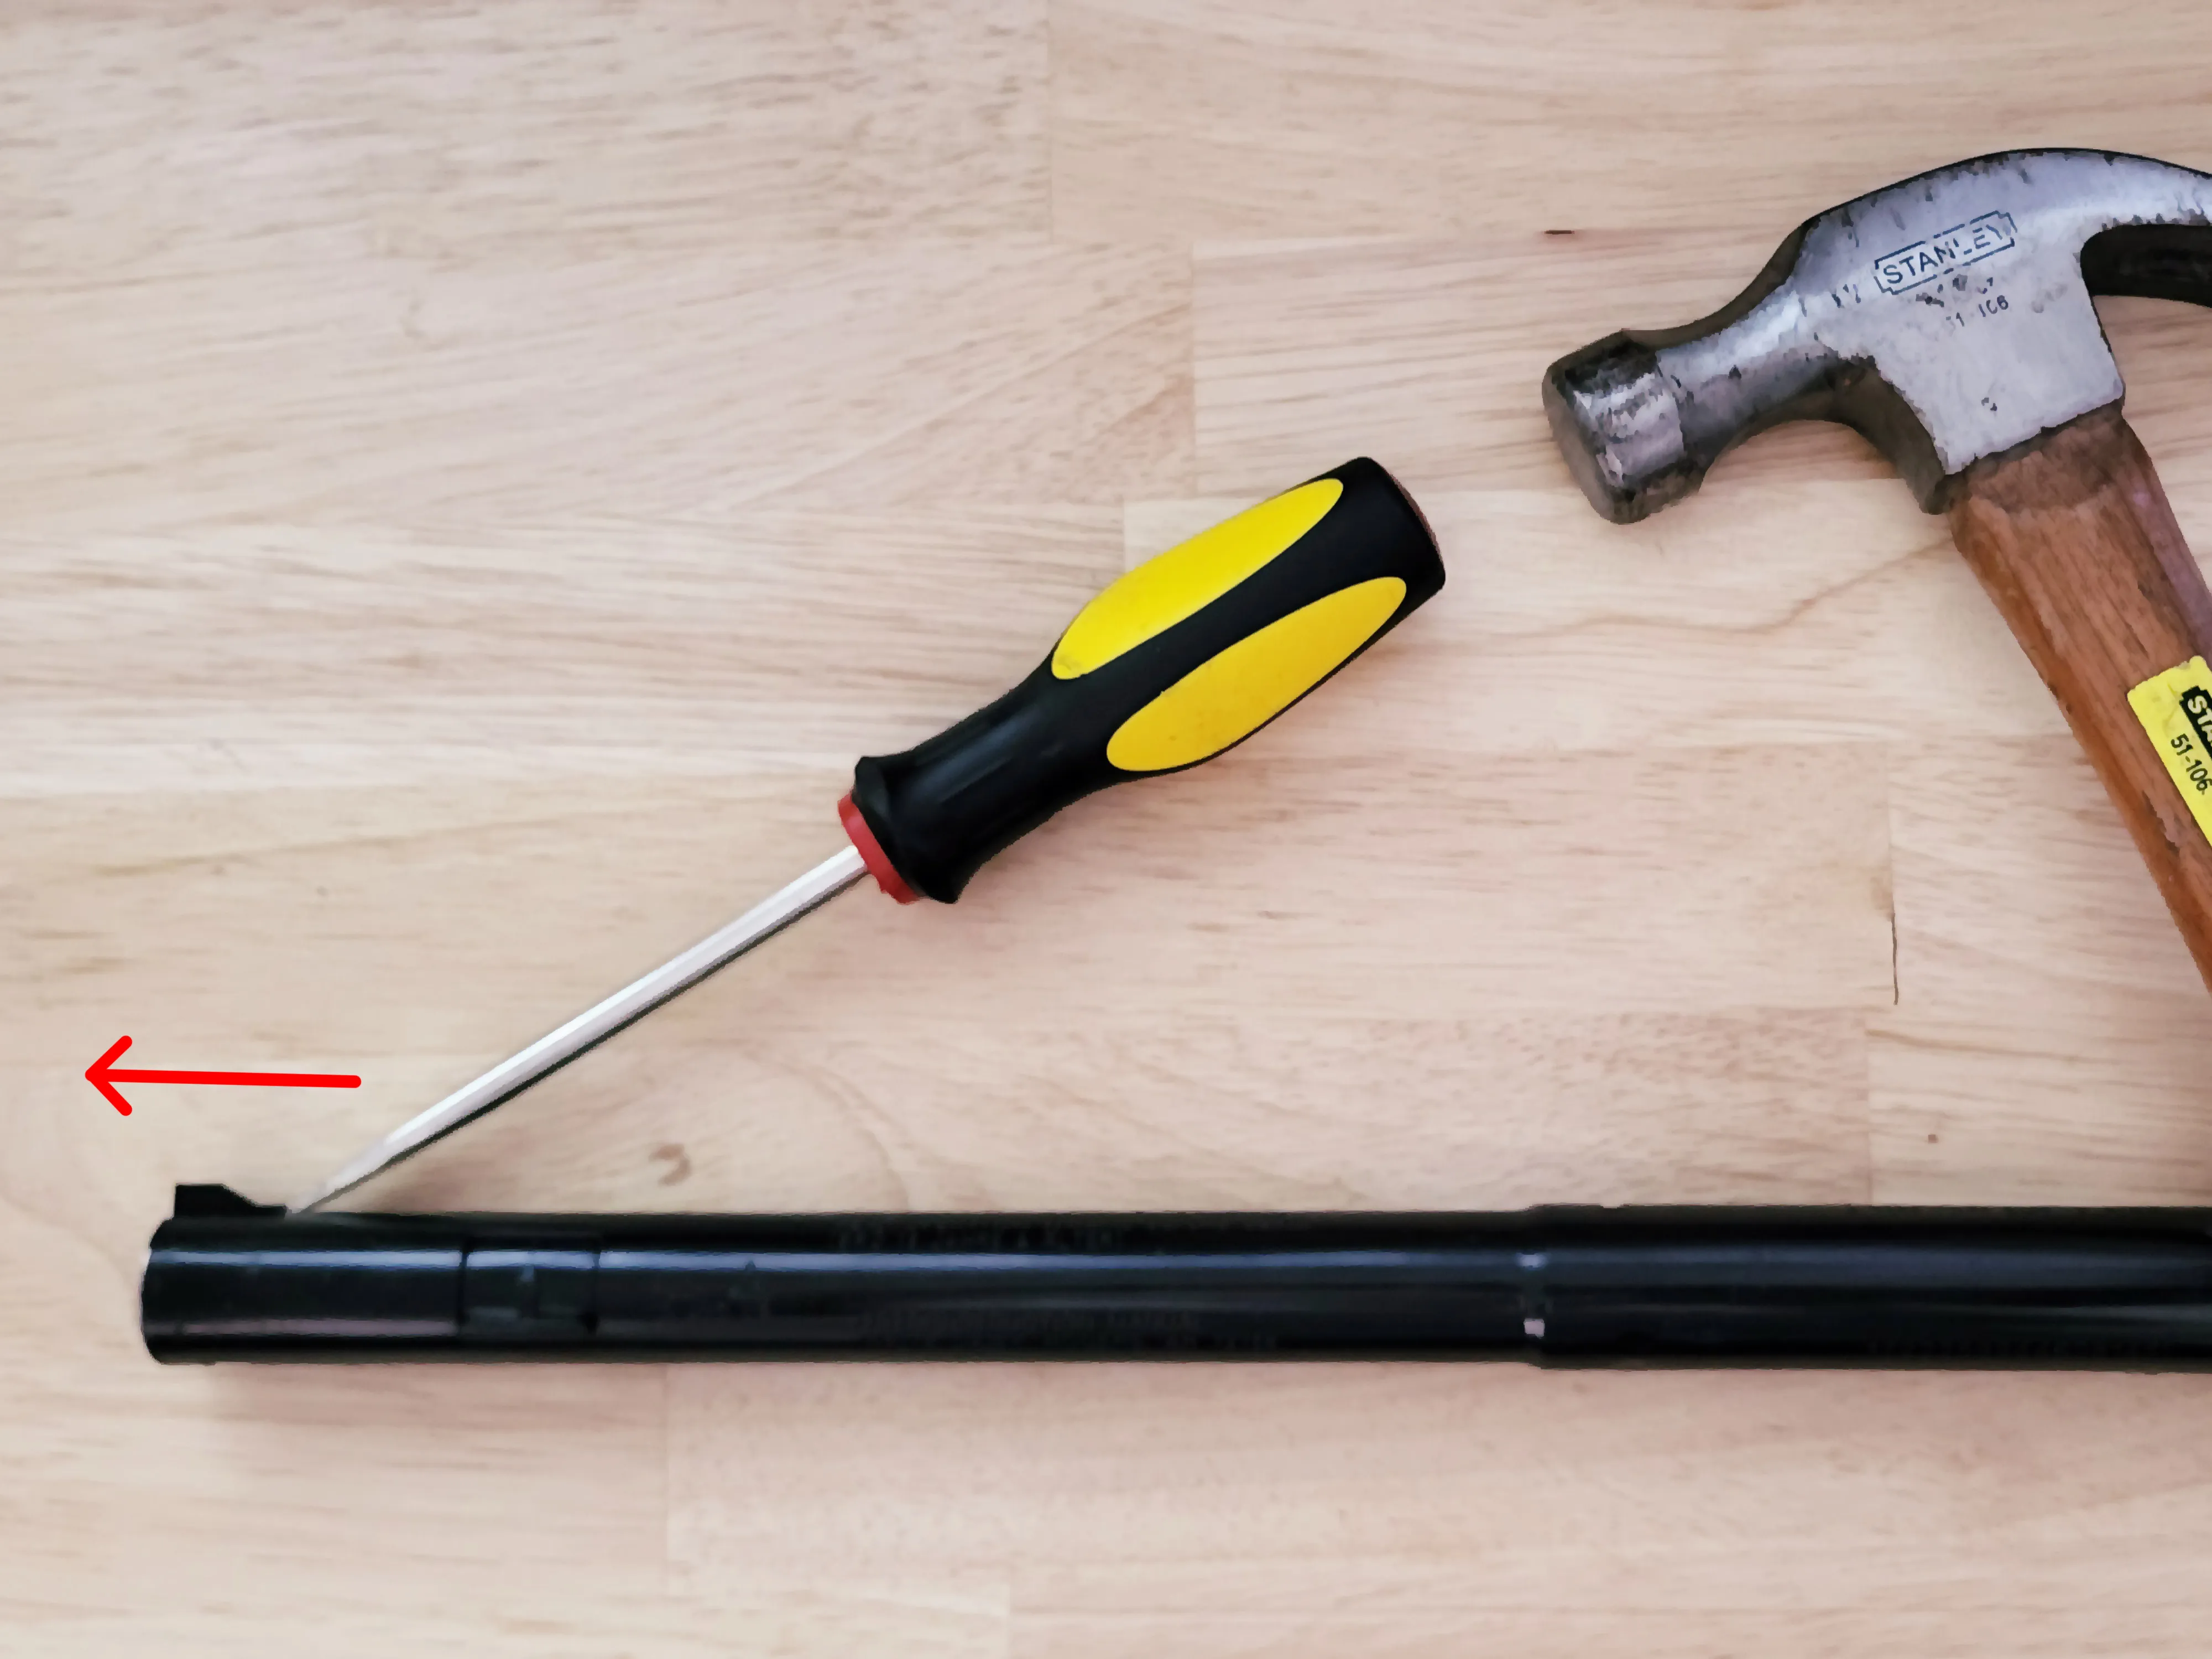
⚠️ Important: The front sight can easily be damaged if too much force is used. Use light taps and work carefully.
Step 2: Assemble the Handguard Halves
- Align the two halves of the handguard, ensuring that the alignment pins match the corresponding holes.
- Carefully slide the halves together until they are fully joined.
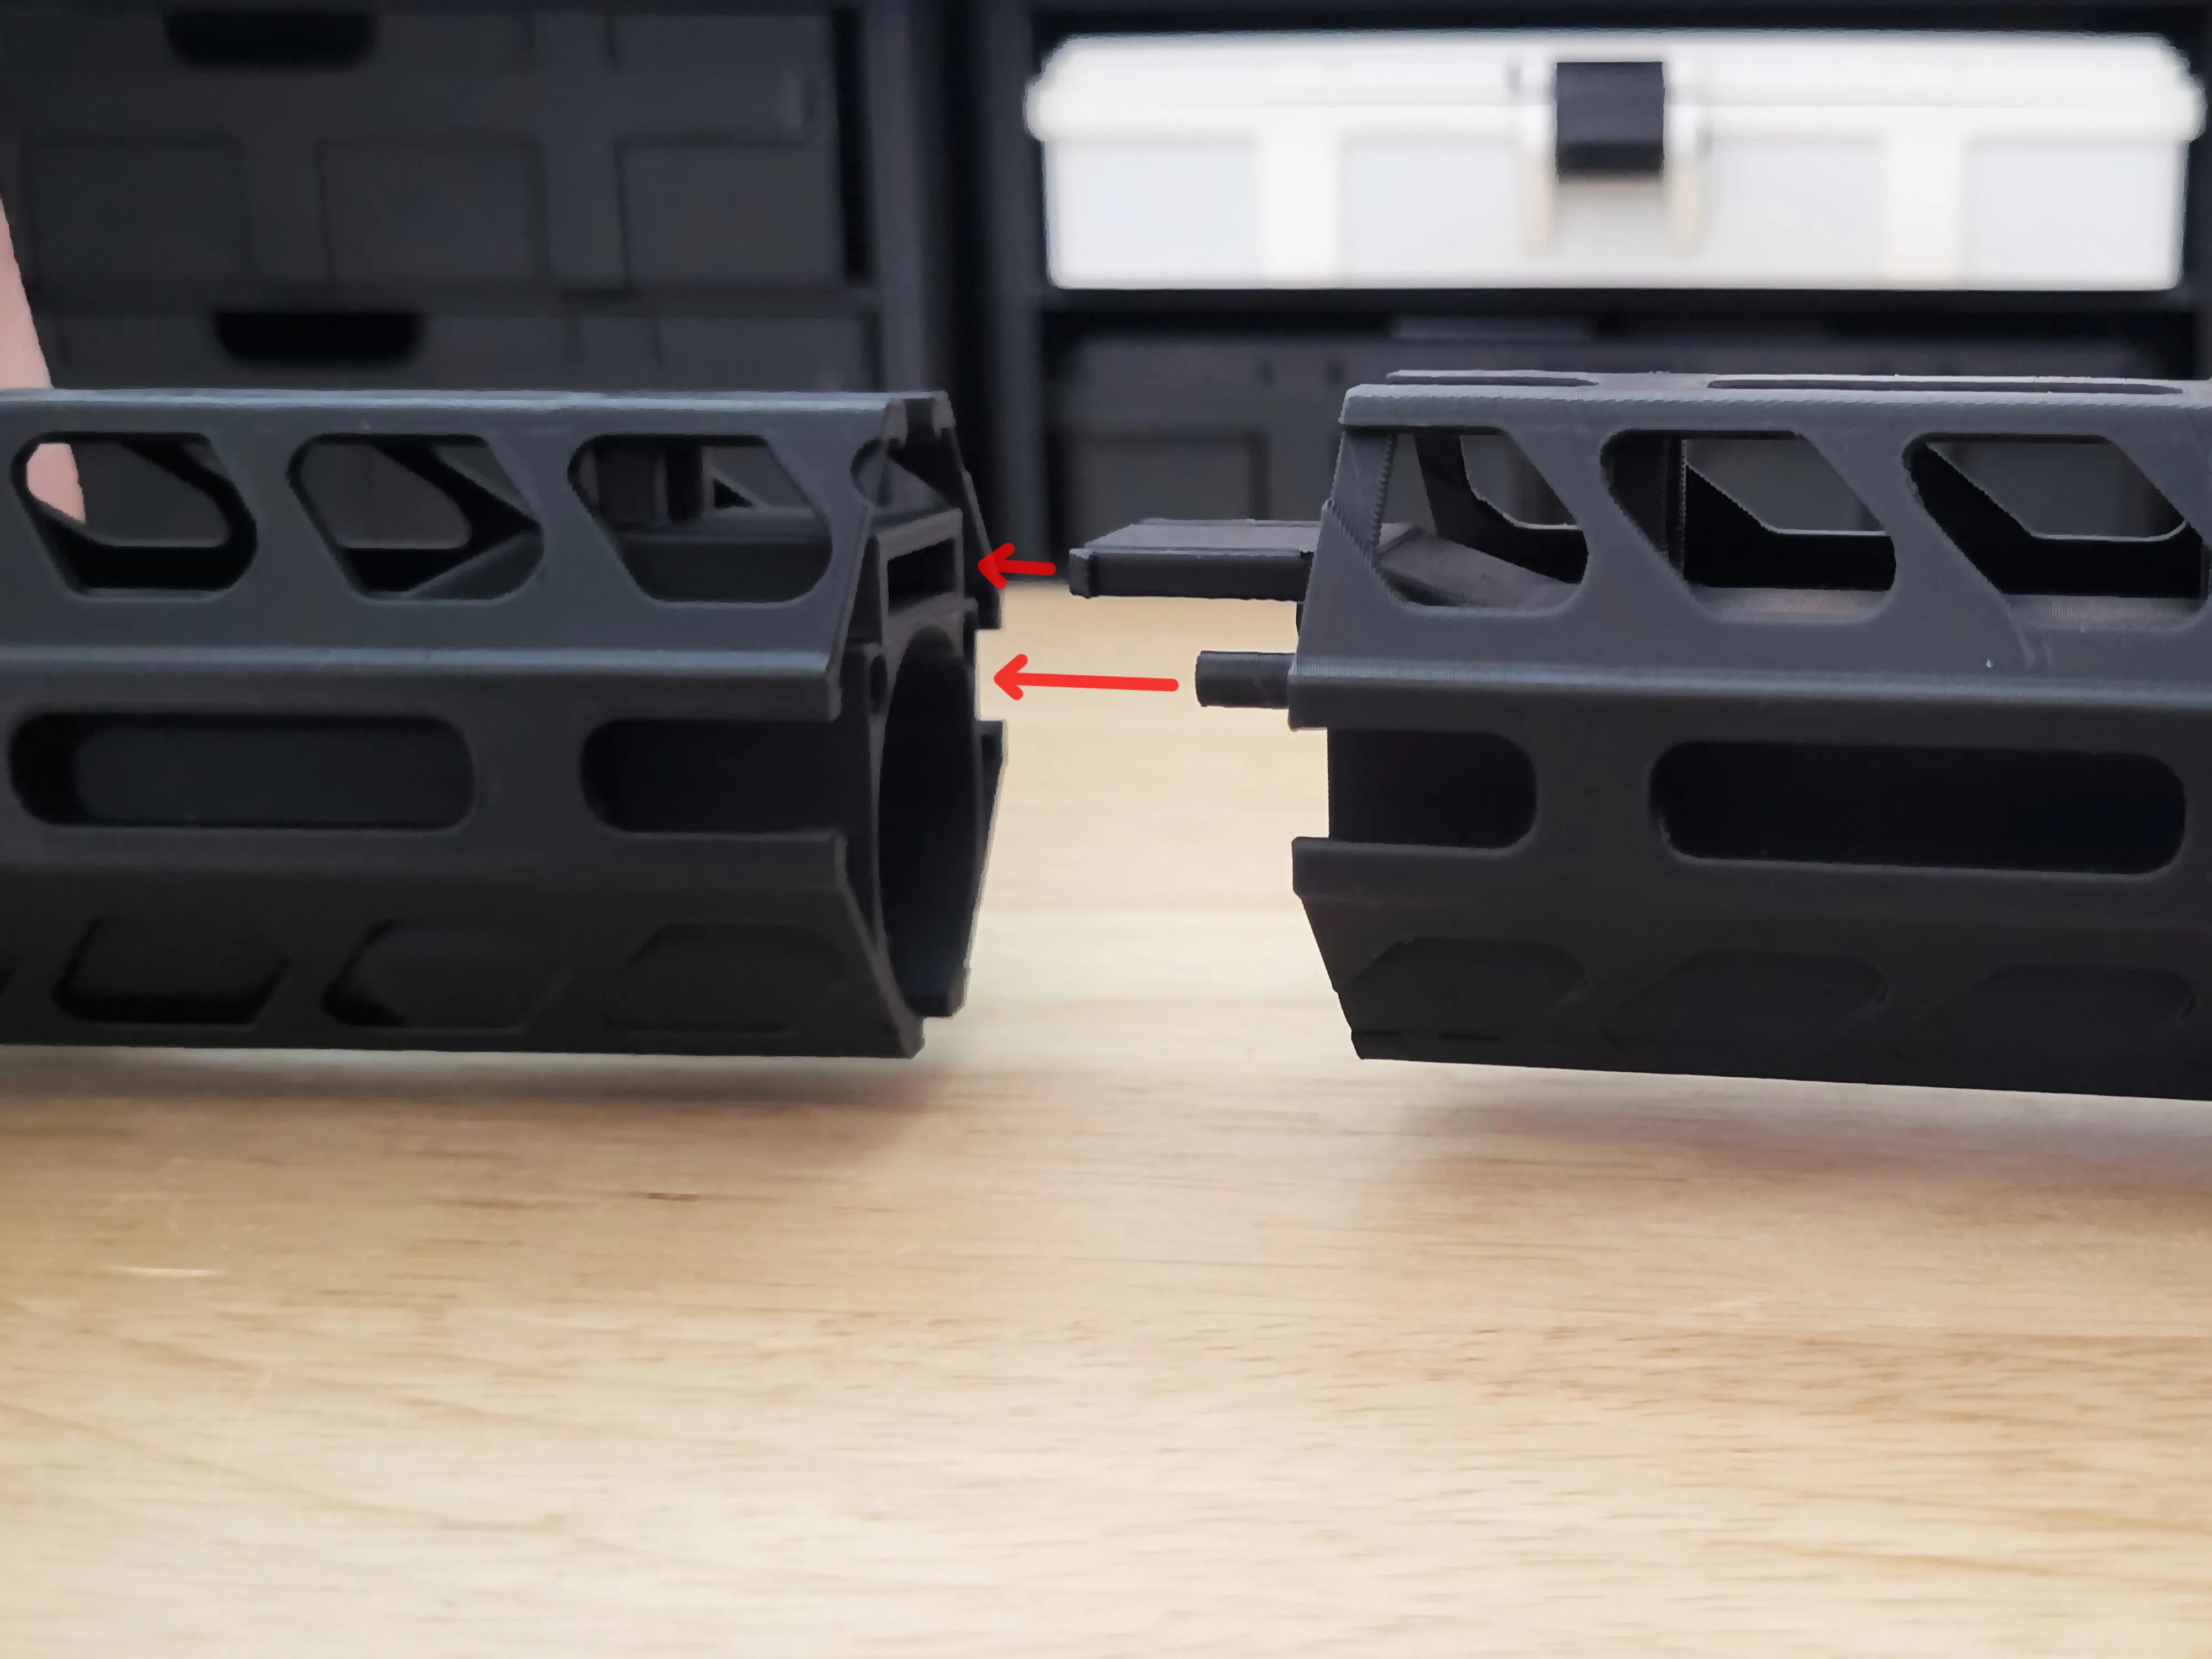
⚠️ The pieces should fit together with minimal force. If they resist, check alignment before proceeding.
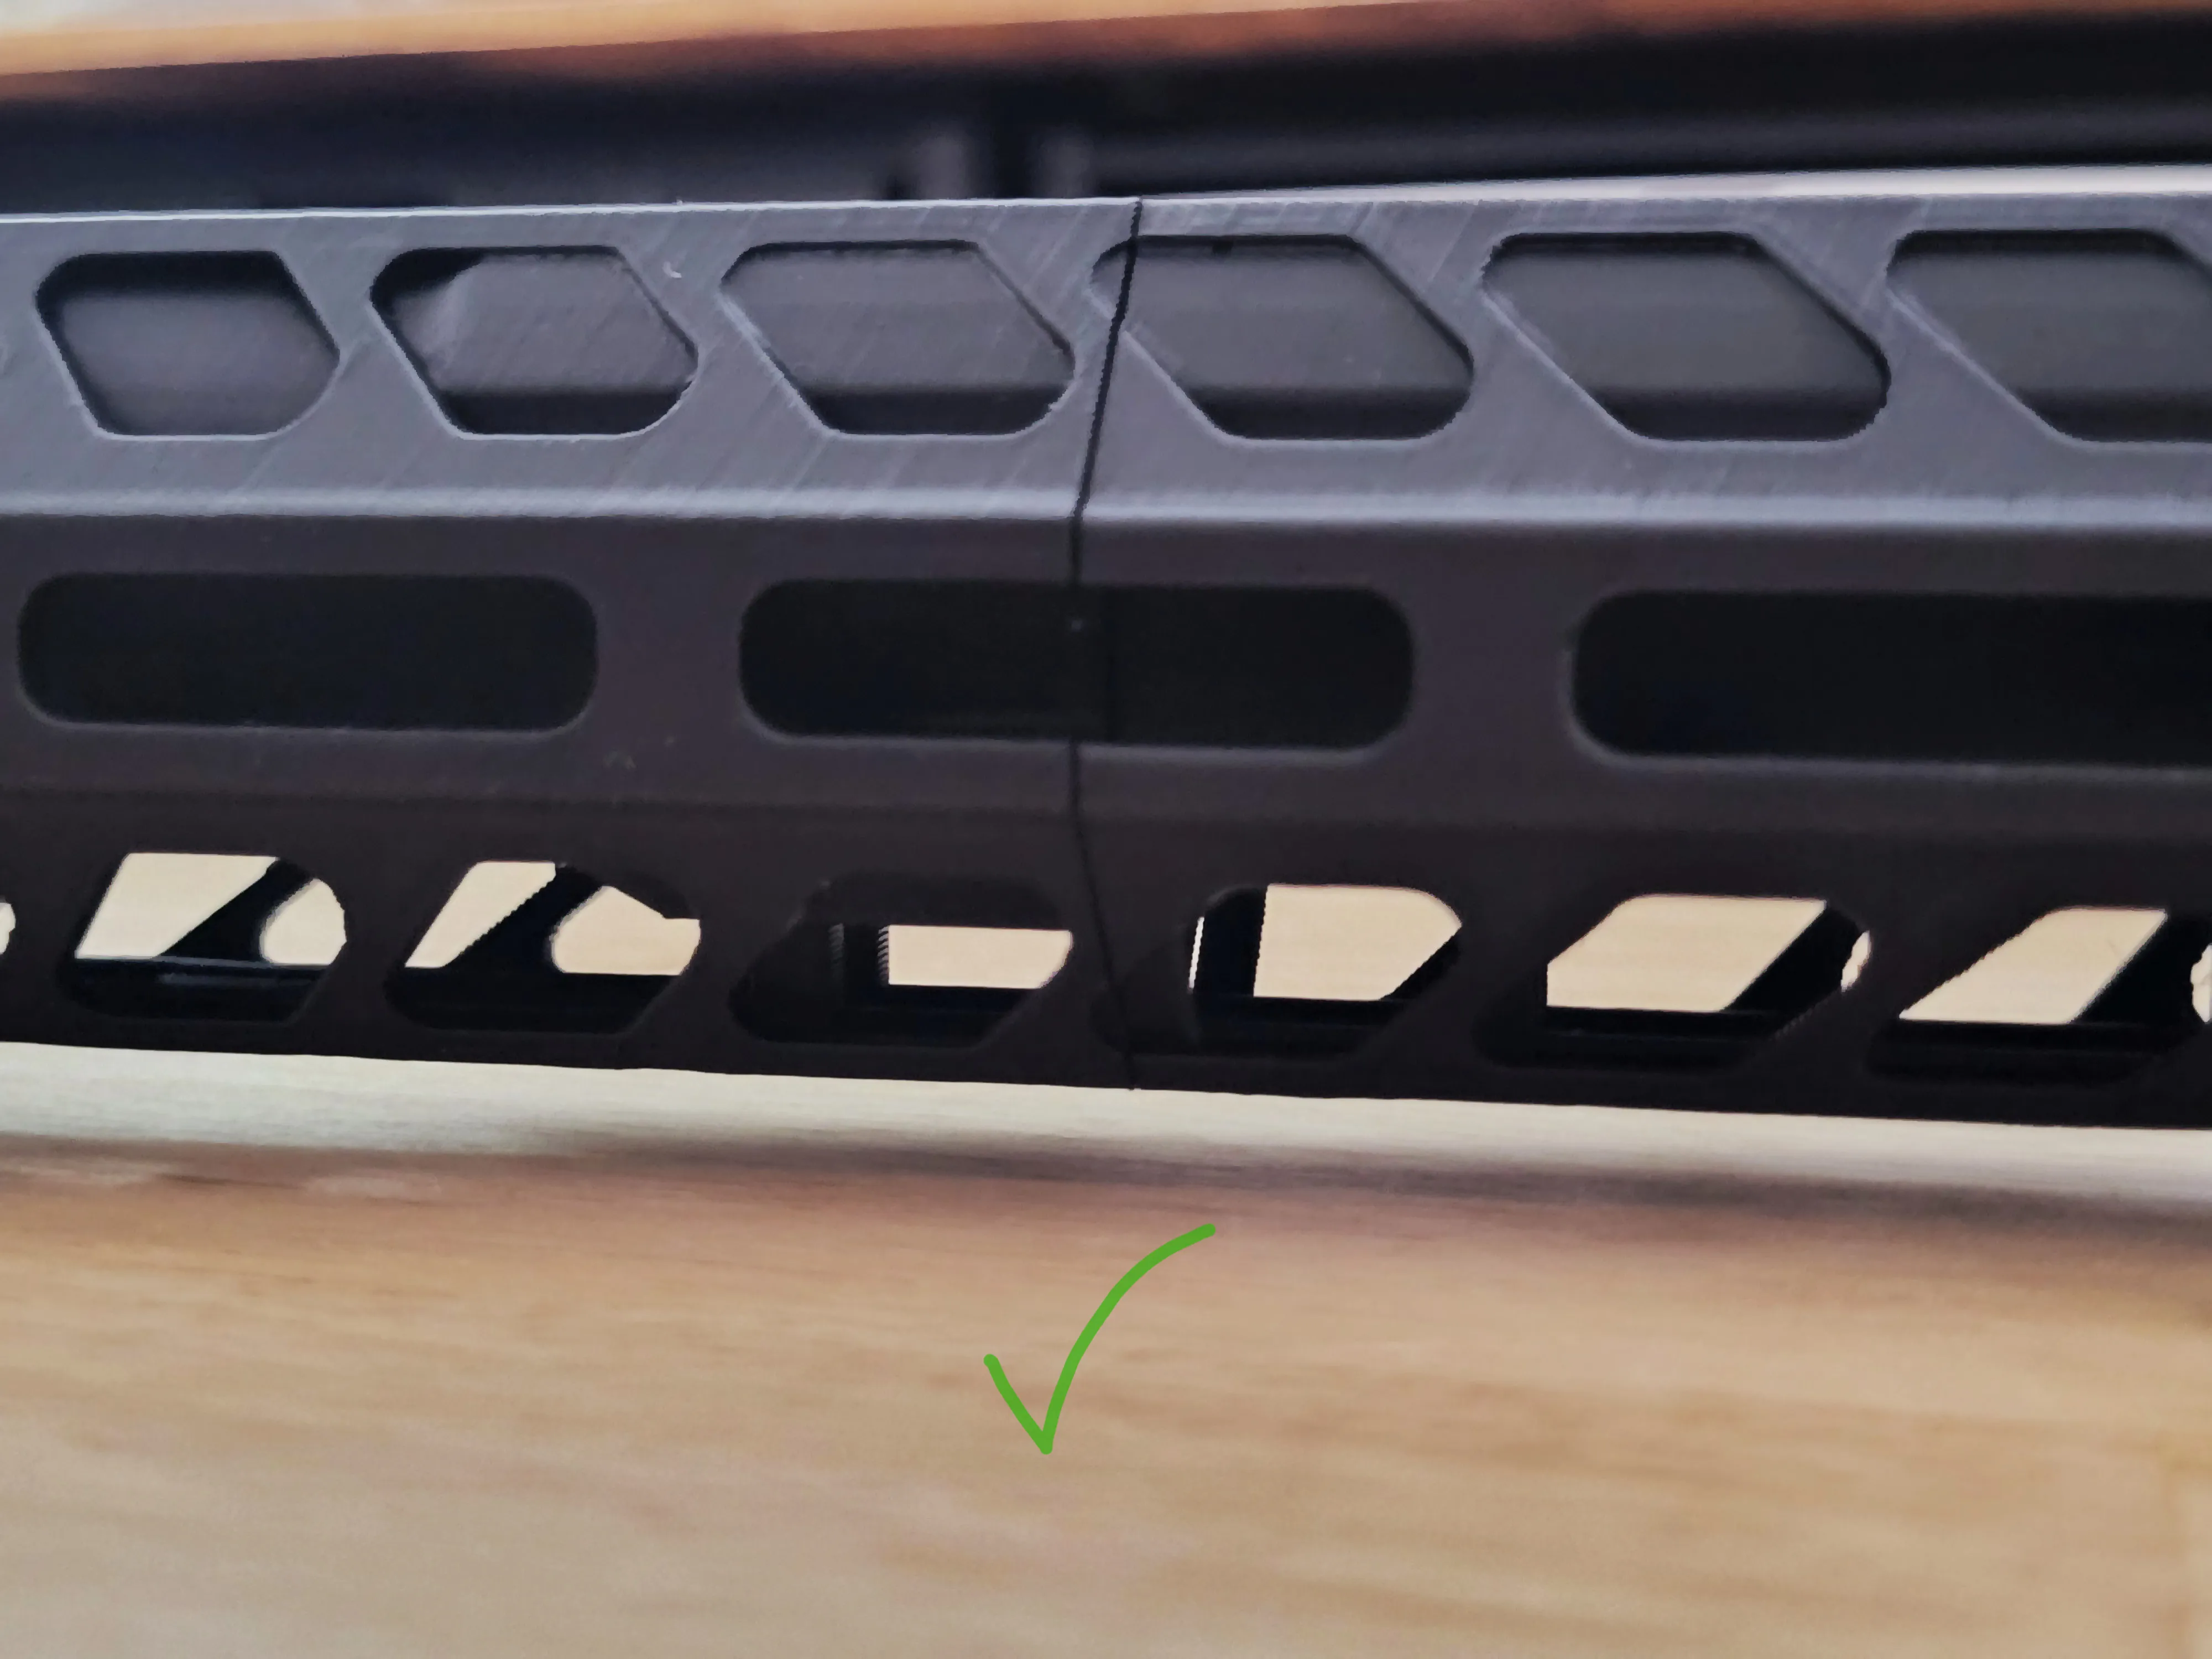
Step 3: Install the Handguard
- Slide the assembled handguard over the barrel as shown.
- Push it forward until it seats fully against the rifle body.
- Reinstall the front sight.
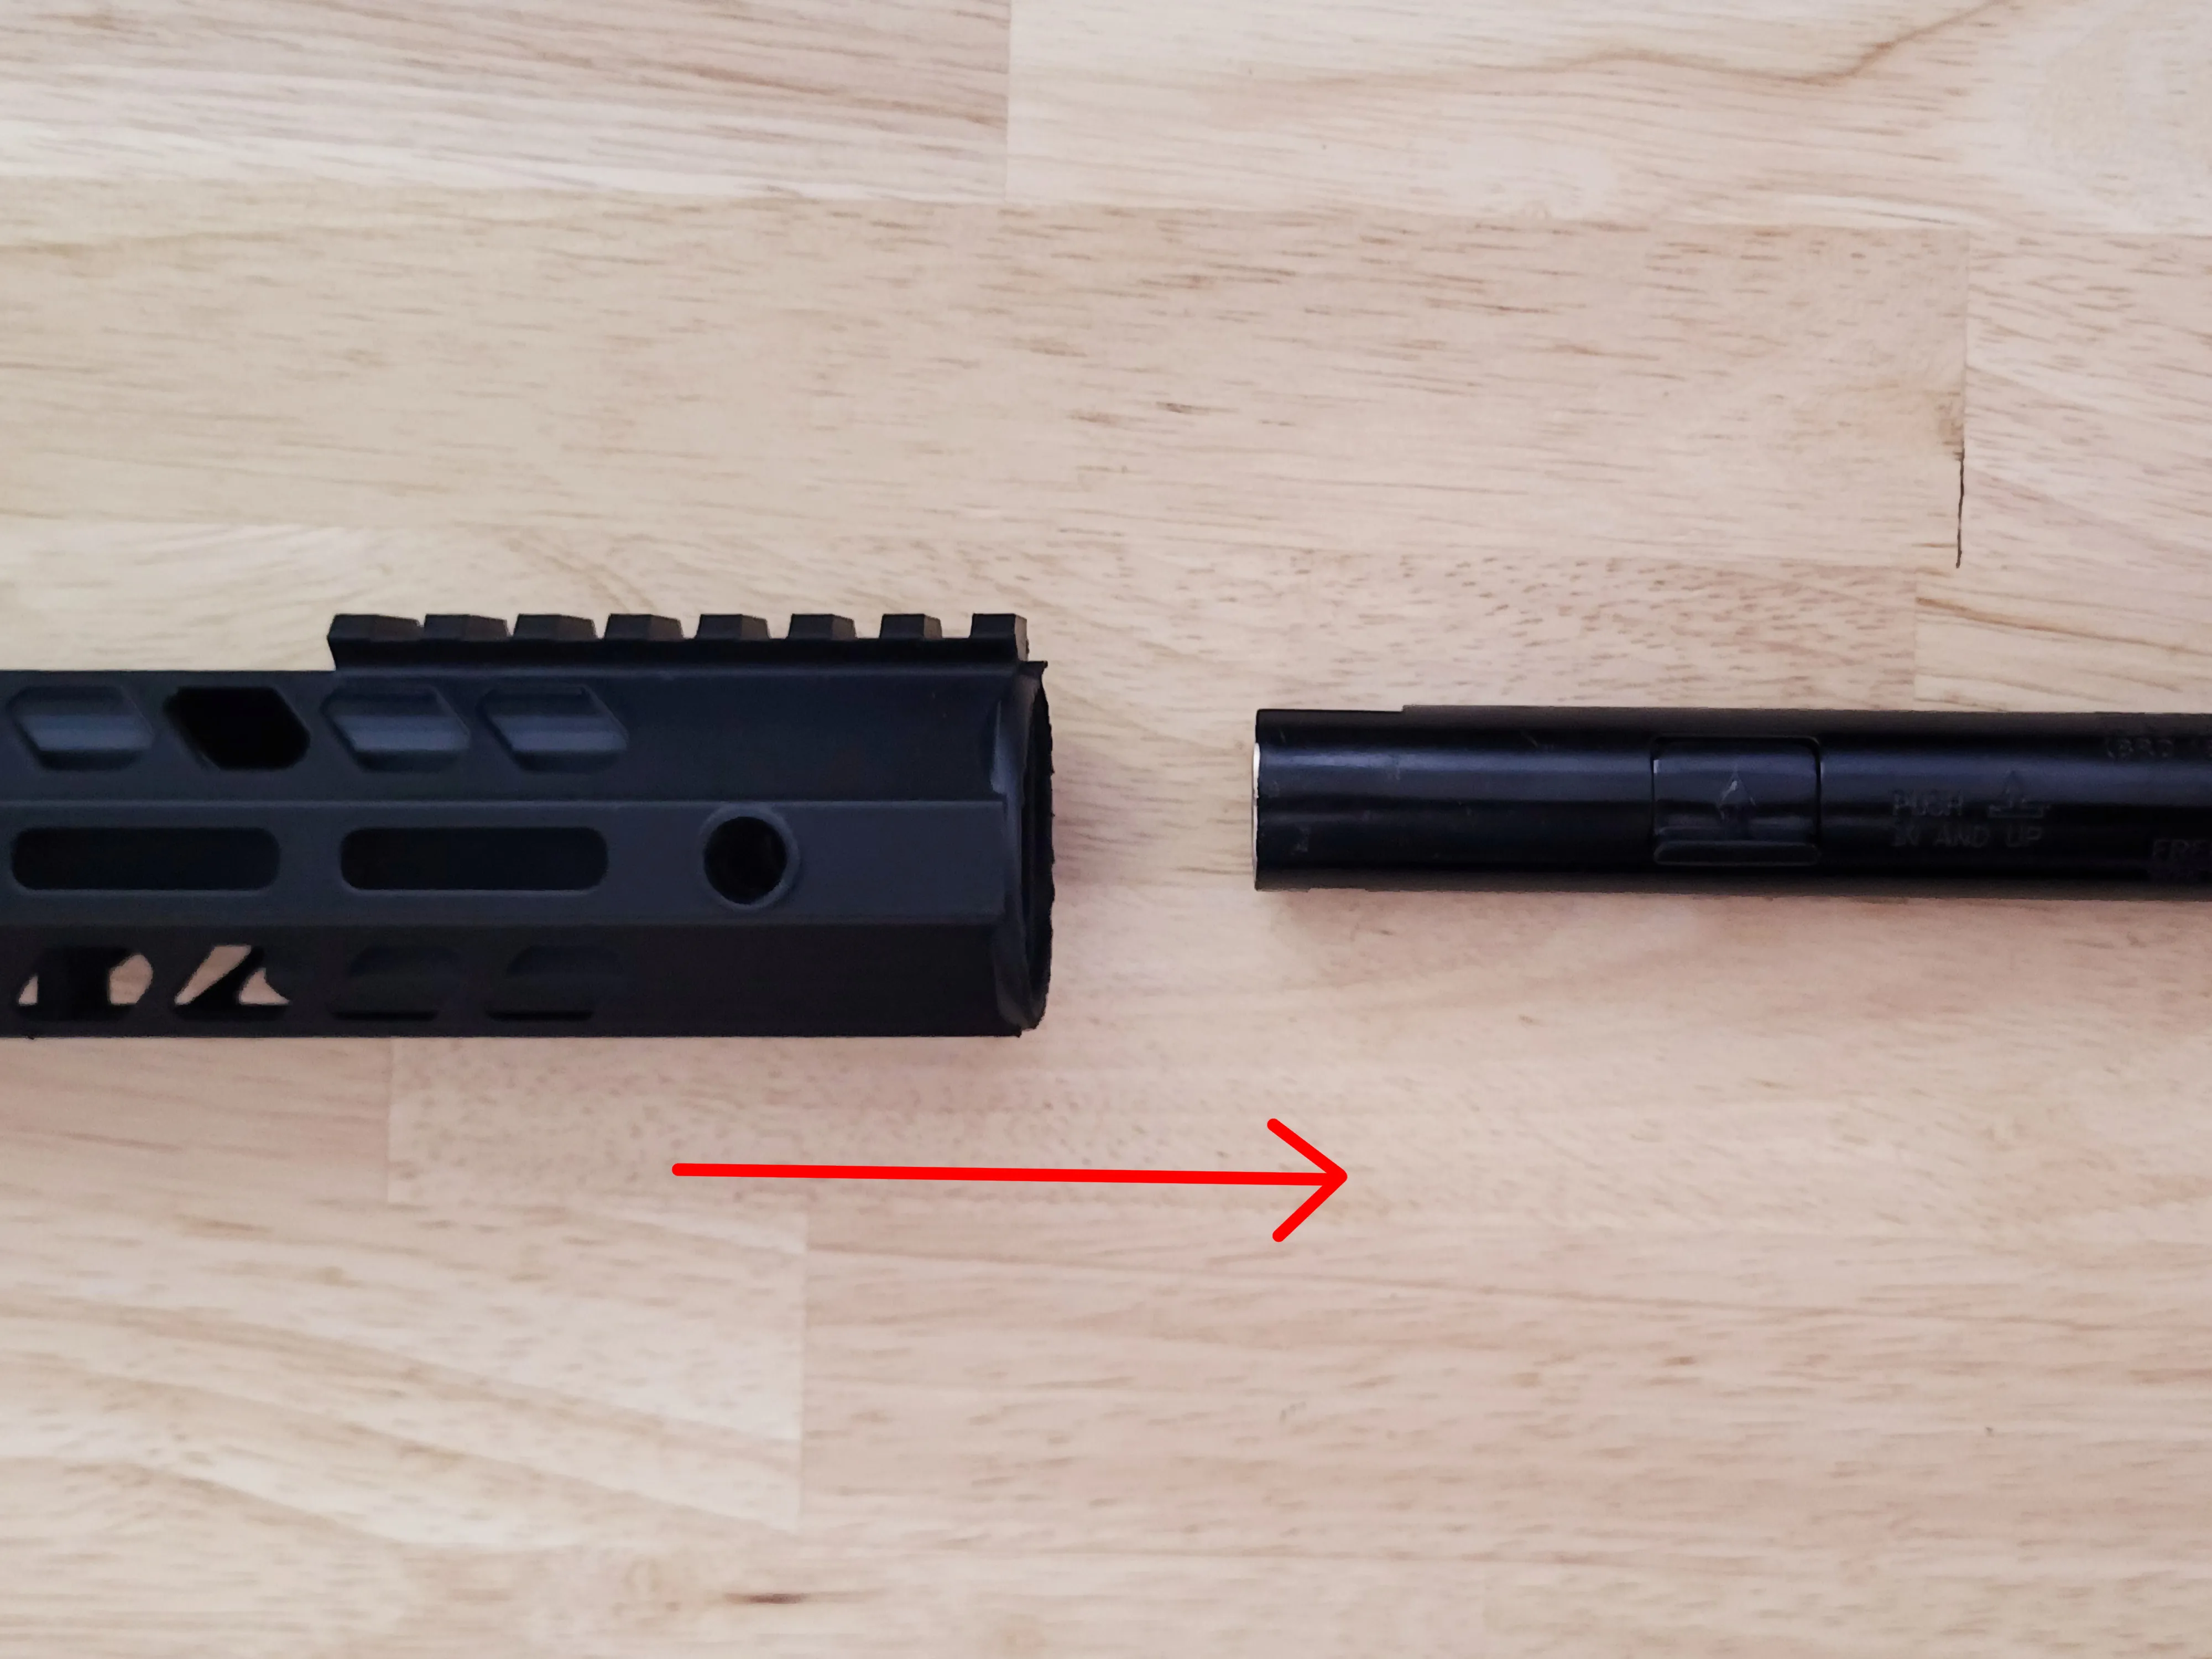
✅ A snug fit is expected once properly installed.
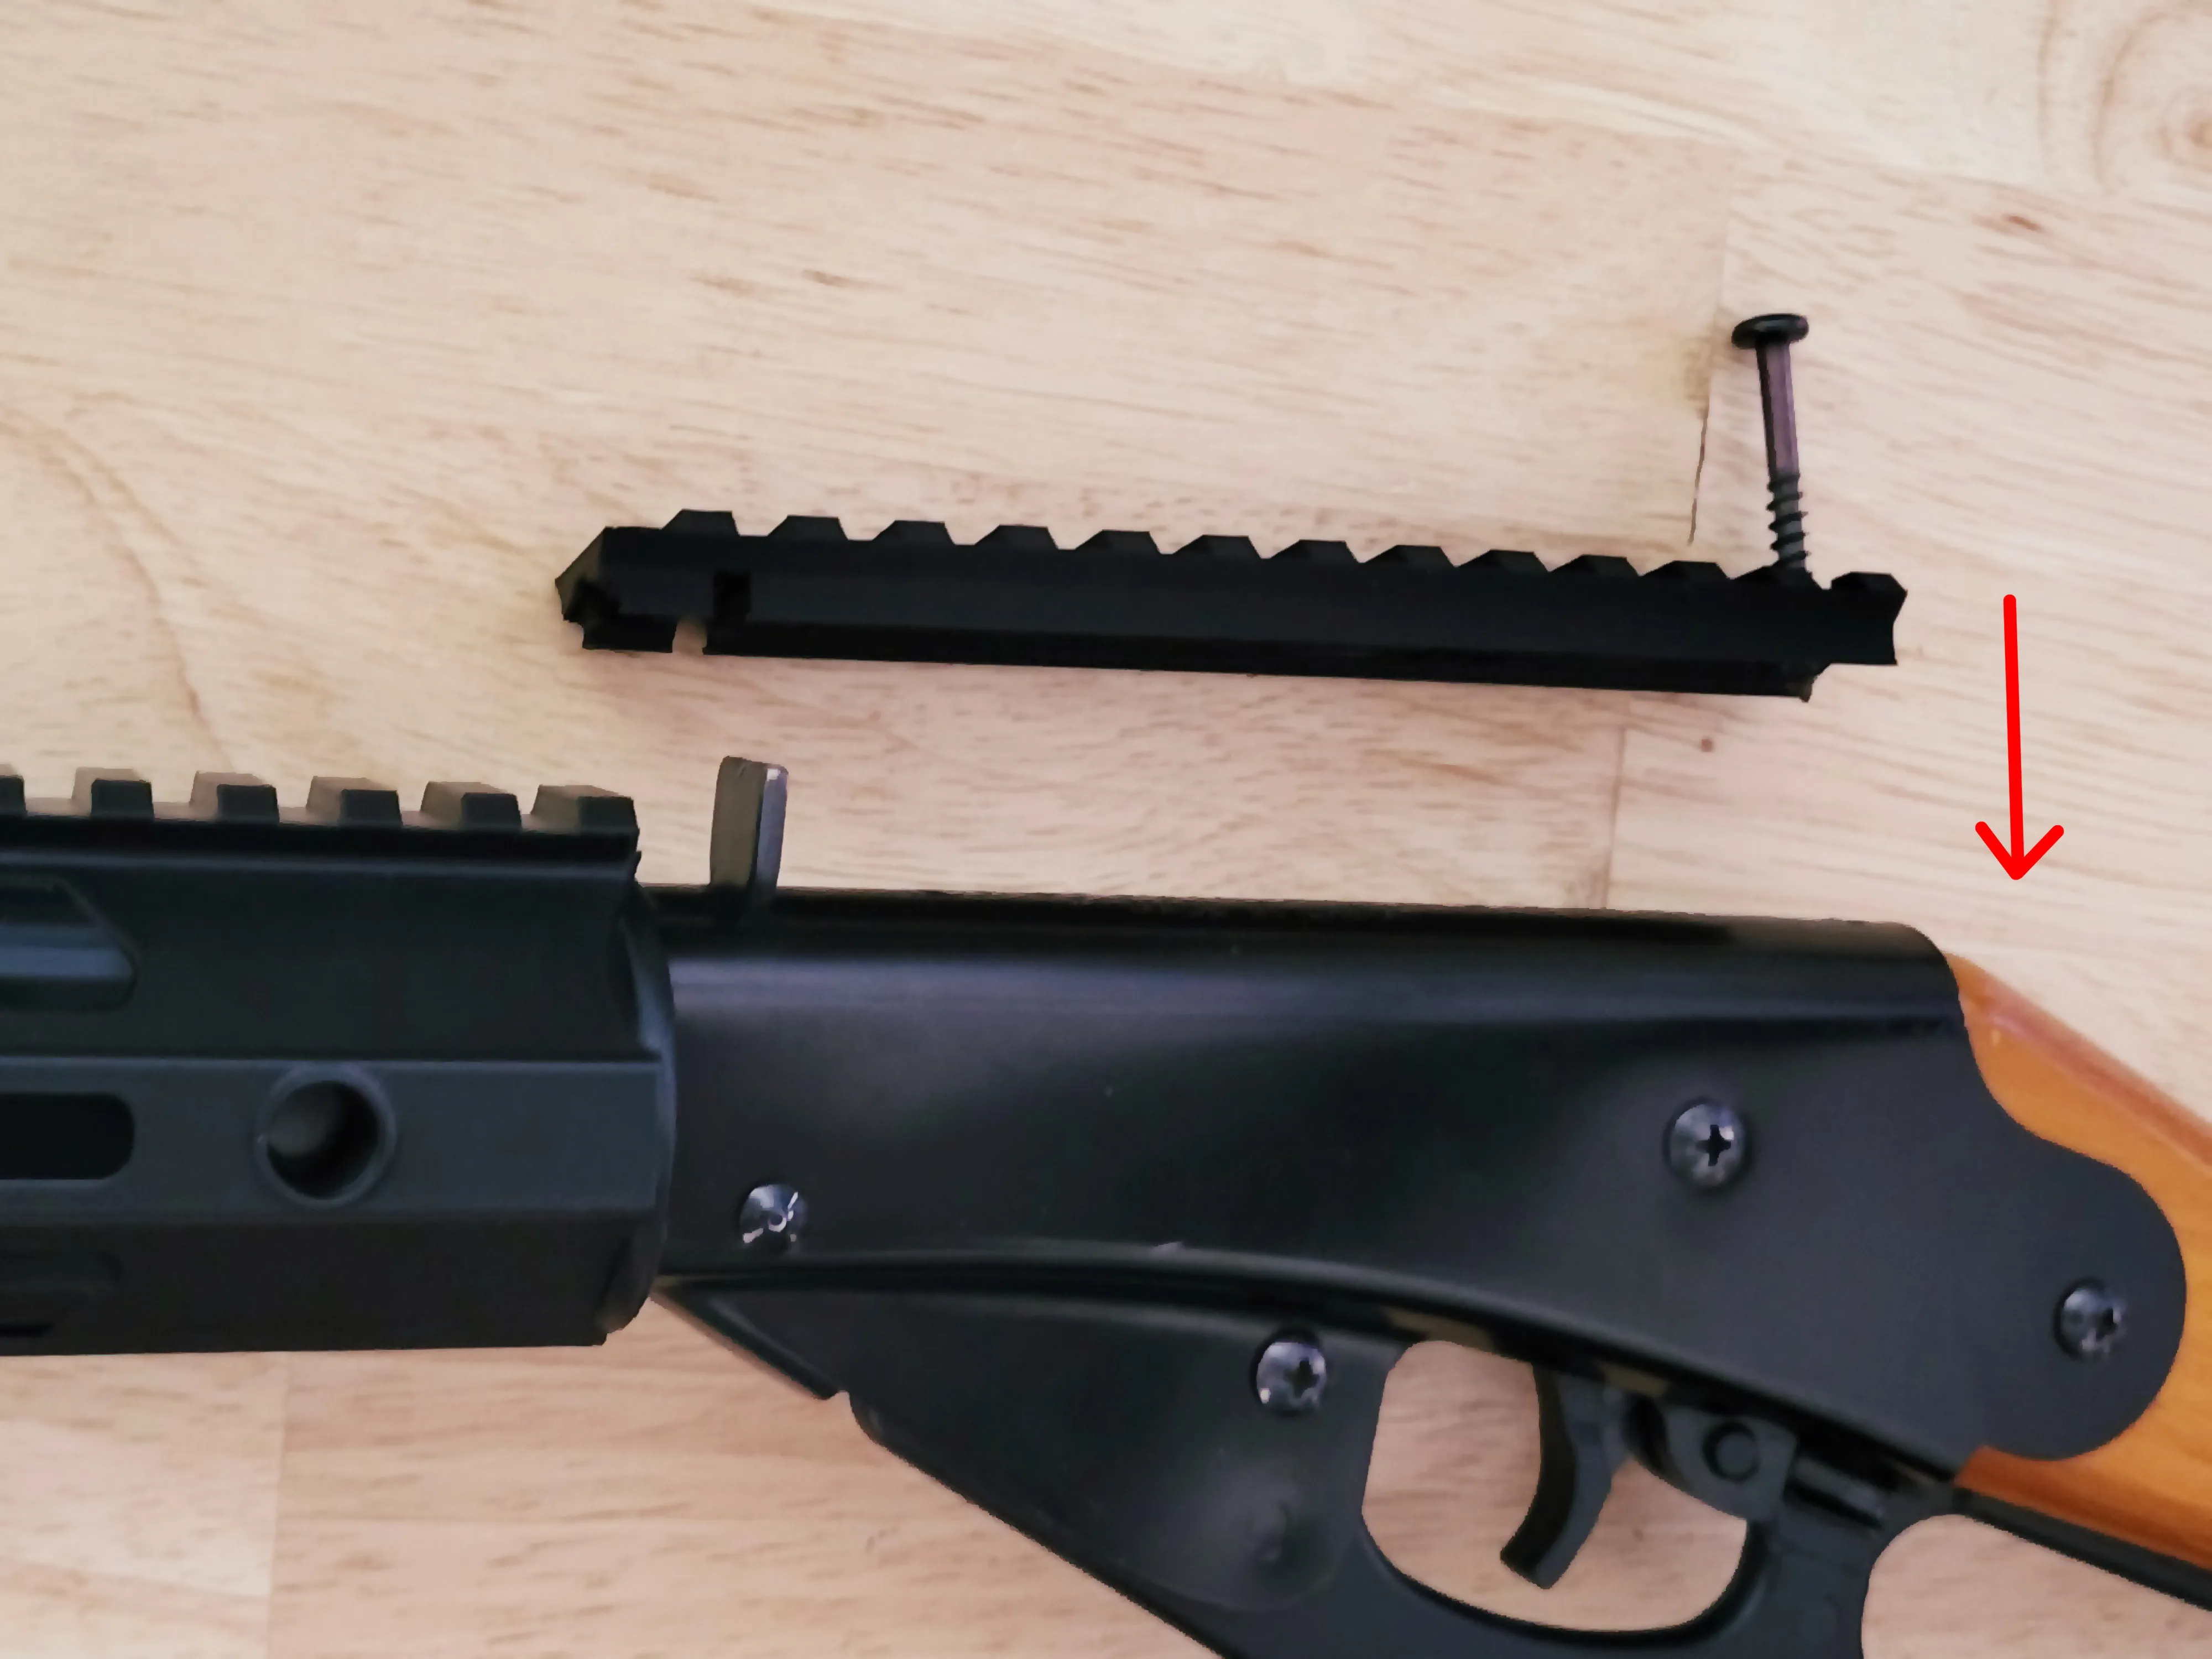
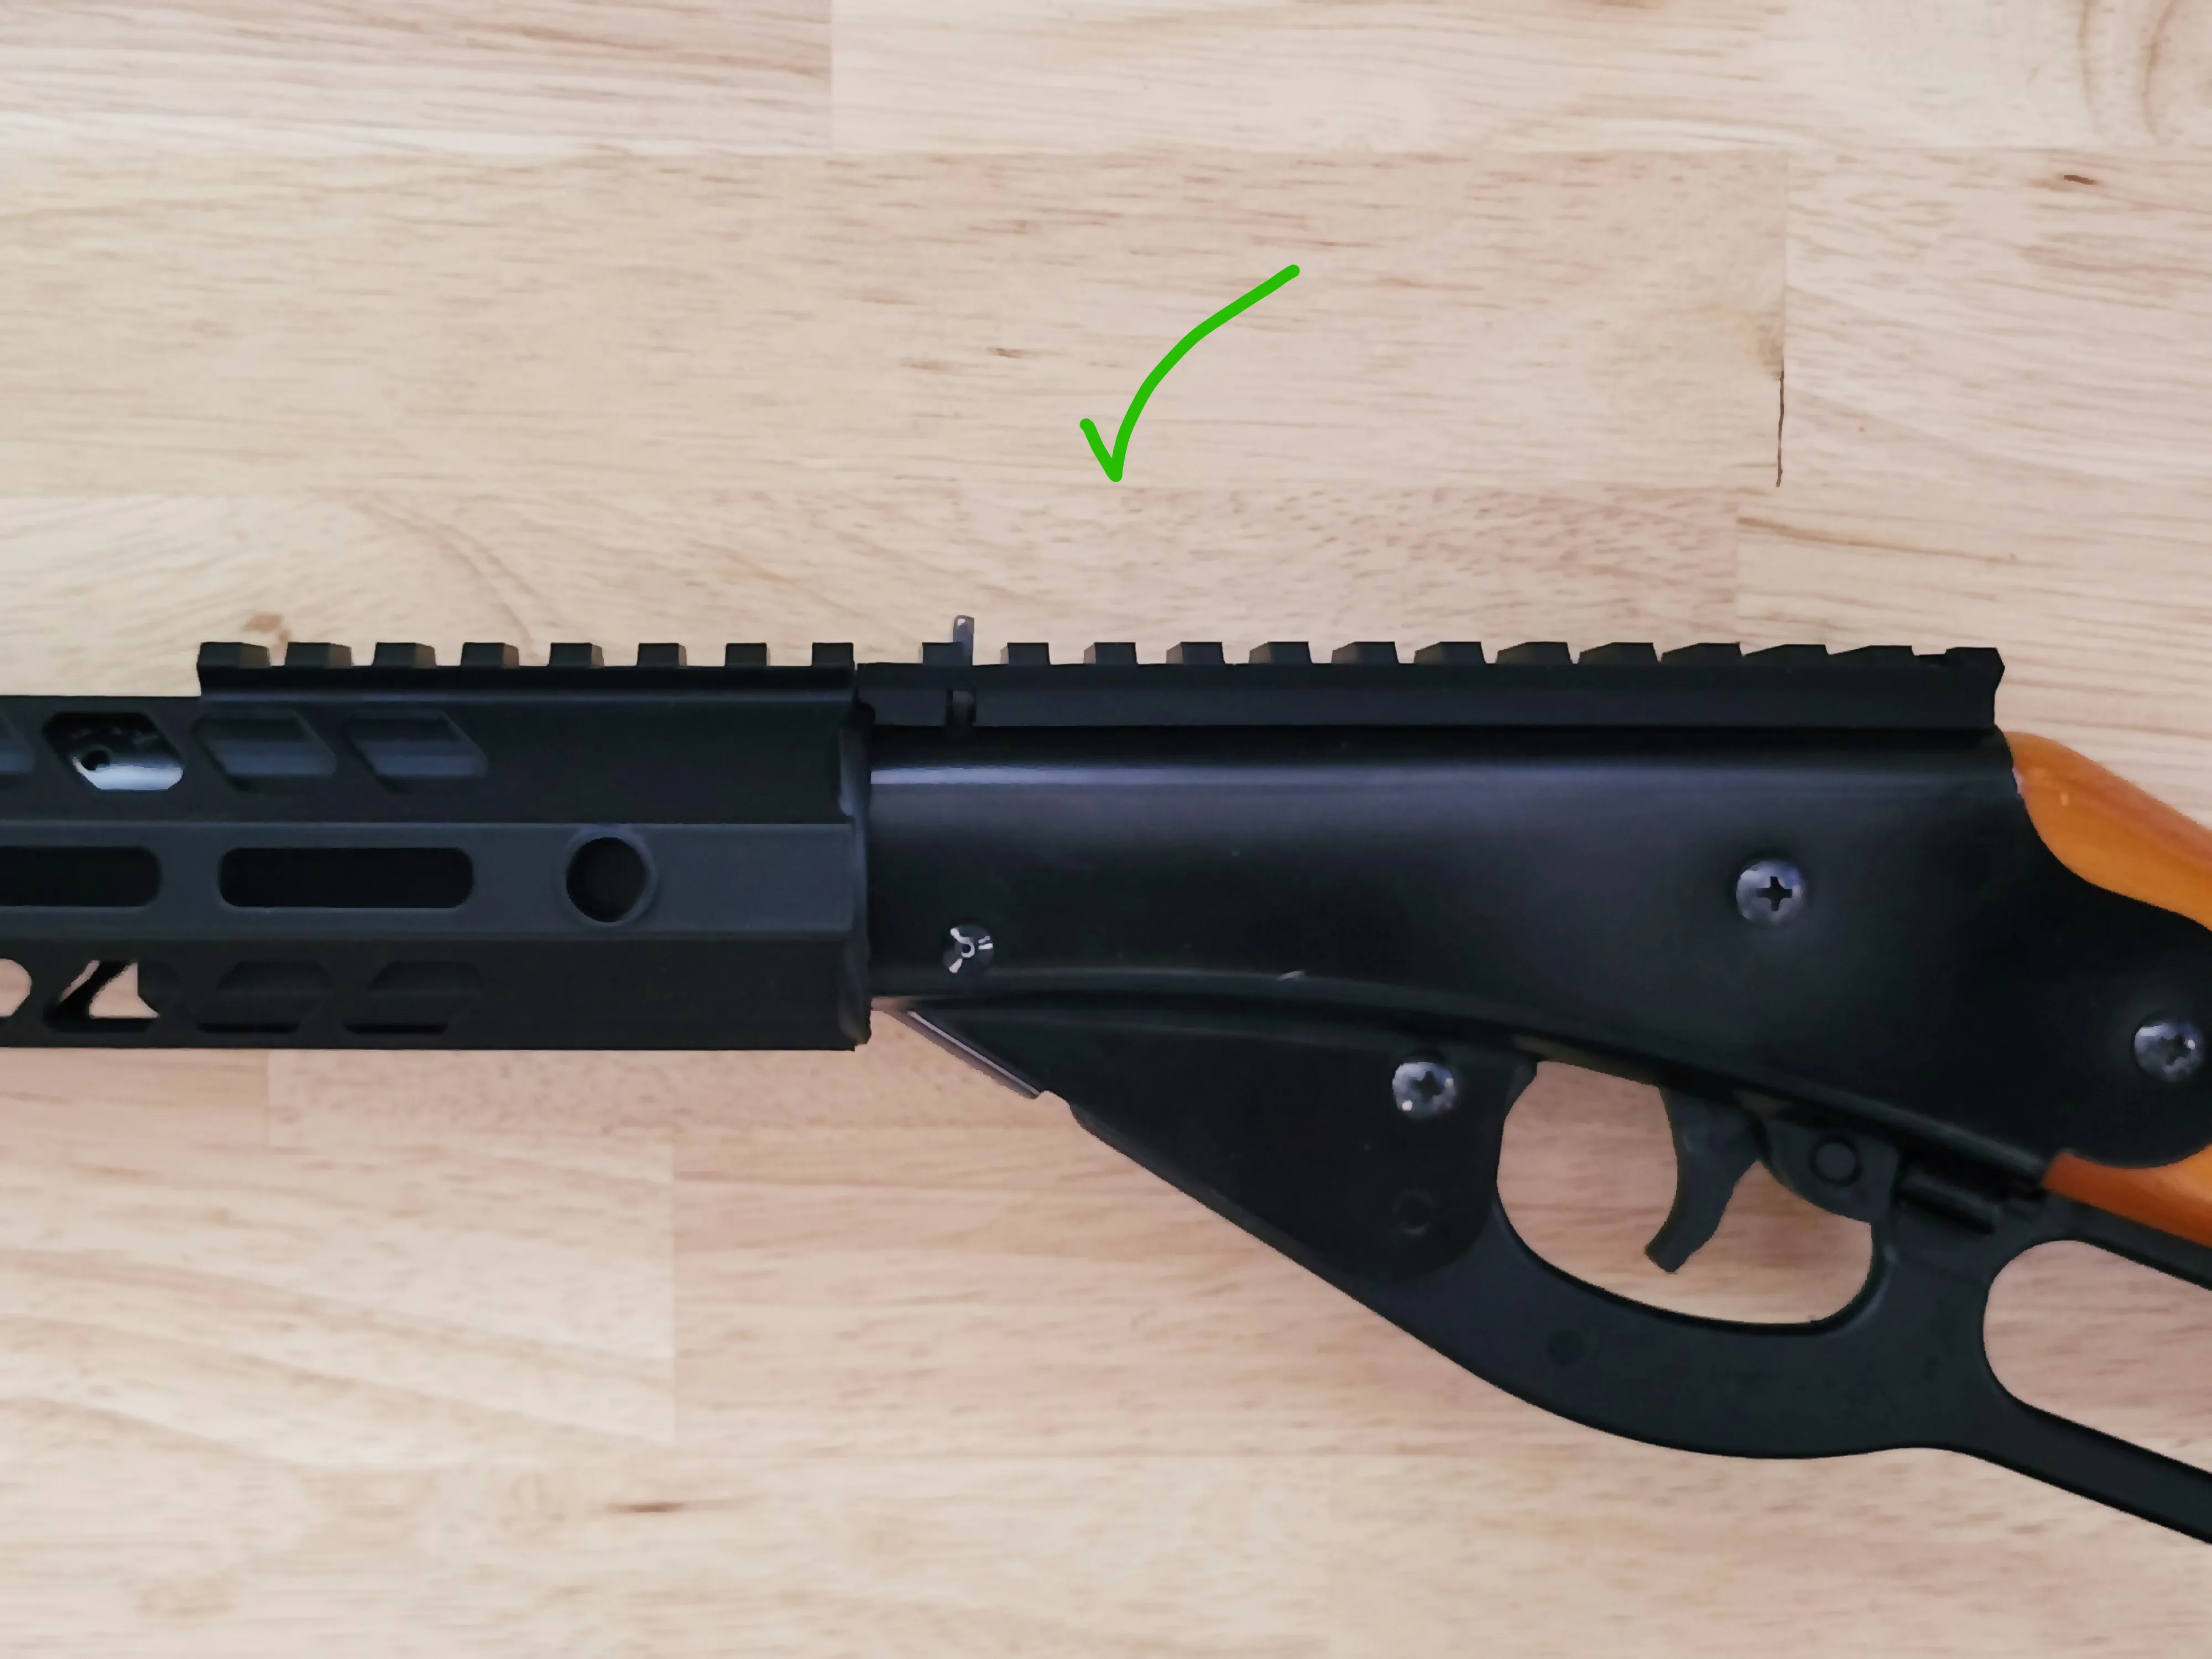
Step 4: Install the Rear Picatinny Rail
- Remove the single screw located on the top of the rifle.
- Position the rear rail over the rear sight; it will slot into the handguard rail.
- Reinstall the screw through the top of the rail to secure it in place.
Step 5: Attach the Rail Covers
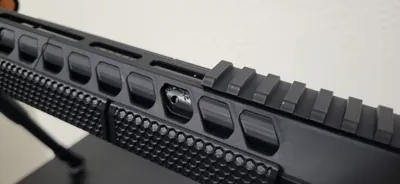
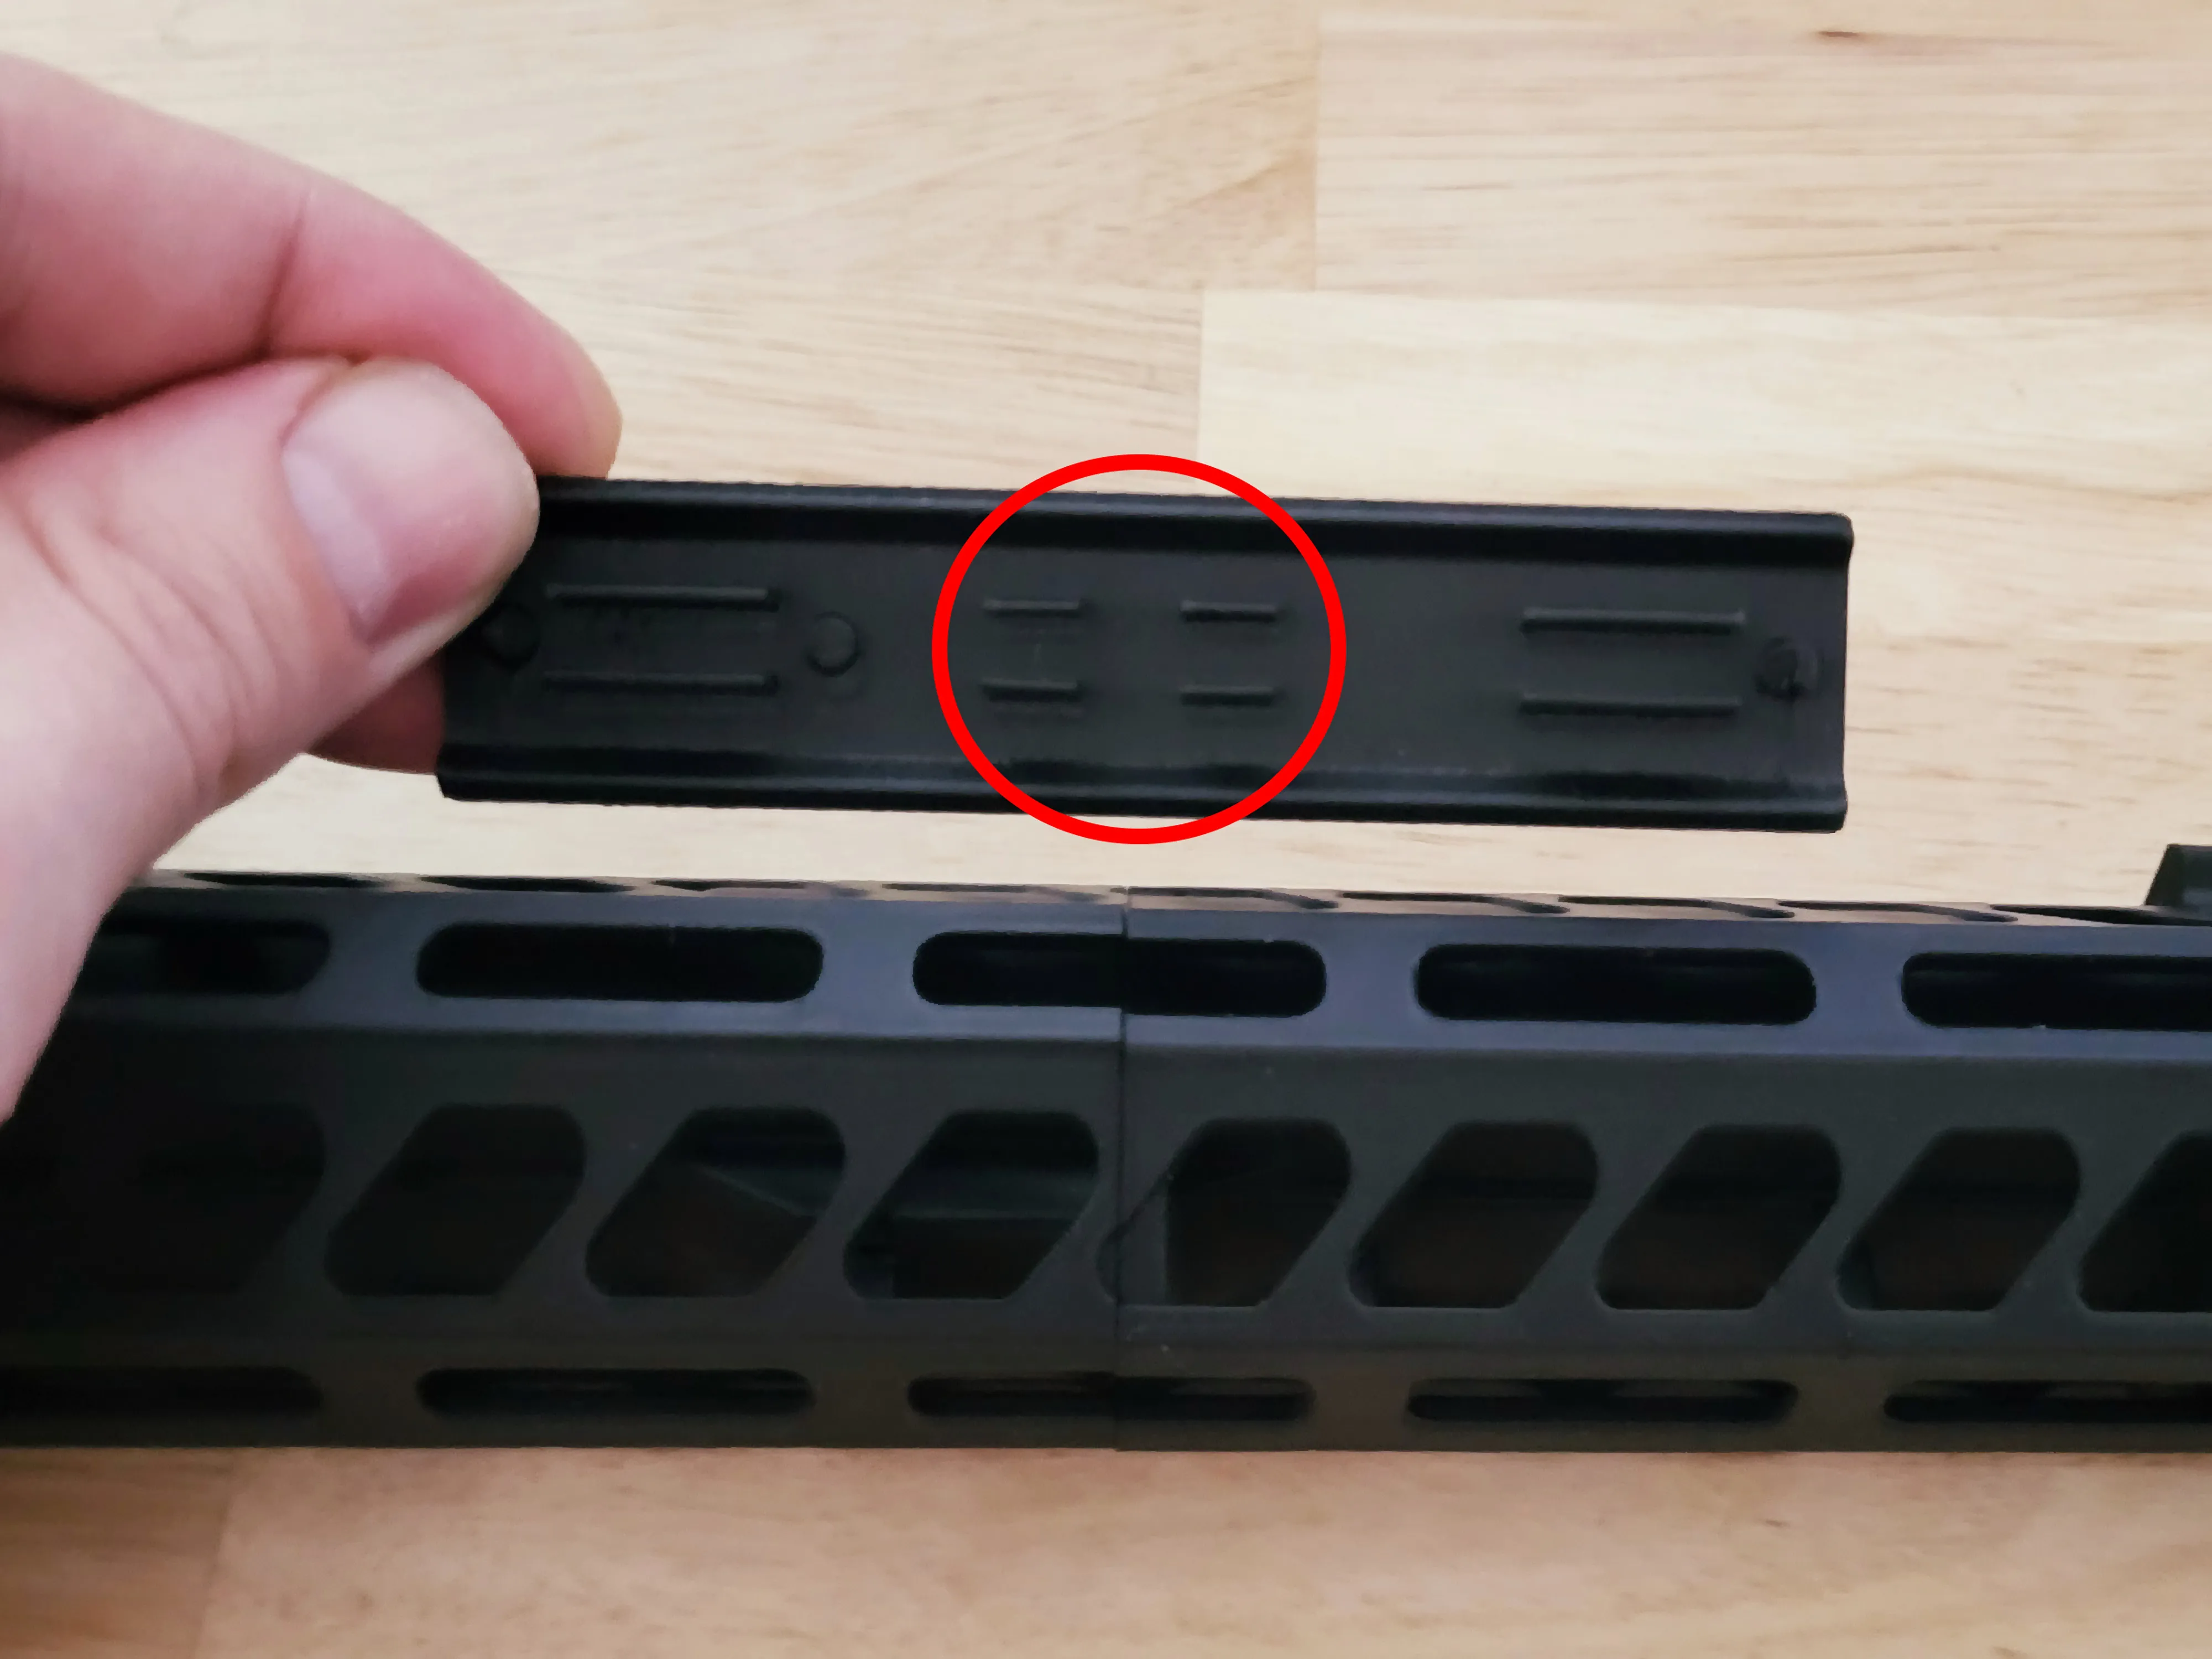
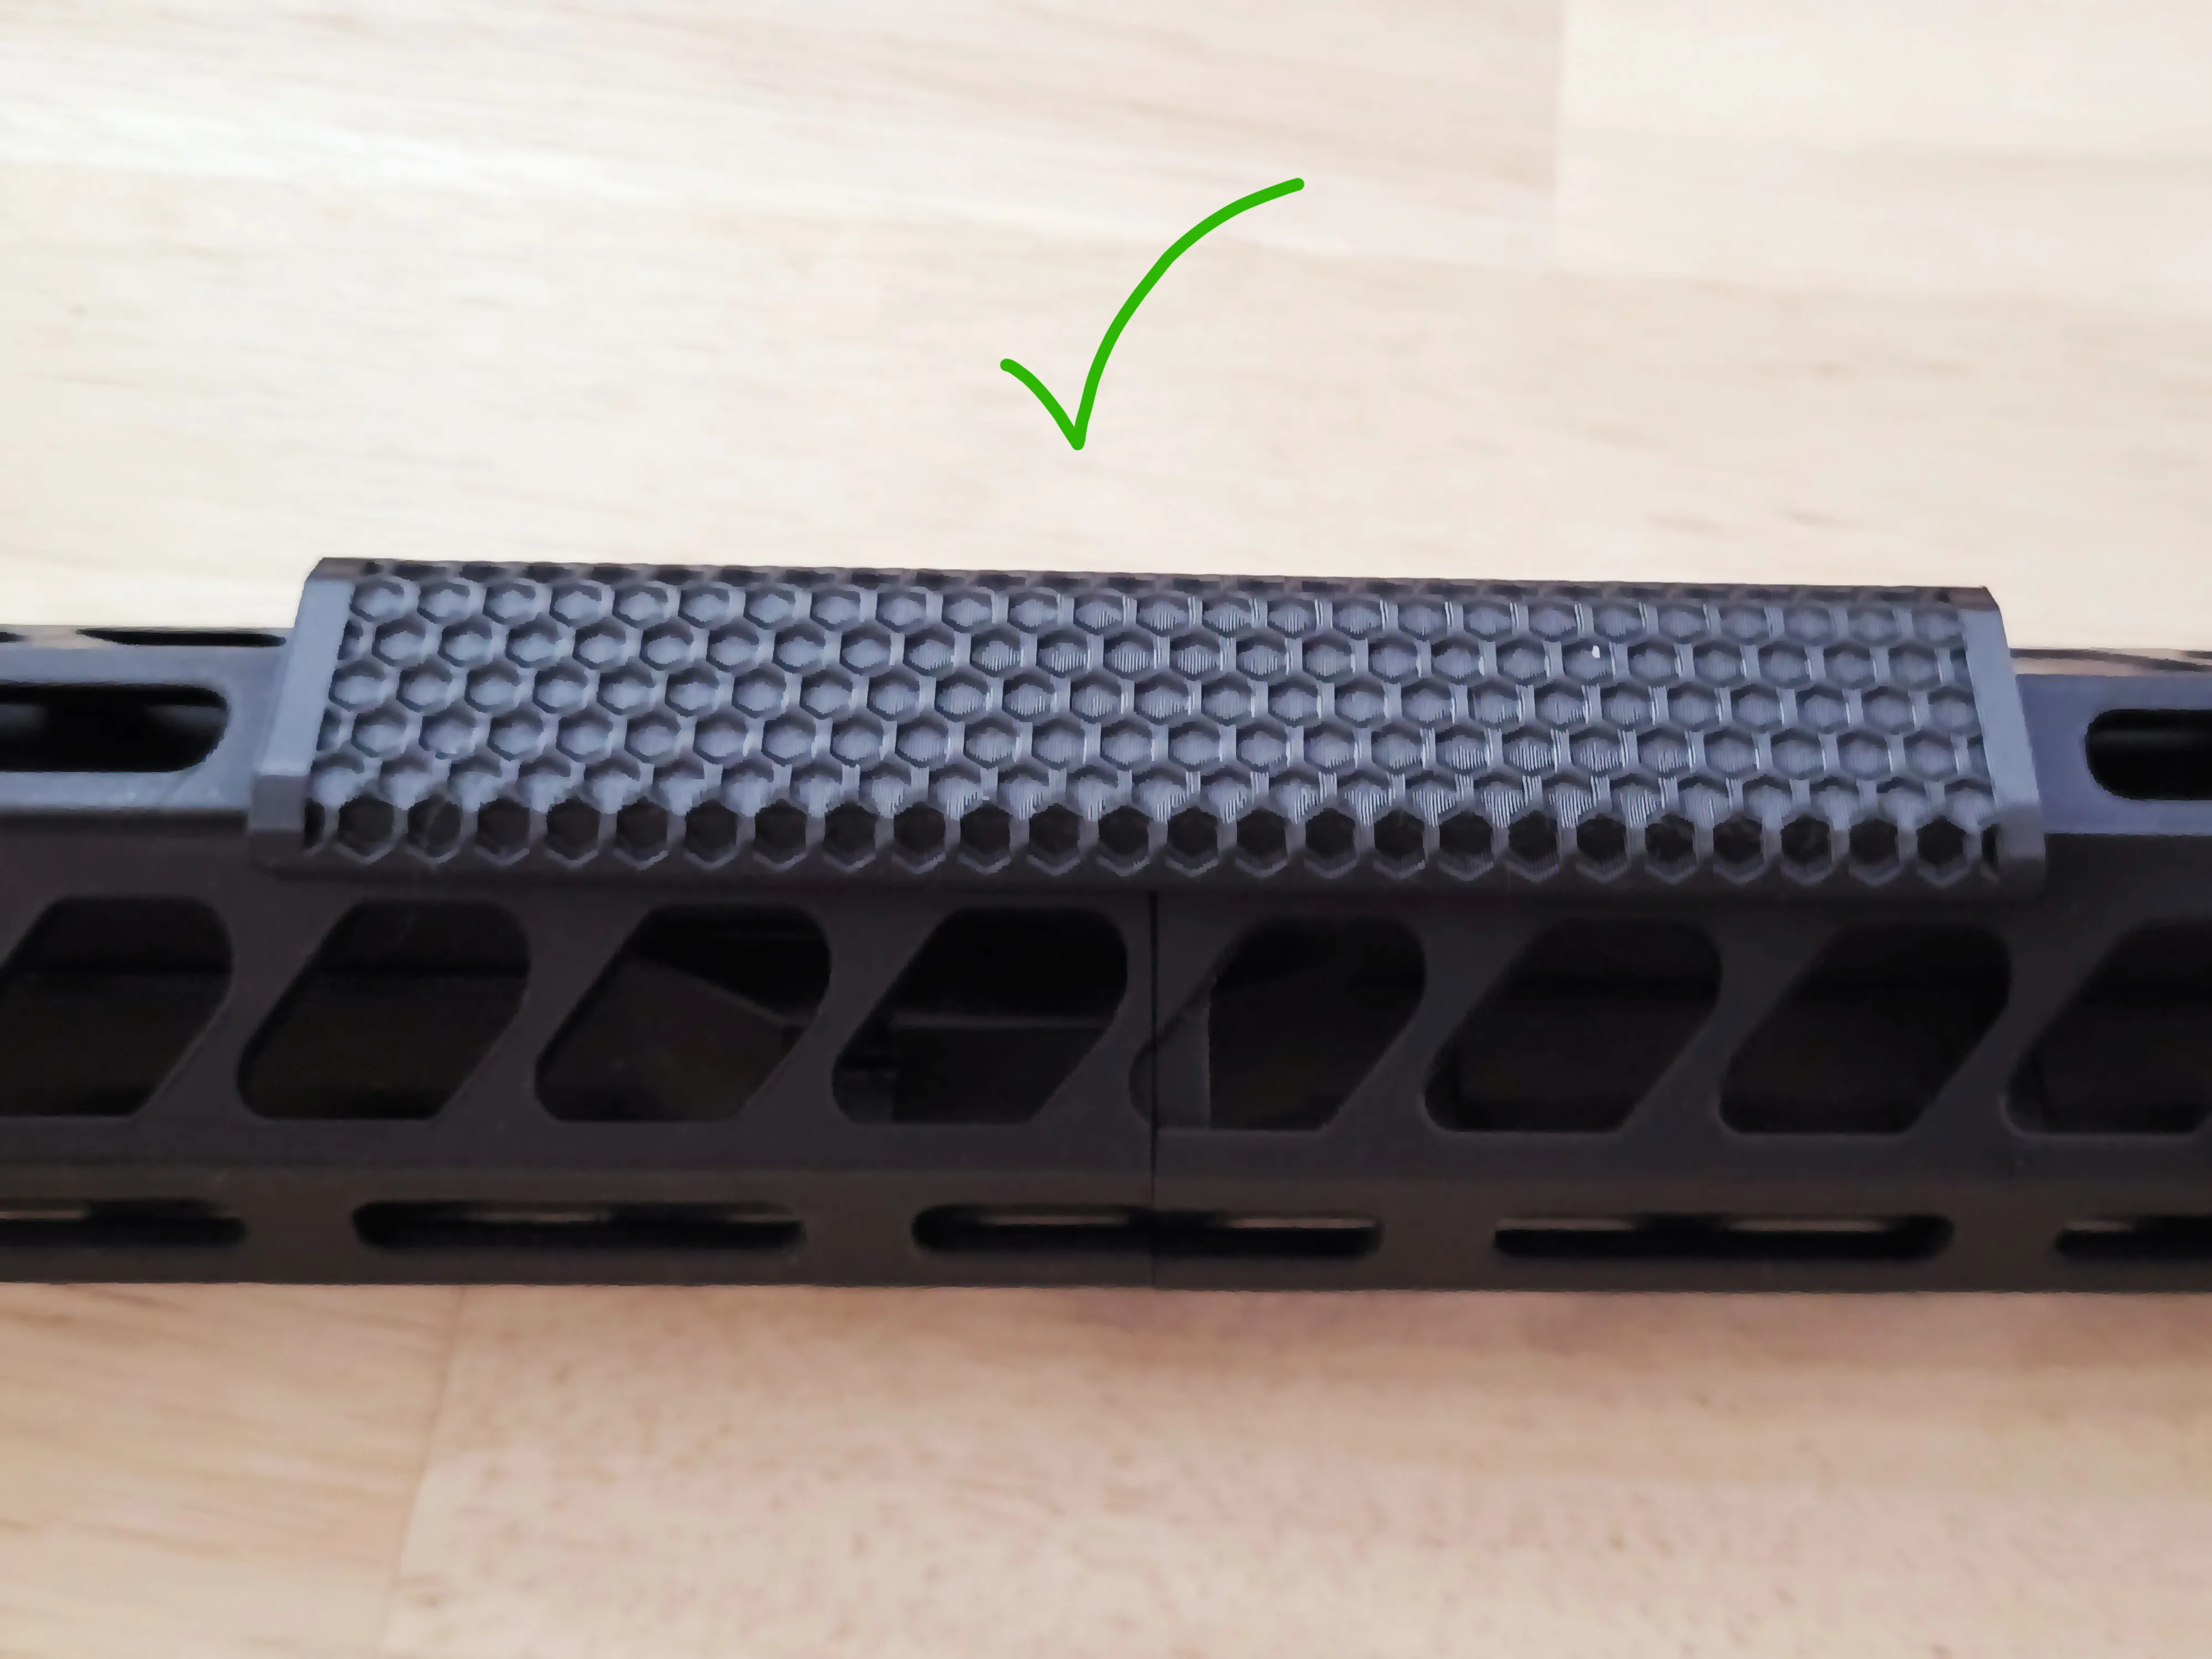
The rail covers strengthen the handguard and lock the two halves together.
- Line up the rail cover's snap connector (circled in red) with the seam in the handguard.
- Hold the rail cover at a slight downward angle relative to the handguard and press it into place.
Step 6 (Optional): Install the Side Screws
For additional strength and to prevent any handguard movement:
- Locate the two side holes in the handguard.
- Insert the provided screws and tighten gently using a Phillips screwdriver.
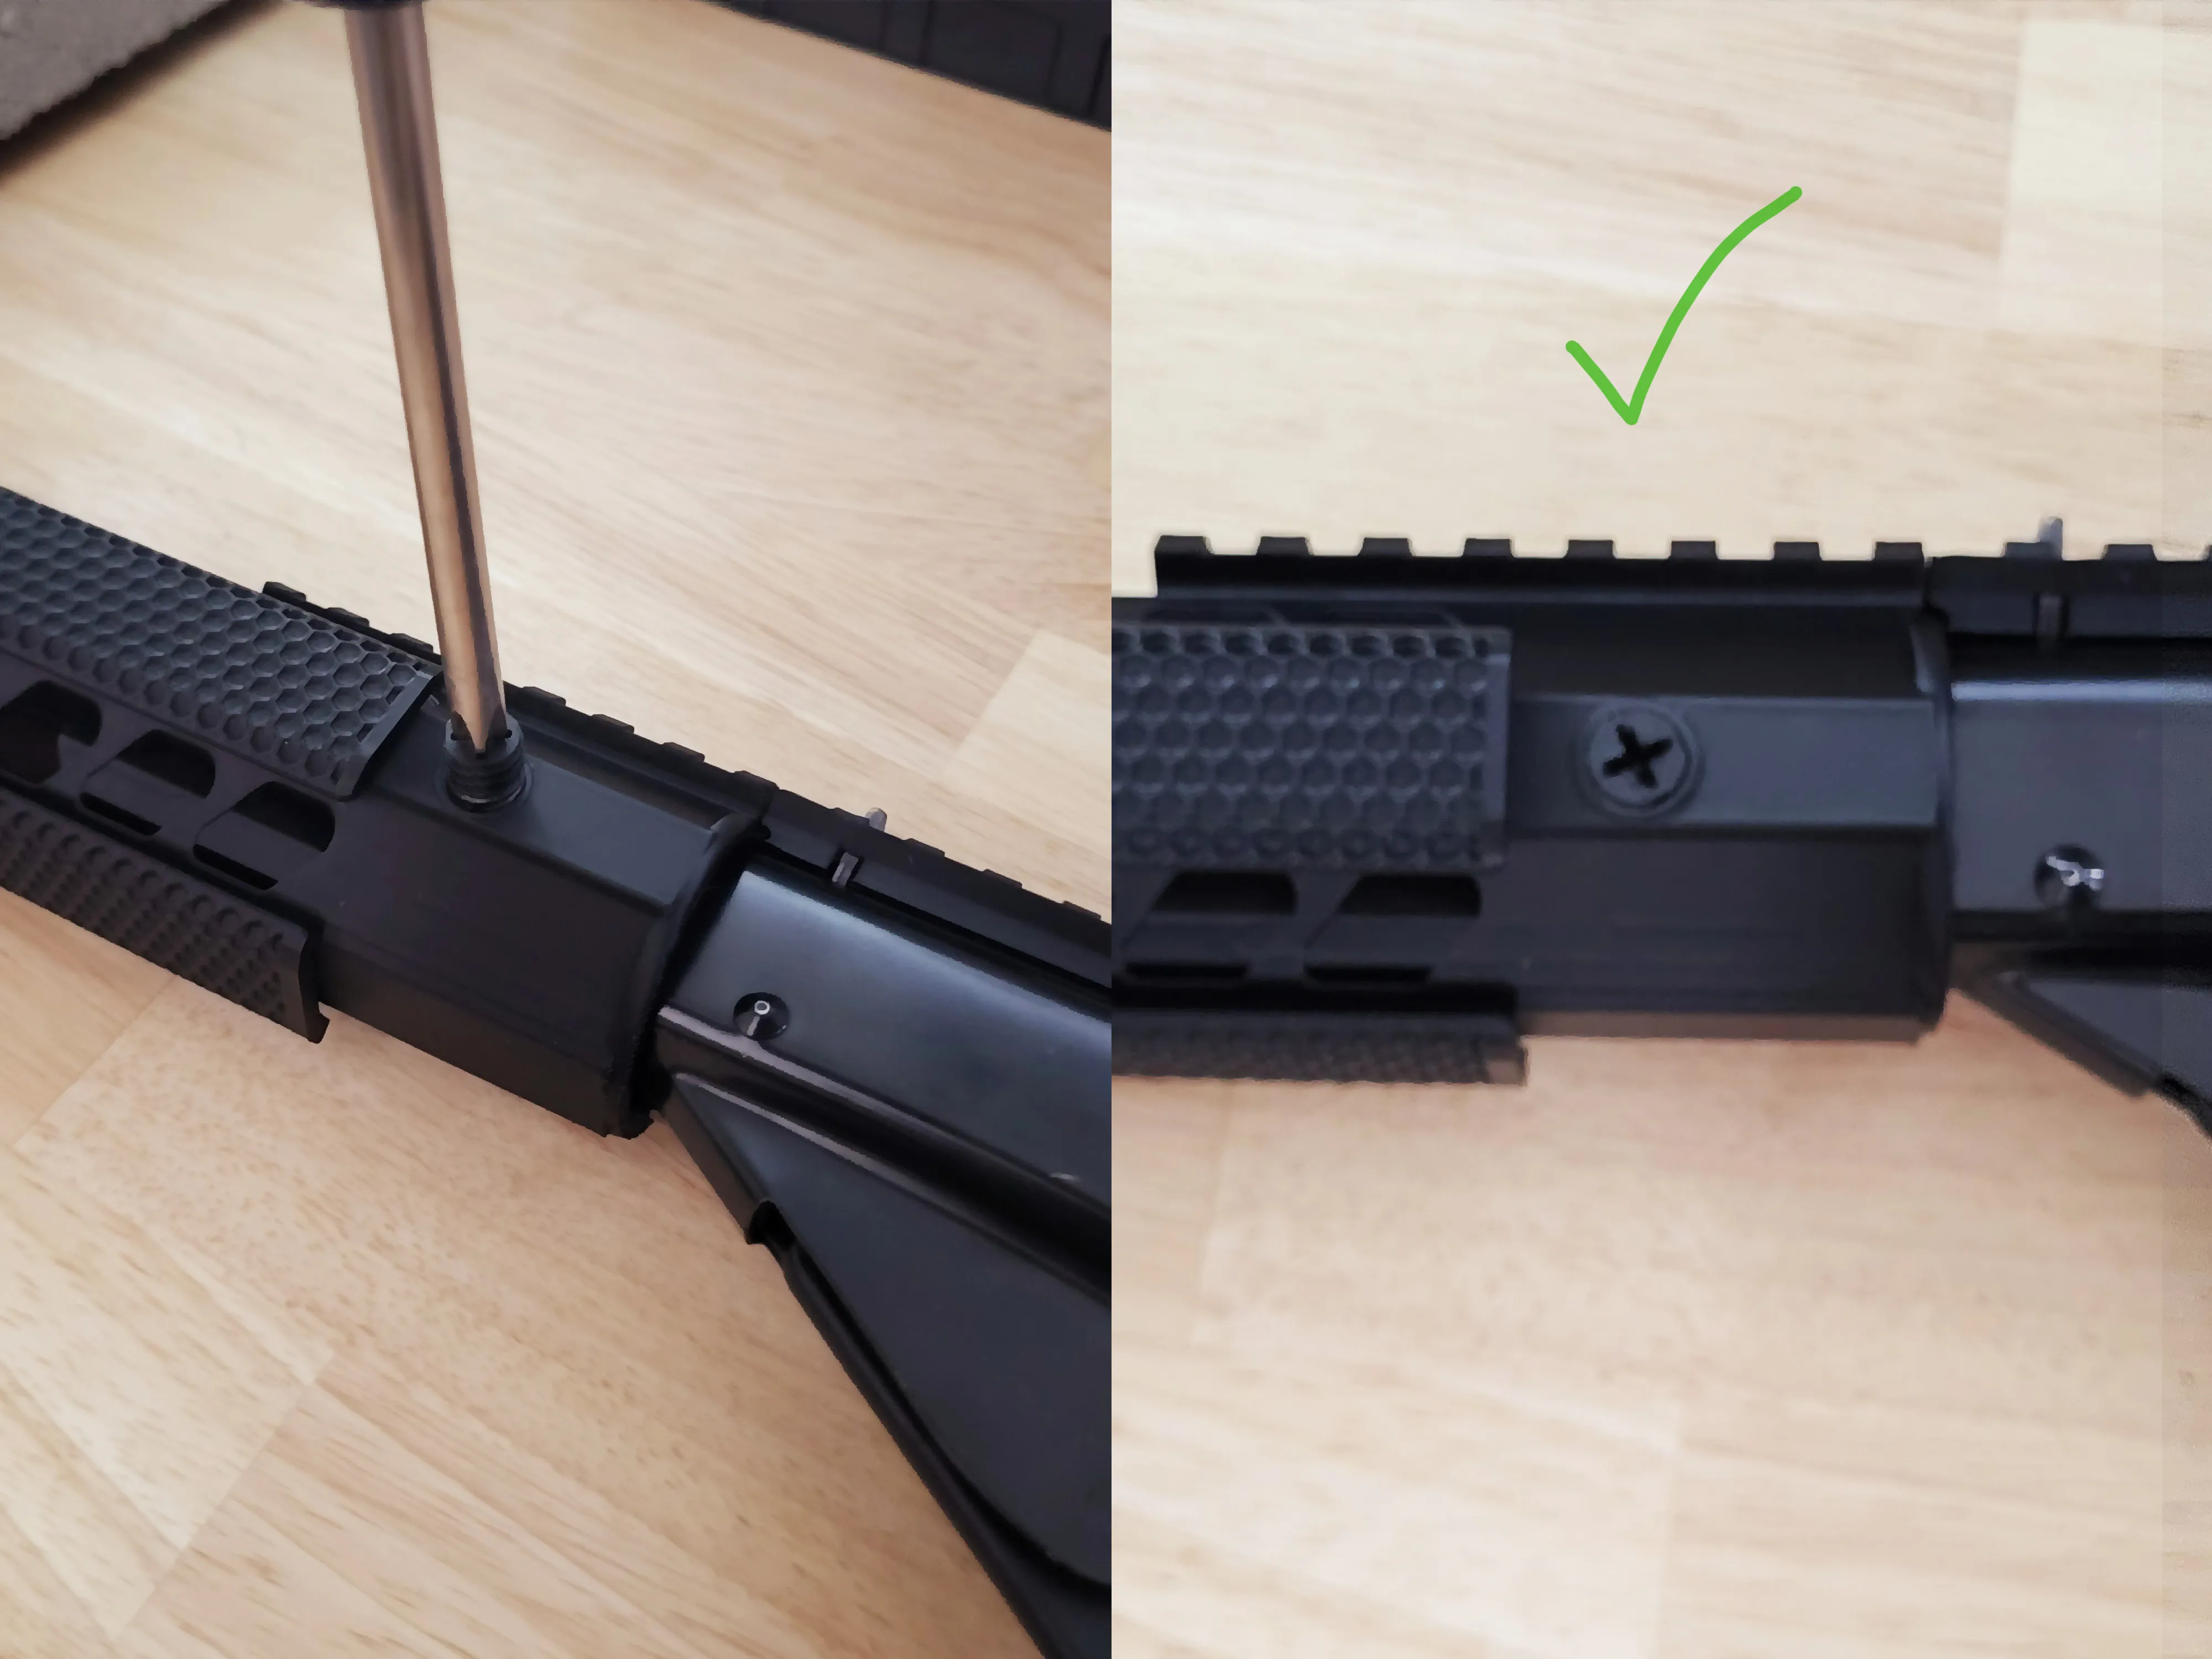
✅ These screws are optional but recommended for a more rigid and secure fit.
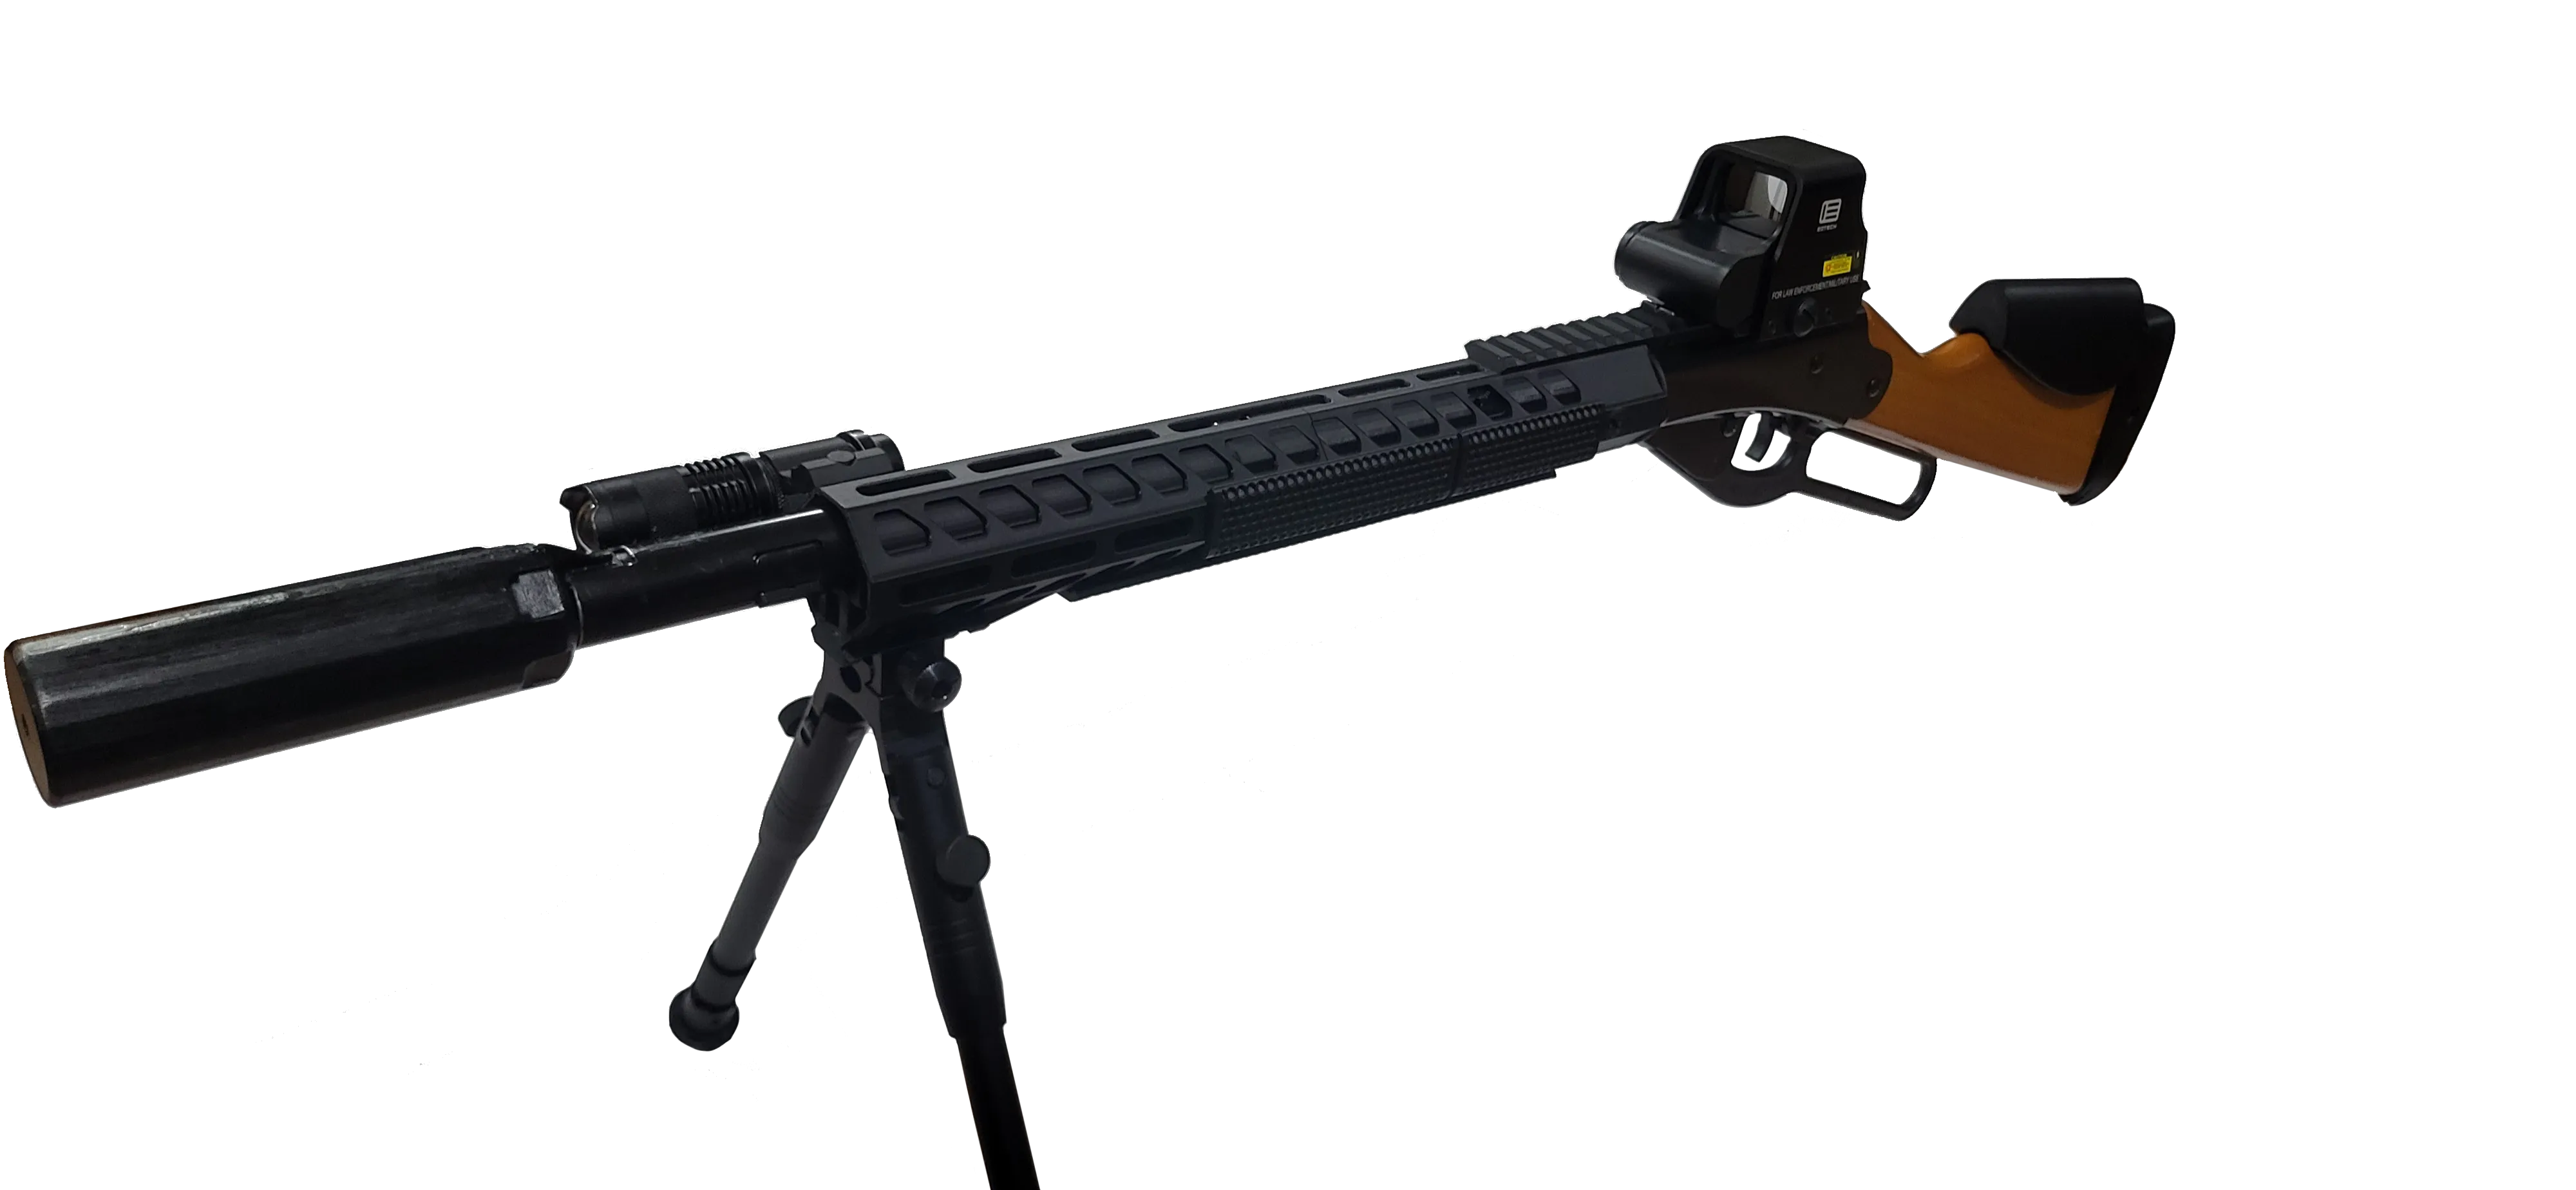
Complete the kit with my Moderator Suppressor pack and Adjustable Buttstock Extension.
The cheek riser I used in the photos was this one scaled down by ~20%.
I recently released another handguard for this rifle, check it out here.
Follow me for more Daisy airgun mods, I have some exciting designs on the way!
Boost Me (for free)
Please consider leaving a like and a boost if it worked for you!
License

You shall not share, sub-license, sell, rent, host, transfer, or distribute in any way the digital or 3D printed versions of this object, nor any other derivative work of this object in its digital or physical format (including - but not limited to - remixes of this object, and hosting on other digital platforms). The objects may not be used without permission in any way whatsoever in which you charge money, or collect fees.


Comment & Rating (45)