
Benchy Ship In a Bottle
Print Profile(7)


Description
About This Model
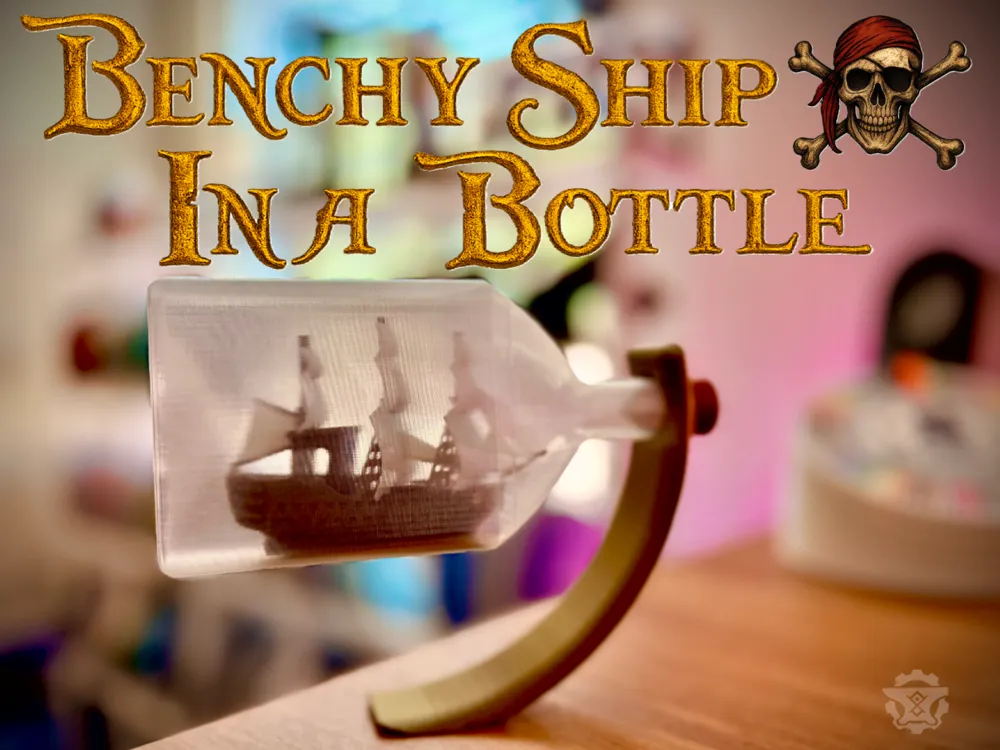

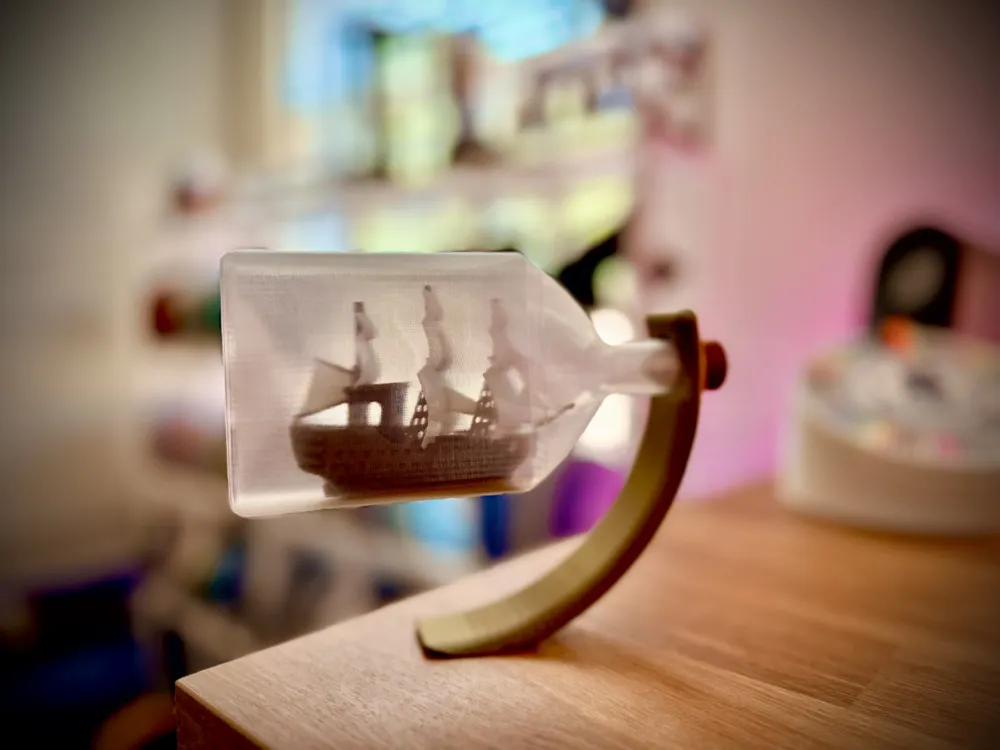
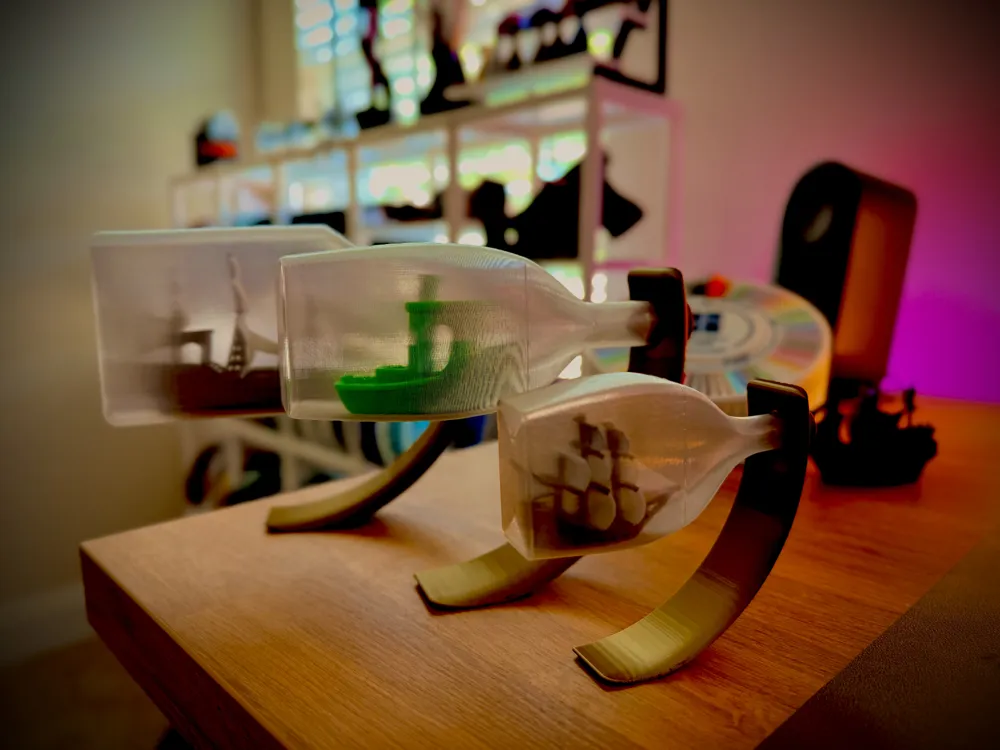
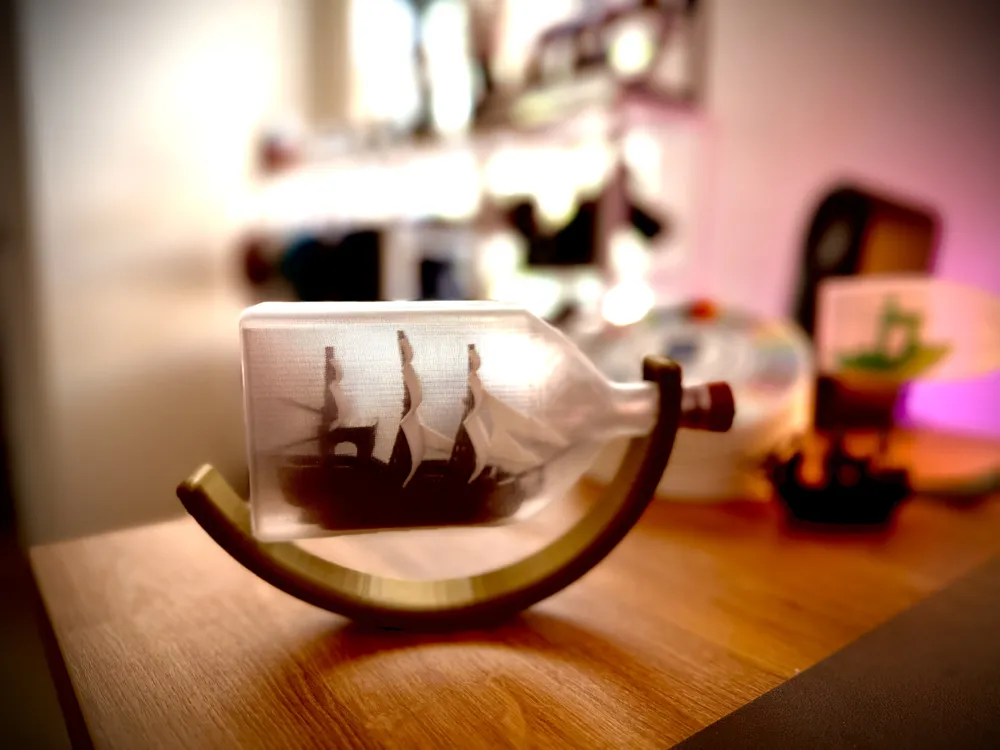
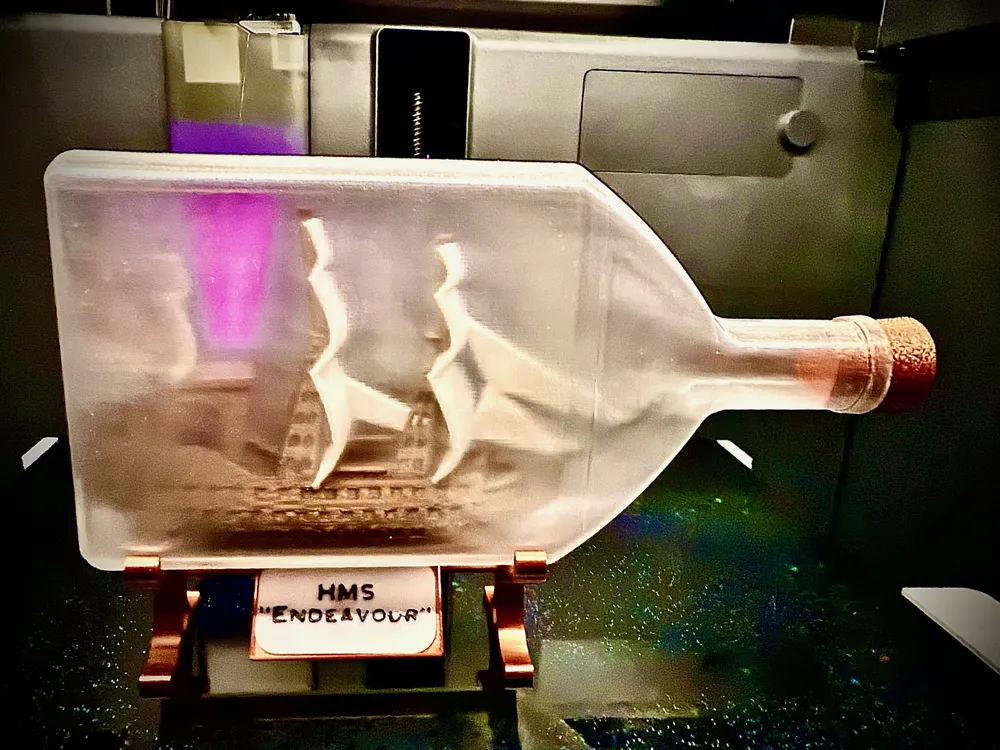
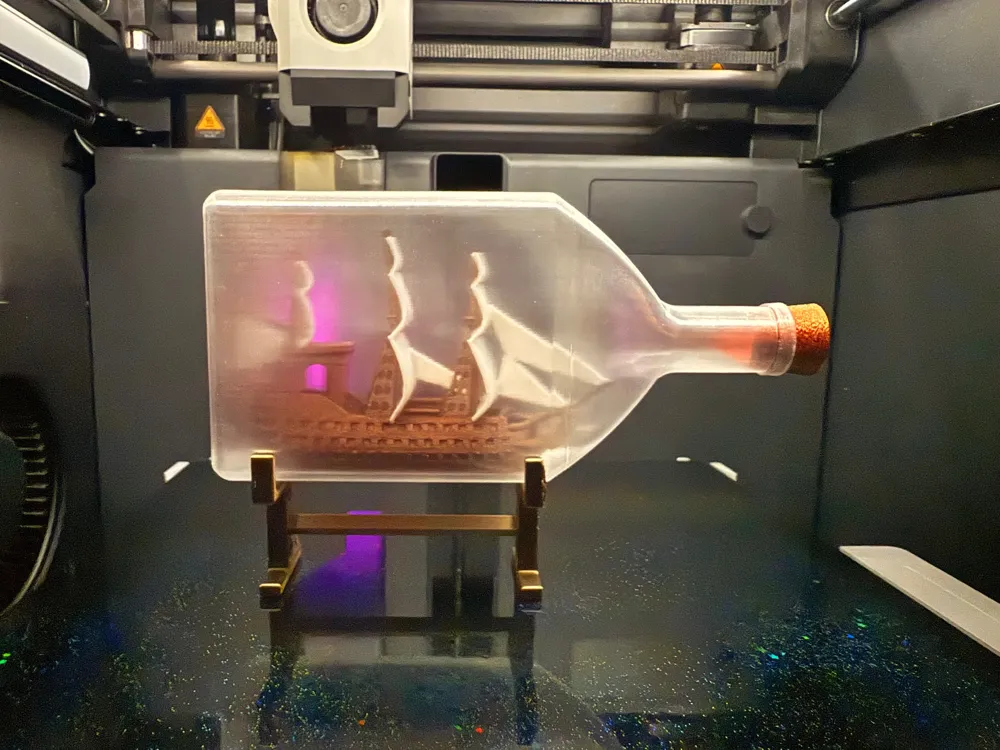
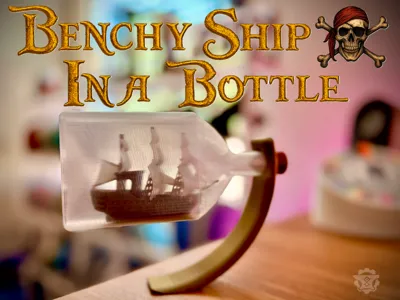
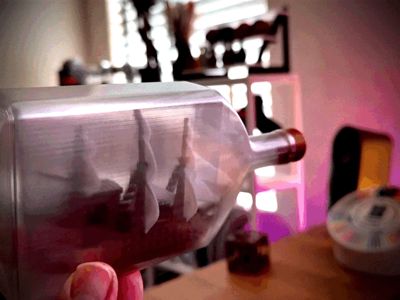
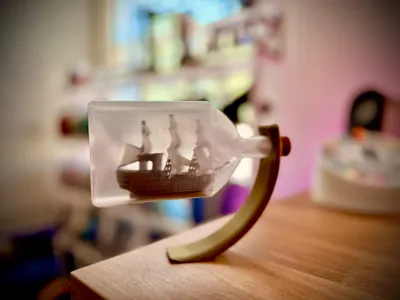
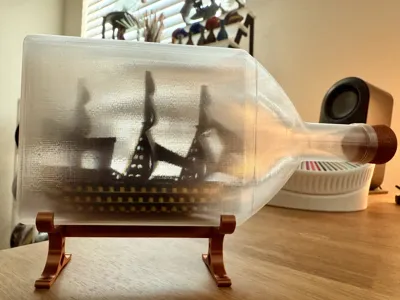
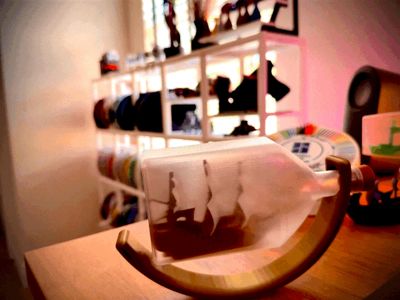
This Benchy Ship in a Bottle began as a personal challenge—to chase down the clearest, cleanest PETG transparency I could achieve, and seal a pirate ship inside it like a scene from a storybook. What I didn’t expect was how much of a journey it would become—not just technical, but communal.
At its heart, this model is more than just a display piece. It’s a tribute to those who share knowledge, push boundaries, and turn experiments into inspiration.
The Origin
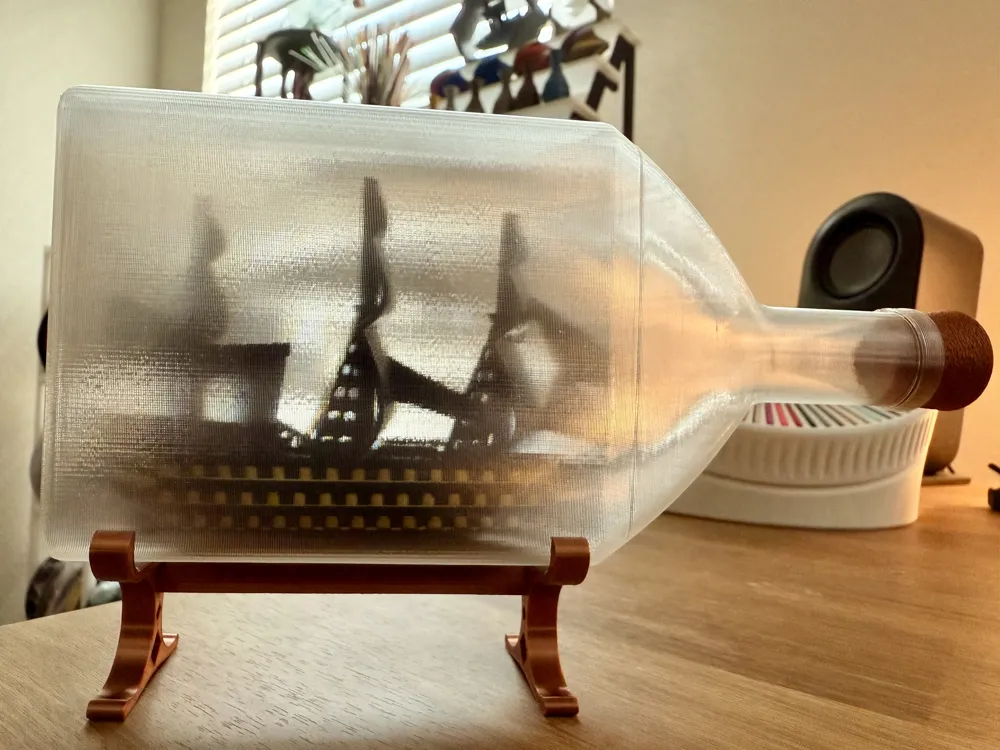

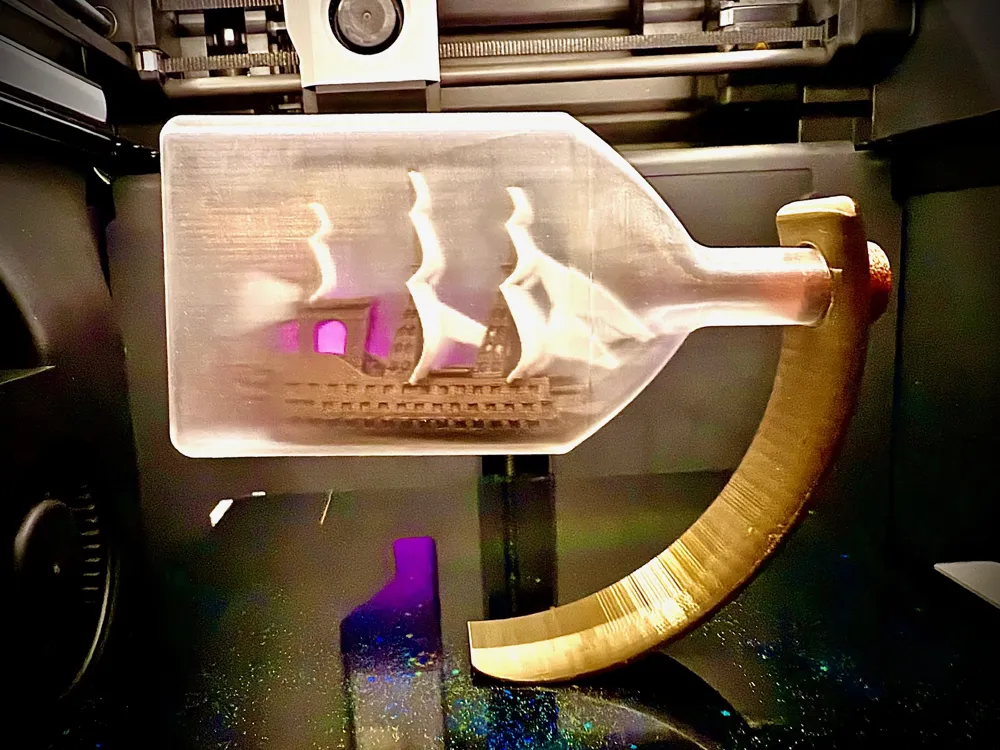
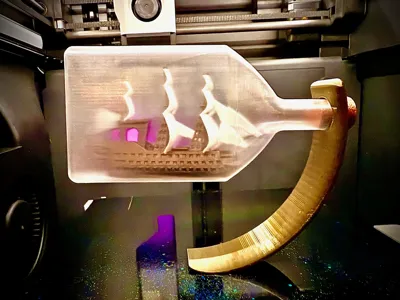
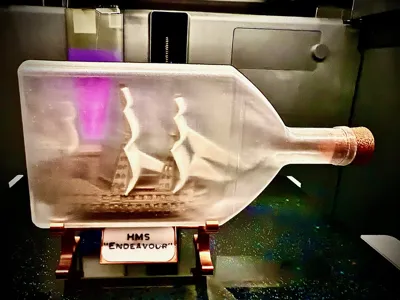
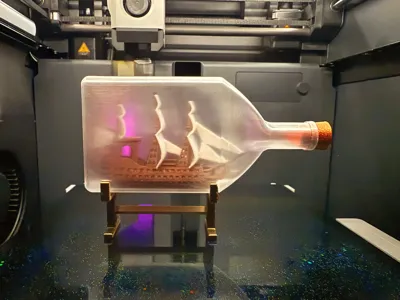
The bottle was originally designed to house Nikko_V’s HMS Endeavour Benchy (model link below, not included). I shaped the geometry, cork, and original stand to work in Spiral Vase Mode using transparent PETG, keeping the walls smooth and flat to avoid distortion. The goal was to create a crystal-clear viewing window—a lens, really—to magnify the Benchy inside and make it feel like it’s floating in a block of glass.
What brought the breakthrough wasn’t just slicer settings—it was the community.
@jmaicn_lmberjck introduced a game-changing flat-wall spiral vase concept, along with a PETG tuning profile that made this level of clarity possible. That idea—paired with early guidance from @TheIceBurge’s IC3D Glass Profile—helped me break through the fog and finally get consistent, ripple-free results.
New A1 Version Added: v1.3 (A1 and A1 Mini Compatible – No Fillet) 6/02/2025
One user reported continued base fragility using the updated v1.2 print profile on an A1 Mini with CC3D transparent PETG. To address this, I’ve released v1.3, which removes the bottom fillet entirely.
This version maintains the same dimensions and clarity potential, but with a sharper transition at the base for improved strength across more printers and slicers.
If you’re using an A1 Mini, I recommend trying this version.
Important Update (v1.2 – Reinforced Base) 6/01/2025
Thanks to feedback from the community and test prints, I identified a flaw in the original bottle design—specifically in the base fillet. The original 5mm fillet created a weakness in spiral vase mode, where the transition curve was too gradual, causing poor layer overlap and structural failure.
This updated version uses a tighter 3mm fillet, which significantly improves base strength while preserving transparency. The prior version has been retired. If you downloaded the old STL, I highly recommend replacing it with this fixed version. It’s sturdier, prints cleaner, and better showcases the Benchy inside.
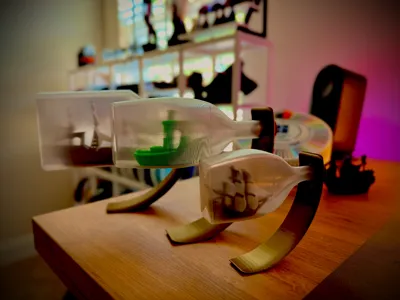
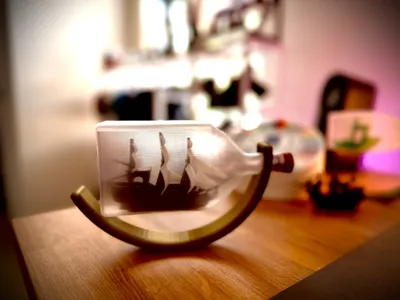
To give the model more display personality and creative options, I designed four original stands—each tuned to the bottle’s scale and curvature:
- Captain’s Cradle – A gravity-balanced, arc-like base for a floating look
- Dockyard Base – A bold, sturdy platform with a classic museum-style presence
- Admiral’s Arch – A stylized arch that frames the bottle like a bridge
- Harbor Cradle – A low-profile, minimalist stand with organic side curves
Each offers a different display style and pairs beautifully with metallic, silk, or wood filaments for gift-worthy or gallery-ready results.
How to Print
Step 1 – Print the Ship
Download and print HMS Endeavour Benchy by Nikko_V (not included).
Step 2 – Print the Bottle
Use the included clear PETG Spiral Vase Mode profile. A pause is embedded at Layer 360—insert the Benchy carefully (stern first) during the pause.
Step 3 – Seal the Ship
Resume the print to enclose the Benchy inside the bottle.
Step 4 – Choose Your Stand
Pick from the four included designs. Each is ready to print with no scaling required.
Note on Arch Stands:
If you're using the Admiral’s Arch or any stand with a circular bottle slot, the fit is intentionally snug. Gently squeeze the lip of the bottle into the hole, then slide it back or forward to tilt the bottle and fine-tune the balance point. This is part of the display adjustment—not a flaw.
Important Tips Before You Print
- One person reported issues with the bottom still being too weak in v1.2, possibly because they were using A1/A1 mini. If you're printing on A1, I recommend you try a test print with version 1.2 first by printing only the first 25 layers, stopping the print, and then check to see if the bottom is strong. If not, please print the A1/A1M “No Fillet” version for best chance at a strong bottom.
- ⚠️ Do not switch filament profiles in the slicer.
This print was tuned for Kingroon transparent PETG using a custom profile. Switching to another filament (even Bambu PETG) or using a new filament preset will override critical cooling and speed settings, especially in vase mode.
If you're using a different brand, either match the cooling and flow settings exactly or reach out for guidance. - Dry your filament thoroughly. Even if it’s brand new. Moisture in PETG causes haze, weak layer bonding, and print brittleness. Don’t skip this—trust me.
- Handle with care. This is a single-wall display piece, not built for strength. Treat it like glass.
Removal Tips (Don’t Skip!)
Spiral vase prints have delicate bases. Improper removal can tear the floor right off:
- Let the plate cool to below 35°C
- Use a thin scraper gently around the base rim
- On spring steel beds, flex from a corner only—never yank or twist
Recommended Print Settings
Bottle:
- Mode: Spiral Vase
- Nozzle: 0.4mm @ 260°C
- Layer Height: 0.28mm
- Line Width: 0.8mm (all directions)
- Bottom Layers: 3 (Concentric)
- Top Layers: 0
- Flow Rate: 0.96
- Fan: Off for 3 layers, then fixed at 10%
- Outer Wall Speed: 20mm/s
- Travel Speed: 500mm/s
- Z Hop: Off
- Smart Seam: Enabled
- Smooth Spiral: Enabled
- Print Sequence: By Layer
Cork:
- Solid print
- 2–3 walls, 20–30% infill
- Suggested: Wood PLA or CC3D Copper Silk PLA
Stands:
- 2 walls, 15–25% infill
- Recommended filaments: Silk Copper, Bronze, Gold, or Wood PLA
Credits
This model wouldn’t exist without the creativity and generosity of the MakerWorld community:
- @jmaicn_lmberjck – PETG clarity tuning + flat-wall spiral vase innovation
- @TheIceBurge – Foundational IC3D PETG Glass profile insight
- @Nikko_V – For the HMS Endeavour pirate Benchy
- @GenericName – Original stand concept inspiration (for V1)
Final Thoughts
I didn’t just make this to show off a Benchy—I made it to celebrate the journey. Every clean layer, every tip shared, every failed print that taught me something new—this model is a tribute to that process.
It’s a pirate ship in a bottle… and a thank-you to the makers who keep pushing what’s possible.
Thanks for checking it out—and happy printing!
License

You shall not share, sub-license, sell, rent, host, transfer, or distribute in any way the digital or 3D printed versions of this object, nor any other derivative work of this object in its digital or physical format (including - but not limited to - remixes of this object, and hosting on other digital platforms). The objects may not be used without permission in any way whatsoever in which you charge money, or collect fees.


Comment & Rating (201)