
Golf Regripping Air Tool Attachment
Print Profile(4)

Description
Boost Me (for free)
I really appreciate the boosts, so if you enjoy or find useful, Please consider boosting me! Thanks.
V2 IS ABOUT THE SAME JUST ADDED STRENGTH TO THE THREADED PART
TRY PRINTING IN NYLON FOR EVEN BETTER STRENGTH!
I TRIED TO UPLOAD THE EASY NYLON PROFILE I HAD FROM OVERATURE, BUT IT DIDN'T WORK, BUT ESSENTIALLY ALL YOU DO IS DOWLOAD THE PROFILE WITH THE SUPPOSRTS ENFORCED, THEN SWITCH THE FILAMENT TO THE EASY NYLON PROFILE THAT YOU CAN DOWNLOAD FROM OVERATURE.
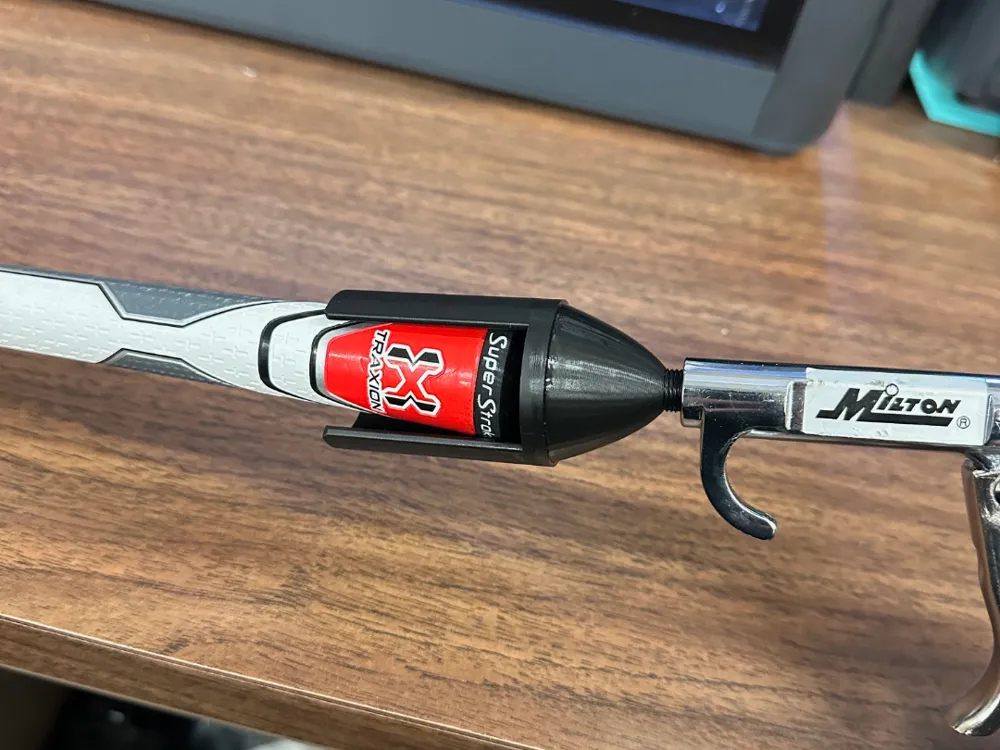
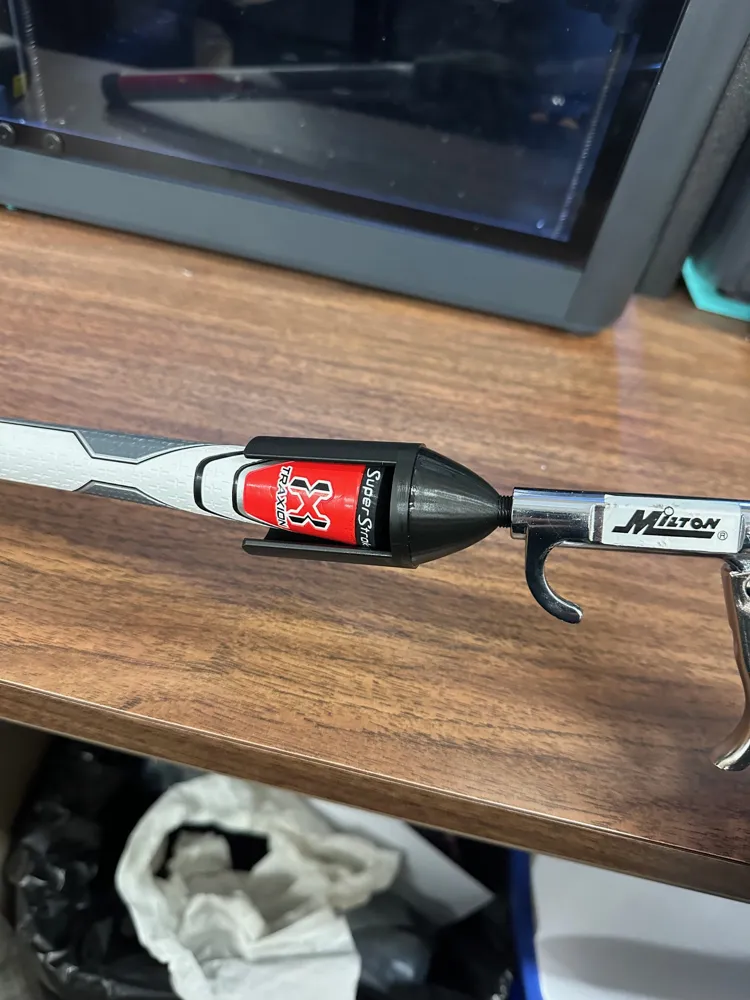
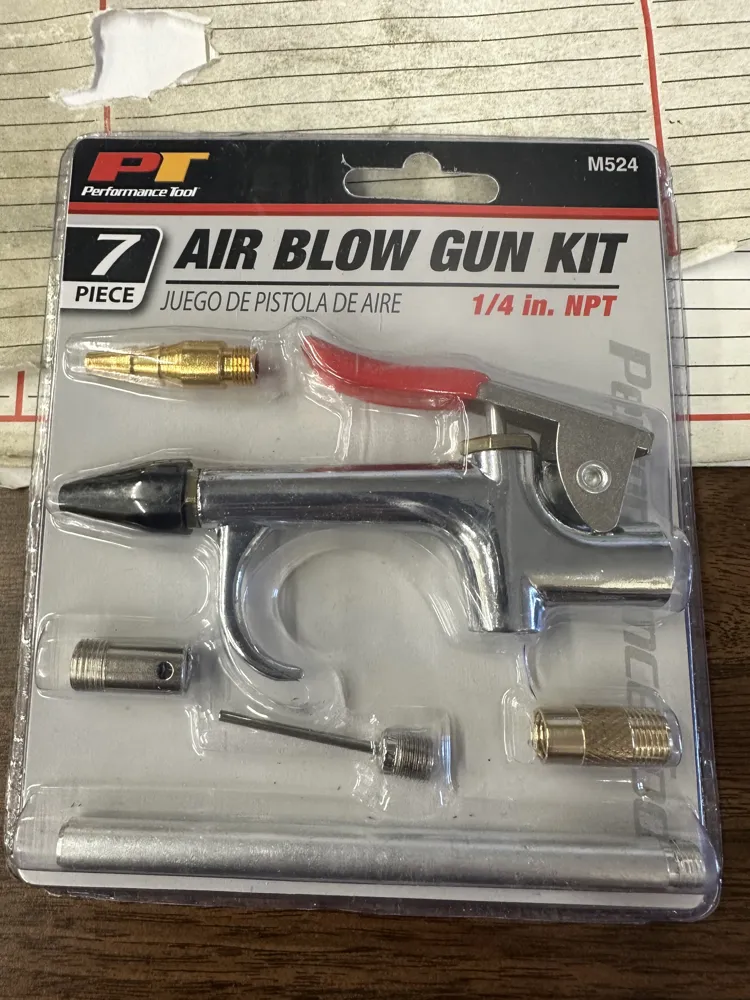
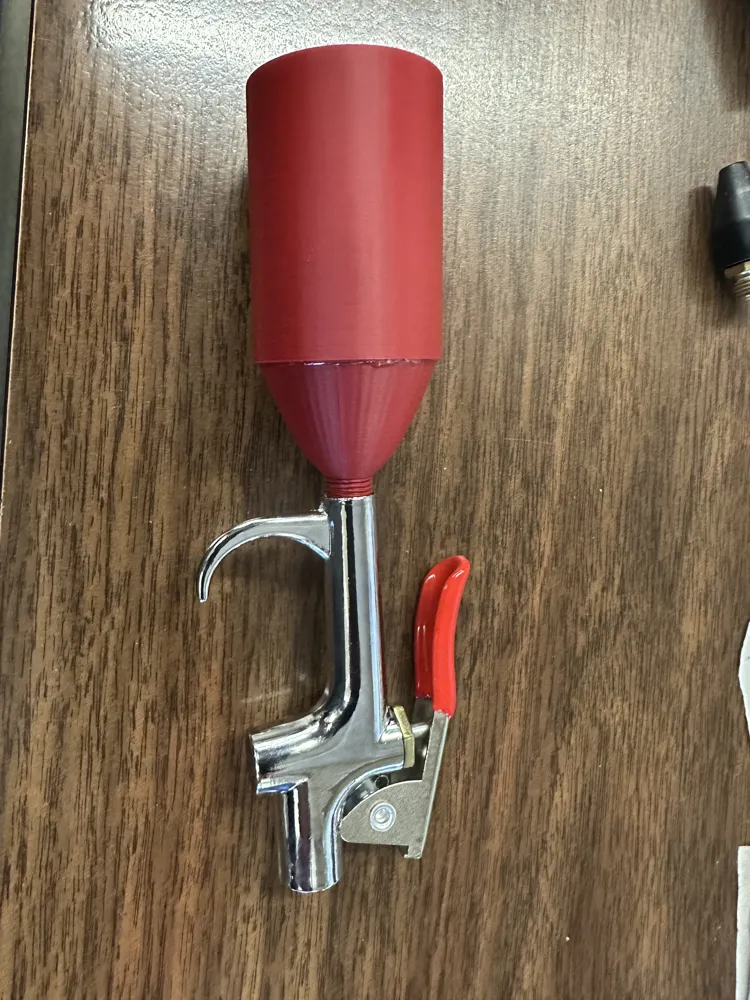
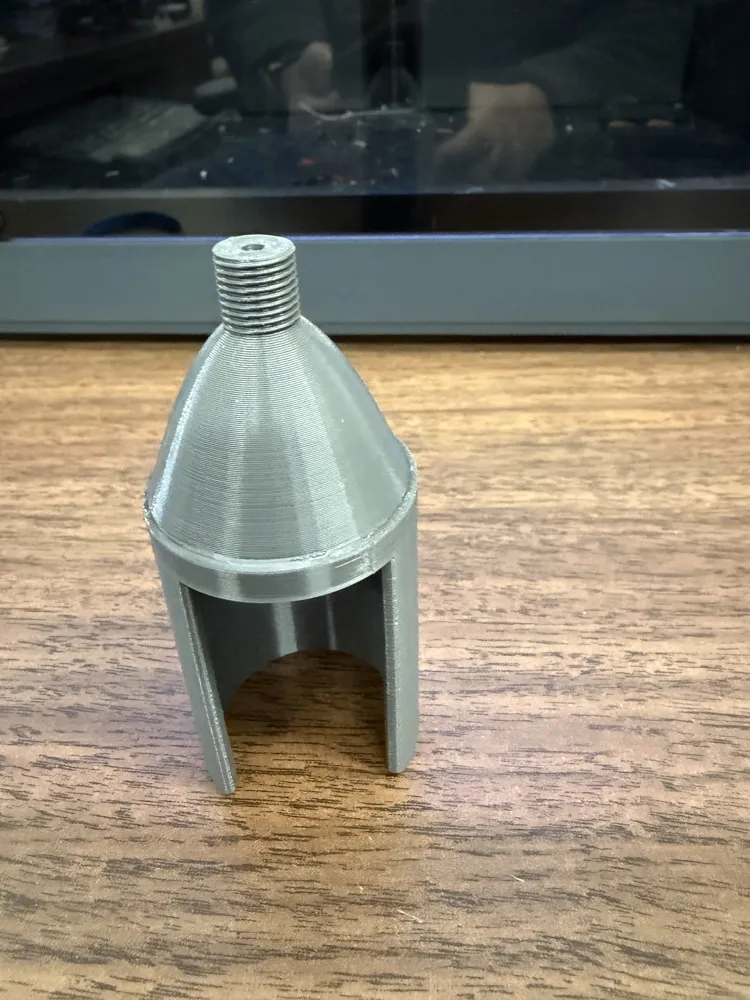
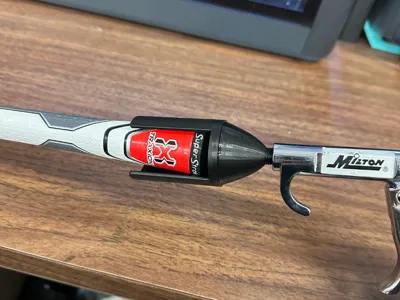
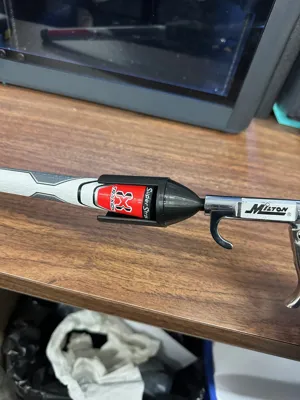
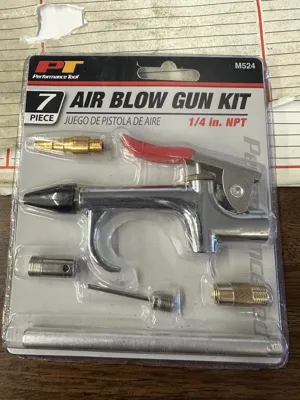
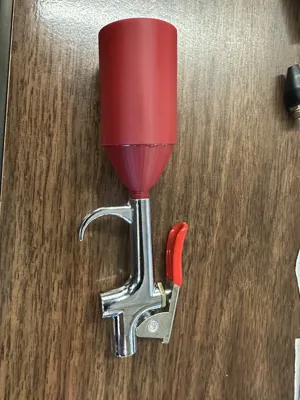
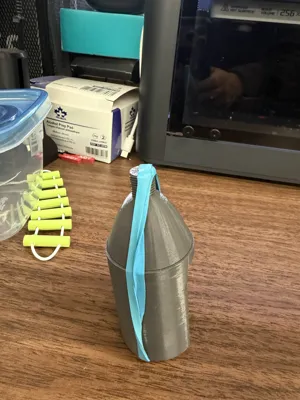
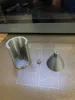
Golf season is almost here in Canada, and a lot of people are getting ready to regrip while grips are on sale….and if your into regripping clubs I have a little attachment that attaches to standard air blow gun that makes installing them a breeze! I have shown two types of blow guns that they fit very well with, and one can be had for less than $10 and works equally as well as the more expensive one.
You can buy one of these as well, but is very expensive by the time you get it up here, so now you can print the same very inexpensively.
Be gentle with the air when using as you don't need much!
I bought one of these little attachments from pure grip a long time ago, and a friend was looking to get one but the price has gotten rather silly for what it is…. Have tried several proto types and this one seems to work very well.
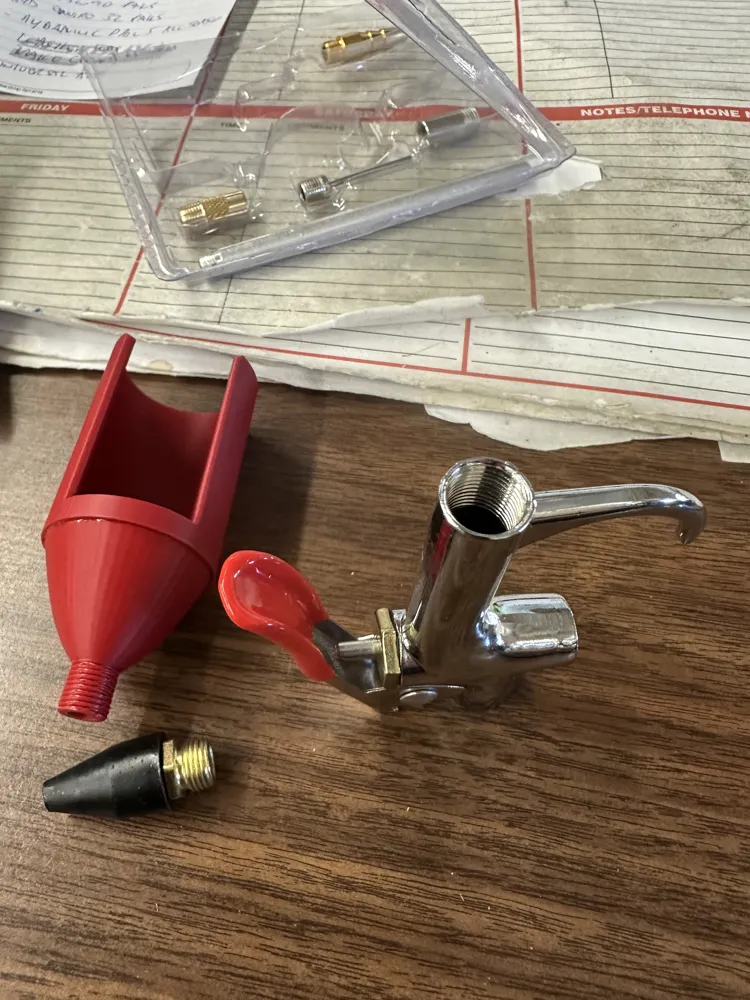
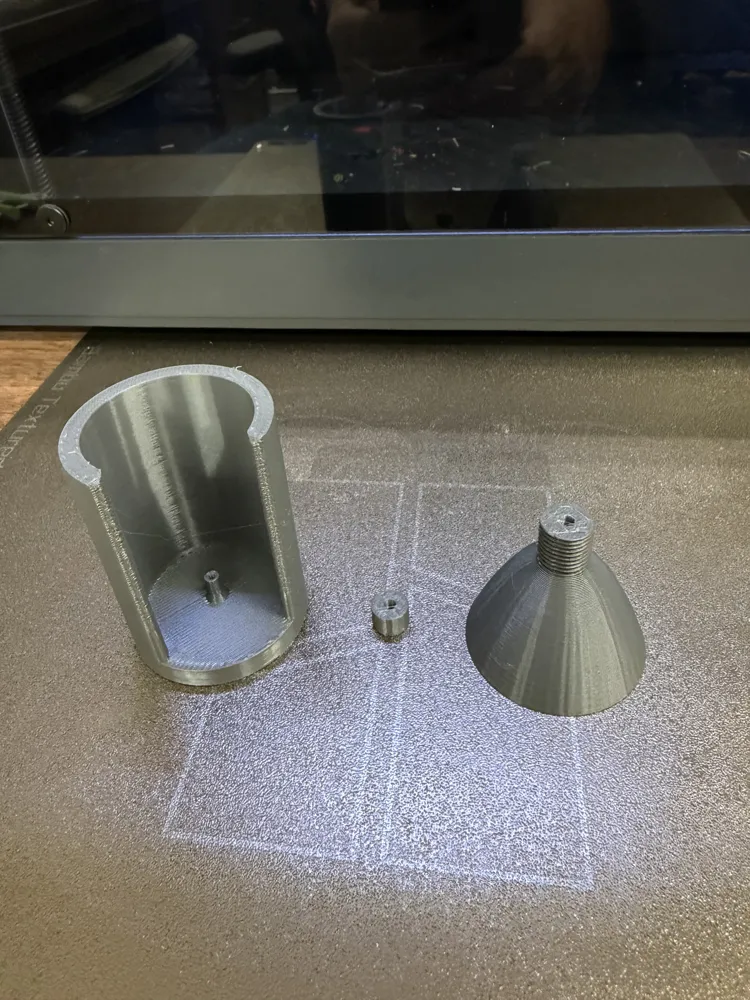
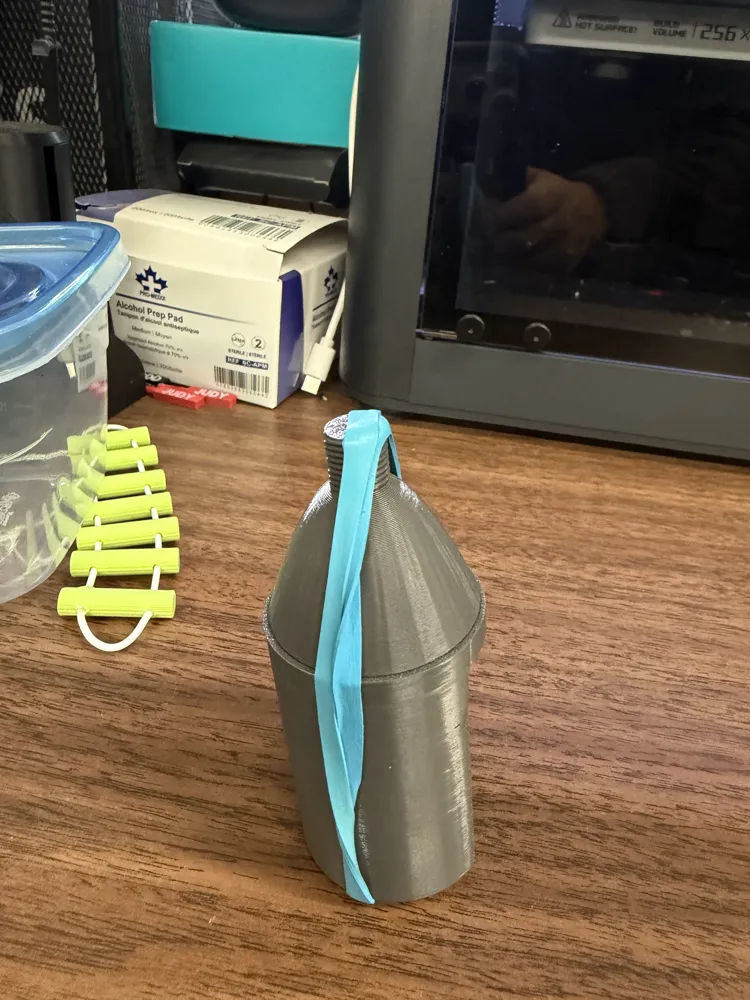
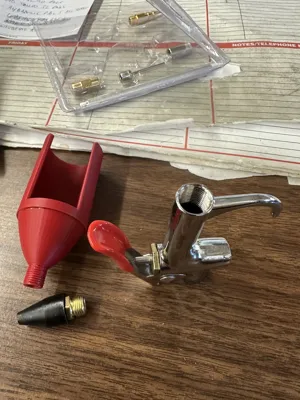
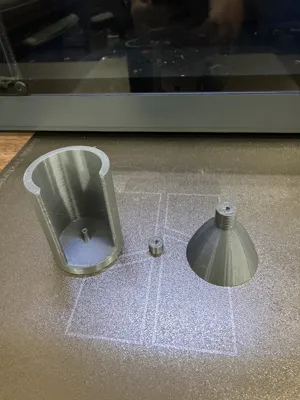
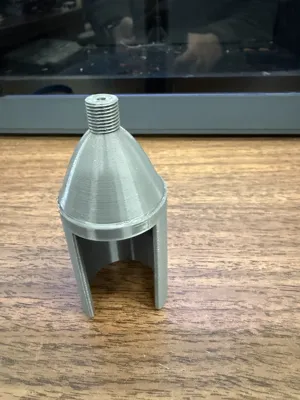
Two versions are included one that uses a lot of supports and prints as one piece, but removing the support material can be tricky and may or may not look good when done depending on printer.
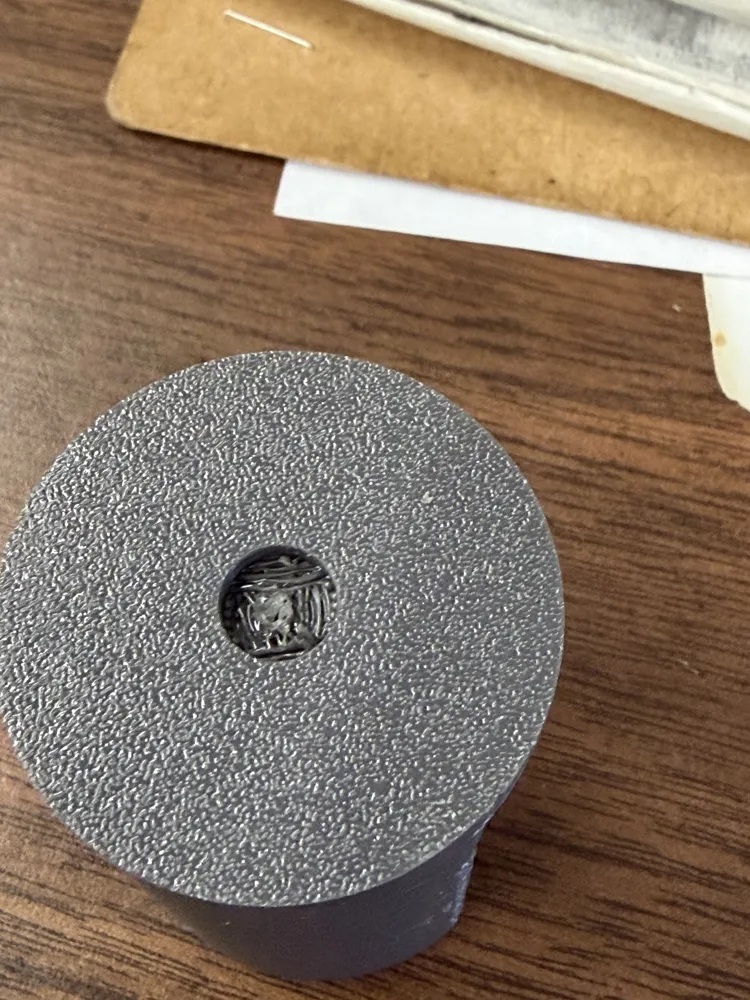
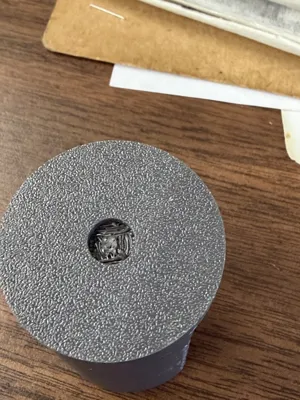
Then one doesn't “require” them but tends to be cleaner if used, so experiment to see what works well for you, You may have to clean the hole on the taller piece prier to assembly, but easily done with a small drill bit. If doing the one piece I suggest using support material for the interface to make it as clean as possible, not sure what support material to use with Nylon as I haven't printed a lot with it.
The three piece on goes together very easy with Gorilla glue or epoxy, or a gel type CA for quicker bond time.
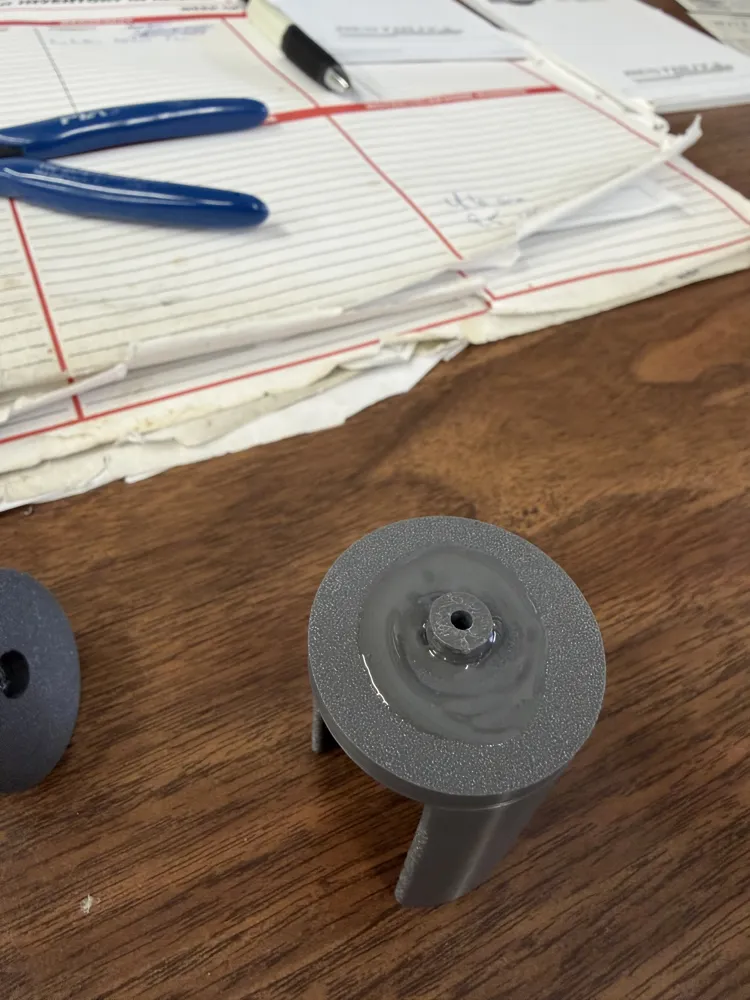
The most critical part is to only put a light amount of glue around the outside of the center pin, ensure not to get any in hole :).
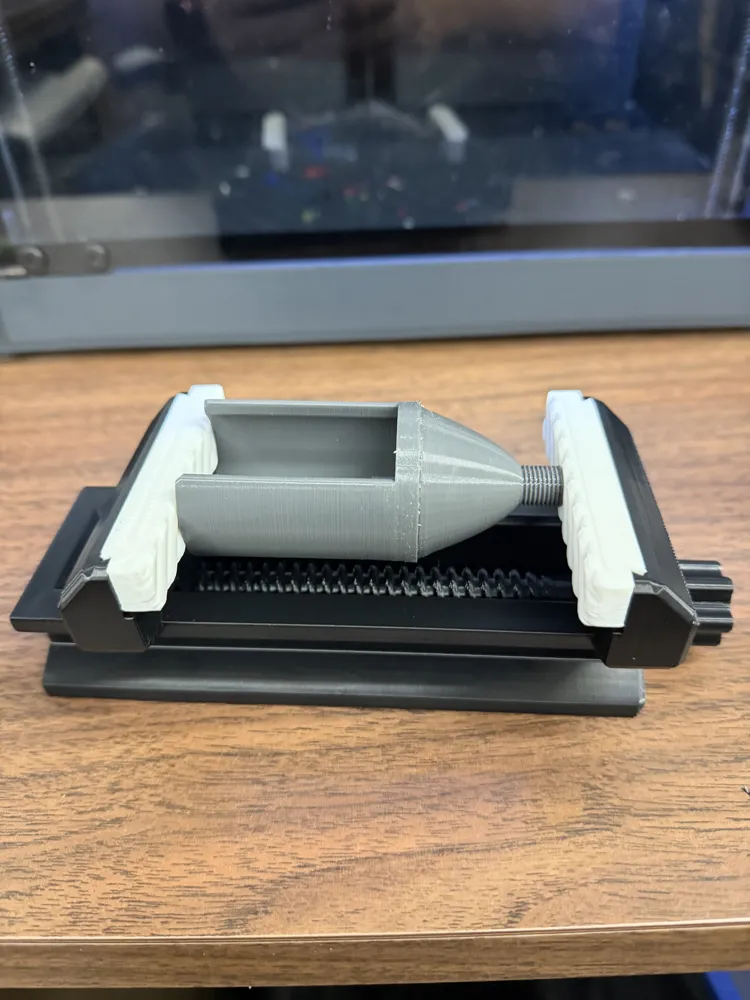
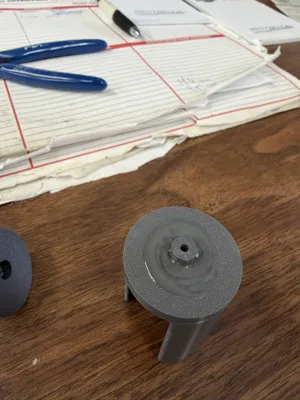
Then place pin in the tall piece, and add a little more glue around the circumference of the base, push the piece on with the threads and turn 360 degrees a few time to spread glue out evenly. Clamp lightly to ensure it bonds correctly.
AND YOU MAY HAVE TO USE A TINY DRILL BIT TO CLEAR THE HOLES, DEPENDS REALLY ON FILAMENT AND PRINTER.
YOU CAN USE THE PROFILE FOR NOT SUPPORTS AS WELL AND TRY TO PRINT, BUT MAY REQUITE ADDITIONAL CLEANUP.
You can also print out of any filament you wish I just found ABS and Nylon to be the strongest, I did start with PETG, so if you want to do that just load the ABS profile and change the filament to PETG.
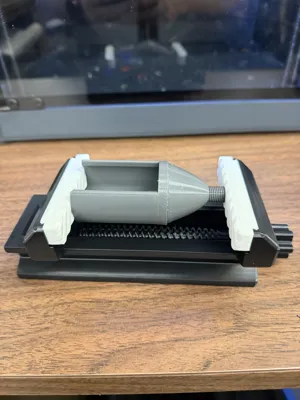
This printable vice from another designer works great for clamping together, shown in pictures above.
https://makerworld.com/en/models/2203522-modular-100-printed-vise#profileId-2394365
Enjoy
Boost Me (for free)
As always if you enjoy and find useful please consider sending me a boost!
As always if there is something of mine that you like and would like tweaked in someway or perhaps something new created, please send me a message!
License

You shall not share, sub-license, sell, rent, host, transfer, or distribute in any way the digital or 3D printed versions of this object, nor any other derivative work of this object in its digital or physical format (including - but not limited to - remixes of this object, and hosting on other digital platforms). The objects may not be used without permission in any way whatsoever in which you charge money, or collect fees.


Comment & Rating (63)