
Linkage construction kit
Print Profile(9)


Description
Linkage constructor

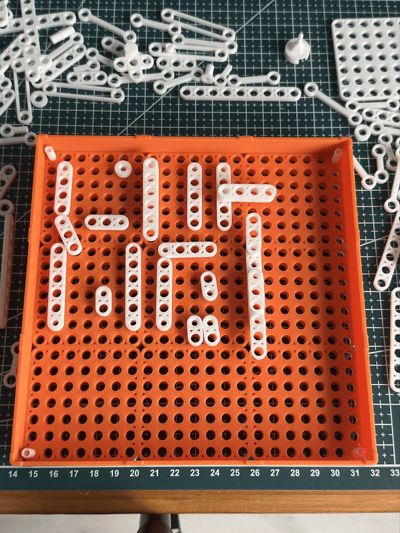
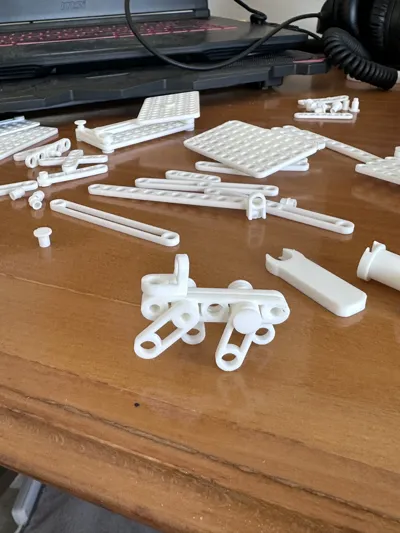
Hello everyone! I'm happy to introduce you my linkage construction kit with which you can make anything - mechanical layouts, real mechanisms and just have fun.
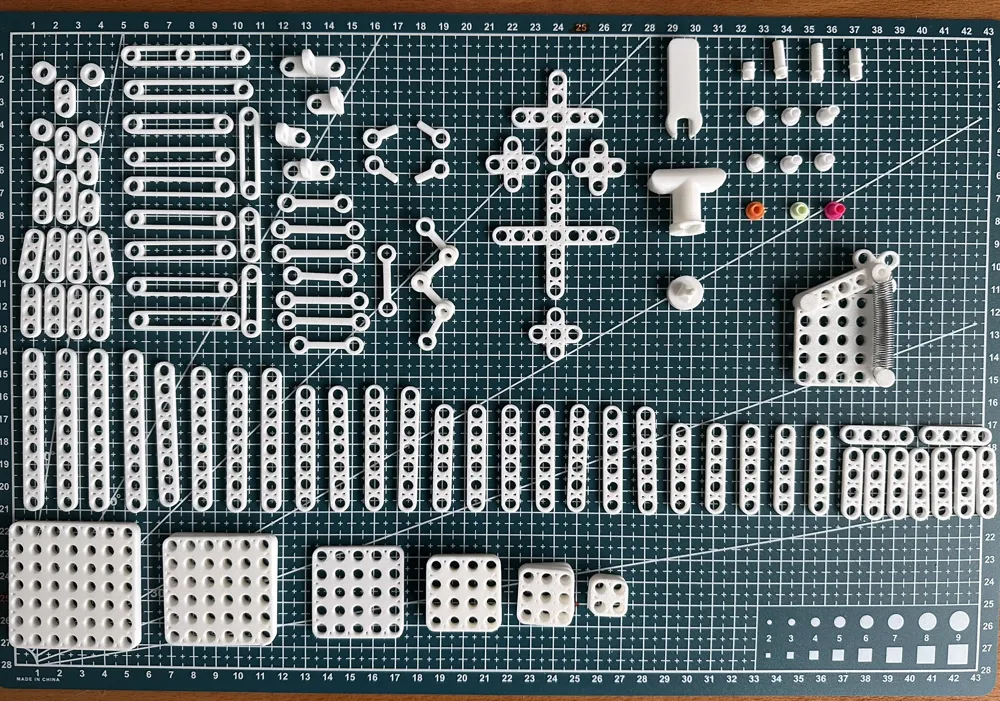
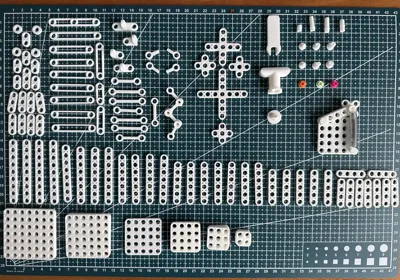
I wanted to understand different mechanical principles for a long time and decided to make my own constructor for this purpose, which you can quickly print and design any mechanisms with it, as well as understand the principles of linkage mechanisms. First an overview of the parts, then examples of mechanisms, printing tips and future plans.
Features
Base element - Single circle, inner: 5mm, outer: 8mm, thickness 3mm
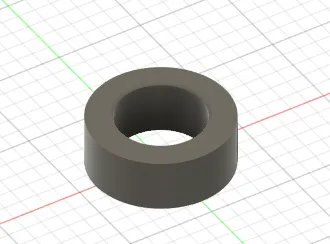 | 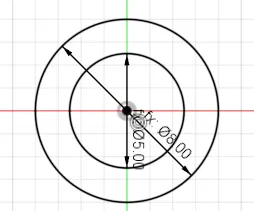 |
Bars
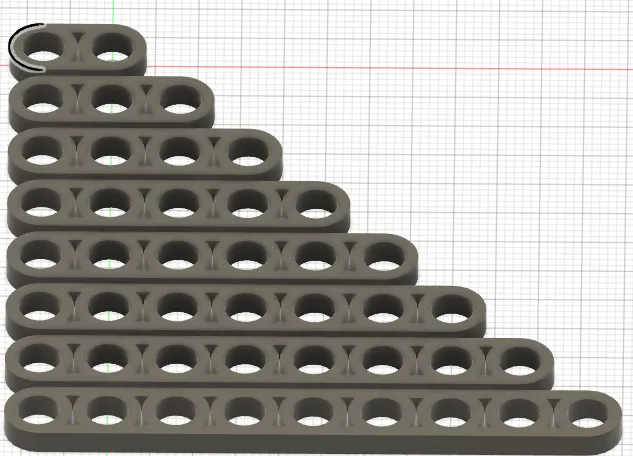
Straight bars: 2x-9x
cross bar: 2x,3x,4x (gears)
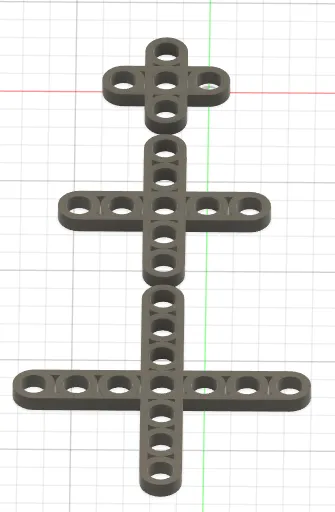
straight bar free (rails, guides): 3x-7x, 7x splitted
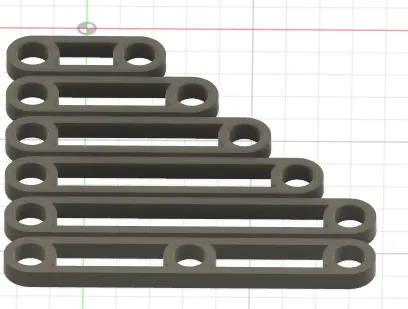
angle bar:
1x-3x
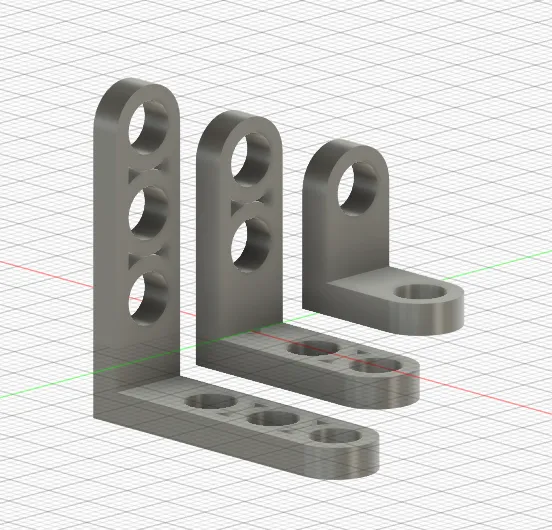
1xt 2xt
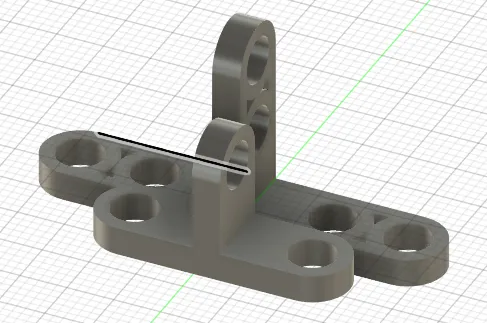
bone bars b2-b5
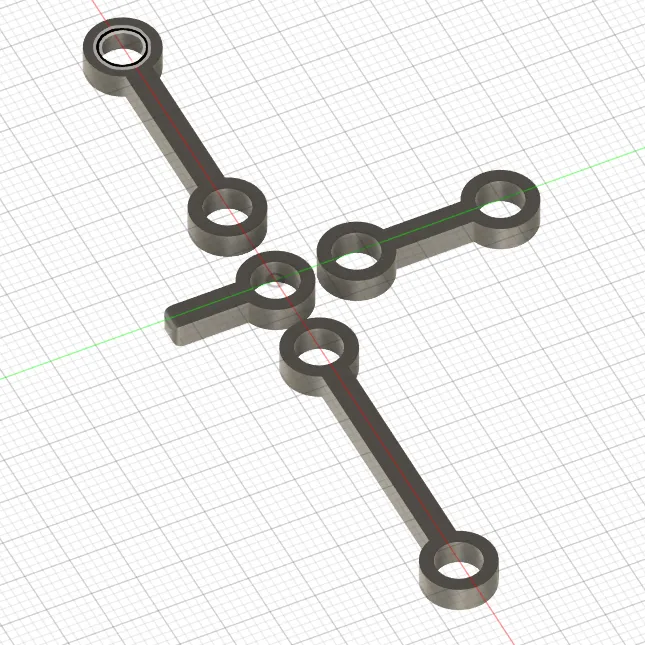
Plates
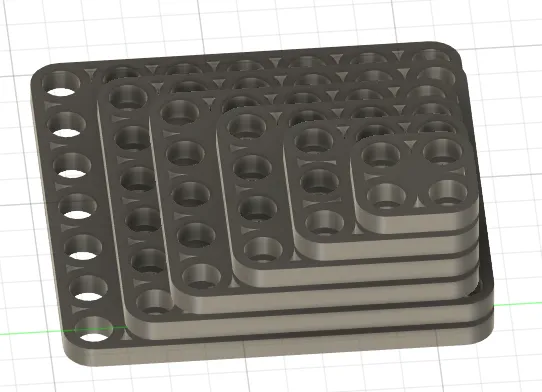
Square - 2x-7x
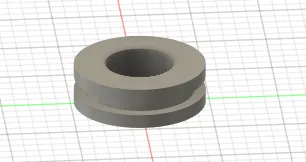
Pulley
spool
Tools
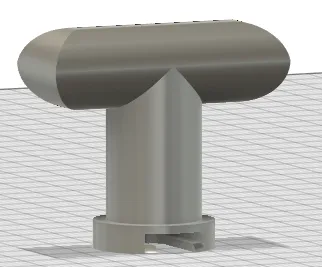
escape tool t-shape
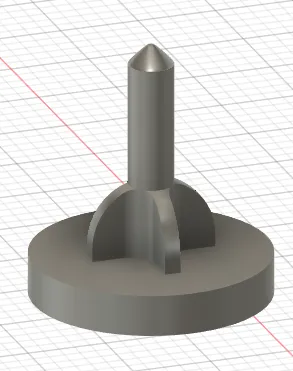
escape tool pike
escape tool wrench
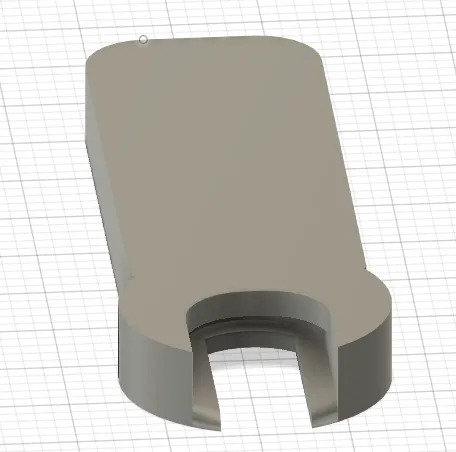
Joints
| tight | free |
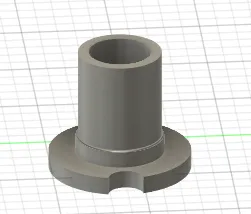 joint female tight | 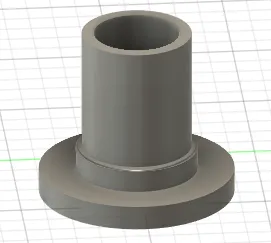 joint female free |
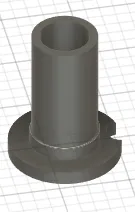 joint female tight triple | 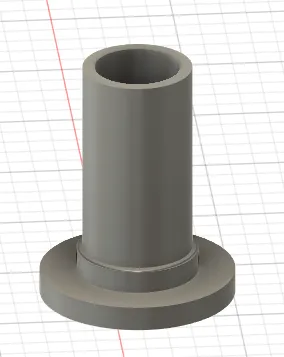 joint female free triple |
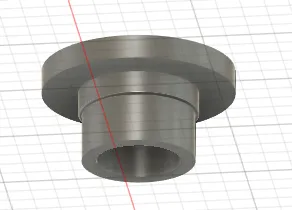 joint cup - can be colored | |
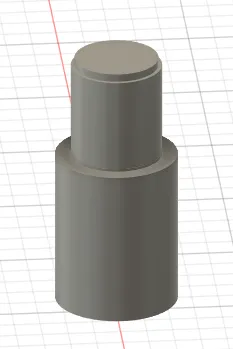 joint adapter female male | |
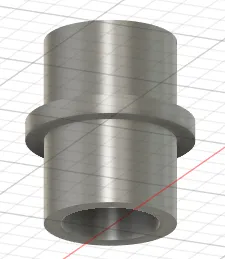 joint female female tight | |
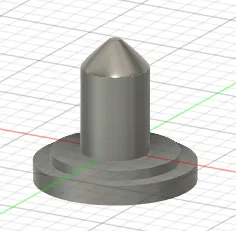 pin (joint male) | |
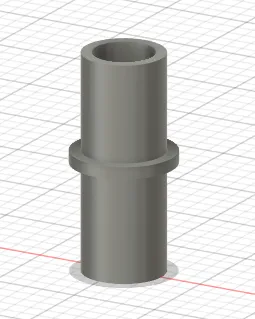 joint female female tight extend double | |
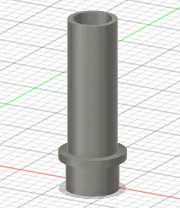 joint female female tight 4 | |
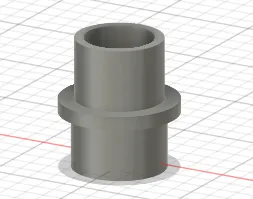 joint female female tight free | |
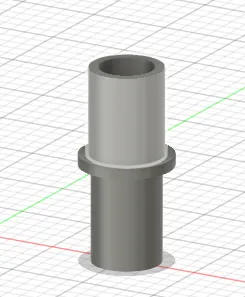 joint female female tight free extend double | |
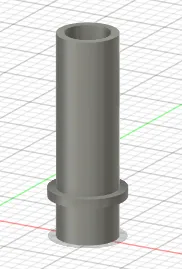 joint female female tight free 4 | |

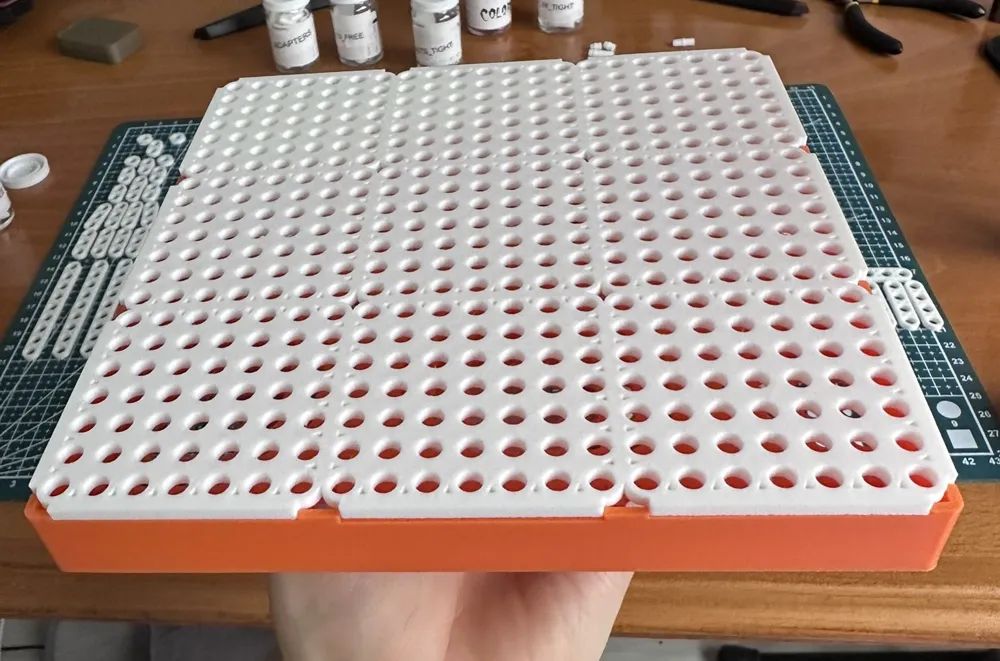
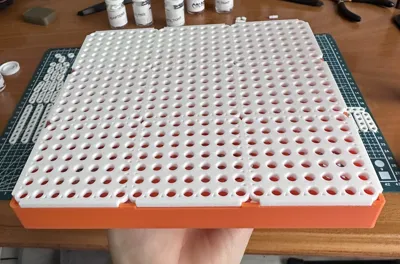
Case
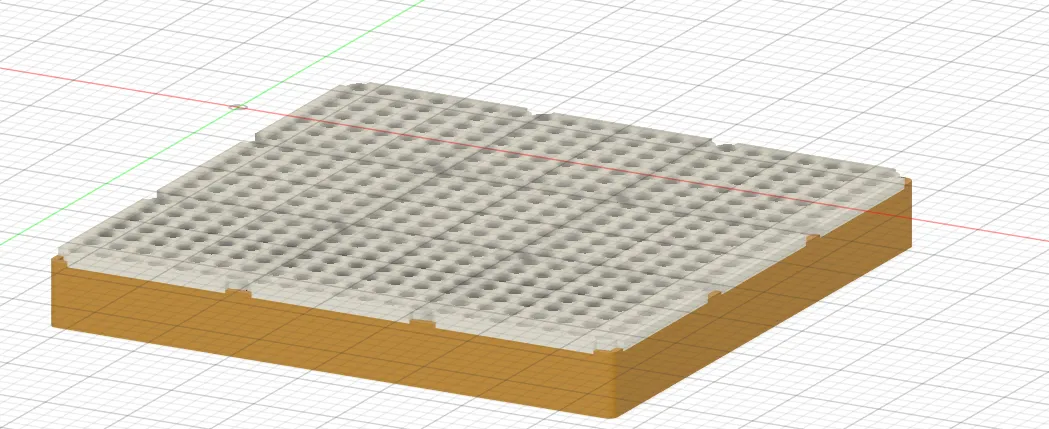
And yep - you can stack cases together
Examples
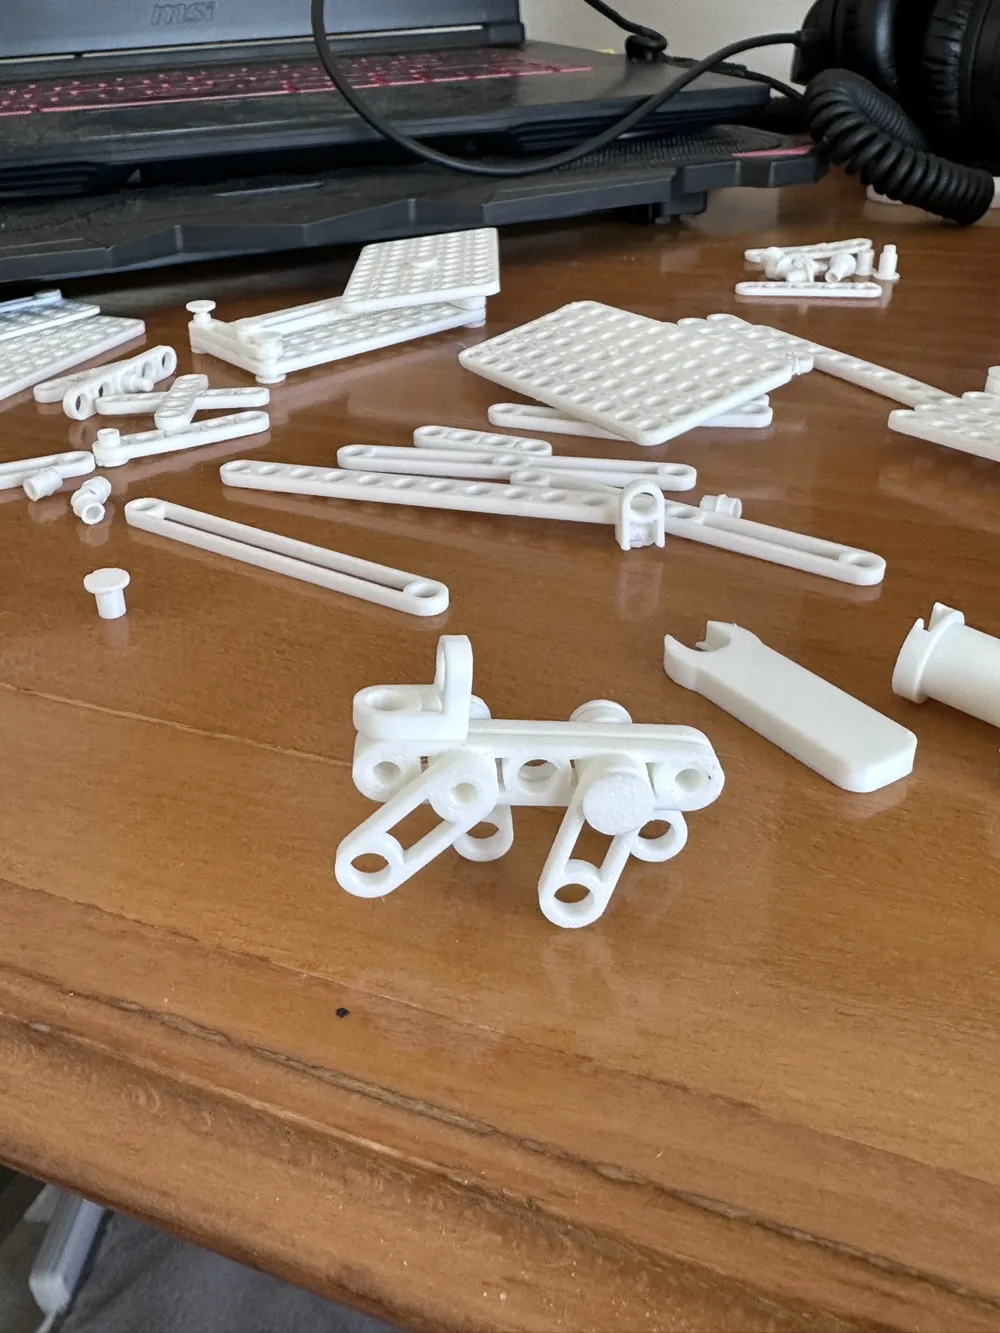
A dog (old)
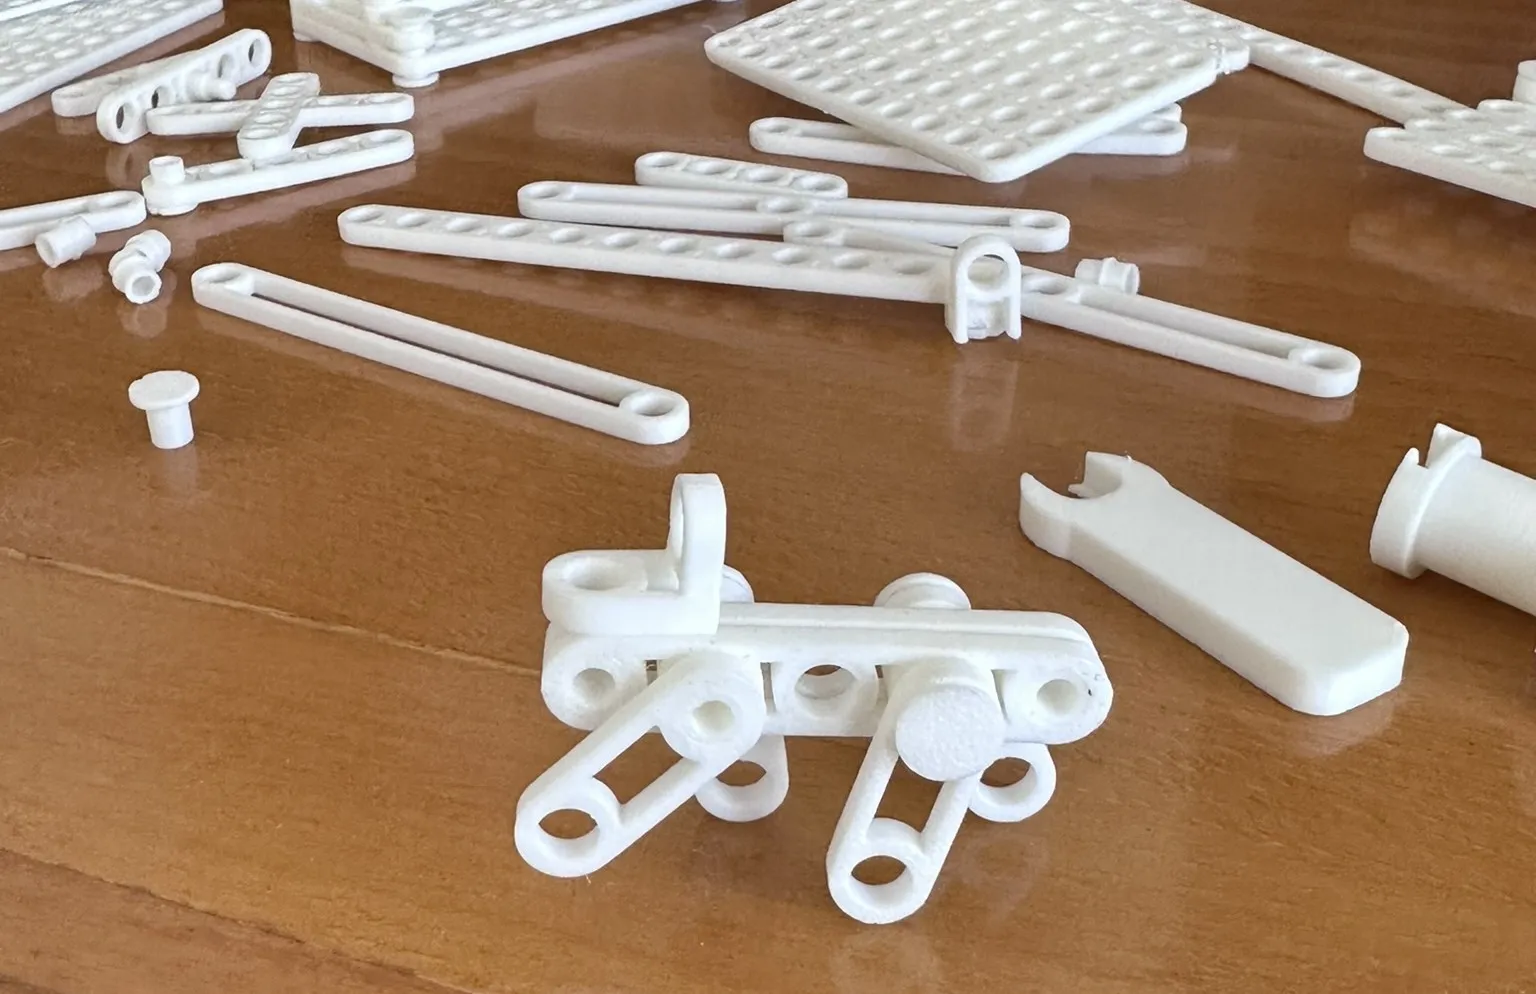
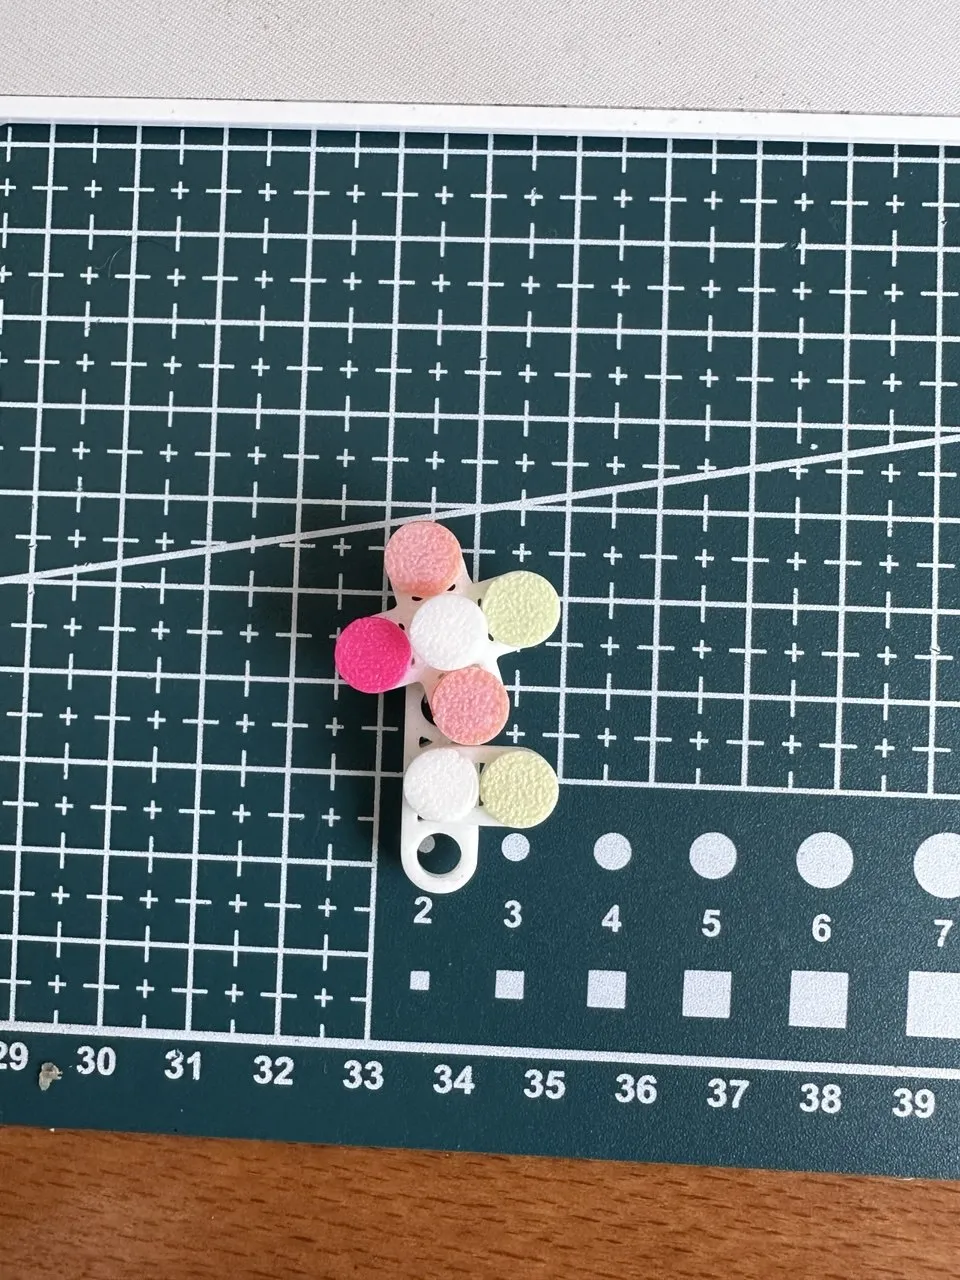
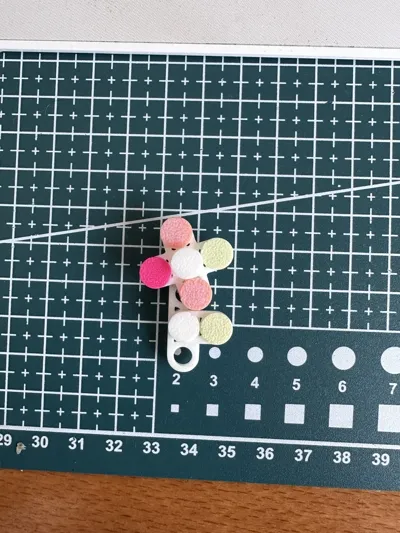

A flower (try blowing)

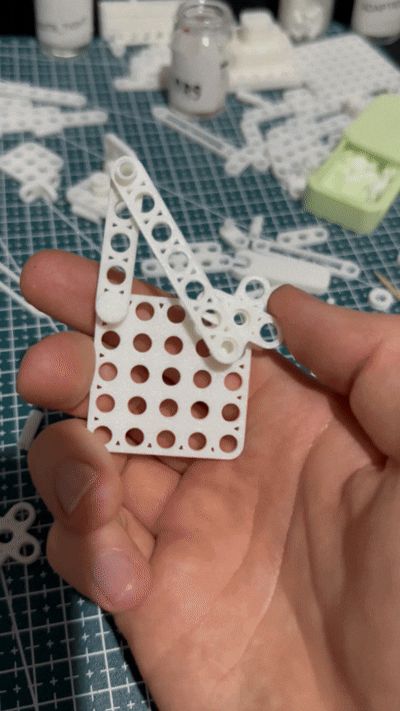

Slider-crank mechanism (type of 4 bar linkage)

I dunno, a zippo?
Print tips
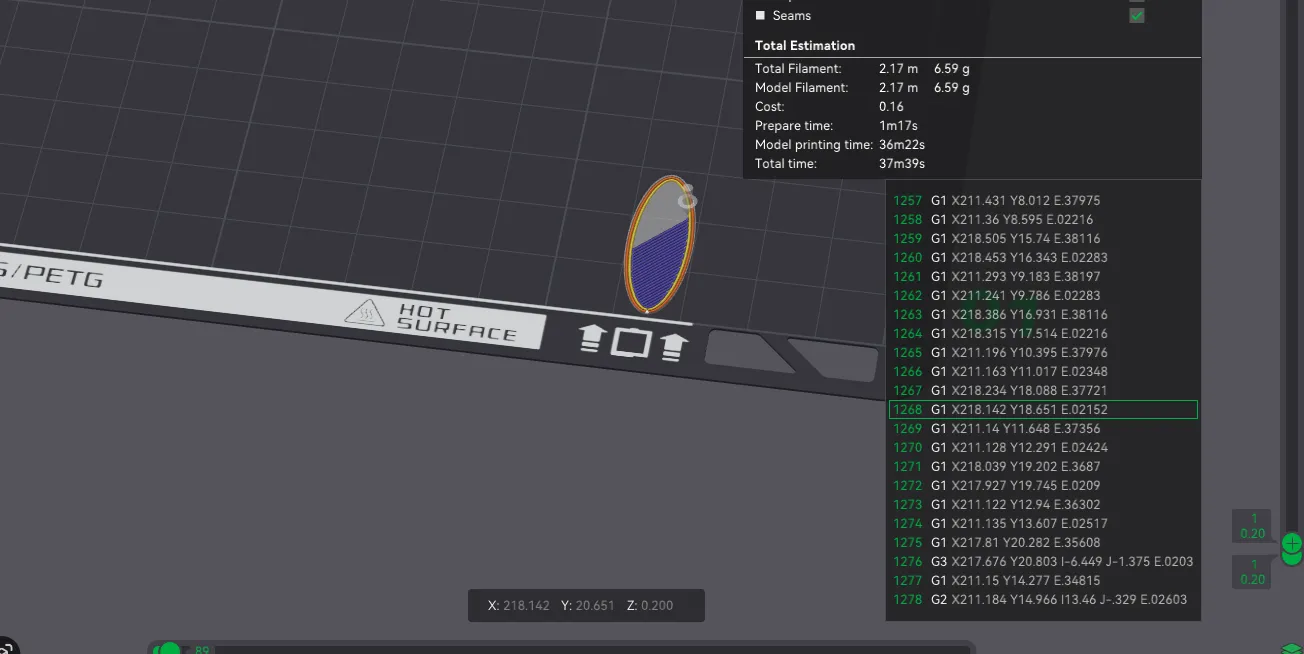
For faster printing and less filament waste, I used a modified print profile, unfortunately I can't upload it here in its original form, however I highly suggest you check out this video and create a similar profile for yourself
Default profile
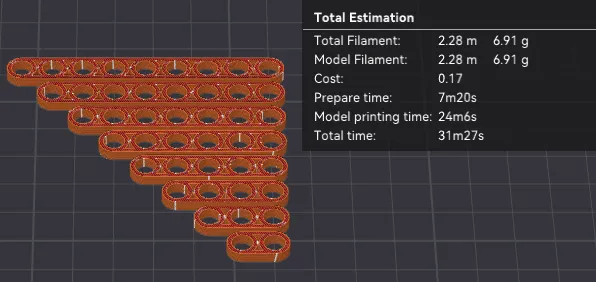
Modified profile
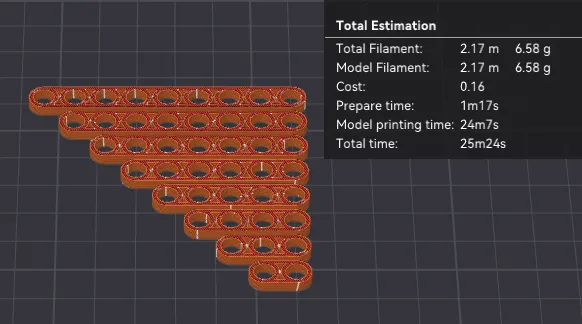
Don't forget when using a modified profile to add a primitive that will print first (see video). I use add primitive -> disc and scale a bit. This is enough to prepare the nozzle
Do profile modification at your own risk! Use the default profile if you are unsure!
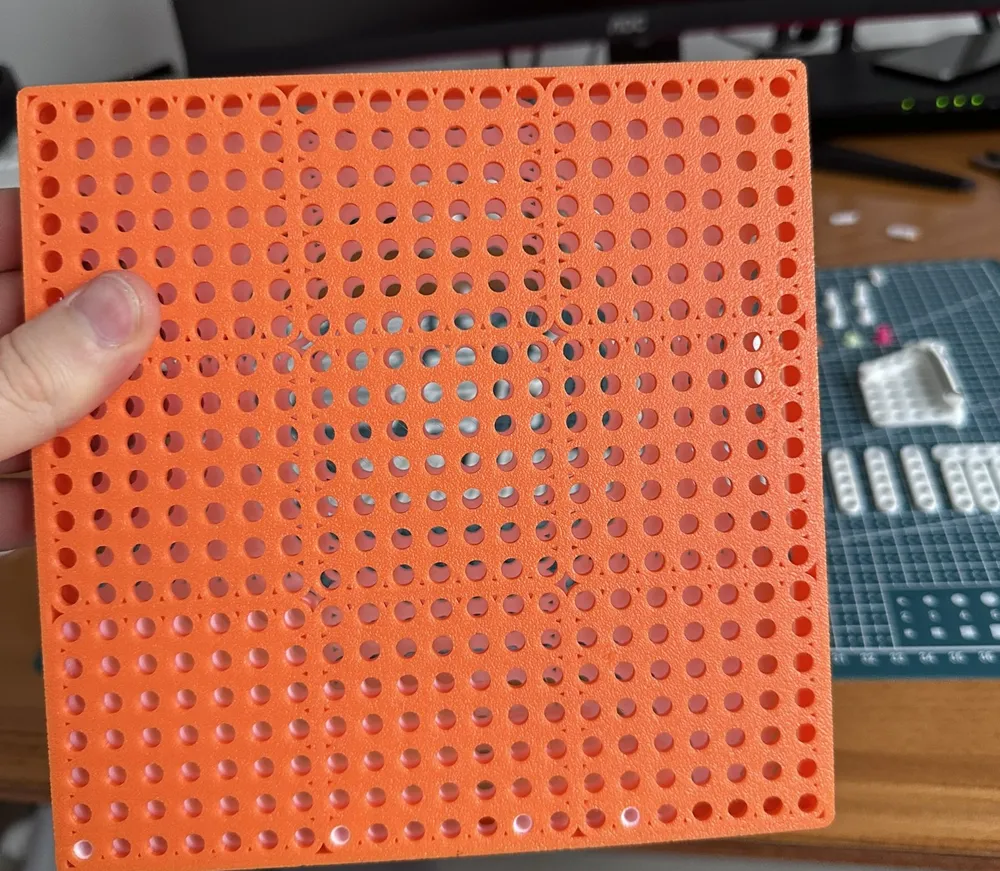
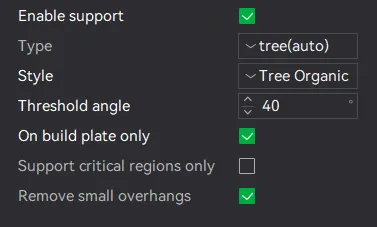
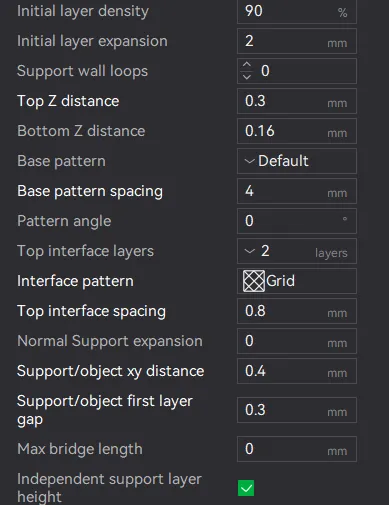
I also consulted Chat GPT for optimal support to make it easy to separate and chose those settings (hopefully they will persist in the print profile). These trees are really easy to clean up
 |  | 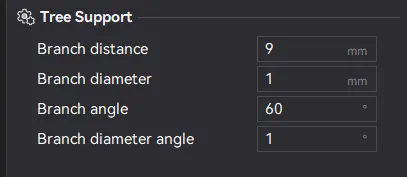 |
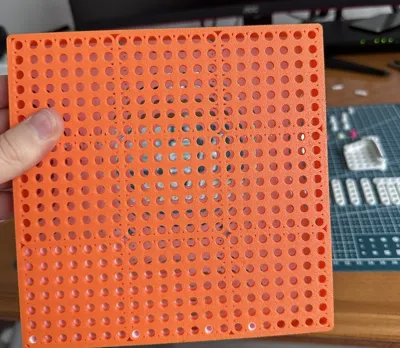
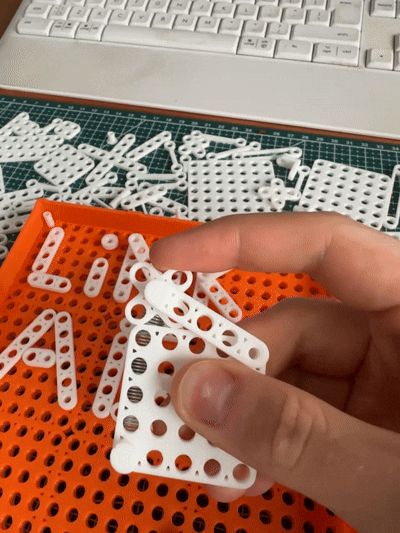
I also separated the items into different directories so that you could print everything at once, as well as refill for needed items
Plans and ideas
Some ideas and plans that I want to implement going forward:
- Additional elements (I will add some variations of angle bars, connectors for servos and motors, rectangular plates, etc)
- Add new examples of mechanisms to the description
Boost Me (for free)
This is my first big work here, would love your support ❤️, it will give me motivation to keep going!
- Gradually add print profiles
- Far future: Makerworld app for modeling mechanisms before printing, parametric creation of elements (but for now it's a wet dream)
- More tutorials (maybe I'll upload a couple of videos on YouTube)
Stay tuned! ✌️
P.S. useful videos on the subject
Documentation (8)
License



Comment & Rating (7)