
Chair Attached Fishing Table
Print Profile(3)


Bill of Materials
- M5 Nut x 2:
- M5x40mm hex bolt x 1:
- M4 Nut x 1:
- M4x25mm hex bolt x 1:
- M5x30mm Countersunk Cross Philips bolt x 1:
Description
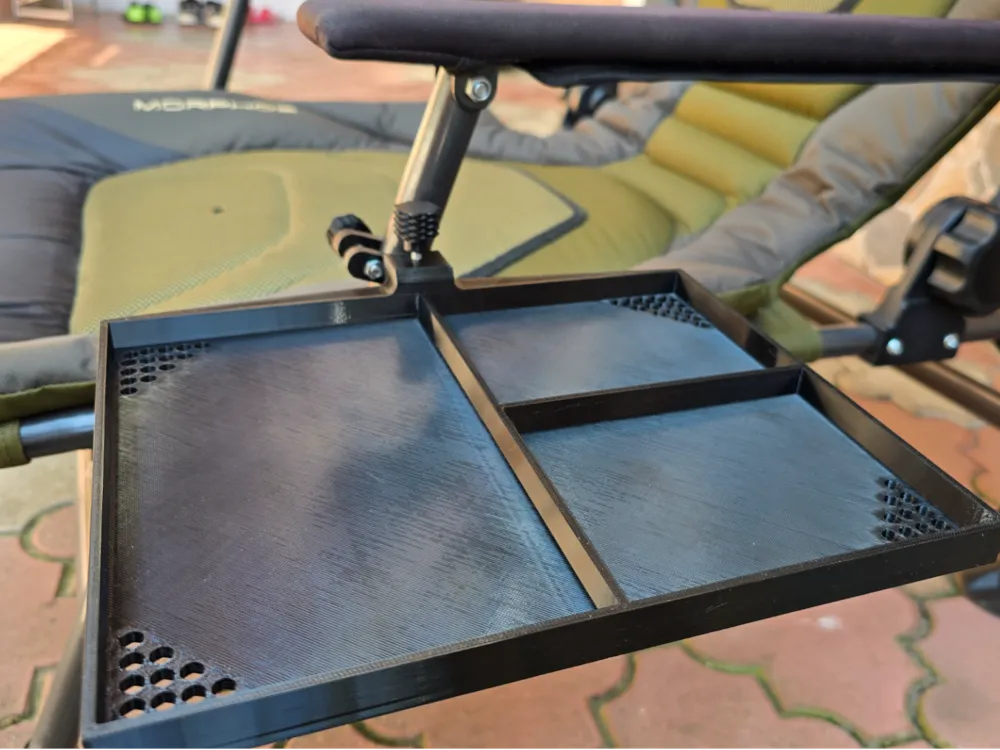
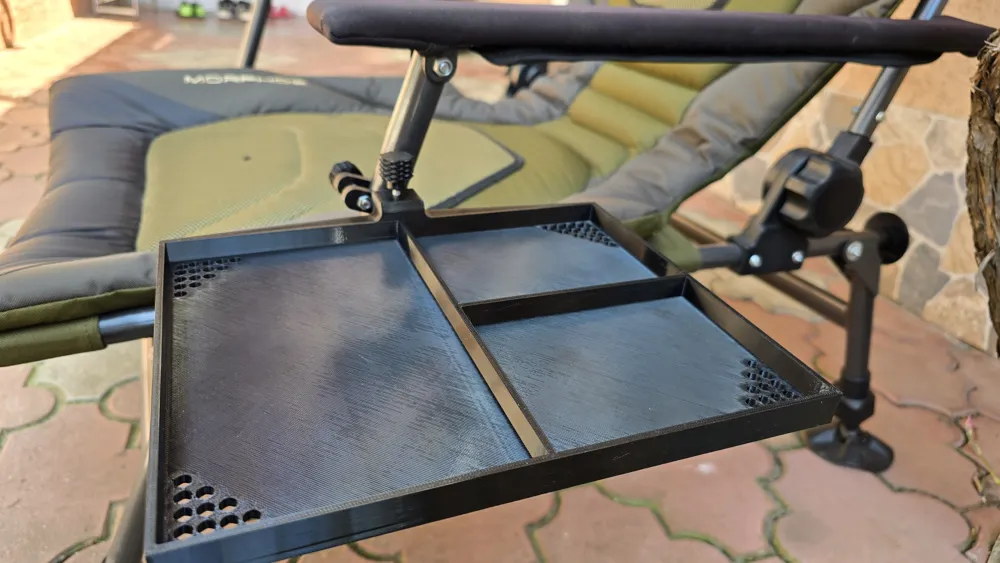
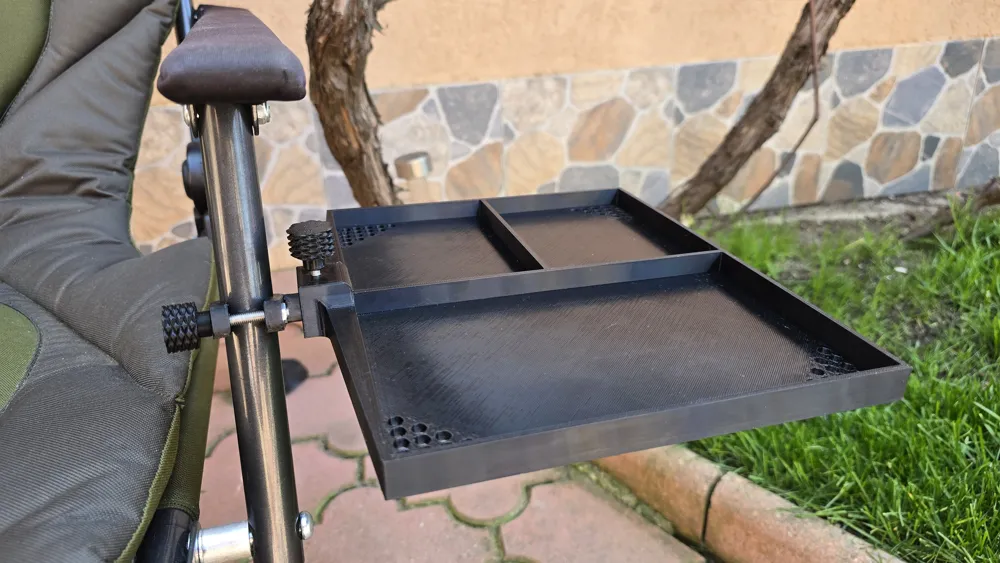
3D-Printed Pivoting Fishing Table for Chair Mounting
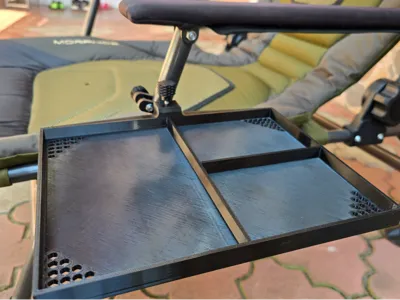
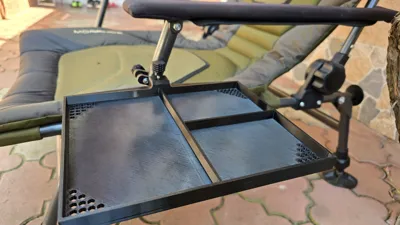
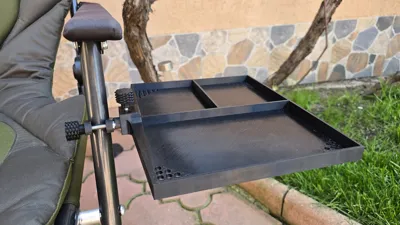
This compact, durable fishing table is designed to attach directly to your fishing chair, offering a stable and convenient surface for bait prep, tackle organization, or a quick snack. It features a pivoting mechanism that allows it to swing or tilt, preventing gear or items from sliding off—even when adjusting your seat or fishing on uneven terrain.
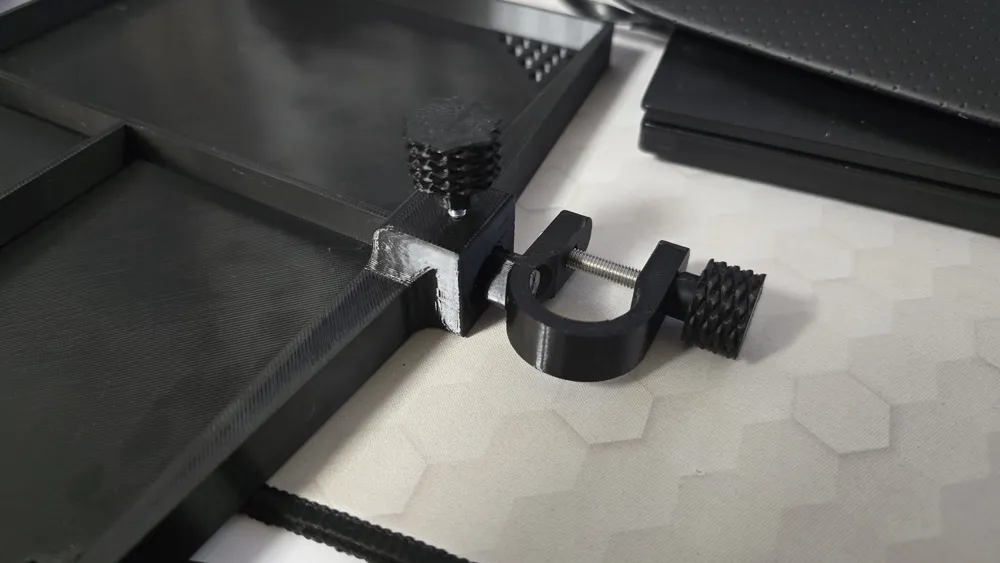
The table secures firmly to your chair using a robust bolt-and-bracket mounting system, ensuring a solid and wobble-free connection. It’s designed to be compatible with most fishing chair frames and can be easily removed or adjusted when needed.
Raised edges keep small tools and bait from slipping off, while optional drainage holes make cleanup quick and hassle-free. Whether you're at the bank, on a pier, or chilling by the lake, this table keeps your essentials within easy reach without compromising comfort or mobility.
Materials needed
2 x M5 Nut
1 x M5x40mm hex bolt
1 x M4 Nut
1 x M4x25mm hex bolt
1 x M5x30mm Countersunk Cross Philips bolt
Printing
- When printing the table , you will have 2 pauses, one for putting in the M5 nut, and the 2nd pause to put the M4 nut.
- When printing the Bolts, you will have again 2 pauses, one for each bolt (M4 & M5).
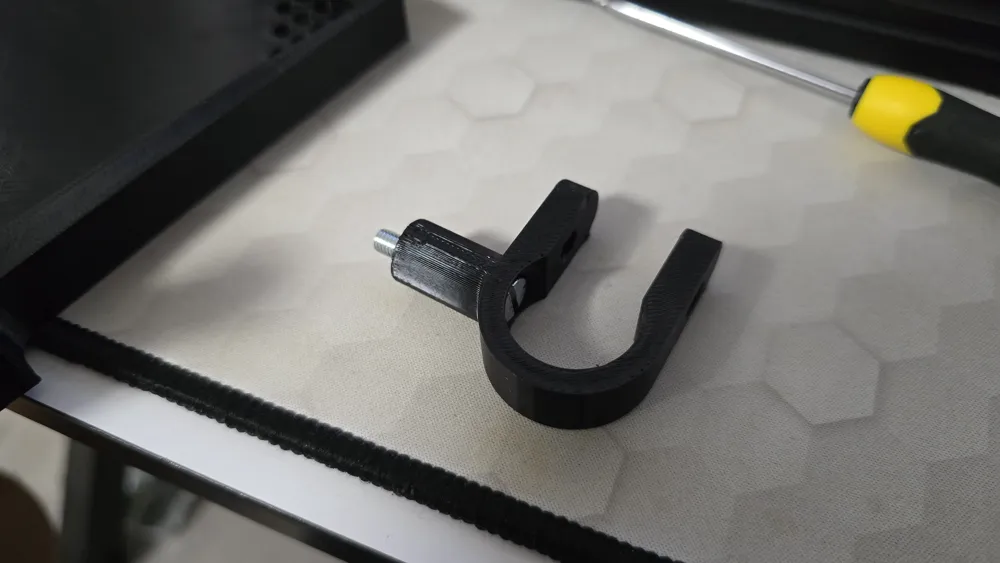
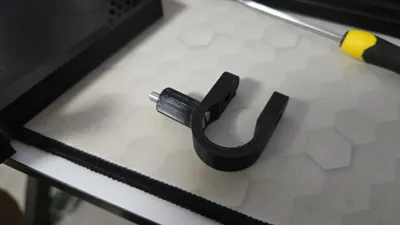
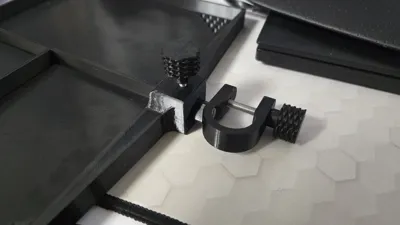
- I've attached 2 brackets, you can choose the one you find fitted for you. The smaller one is suitable for chairs with a pipe diameter of 18-23mm, while the larger bracket is suitable for 23-26mm. After printing the bracket, you have a space to push in the M5 nut that will help secure it to the chair.
I recommand that you print in PETG, i've tried with PLA+ and noticed it warps after some time in the sun.
Boost Me (for free)
Stay tuned for more builds—because when you can print your own tools, there’s no limit to what you can create! 🛠️🎣
License

You shall not share, sub-license, sell, rent, host, transfer, or distribute in any way the digital or 3D printed versions of this object, nor any other derivative work of this object in its digital or physical format (including - but not limited to - remixes of this object, and hosting on other digital platforms). The objects may not be used without permission in any way whatsoever in which you charge money, or collect fees.


Comment & Rating (24)