
Movie Accurate Big Hero Six Megabot
Print Profile(1)

Bill of Materials





- glue x 1:
Description
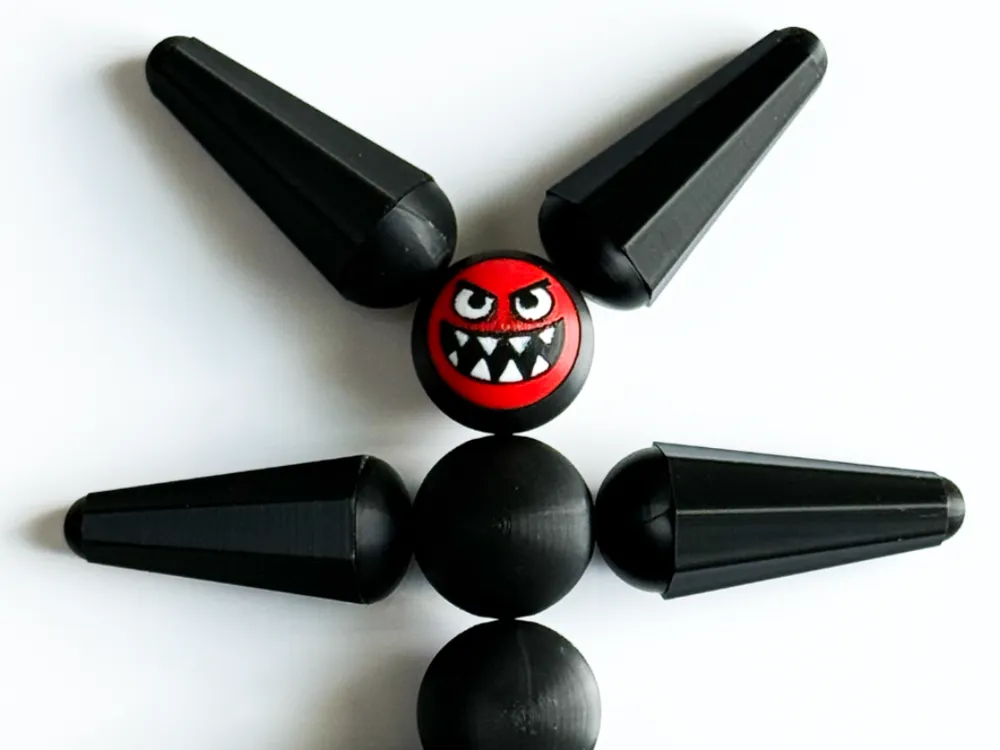
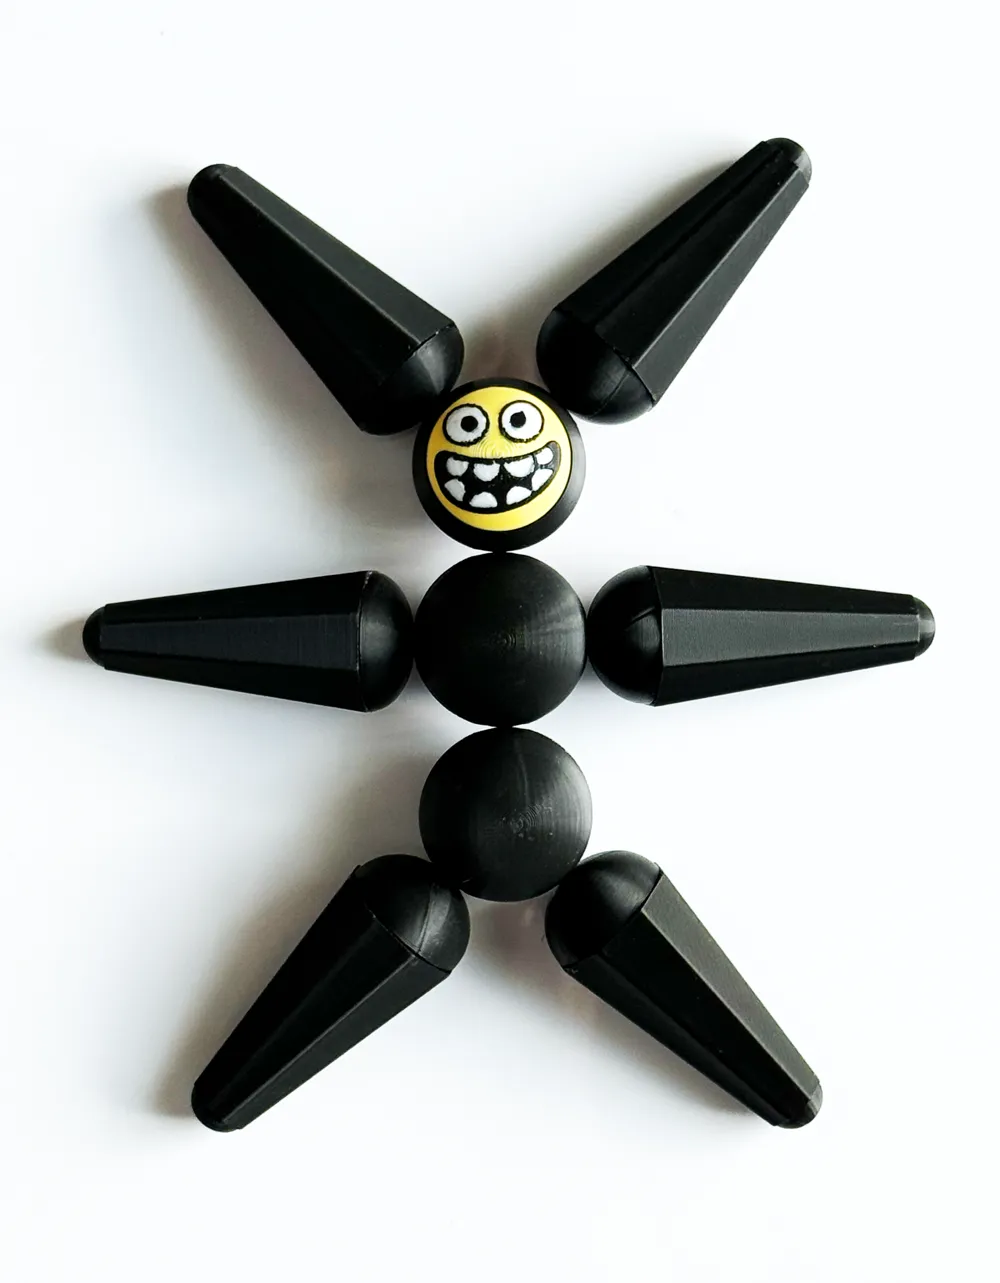
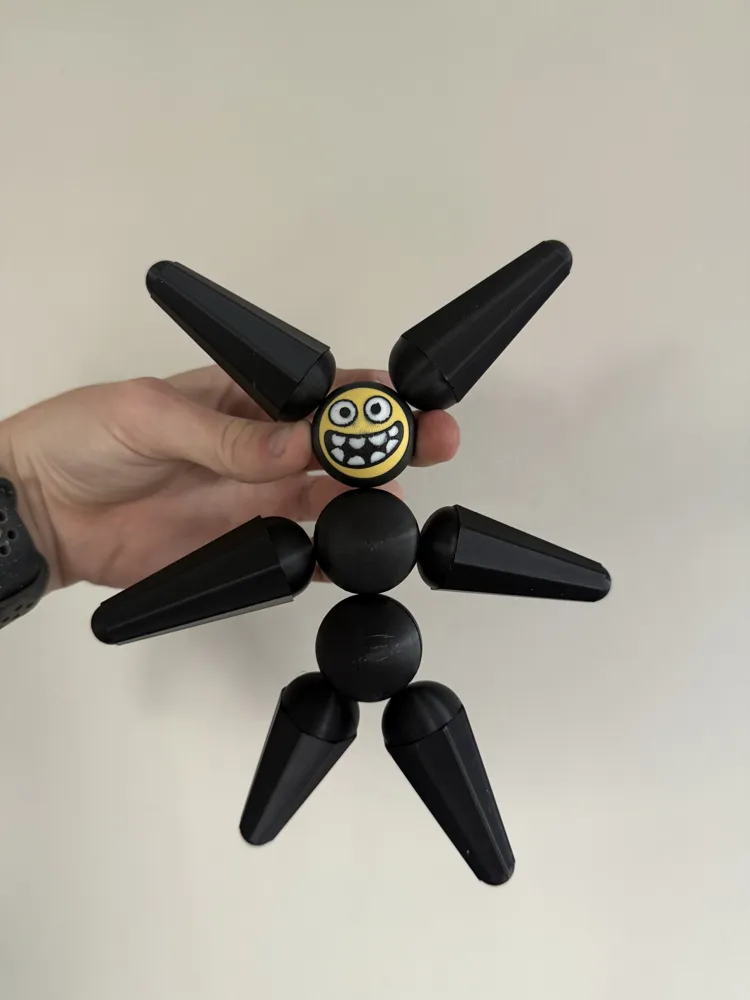
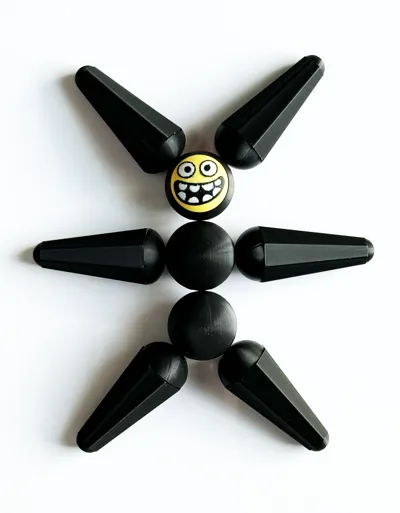
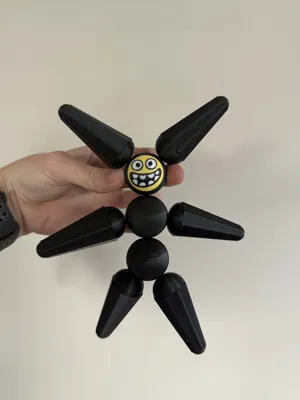
Hi Everybody! This is my new refined model of the megabot from my favorite movie, Big Hero 6. Unlike the last, this uses 10x3 magnets, which makes a completely functional toy to play with. It is not extremely strong, but still enough to pick it and play with it.
Also, if you print this model, I would love to hear your feedback, and hopefully make this model even better. With that in mind, happy printing!
Boost Me (for free)
Boost for more models like this!
INSTRUCTIONS:
once you print all plates you should end up with 4 arms, 2 ears, their complementary half circles, 2 middle body half circles, 2 bottom half circles, the happy face, angry face, and the 9 assembly squares.
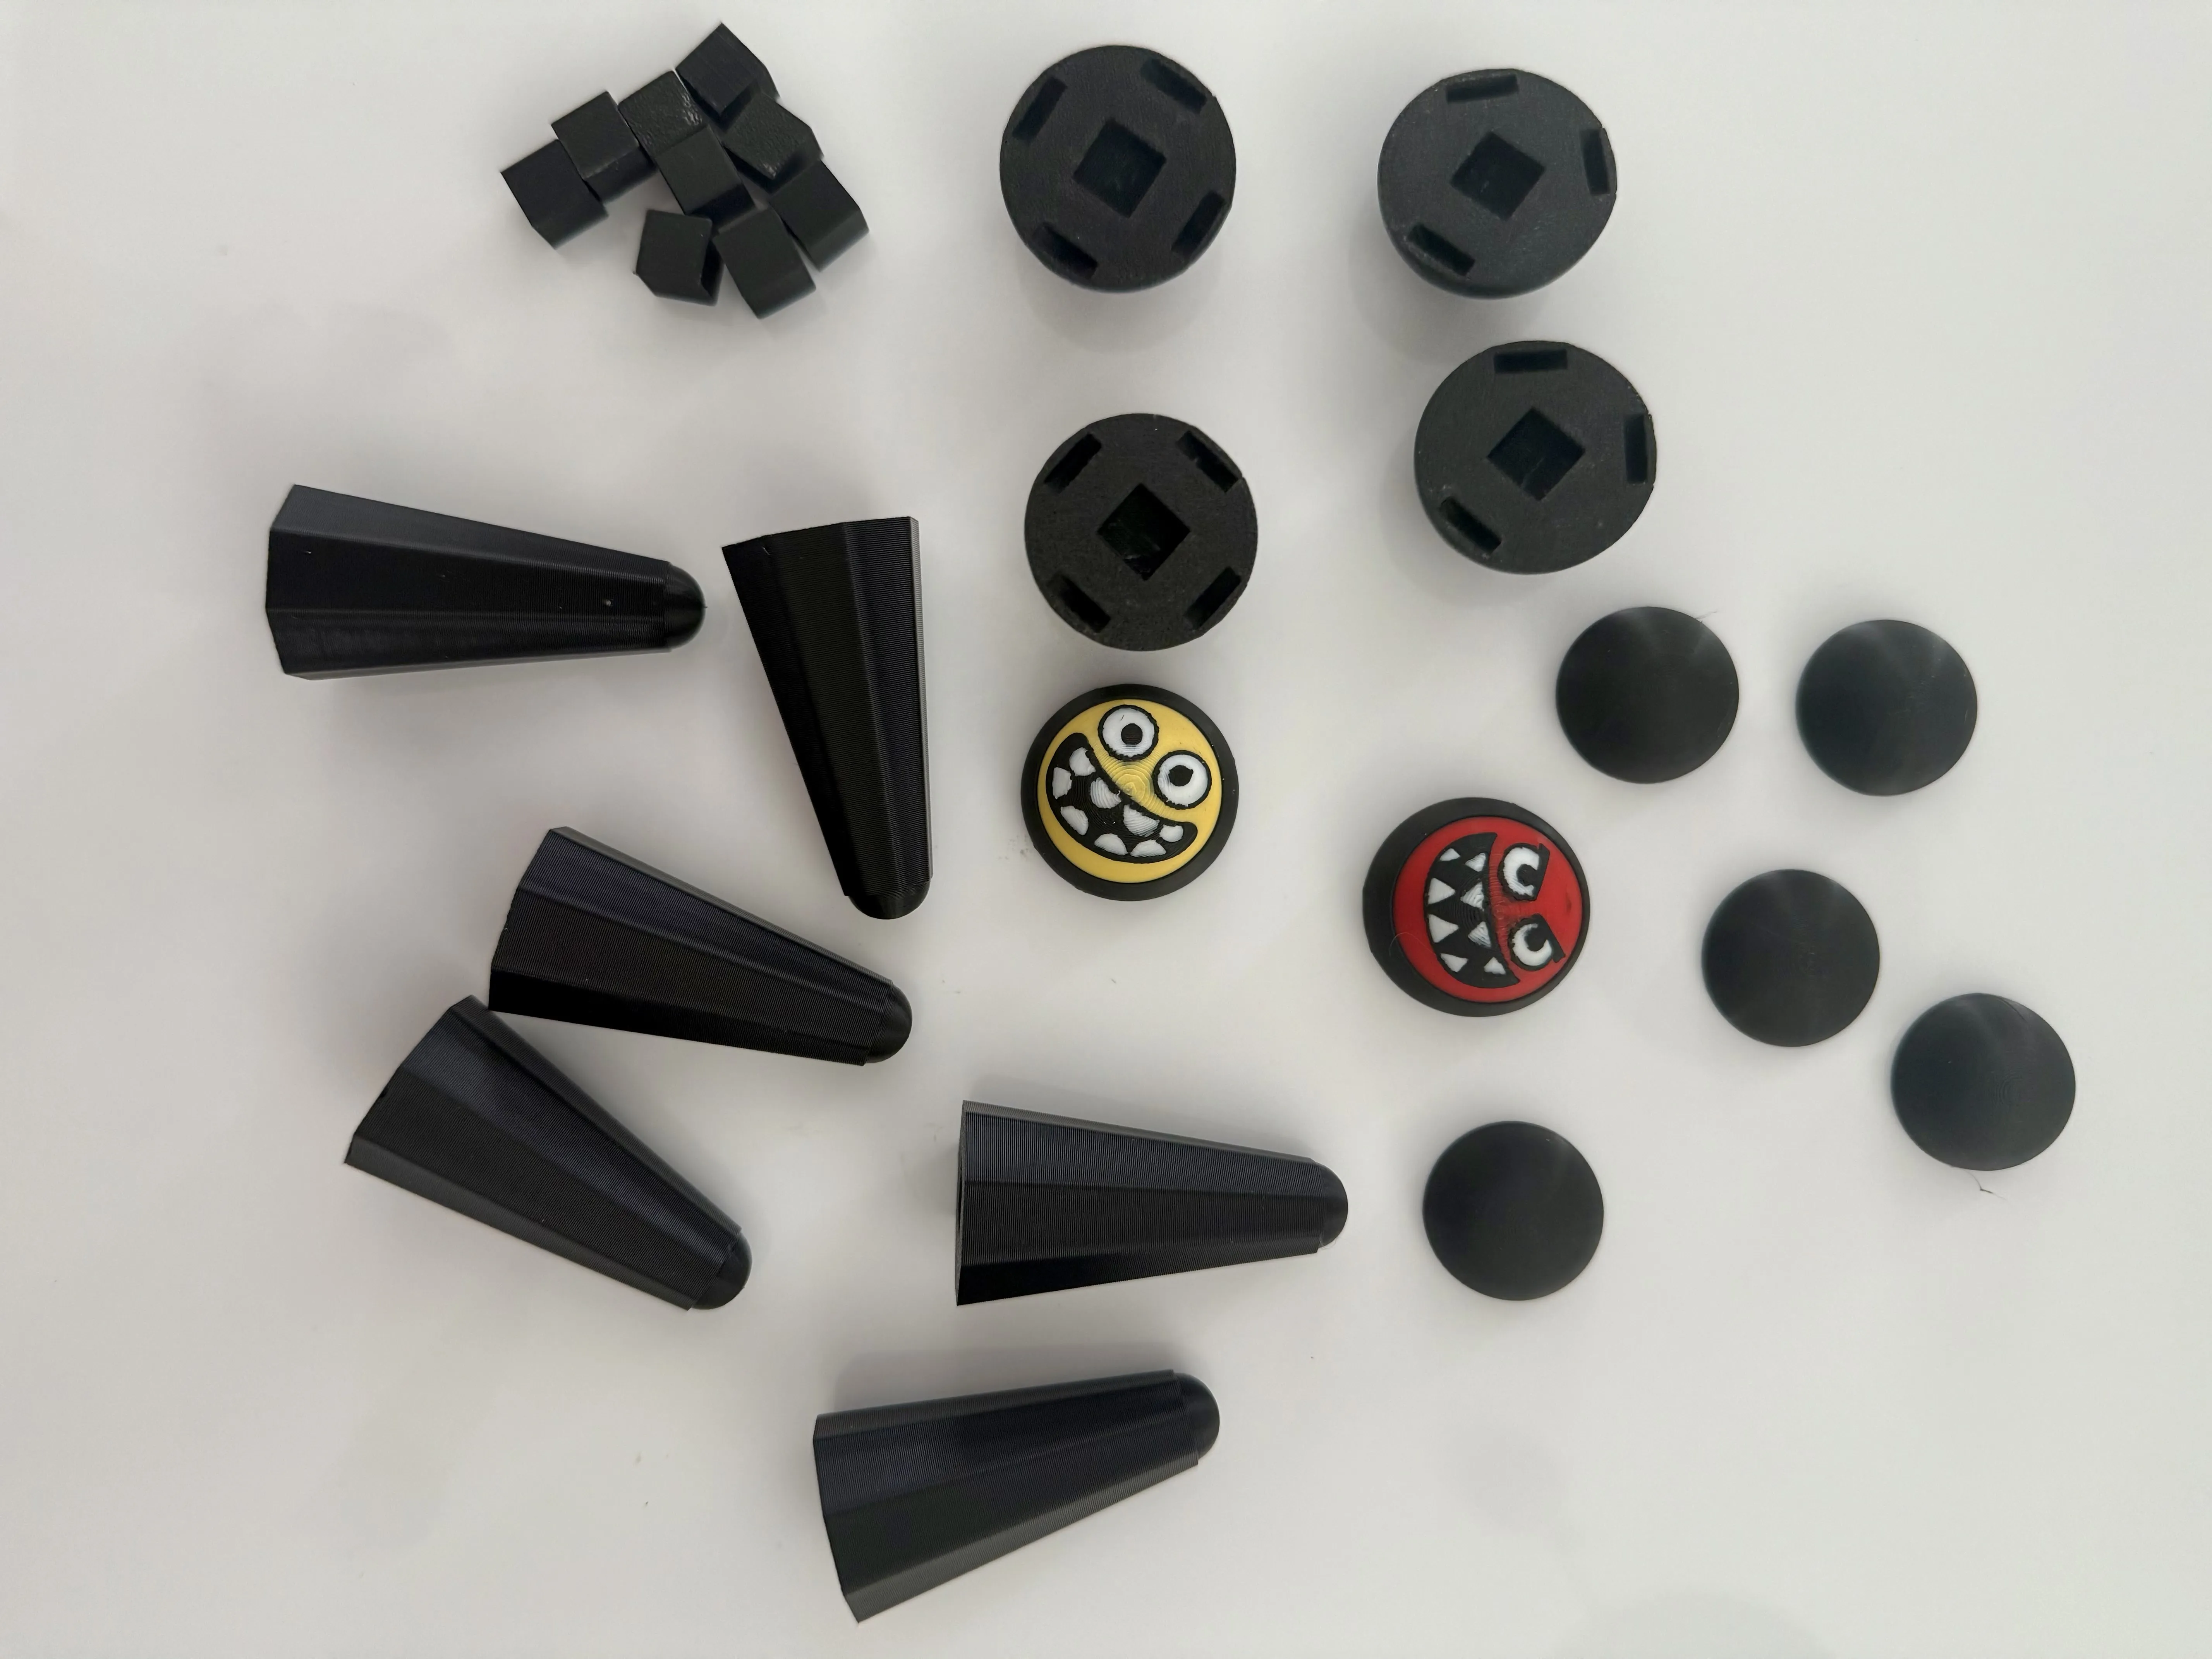
the arm and ears do have different sizing, so make sure that you put the deeper hole from the bigger piece into the smaller hole in the half circle and vice versa.
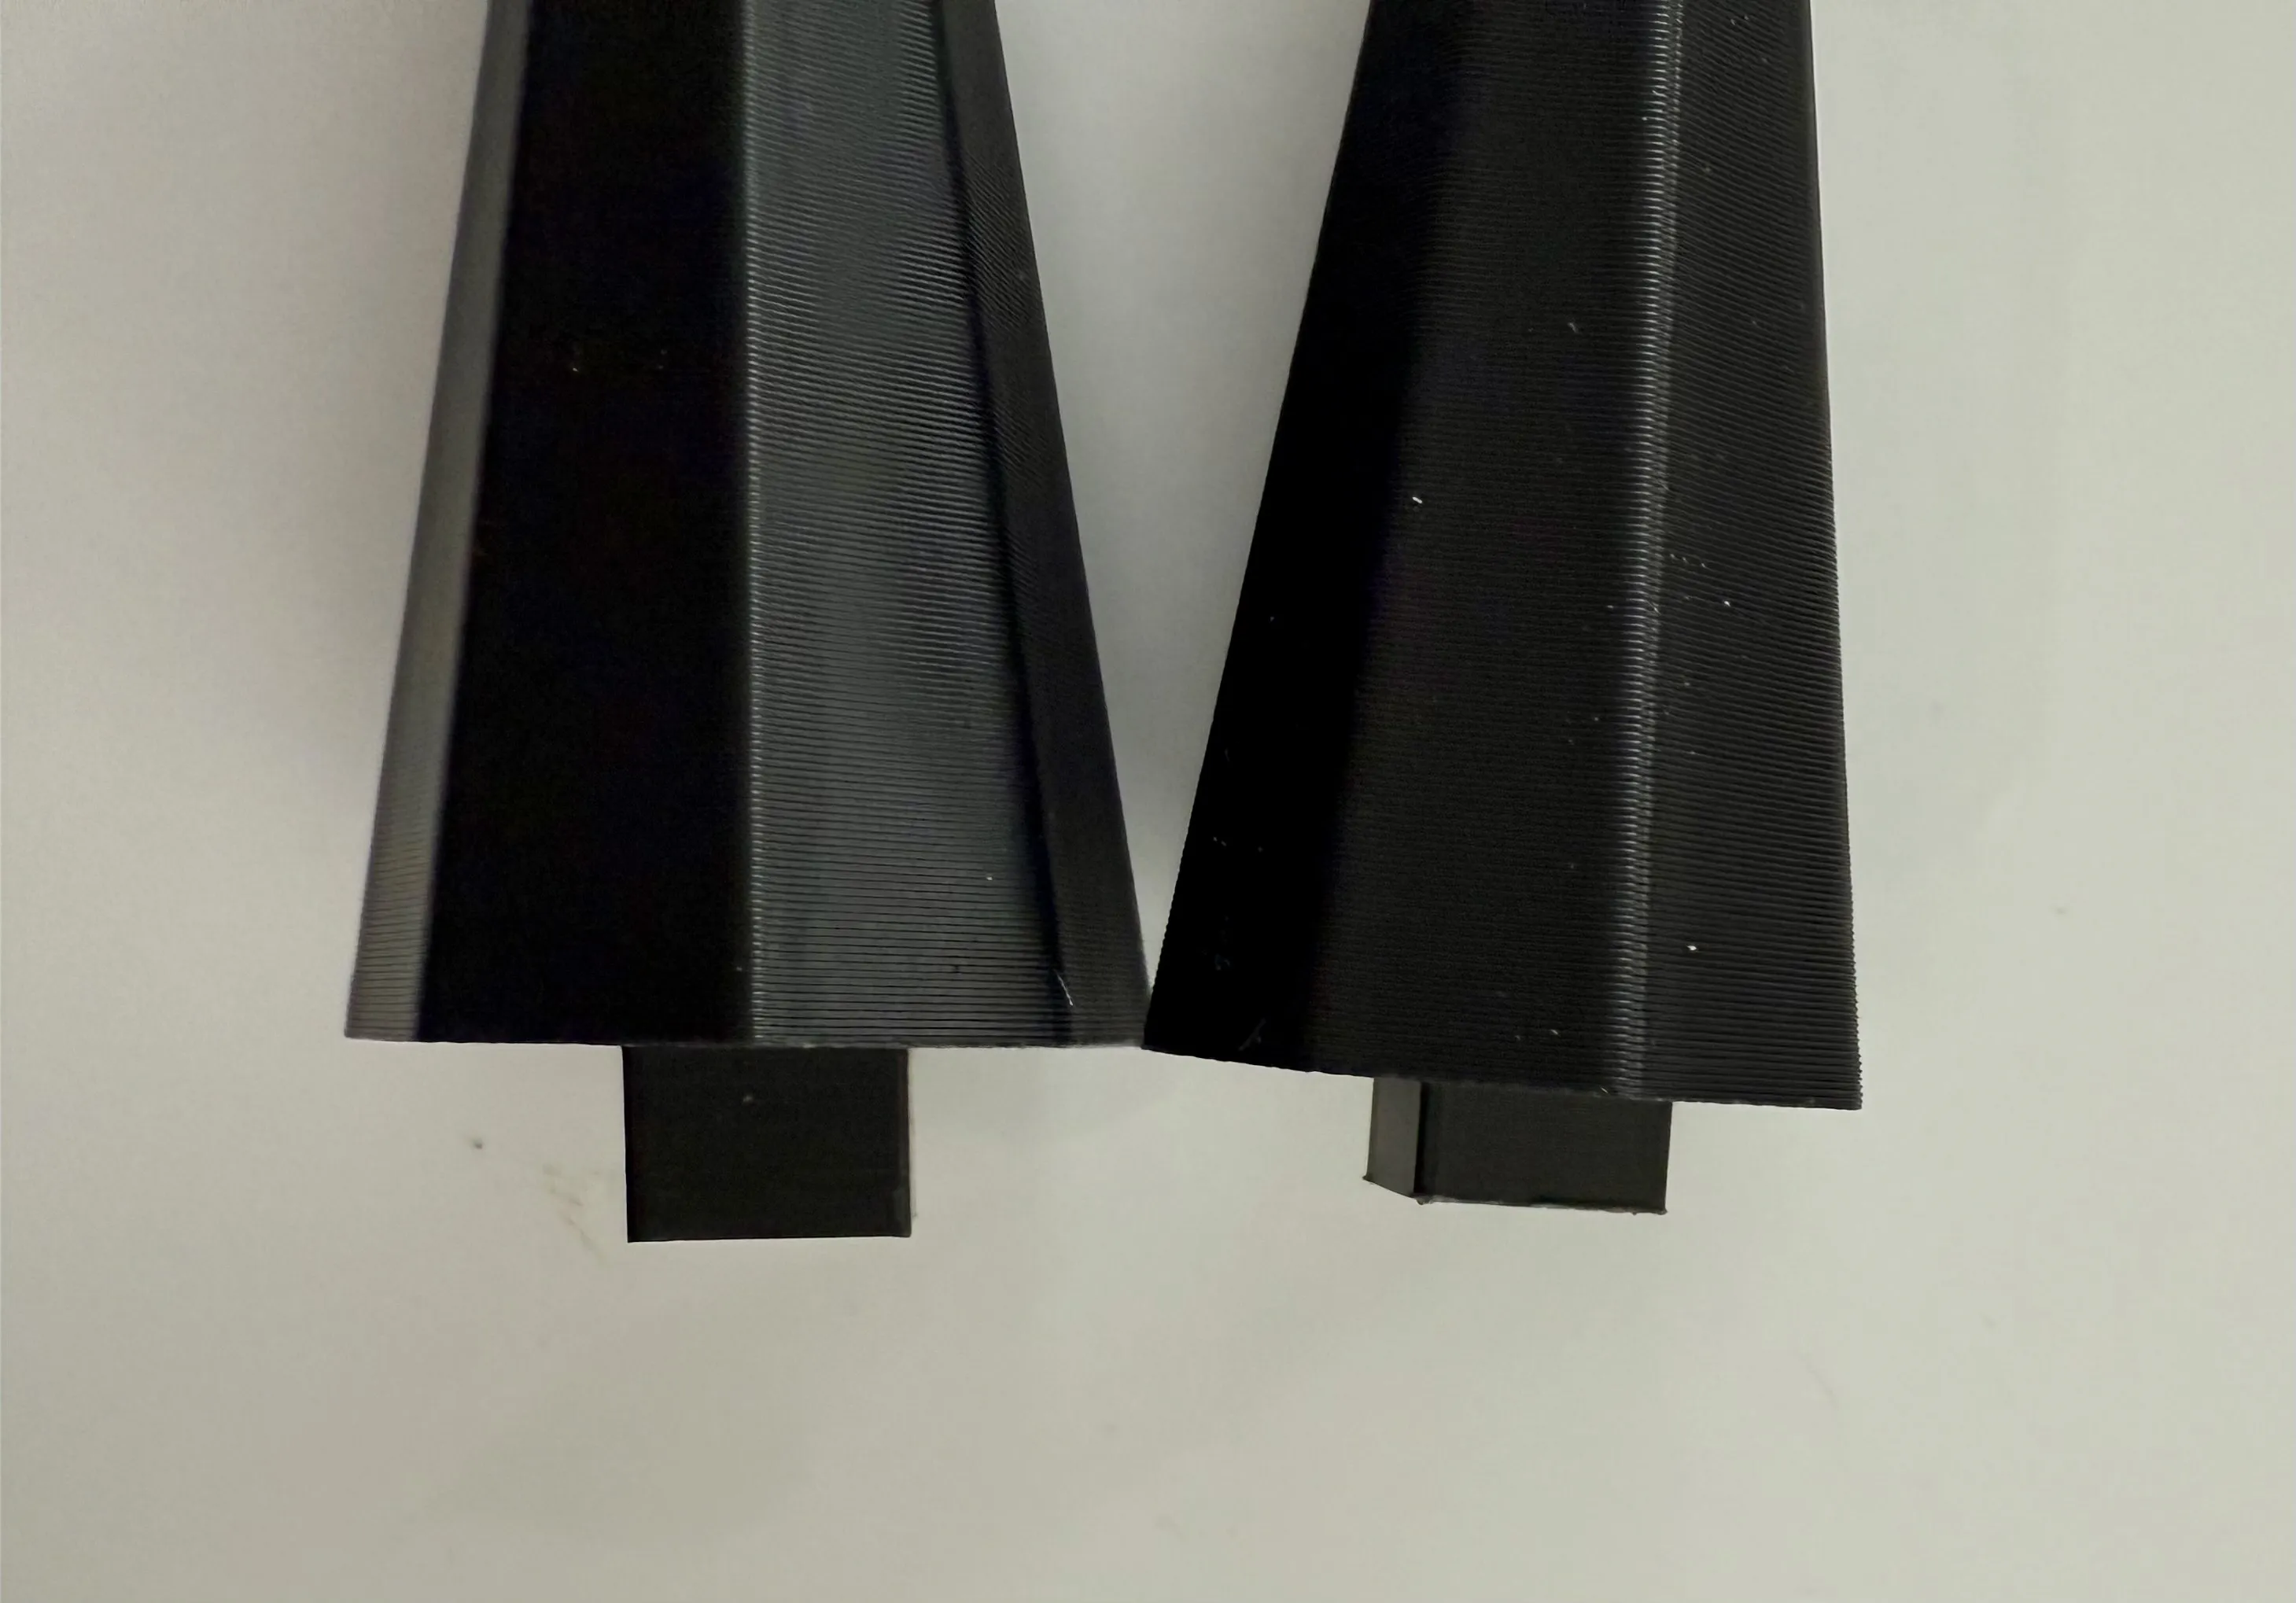
Before you glue the ears and arms together, make sure you set a magnet into the half circles, and make sure the magnets are the right pole before gluing them together. My pieces did take some persuasion to into the holes, so if you have any issues, just tap them in with something. one thing, MAKE SURE the magnets are fully seated or the piece will stick out a bit.
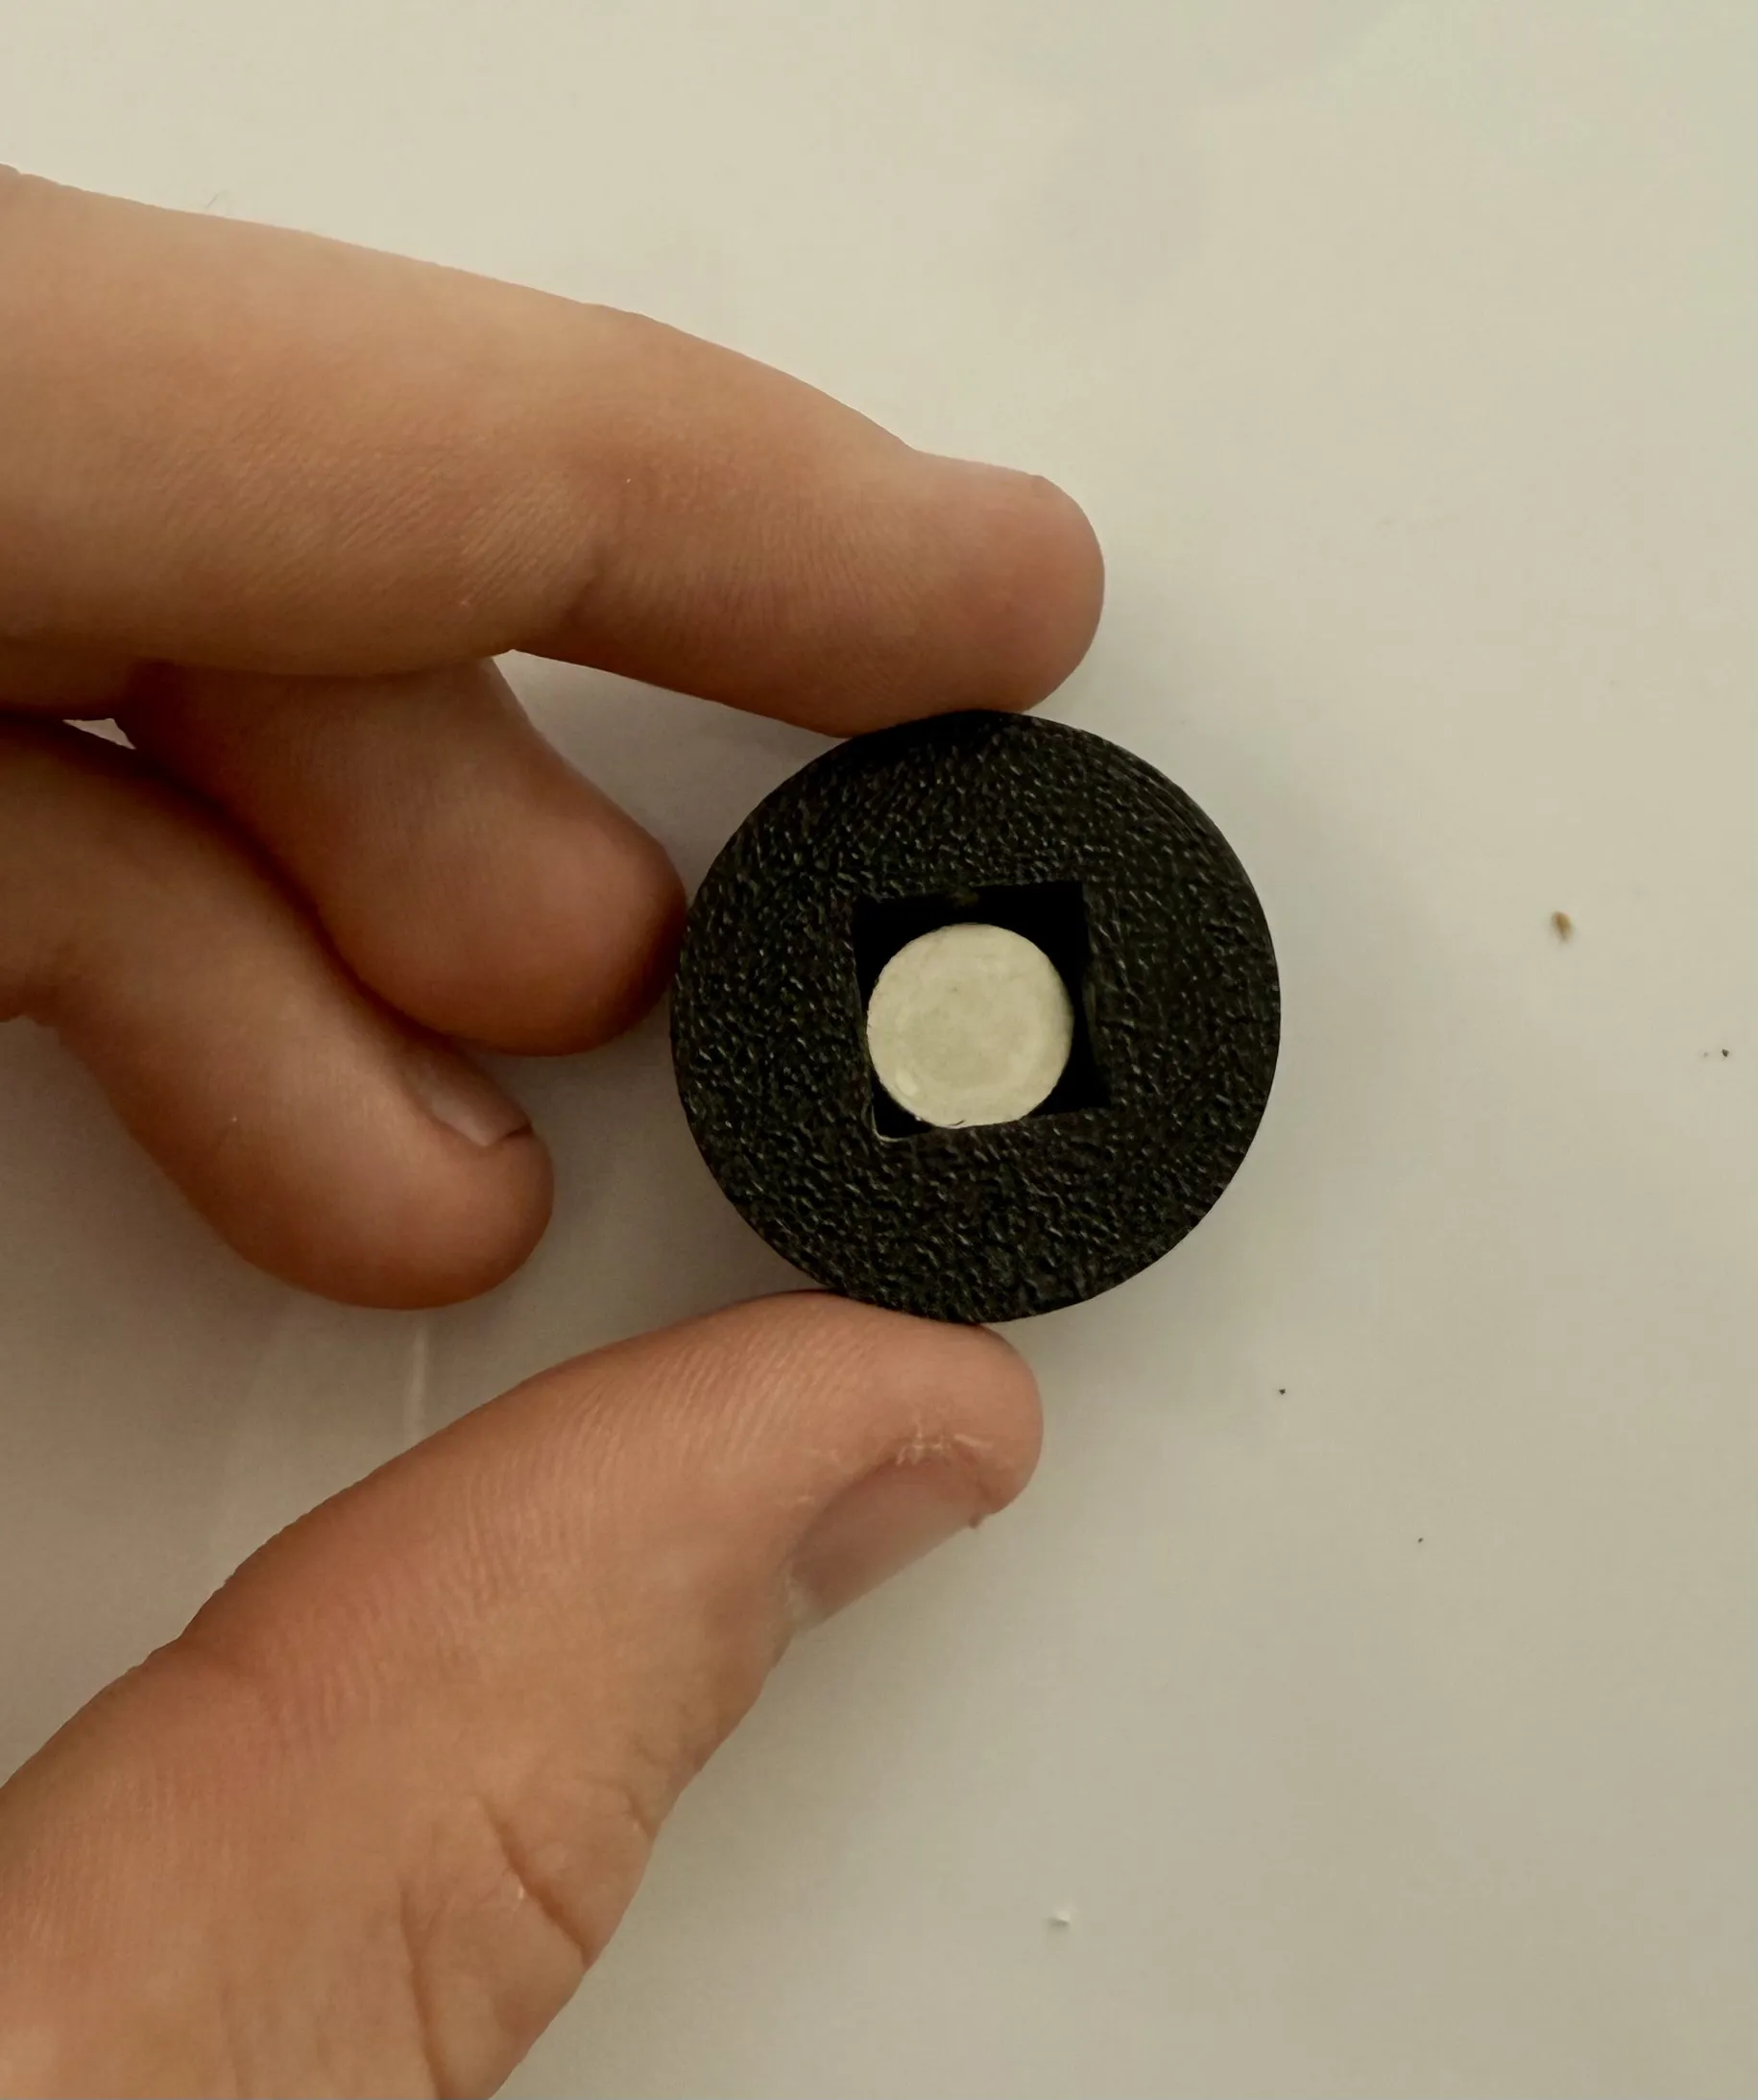
Once you have the appendages put together, the last step is to put the body pieces together. This part is extremely straight forward, all you do is set a cube in the center, and place magnets in the surrounding holes, MAKING SURE you put them in the right orientation.
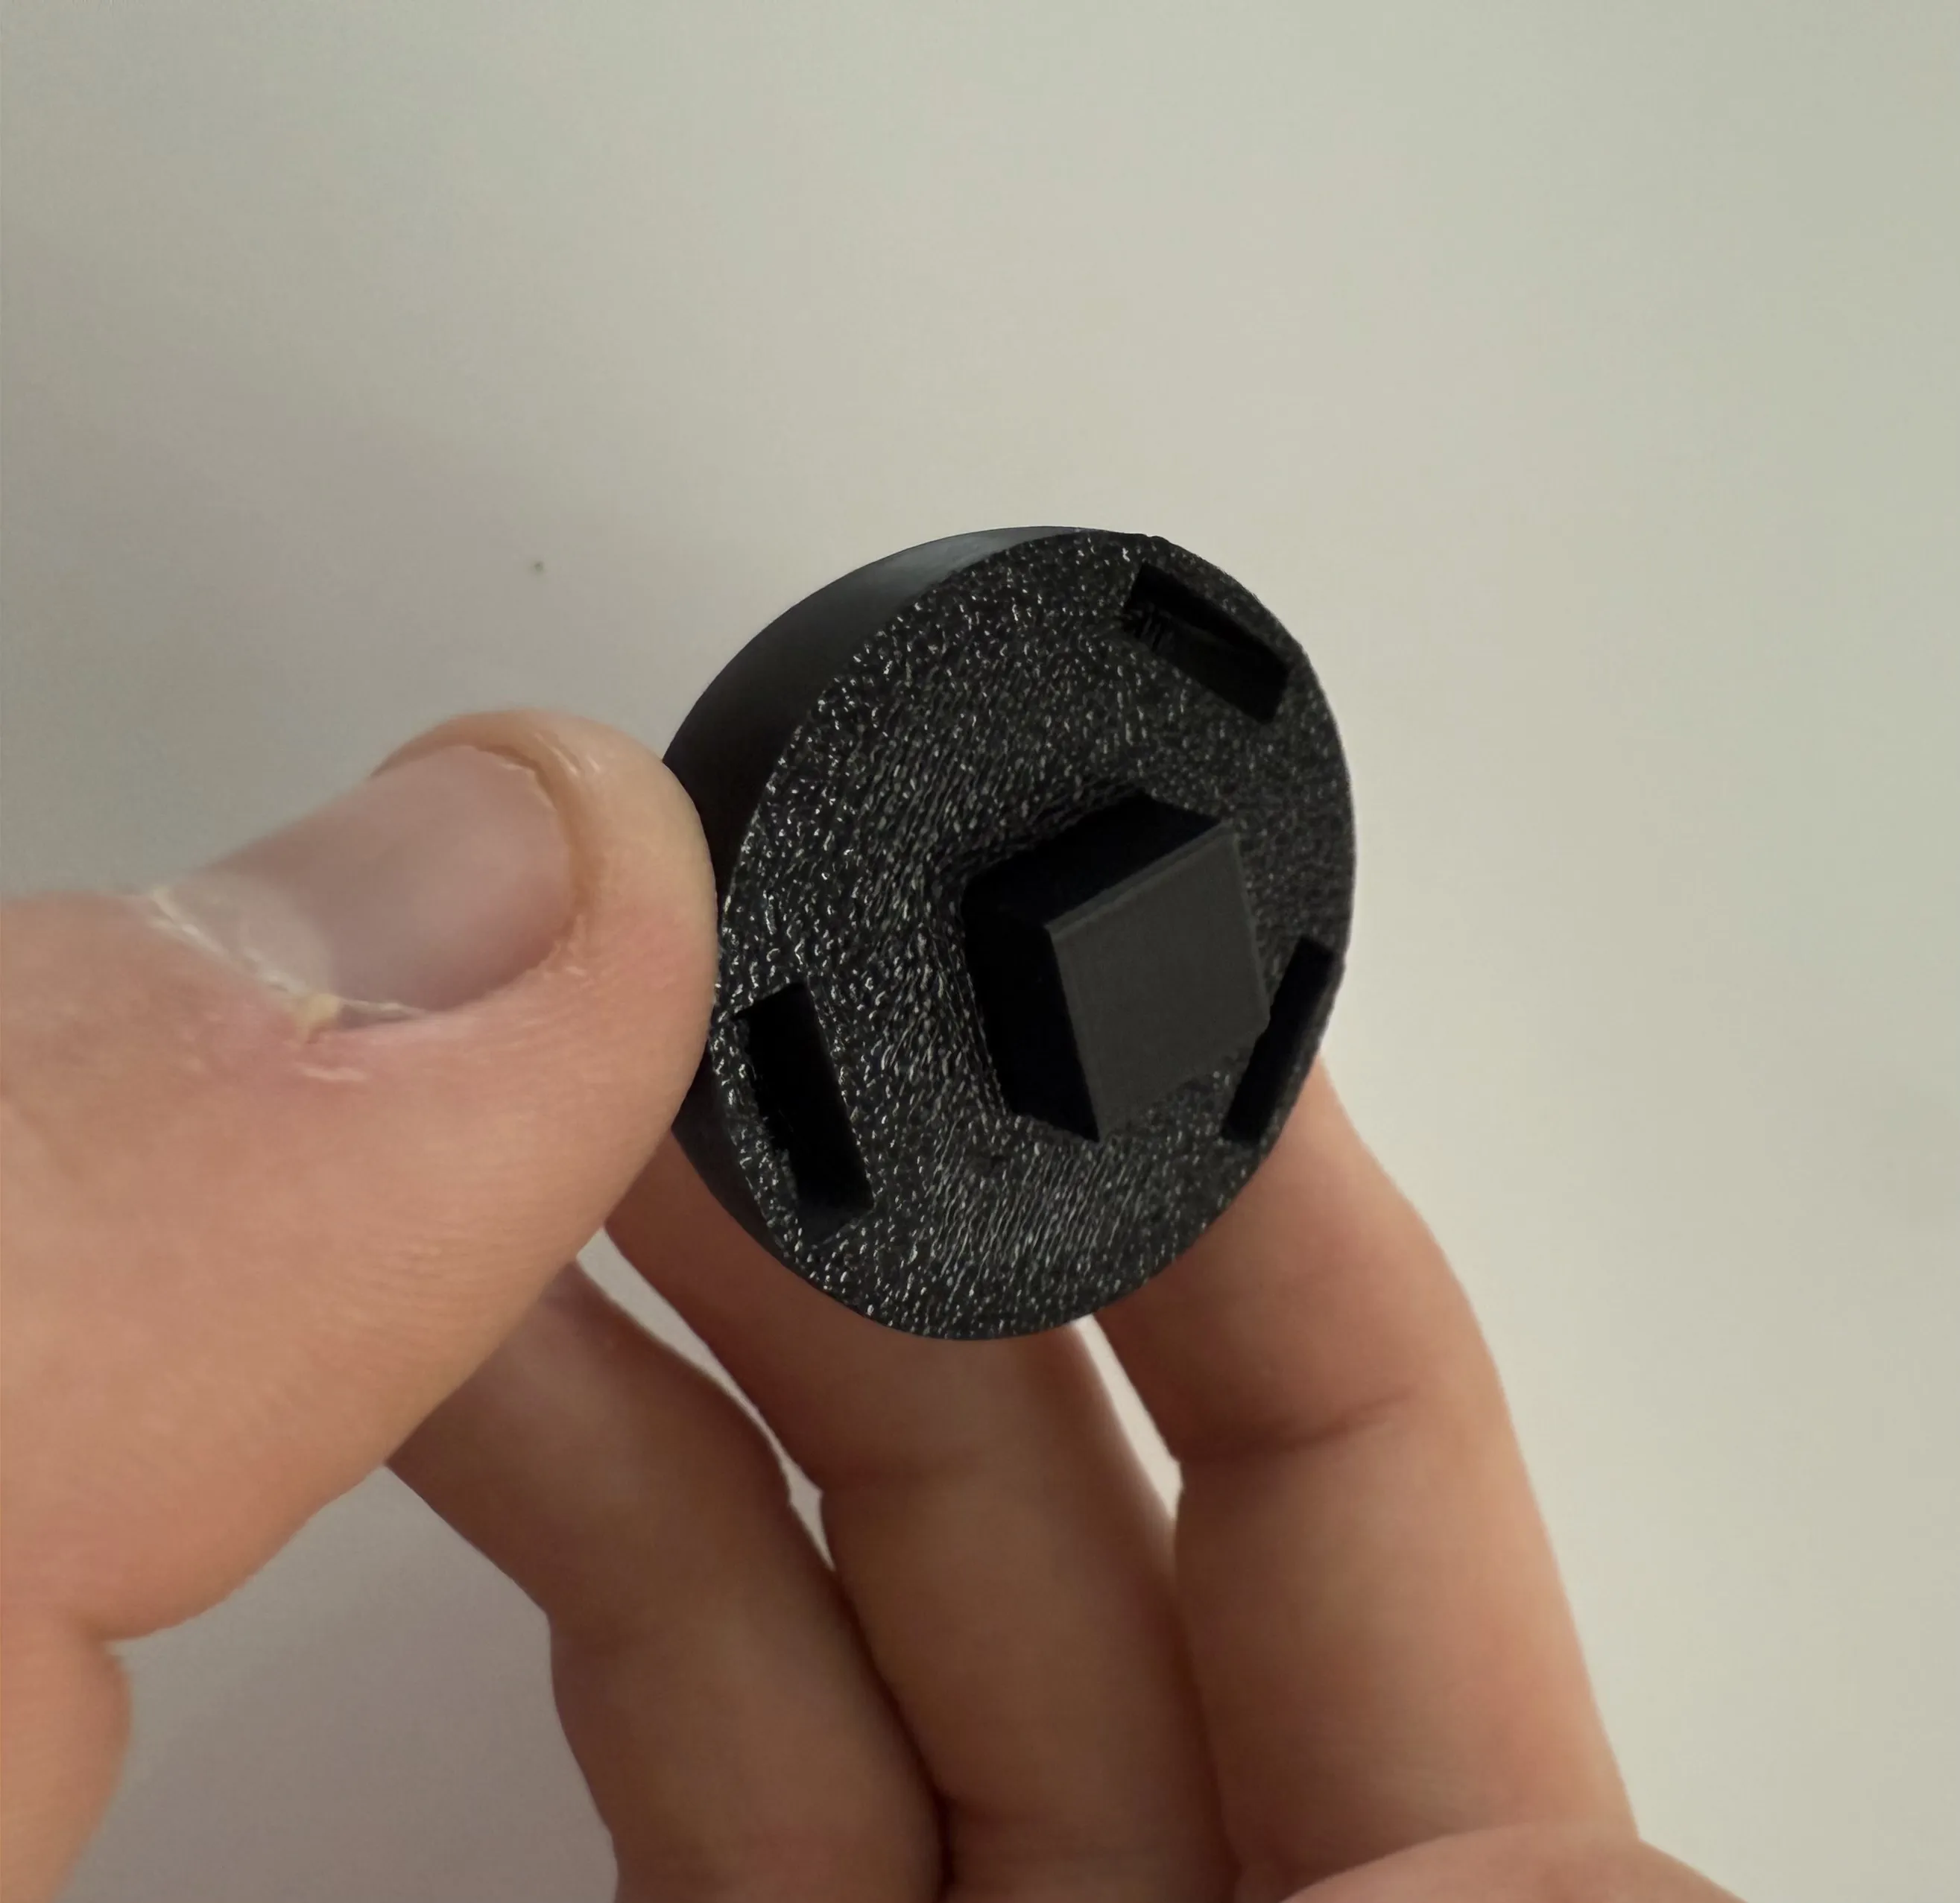
There should be a matching piece for each of the body parts, so you stick those together with some glue and to make sure they are touching each other you can use small clamps. Besides that you are all finished! Happy printing and I hope to see your new prints!
License

You shall not share, sub-license, sell, rent, host, transfer, or distribute in any way the digital or 3D printed versions of this object, nor any other derivative work of this object in its digital or physical format (including - but not limited to - remixes of this object, and hosting on other digital platforms). The objects may not be used without permission in any way whatsoever in which you charge money, or collect fees.


Comment & Rating (150)