Search models, users, collections, and posts

Gameboy DMG Kiosk

Print Profile(0)


Add the first print profile to earn points

Boost
280
548
46
29
380
18
Released 

Description

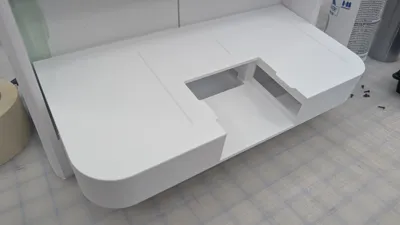
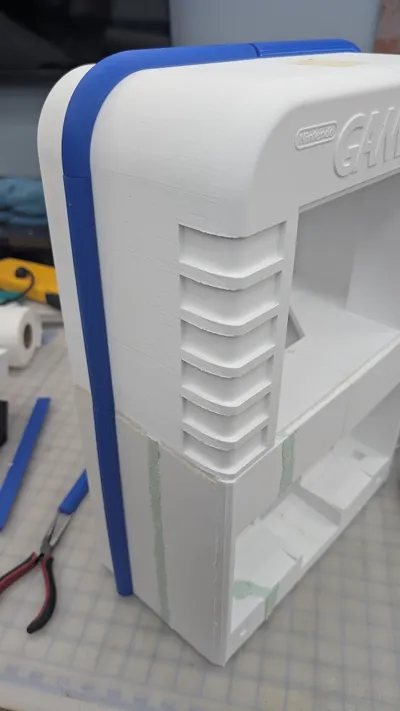
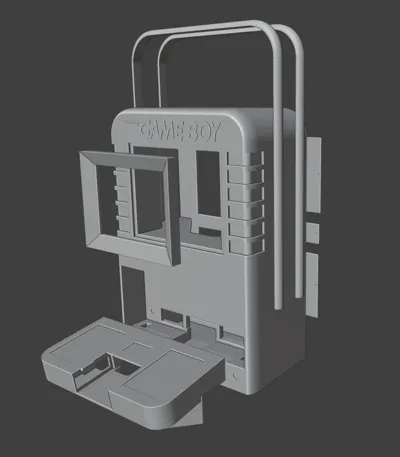
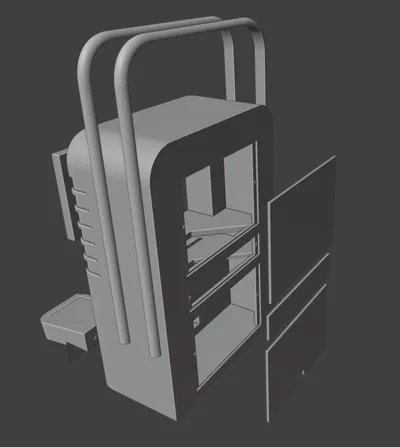
NOTE: I used a printer with a 305x305 build plate to print this in 4 pieces for the body, and 1 piece for the control panel lower. The body file is in 1 piece so you will have to divide it up according to your printer size. 

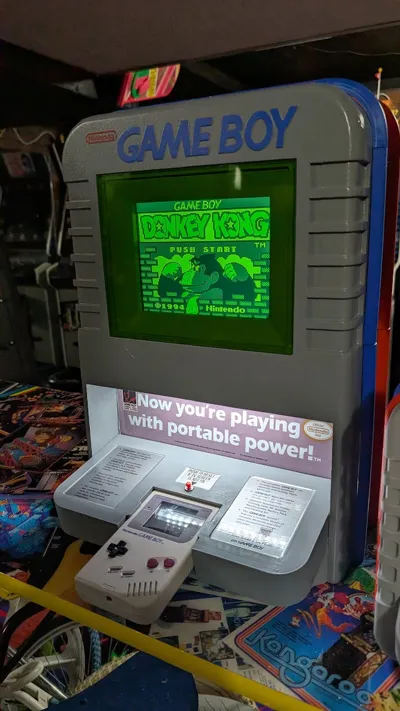
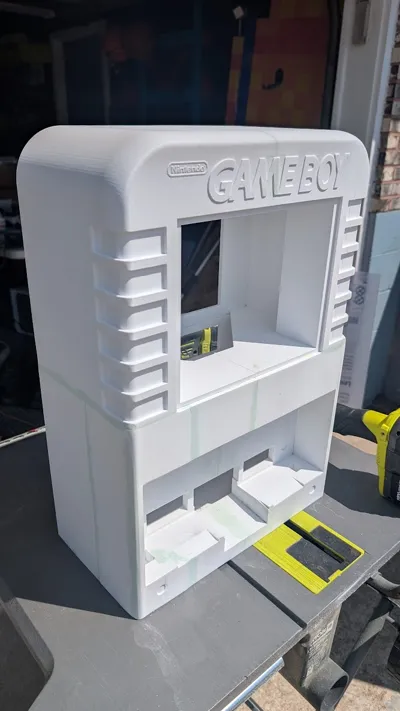
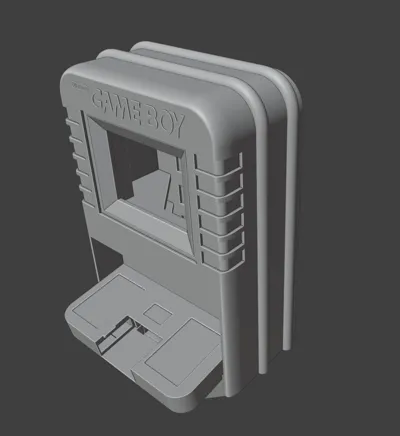
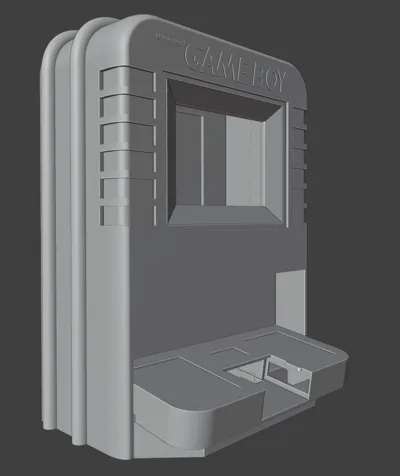
This is my attempt at making the famous full size Nintendo Gameboy Kiosk. It uses an 8 inch screen and a GameBoy DMG with a new IPS screen that has an AV output. To make the DMG Gameboy fit really snug I put one piece of the soft side of Velcro on the bottom under where the gameboy sits.

Here is the links to what I used. 

Small USB LED light bar. This will plug into the USB port on the monitor.
https://www.amazon.com/dp/B084HLSXJV?ref=ppx_yo2ov_dt_b_fed_asin_title&th=1

Speakers used. I disconnected the speakers that are inside the LCD unit and ran wires out to use these instead.
https://www.amazon.com/dp/B0D8PRQPVM?ref=ppx_yo2ov_dt_b_fed_asin_title&th=1

Monitor. This fits perfectly behind the bezel. I hot glued the frame of this monitor to the back of the bezel.
https://www.amazon.com/dp/B0BG77R6ST?ref_=ppx_hzsearch_conn_dt_b_fed_asin_title_4&th=1


Video output. This is a new IPS LCD kit for your gameboy DMG. But it also comes with AV video output that will go into the LCD monitor. 
Ill make a youtube video to show how this works.

https://retrogamerepairshop.com/products/game-boy-dmg-rips-v5-ips-backlight-tv-version-av-out-consolizer-with-color-palettes-mod-kit?srsltid=AfmBOoqknfOlSK-jiBbeXNcamJ-5reFUc2cS23WjJ_nChbraYiGIRJyI&variant=40693065384108

For Audio output you will need to run your AUX jack thats on the bottom of the GameboyDMG to the top. I ran the wires inside the gameboy and cut out a slot up top of the gameboy casing so the wires can run outside the top. This will allow you to plug in the AUX cable that comes with the screen kit to the monitor. If you do not do this then your AUX cable will have to plug into the bottom of the gameboy and that would not be as good for this kiosk design as you could easily bump it. 

The other audio option is you just dont plug anything into the gameboys AUX and use the gameboys speaker. There is speaker upgrades that sound pretty good. 


Hope you enjoy this model as much as I did!! :)


Documentation (4)

Assembly Guide (4)
GameboyKiosk_WithScreen_LargeMiddleDecal copy.jpg
GameboyKiosk_WithScreen_LeftDecal.jpg
GameboyKiosk_WithScreen_MiddleDecal copy.jpg
GameboyKiosk_WithScreen_RightDecal.jpg

Comment & Rating (46)

(0/1000)

I chopped up the files to fit a p2s . so far so good. Ordered everything, can’t wait to put it together. if anyone needs the files shoot me a DM.
0
Reply
Hello, I also have a P2S and this looks awesome! Do you mind sharing files with me?
0
Reply
Replying to @user_810659616 :
send me a message. I’ll prep the files. I had to do some modifications because the prints weren’t coming out great spliced. I just finished the build today.
0
Reply
this had to have been one of the coolest / longest prints ever. 10/10 beautiful.
0
Reply
Hi. Thanks for the great design. I love it. Finally i managed to finish it. i made some extra modifications to my personal taste and even i know that is not look like the original but i like it. also i risked of modified the gameboy dmg when I relocated the link port and the audio jack but is more convenient on the top. This way i can drag the gameboy all the way out to access the side screen menu-button.I didn't cut the original shell. this is an after-market replacement. Unfortunately if you want to do this you have to relocate some components from the motherboard if you want to fit the ports on the top and to be familiar with soldering and jumping wiring.
(Edited)
designer
4
Reply
what size printer did you make yours on?
0
Reply
I sliced this up and added keys for anyone that wants to try this. I am printing it now.
0
Reply
where can I get this? and what print bed size do you have?
0
Reply
I dmed you, please send it over . thank you!!!
0
Reply
please send me a dm of the files. Thank you!
0
Reply
hello, what size tv did you use? 8 inch or 12 inch
The designer has replied
0
Reply
8"
0
Reply
thank you🙏🏻
0
Reply
I registered here just to press like and give you a compliment. I'm doing this model now thanks to you. also i want to do the Snes kiosk model soon too! thanks.
2
Reply
hhhhhhhhow !?!?
0
Reply
I would love to make one of these, looks like Makerworld did the old... remove your print profile trick that is so annoying. Would you be able to add it back? Cheers
The designer has replied
0
Reply
check my patreon, there should be what you need there. https://www.patreon.com/c/RidicRick
0
Reply
This is amazing! Thanks a million for sharing. I'm just about to finish the smaller version and will probably jump on this afterwards :). Just wondering, have you figured out a way to automate the screen output on startup? I've seen some other project where they added an ESP32 manually pushing the buttons in the correct sequence. That is probably the route I will go for my self - as I can't see any other way.
1
Reply
Boosted
amazing work! thanks for making this available for all to make!
The designer has replied
0
Reply
No problem! :)
1
Reply
can anyone by chance do the slices for this model for h2d as a print profile im having issues getting it to slice my self but it does seem the entire body can fit on two plates
0
Reply