
AMS 2 pro Dry Box Silica
Print Profile(4)



Bill of Materials











Description

‼️If you are also interested in AMS 2 pro silica front boxes - feel free to take a look at these, with easy to print “weaving” design:

ℹ️If you have AMS 1.0 (not AMS 2 Pro) - you can find this design for AMS 1.0 here:
⚠️Working on this complicated model takes a lot of time and if you like my work and want to support me and this design - please BOOST this design (click on the small Rocket 🚀 or „BOOST“ button) 🙏👍 Thank you in advance!🙏

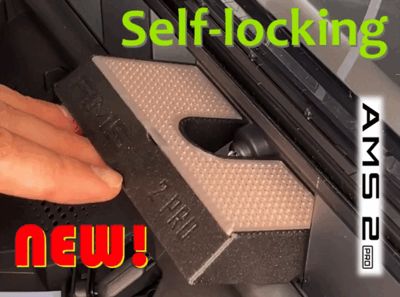
ℹ️Update 24.07.2025: My NEW “Self-locking” Print-Profiles!
After collecting user feedback, I revised the geometry of the AMS 2 Pro Dry Box. Now the box sits 100 percent securely inside of the rear niche. No vibration or shaking can dislodge the box. However, removing it remains safe and easy. And a little more silica gel fits in there too! 😊👍


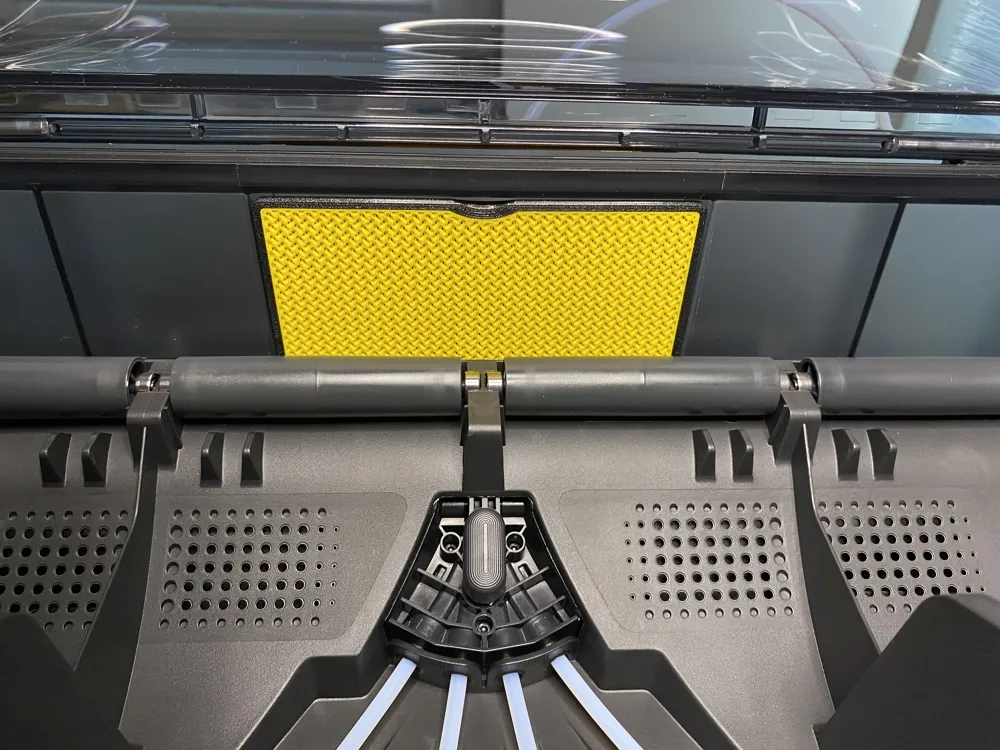
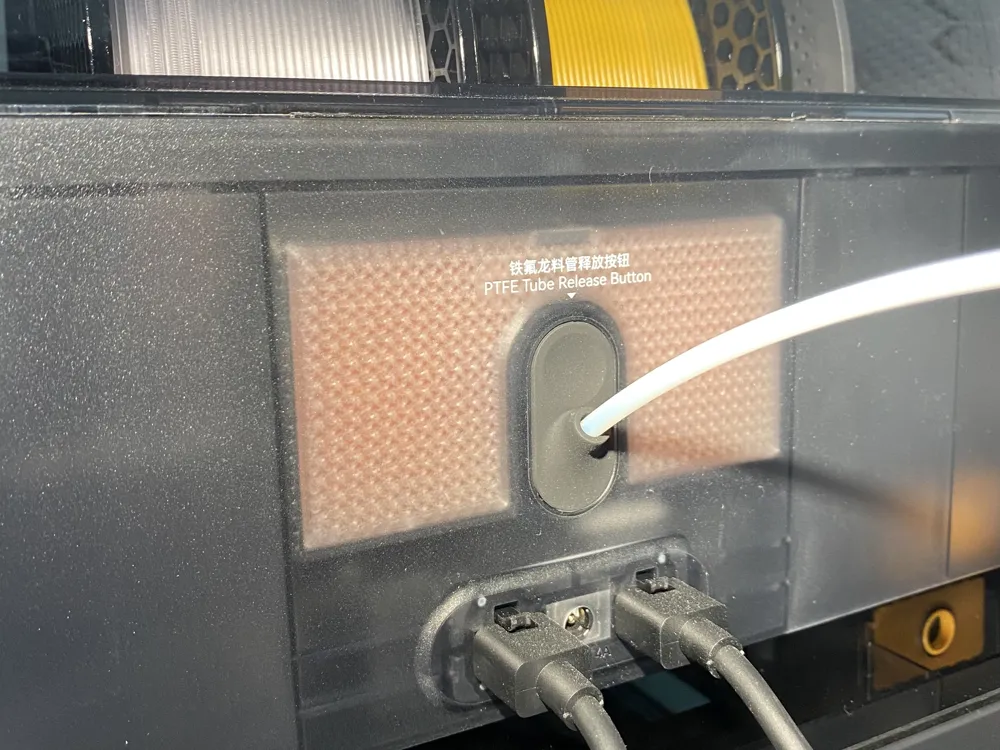
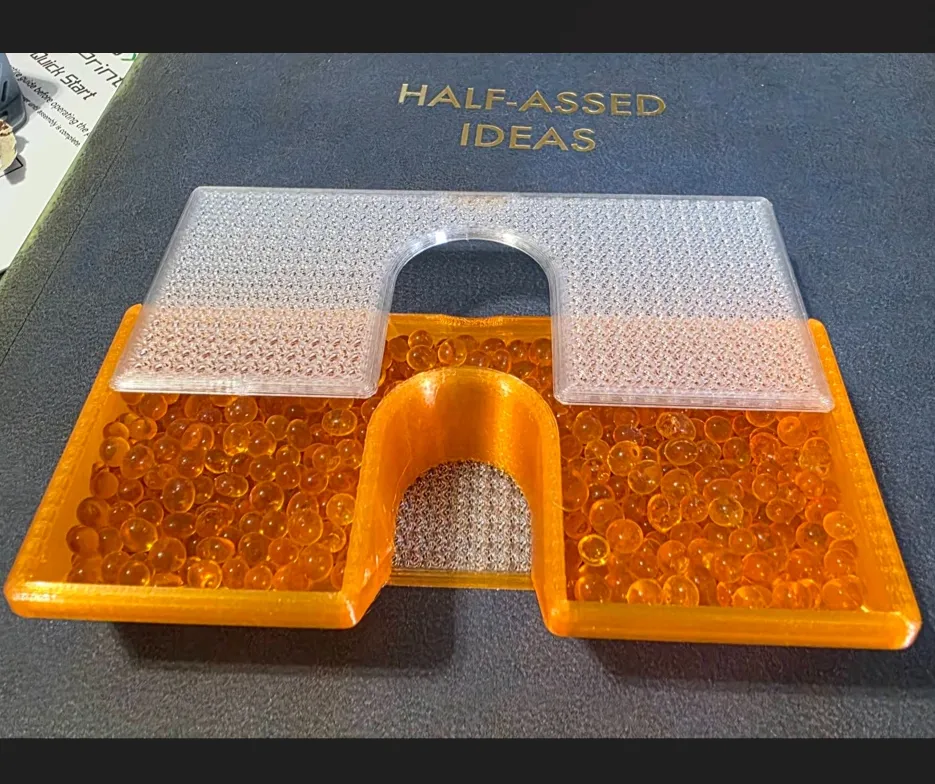
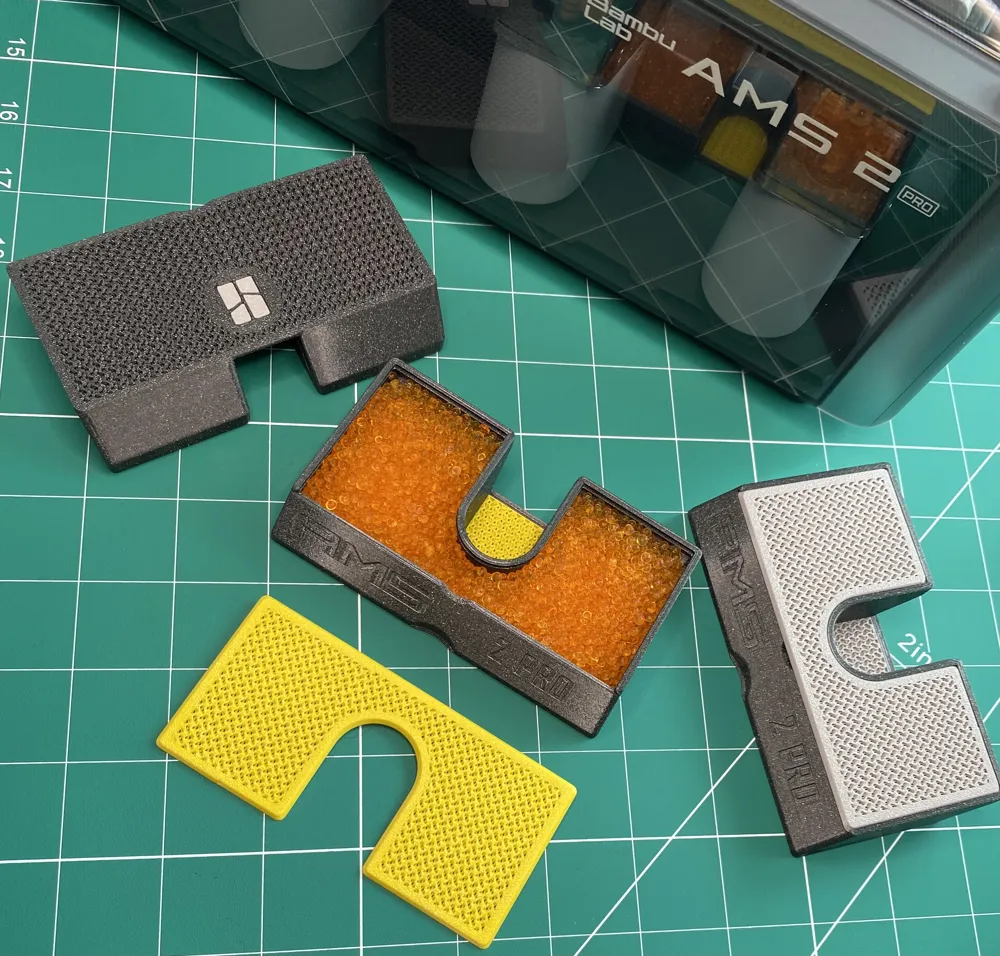
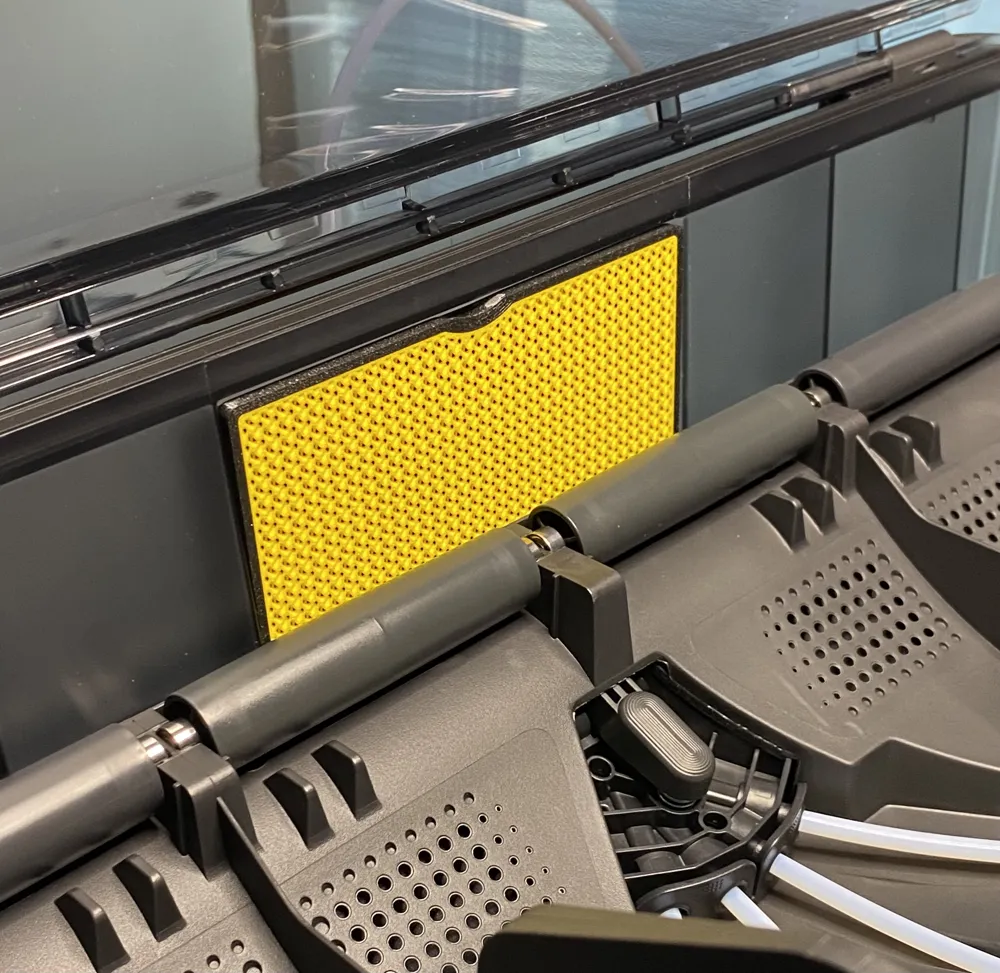
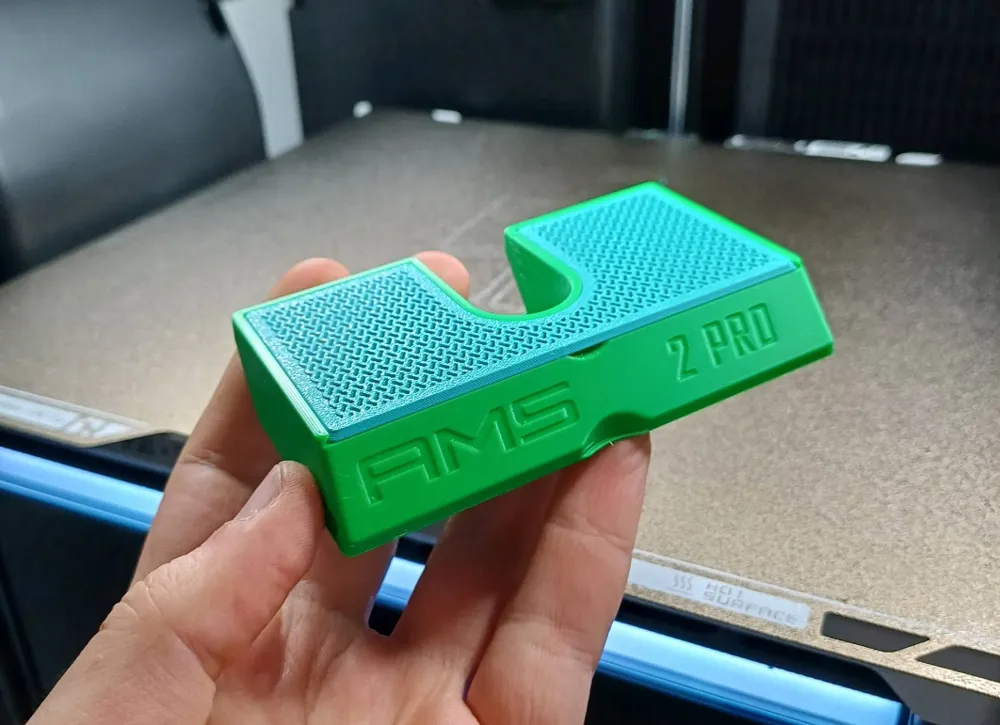
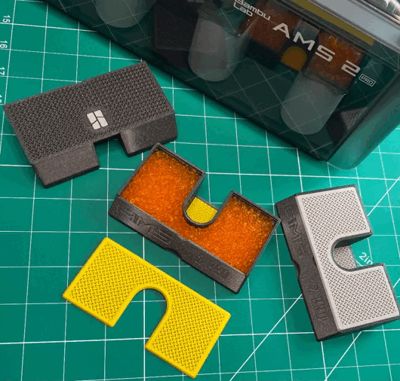
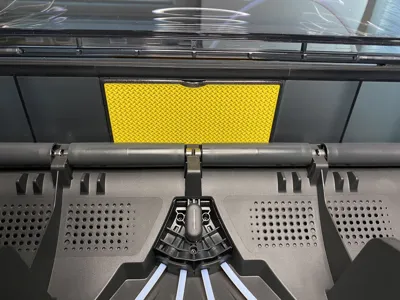
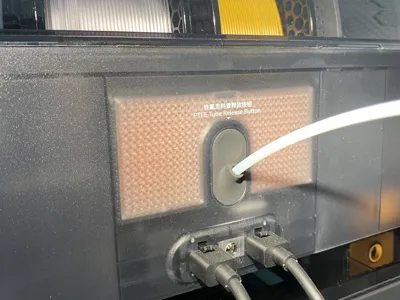
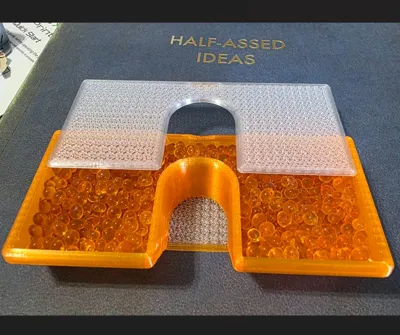
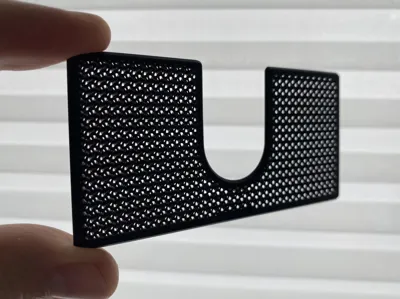
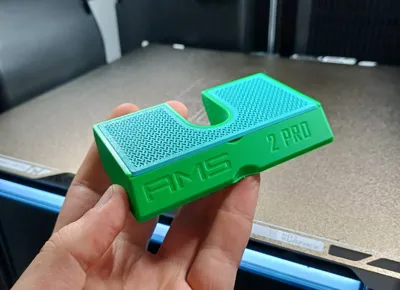
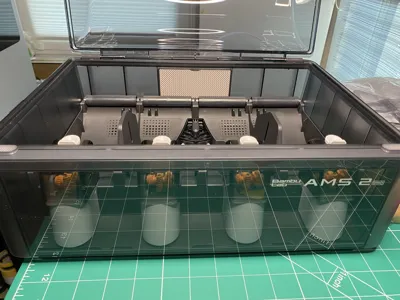
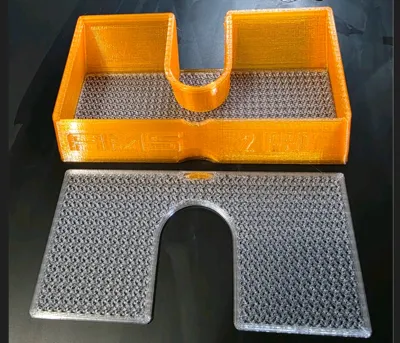
👌It's a great idea to use a transparent filament for the second filament in the print profile - this way you can easily see whether the silica gel is still fully charged! See attached images! 😍
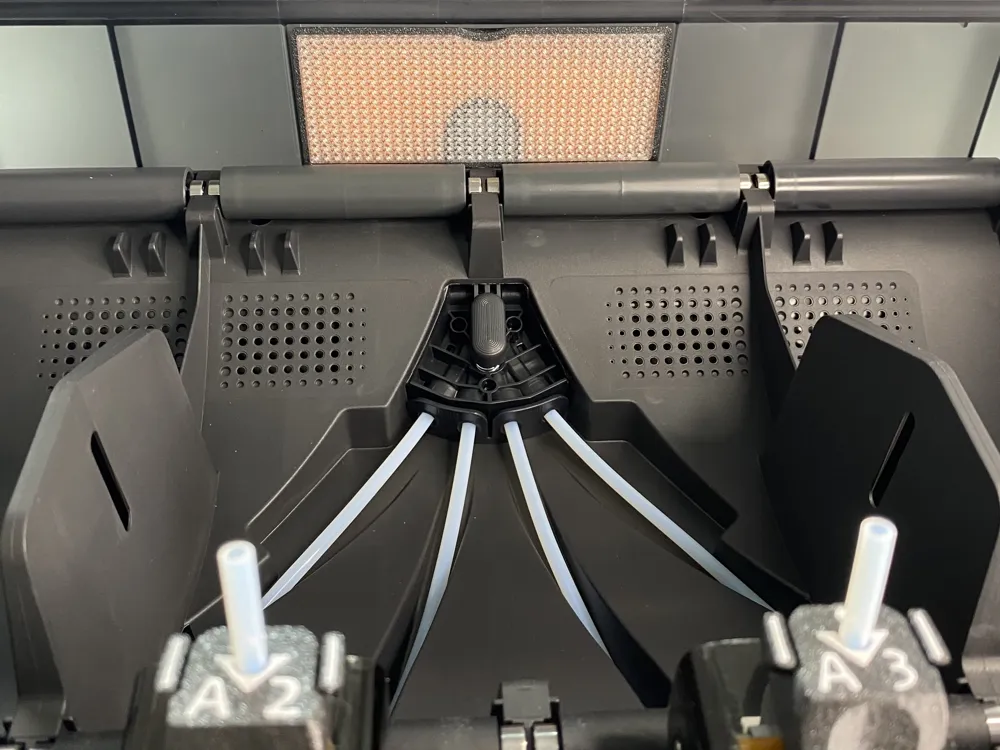
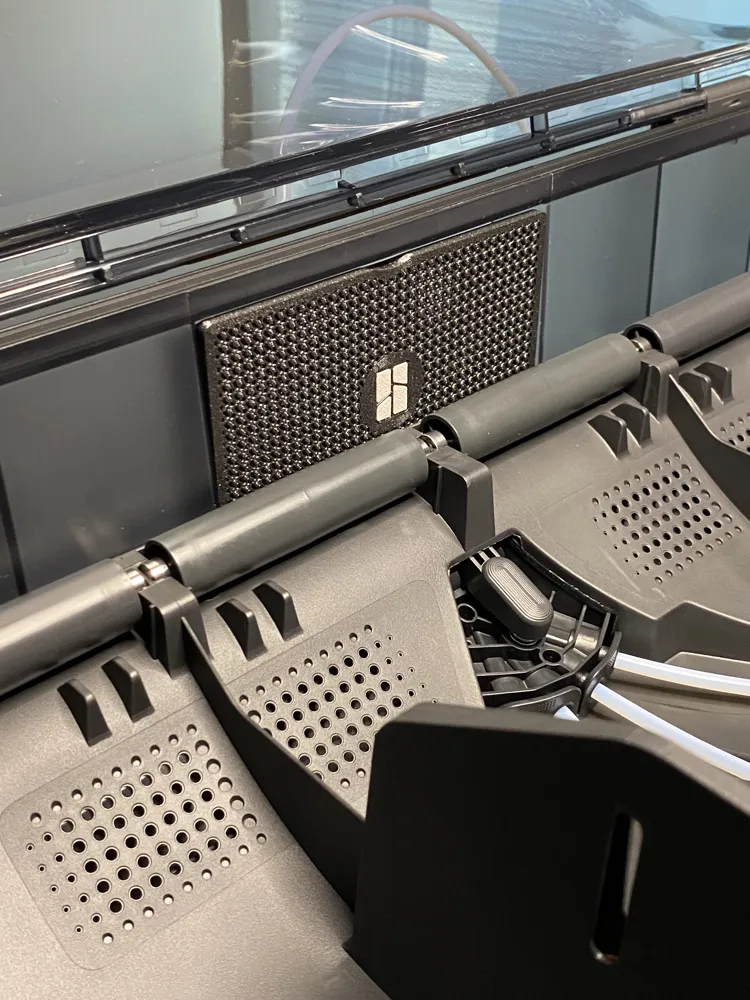
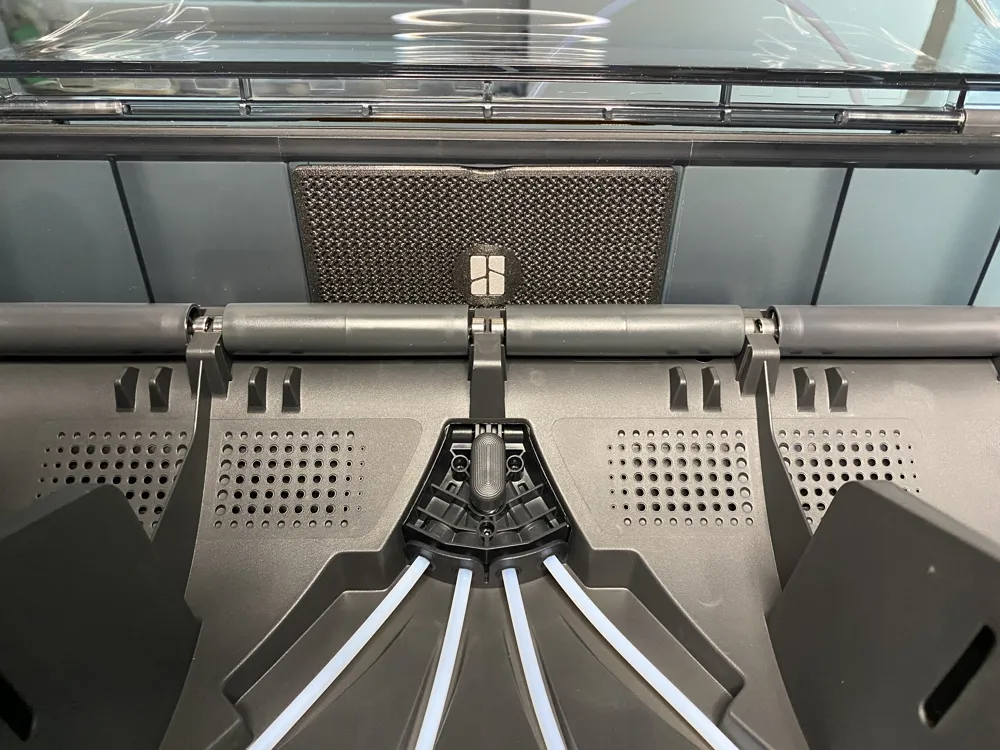
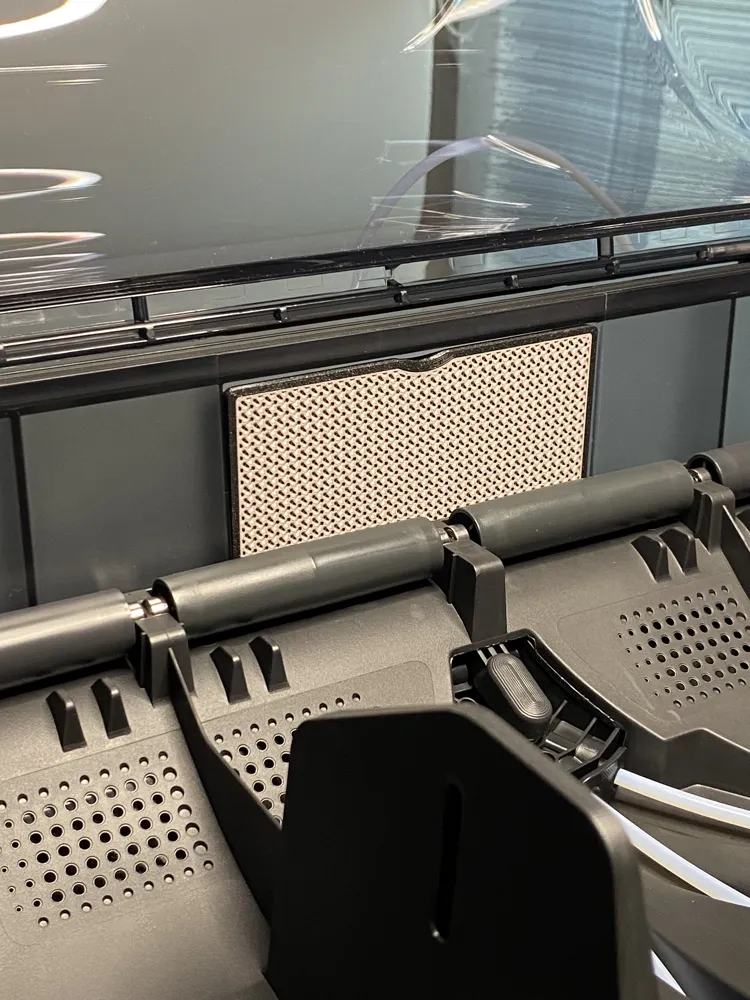
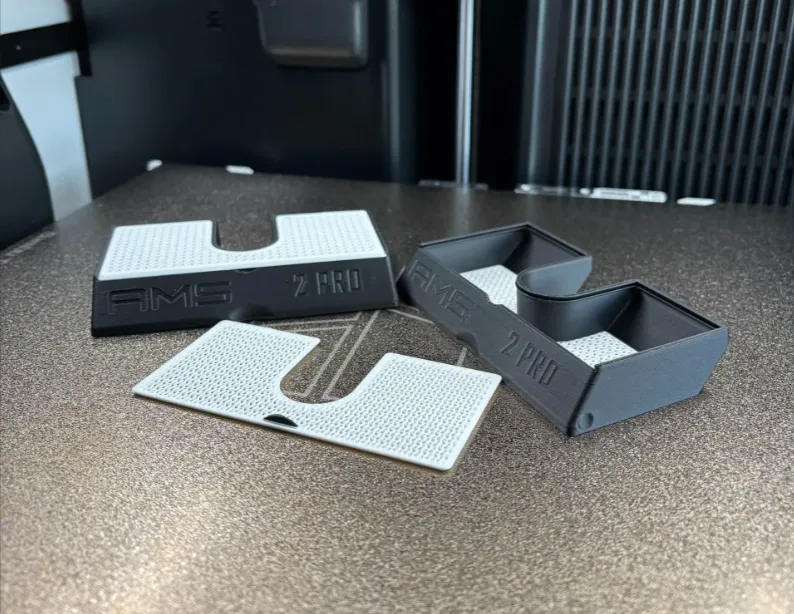
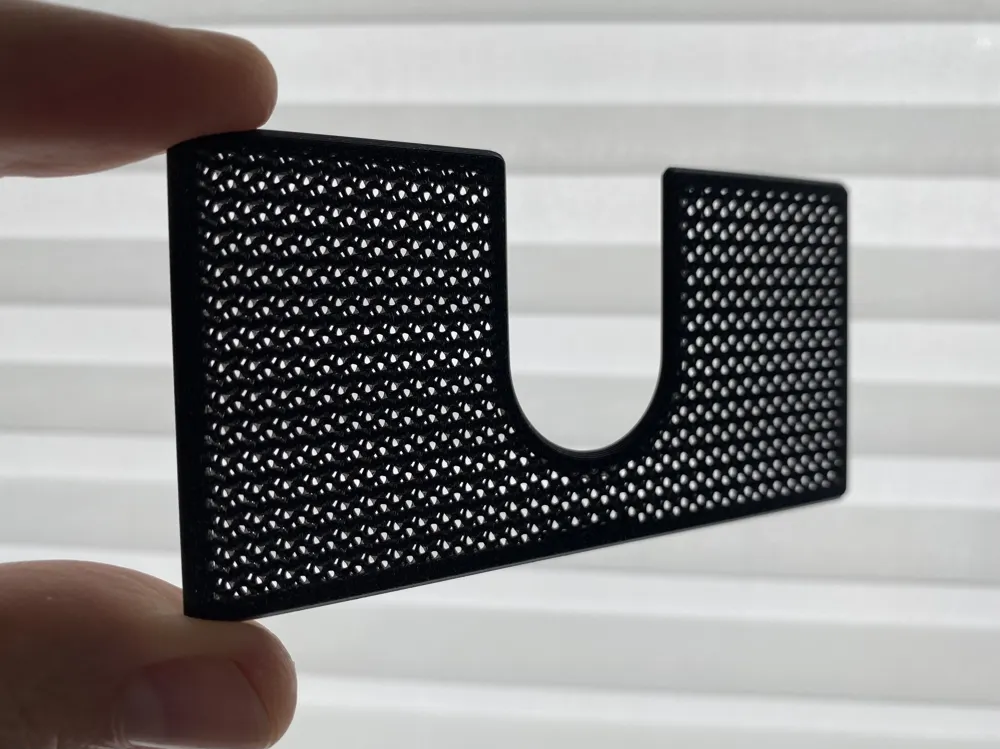
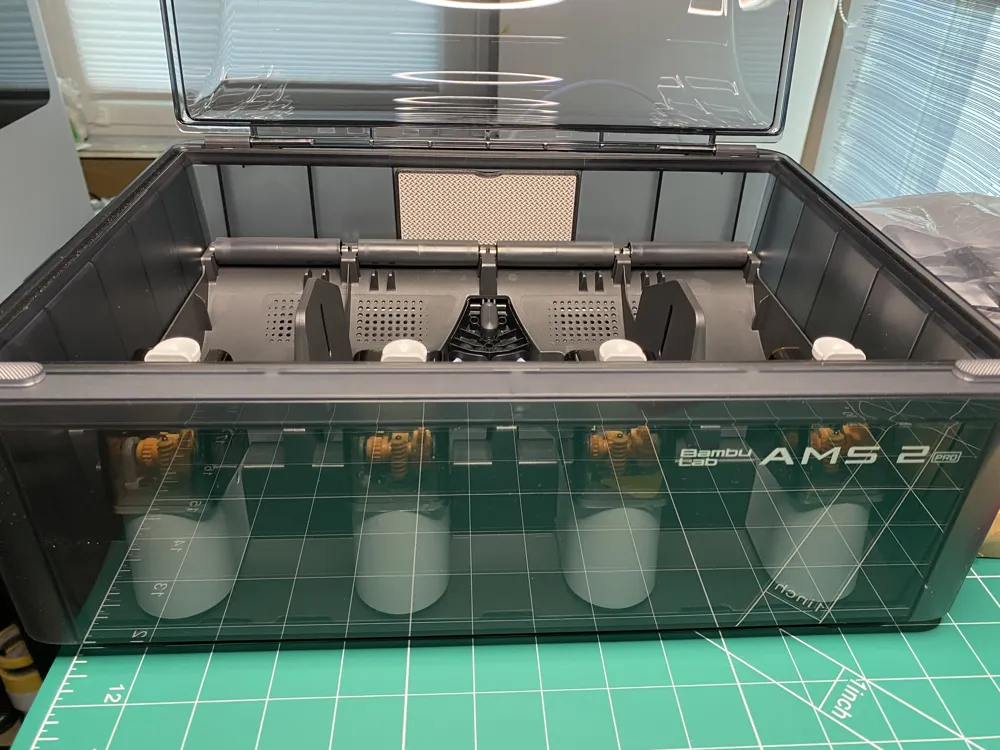
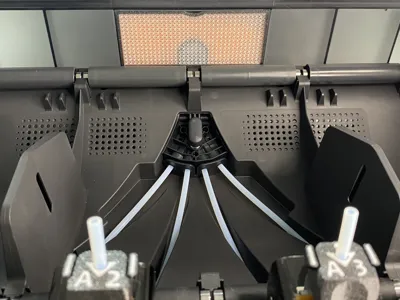
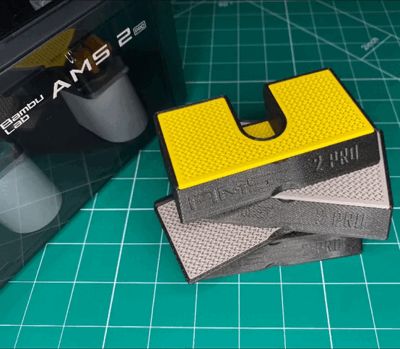
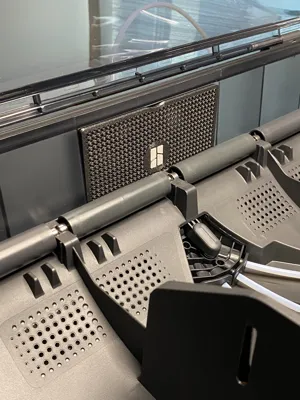
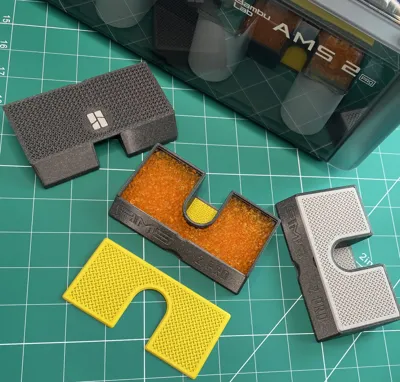
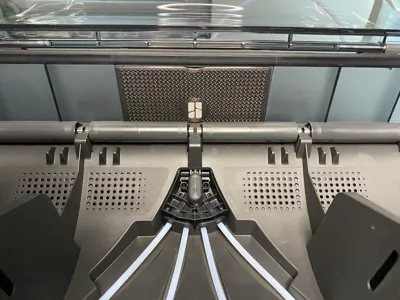
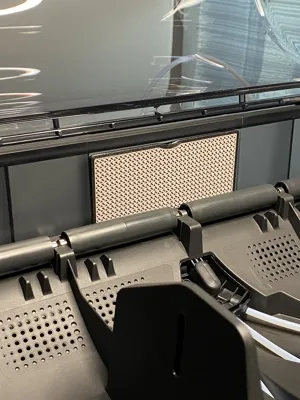
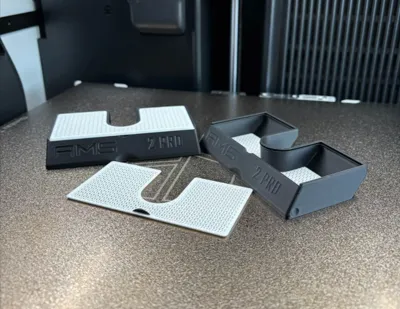
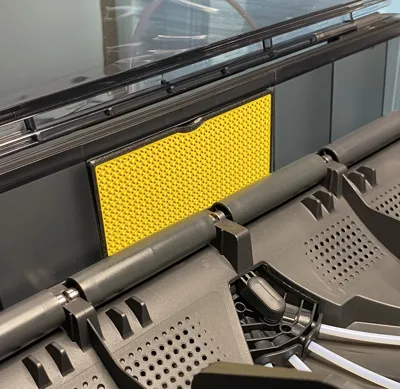
AMS 2 Pro silica rear box / desiccant container for the niche behind the rollers
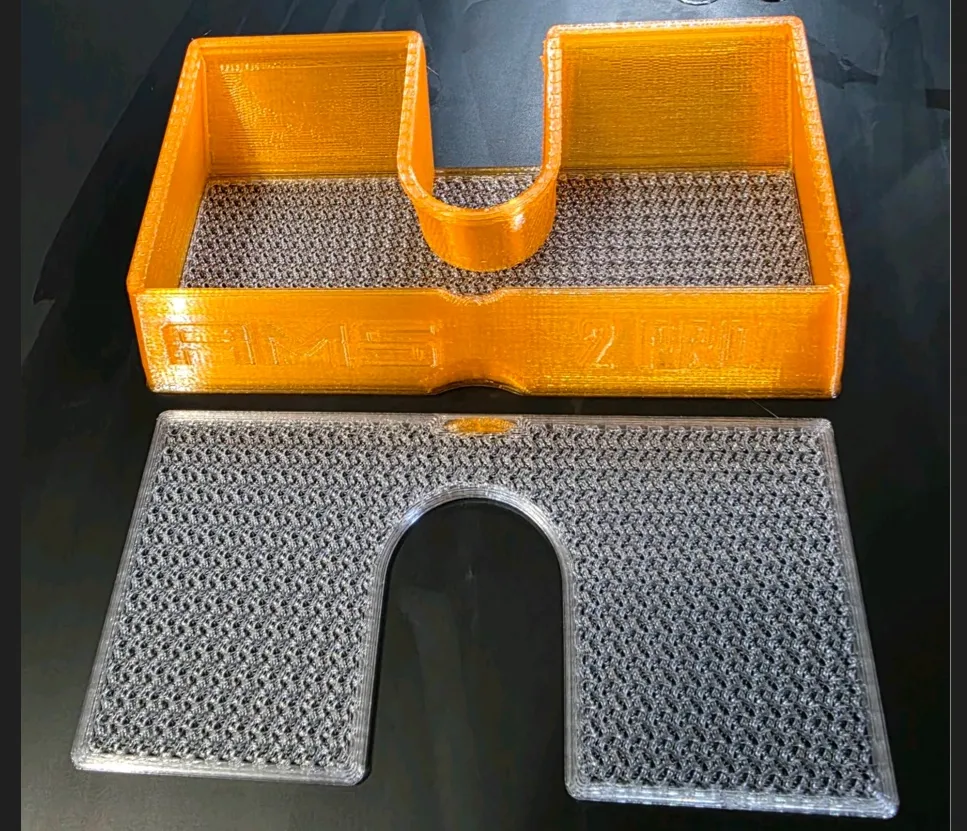
This Box fits perfectly into the niche behind the rollers, it is very easy to print, to refill and it looks awesome! 🦾😎 The lid fits the box perfectly and is easily pushed in. It is securely held in place by a tab on the bottom. 😊
Better print one of my really well tuned print profiles, but if you want to play with the slicer 😂, then please check the options below…
Print Instructions:
Quality:
- layer height: 0.2mm
- Line width/sparce infill: 0.6mm
Strength:
- wall loops: 4
- top shell layers: 0
- bottom shell layers: 0
- sparce infill density: 45%
- sparce infill pattern: gyroid
- only one wall on top surfaces: off
- only one wall on first layer: off
- Infill combination: off
Speed:
- first layer: 20 mm/s
- first layer infill: 50mm/s
- outer wall: 200 mm/s
- inner wall: 300 mm/s
- small perimeters: 50%
⚠️Filament: PLA is good enough! But if you want to leave the box in the AMS 2 pro while the filament is drying - please print it with PETG/ASA/ABS for higher temps!
⚠️Easy way to remove this Dry Box from the build plate after printing:
I know it's nothing new and every 3D printing nerd 😊 knows it - but for this design it's really very important:
- let it cool down til room temperature
- take your build plate from the printer bed
- just bend your flexible build plate in x and y directions
This allows the dry box to be removed easily and safely without damaging the infill grid !!!
— ! —
Thanks for downloading, rating in advance and please don't forget to like👍and to BOOST 🚀 this model! ;-)
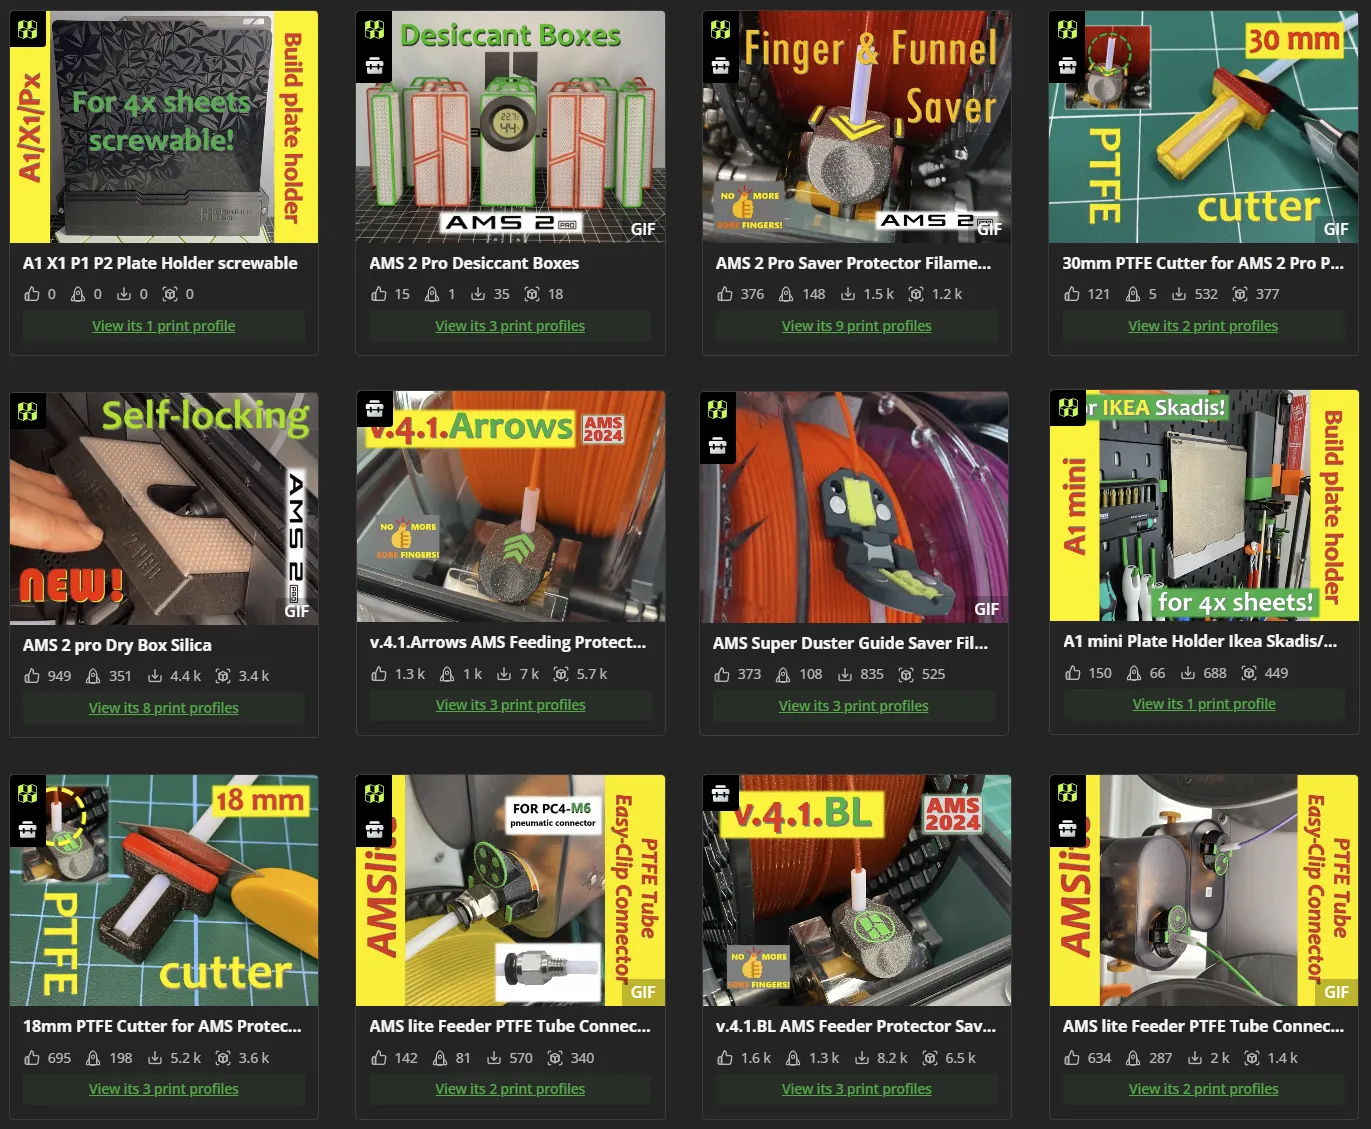
Take a look at my other very helpful designs for Bambu Lab printer and AMS / AMS 2 pro:
If you like my work and want to support me - please follow me and if you want - you can buy me a coffee! https://linktr.ee/eds_3d_shop
Thank you for your support and.. happy printing!
Ed ;-)
License

You shall not share, sub-license, sell, rent, host, transfer, or distribute in any way the digital or 3D printed versions of this object, nor any other derivative work of this object in its digital or physical format (including - but not limited to - remixes of this object, and hosting on other digital platforms). The objects may not be used without permission in any way whatsoever in which you charge money, or collect fees.


Comment & Rating (6128)