Magnet insert for Wera 190i VDE 1/4" Nut Driver


Print Profile(1)
Description
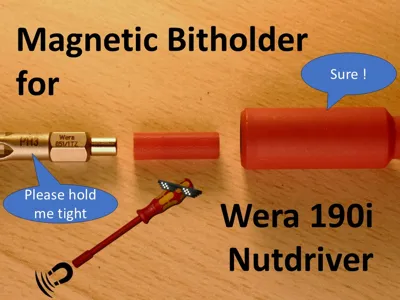
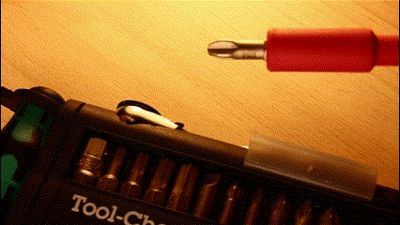
This converts your Wera 190i VDE ¼" Nutdriver to a Bitholder accepting standard ferromagnetic bits by adding a magnet into the empty cavity.
There are reviews on Amazon that incorrectly criticize the nutdriver for the bits falling out. They're confusing a nutdriver with a bit holder!
Sadly Wera does not offer an insulated bitholder accepting standard bits.
If you already own an Wera 190i VDE ¼" Nutdriver and want to convert is to a bitholder, this allows you to add a cylindric neodymium magnet 4x6 mm (diamenter x length).
Boost Me (for free)
If you like my Design and it provides some value to you, i appreciate your support.
As tolerances are tight, you may have to adjust the values described here: https://wiki.bambulab.com/en/software/bambu-studio/xy-hole-contour-compensation
- X-Y-Hole Compensation to make the magnet a tight fit
- X-Y-Contour compensation to make the plastic part a sliding fit
Important: Please Read BEFORE inserting into the nutdriver!!! You may save some trouble and fiddling around.
- First print the holder as is.
- Test inserting the magnet carefully. Do not push it in completely!
You want to achieve a friction fit, where the magnet is not pulled out by pulling with another magnet or a bit.- If it slides just in (and fall out again) → decrease X-Y-Hole-Compensation
- If you cant get it in → increase X-Y-Hole-Compensation
Pull the magnet out (if it is in). Do not insert the printed part into the nutdriver with a magnet yet!
Now put the printed part it inside the nutdriver.
You want to achieve a friction fit where the lower part (end without hole) slides in nearly without resistance.
If you place it the other way, it should barely not fit. This end as a protrusion which provides the fit at the end.- If is slides just in (and fall out again) → increase the X-Y-Contour compensation
- If you cant get it in → decrease the X-Y-Contour compensation
Tipp: If you have inserted it and cant get it out of the nutdriver, use a wood-screw to screw it in a bit and pull it out. This is the reason why you should not test the fit with a magnet inserted!
- If you have achieved the desired fit,
- press in the Magnet
- press in the printed part with the magnet facing away from the nutdriver handle.
Use a big bit and press it in using the end (not the tip) bit.
I used my drillpress to press it in
You may have to dial in the X-Y Hole/Contour compensation settings with a few tries (it took me 6 tries, including experimenting with arachne - i don't recommend using it here- and other settings).
The provided print profile was a perfect fit using sunlu pla.
If you cant get a satisfying fit, us a loose one and grab some glue.
DISCLAIMER:
This is not a replacement for proper electric equipment!
Im sure there are good reasons this is not offered in this way.
So be careful and use it at your own risk!
Comment & Rating (0)