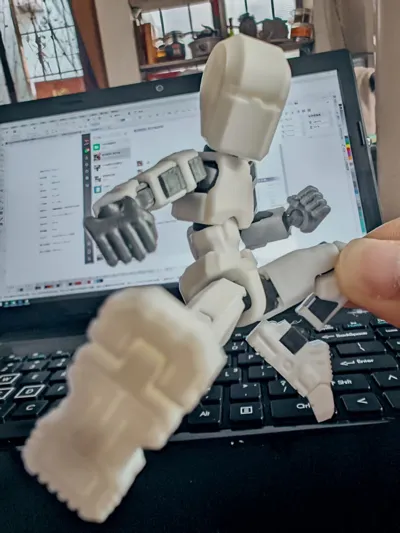
DUMMY13 MINI [Q计划]


Print Profile(1)

Description
This kit is based on 【DUMMY13 VERSION1.0©by Gabriel Rosiak is licensed under CC BY 4.0】
Special thanks to @soozafone for designing such an excellent work
Preface
Recently, while training students in 3D modeling,
A student asked:
"Teacher, if you don't know 3D modeling, can you not modify or create secondary works of the model?"
Thus, this project came to be,
This project utilizes Bambu Studio from Bambu Lab for secondary editing of the model,
Apart from the waist armor, head, and shoes,
This modification uses only the cutting, scaling, and Boolean operations in Bambu Studio to achieve the Q-version of DUMMY 13
Design
Here, we will only use [ armor, thigh, 2x.stl ] as an example
For the convenience of overseas users, the software interface is set to English
1. Import the model

2. Place the model upright and select the placement surface (upright placement facilitates model cutting and merging, horizontal placement does not affect this)


3. Select the cutting function and click [ Cut into parts ], so that even after cutting, the model will remain in its original position

4. Set an appropriate cutting height (20.mm),
Cutting principles: ① Cooperate with the parts to be assembled; ② Ensure normal movement after installation
(As shown by the arrow, one part of this part is the activity area of the knee joint part, and the other protrusion corresponds to the recess of the skeleton)

5. Since the parts inside the assembly cannot be directly selected in the view, select the bottom part in the object window on the left side of the interface

6. Select the scaling function, uncheck [ Uniform scaling ], select the Z-axis dimension, and change 20.00mm to 13.00mm (i.e., -7mm)
(To ensure assembly with other parts, try not to use percentages, and ensure that the dimensions are regular values)


7. The two parts of the assembly are now separated. The top part needs to be moved down. Select the top part in the object window on the left side of the interface

8. Change the Z-axis position from 10.00mm to 6.5mm (i.e., 10-7/2mm), and the two parts will recombine.


9. Directly select the assembly, select [ Boolean Operation ], select both parts, and then click [ Union ]. The model becomes a single part.

10. Now you can export the part or slice it for printing.
The other parts can be modified in the same way.
The lower leg armor -7mm, the corresponding lower leg bone also needs -7mm
For parts like the thigh armor that have matching parts at both the top and bottom, the model needs to be cut into three parts, with only the middle part scaled to ensure proper installation.
The skeleton parts only need to be cut into three parts, the middle part deleted, the parts moved and merged, and then a Boolean operation performed; scaling is not necessary.
Conclusion
Because I initially applied for a global account, but the global account cannot be bound to Chinese devices, so I have never participated in the exclusive model plan,
Initially, I shared it open source on T station; being able to get points through MakerWorld is already quite good,
Even without points, boost bonuses, or cash rewards, increased exposure is a plus; but since I chose open-source sharing, I no longer worry about it.
Thank you for your continued support! I will continue to use this account to post, and I will respond and exchange using my Chinese account!
I hope you continue to support me! Give me more boost tokens! Hahaha!

Comment & Rating (87)