
Logitech G502 X Thumb button arm replacement
Print Profile(1)

Description
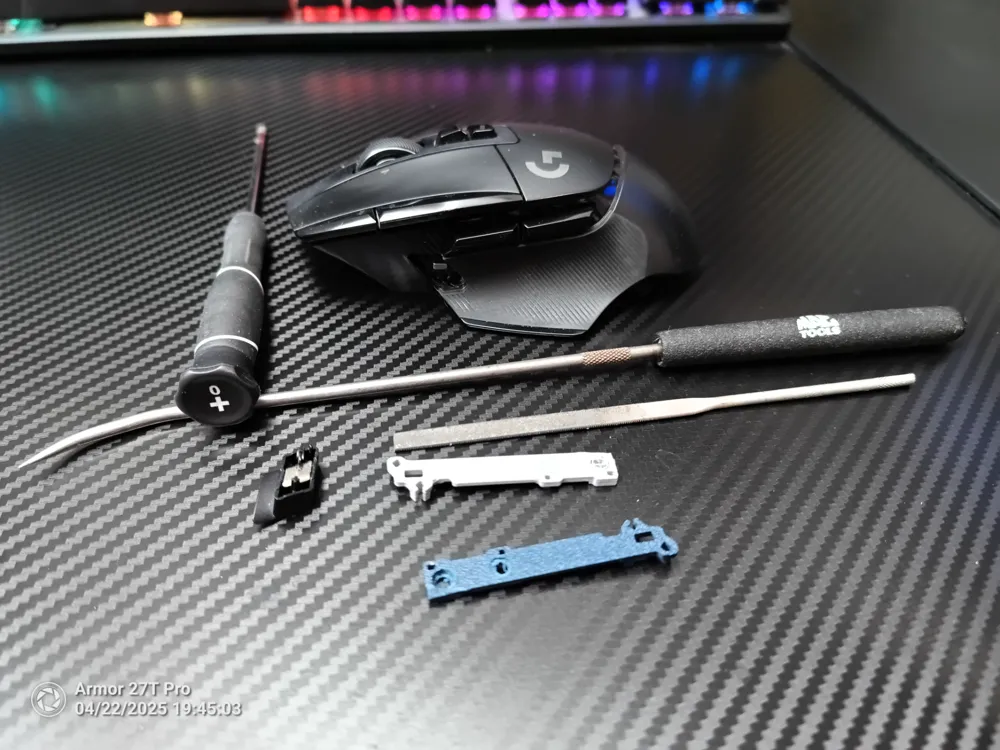
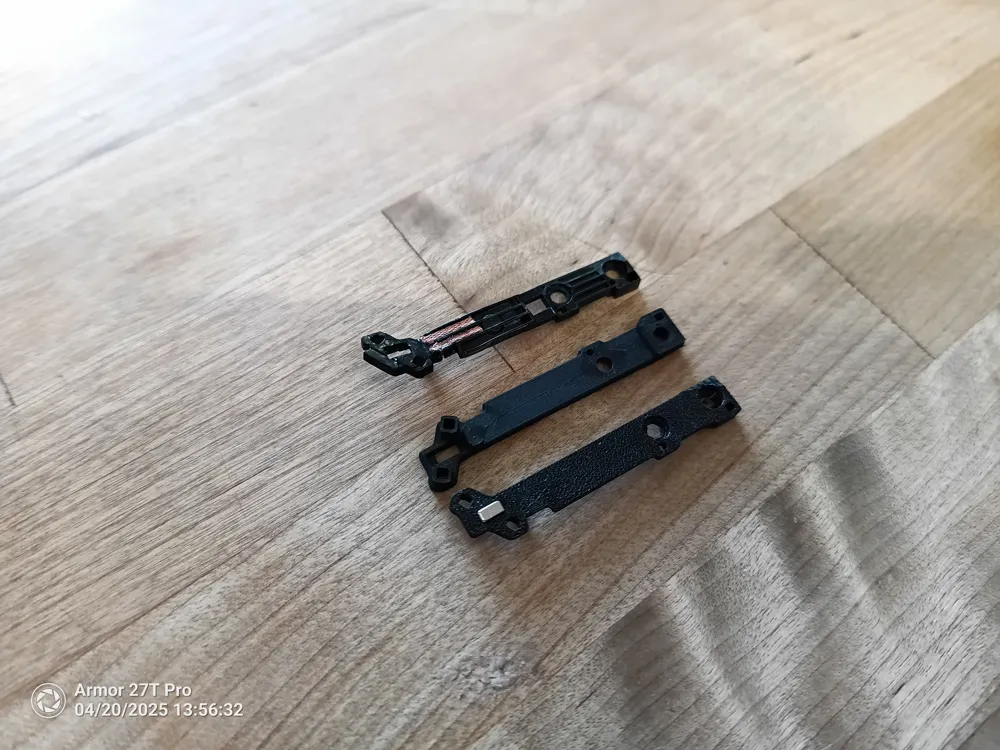
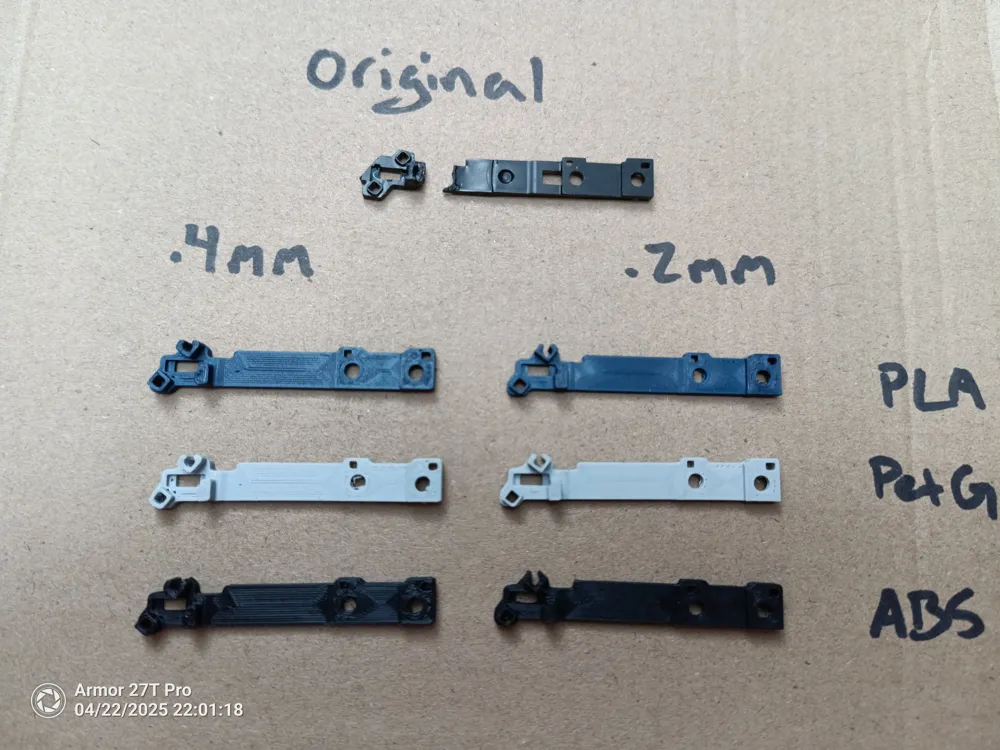
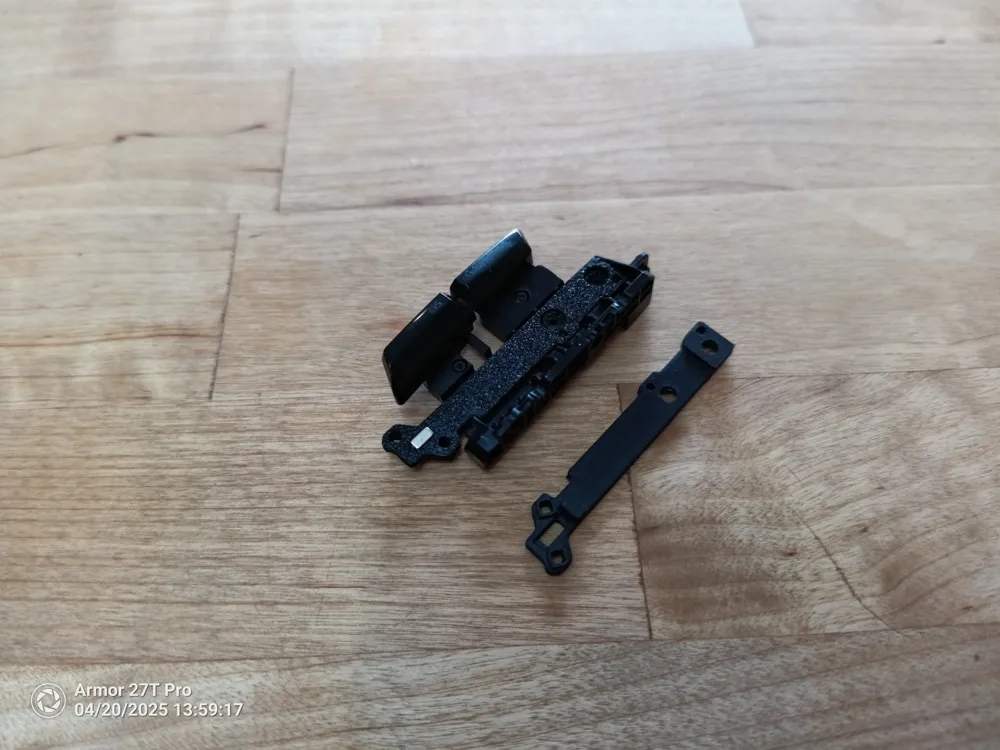
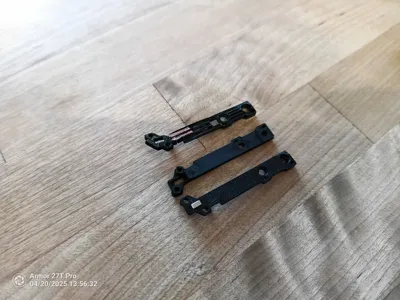
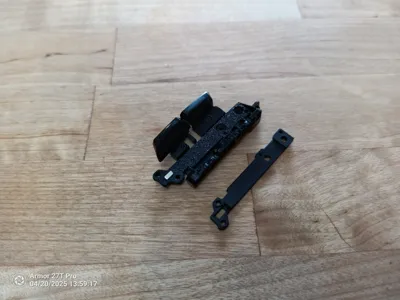
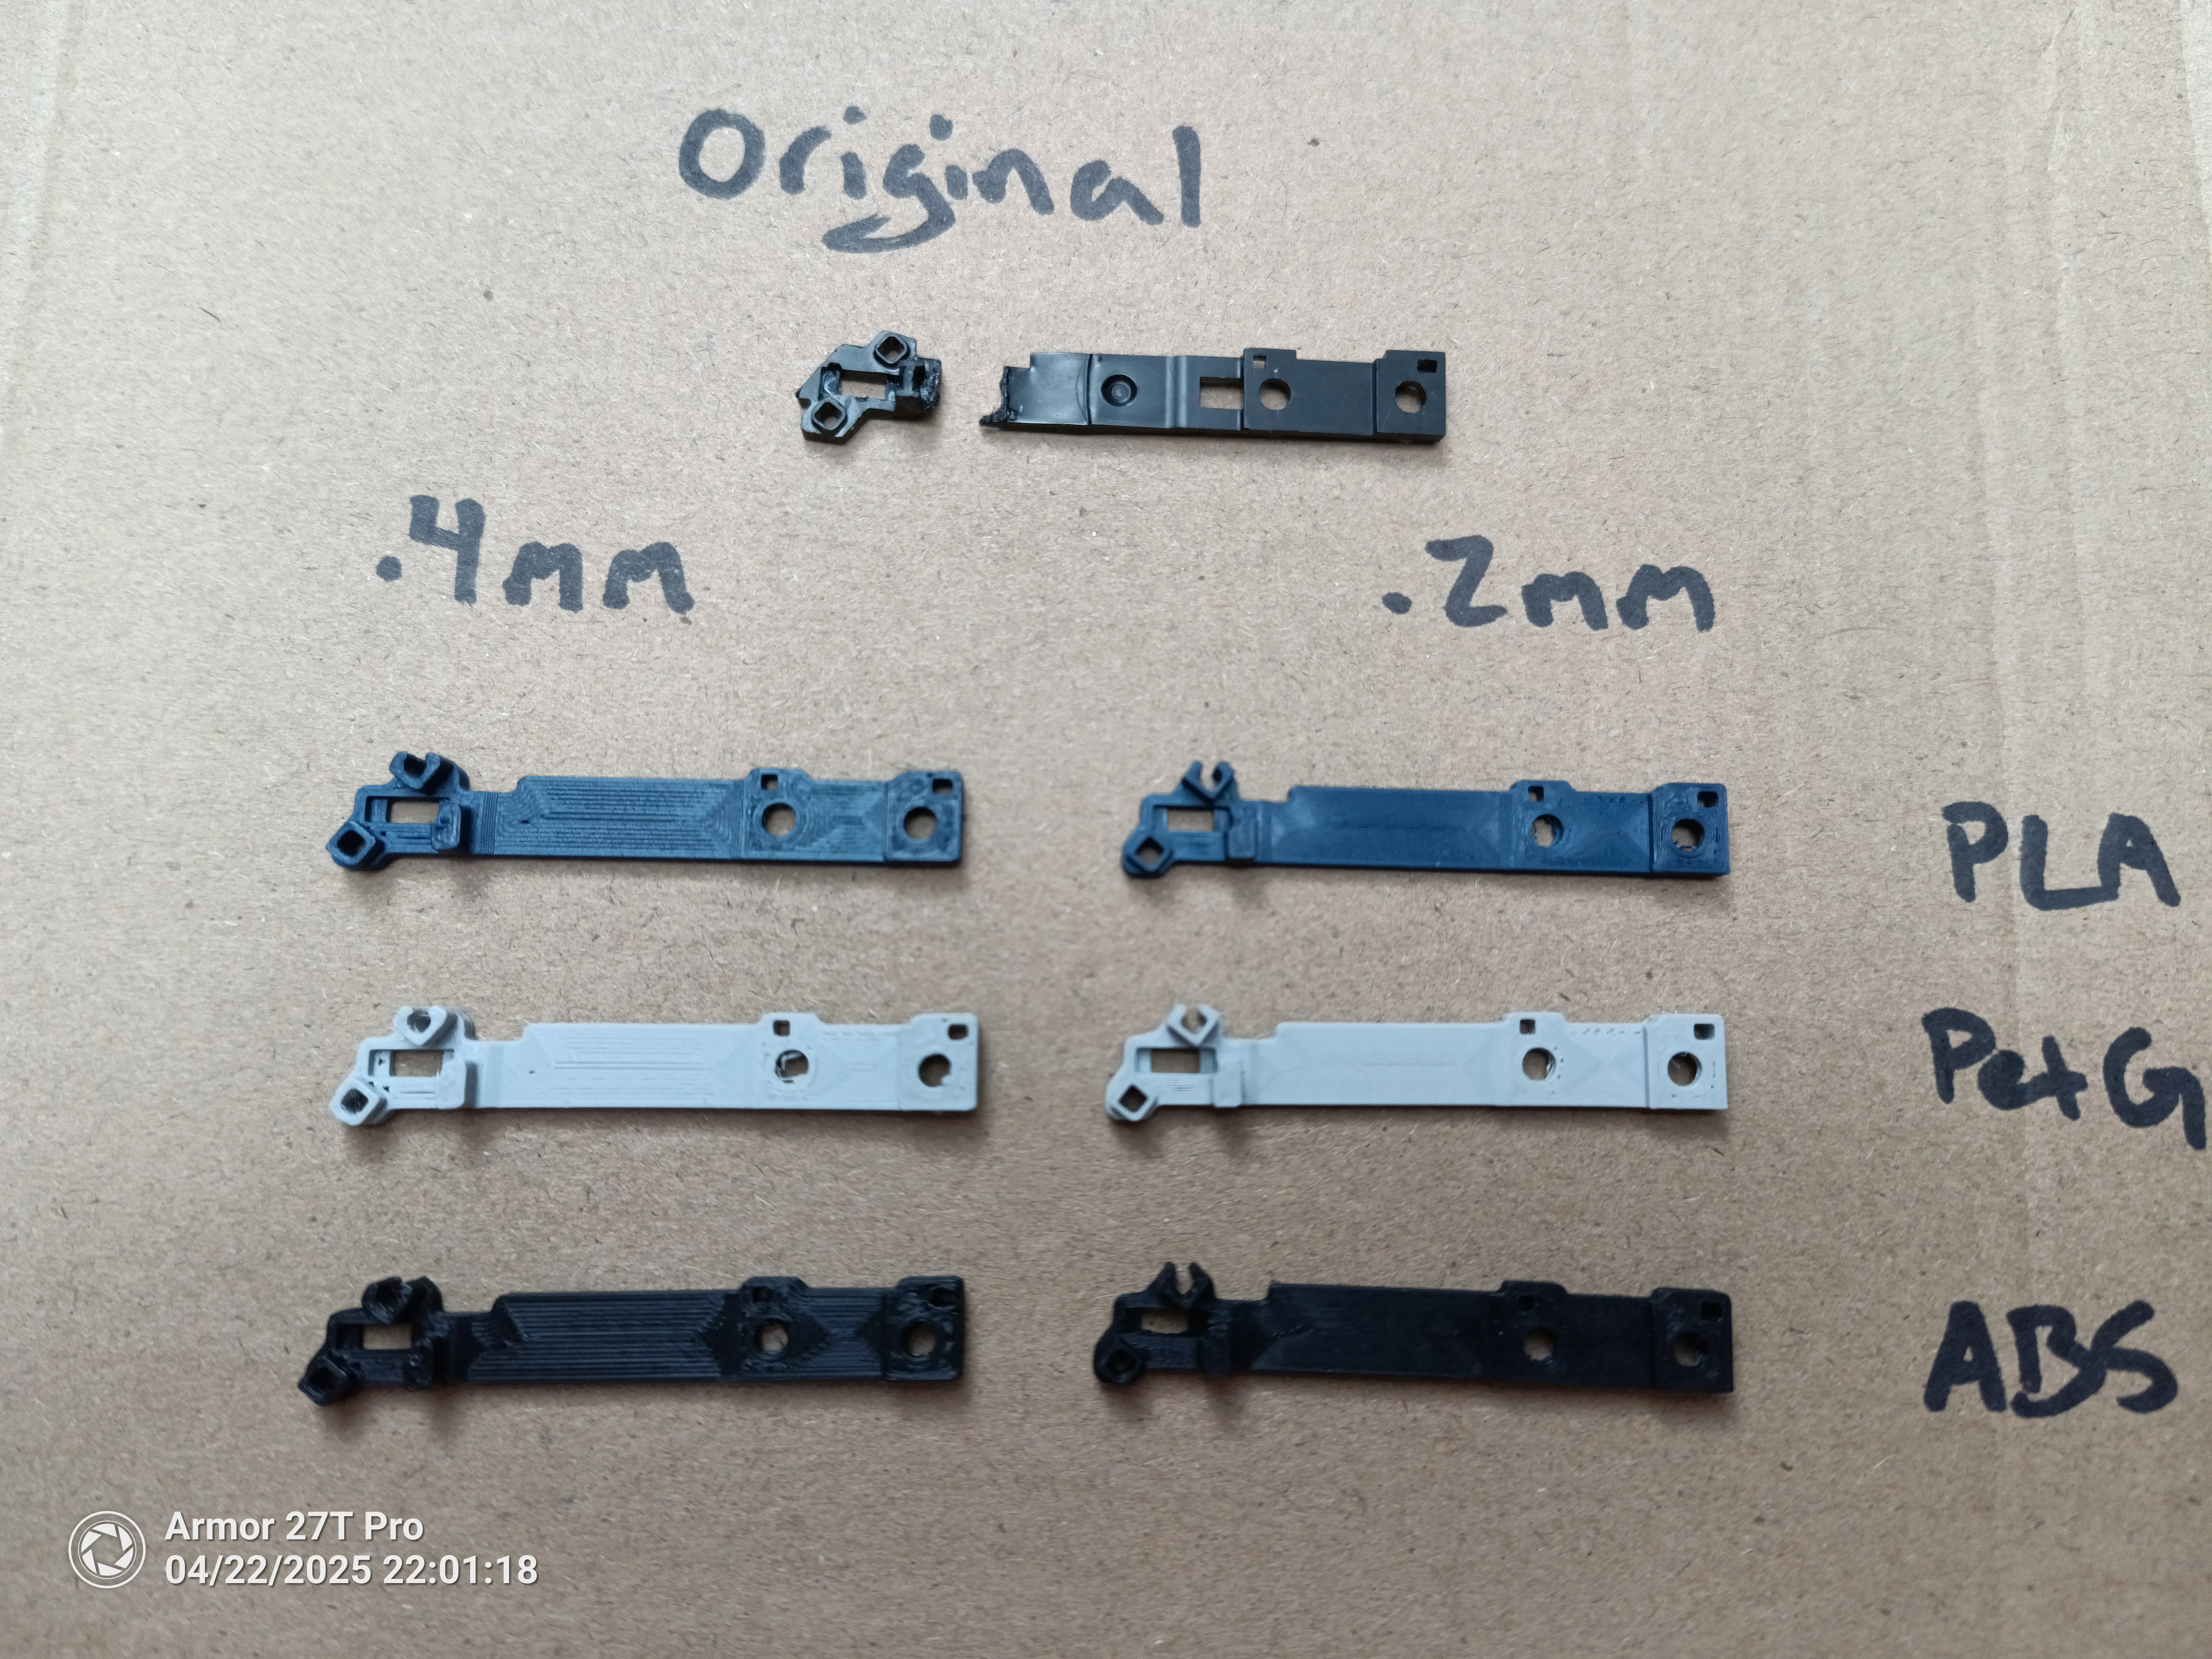
This is a replacement thumb button arm for the Logitech G502 X mouse. Thumb button on my mouse fell off during a "casual" ranked session on Apex Legends. Disassembled the mouse and found the arm that holds the removable button had broken at an obvious weak point. Couldn't find any replacement parts and didn't want to shell out for a replacement unit, so here we are. I designed this with the intent to fix the weak areas of the old component by increasing material in the flexion point and adding mechanical stops to limit tension in the wrong directions. I have subjected this new part to more “casual” gaming over the weekend, and so far its held up nicely. However, I cannot guarantee longevity as the test period has been only 2 days. Given the alternative of buying a new unit, I hope this comes in handy for you!
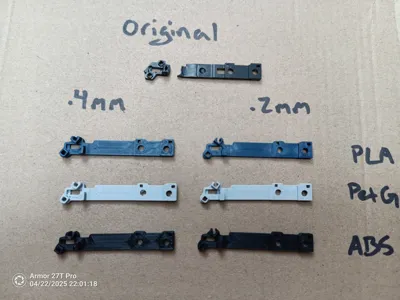
Printing was easy-ish, PLA and PETG printed without a fuss on both the .2mm and .4mm hot-ends. ABS really liked to warp and fail on the .2mm hot-end, but stayed on the print bed with the .4mm. I ended up using ABS with the .2mm hot-end in my personal mouse once it finally stayed put, but PLA and PETG should work just as well. Due to the tight tolerances and small dimensions, I suggest using the .2mm hot-end. The .4mm prints came out ok but there are a few areas that have only a single wall that may be prone to weakness.
The mouse will have to be mostly disassembled with a small amount of modification to the shell. You are encouraged to replace the mouse feet as they need to be removed to access screws (with the exception of the one closest to the sensor), but who am I to judge your feet removal skills. They might be reusable if done right. I definitely lacked the finesse.
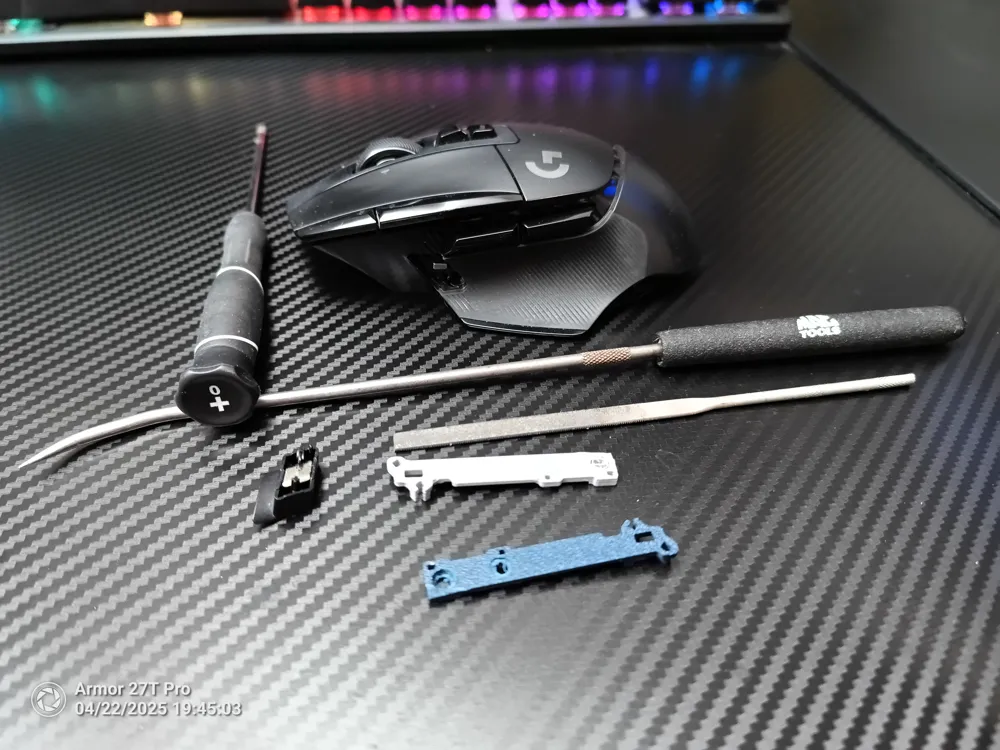
Tools needed: #0 Phillips screwdriver, tweezers, and a small file or razor.
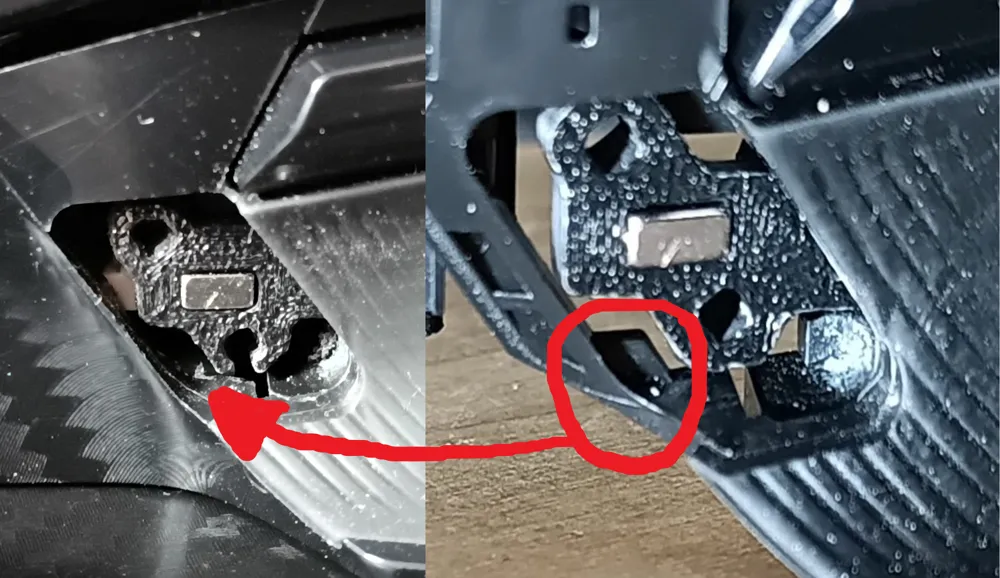
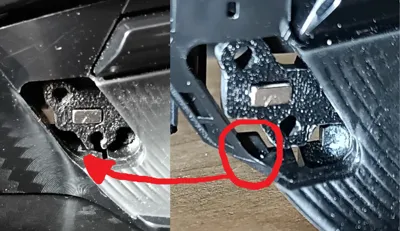
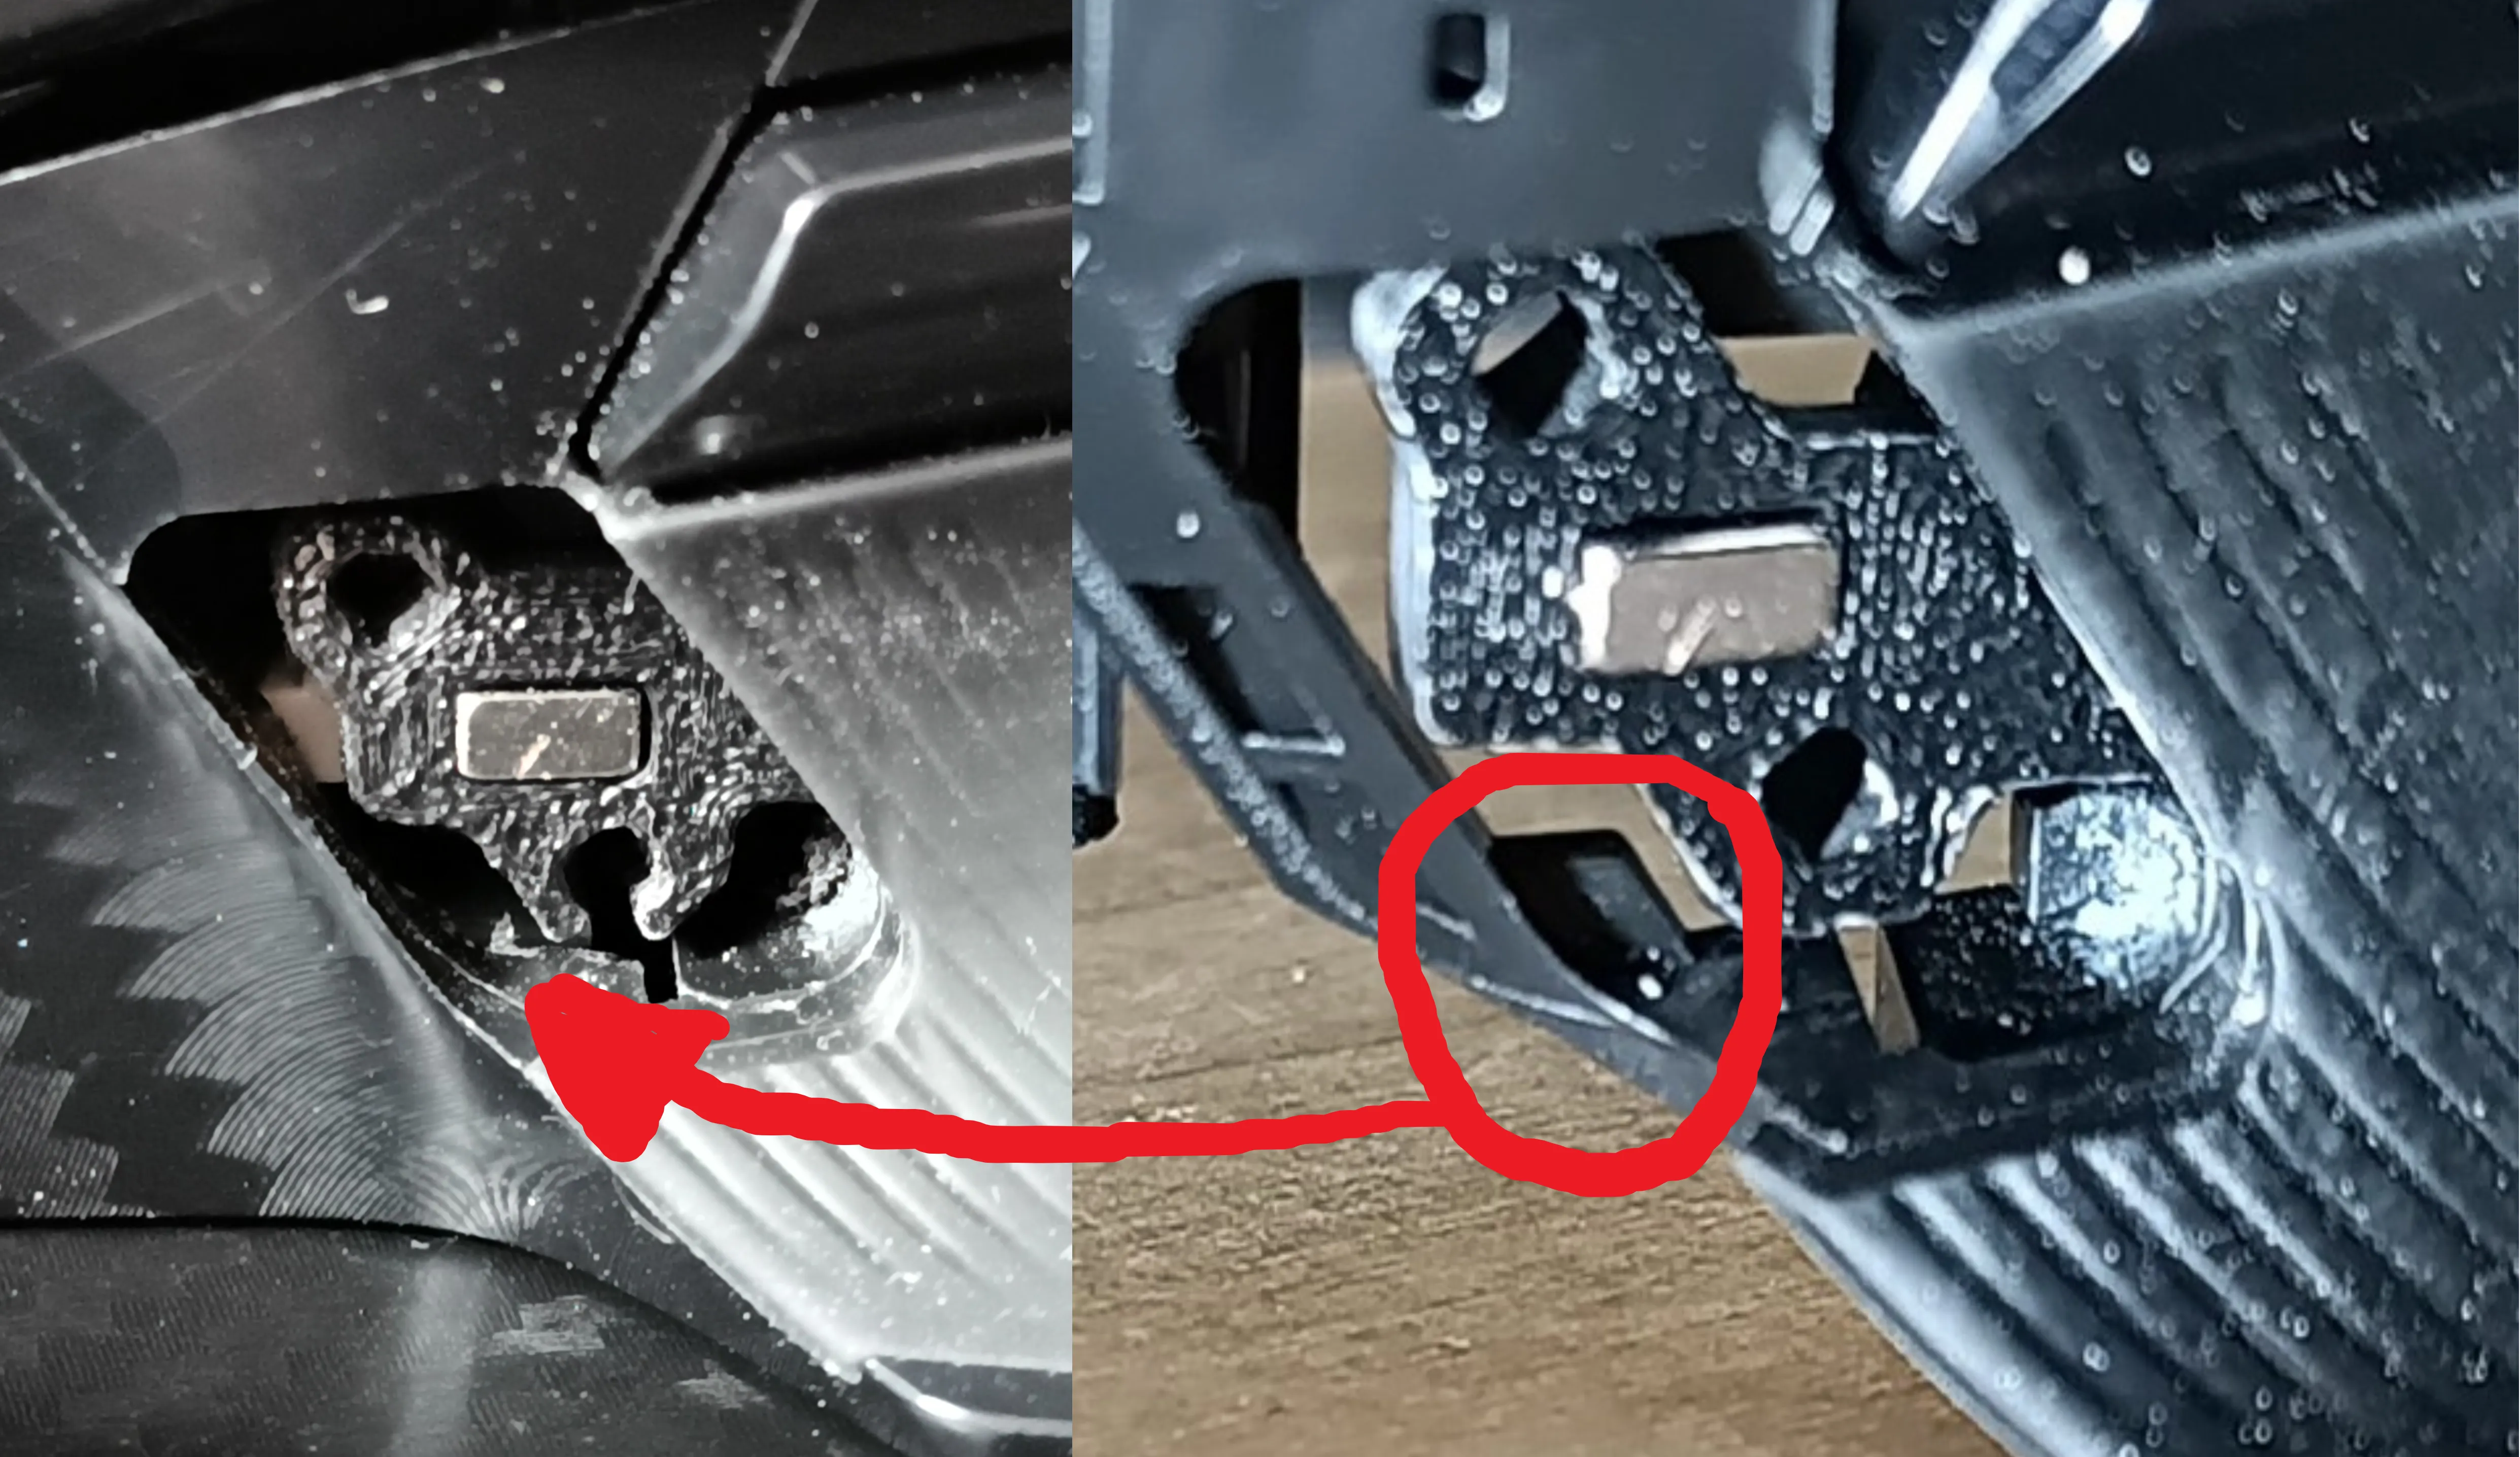
Once the mouse is disassembled and the new piece is installed, you may have to remove a small tab from the mouse shell if the arm with the button binds on it like I had too as shown below. Don't forget to transfer the small magnet from the old arm to the new one. It was glued into the original but came out once I ran a razor around it perimeter. It will friction fit into the new piece.
Here is the Disassembly video I followed from Beardedbob;
License



Comment & Rating (2)